The Boeing-Stearman Model 75 was a military training bi-plane, it is more widely known as the Stearman or Kaydet. There were several models, for example the PT-13 had a Lycoming R-680 engine, the PT-17 had the Continental R-670-5, and more. It served as the primary trainer for both the US Army and Navy, with several used, known at the PT-27, by the Royal Canadian Air Force during World War 2. Many examples of this aircraft have survived today, being seen in air shows for aerobatic and wing walking demonstrations.
A new kit from Roden in 1/32 scale represents the PT-17 Kaydet as it served with the US Army and Navy.
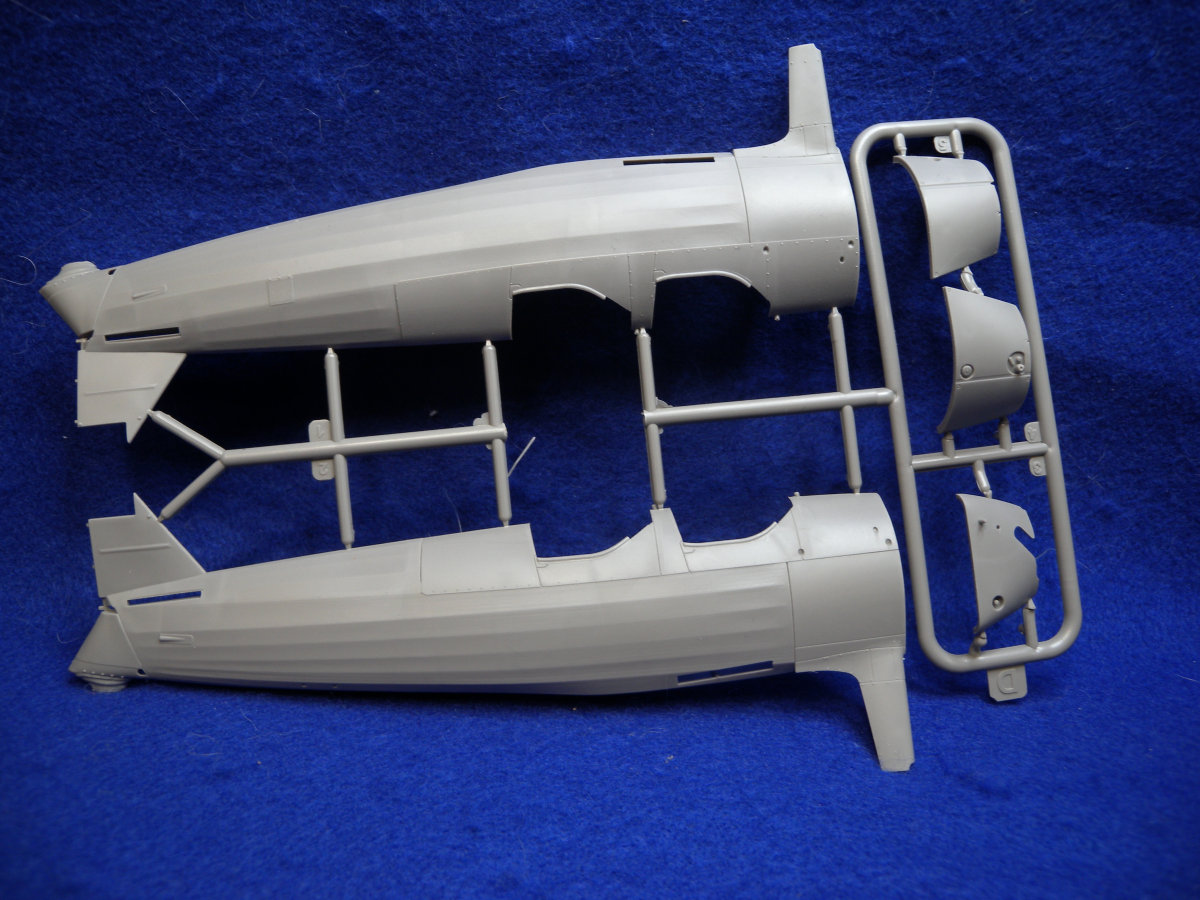
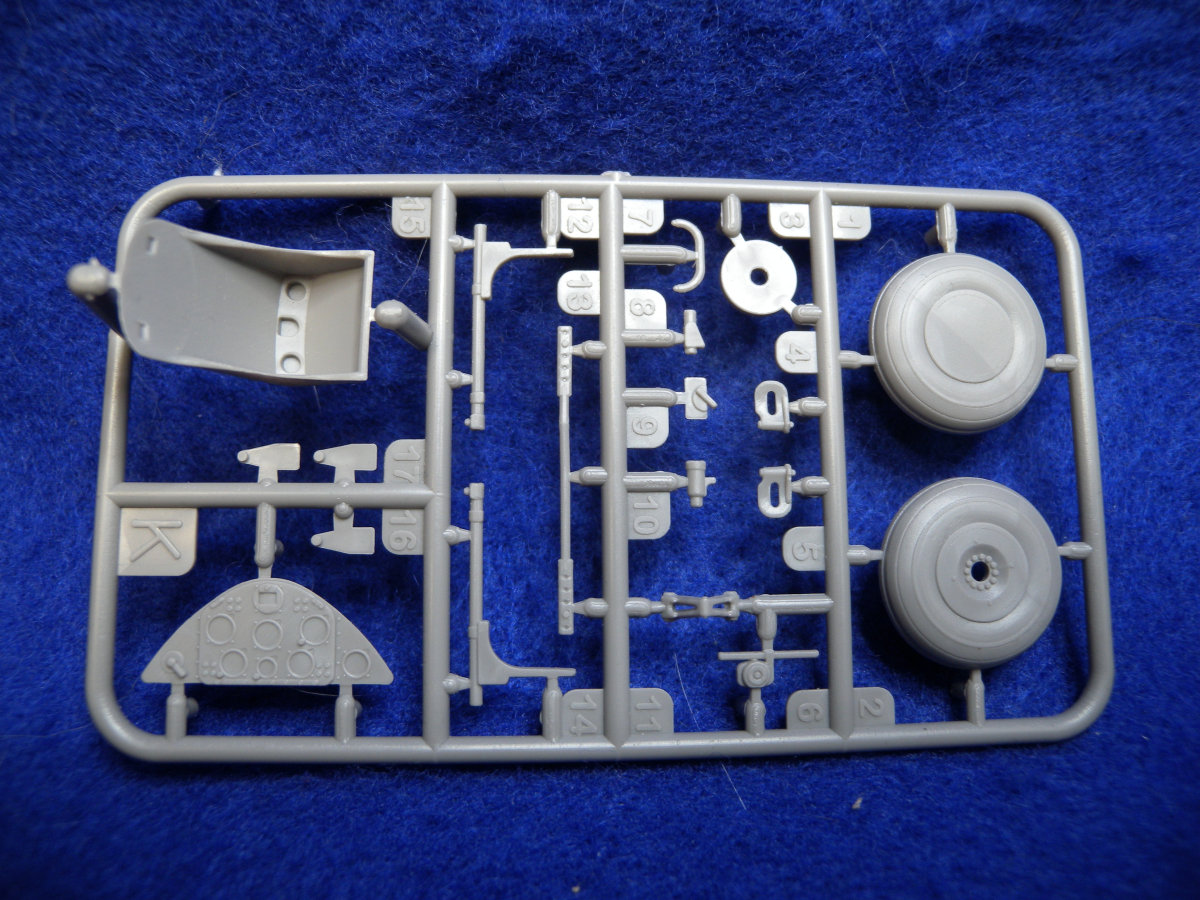
Upon opening the box, I was pleasantly surprised, the Roden kit looks to be well molded in grey plastic with little flash, few ejector marks that will be seen after build, and no sink marks. There is some nice looking fine molded parts including the cockpit and some of the exterior details.
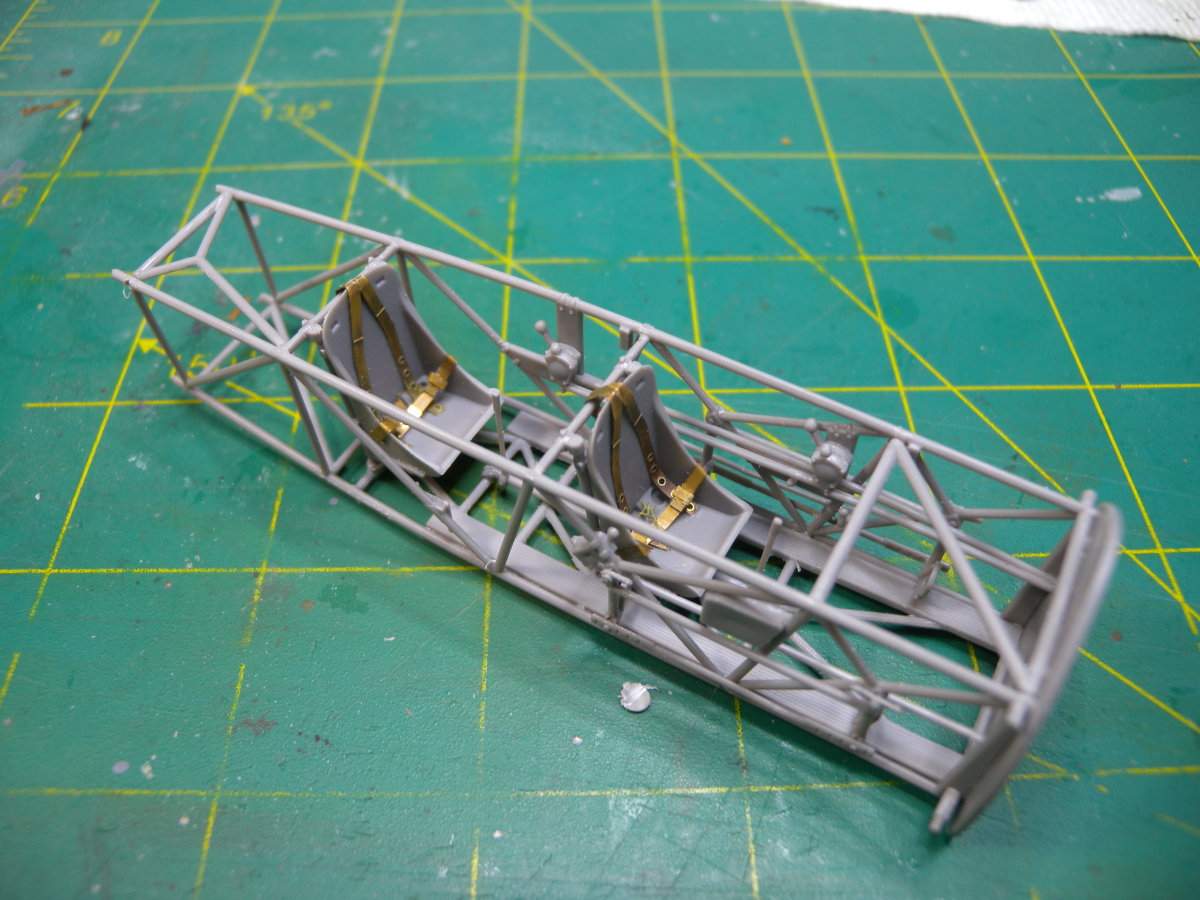
The inside of the fuselage has the rib details and includes parts to build up the pilots cage. There are seams around the parts, but with care, these can be cleaned up. There is some nice looking details here with decals included for the raised detailed instrument panels. One glaring thing missing is there is no seatbelts details molded on the seats nor any photo-etched to create these.
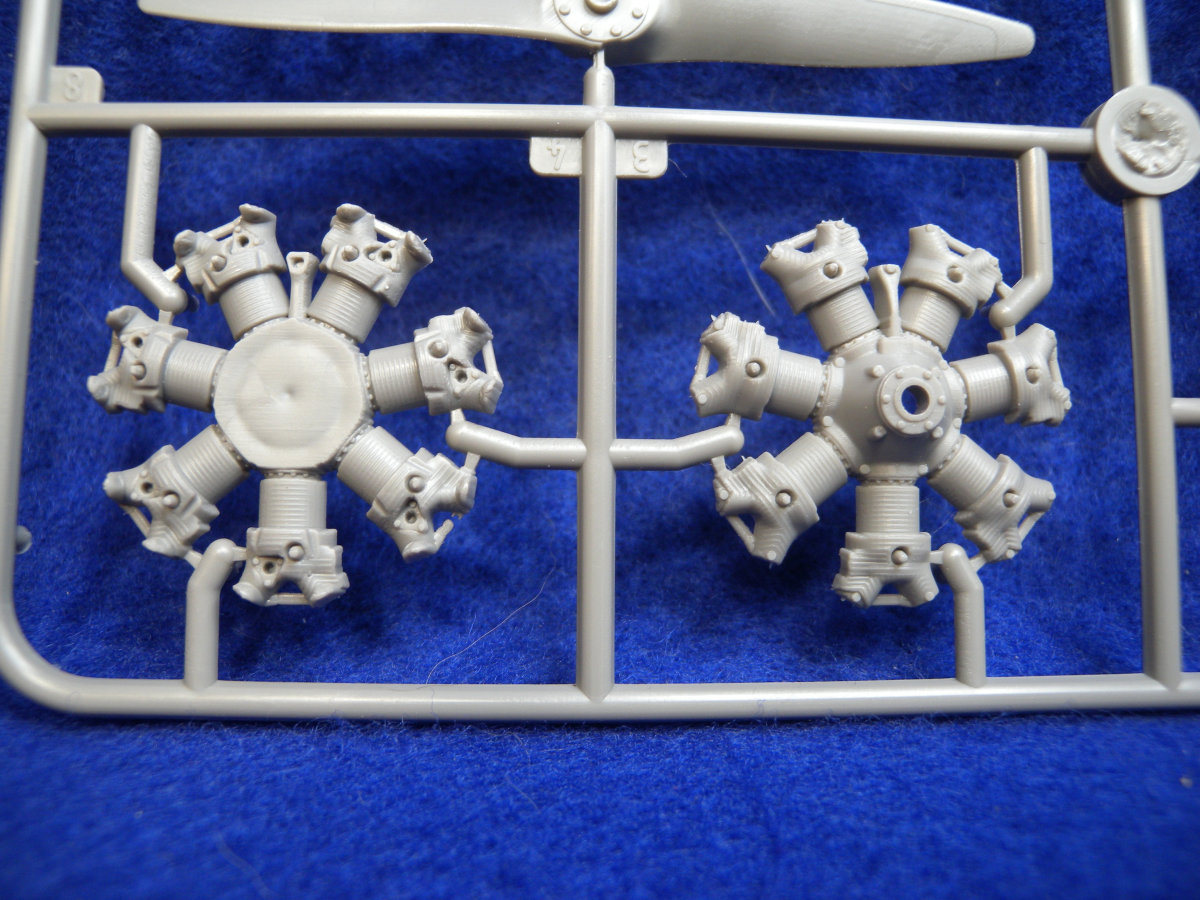
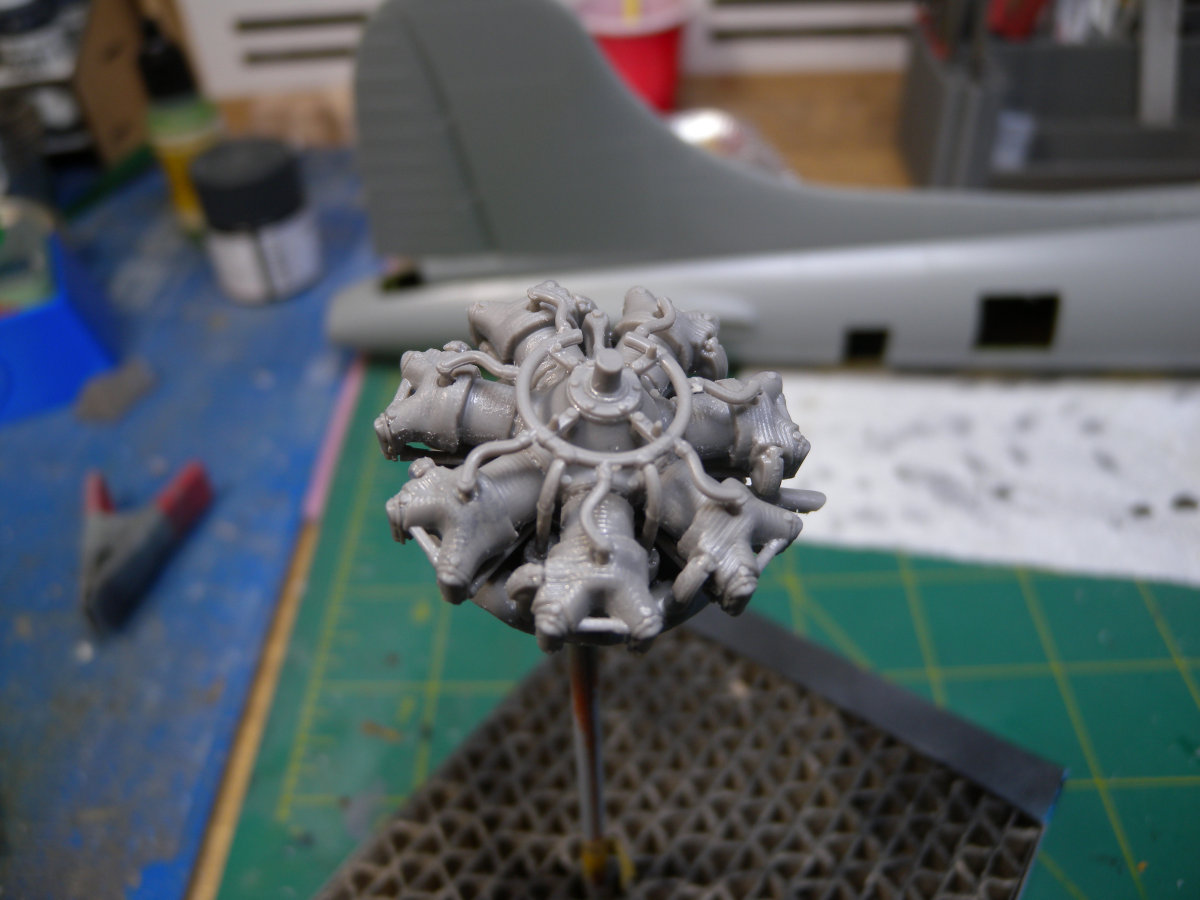
As the engine is well exposed for this aircraft, there are many parts to build the engine. The engine is two halves with separate parts for the head covers, exhausts, spark plug wiring. The details looks nice, and well molded, but there will be some seam work to clean up. While there is rib details on the cylinders, my opinion is it could have been a little more pronounced.
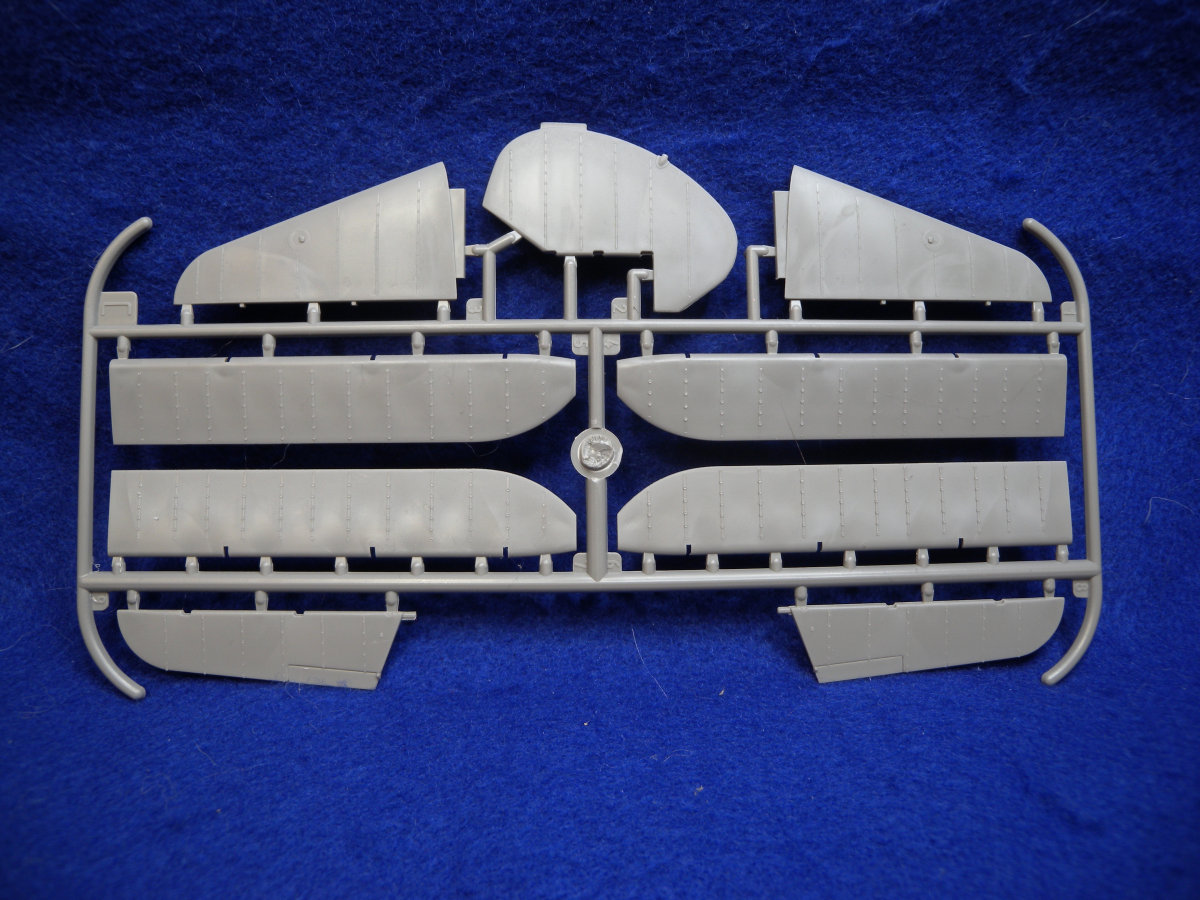
The overall skin details looks nice but reviewing images the strip and rivet details on the wing surface looks to be a little over done and I found the curve of the fabric between ribs is a little flat.
It should be noted that I found the clear parts for the windshields to be a little cloudy.
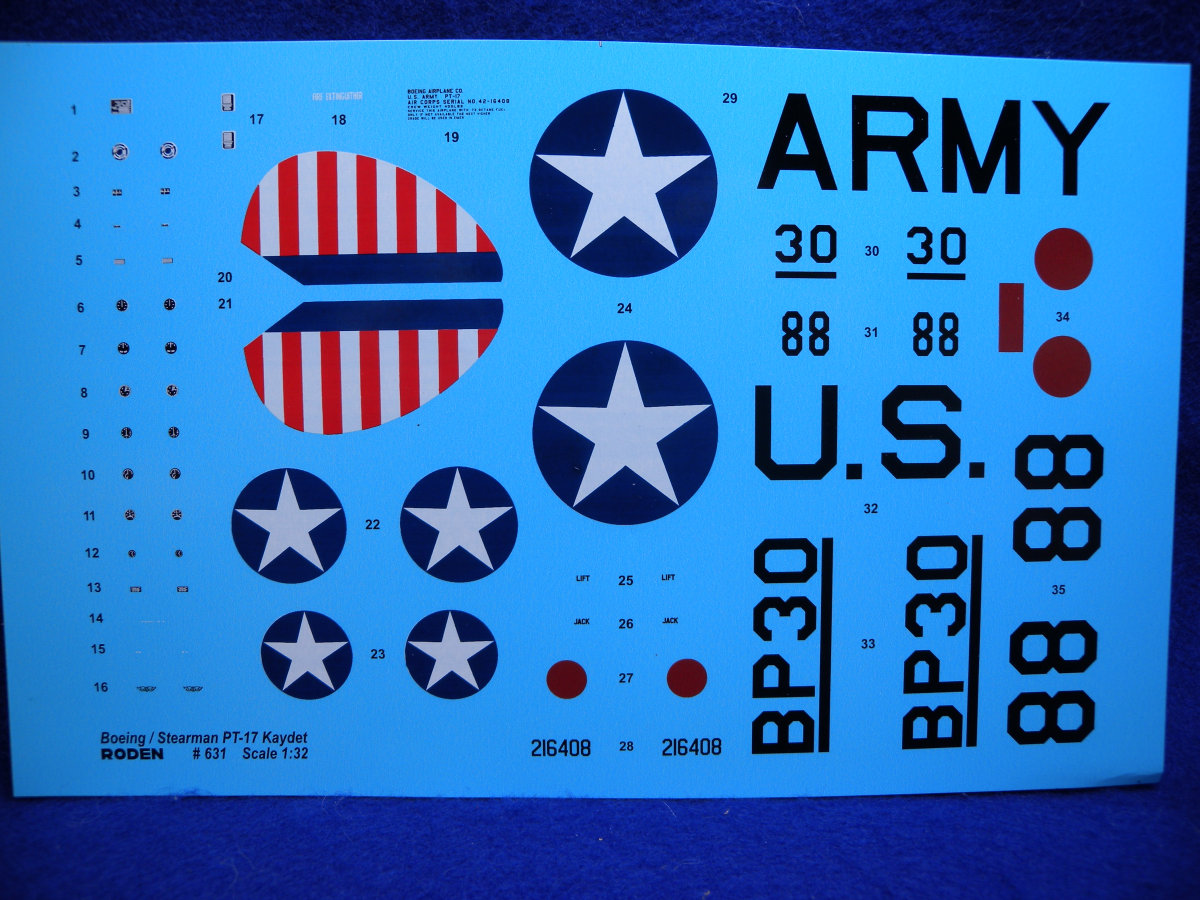
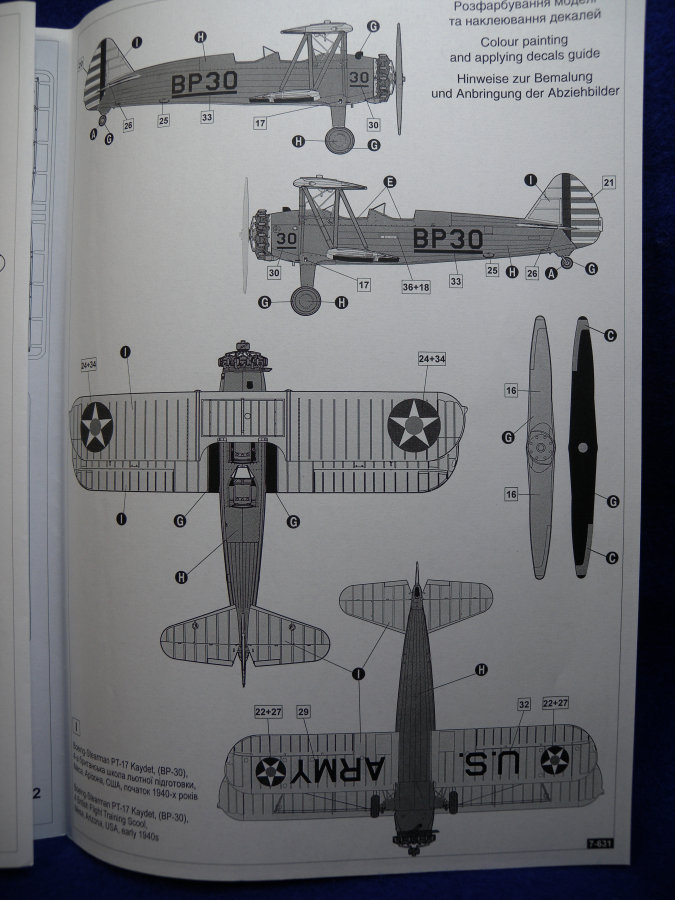
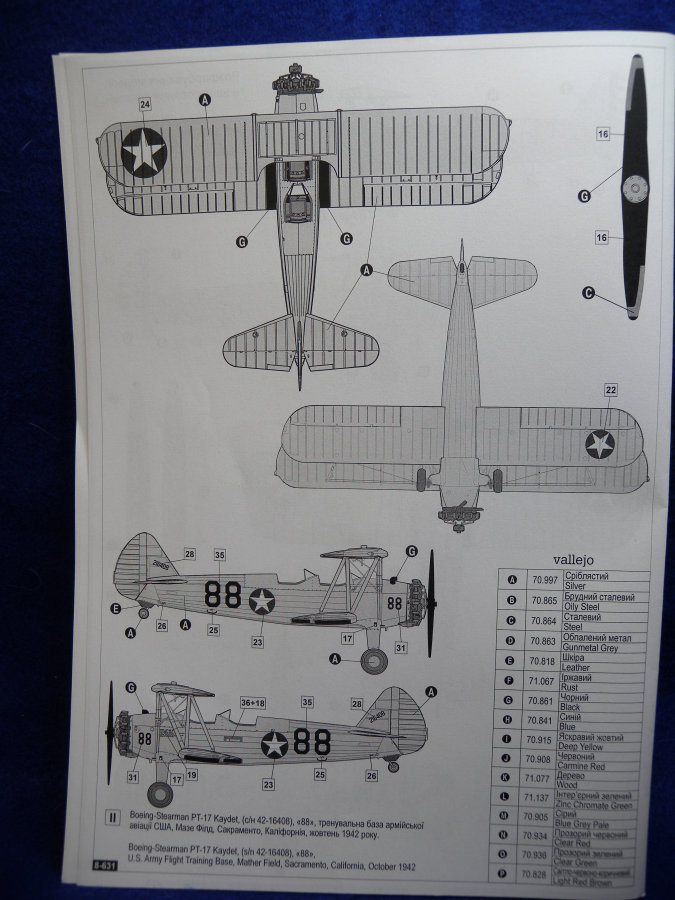
Decals are included for two US Army aircraft, the iconic blue and yellow and a silver variant. The decal sheet is large, including the large US Army for the bottom of the plane. It looks to be well printed, nice color and all in register.
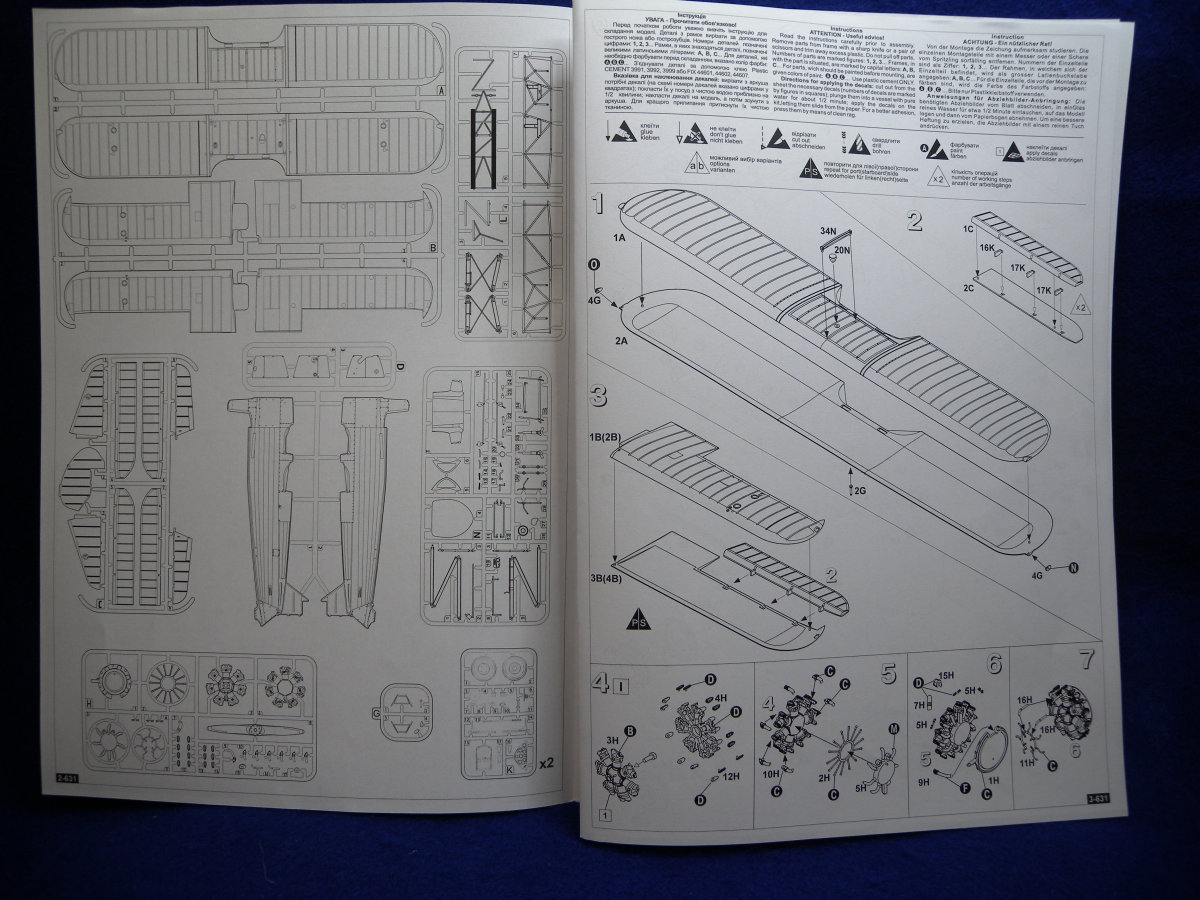
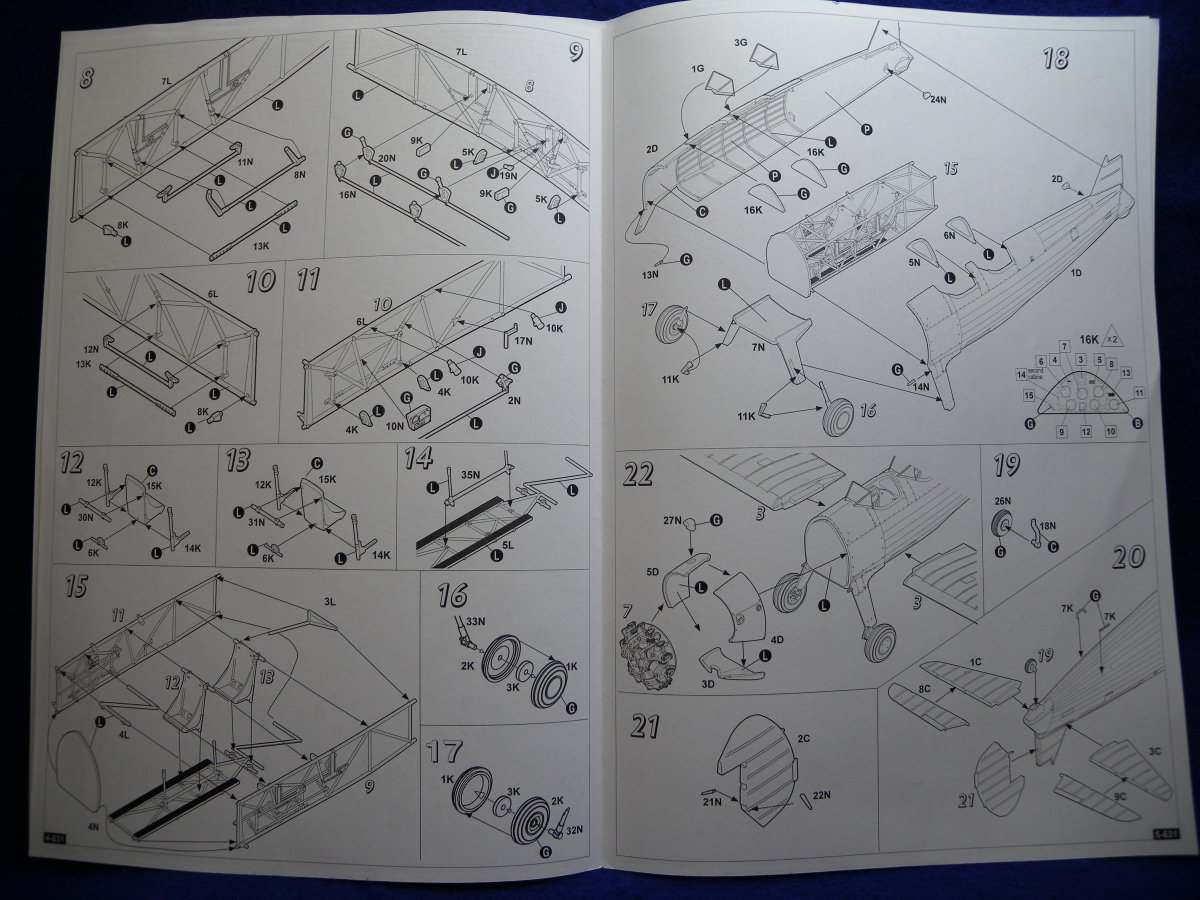
The instruction booklet looks well done and should be easy to follow.
Build
So not having really build a biplane before and it looks relatively straight forward, I thought I would take a shot at the build. It should be noted I did the build pretty well straight out of the box and not really accurate.
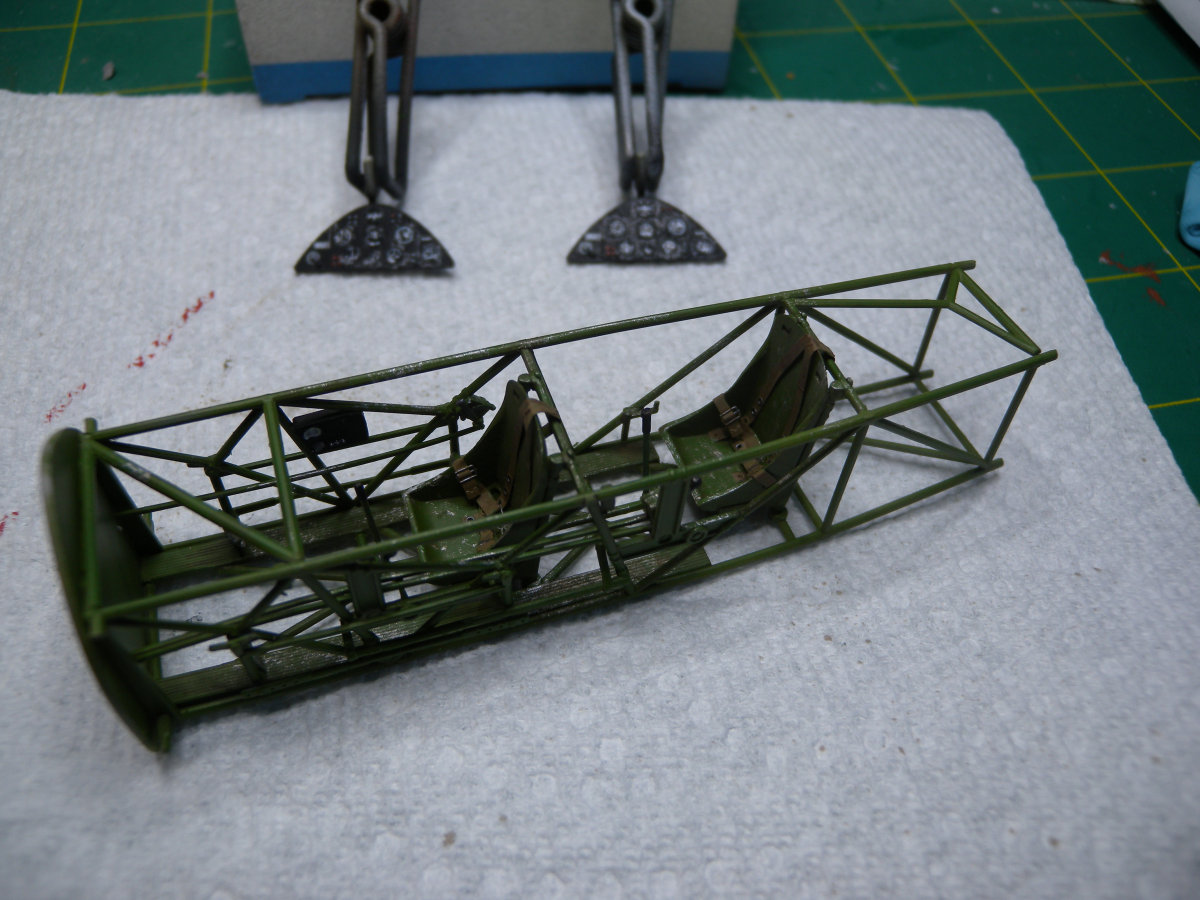
Starting with the cockpit, the cage and detail build up pretty nice. I reached into my spare for some photo-etched parts to use for the seatbelts, I found some extra early Spitfire left overs, and while not correct, it at least gives the illusion. The decals for the instrument panel look nice, but did find the carrier film around the decal was quite large and required a little care when applying as they overlap.
The interior was painted aluminum with the cage interior green. The instruments panels were painted black, and seal with a flat clear after the decals. To represent the glass on the instruments, I add drops of Micro Kristal Klear onto the instruments.
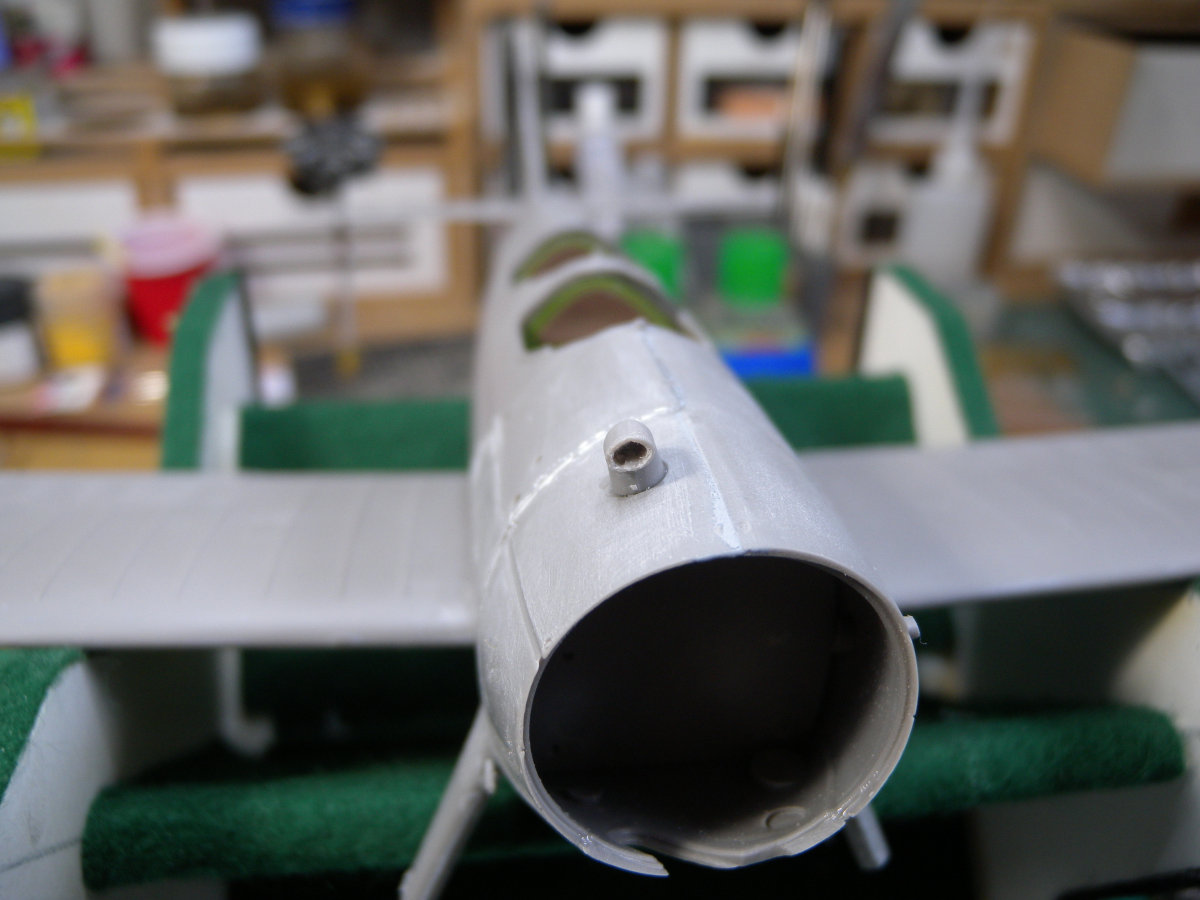
The overall fuselage was good, care just needs to be taken when lining up the cage inside. The wings also go together rather well, and the fits onto to the fuselage left a small seam that was easily filled. I did leave the top wing of for ease of painting. The air scoop behind the engine is a solid piece, so I drilled out the end and carved to shape.
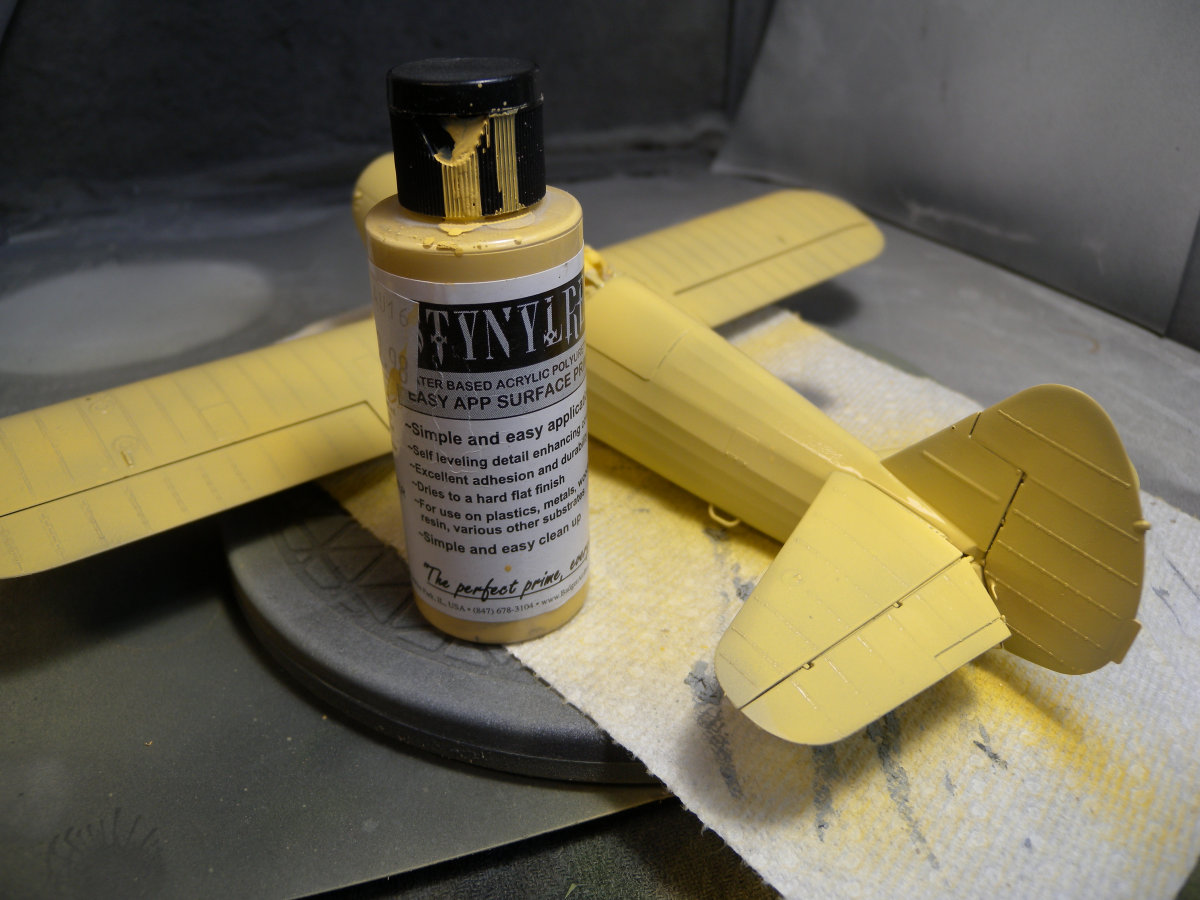
As said, there is not much to the kit, so after a little filler and sanding I was ready for primer. I must state I am not a fan of painting yellow. One thing I have found to help it Stylynrez Yellow Primer, it makes painting yellow a little easier. I still ended up applying four thin coats of AK Real Color Yellow.
For the cloudy windshields, I did find they did look a lot better after a dip in Future.
The engine went together relatively well. I did find there was some fit issue with the individual cylinder exhausts, but was able to easily fill the gaps with some Mr Hobby liquid putty.
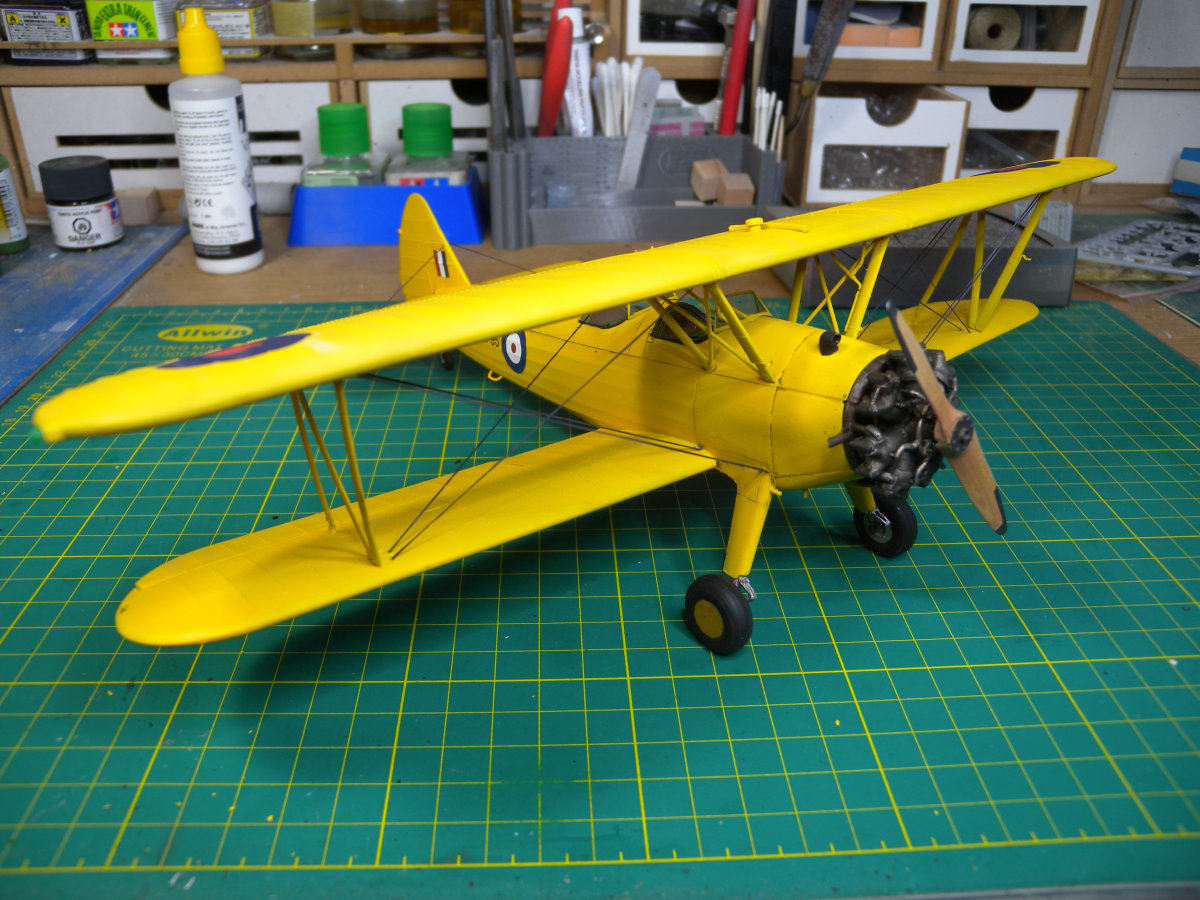
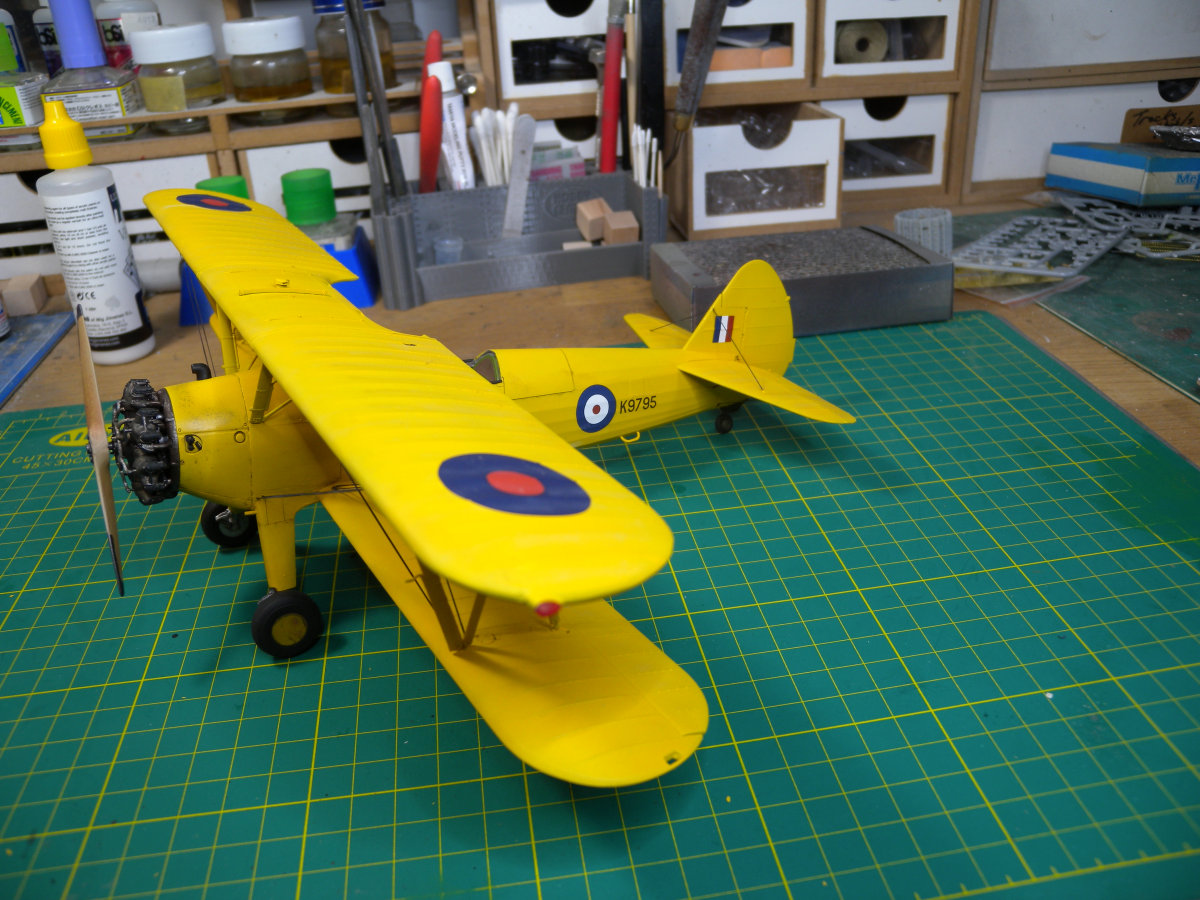
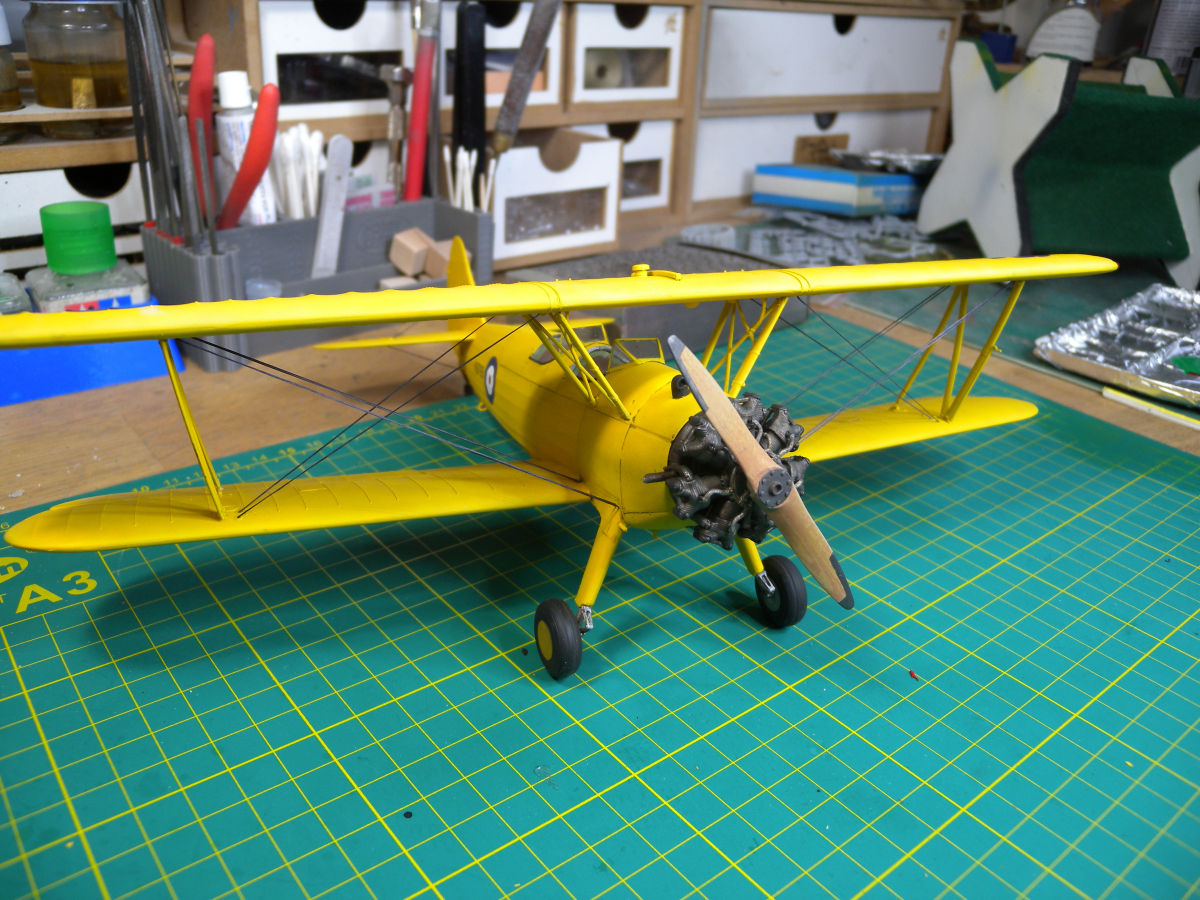
And again back to the spares, and again not very accurate, I sourced some decals to do the Royal Canadian Air Force version.
The rigging was done using EZ-Line and was based on images I found. The instruction does provide rigging for the main wings, but does not show the tail. And even then I left one set of lines off the tail on my build.
Conclusion
Overall this is a nice looking kit, and I would say great for the novice builder that would like to get into bi-planes. There are some detail issues including lack of seat belts and questionable surface details on the wings. The cockpit is well done, and it is a fun build. I would recommend this kit, and would love to see what a more advance builder would do with it.
SUMMARY
Highs: Fun build, well done cockpit and engine detailsLows: Questionable surface details on wings and lack of some fine details.Verdict: A fun build, a good choice for novice builder looking to get into bi-planes, I would recommend.
Our Thanks to Roden! This item was provided by them for the purpose of having it reviewed on this KitMaker Network site. If you would like your kit, book, or product reviewed, please contact us.
I am an IT Consultant and father, with a passion for plastic models. I mostly prefer 1/35 Armor and 1/48 Aircraft. My main interests are anything Canadian, as well as WW2 German and British Armor and Aircraft. I have been building models since I was a young kid, got away from it for awhile, but r...
I think that the wings look pretty good. Take a look at a real one.
Edit. Direct linking to the images didn't work, so lets try something else.
picture 1picture 2picture 3
Note that the fabric is stretched nice and tightly, without much of the old 'starving cow' look which model companies used to love giving us.
Jessie
Thanks, I should take a more detailed image. There is strips and rivet details at every spur on the wings, and in between it is flat. I think I may have poorly explained it too. Thanks for the reference images.
Kevin
I think that those are trying to be rib tapes and stitching. If so, they can be sanded almost entirely away; you don't see much more than subtle bumps on a properly finished wing.
Still, it's better to have them to be removed than not have them and need to add them.


Comments