Introduction
First flown in 1964, the MiG-25, was a supersonic interceptor, recon, and bomber aircraft belonging to the Soviet Air Defence Forces. It was one of the very few aircraft that was actualy build using stainless steel, and was the last aircraft designed by Mikhail Gurevich prior to his retirement. The MiG-25 has been the highest flying and only second to the SR-71 in speed, for a production build combat aircraft. While the aircraft was mostly used for reconnaissance, it did have combat abilities to deliver ordinance.
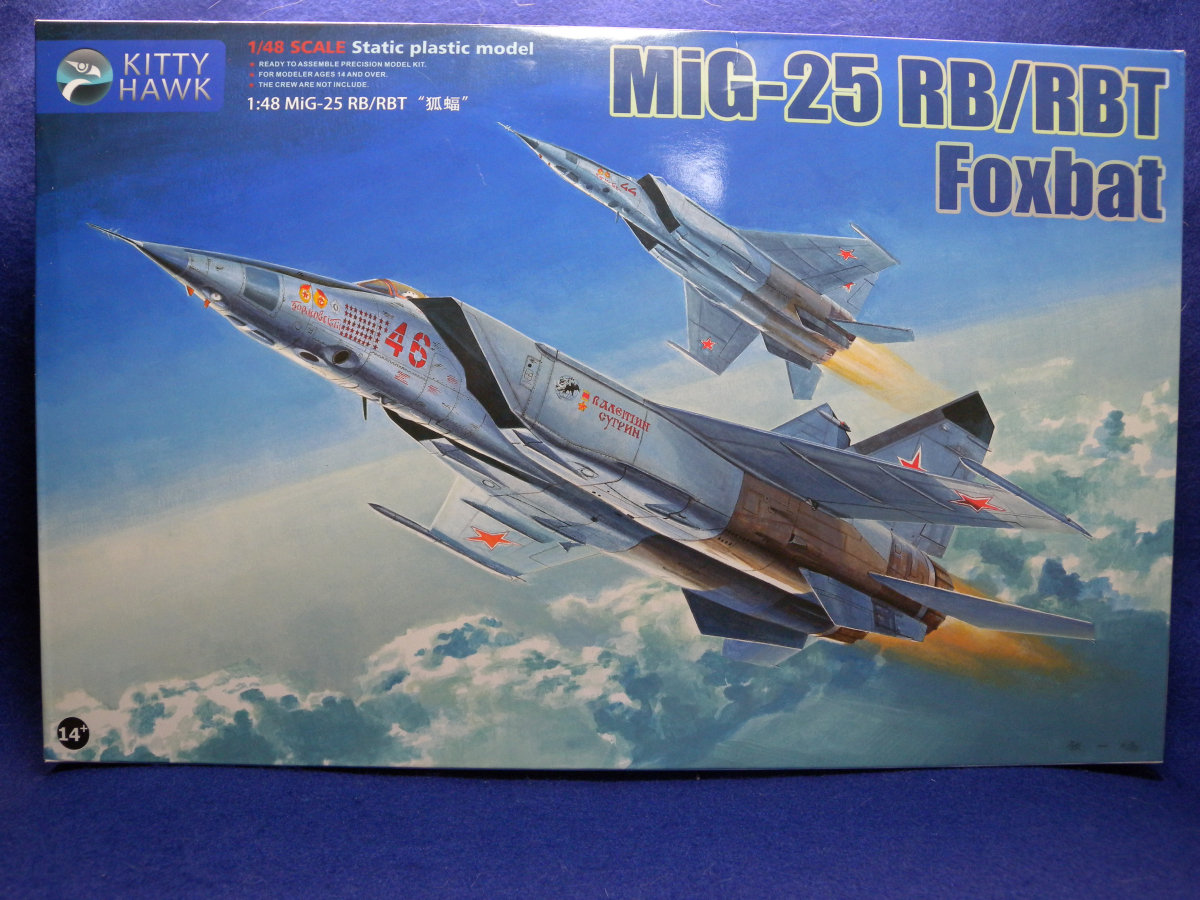
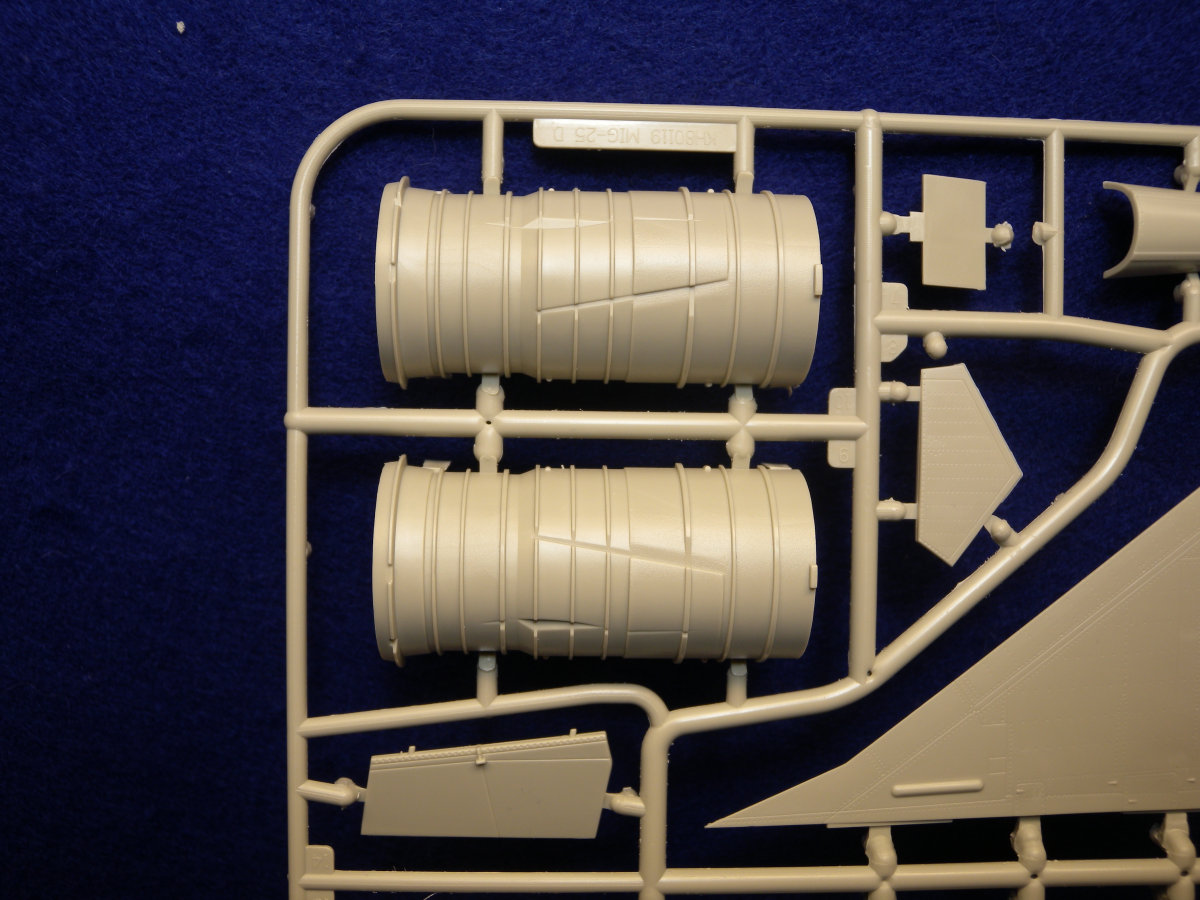
A new kit from
Kitty Hawk is a representation of the MiG-25 RB/RBT, the bomber/recon variant, in 1/48 scale.
Contents
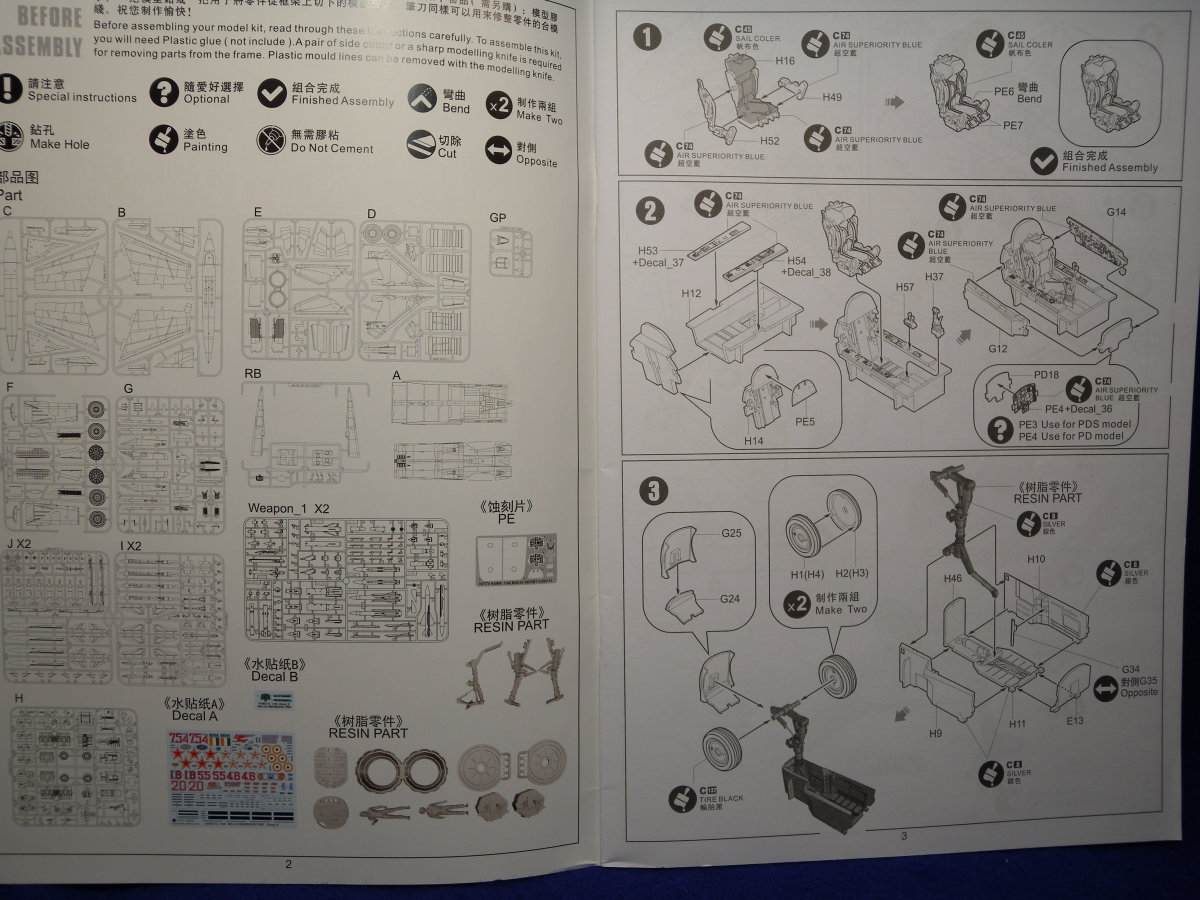
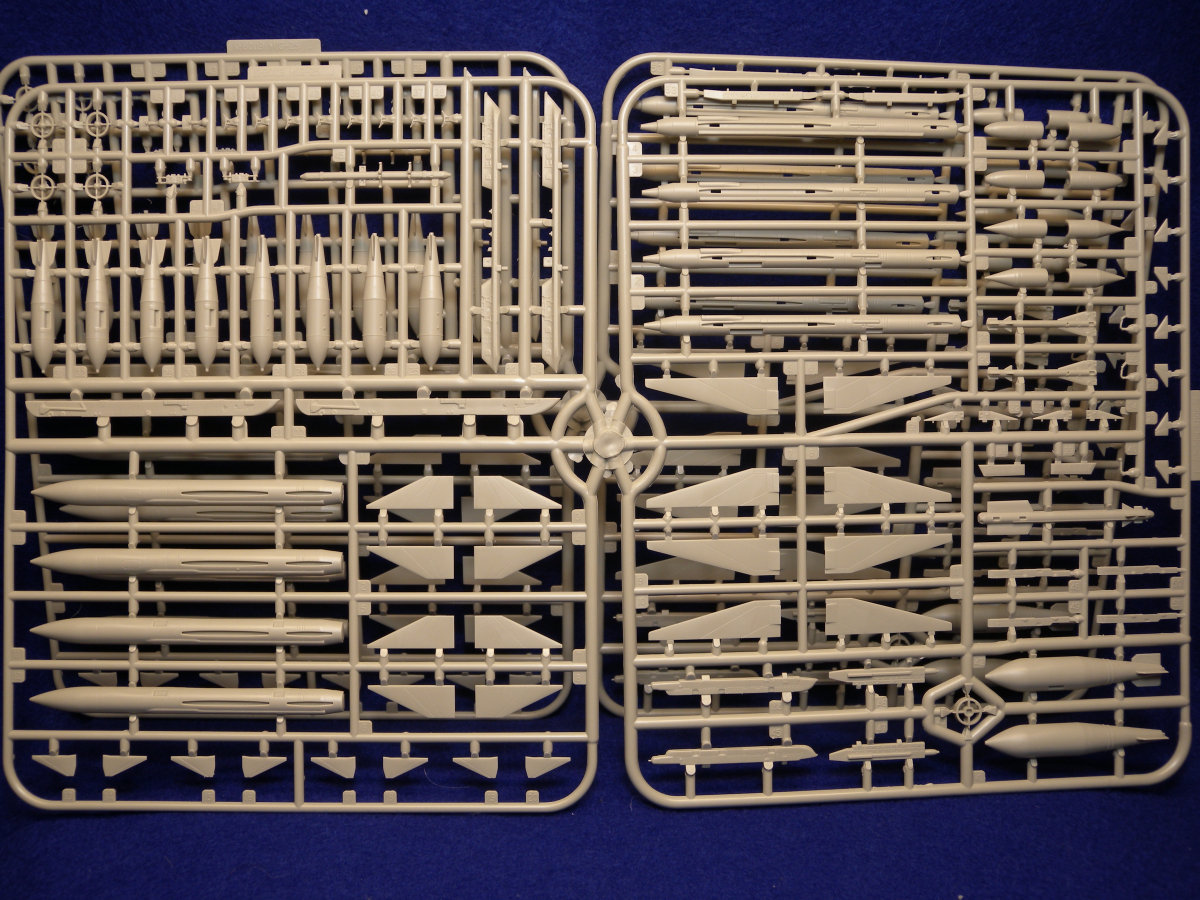
17 Plastic Sprues
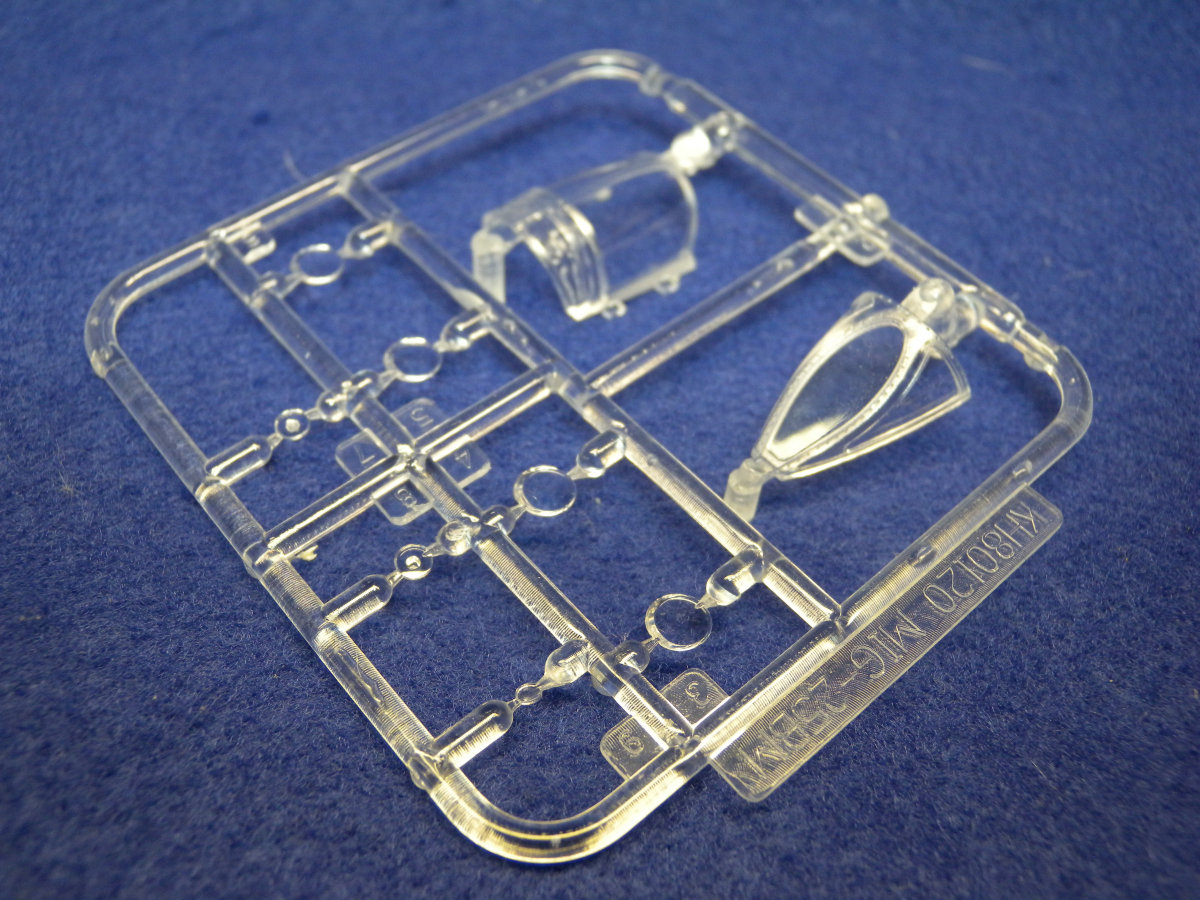
1 Clear Plastic Sprue
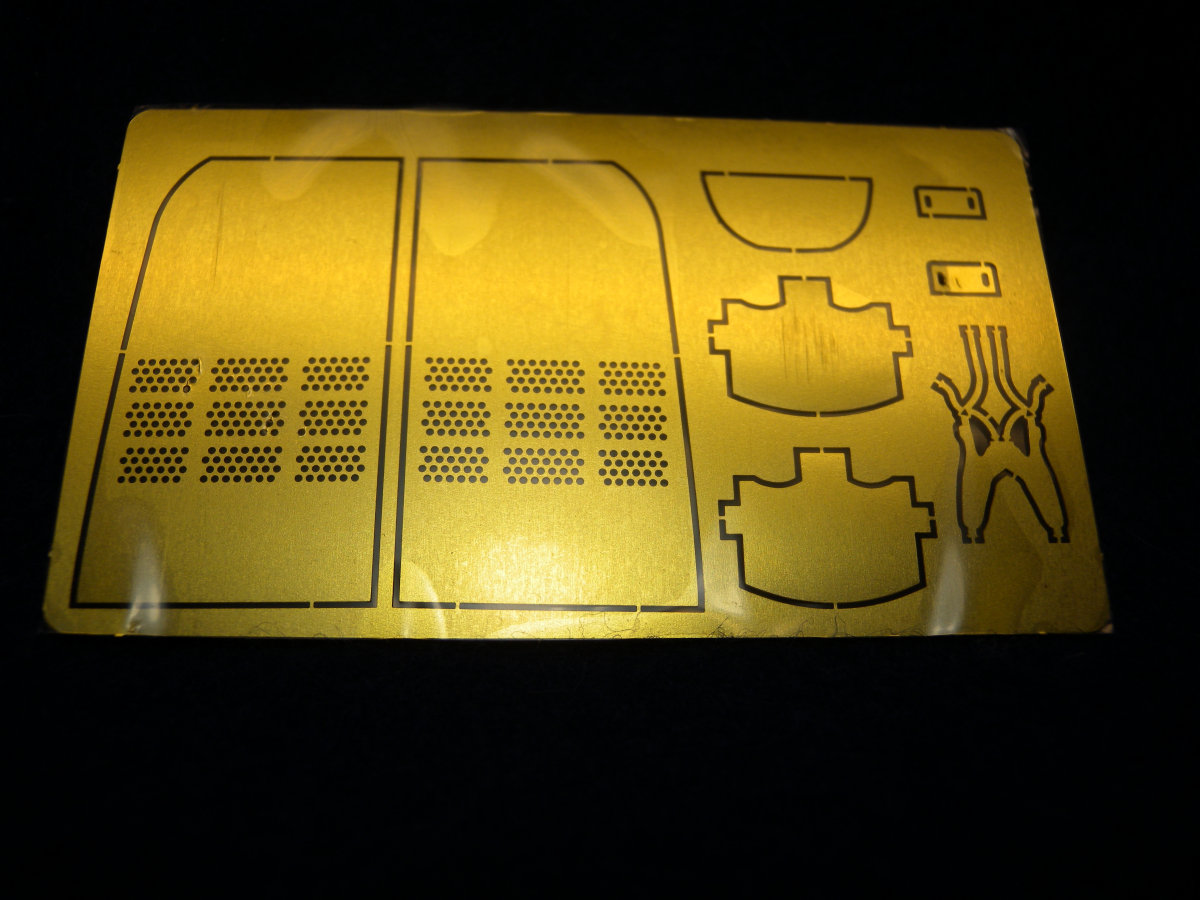
1 PhotoEtched fret
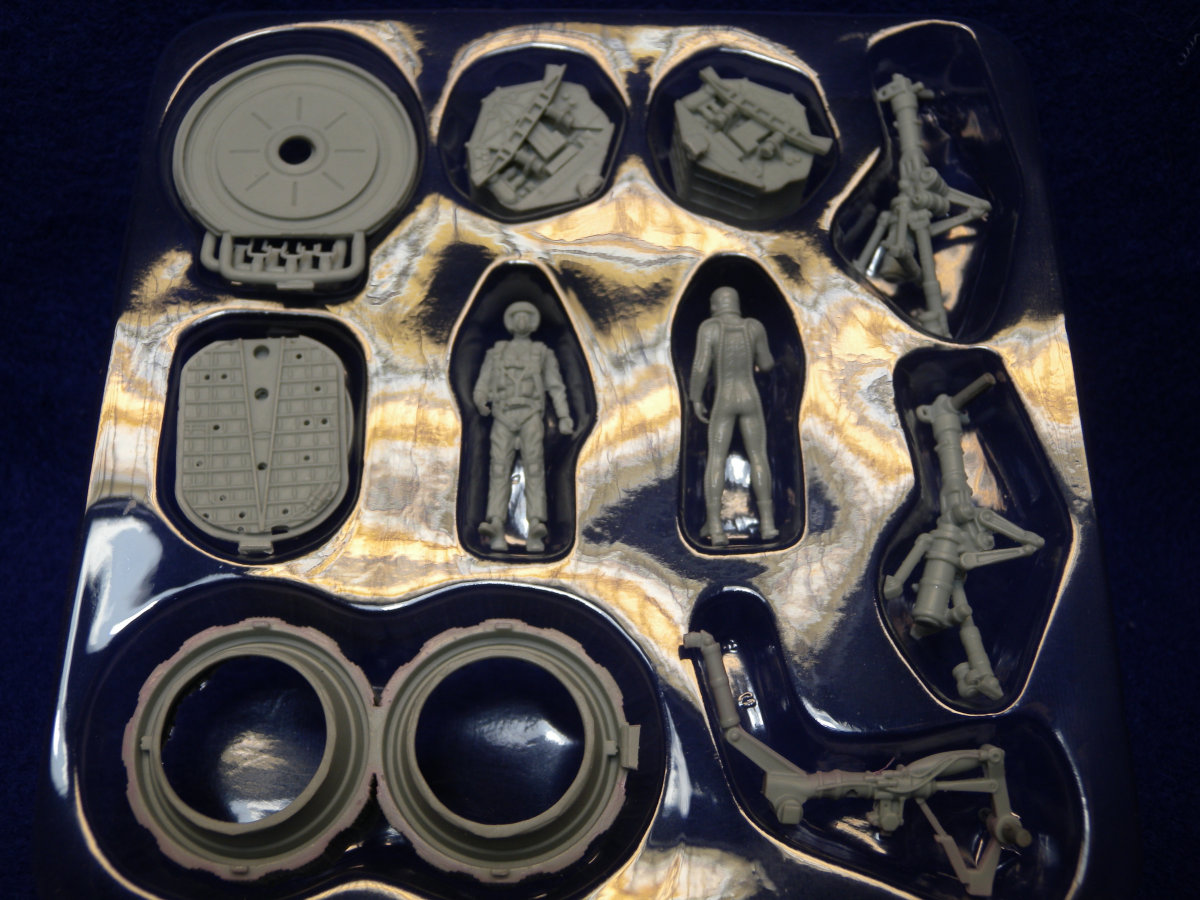
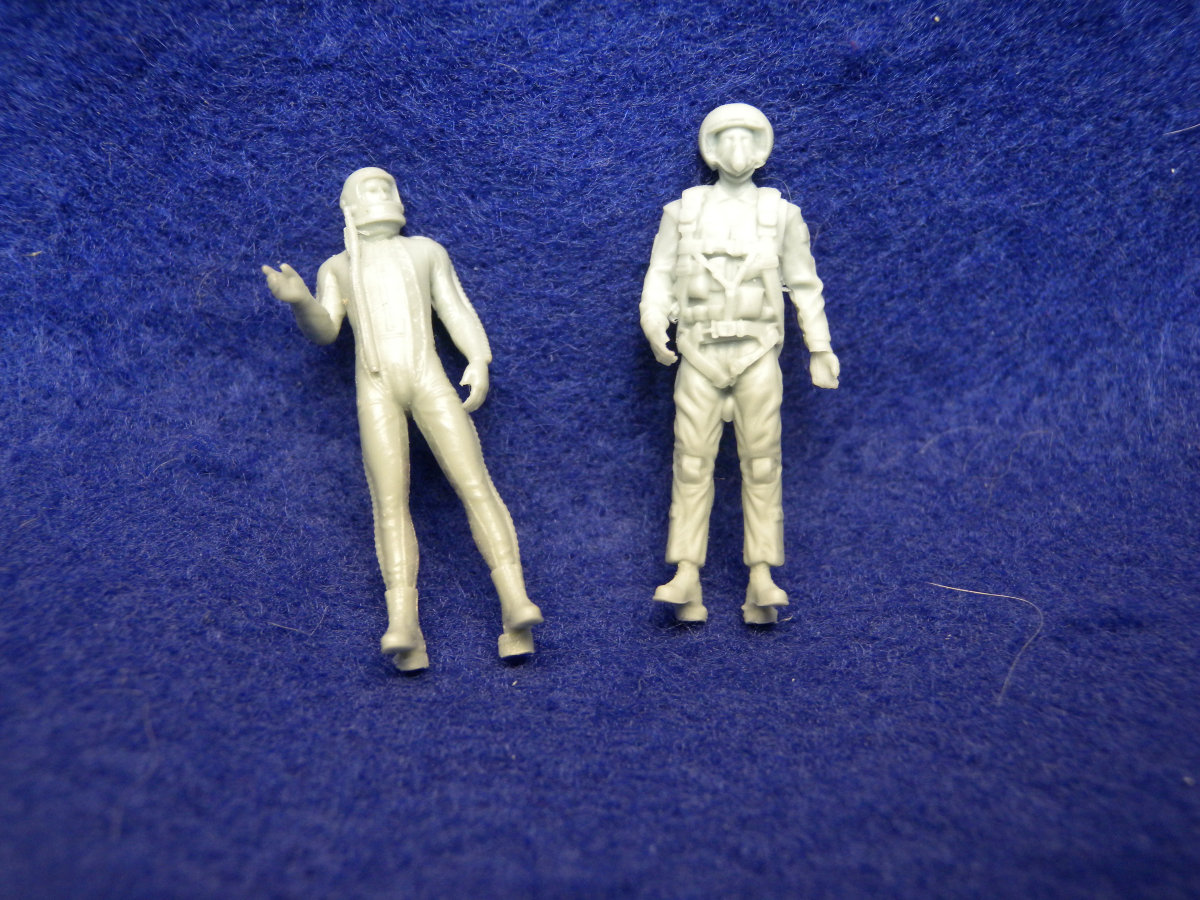
12 Resin Parts, including two figures
Instruction Sheet
Large foldout Painting and Marking Guide
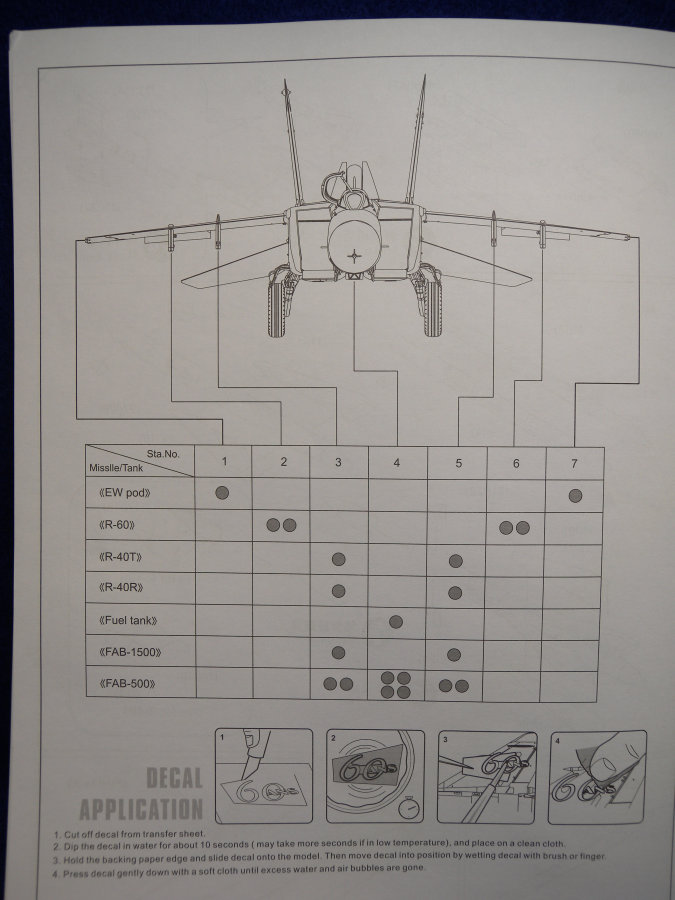
Two Page Armament Layout Diagrams
1 Large Decal Sheet
Review
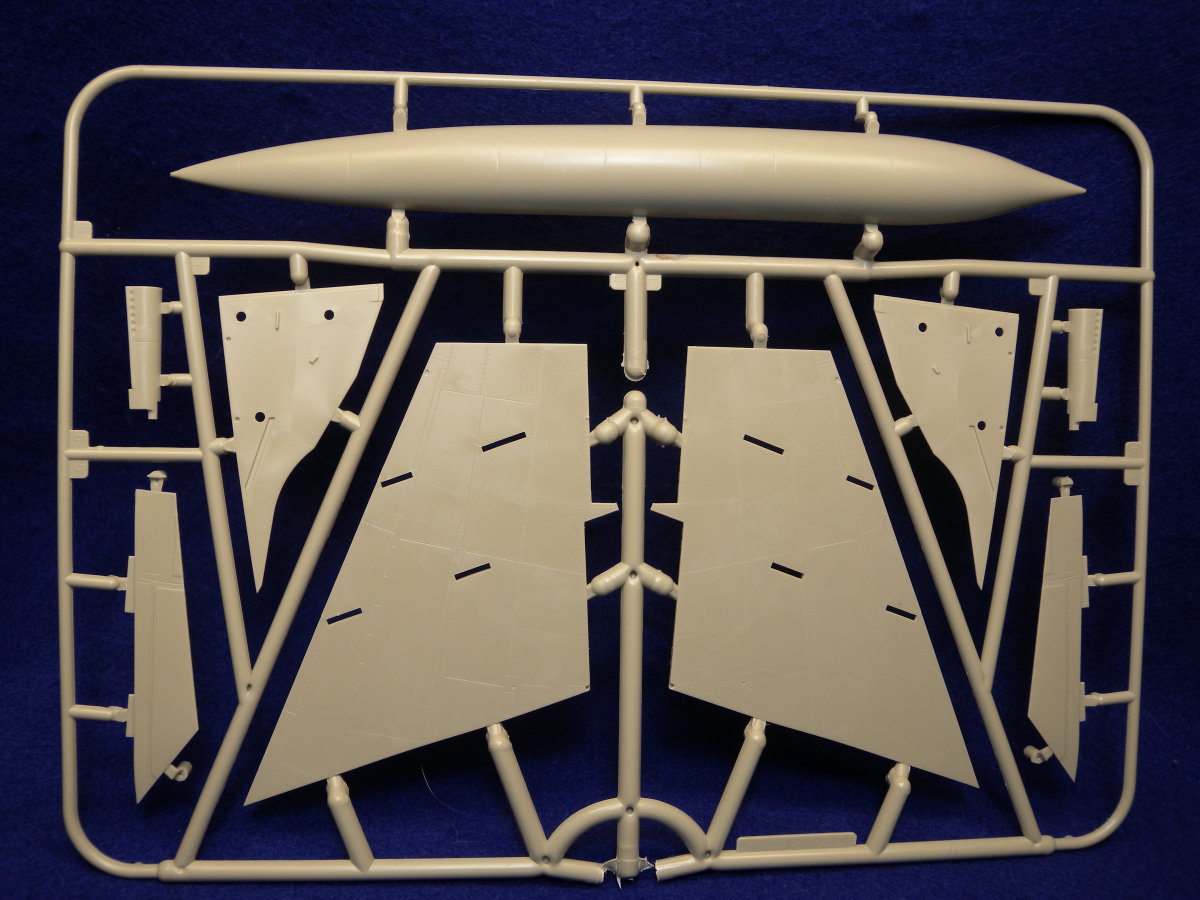
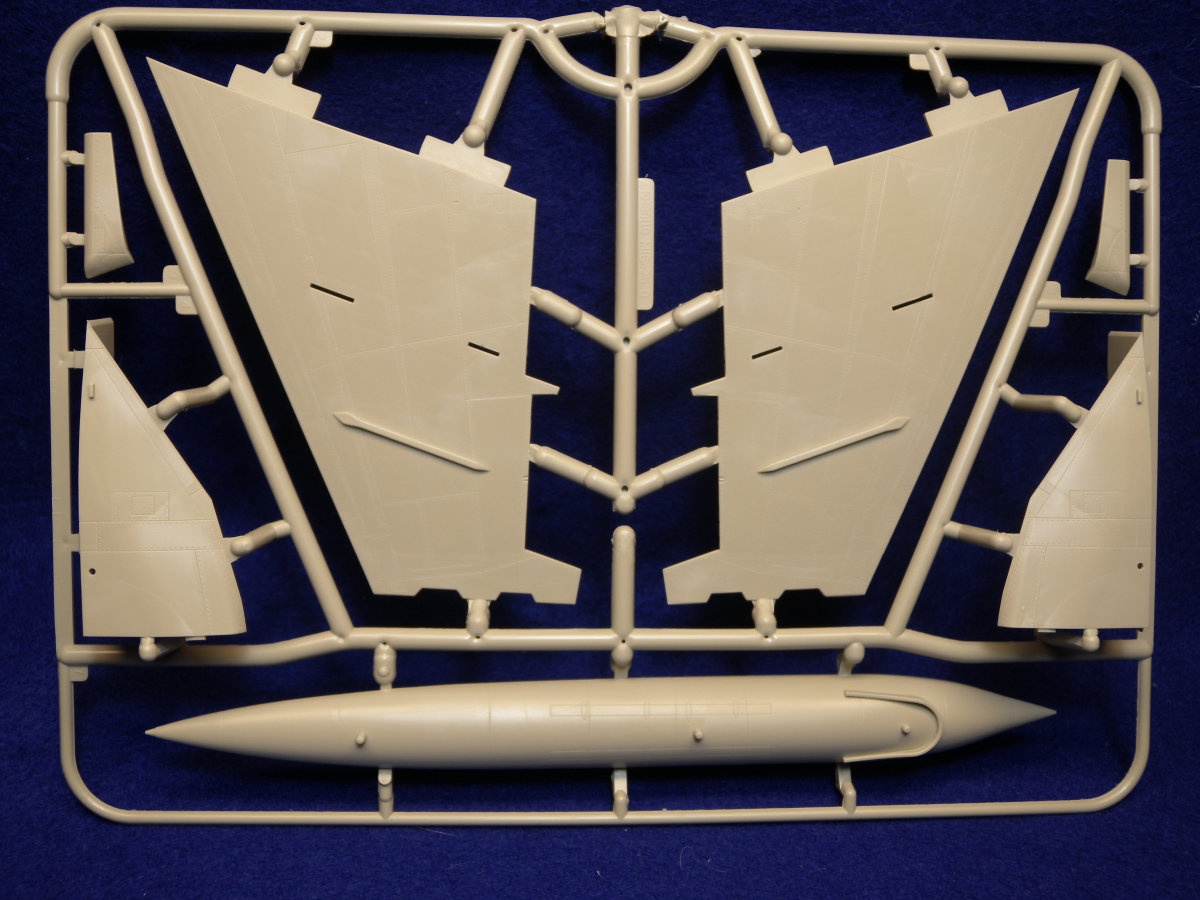
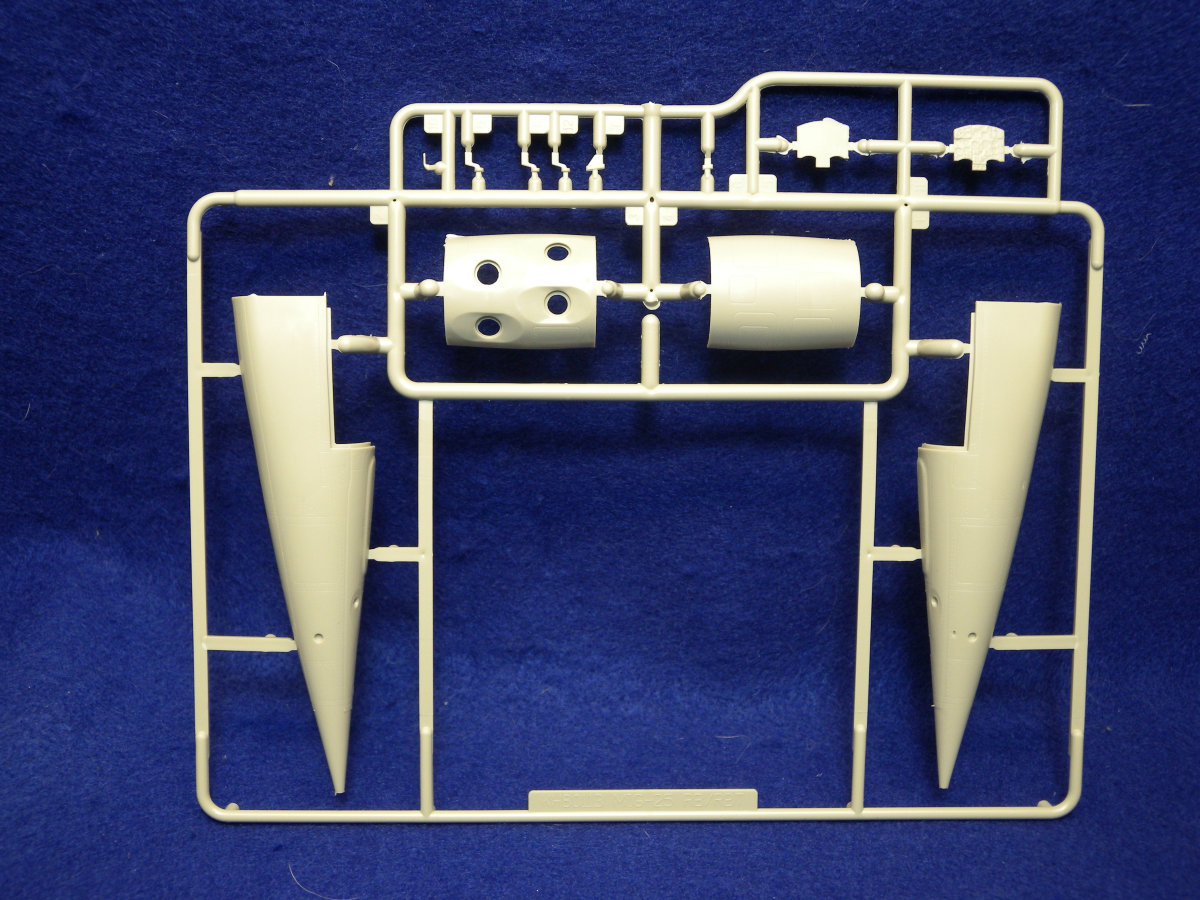
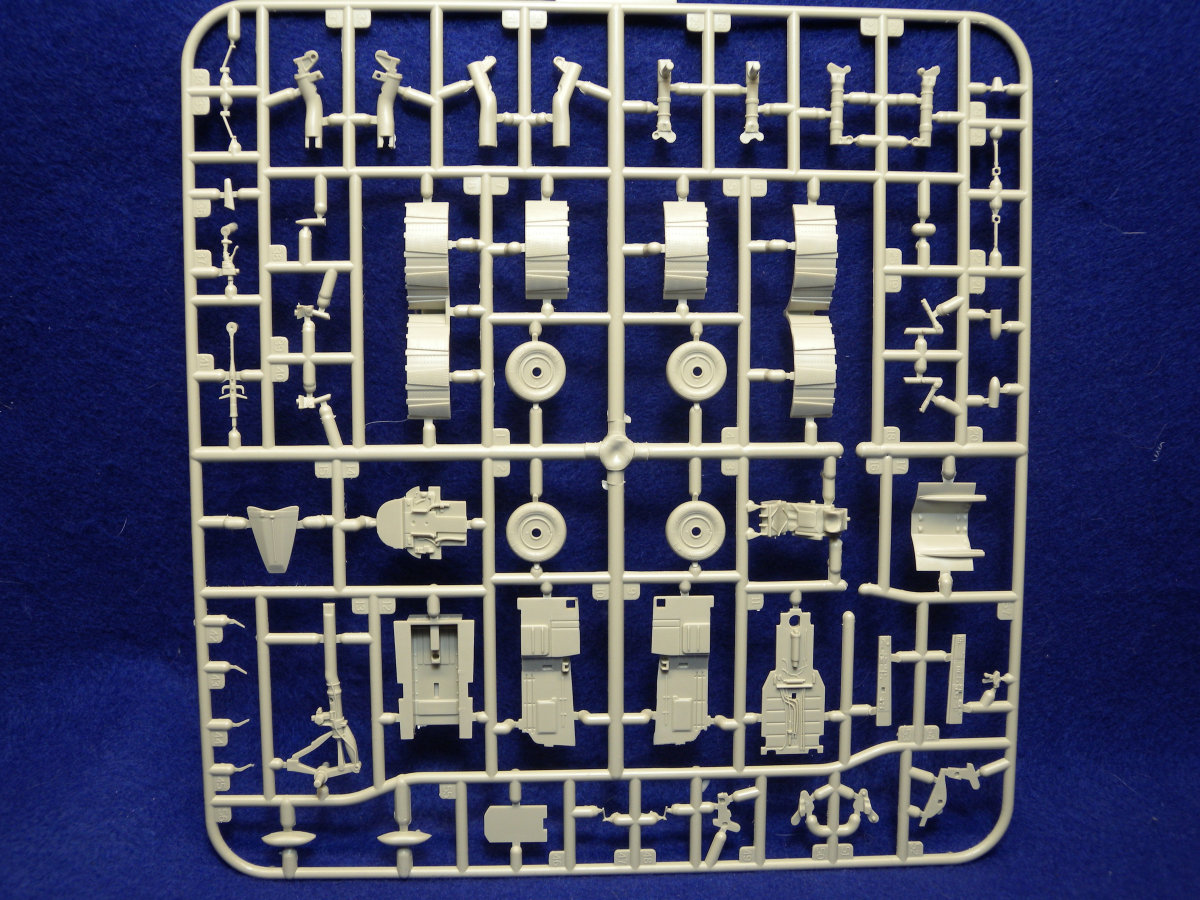
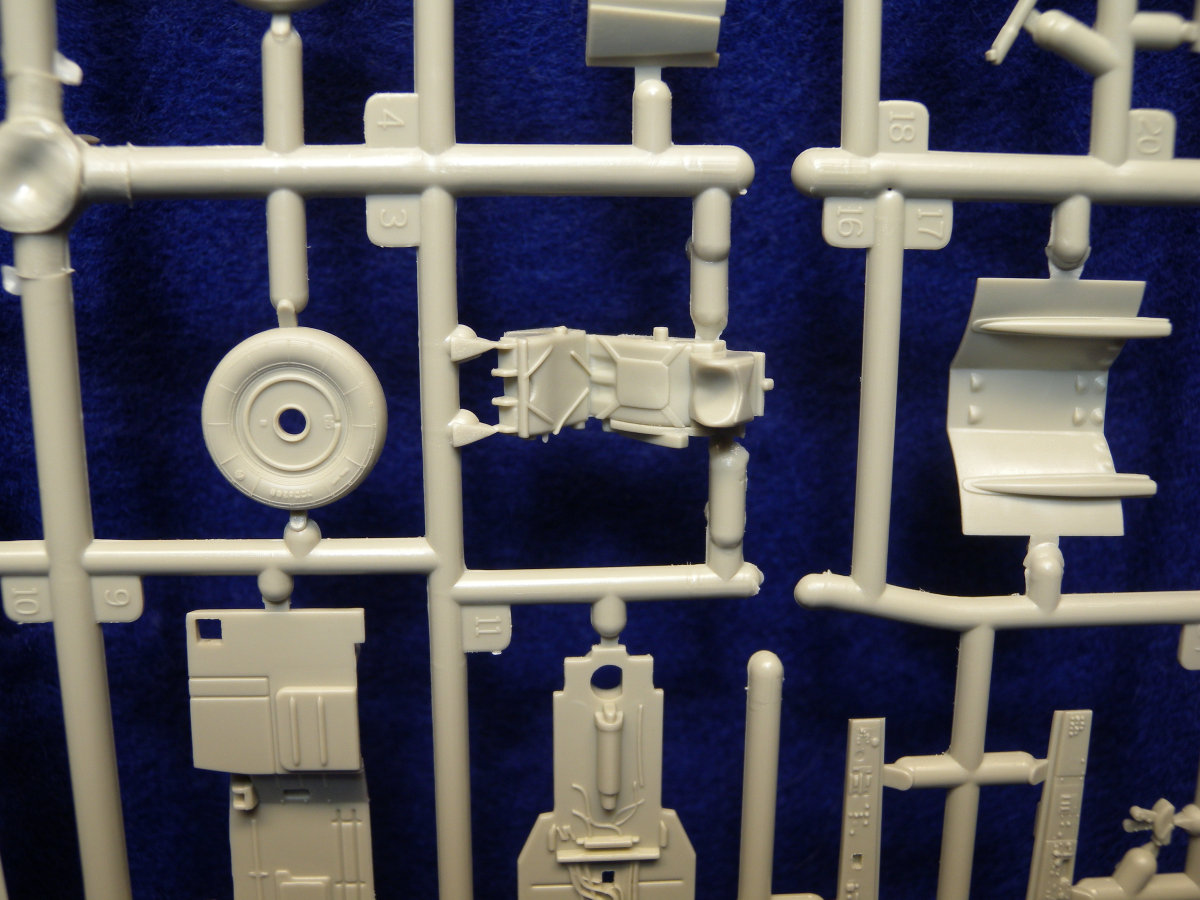
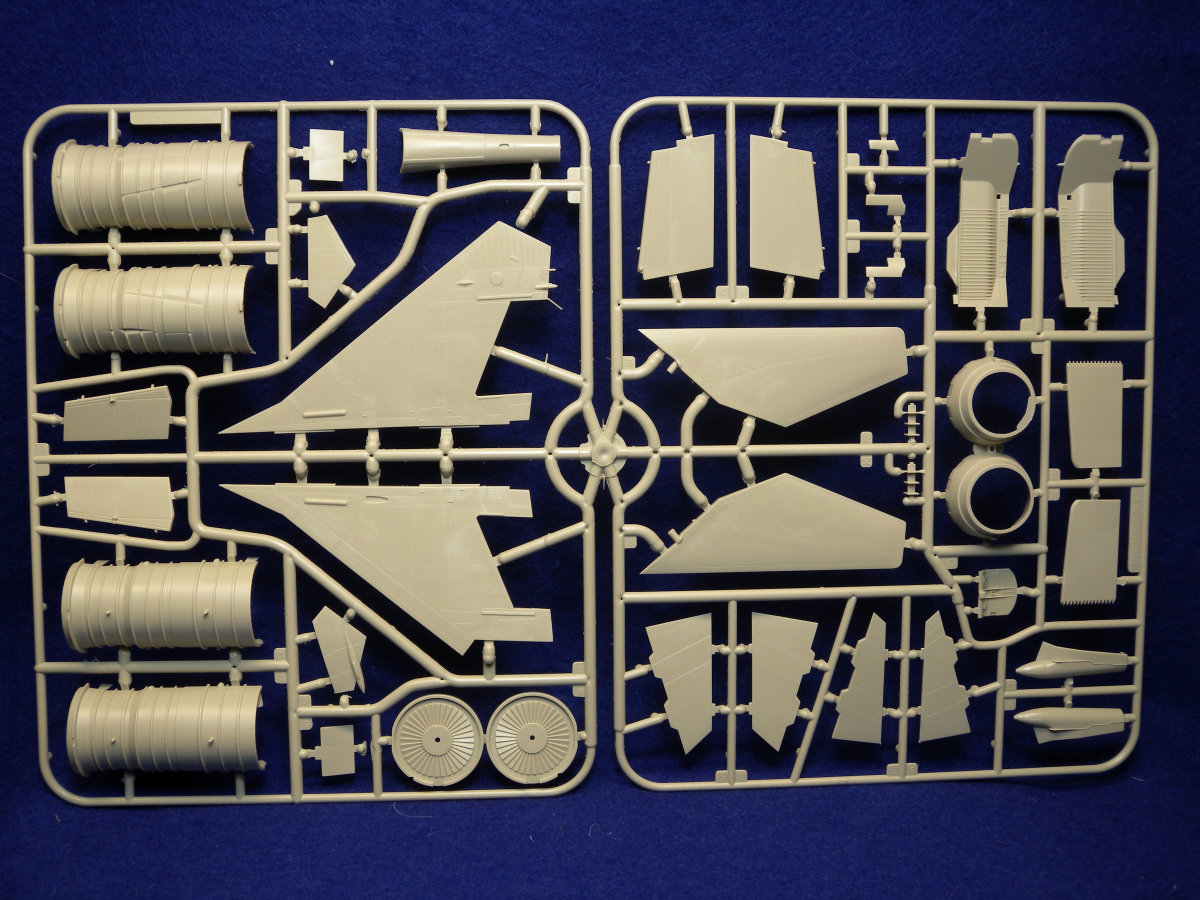
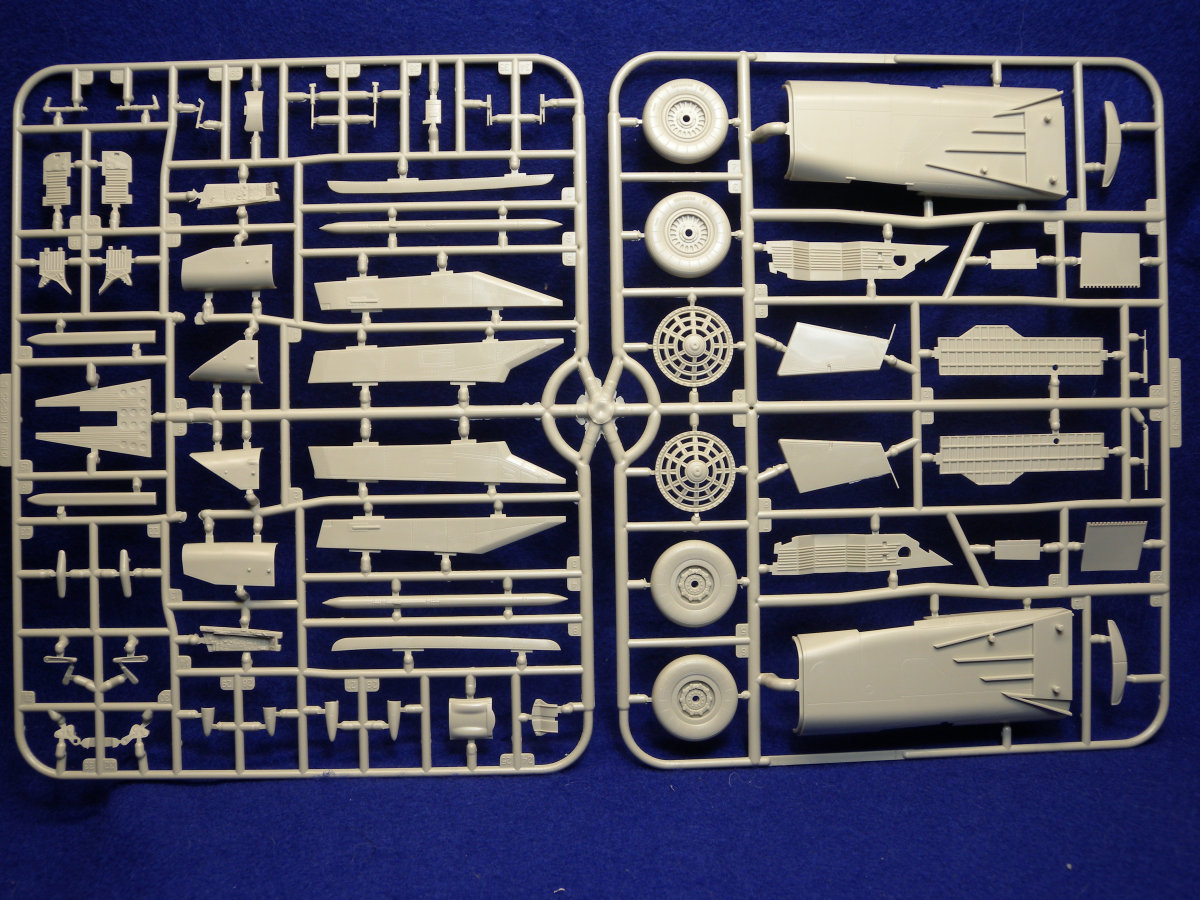
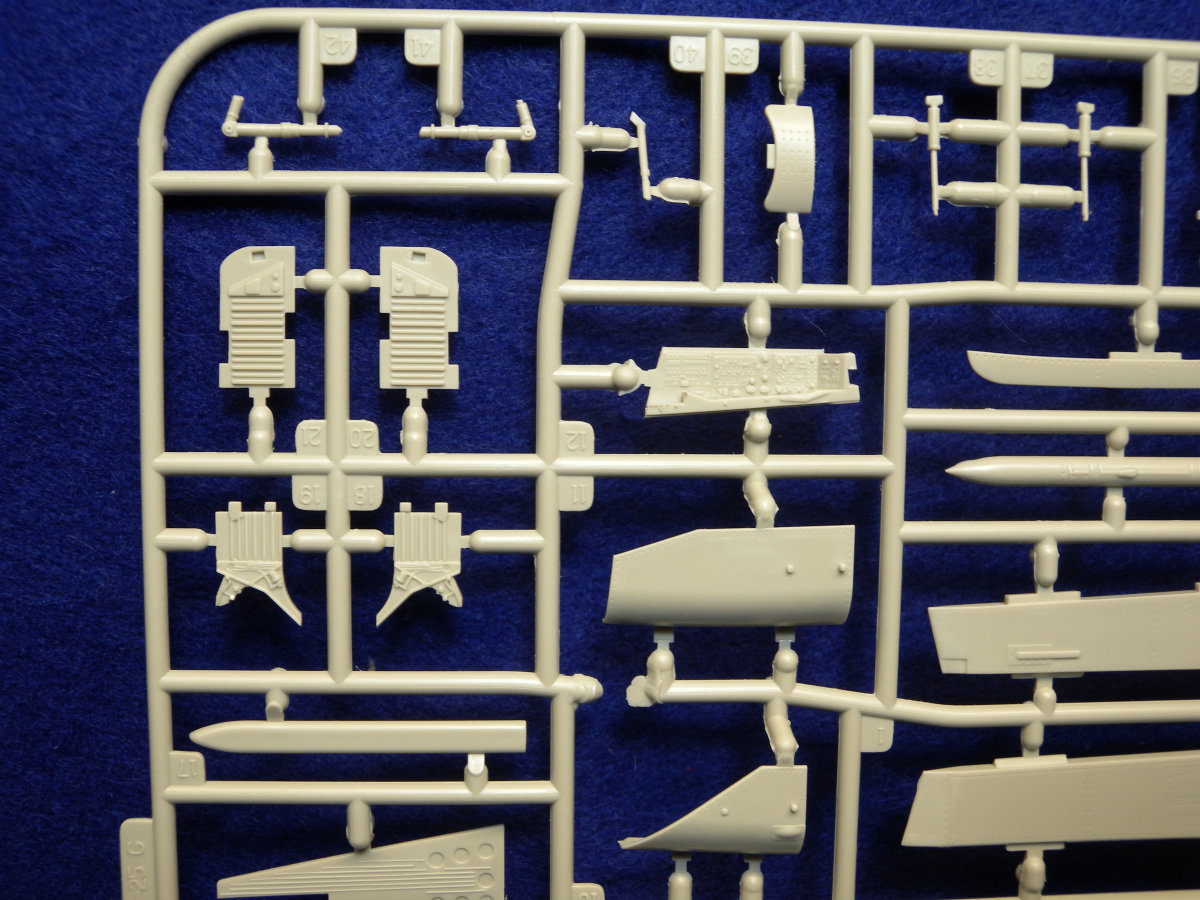
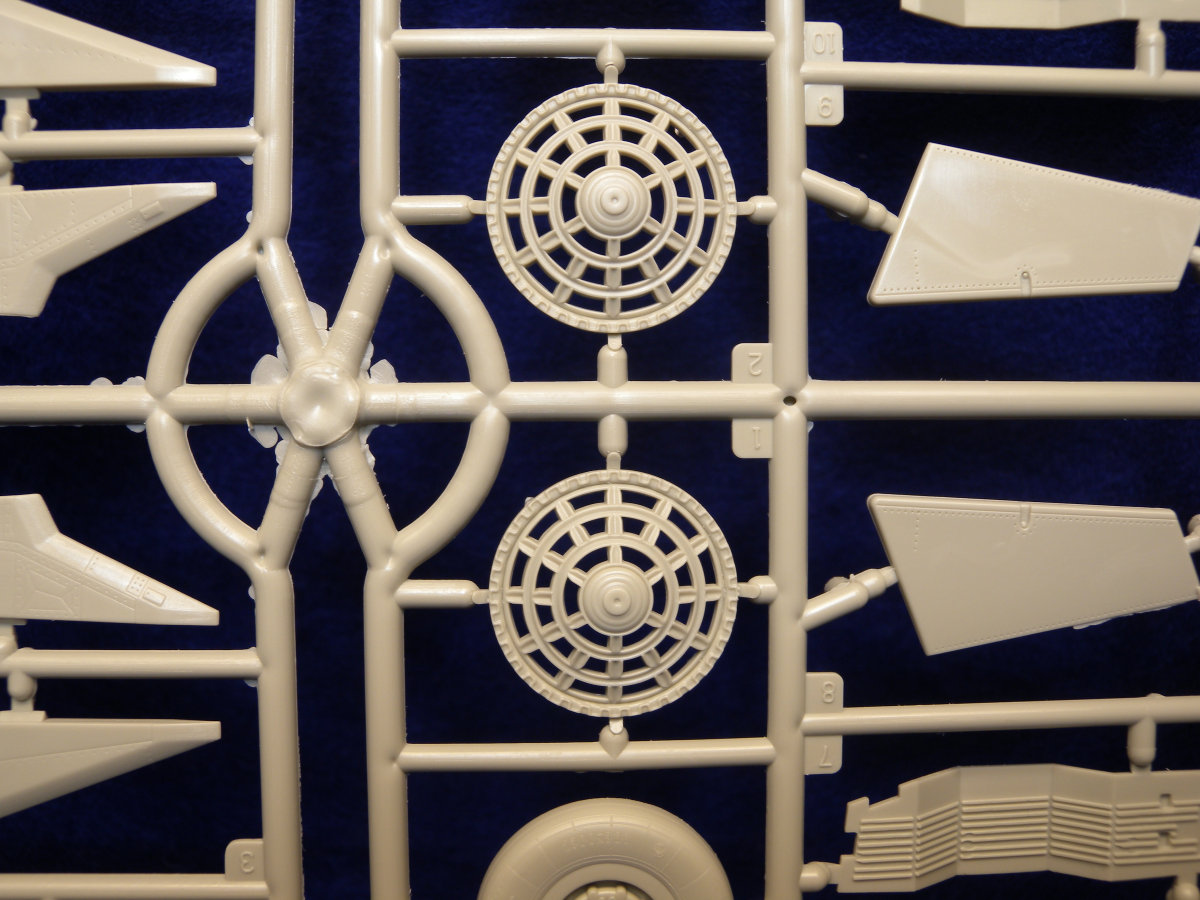
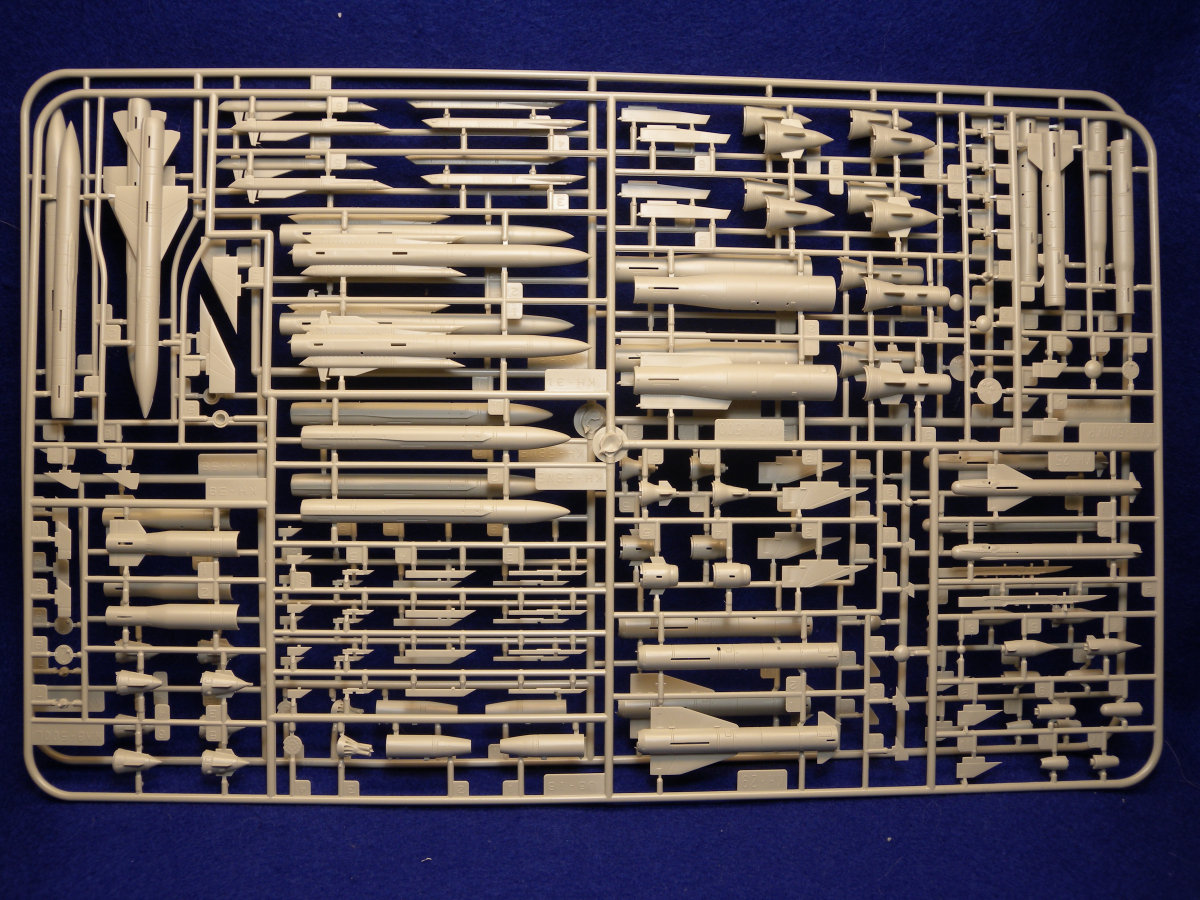
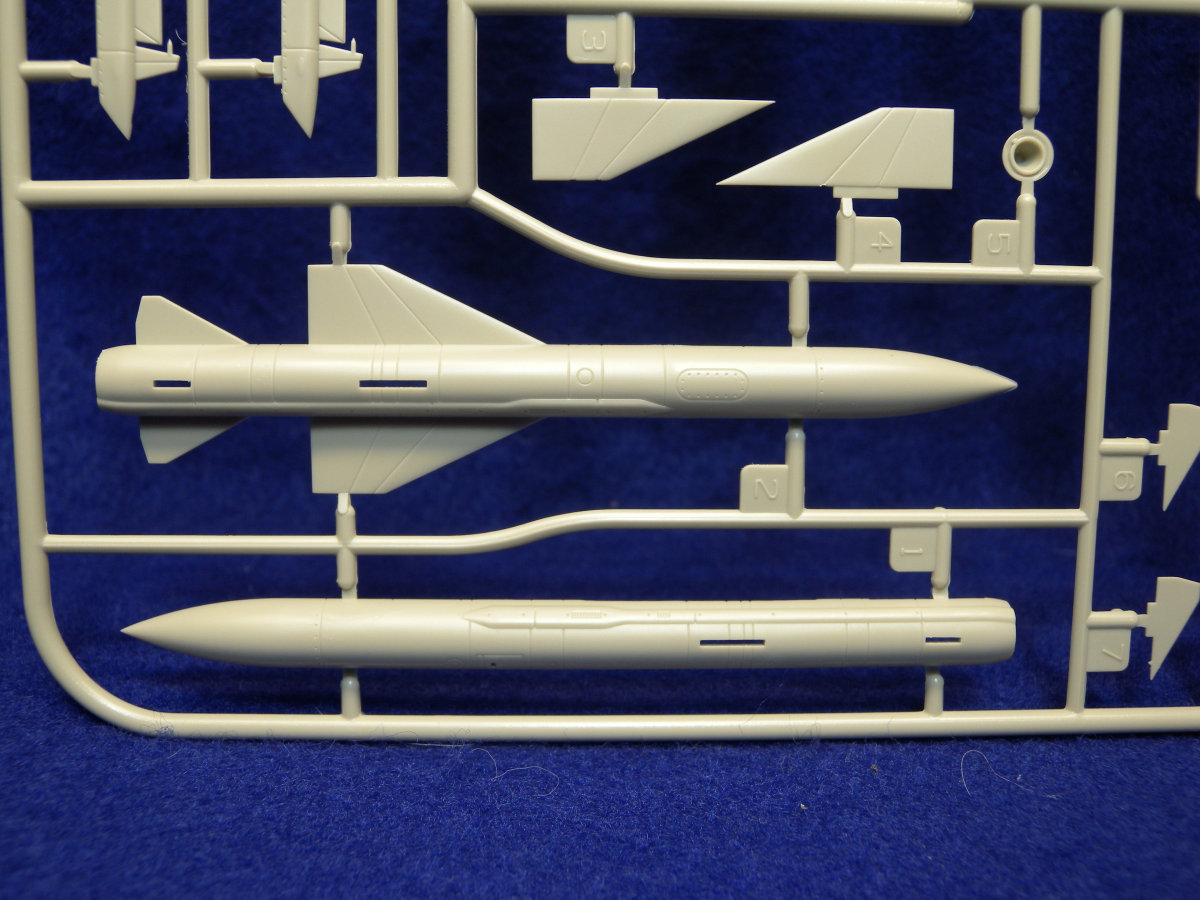
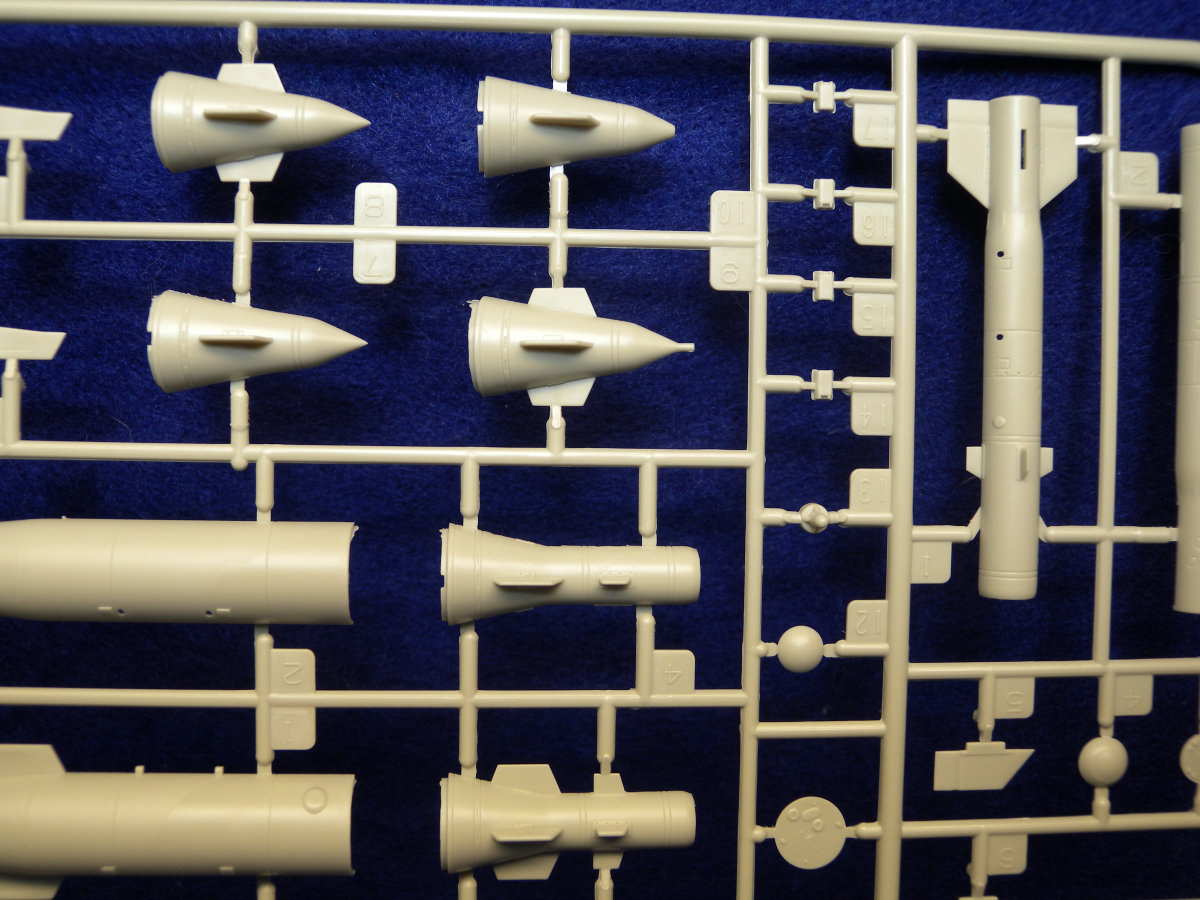
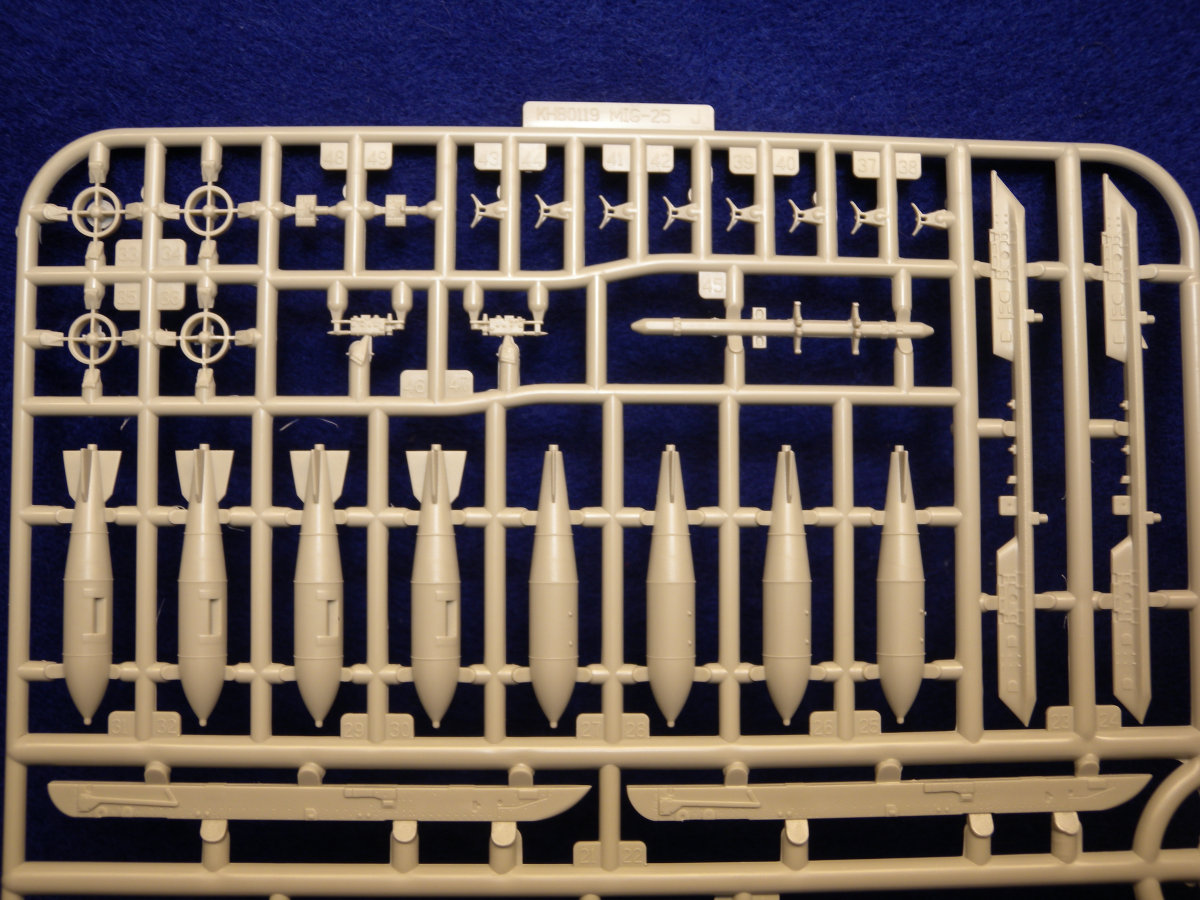
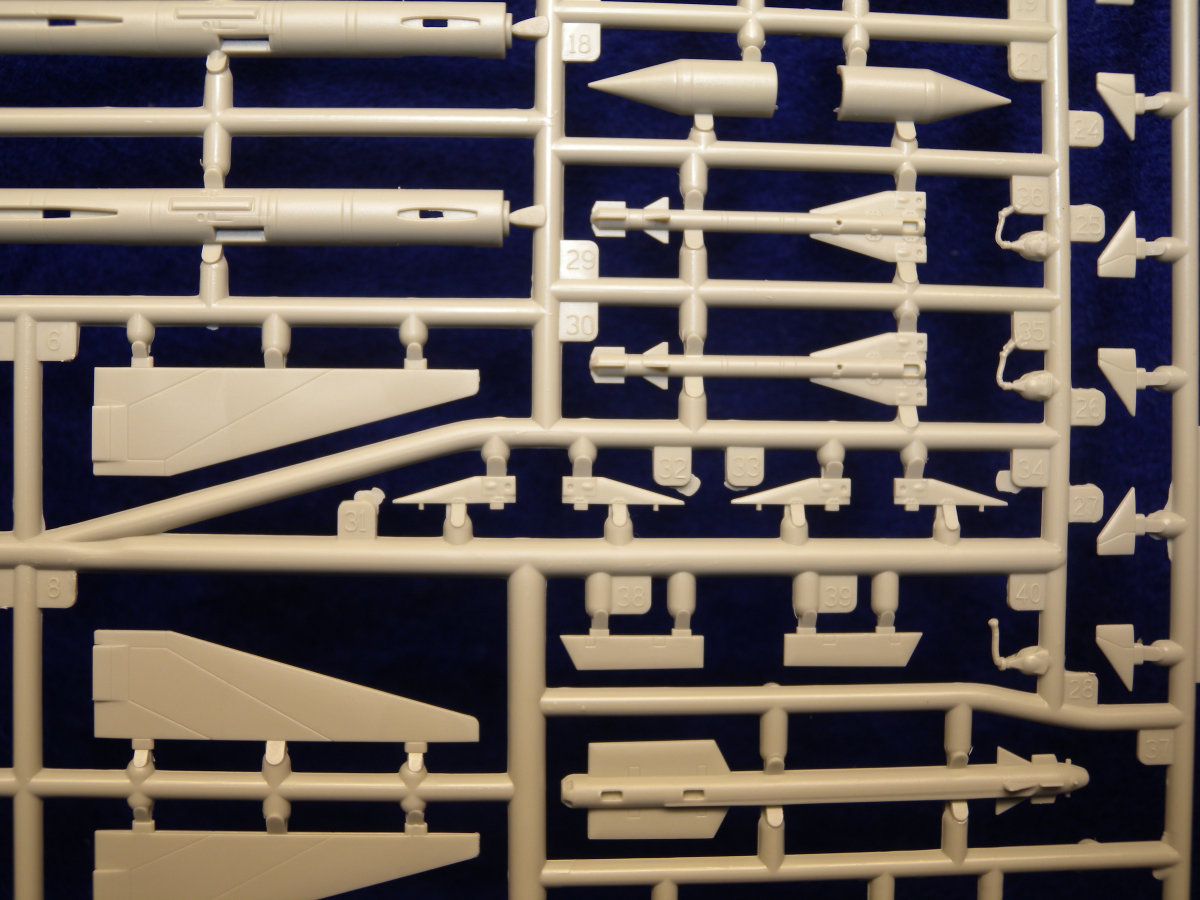
Opening the rather large box, I was in awe with the number of sprues. There are a lot, including six just for ordinance. A look at the plastic shows some nice moldings with nice surface details, finely engraved panel lines and rivet detail. The interior surfaces of the landing gear and cockpit also looks good, but there are some ejector marks that mar the surface in some cases. And those familiar with
Kitty Hawk, some of the ejector marks are large with excess plastic on them.
Also included in this release from
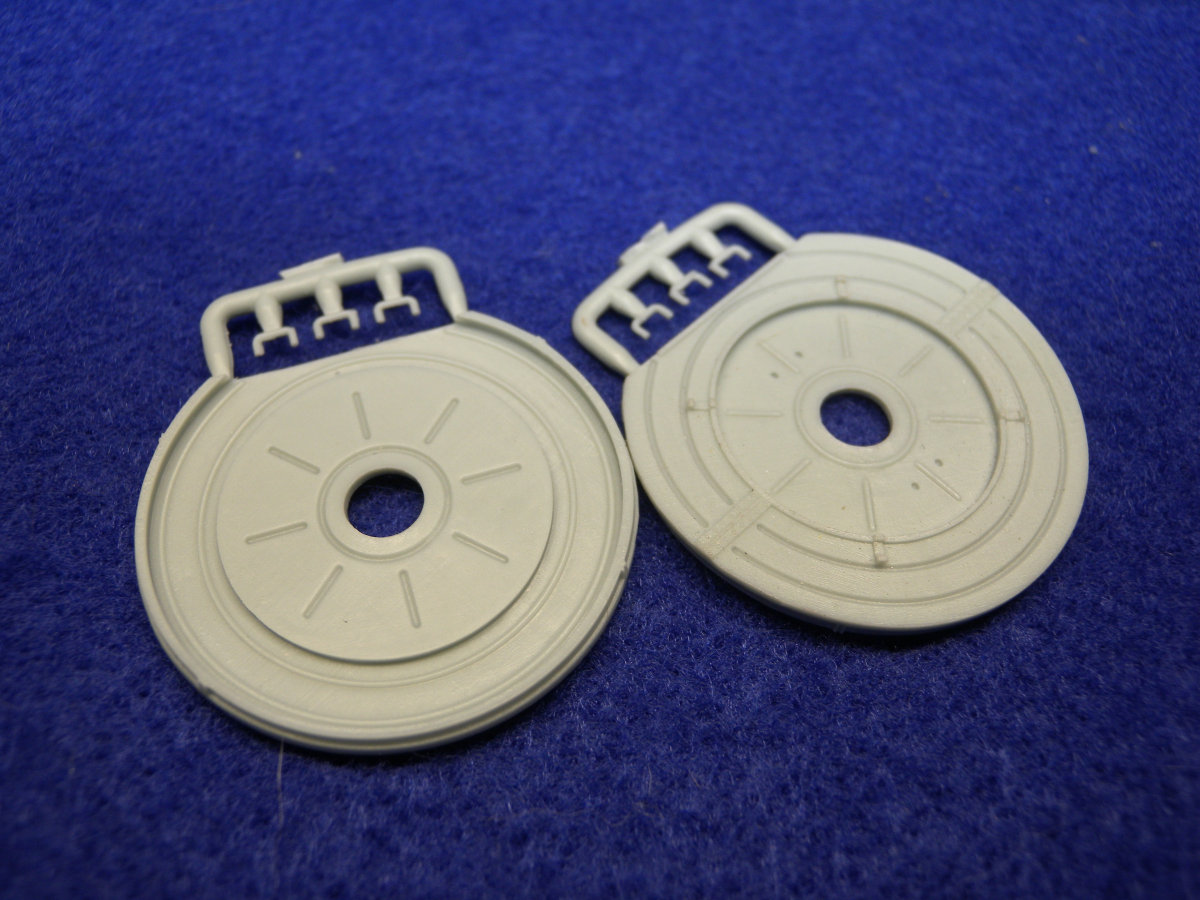
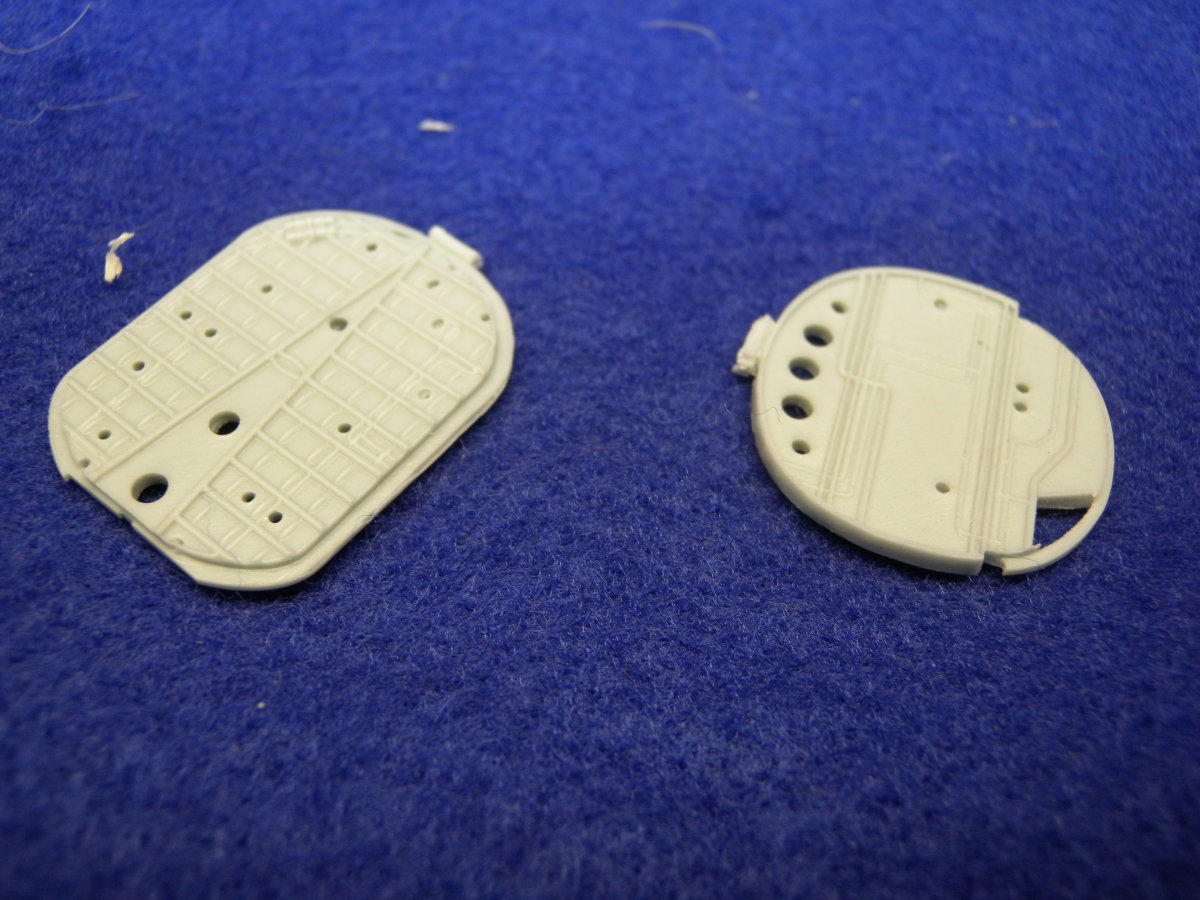
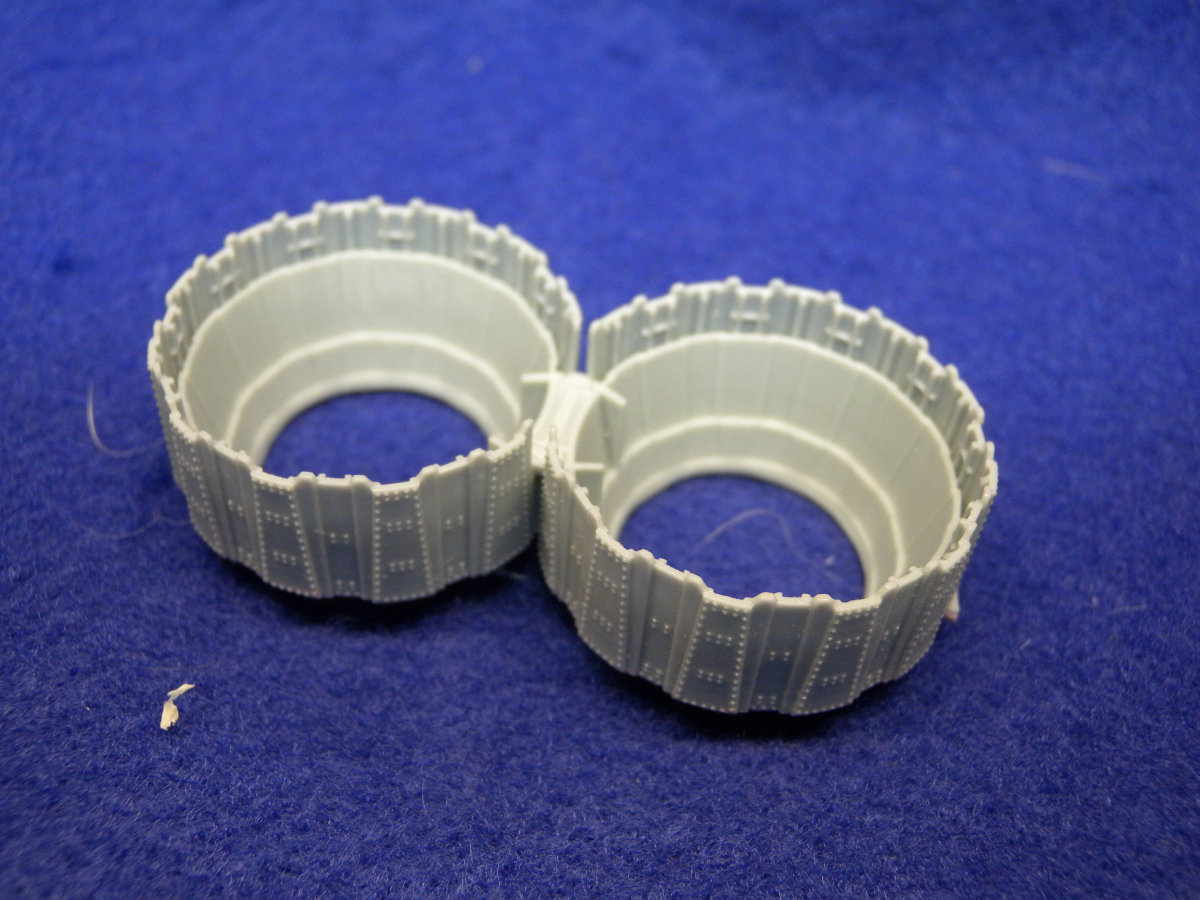
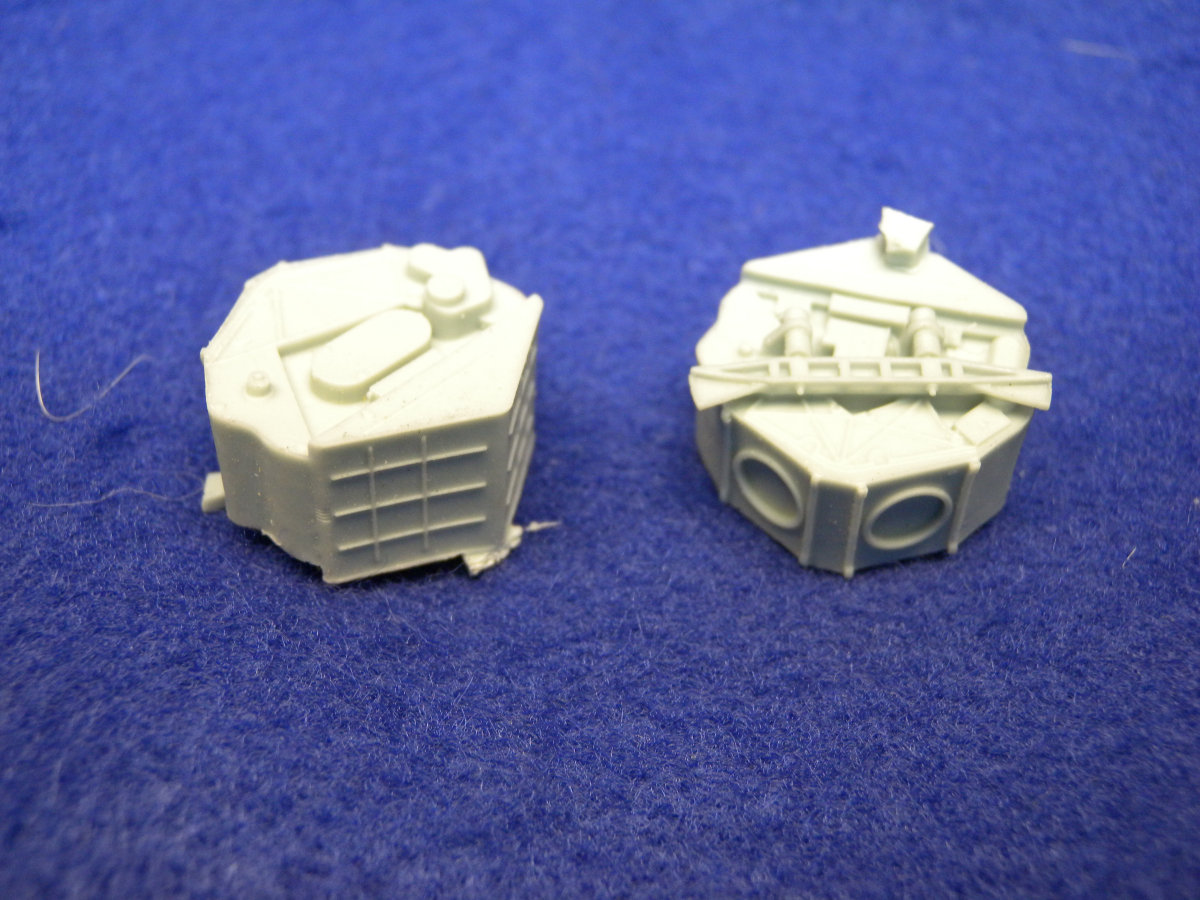
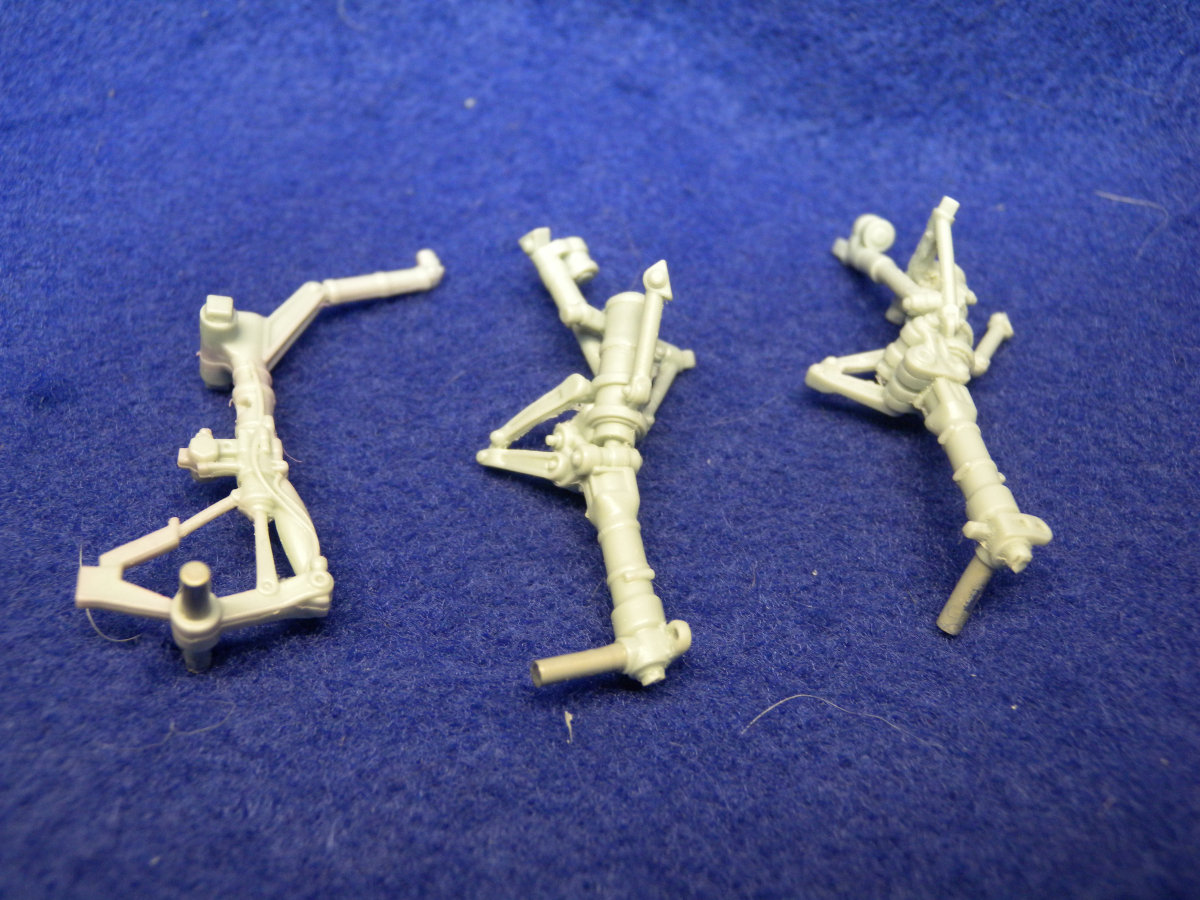
Kitty Hawk are resin cast parts. These parts include the landing gear struts, jet engine exhaust, with separate covers, internal nose cameras, and two standing pilot figures. The pilot figures include one in a space suit and the other in what looks to be standard flight gear. All the resin parts are very well cast, including what looks to be metal pins for the landing gear wheels cast right into the struts.
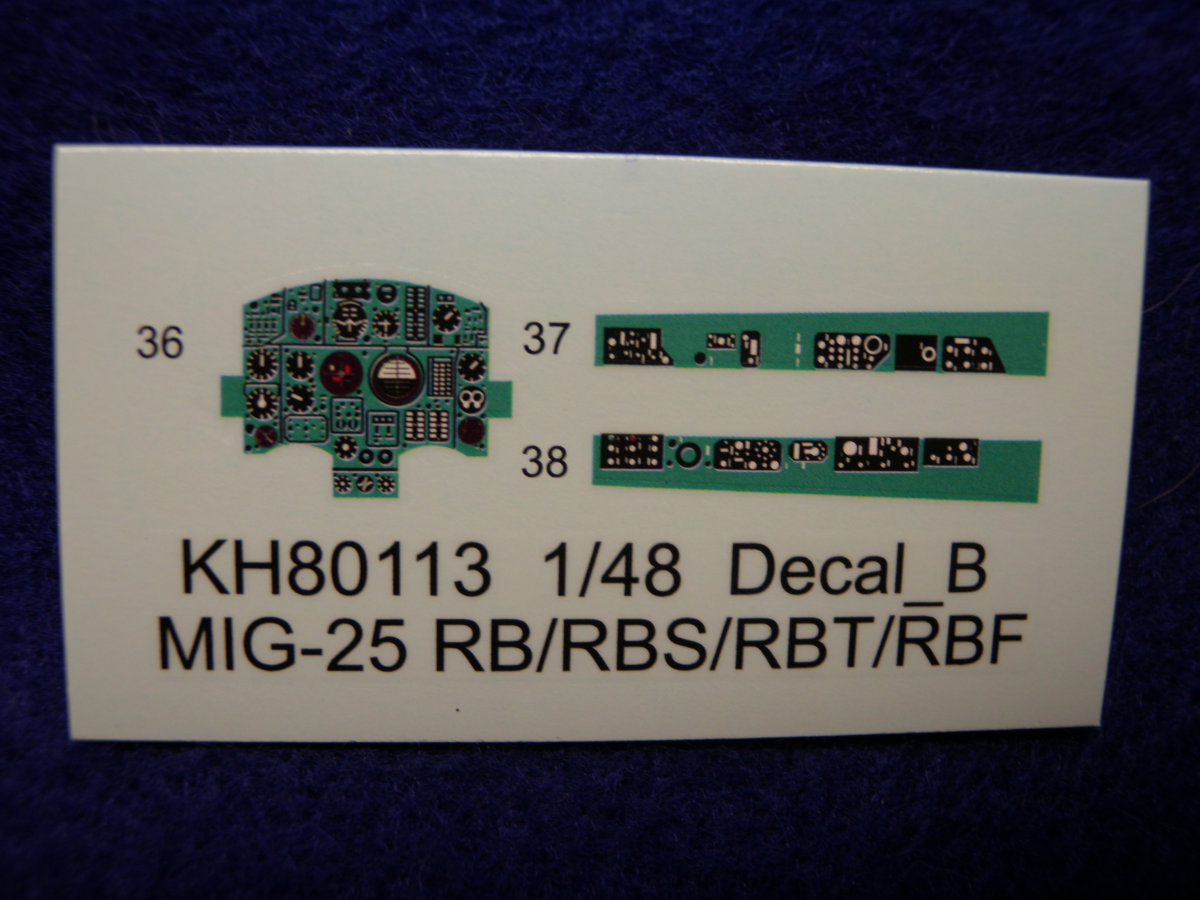
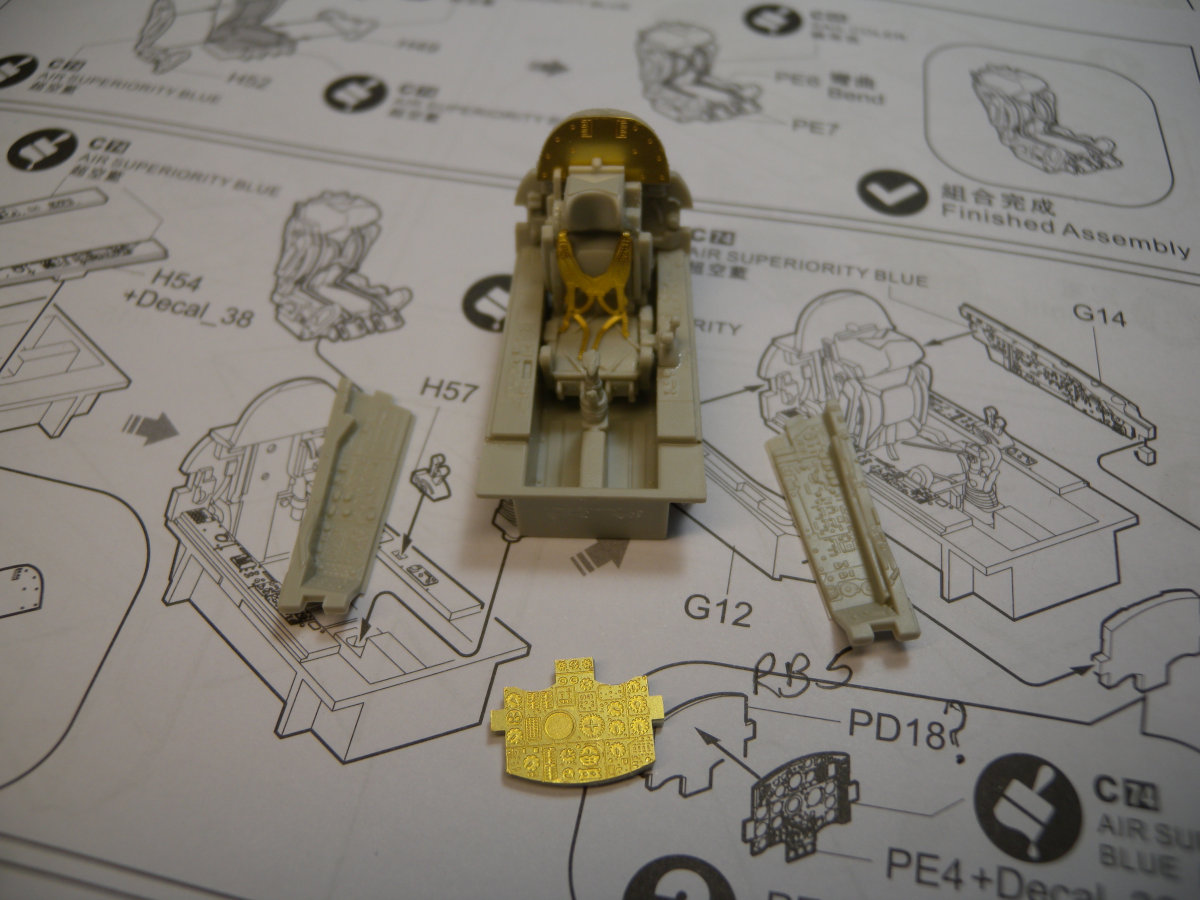
There is also a small fret of photo etched parts which includes details for the intakes, seat belts, and the instrument panel. There are two different instrument panels included on the fret, and a look on the decal sheet shows a decal, but the decal only matches one of the parts in terms of raised detail layout.
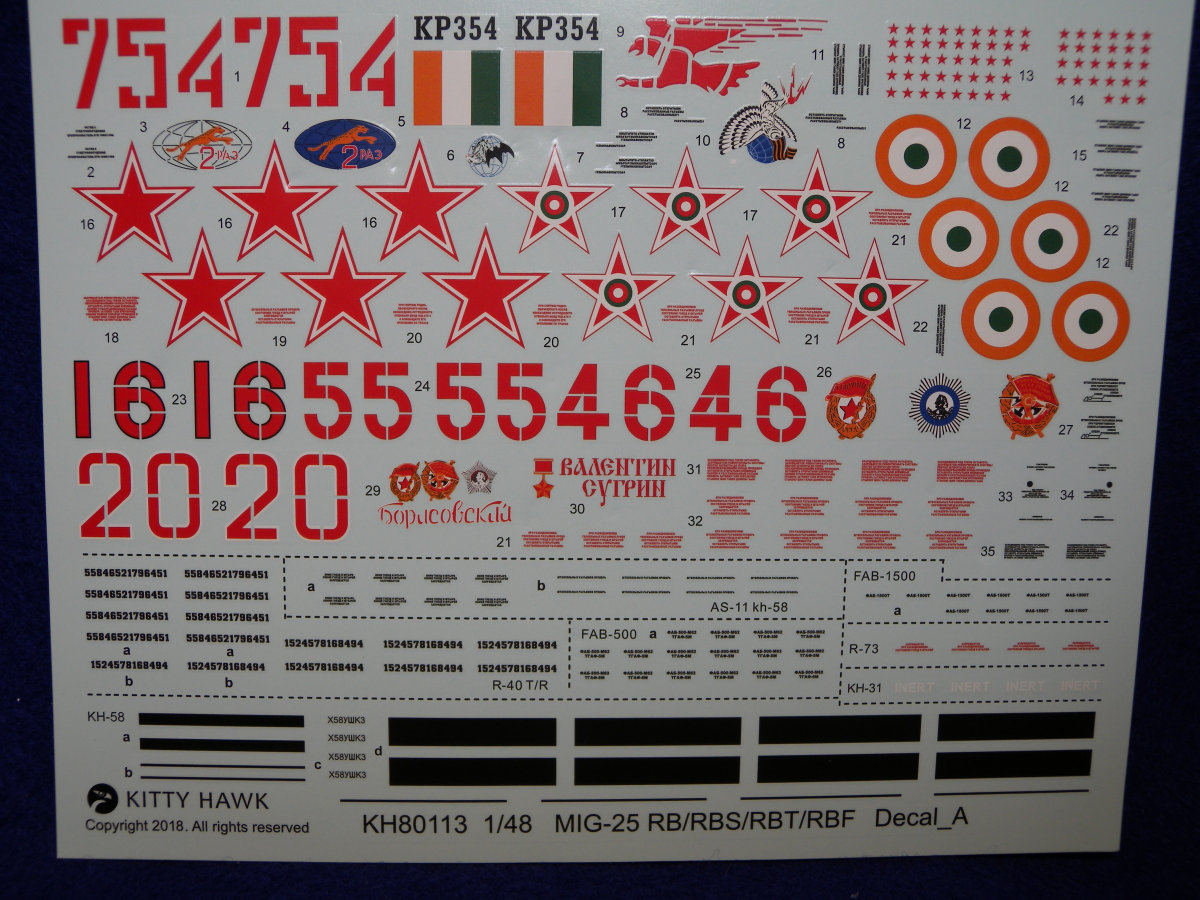
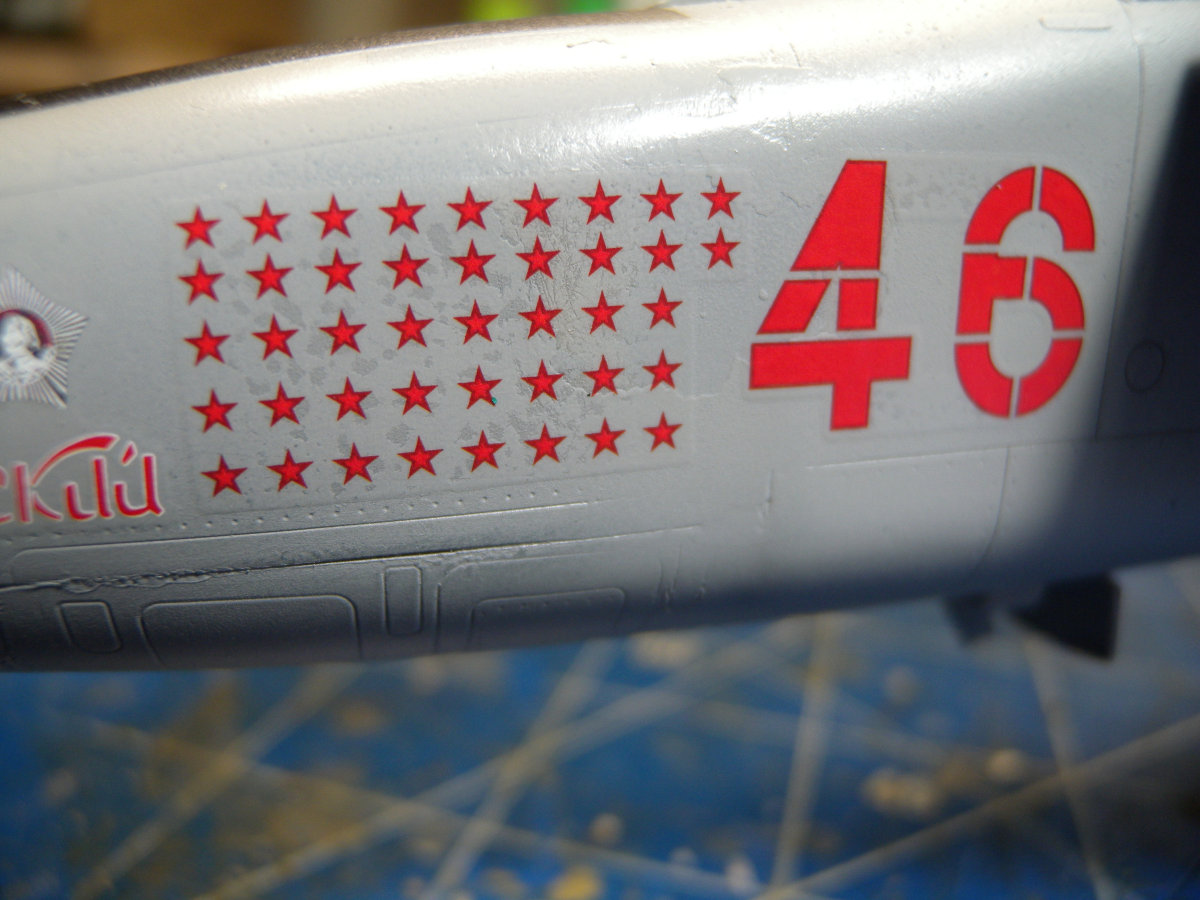
Looking at the decal sheet, it does look nice, good looking colors, all in register, but they do look think. Running my finger over the sheet, you can feel the thickness of the decals. The sheet also includes marking for some of the ordinance as well as some stencil data.
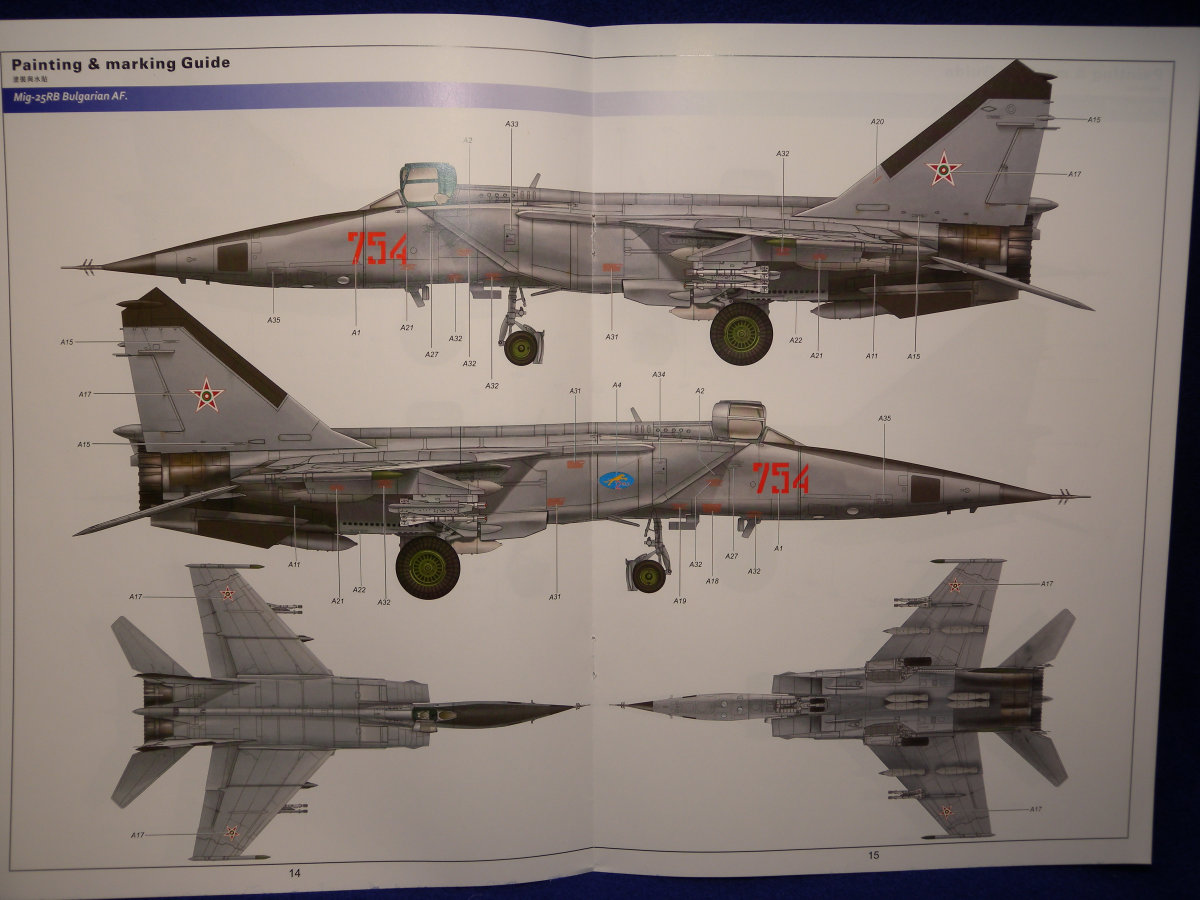
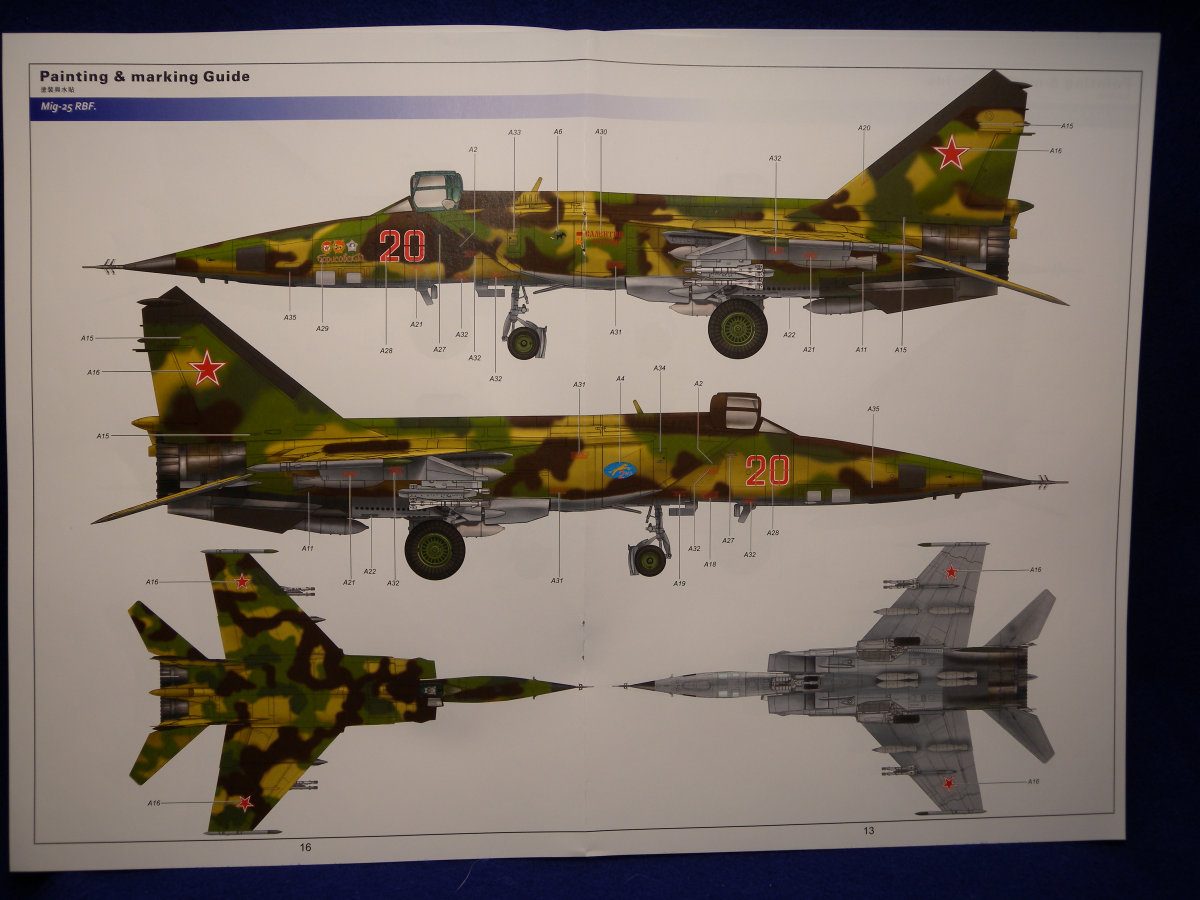
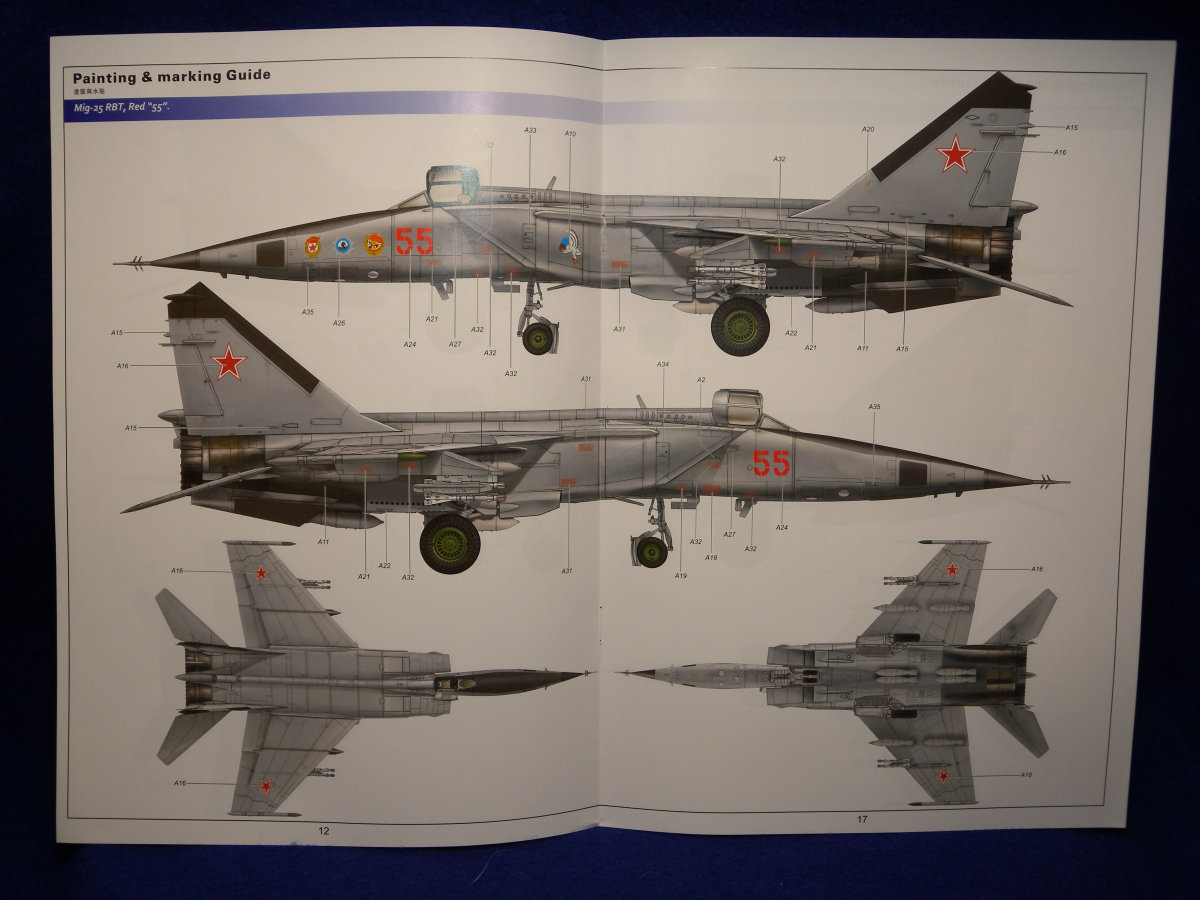
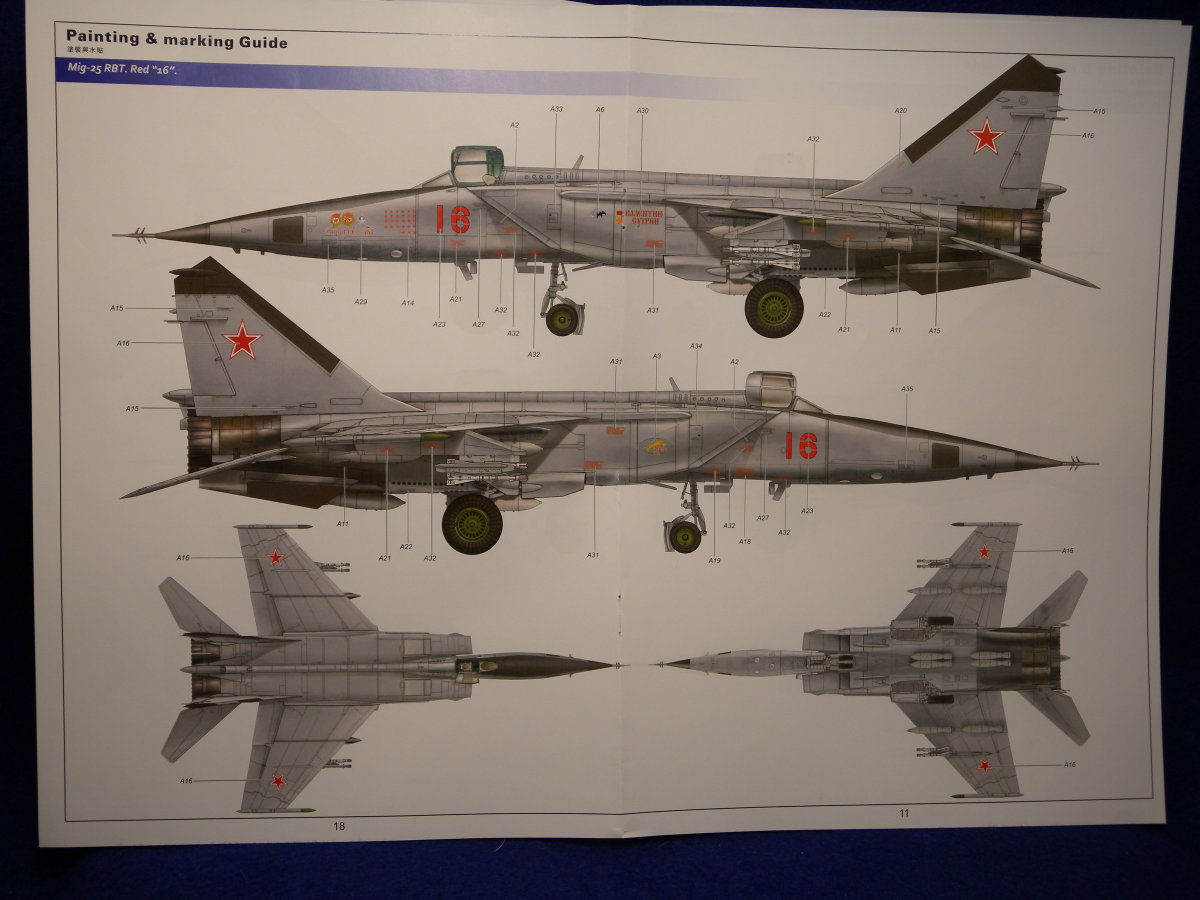
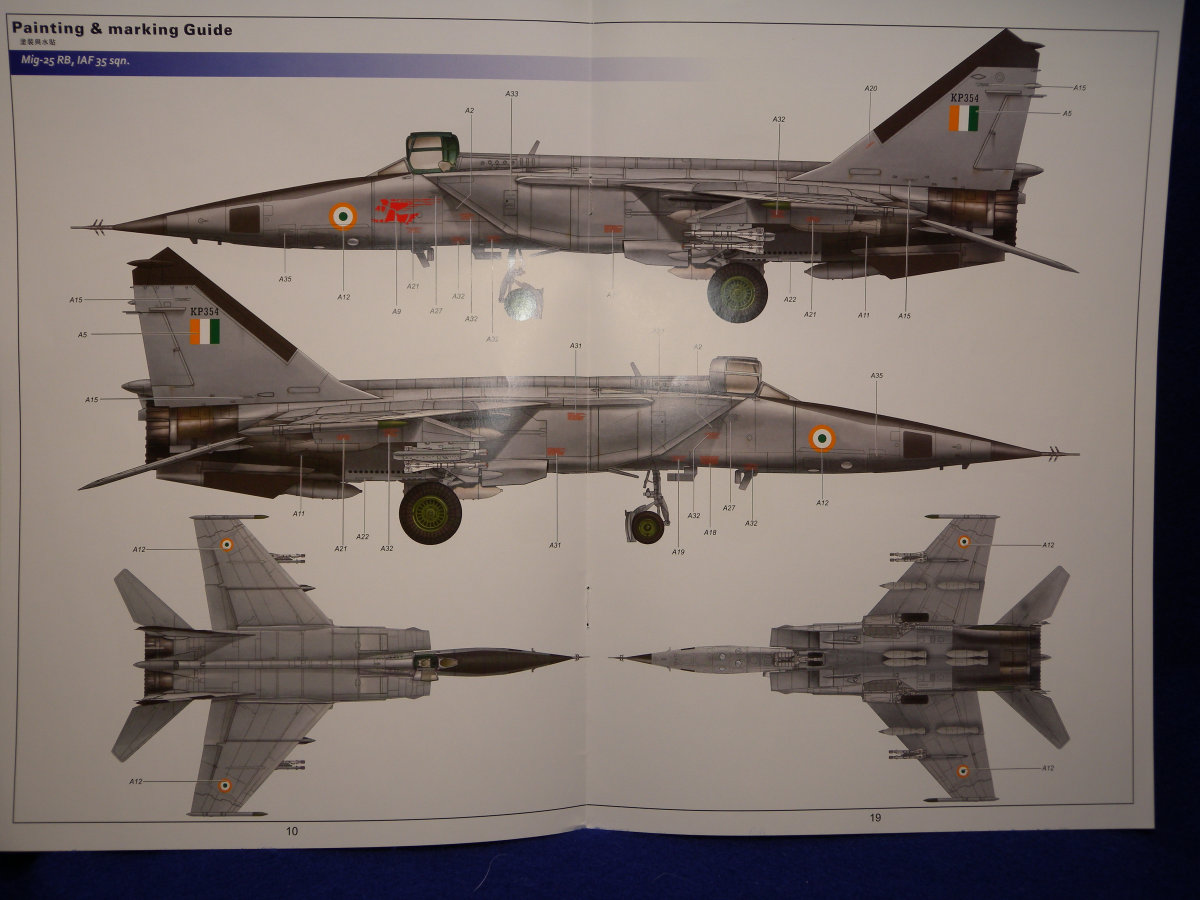
The painting and marking schemes are included for six different aircraft and are located in the center of the instruction booklet. Hence they will need to be careful removed as they are stapled in. A look at the large sheets revealed on missing item: there are no color references for any of the external colors. While most are a grey color, but almost look natural aluminum on the colored sheets, there is one with a multi-color camouflage that if you decide to use will need to find out what the colors are. Options for paint and markings include:
- MiG-25 RBF
- MiG-25 RB Bulgarian AF
- MiG-25 RBT Red 16
- MiG-25 RBT Red 55
- MiG-25 RBT, 47th GRAP, 2nd Sqn, May 2001
- MiG-25 RG IAF 35th Sqn.
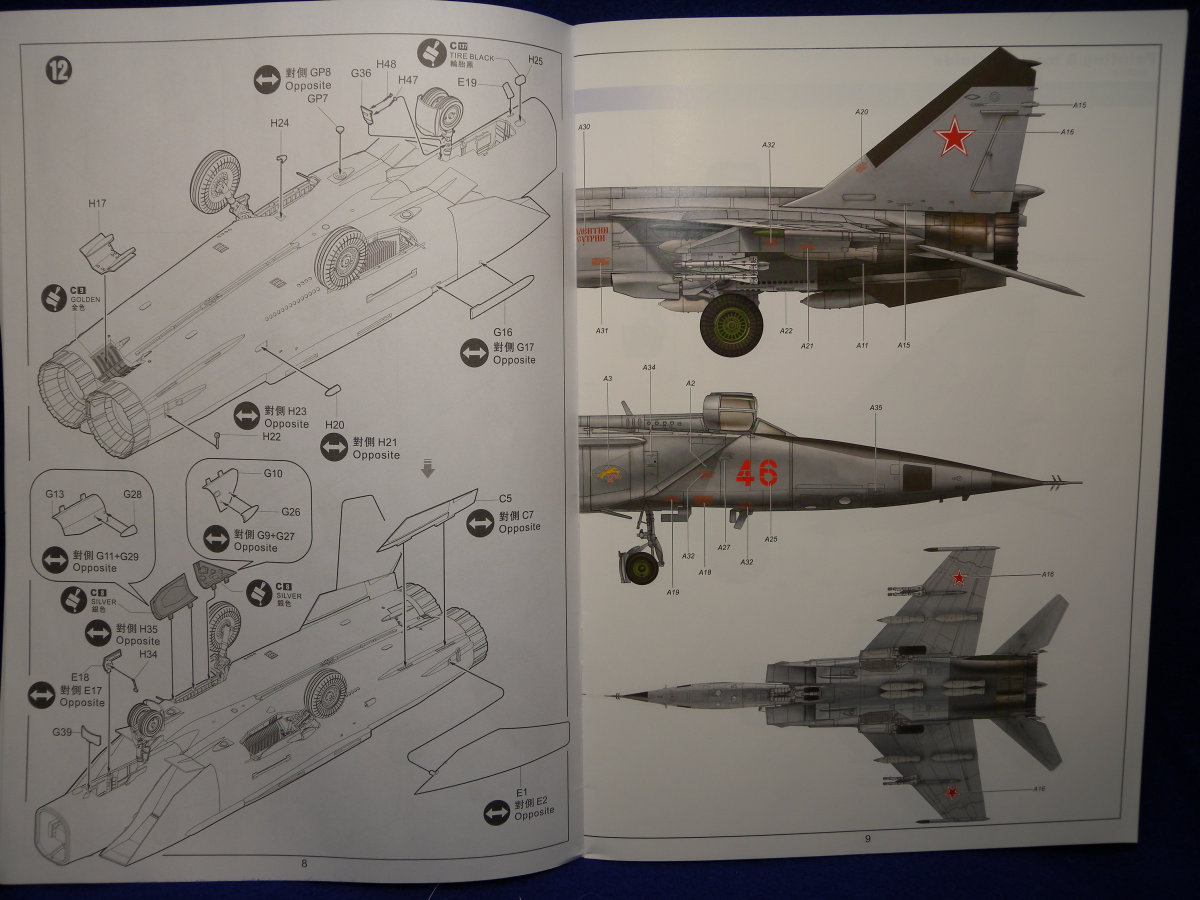
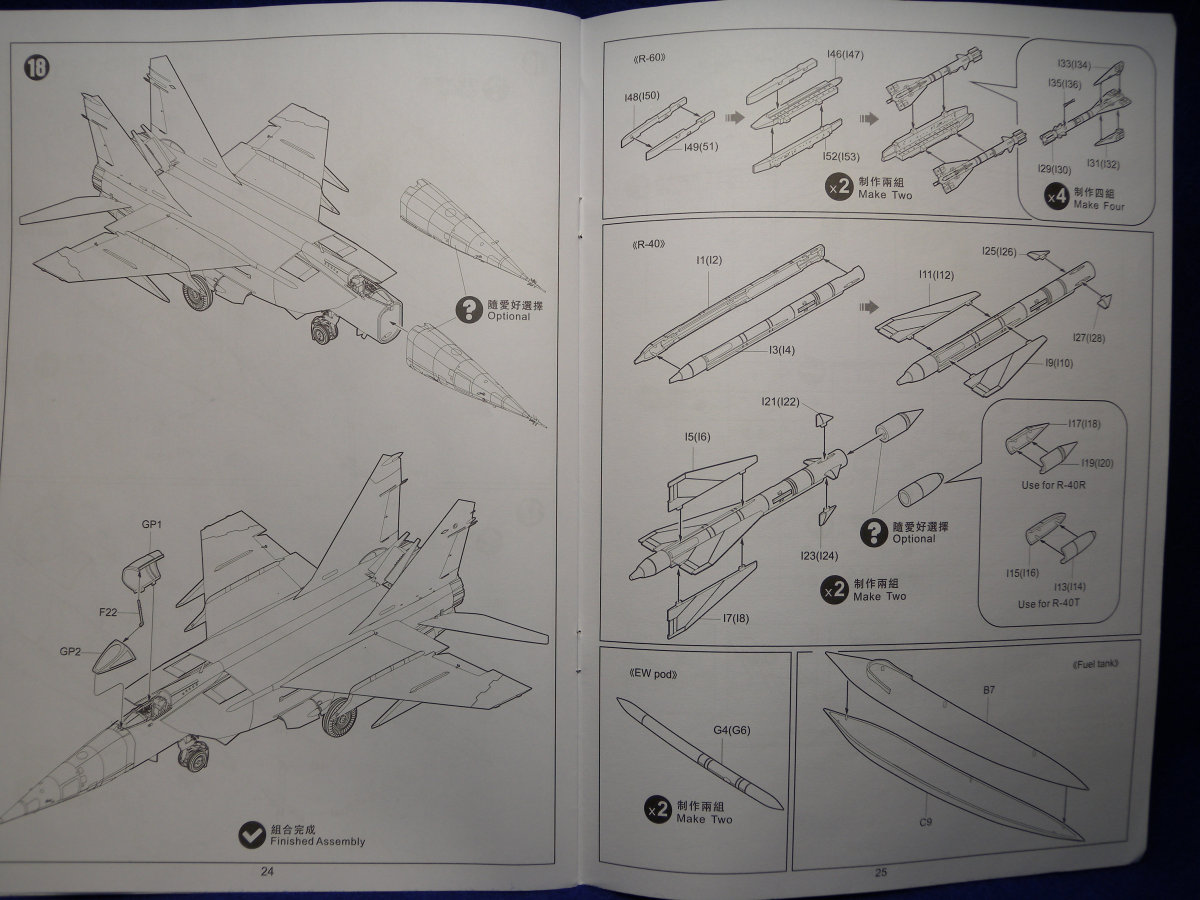
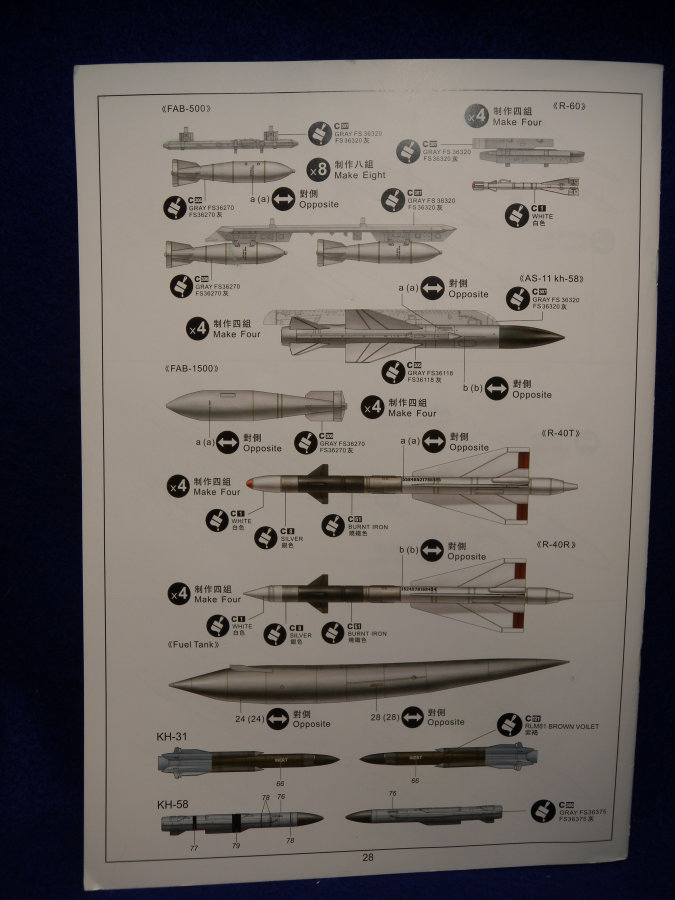
The instruction booklet looks to be well done, with assembly spread over 18 steps. The steps look clear and should be easy to follow. There are some paint callouts along the way, but not many. It should also be noted that an ordinance guide is included in the instructions, but there are no instructions to build some of the ordinance shown in the guide. But there is a painting and marking guide for all the ordinance on the last page of the instruction manual.
Build
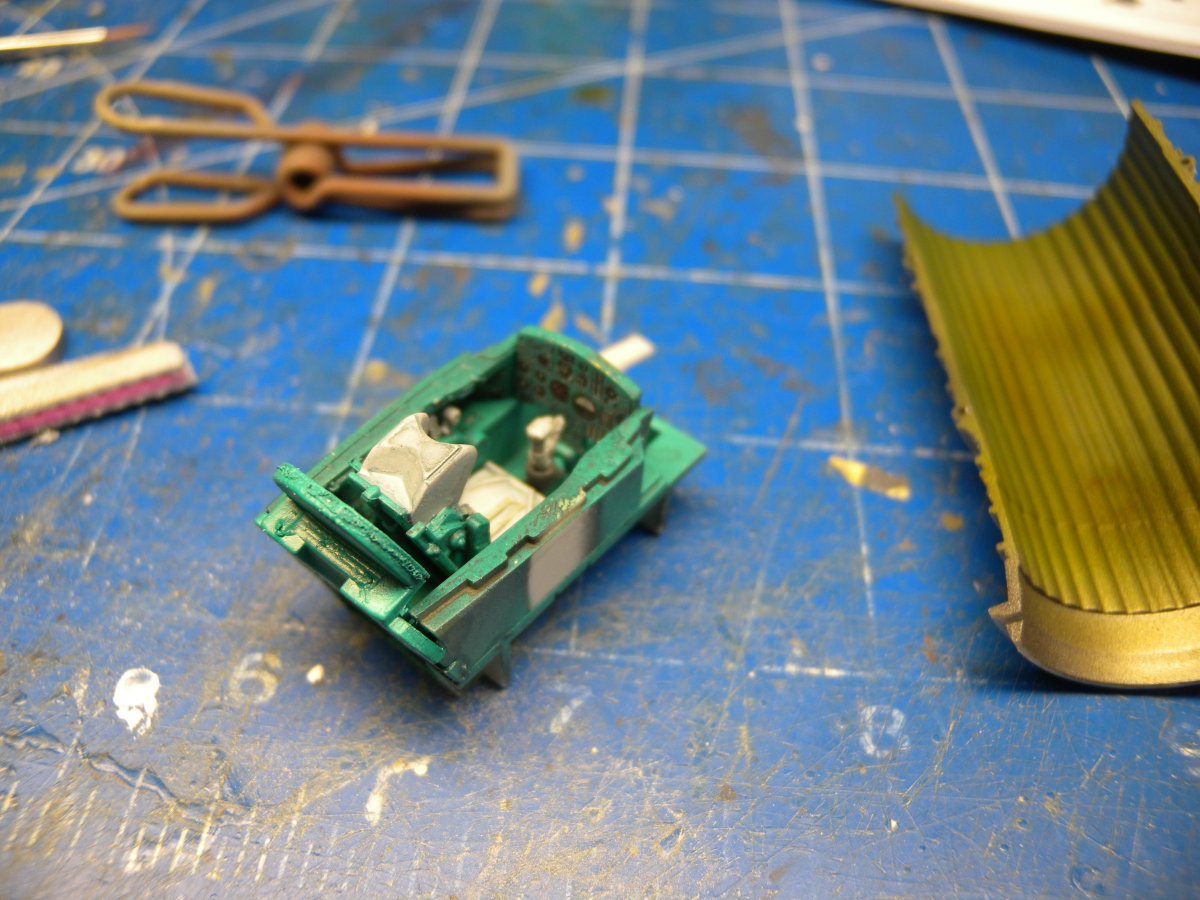
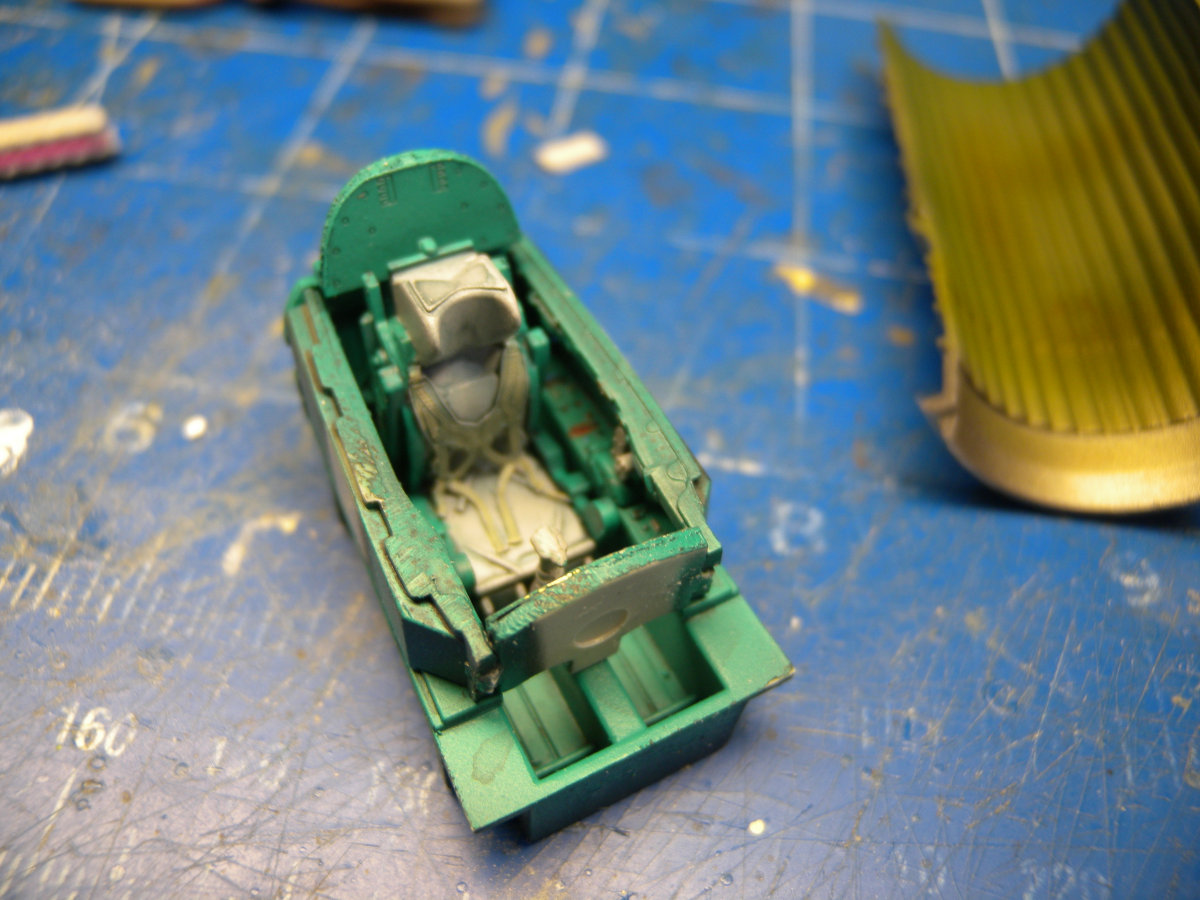
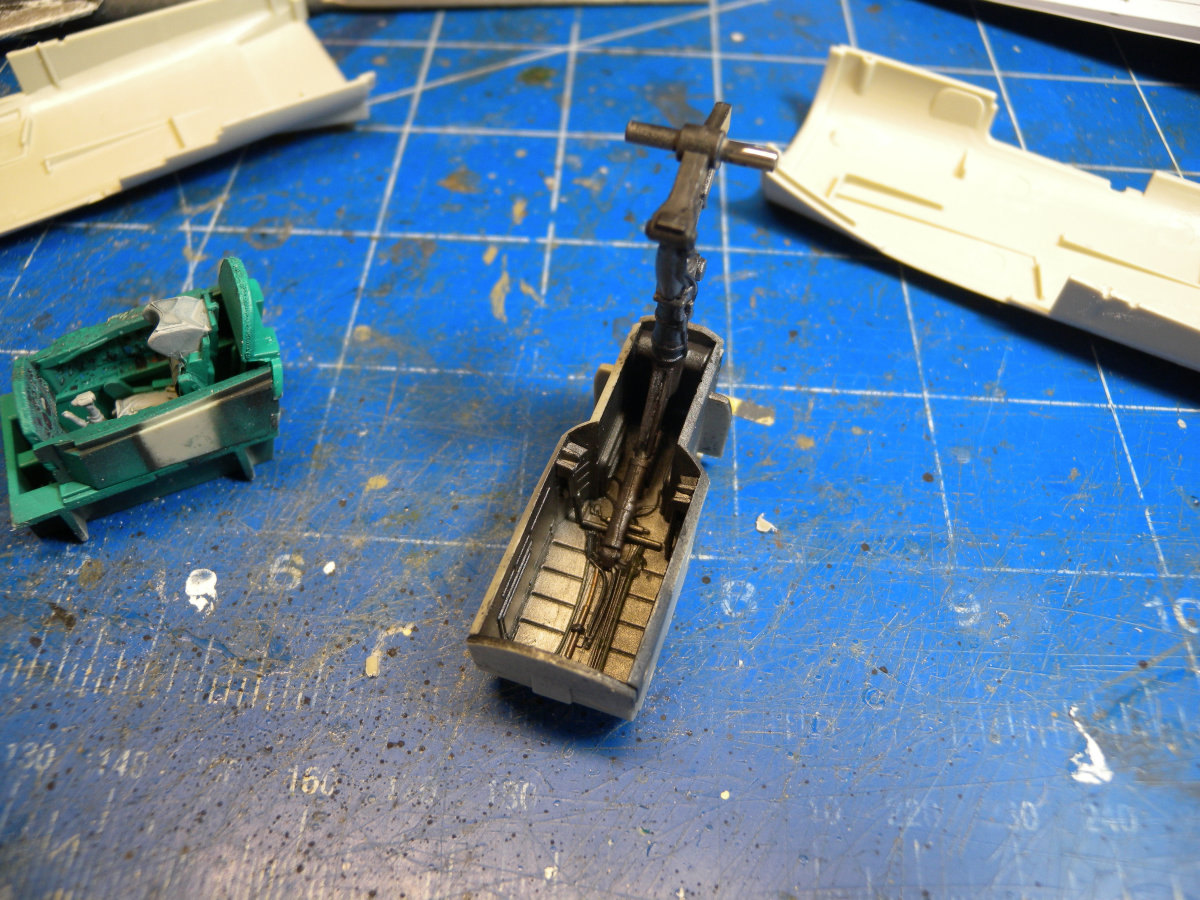
The build starts with the cockpit, which is a tub with upper side panels separate. These need to be painted and assembled separately as the decals for the side panels need to be applied prior to adding the walls. It should be noted the decal detail does not match the raised surface details on the side panels, so may look a strange with bumps not matching the detail shown. Also note that while there are two photo-etched main instrument panels, the decal only matches one. And the part behind the photo-etched part is marked wrong in the instructions.
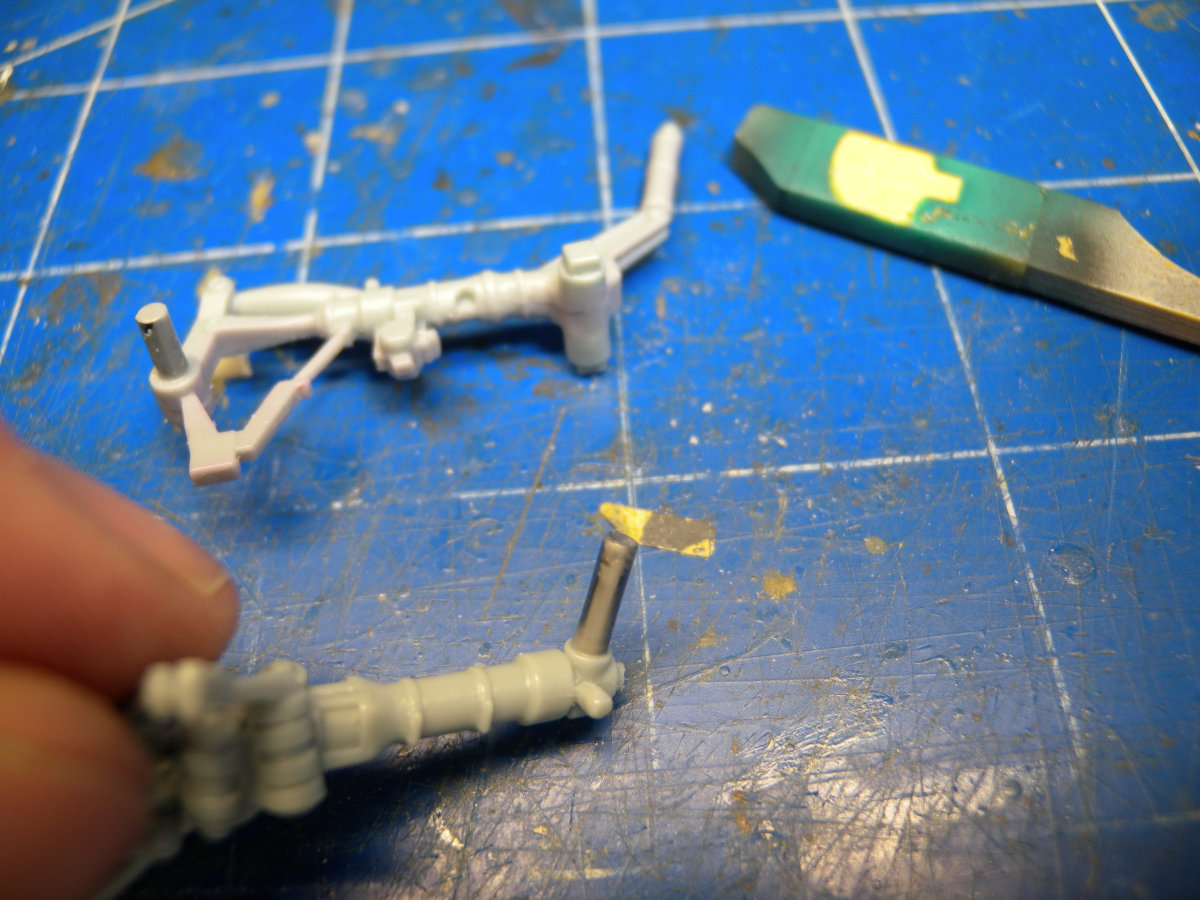
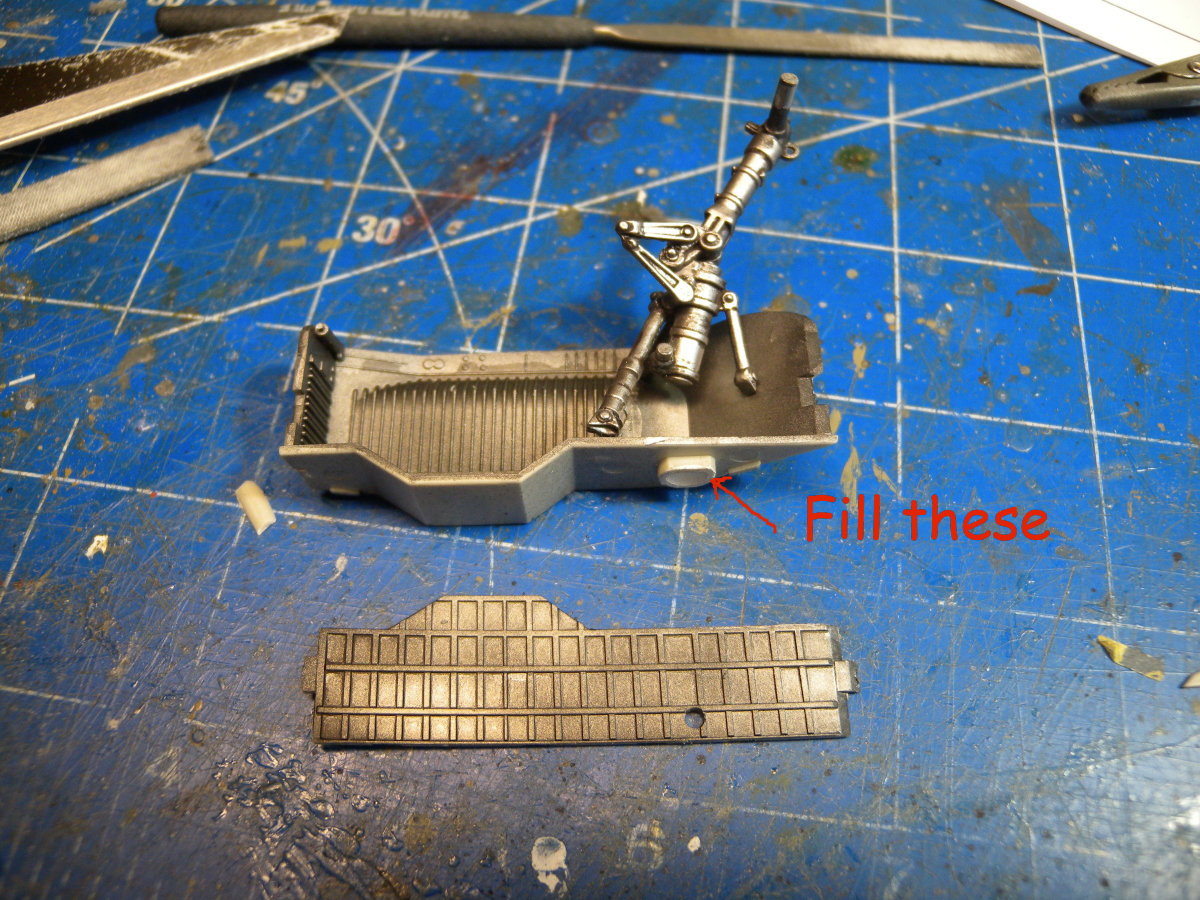
Onto the landing gear, and the assembly is relatively straight forward, and luckily most of the ejector marks are on the back side, but the excess plastic will need to be removed for them to fit into the fuselage. In this release, Kitty Hawk has provided some very nice looking resin cast landing gear struts, that will need to be installed in the assembly of the wheel wells.
Unfortunately, they left the large holes in the wells where the plastic parts would have been installed, and they do not provide instructions to build and install the plastic parts, which are on the sprues. So the large holes will have to be painfully filled and sanded.
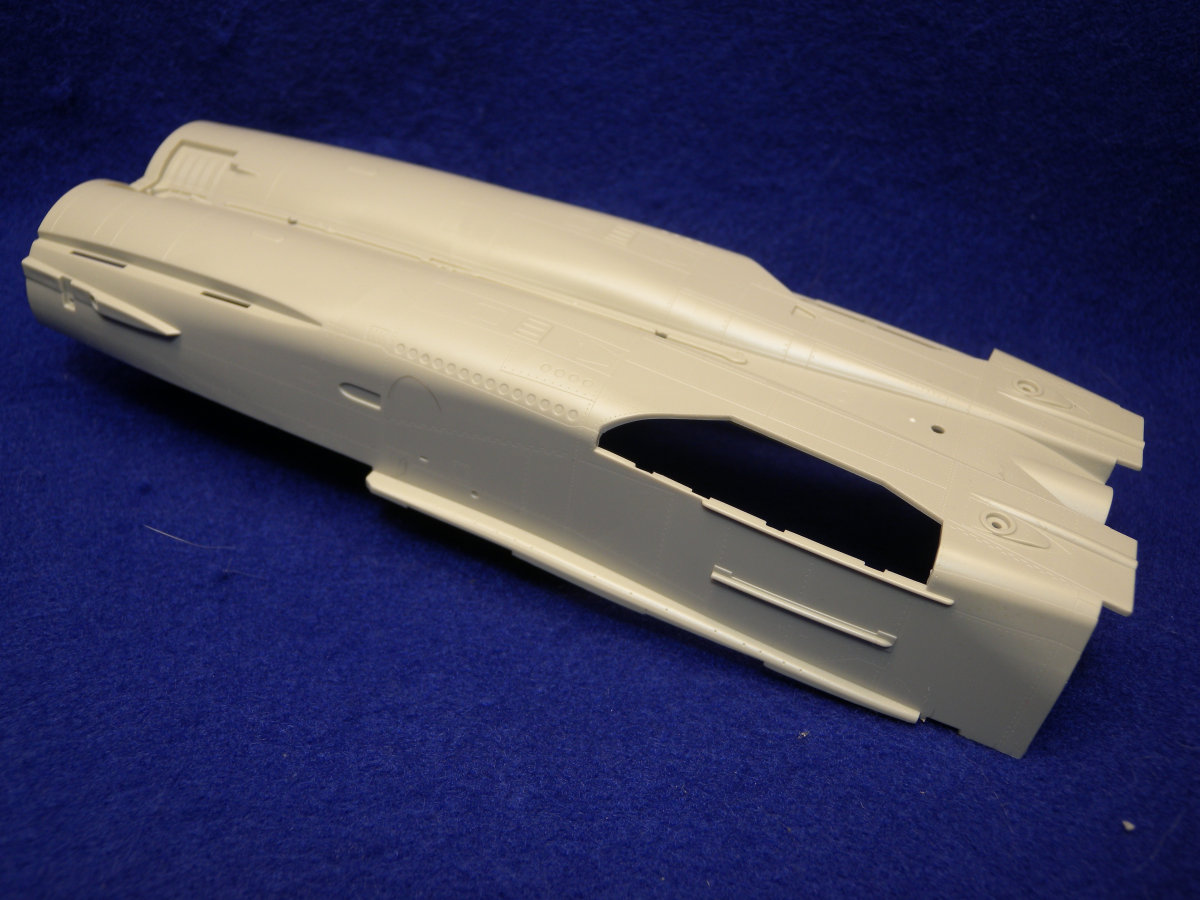
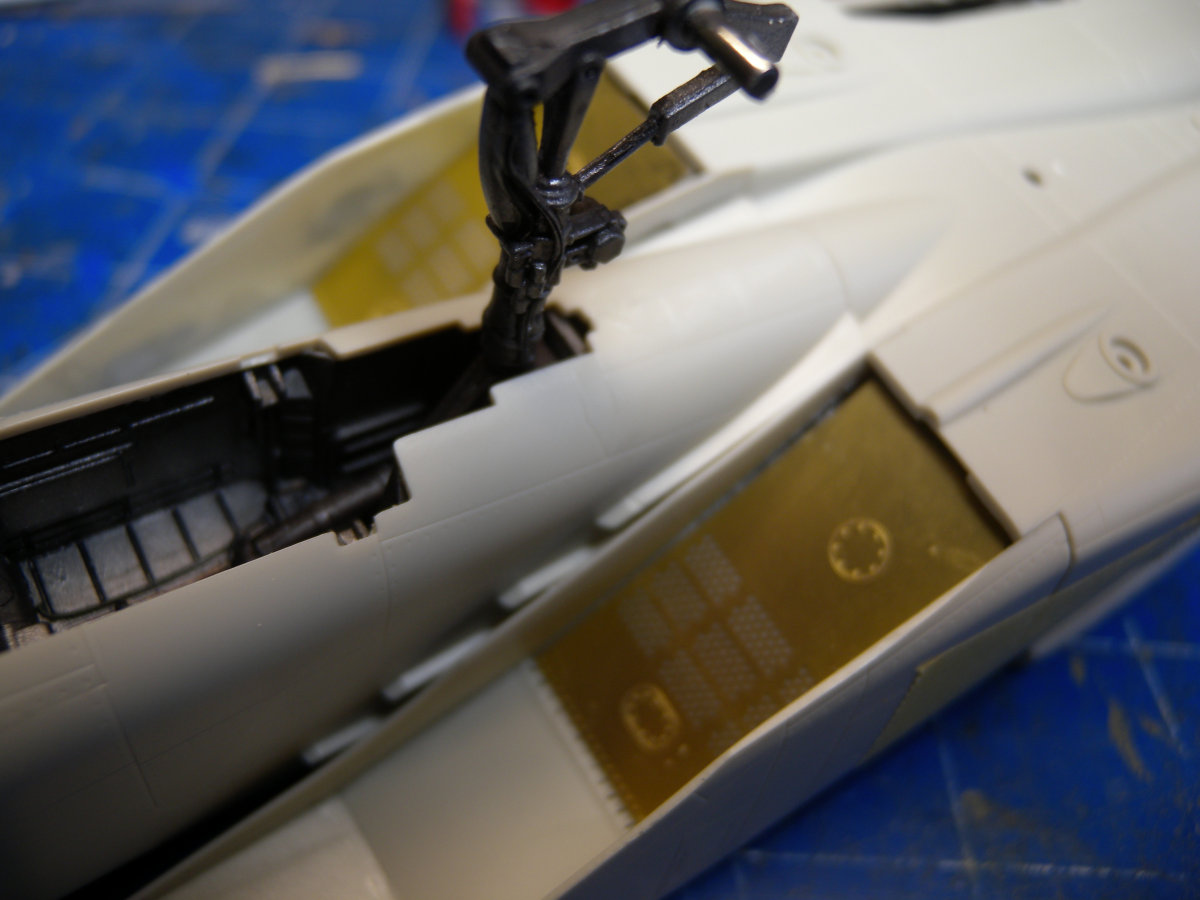
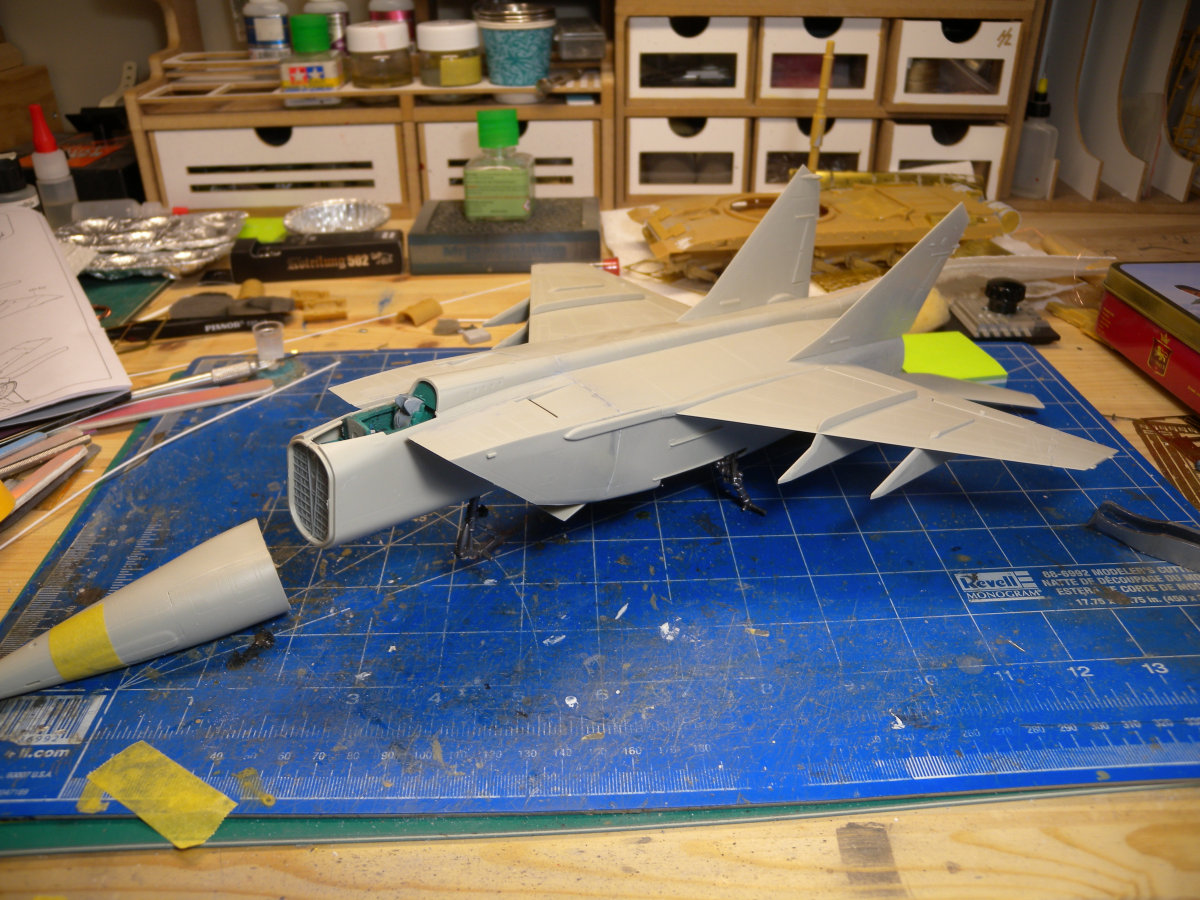
The next steps involved the assembly of the front section of the fuselage and front part of the intakes. The internal of the intake looks to be only build in the closed position as there is no details beyond that. The front part of the internal door does have photo-etched parts for surface detail. I deliberately did not glue the completed intakes onto the fuselage at this time, worried about fit to mid fuselage.
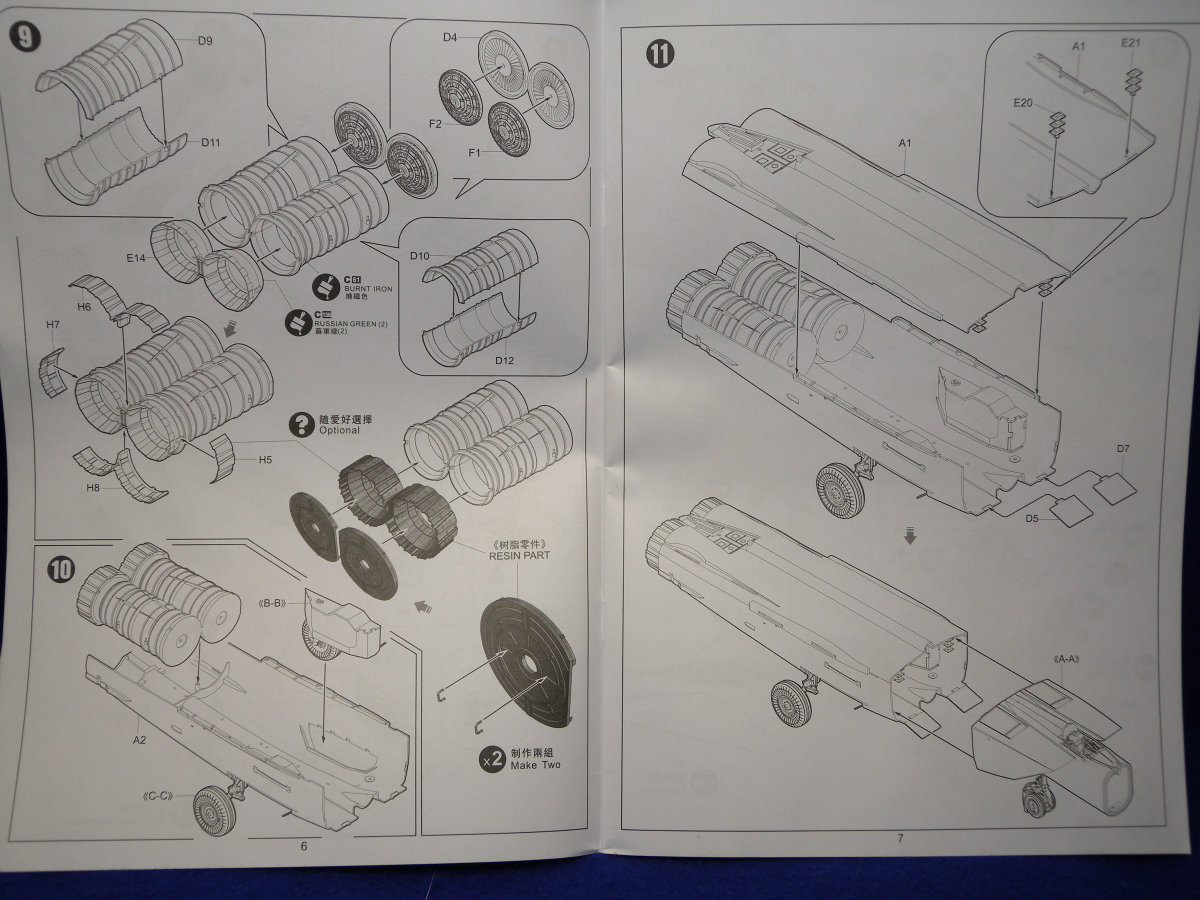
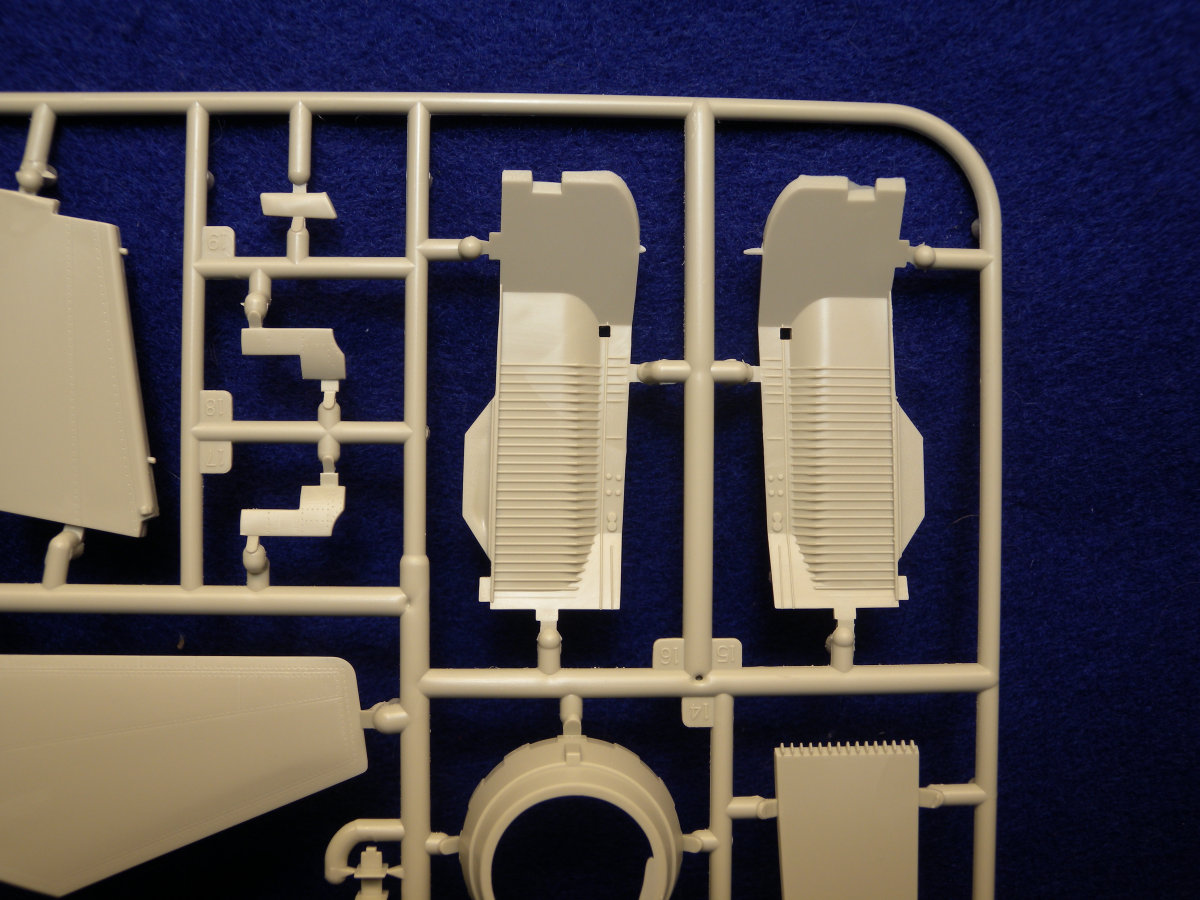
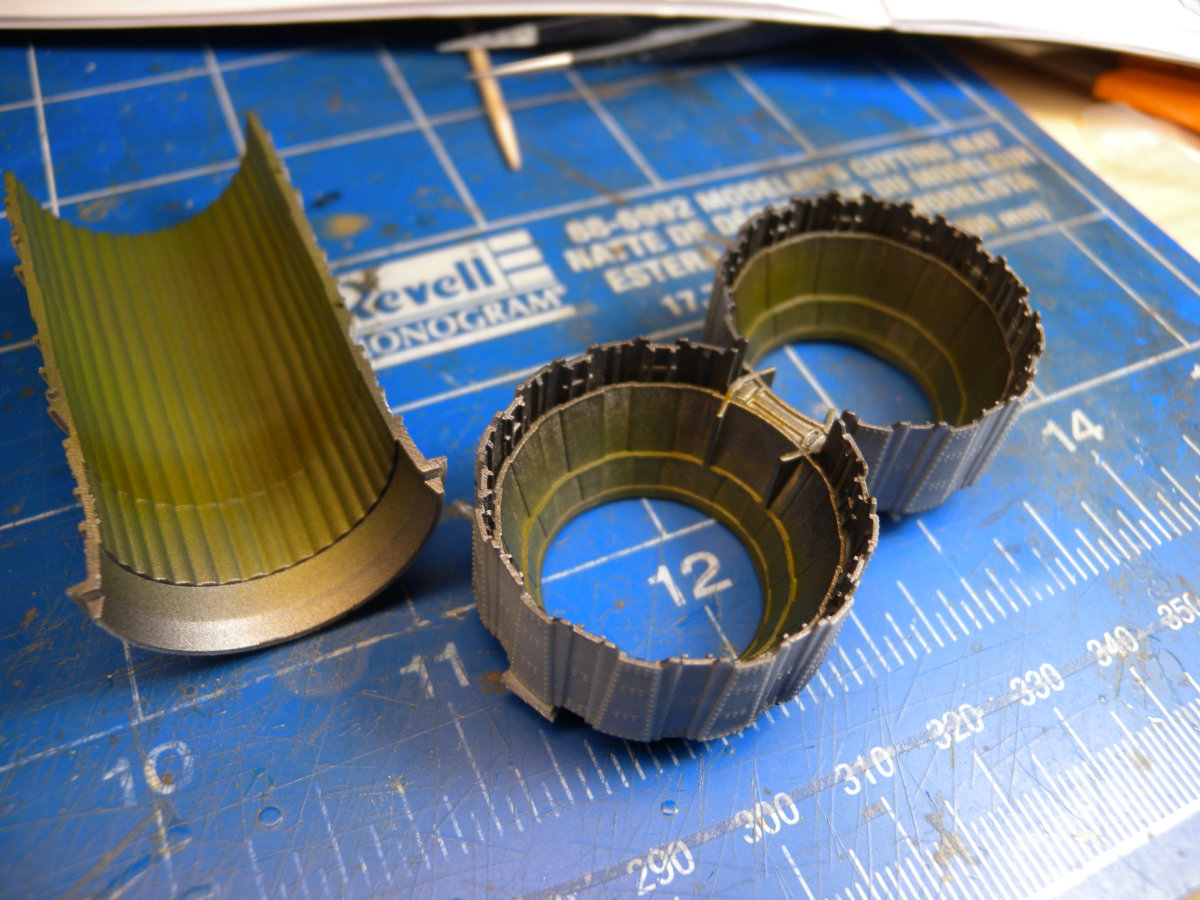
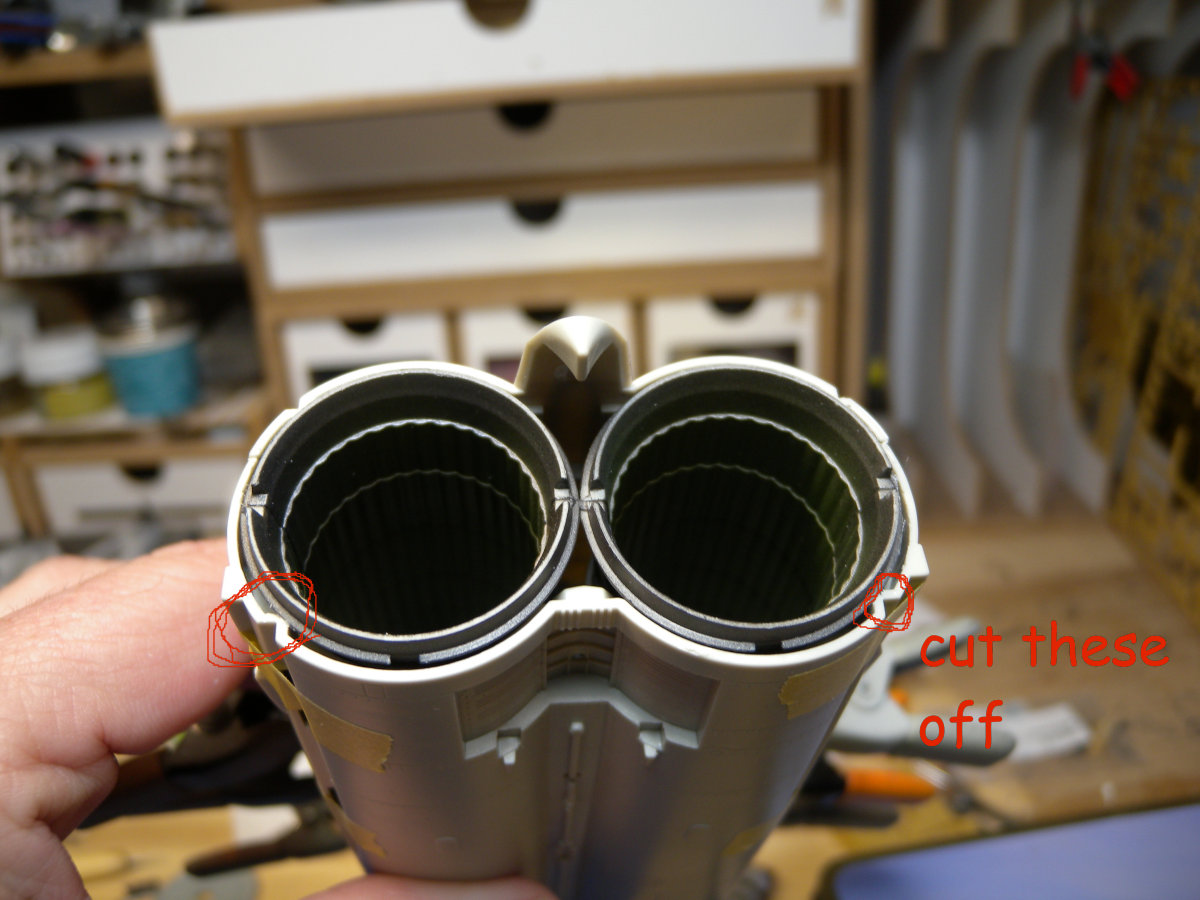
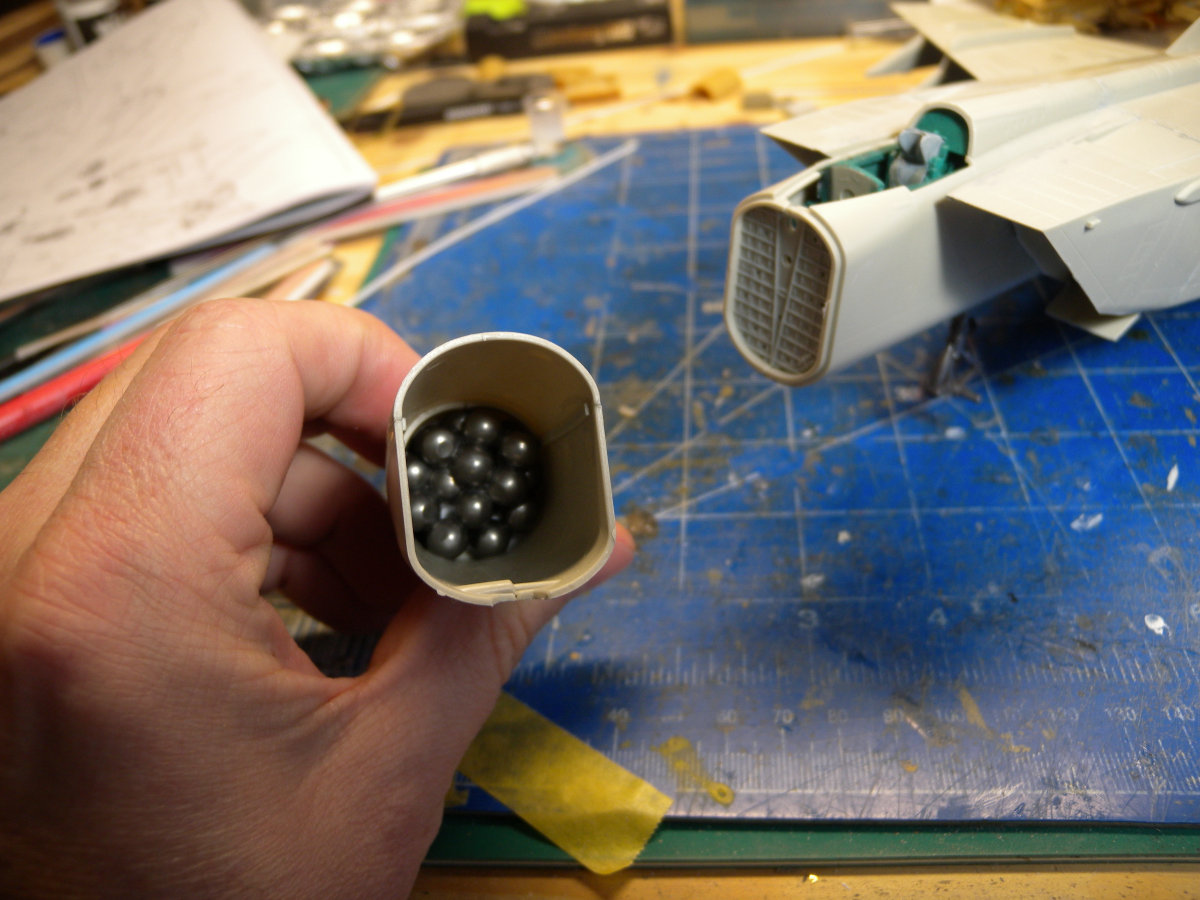
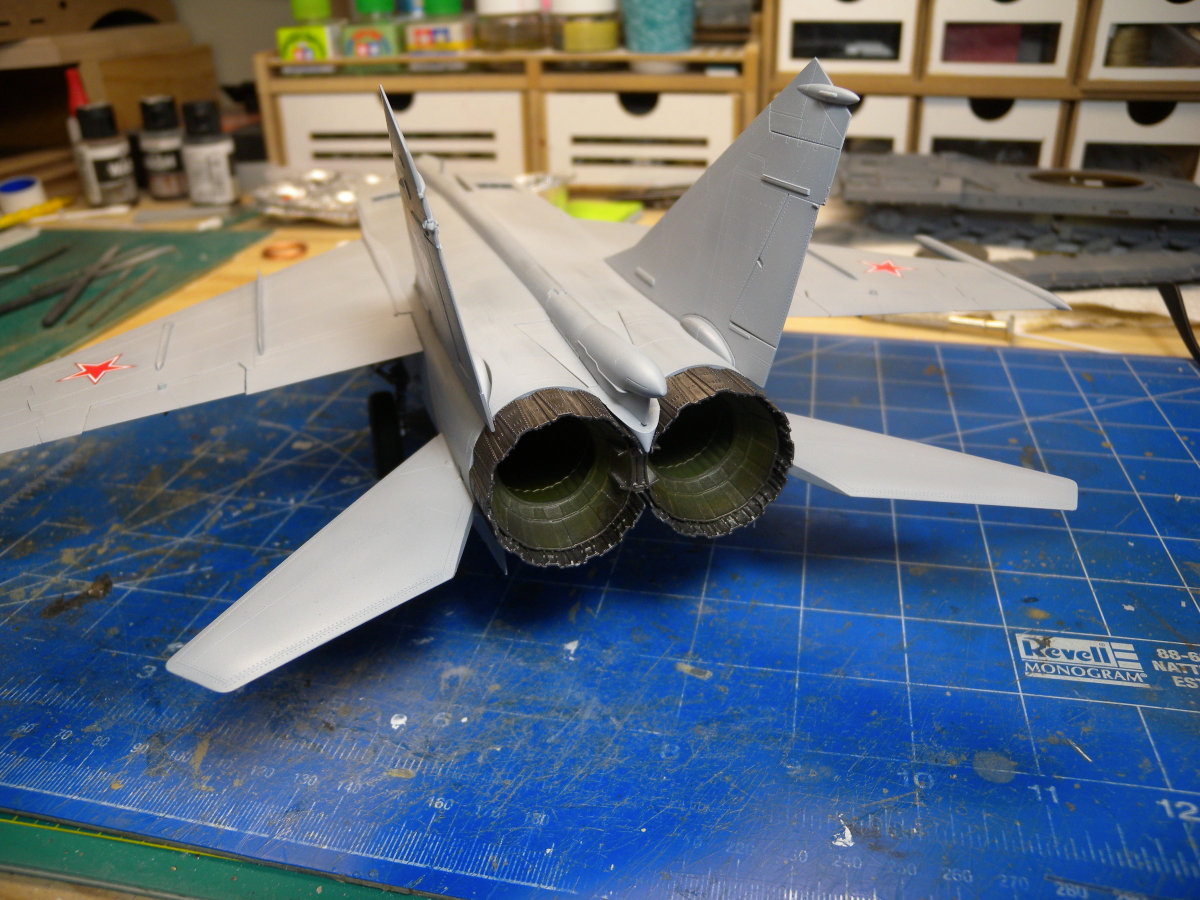
Moving to the rear fuselage, it starts with engine exhausts. There are two halves each, and there are large ejector marks that will need to be dealt with. Also being two halves, there will be an internal seam line that will show. Again, a resin cast part is included for the rear of the exhausts which look very nice.
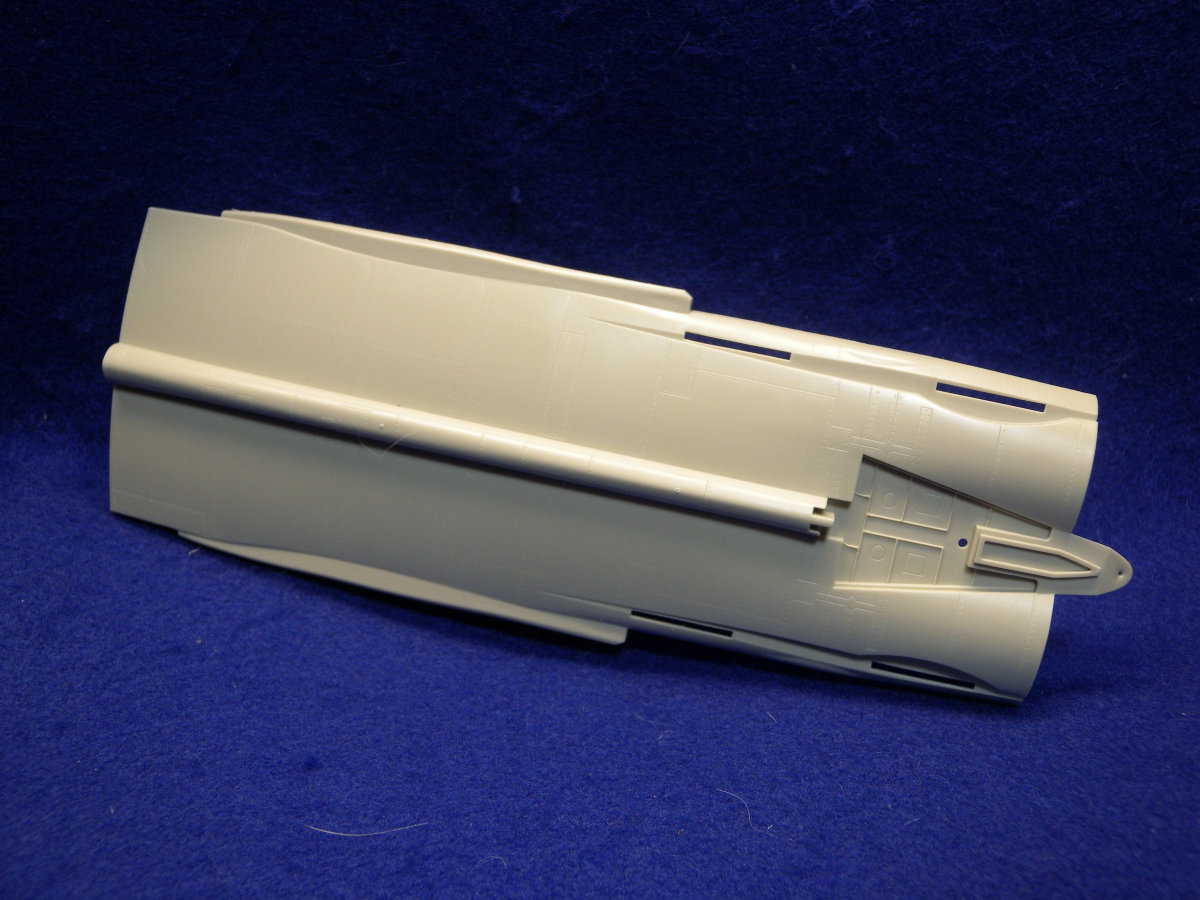
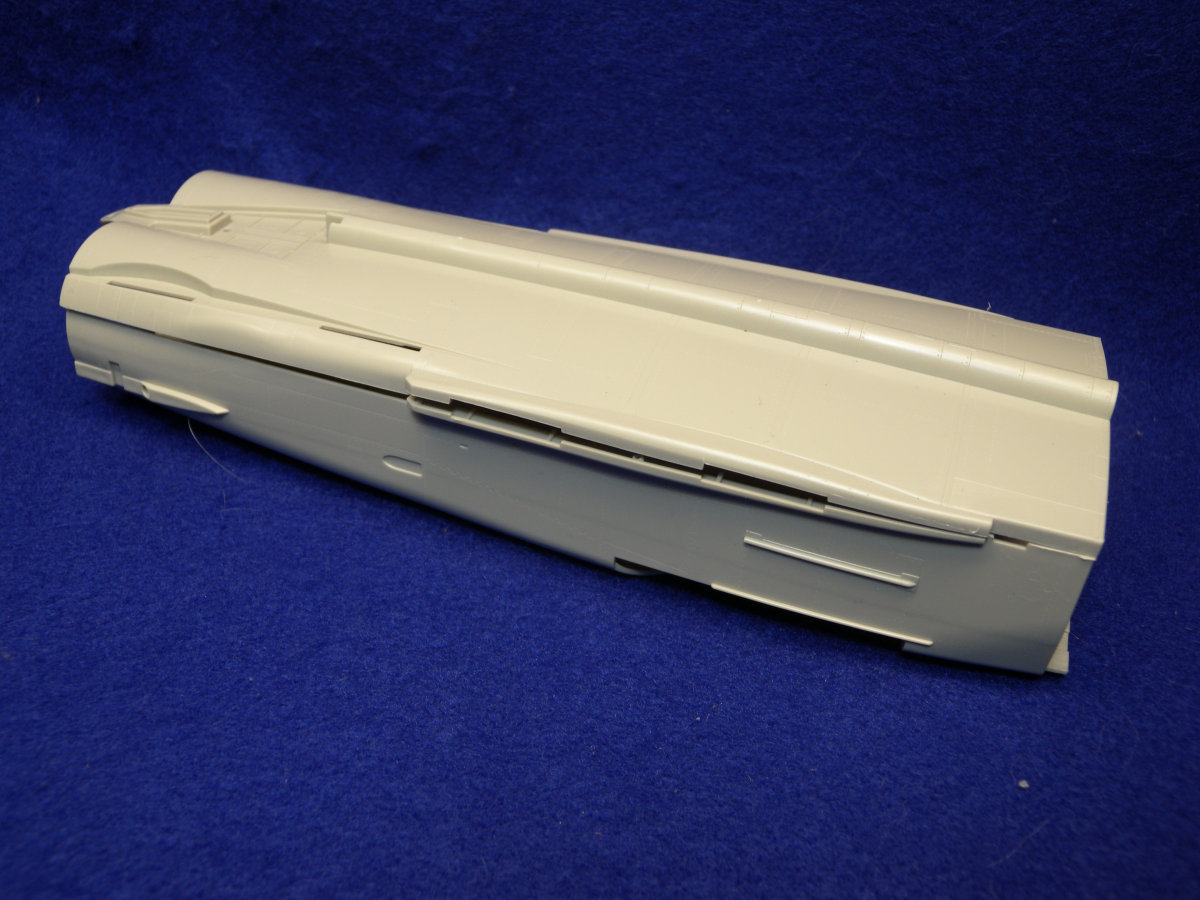
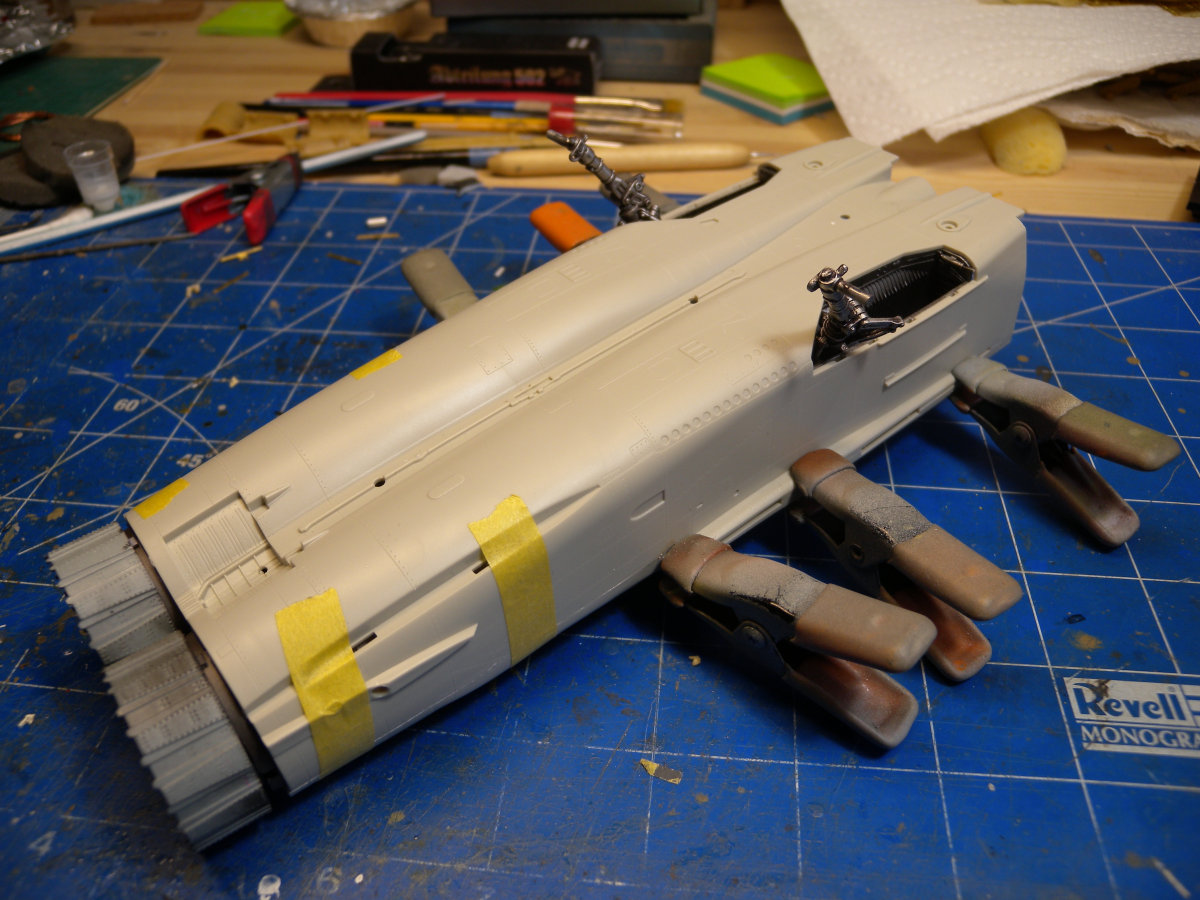
With the exhausts build and painted, there were sandwiched between the fuselage top and bottom. On the rear of the fuselage parts, there are some notches that will need to be cut off to ensure the fit. Also where the seem meets, the fit is not the greatest and it is positioned in a cross of panels lines, which means filling and sanding can be fun.
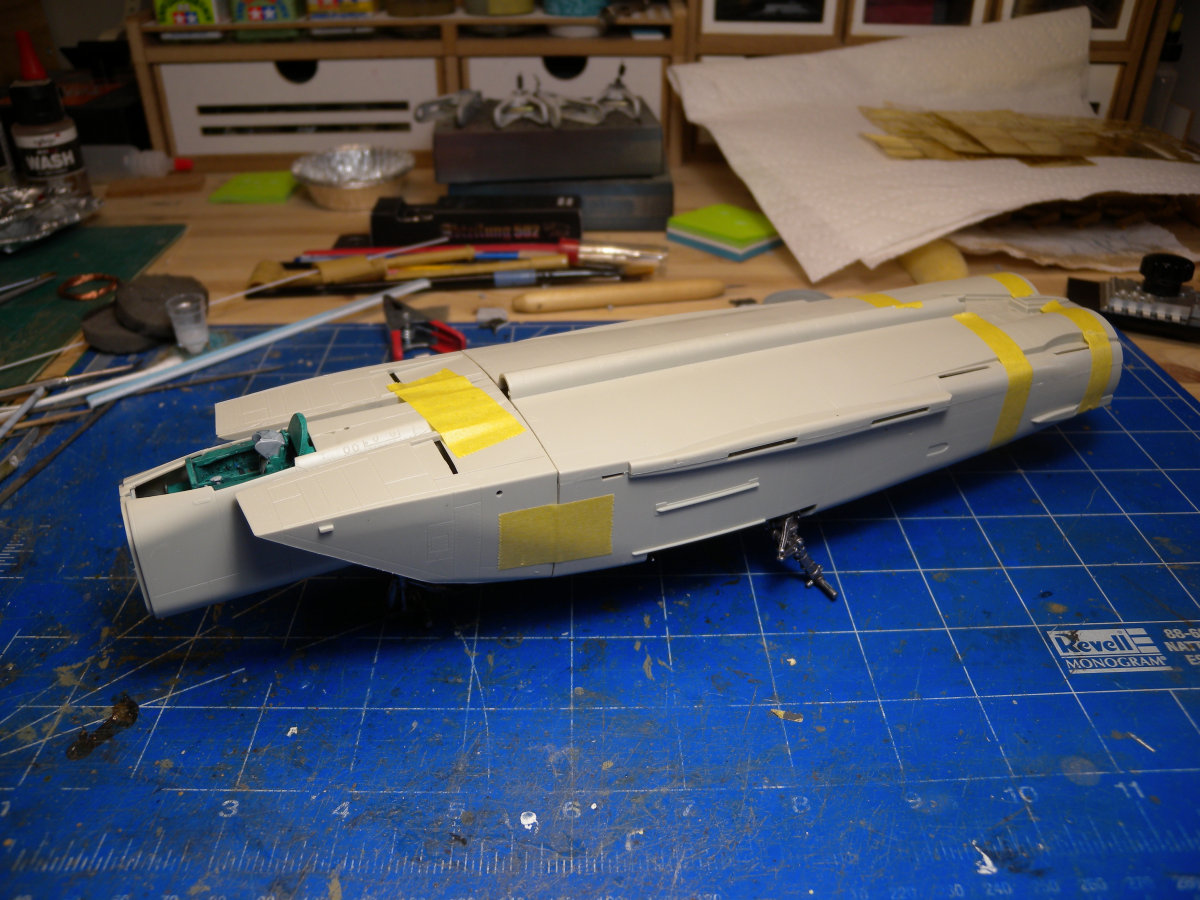
Now onto attaching the nose section of the fuselage and intakes to the rest of the fuselage. Where to start? Well the fit of the front fuselage to rear is not great, but to add to this the fit of the intakes is worse. This is why I did not attached to front section as per the instructions. First off there is a tab as part of the rear section of the fuselage on lower section of the back of the intake that does not fit into the cutout in the intake. This could be sanded, but then the intake would be so far away from the fuselage it would not look right. So I had to split the glue joint in the intake and fill it. Then when on, to keep the intakes aligned there is still a rather large gap between the front fuselage and intakes. To make a long story short, this is where I almost gave up, but pushed on with a lot of putty, sanding, and less desire to complete the build. So after all the sanding, I gave up re-tracing panel lines.
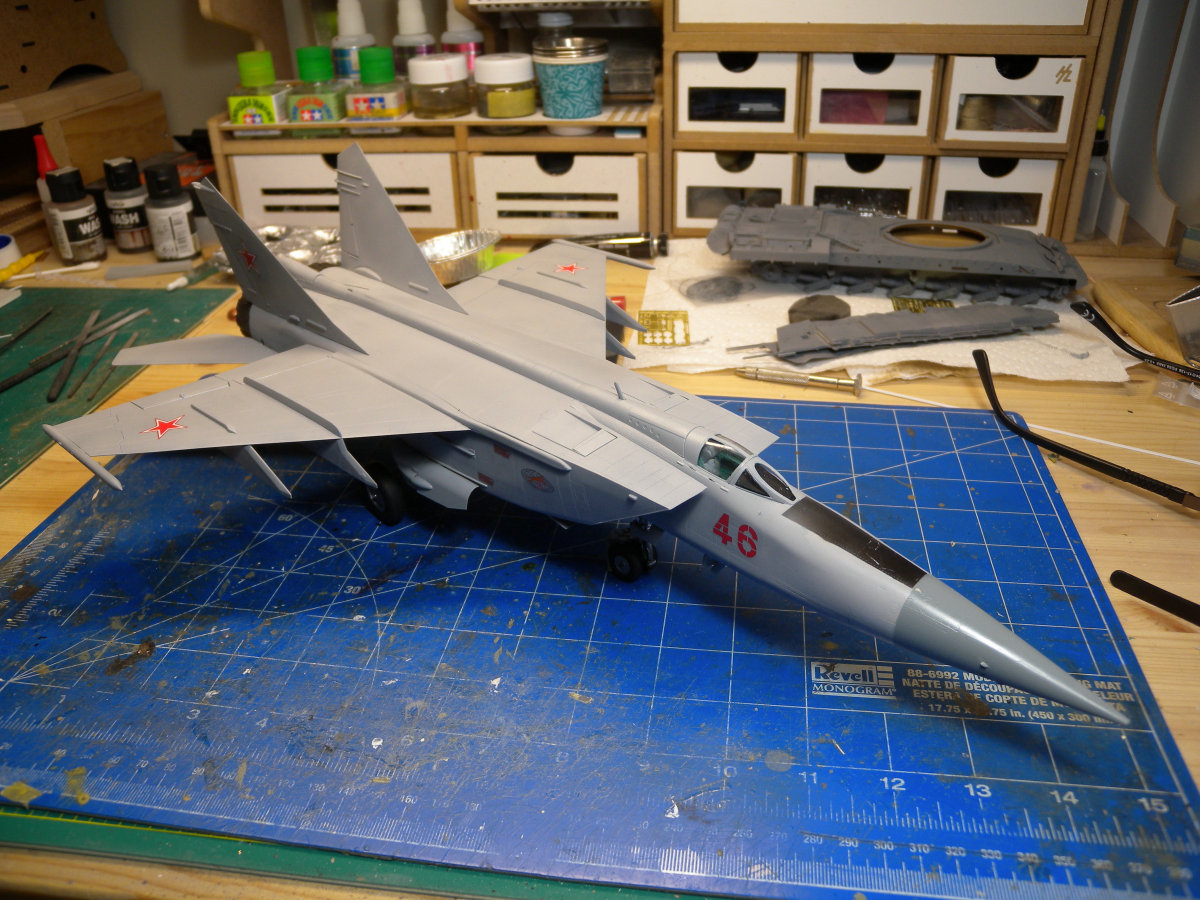
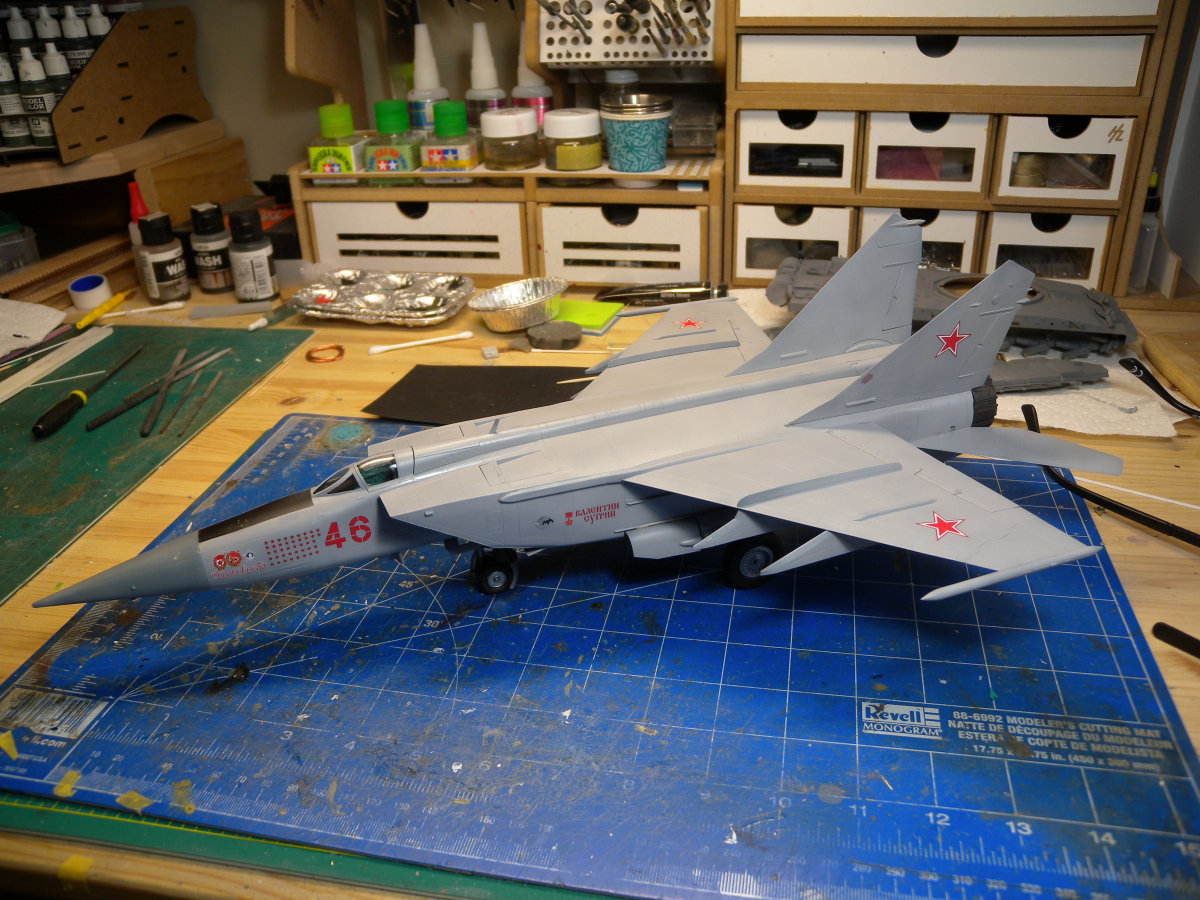
So to quickly complete the build, I applied a coat of Stylnrez primer, followed by Ammo by Mig Grey Shine, and then a gloss coat. As suspected with the decals, they are thick. Several coats of SolvaSet was unable to get the decal down into the details, and there was still lots of silvering of the decals.
I went to build some of the bombs for the ordinance, and found right off the bat that the loop around the rear is not even the same diameter as the bomb fins. Again frustrated, there it sits with no further additions.
Summary
While a very interesting subject, the MiG-25 RB/RBT from
Kitty Hawk looks nice on the sprues, but does not hold up to that once the build starts. The addition of the resin parts is nice, but poorly planned with filling required. The build is strewn with fit issues, there is no colors mentioned on the paint and marking guide, and there is lack of instruction for building and mounting the ordinance. Now if a builder had the patience, skill, and some aftermarket details, this might turn into a decent build, unfortunately as nice as it looks on the sprue, I cannot recommend this kit.


Comments