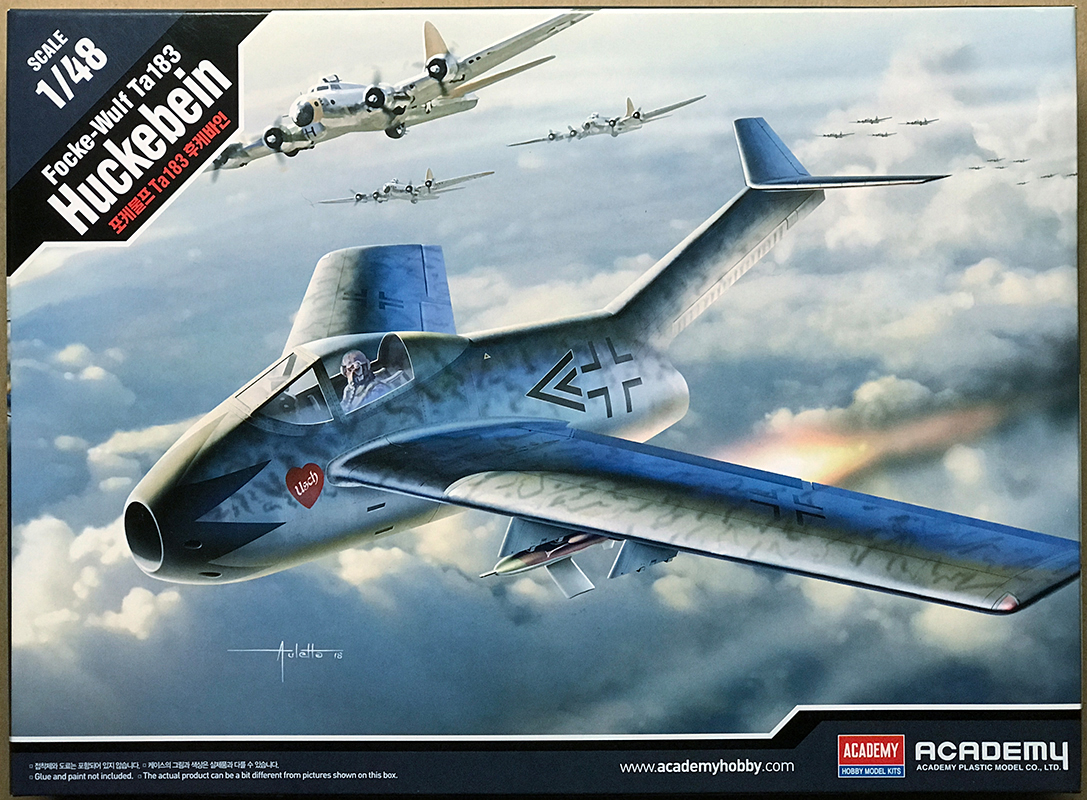
At the end of WWII, this pudgy piece of aviation history was one of several German designs in development as a replacement for the Messerschmitt Me 262 and Heinkel He 162. The design team was headed by Kurt Tank who was also responsible for the FW 190, FW 200, and the TA 152. The TA prefix comes from Tanks last name. The TA 183 was nicknamed Huckebein by the design team, borrowed from an 1867 illustrated story about a mischievous, troublesome raven.
Some historians have postulated that plans of the TA 183, captured at the end of the war, possibly influenced the MiG-15 and the SAAB 29 possibly even the Dassult Mystere and Ouragan. While the truth may never be known for certain, it is agreed that the TA 183 never flew. Sixteen prototypes were ordered, but none were completed by the time British troops captured the Fokke Wulf facilities. Wind-tunnel models were in development at the time, but no functioning airframes were completed.
IN THE BOX
Inside the box youll find:
2 B&W instruction booklets
49 parts on 4 sprues packaged in two bags
Clear sprue bagged separately
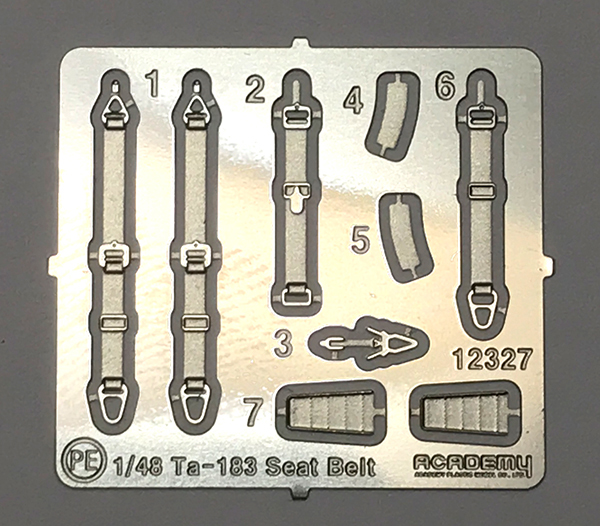
1 PE fret
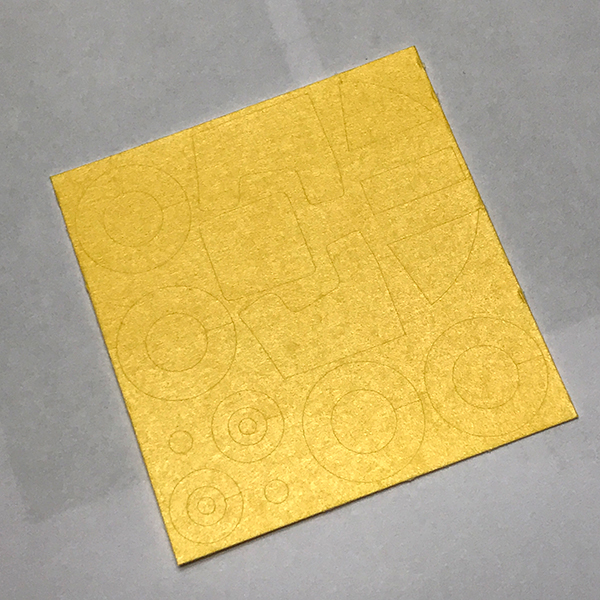
Masks for canopy and wheels
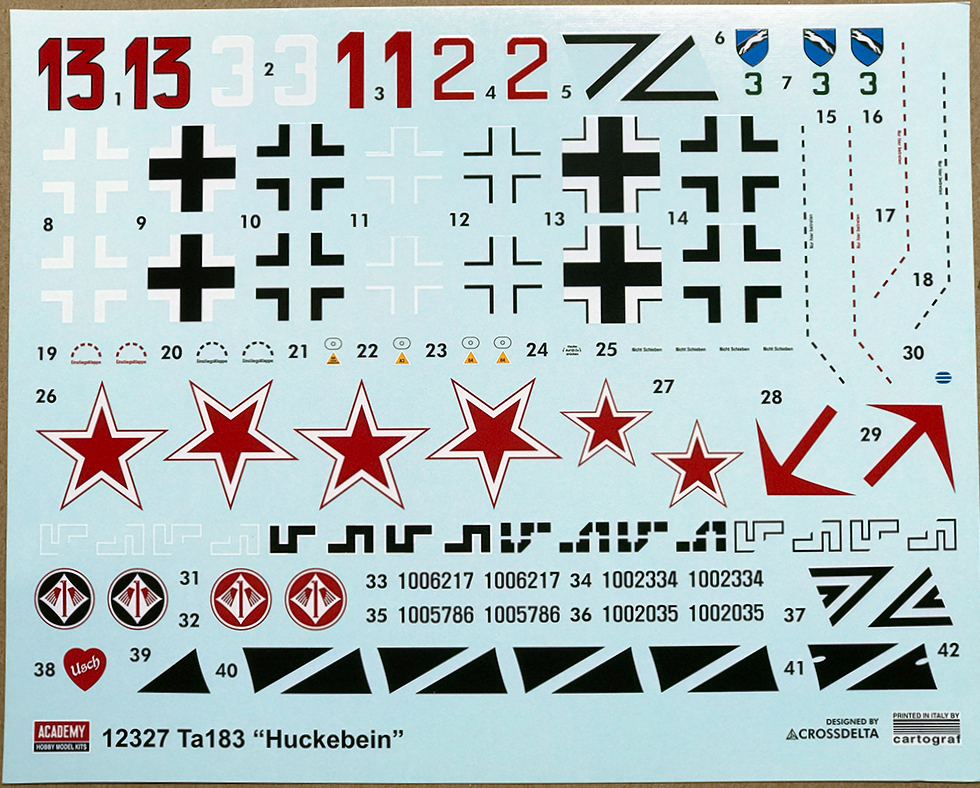
Decals for 6 versions
REVIEW
This kit was first released by AMtech in 2001. The company went under some time in the mid-oughts. Tamiya later re-boxed the kit and added a tow tractor to the package. Academy has added a fret of photo-etch, new decals, and masks for the canopy and wheels.
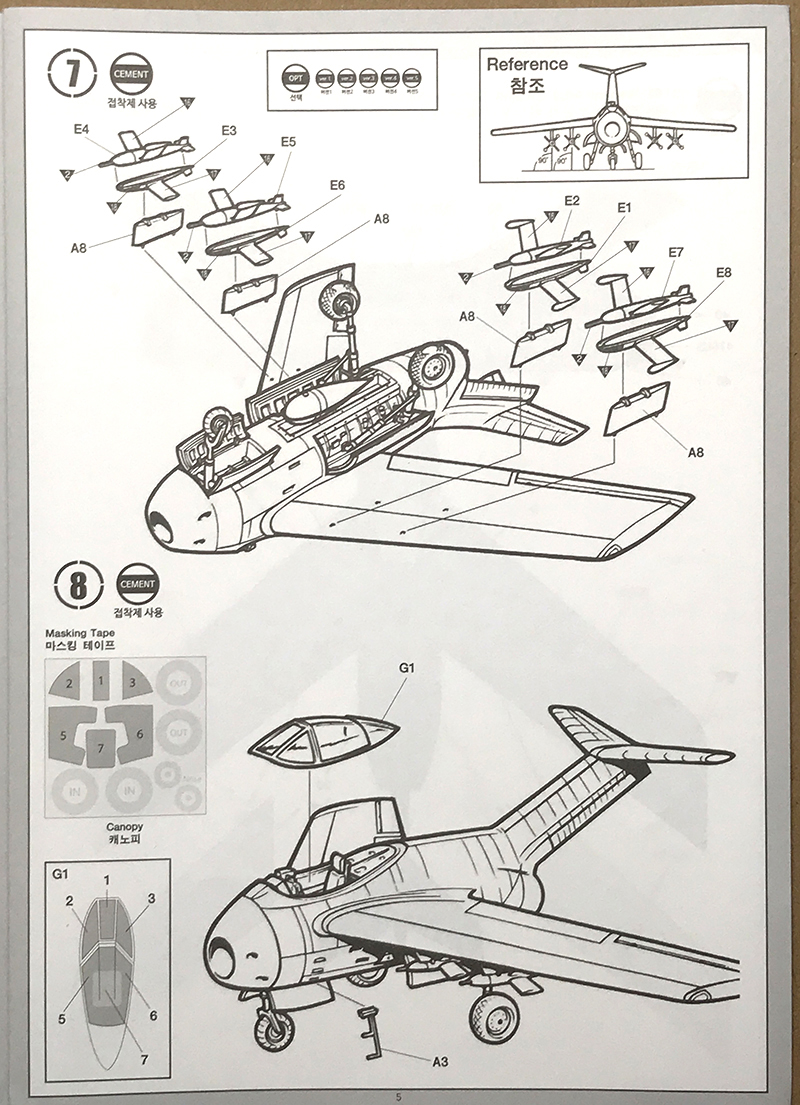
The canopy is molded as closed; there is no open option. The canopy frame is pronounced and crisp. Masks are nicely provided in the kit, but if you prefer to mask with bare metal foil as I do, the crisp canopy frames will be appreciated. Upon very close inspection, there are very fine lines all over the canopy. Polishing may be needed, or perhaps a few dips in Future will smooth them out. There are some slight imperfections at the tapered end of the canopy, but since they are on the painted portion they are not much of a problem.
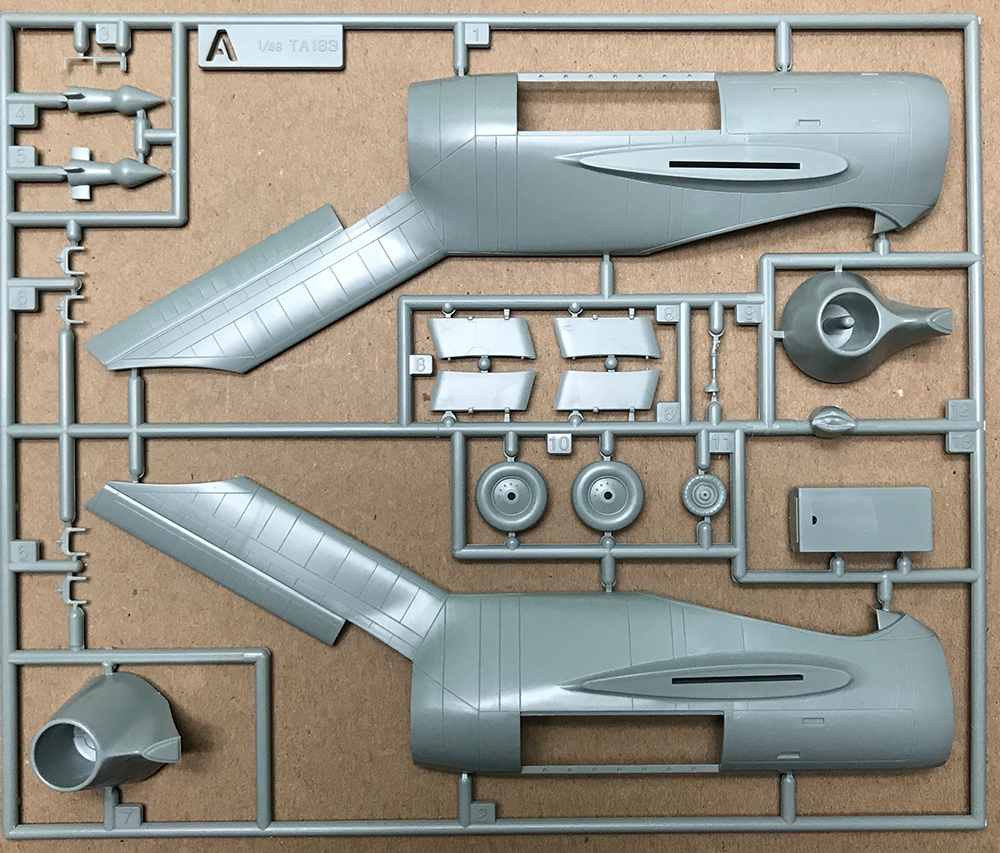
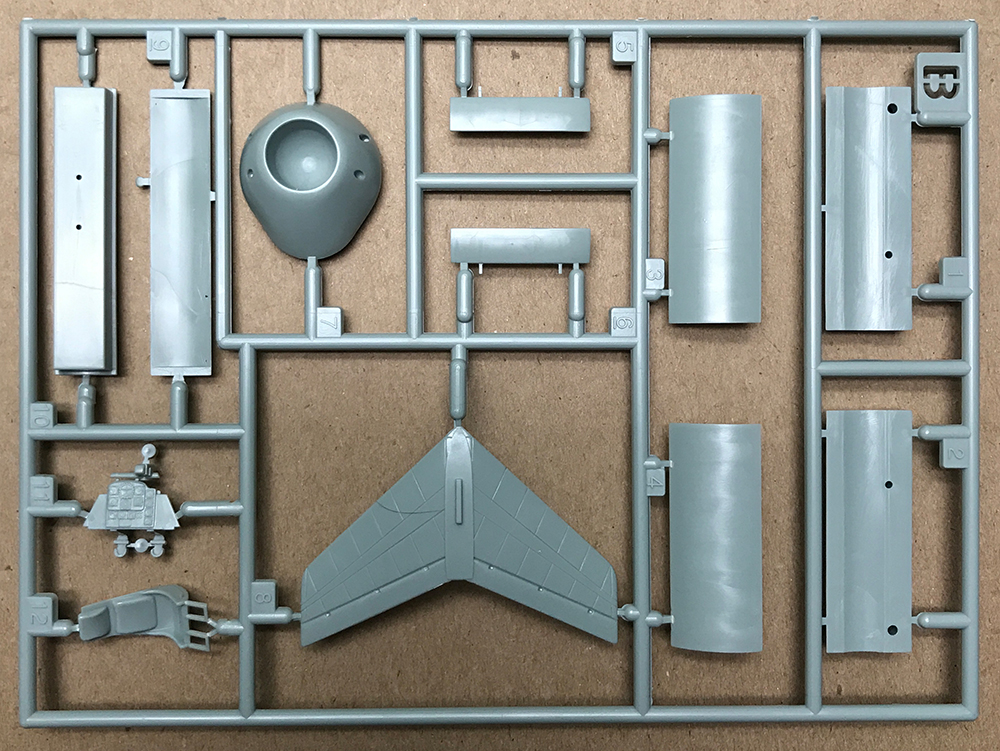
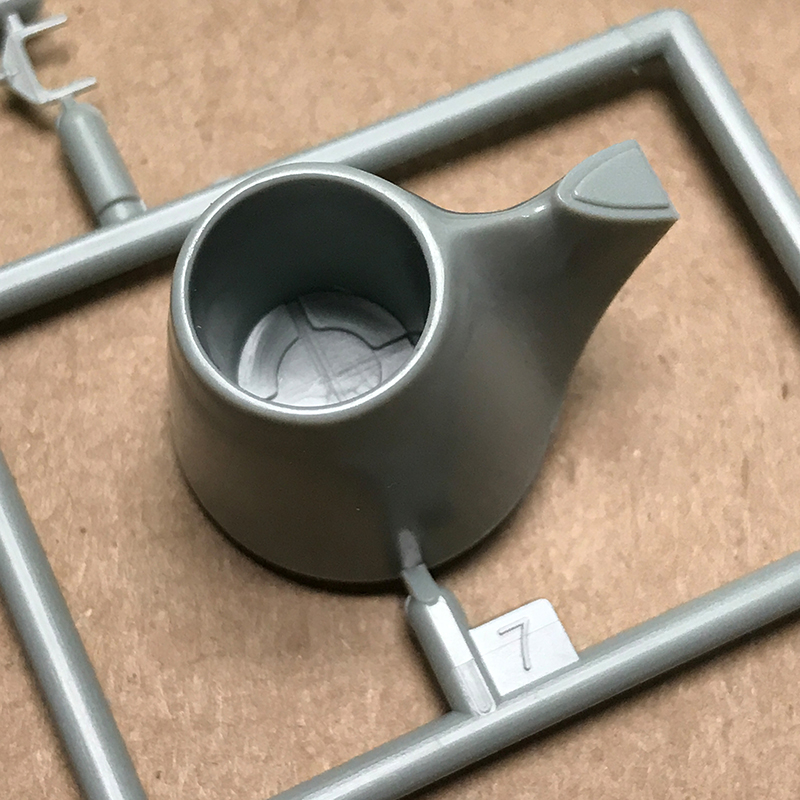
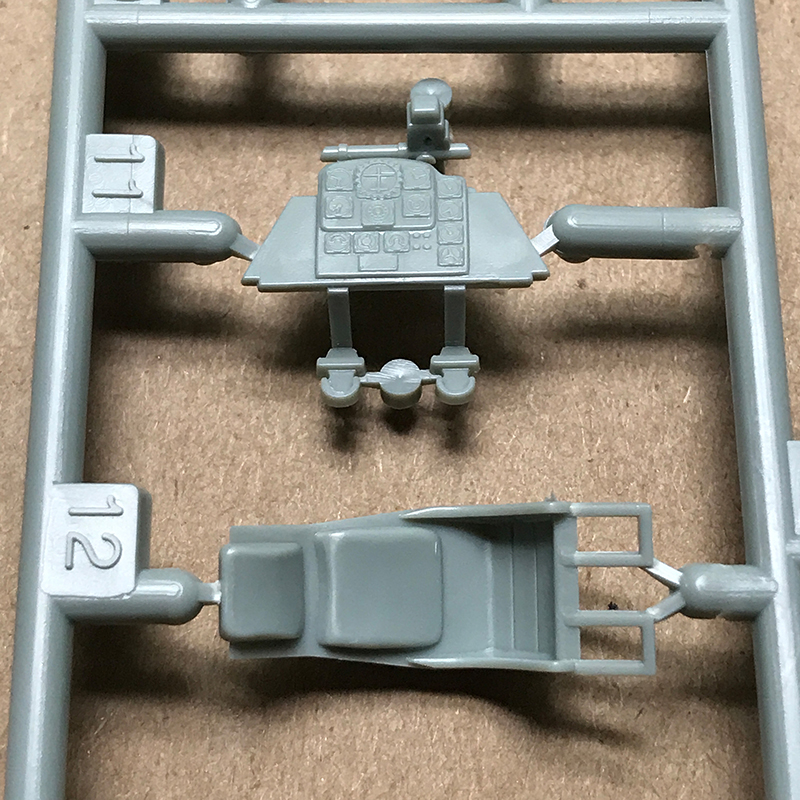
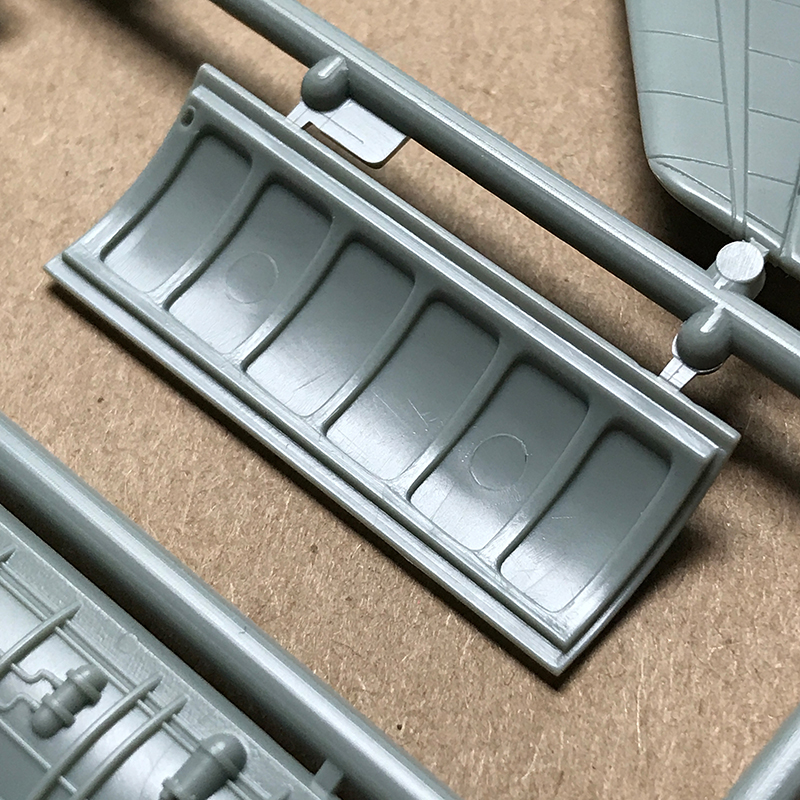
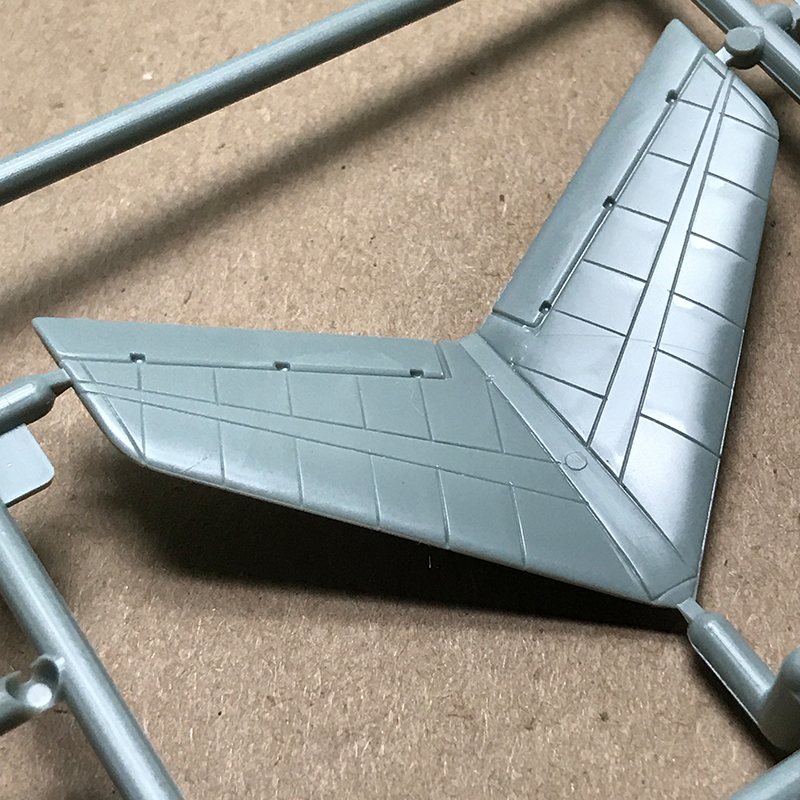
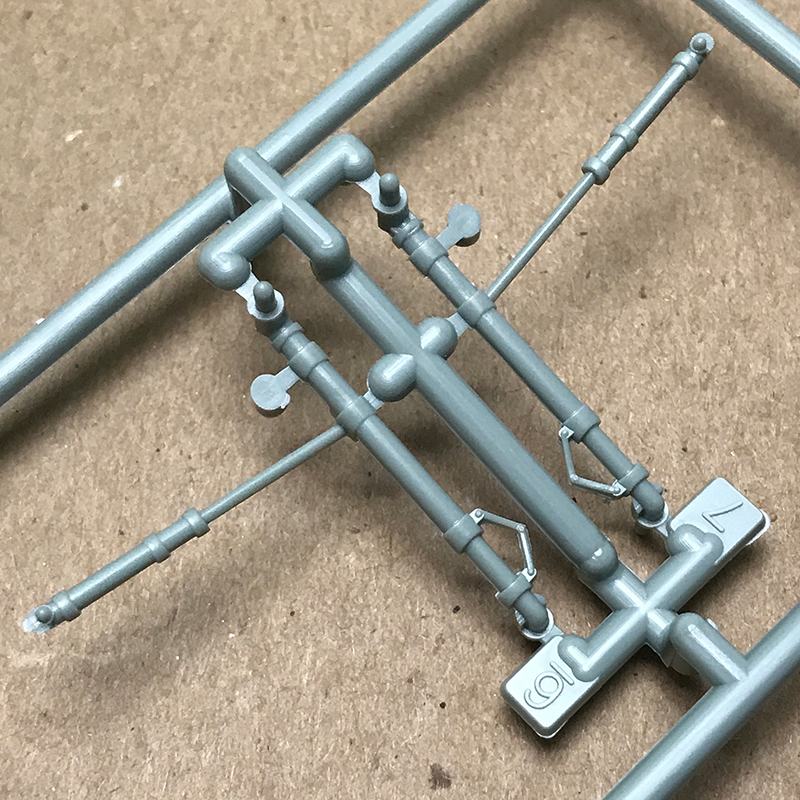
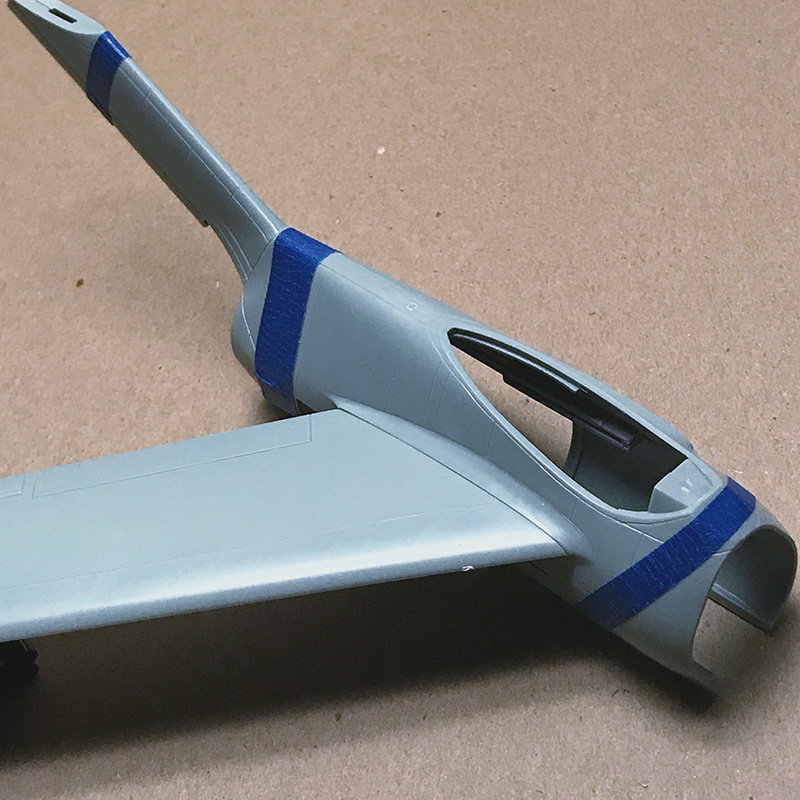
The parts are molded in grey plastic. They are very smooth and impressive. It looks like the original molds have held up fine as there is very little flash present. The panel lines on the fuselage are nice and tight. They look to have been carved by hand as the depth does change slightly here and there, and there are a few places where they run over, but with the naked eye the overall impression is of fine detail. The wing roots have nice wide tabs for indexing the wings to fuselage. The horizontal stabilizer is beautiful, molded in one piece for an easy fit and no guesswork for the dihedral.
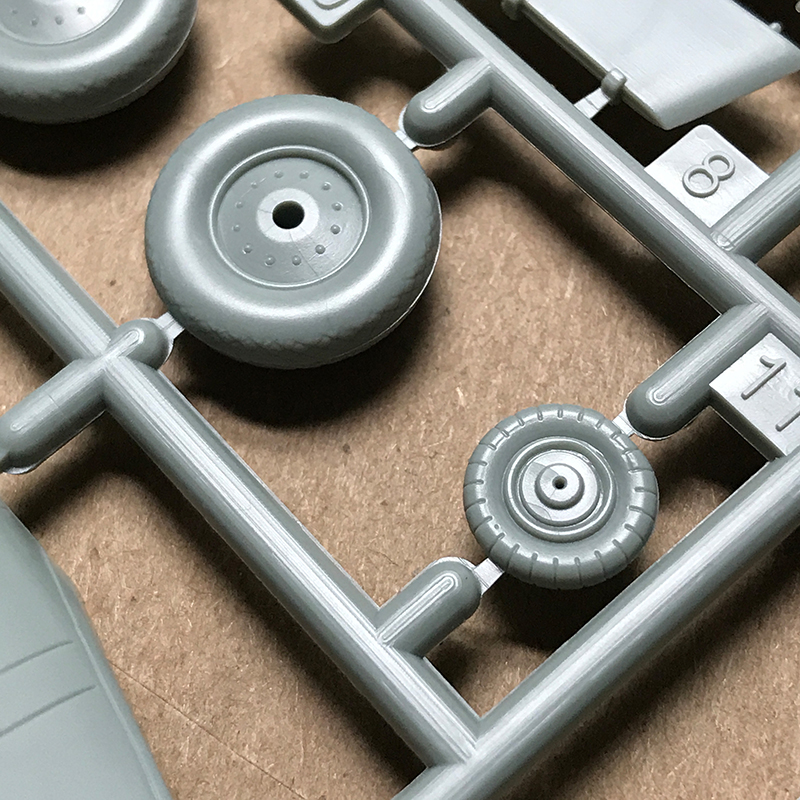
The jet can be built with landing gear up or down. Masks are provided to paint the hubs. As with all nose-wheel planes there is the imminent danger of having a tail sitter on your hands, but according to those who have built the kit, it sits just fine.
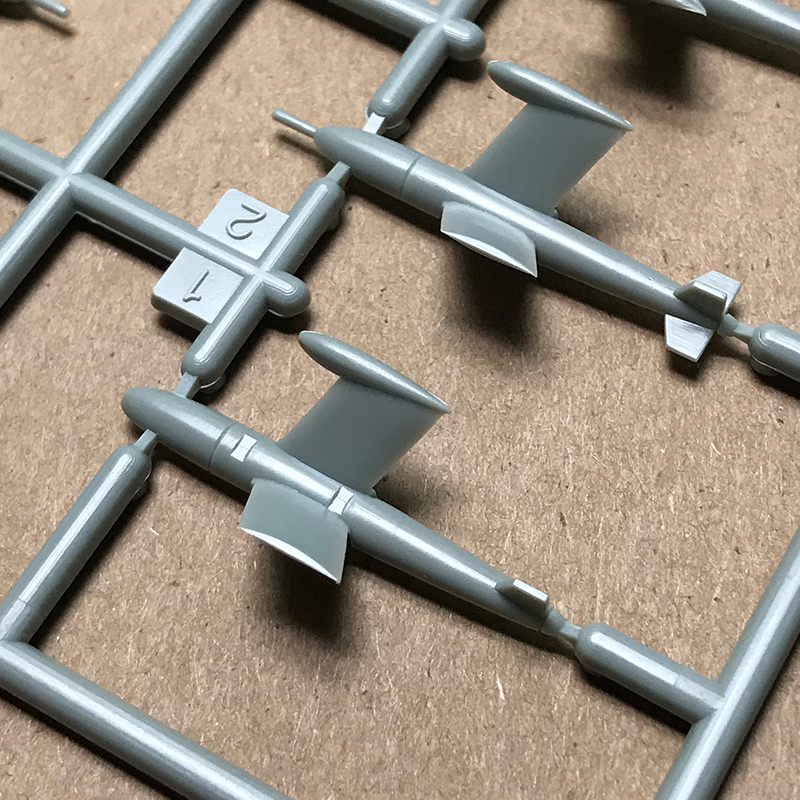
Jet nozzles are provided for two different engines, though frustratingly they are not documented. One must be the Jumo 004 engine, and the other the Heinkel HeS 011.
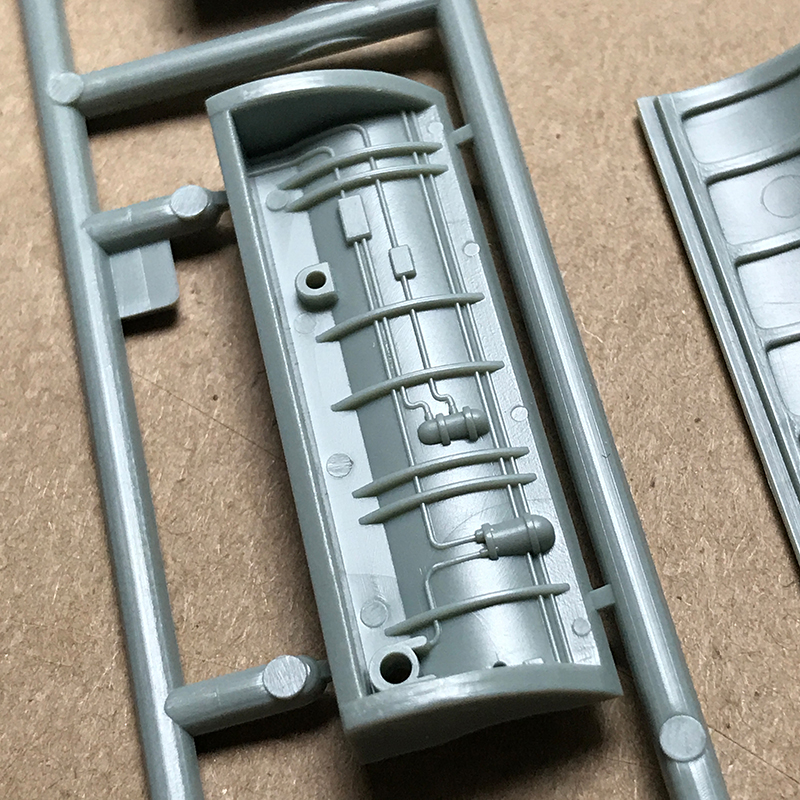
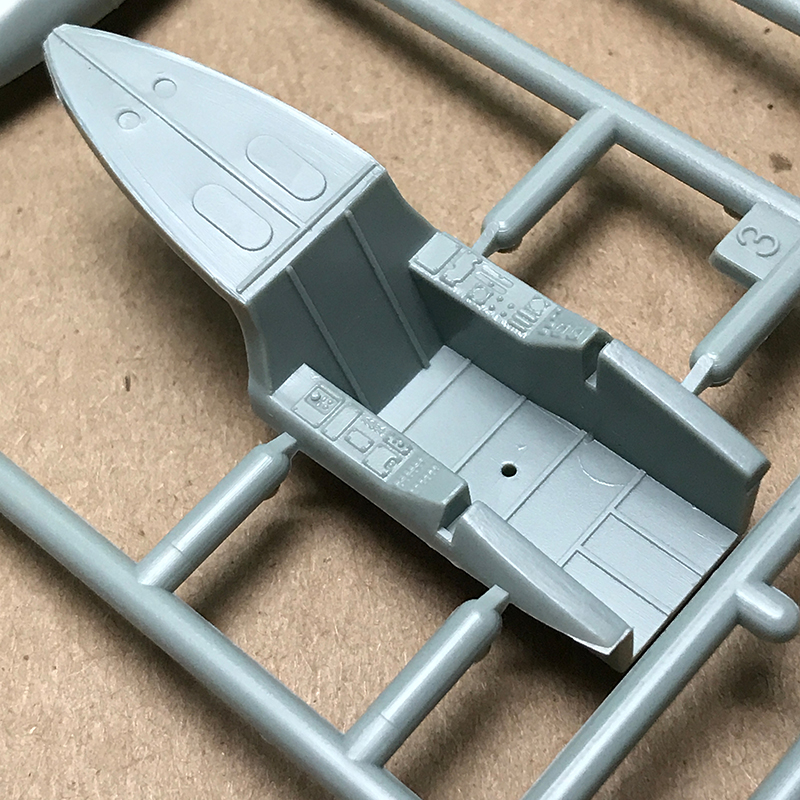
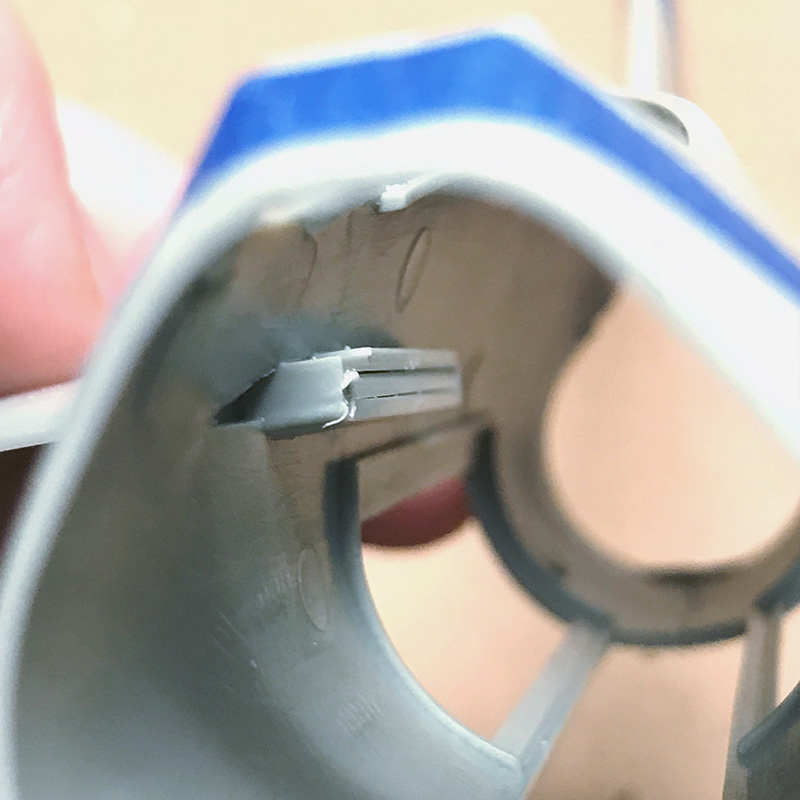
The main wheels are marred by ejection pin marks on one side which will need to be filled. Other pin marks are visible on the missile pylons, inside of every gear bay door, the rear cockpit deck, inside the nose gear bay, and inside the main wheel wells. Only the latter two will pose any difficulty in filling. Those pins marks make a stronger case for buying resin aftermarket parts.
Quickboost does offer a resin Jumo 004 exhaust nozzle, and an Intake/Front Wheel Well assembly for this kit. Aires offers a detailed resin cockpit, and stunning main wheel bays which show off the detail of the body of the Jumo 004 engine. The resin not only offers more detail, but would eliminate the difficult job of filling the pin marks in all three wheel wells. I cant vouch for their fitment though.
INSTRUCTIONS & DECALS
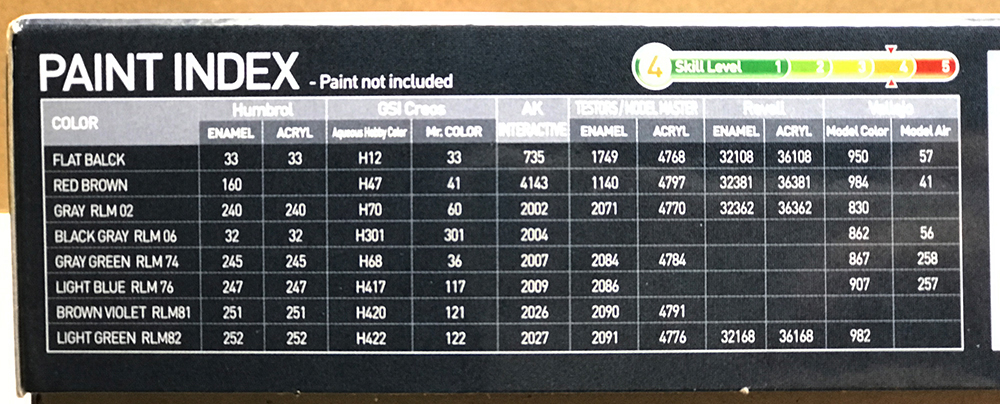
There are plenty of paint call-outs for Humbrol, GSI Creos, AK Interactive, Testors/MM, Revell, and Vallejo paints.
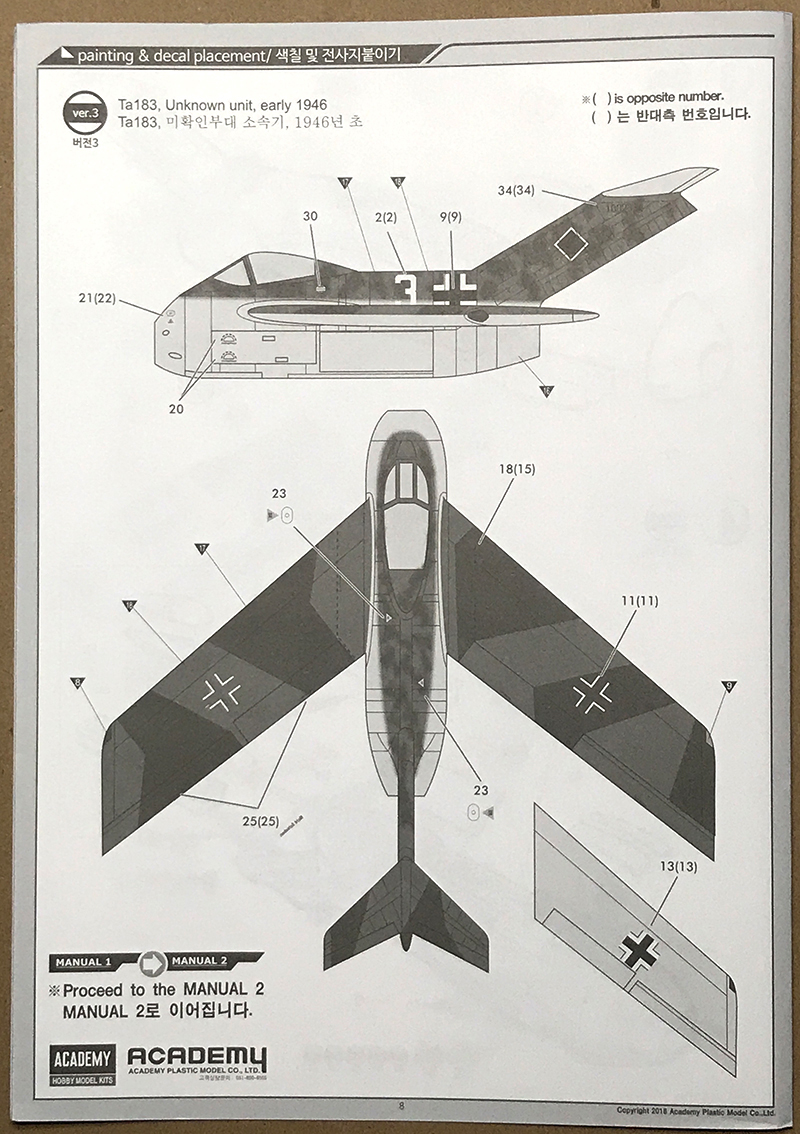
Instruction sheets are in black only. The first booklet is a 8-page fold-out with build instructions and painting guides for three versions. A supplemental 4-page booklet has the last three painting guides and a sprue map. The instructions are also available via download if you want to use a computer to view them while building. The black and white painting guides are difficult to understand, but Academys website does have full color profiles, and some beautiful photos of two built versions.
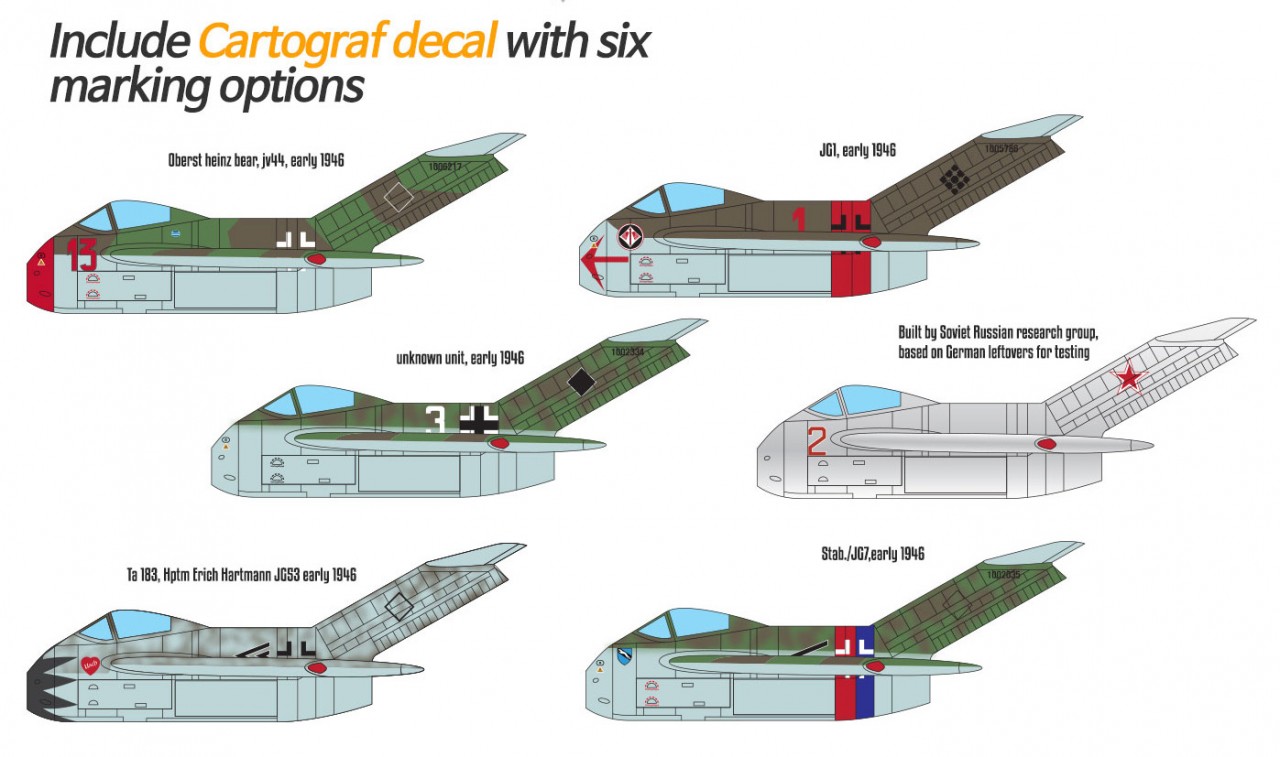
The decals are by Cartograf. The color is rich and the registration of colors is utterly perfect, even when viewed under a loupe. There are markings for six fictional aircraft from 1946, including alternate-future mounts for Oberst Heinz Baer, General Adolf Galland, and some red stars for a bare-metal Soviet prototype version. Fun!
TEST FITTING
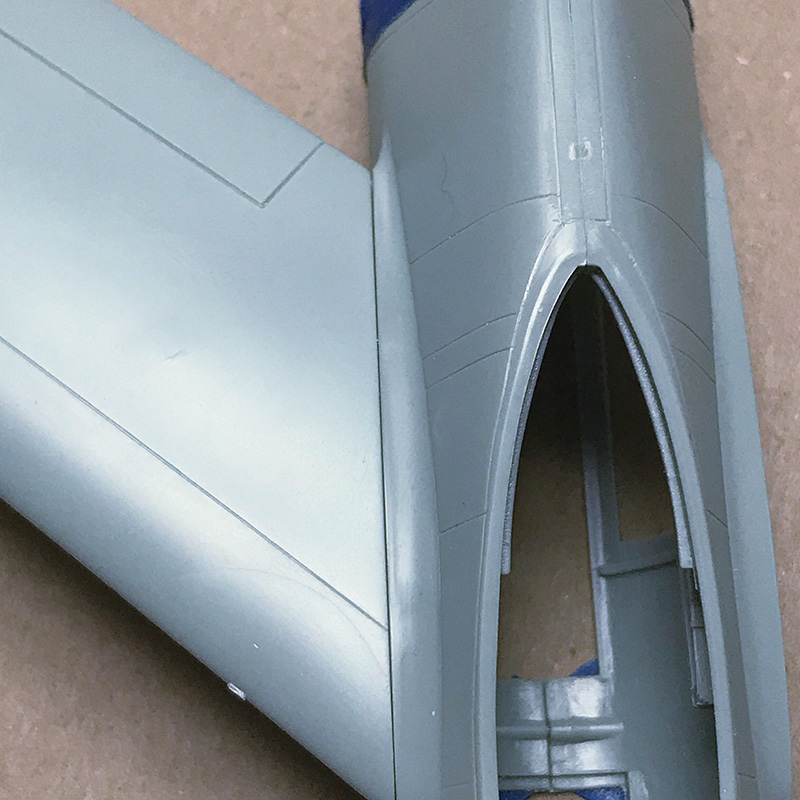
The sprue gates are sensible; there are not any parts that I think they could have done better. After basic clean-up, the fuselage halves fit together perfectly. The forward edges of the wings will need sanding in two spots, but the test fit of the wing halves is stunningly good. The trailing edges are nearly razor sharp. With thorough clamping you may not need to fill any gaps at all. As mentioned earlier, the wide wing tabs fit into reinforced receiving slots in the fuselage. Youll need to sand the tab edges lightly, but the result is very tight, solid fit. I wish all kits could be like this. There are no gaps in the wing root and only a small seam to fill. And finally, the beautiful horizontal stabilizer perches nicely atop the vertical fin.
CONCLUSION
This kit is 2.62 tons (in scale) of fun. Since no TA 183s were ever built, you can let your imagination run wild when it comes time to paint. The inclusion of decals for the fictional planes of real German pilots is a nice touch. It would even be reasonable to build a secret experimental British version, or a German night-fighter, or a brightly painted stunt plane from the 50s if your heart desired. And with only fifty or so parts, this should be an ideal kit for those of you who crave a quick build so you can get to the painting.
SUMMARY
Highs: Decals for six versions, nice molding, aftermarket resin availableLows: Numerous ejector pin marks, lack of any documentationVerdict: A fun fantasy subject, crisply molded, with limitless possibilities
Our Thanks to MRC! This item was provided by them for the purpose of having it reviewed on this KitMaker Network site. If you would like your kit, book, or product reviewed, please contact us.
About Wiggus (WIggus) FROM: PENNSYLVANIA, UNITED STATES
Like a thousand others here, I've returned to the sport after a 20 year hiatus, primarily building planes. The first kit I ever built with my dad was MPC's 1/16 Petty Charger with the clear body. I'd love to have that kit again. I am thrilled to see how the hobby has grown, and the generosity of its...


Comments