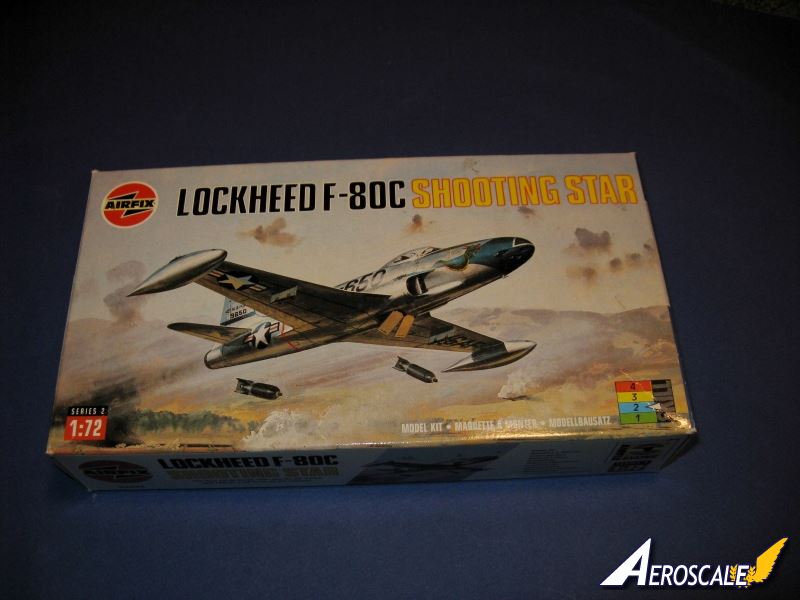
This review explores Airfix's venerable F-80C Shooting Star jet fighter. While F-80 was America's second jet fighter (Bell P-59 Airacomet was the first.) it was the first to be deployed. A pair were in Europe before VE Day, although no combat ops were flown.
Although an inferior fighter to the MiG-15, a USAF F-80 shot down a MiG in 1950 for history's first jet-verses-jet kill. F-80 may be thought of as the Curtiss P-40 of the early jet age, eclipsed in performance by most opponents yet providing sterling service. F-80 became USAF's first jet trainer by adding a second seat to become the long-serving T-33. T-33 was in turn modified to become the Lockheed F-94 Starfire all-weather interceptor.
The U.S. Navy obtained some F-80s for carrier trials and to chase missiles over Point Mugu, California. USN never assigned the jet a Navy designation and officially called them P-80s.
In the box
Airfix released their F-80 sometime in the late 1960s or early 1970s. The US distributor MPC issued it in the mid-70s.
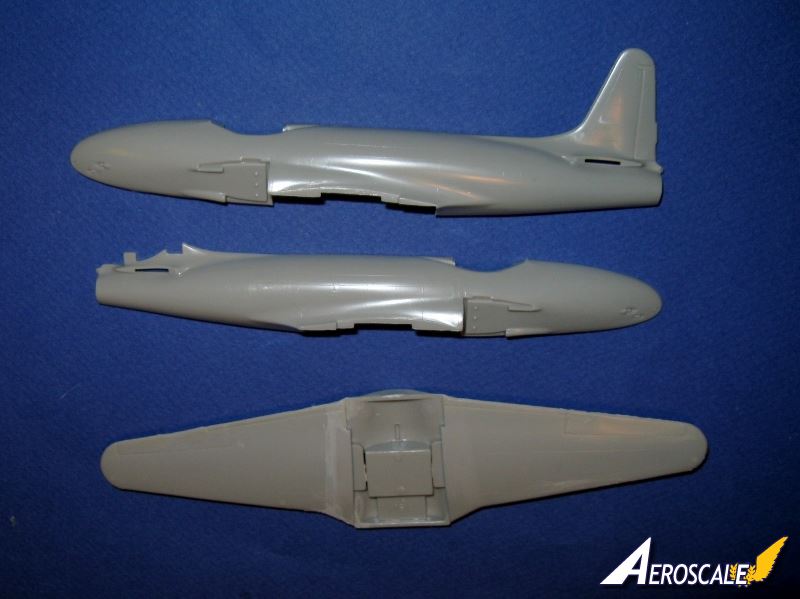
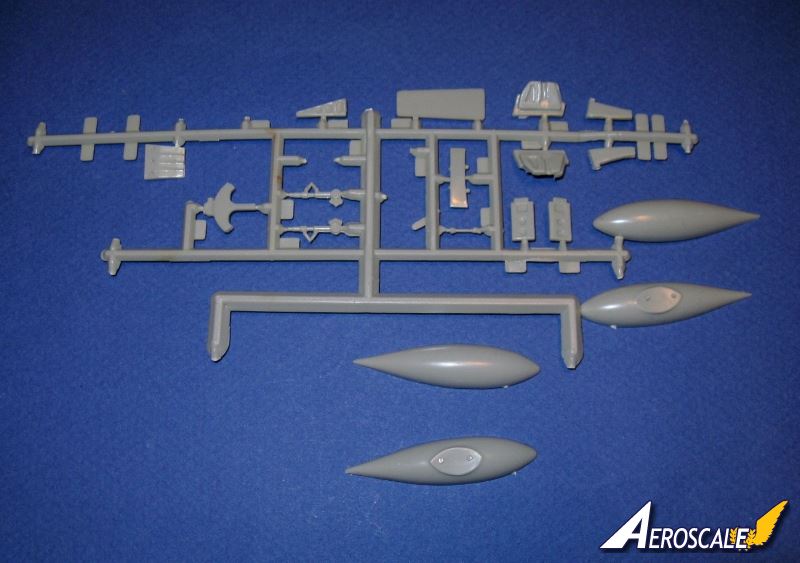
The model was known for good lines and detail for the day. It has fair molding with little flash, no visible sink marks, some visible ejector circles, and small seam lines that ought to be cleaned up. Airfix simplified the engineering of the fuselage and molded the vertical stabilizer as a single part of one fuselage half.
Airfix inconceivably designed this model with a very strange nose gear strut - shaped with a "T" at the top, you must insert the "T" into female ports inside the fuselage halves when you join the fuselage together. Thus, this prominent and fragile protrusion sticks out, almost guaranteed to be knocked off when trying to attach the wings, intakes, etc..
Most of the parts are over-scale thick. Surface detail consists of low raised panel lines and access ports (easily sanded away), with recessed control surface boundaries. Some surface detail such as vents are molded raised, while the .50 caliber machine gun ports are recessed.
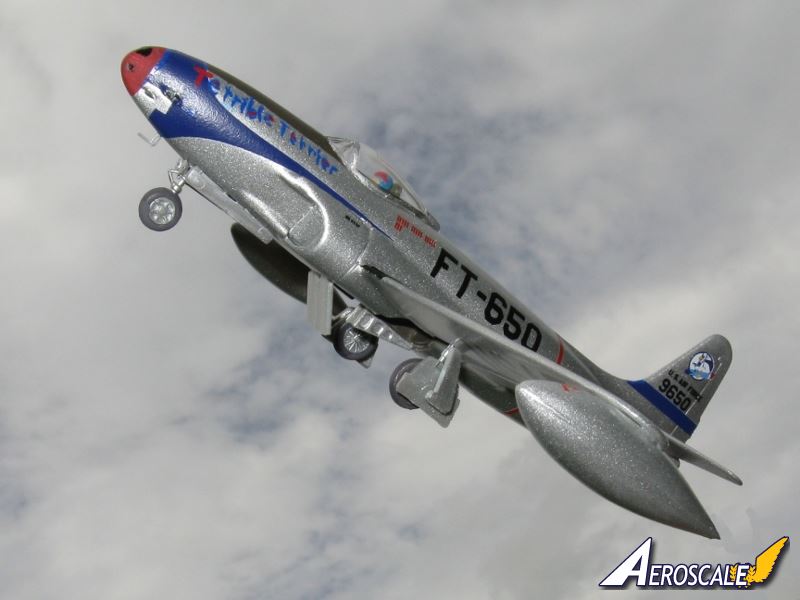
The box states 54 parts make up this model (I did not count the pieces.), including the clear one-piece canopy. The canopy is thick yet remarkably clear. It has raised framing.
Detail
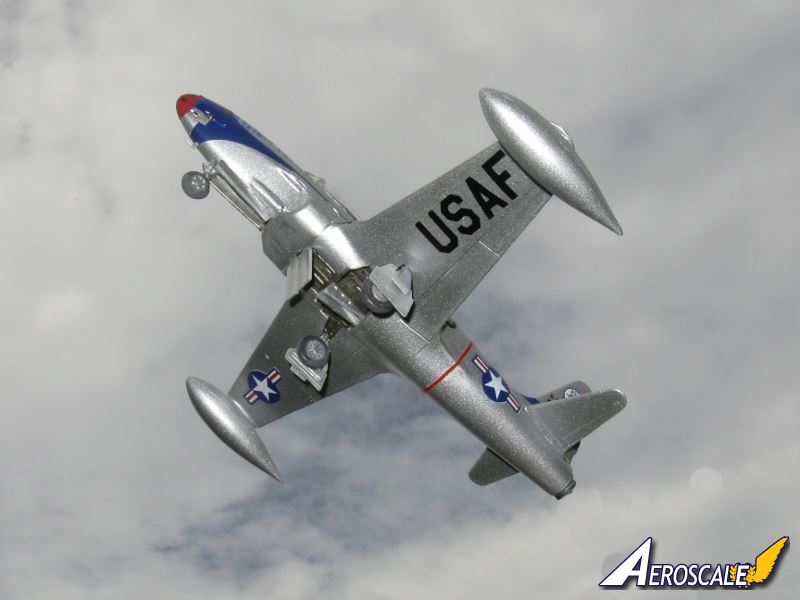
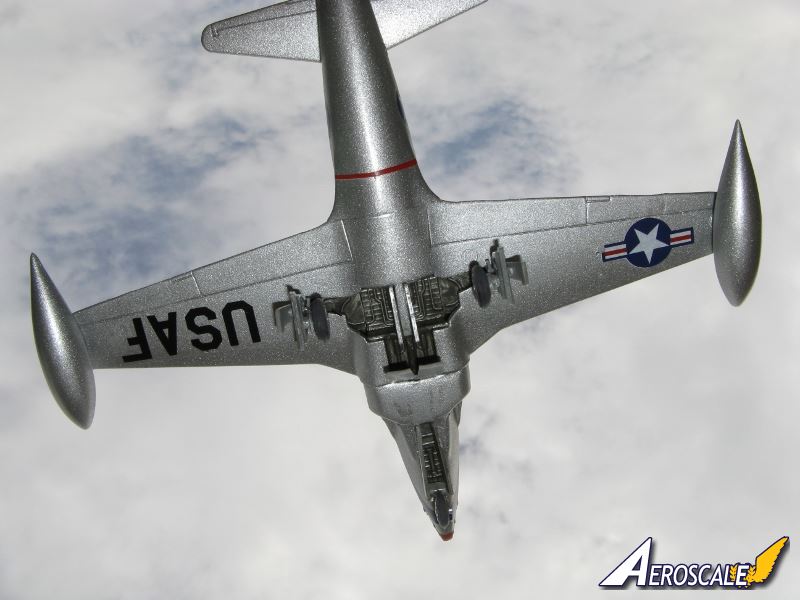
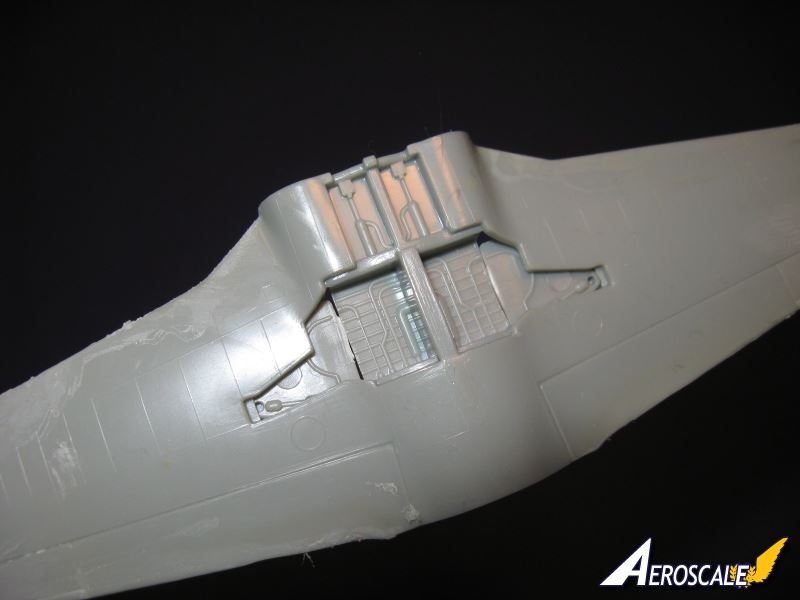
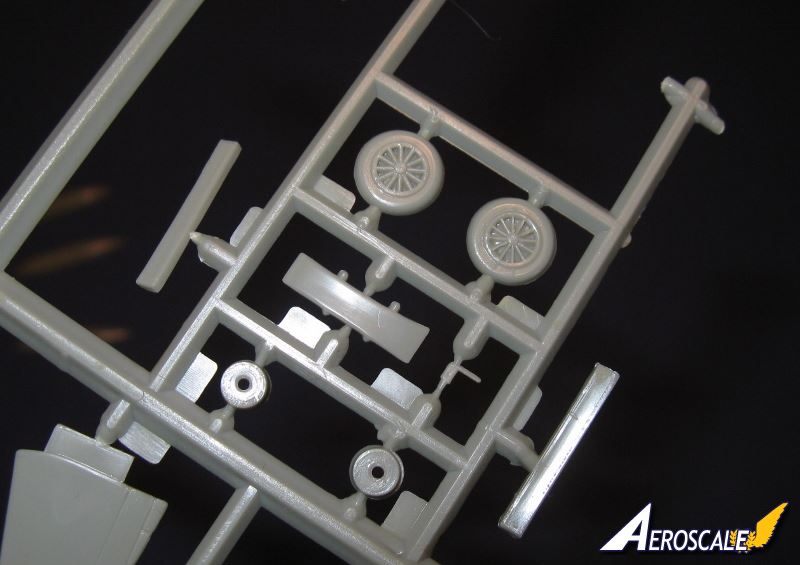
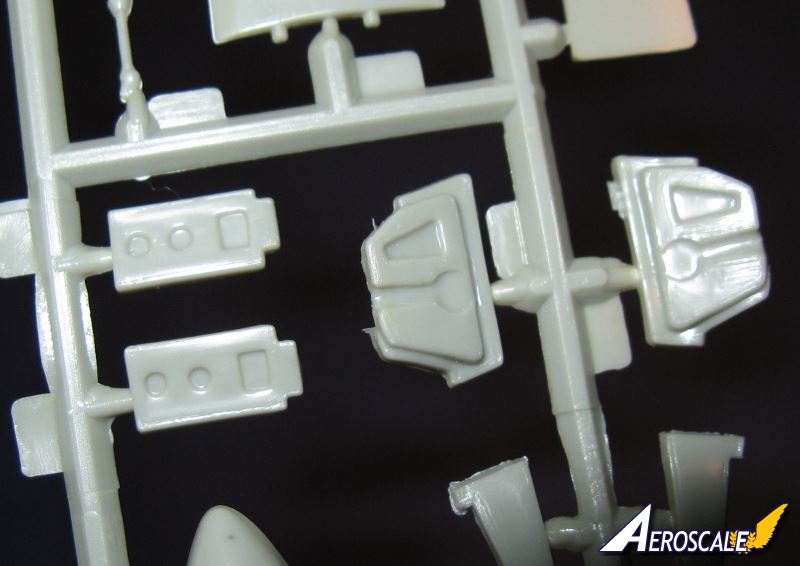
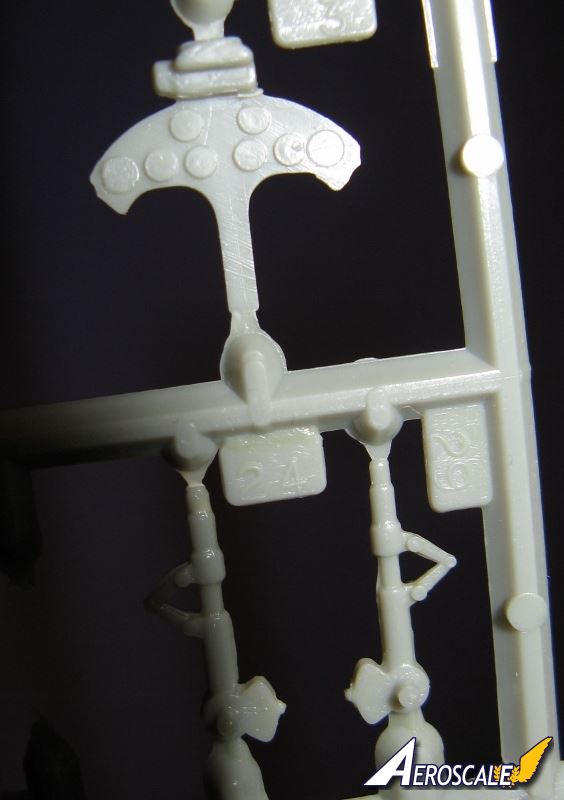
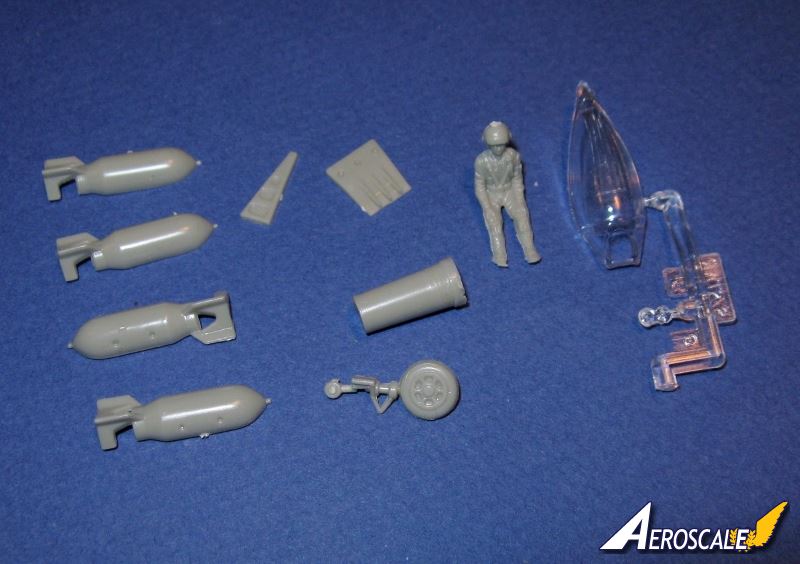
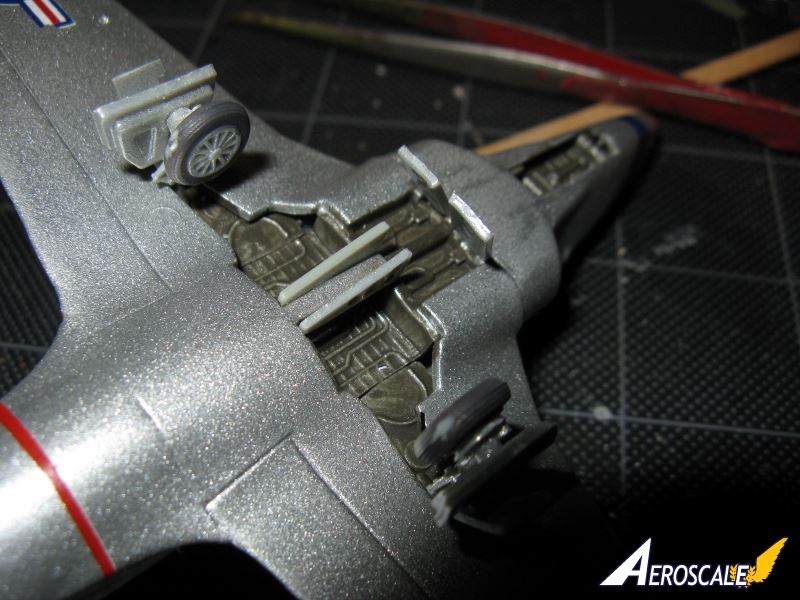
Airfix sculpted fair landing gear well interiors. Even the inside of the gear doors have some detail, although the parts are excessively thick. All of the doors are separate. The cockpit is a tub with a separate stick, seat, instrument panel, and pilot. The pilot has soft, basic detail: B-5 Mae West LPU; parachute straps; face.
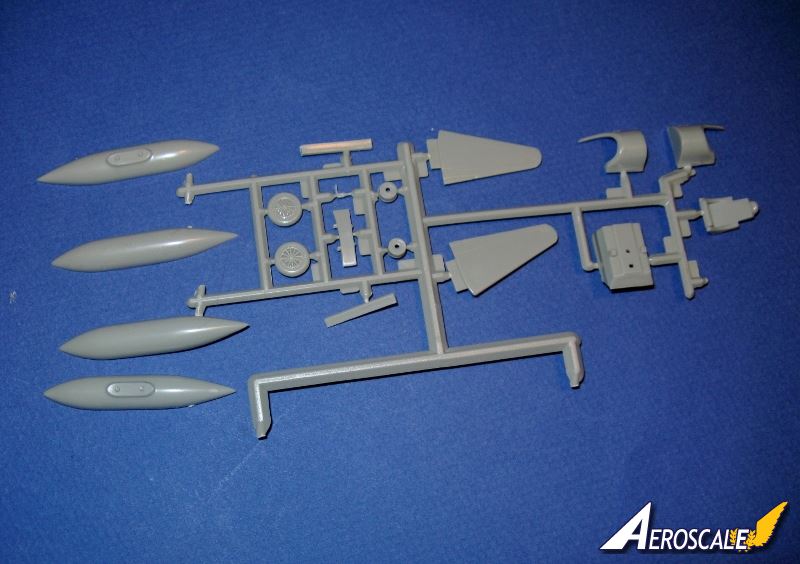
Airfix addressed the complex compound curves of the intakes with separate pieces, including separate intake ramps.
You have a choice of building your Shooting Star clean or with external stores. To attach the drop tanks and bombs, you must open holes in the lower wing. Two styles of drop tanks are included, the "Misawa" 265-gallon and the 165-gallon Lockheed standard types.
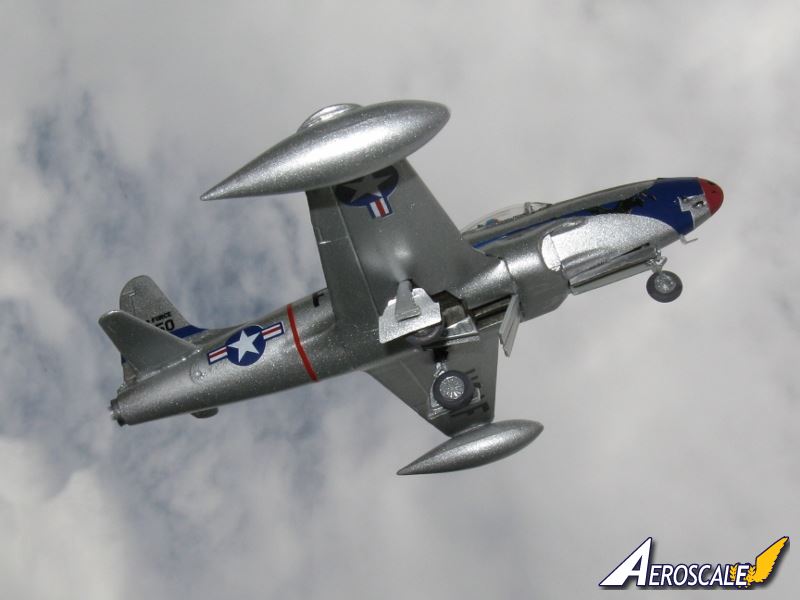
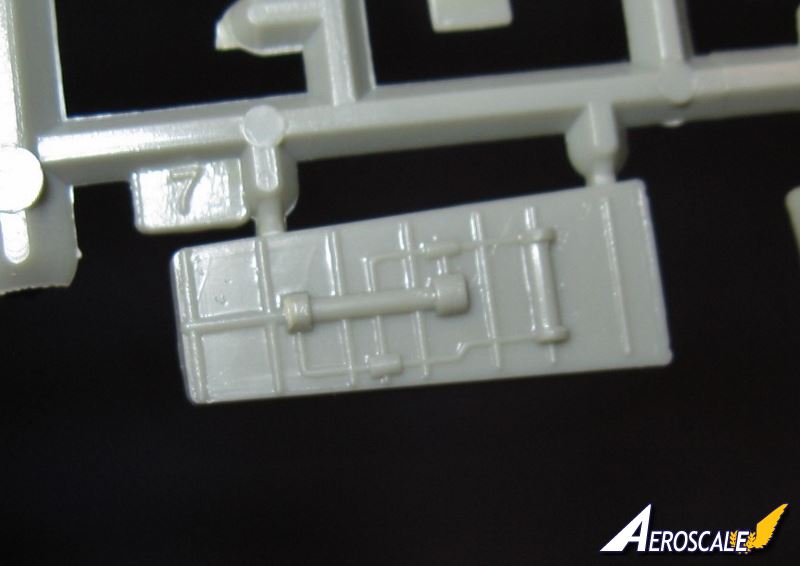
The air brakes (or dive recovery flaps) can be attached open or closed, with fair detail inside the wells.
The two-part canopy is molded as a single piece, with the AN/-6 radio sense antenna molded into the top.
Fit
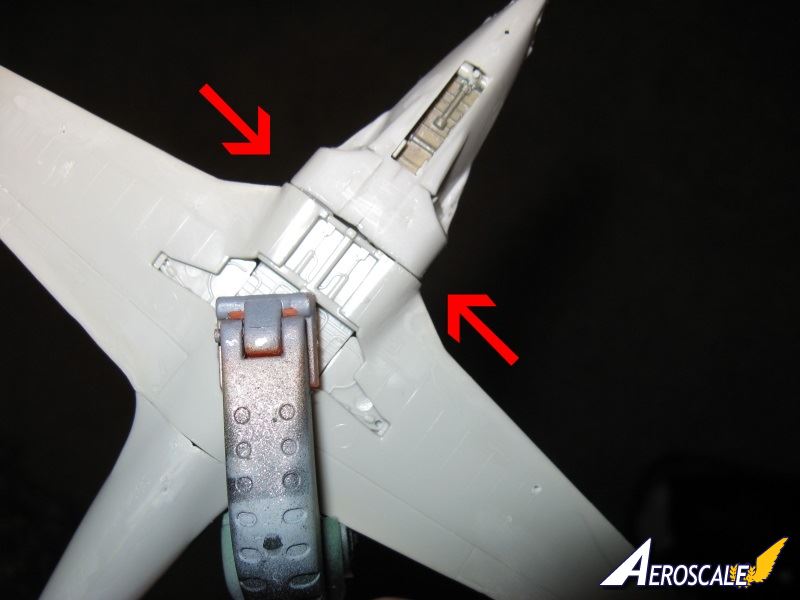
Did I mention this is a 40-year-old model? Fit is what I expect from the era. The fuselage from the cockpit aft aligns nicely with no gaps, except for the fuselage-tail fit. Big gap there! Cockpit forward is good along the top, poor on both sides of the nose wheel well. The contours of the nose do not align well.
The intake assembles need a great deal of fiddling. One side fit well but the other side did not. Their cross section contours fit well on the bottom fuselage, but needed sanding to match the fuselage sides above the wings. That sanding removes the raised vents.
The two upper wings fit well along the contours of the single lower wing, but left big gaps along the wing roots. The bottom wing fits great along the bottom rear fuselage but poorly against the bottom front fuselage, and where the intakes meld into it.
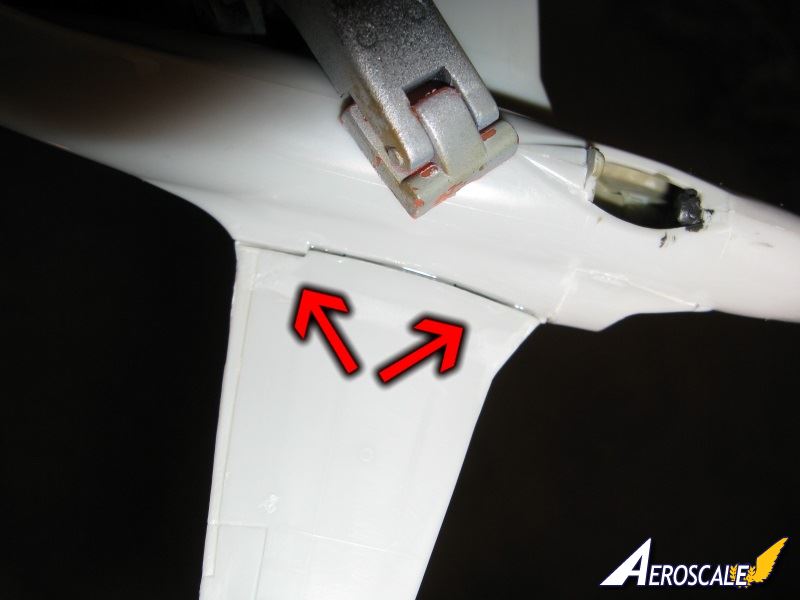
That gap between the fuselage half and the vertical stab would measure about a scale 6-inches! Fortunately, my Ambroid liquid cement filled most of it in by melting the styrene.
I must admit that aligning and seating the halves for the drop tanks and bombs was pretty easy and neat.
Also fitting without flaw was the canopy. I set it in place and then let Tamiya extra-thin cement flow along the edges, sealing the canopy tight to the fuselage.
instructions, decals, painting
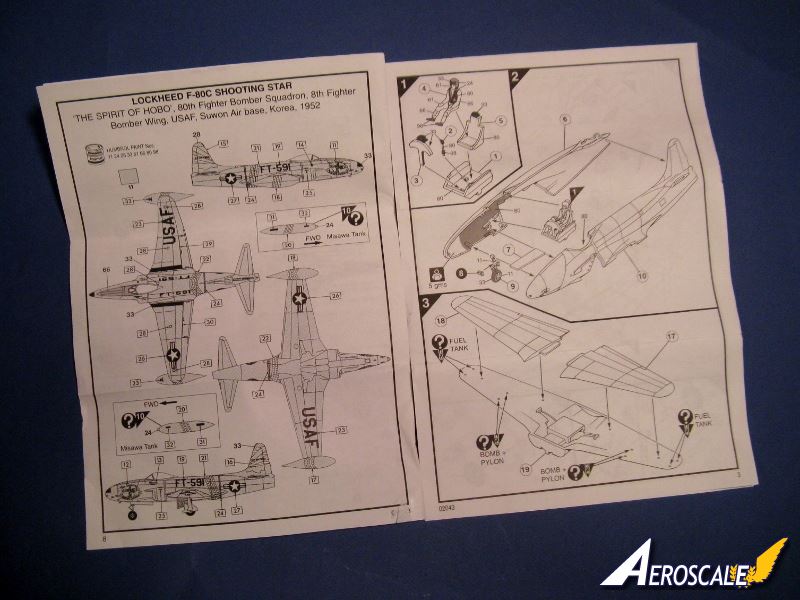
This simple kit is easily assembled by following a well illustrated and designed instruction sheet with 11 steps. The front features a brief history of the F-80C in several languages.
Eleven paint colors are listed, all Humbrol.
Two pages of line art guide decal placement and painting for the two aircraft:
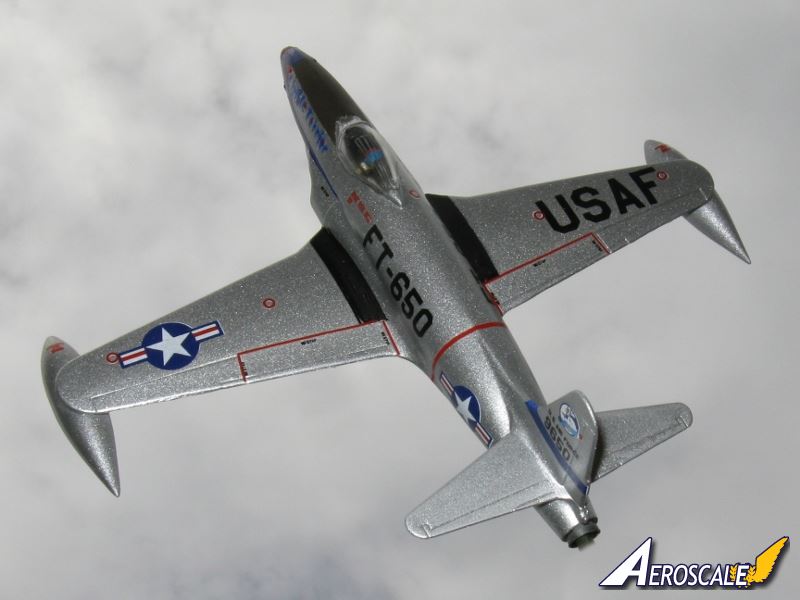
'The Spirit Of Hobo', 80th Fighter Bomber Squadron, 8th Fighter Bomber Wing, USAF, Suwon Air Force Base, Korea, 1952
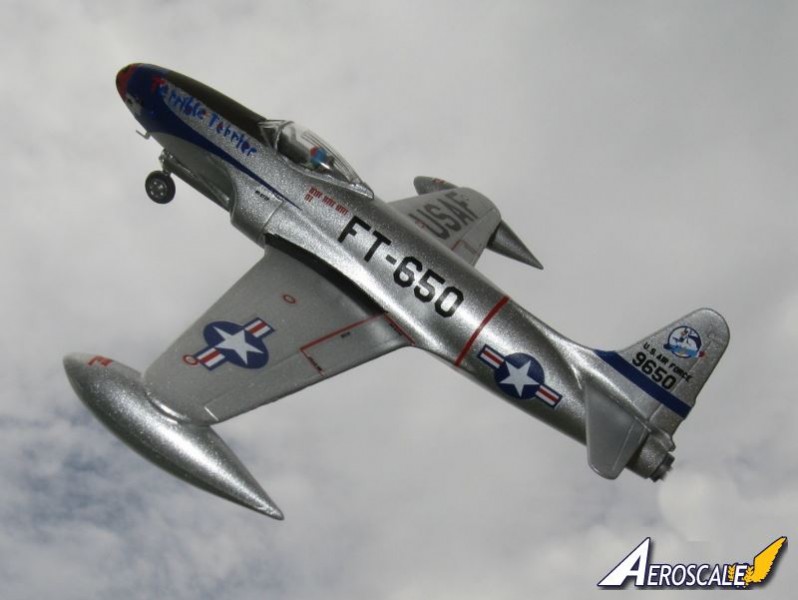
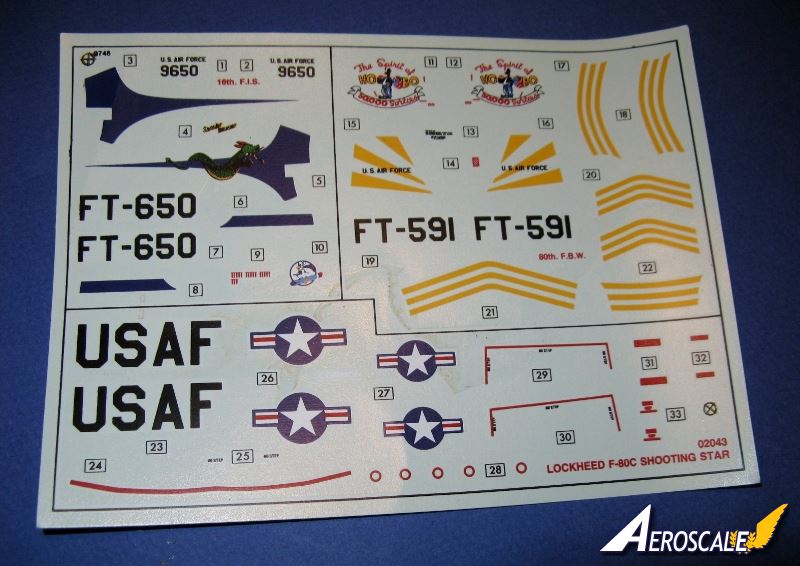
The decals surprised me. They are thin and went on easily and do not show any carrier film over the bright NMF (Natural Metal Finish). The colors are opaque. However, to make them so, Airfix printed the color over white, and registration was not precise. A thin bit of white shows along the edge of many details, and the red strip in the national insignia is off center.
Conclusion
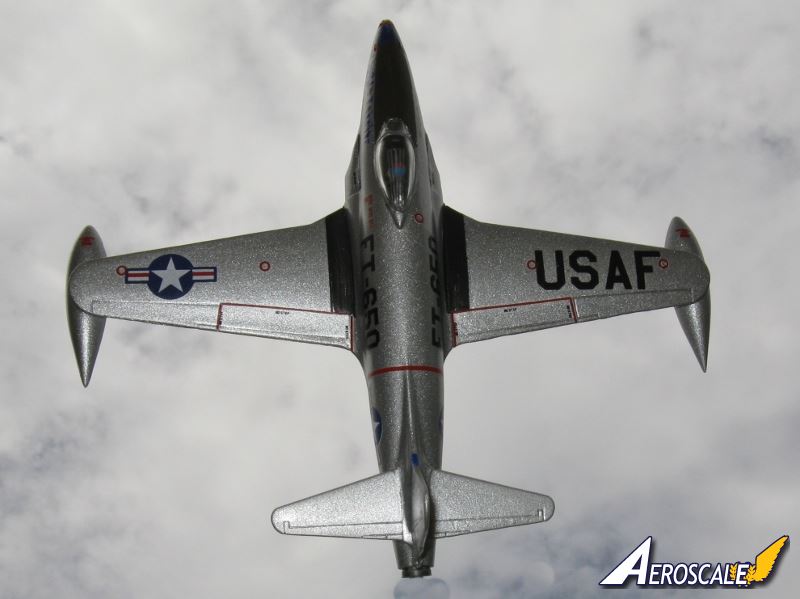
I built this model for a tribute campaign and modified the markings slightly. I just say the markings are for the pilot who inherited the aircraft after Saggin Dragon's pilot went home.
The build was easy. Most of the work was sanding the intakes and wing-fuselage junctions. Gap-filling superglue helped. I attached the tip tanks, touched a brush of Ambroid to the joint, and clamped them over night. Lots of liquid glue and sanding tried to blend the intakes to the fuselage and wings; other fillers will be required.
I could not find a suitable 5-gram weight to stick in the nose (As directed by Airfix) so my Shooting Star sets on its tail.
Remember the strangely designed nose gear strut? I did indeed break it off.
This builds into a nice 1/72 F-80. Venerable the kit is and it lacks the surface detail of modern kits. Fit is variable but I rate it as fair. Thickness of parts is poor. Wheel well and dive flaps bay detail is good. The decals are impressive despite the registration being off.
Highs: Wheel well and dive flaps bay detail is good. The decals are impressive despite the registration being off.Lows: Fit I rate it as fair. This venerable kit lacks the surface detail of modern kits.Verdict: This can build into a nice 1/72 F-80.
About Frederick Boucher (JPTRR) FROM: TENNESSEE, UNITED STATES
I'm a professional pilot with a degree in art.
My first model was an AMT semi dump truck. Then Monogram's Lunar Lander right after the lunar landing. Next, Revell's 1/32 Bf-109G...cried havoc and released the dogs of modeling!
My interests--if built before 1900, or after 1955, then I proba...
Thanks Fred, I've got this one in the stash and wondered just how bad it was..
I had considered doing this one for early jets. Think I'll stick with the F-94. I would love to eventually snag a T-33 or TV or T2V for the collection too.
Fred, A real oldie that I've long forgotten about. I'm sure that at I must have built it at one time. being a 1/48 scale modeler these days, I don't have to think about a trip down memory lane every so often.


Comments