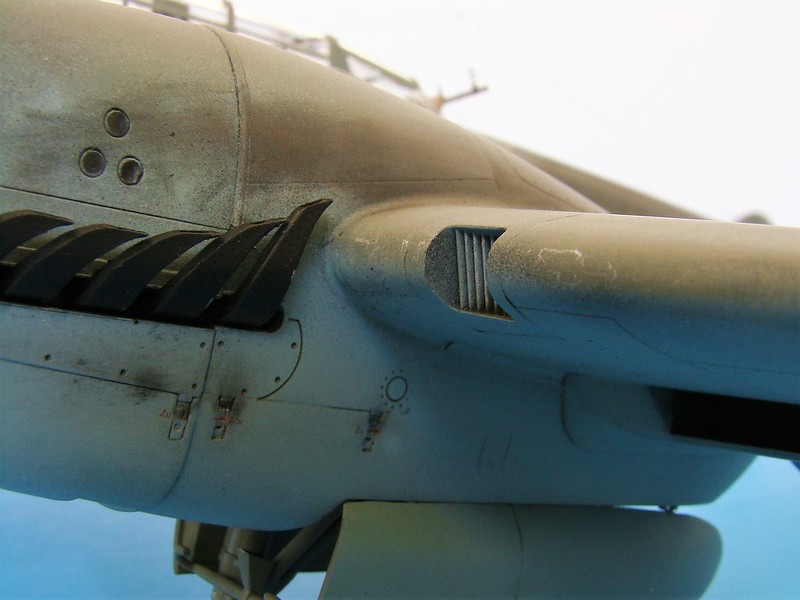
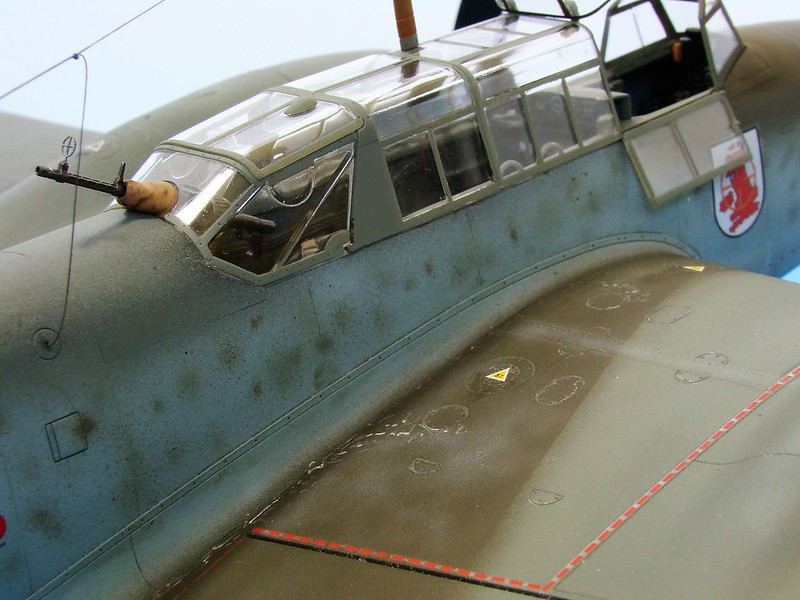
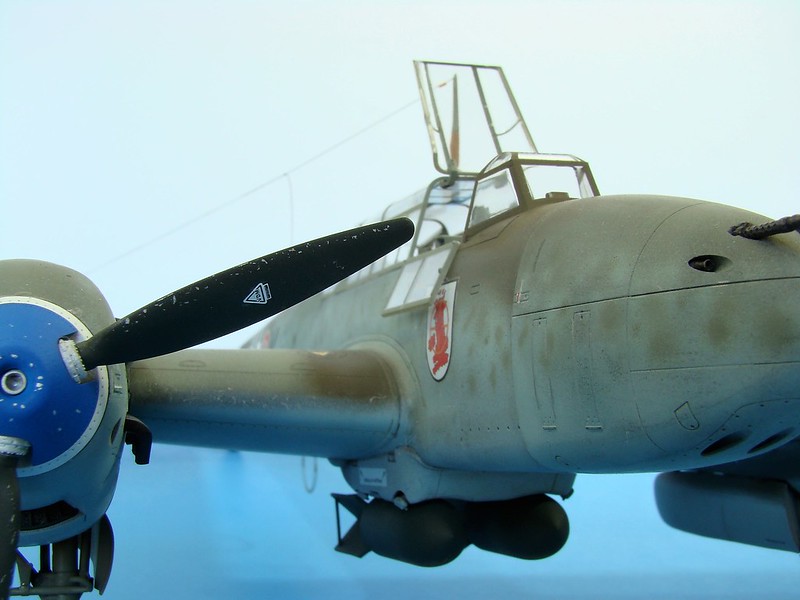
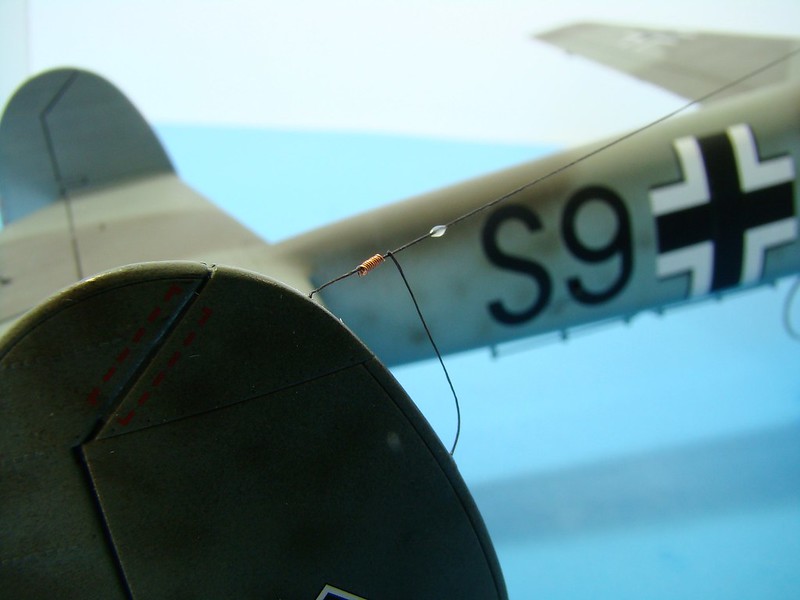
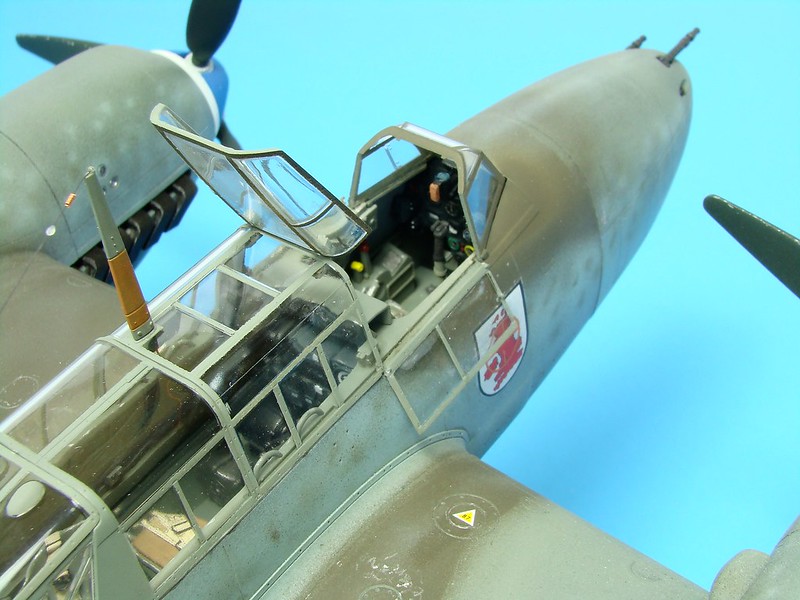
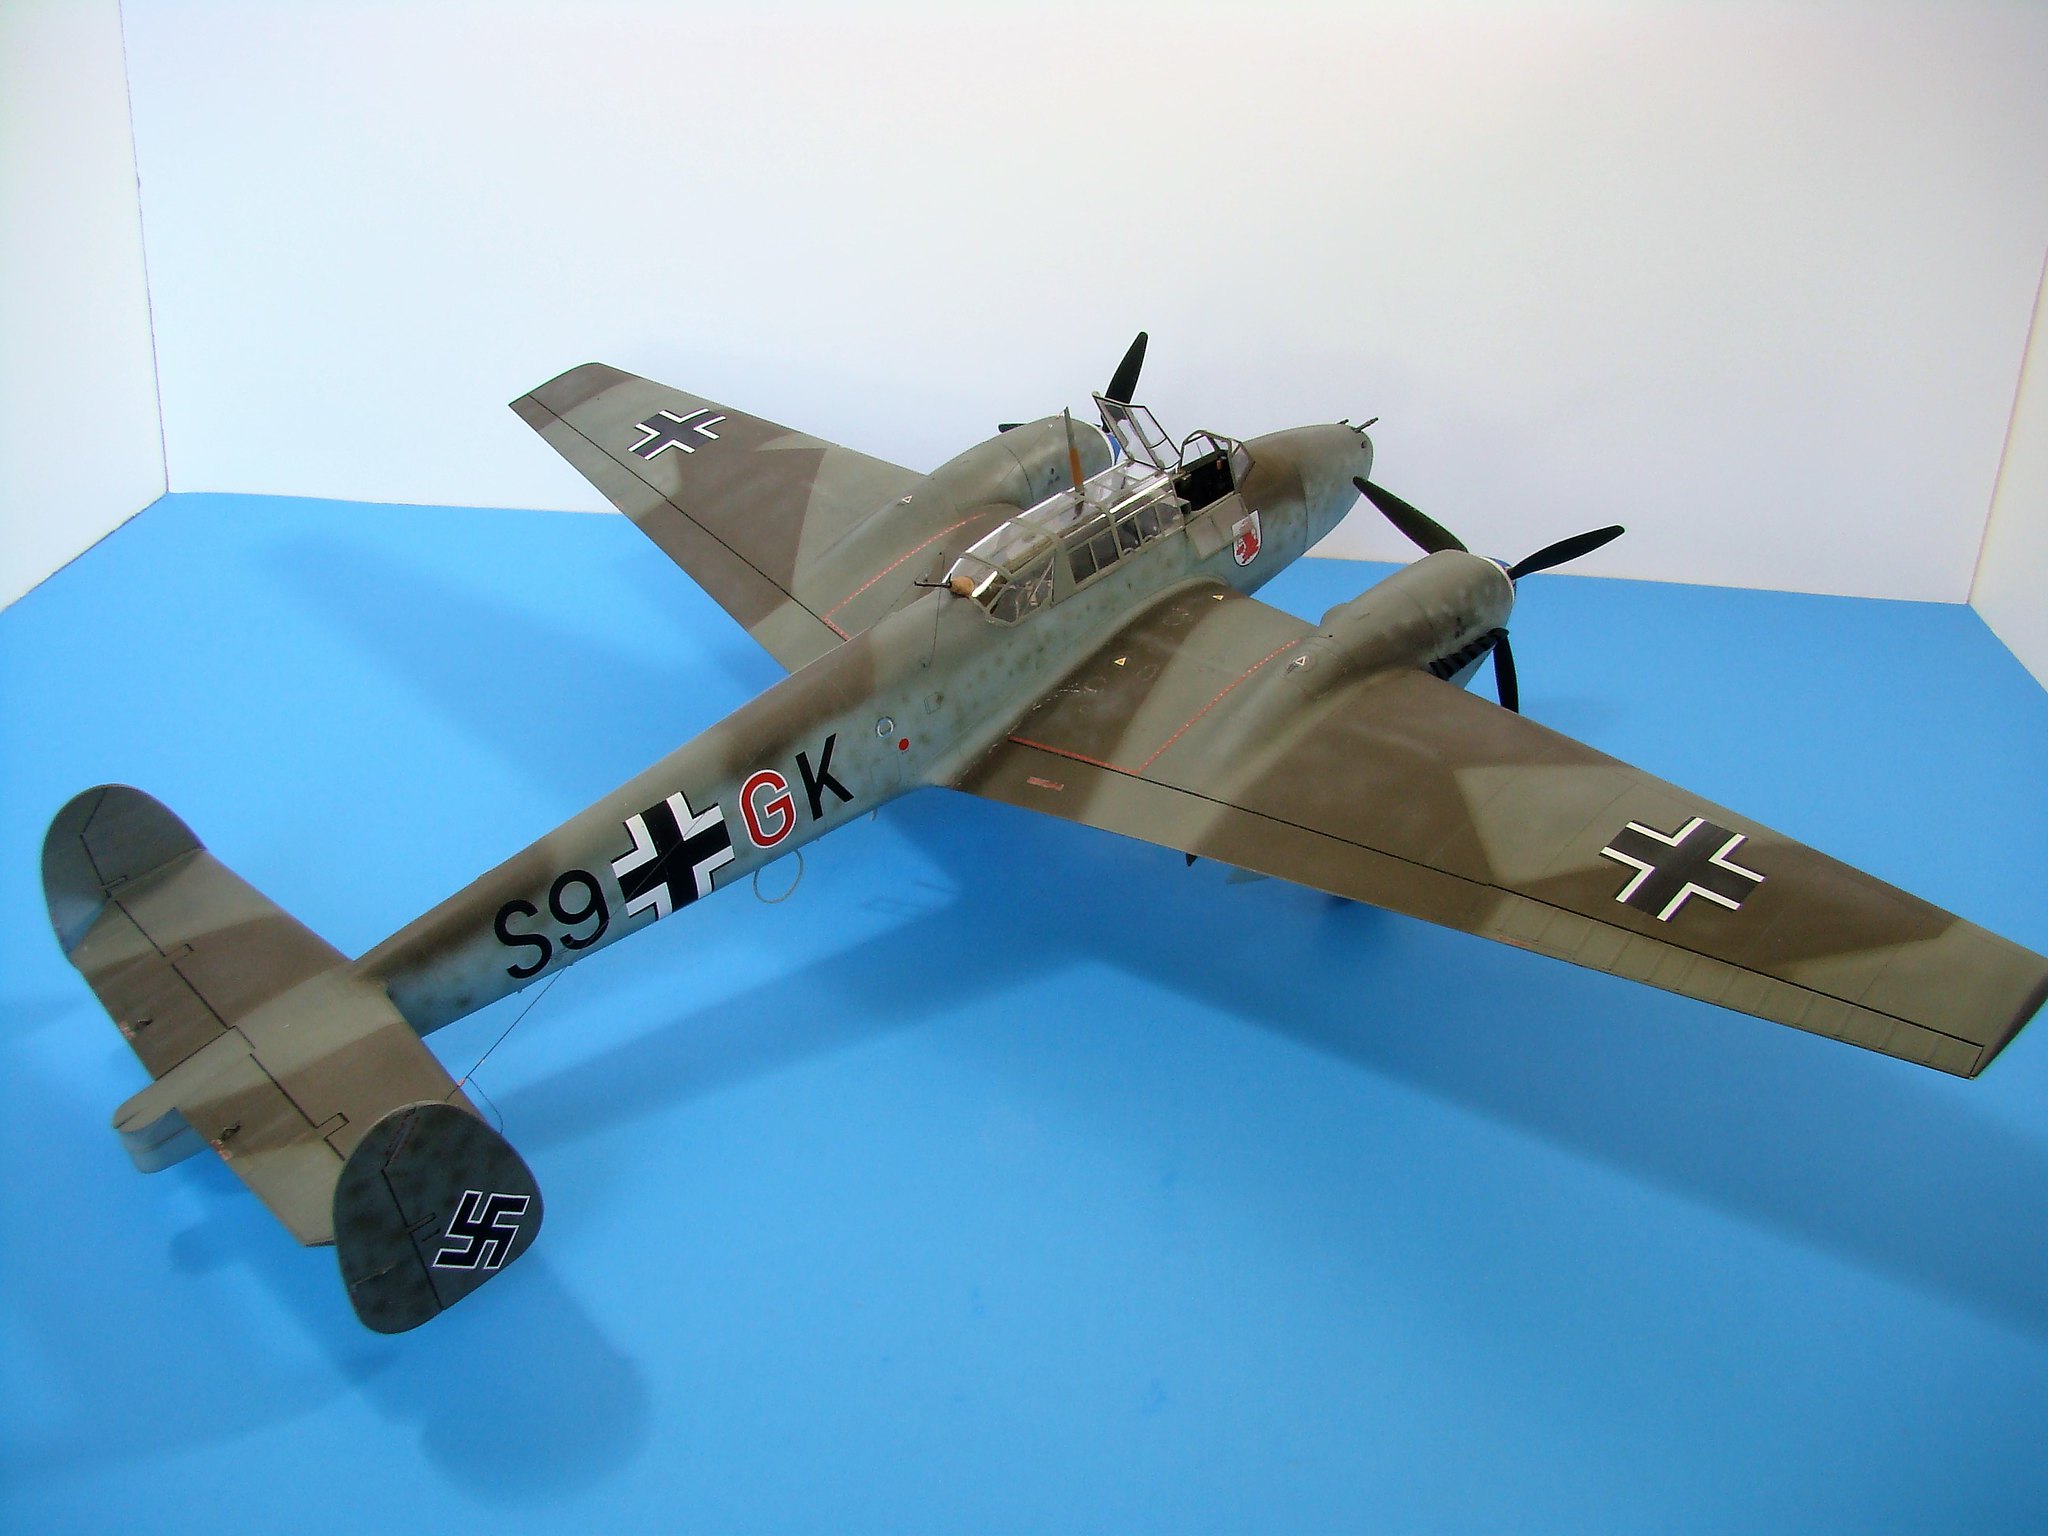
Well that worked after a fashion, though I think I will try "medium sized" photos for this post. The camo scheme reflects the one used by 2nd Staffel of ErPro 210 during the main stage of the Battle of Britain. The camo consisted of a tight overspray of RLM02 and RLM71 over the RLM65 fuselage sides and rudders. RLM 65 and RLM71 were mottled on the engine nacelles. There is one historical error on the build. My friend really wanted the large decal of England in a bombsight on a white background to be placed on the model. Even after I explained to him that that unit symbol was not used until after BoB, the correct one not having a white background, he insisted. As he paid for the kit and would enjoy it in his home I did a mental shrug and placed the decal.
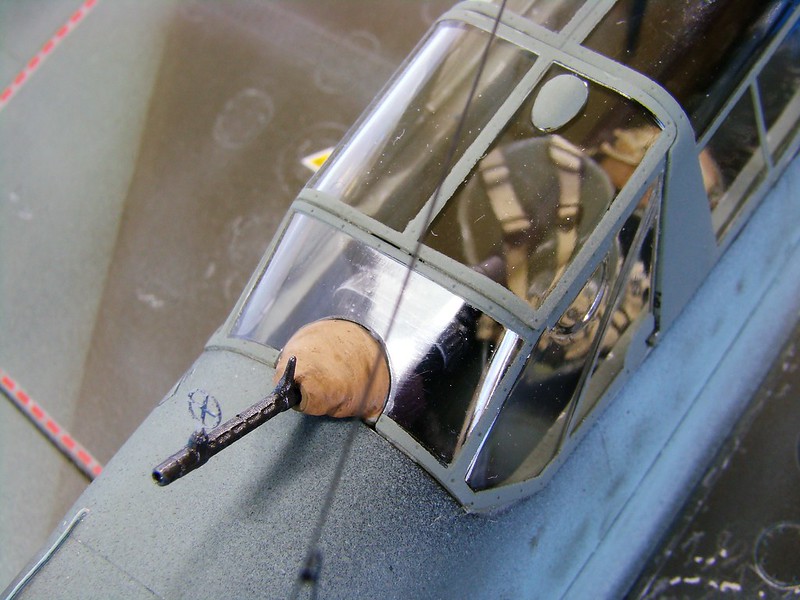
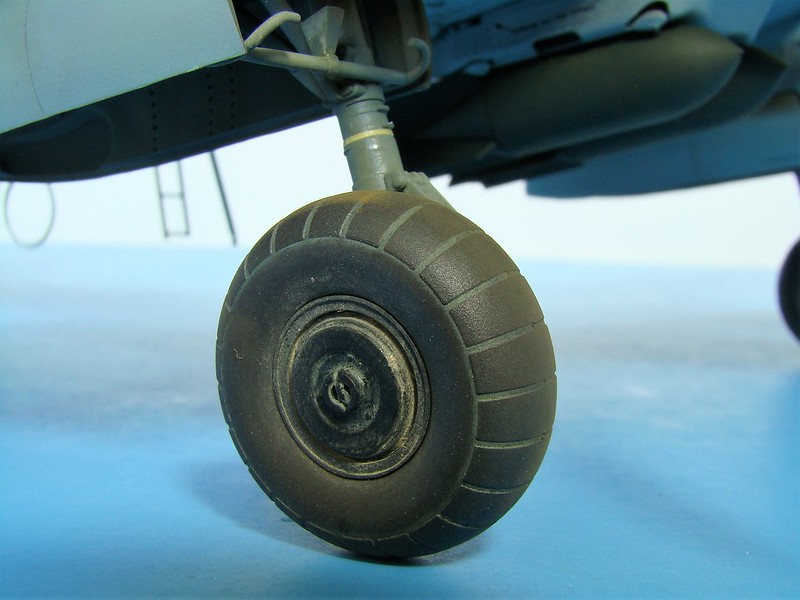
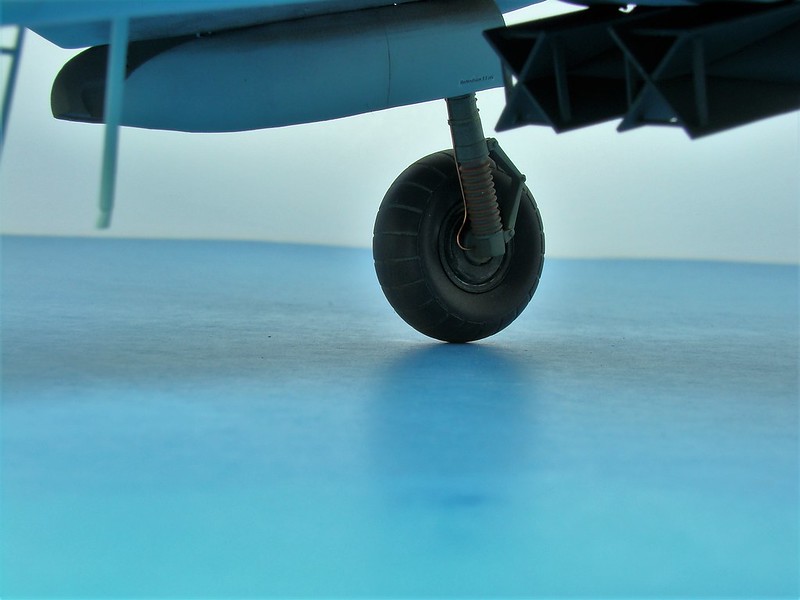
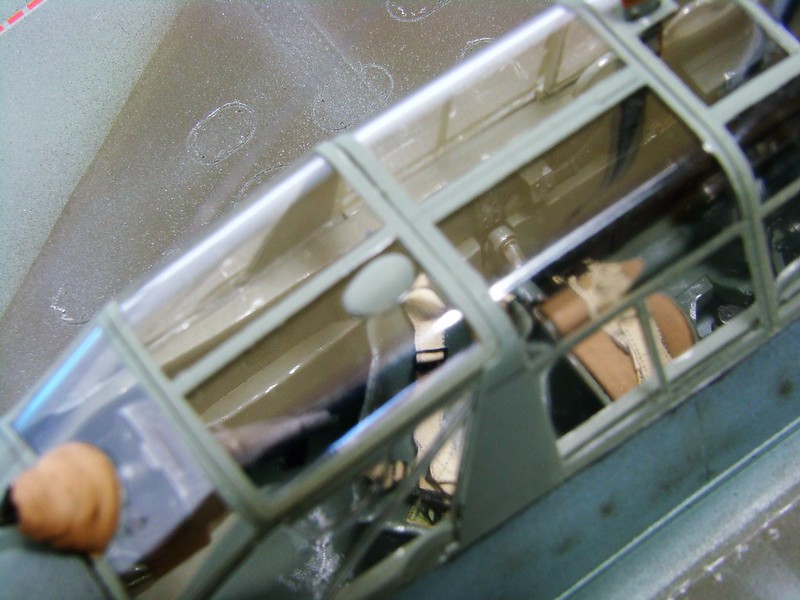
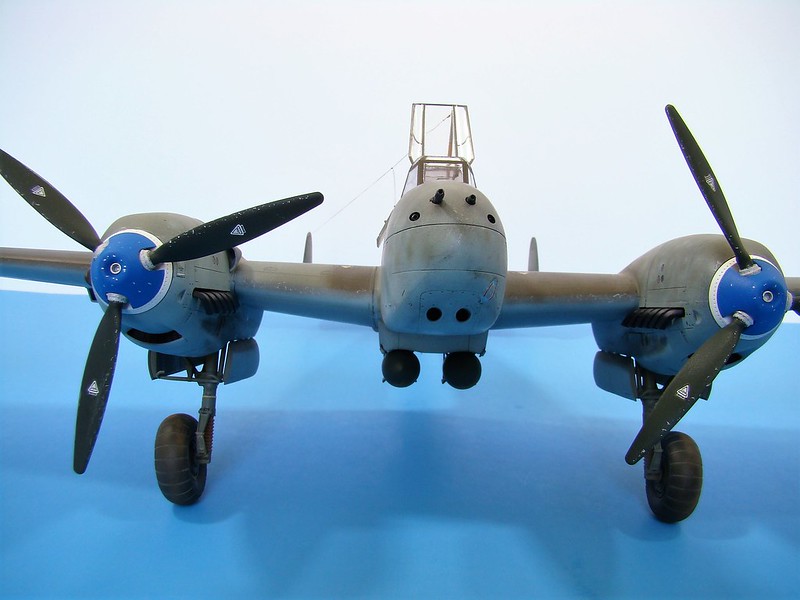
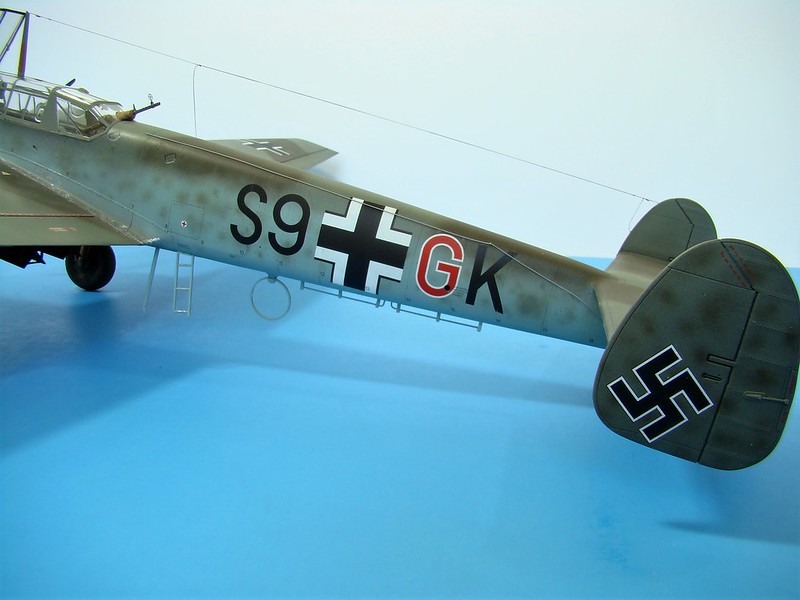
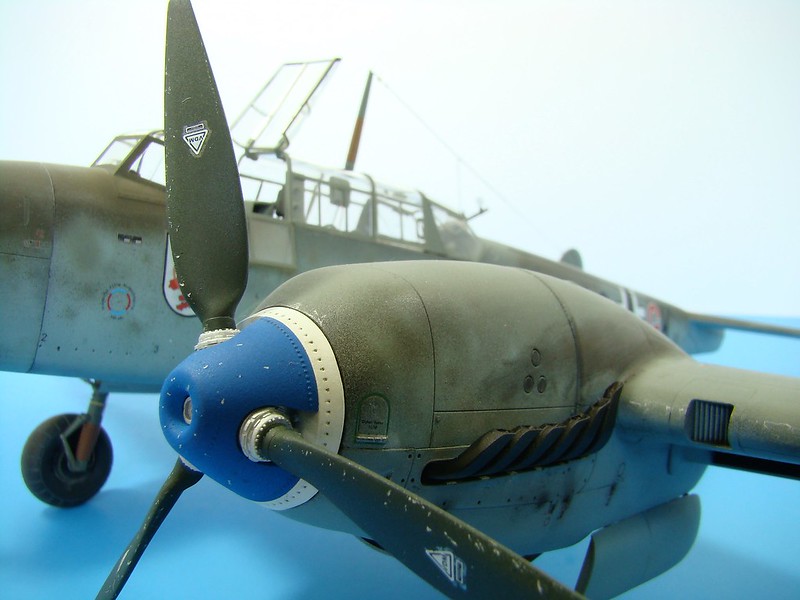
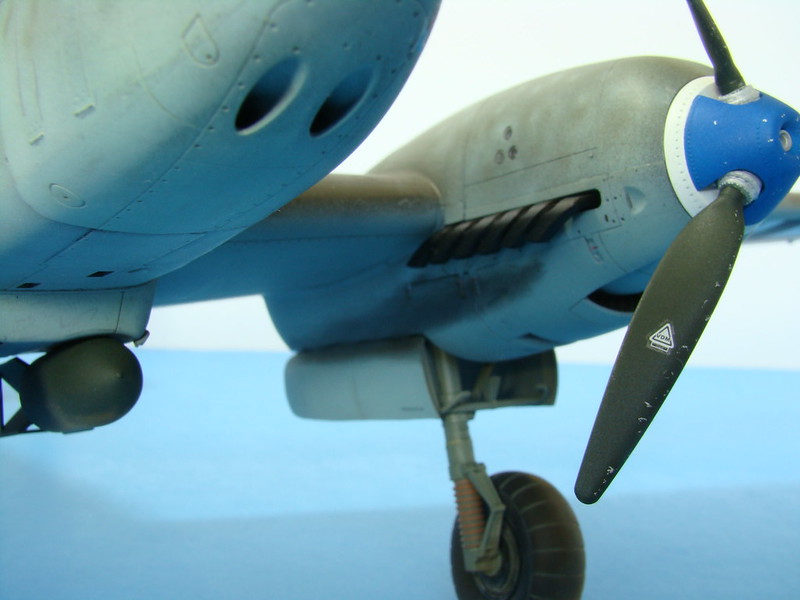
The following shots show a bit more detail. The life raft release cable running along the port side of the fuselage and "clothesline" antenna on the bottom of the fuselage were scratchbuilt. The chipping on the props was done using the hairspray technique, and the exhaust stains were put on with Tamiya pastels.
Ernest
 DSC03397
 by
Ernest Roth, on Flickr
 DSC03418
 by
Ernest Roth, on Flickr
 DSC03400
 by
Ernest Roth, on Flickr
 DSC03407
 by
Ernest Roth, on Flickr
 DSC03426
 by
Ernest Roth, on Flickr


 DSC03387 by Ernest Roth, on Flickr
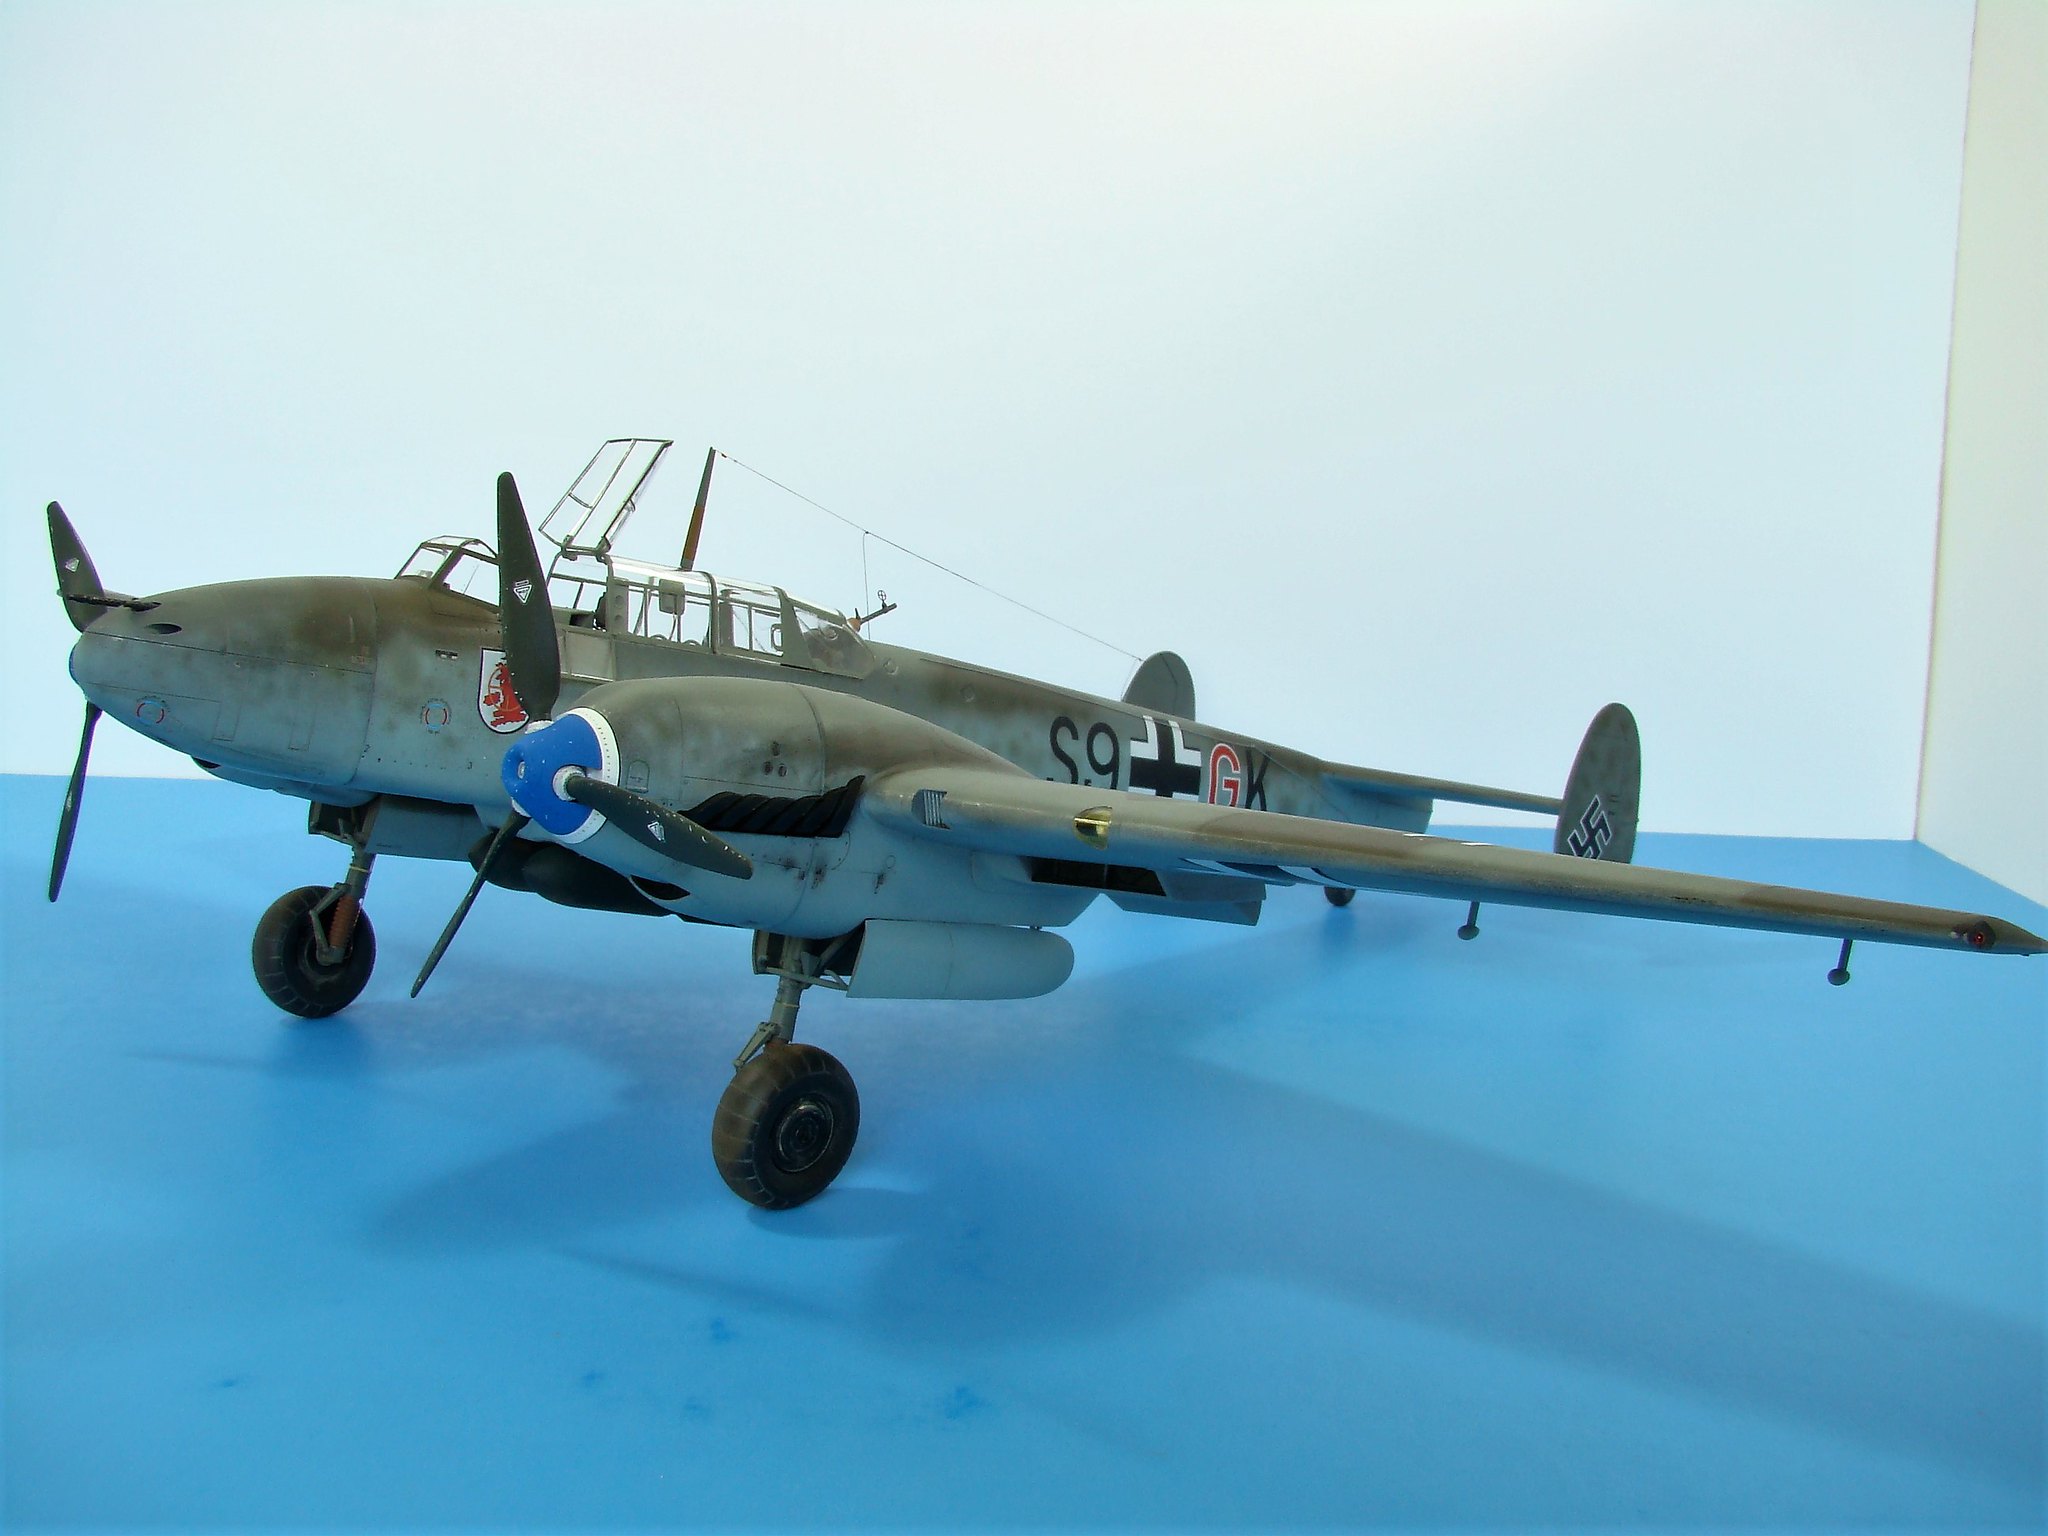 DSC03390 by Ernest Roth, on Flickr
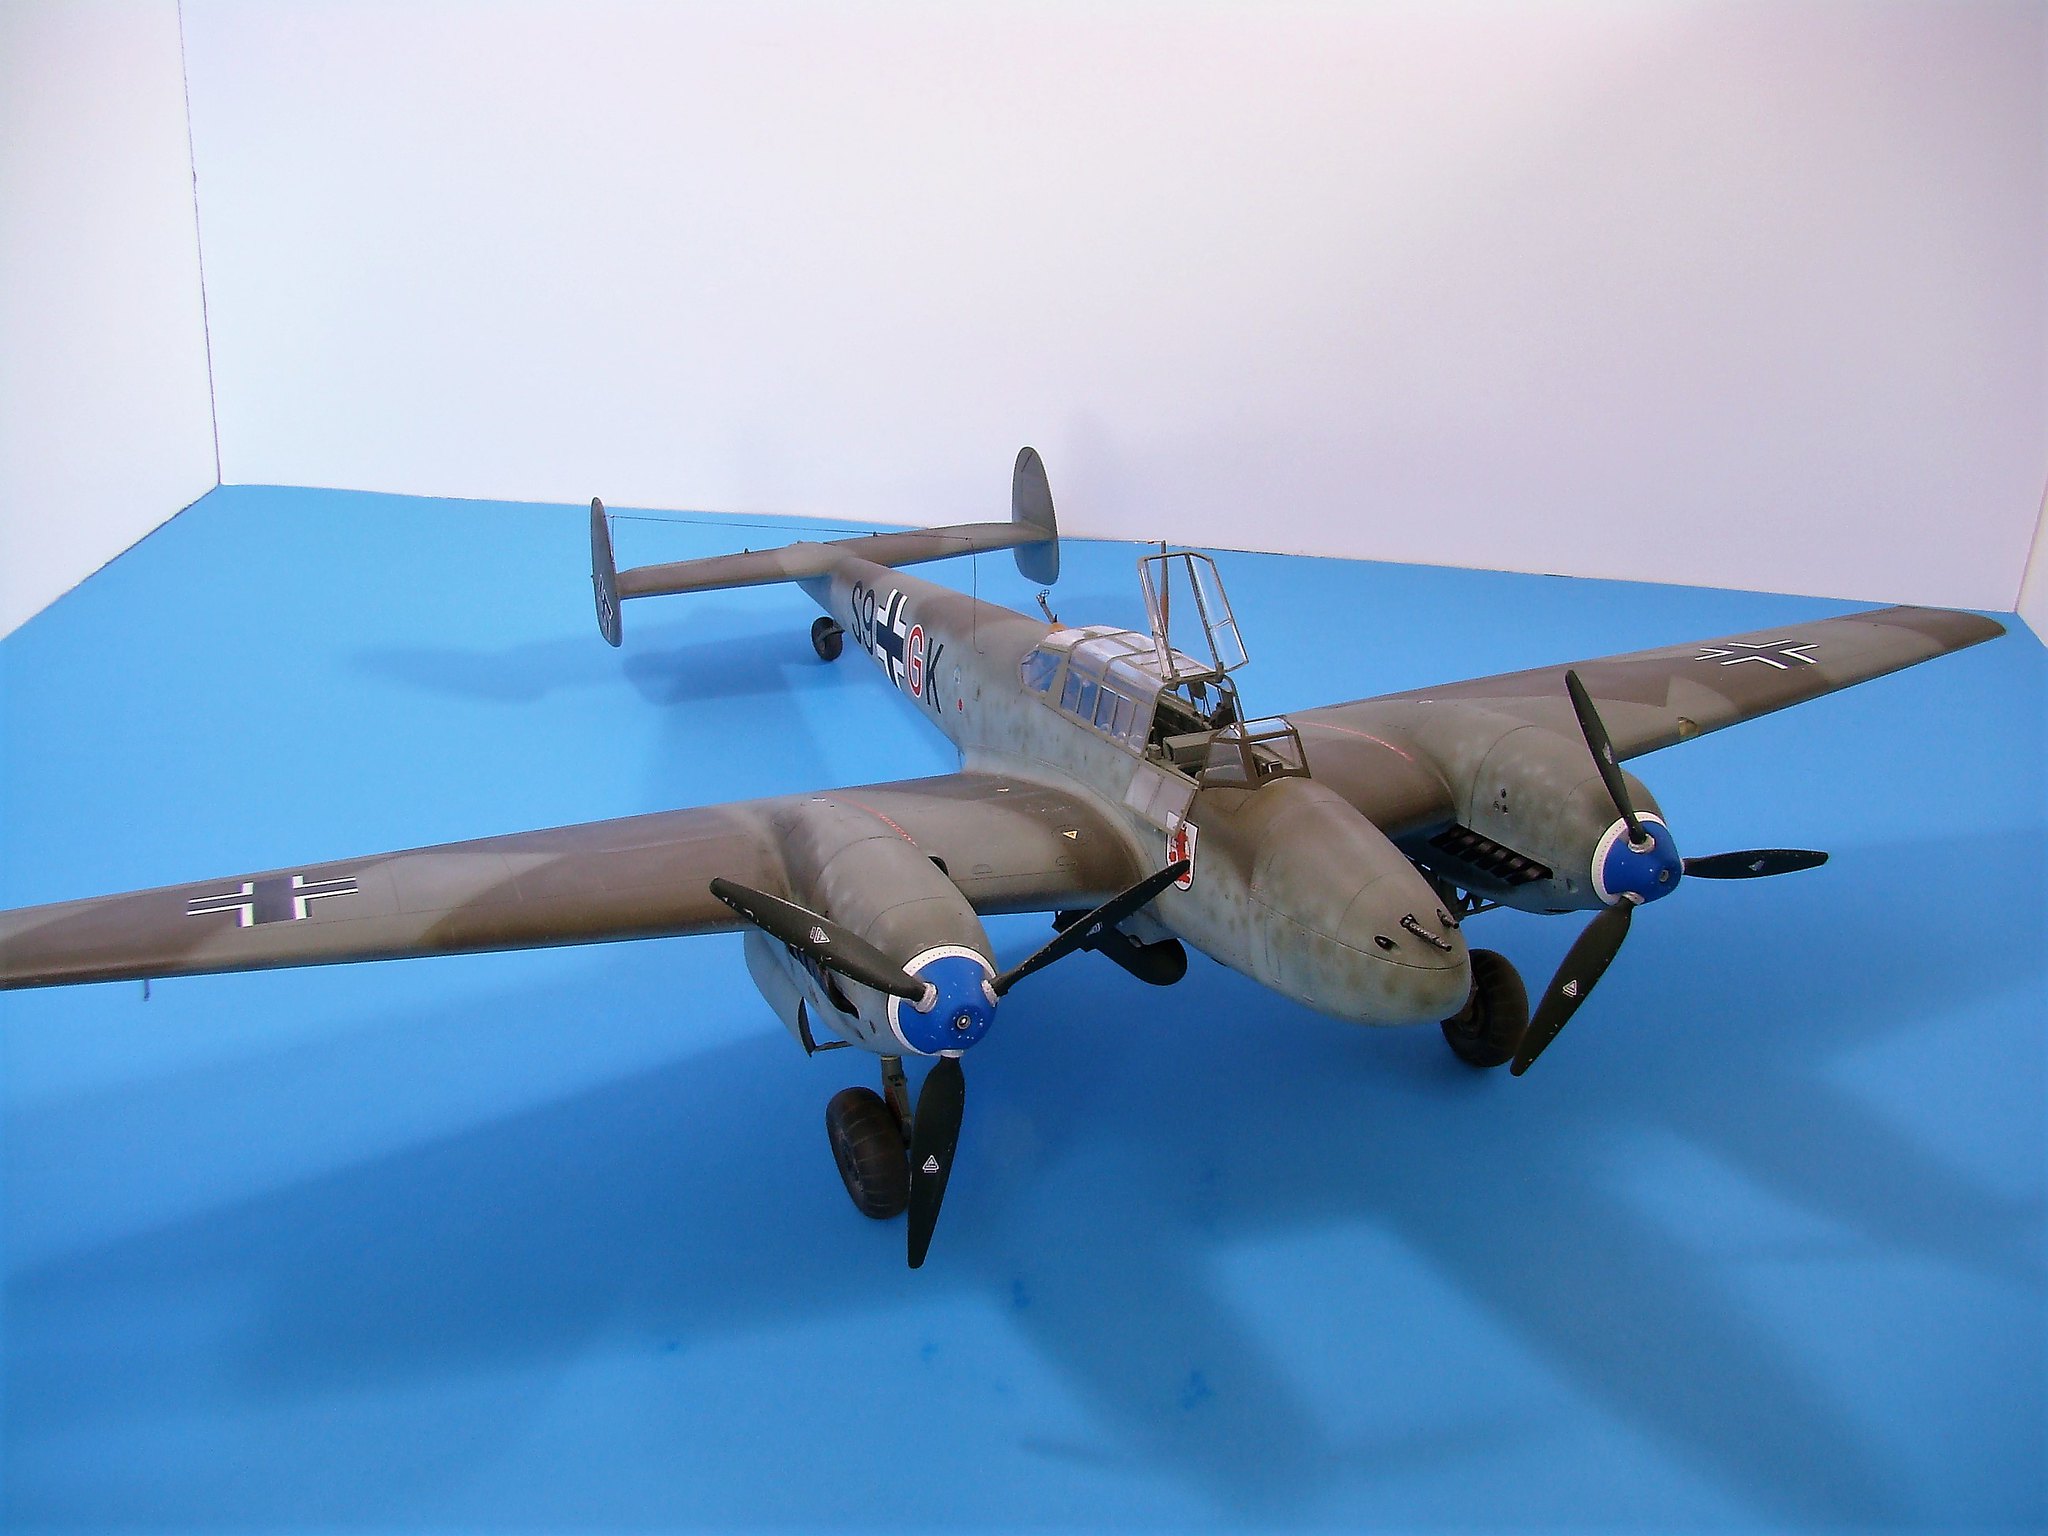 DSC03386 by Ernest Roth, on Flickr