_GOTOBOTTOM
World War II: USA
Aircraft of the United States in WWII.
Hosted by Rowan Baylis
CM Northrop XP-56 Black Bullet
TacFireGuru
_VISITCOMMUNITY
Colorado, United States
Joined: December 25, 2004
KitMaker: 3,770 posts
AeroScale: 201 posts
Posted: Thursday, June 01, 2017 - 07:35 AM UTC
I ran across this kit on one of the FB auction pages and kind of had to have it...I'd never seen this plane (let alone a kit) before.

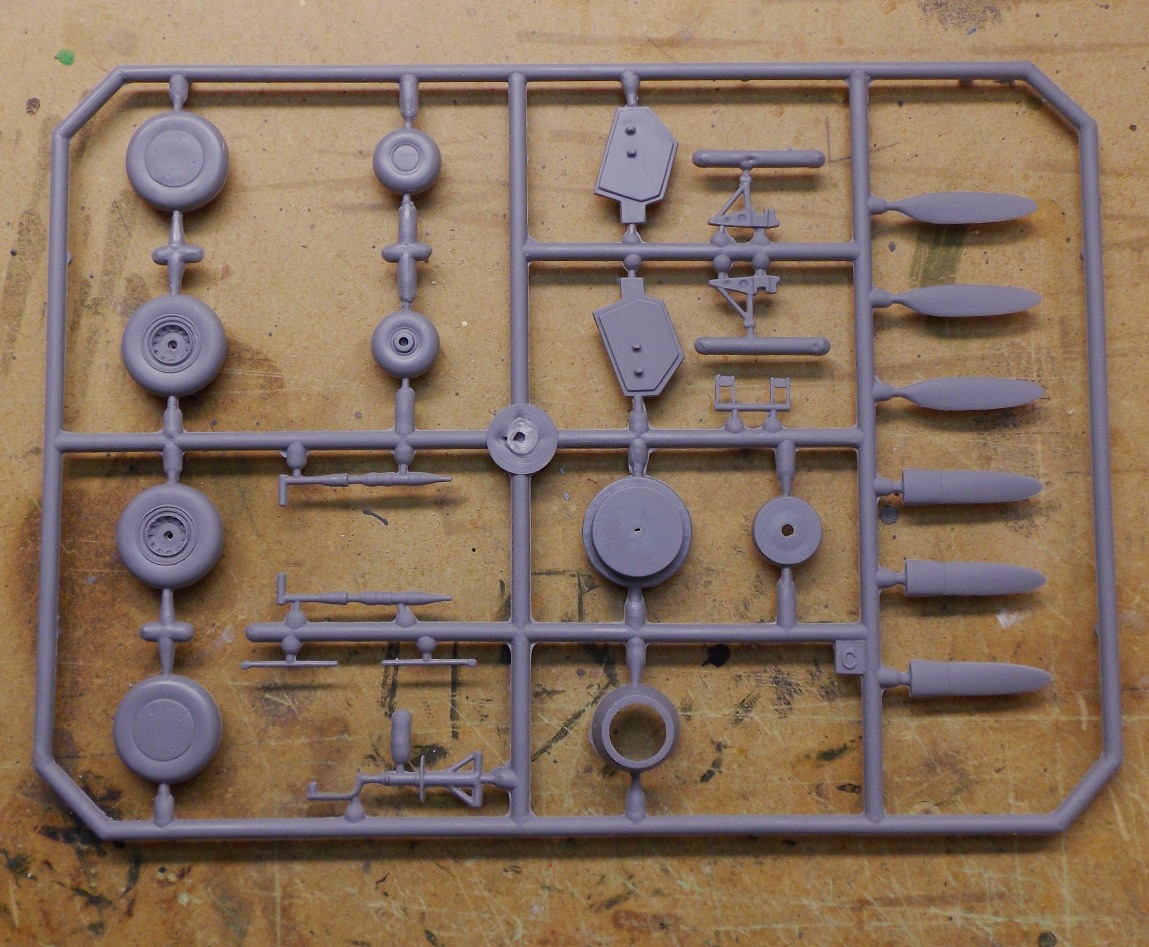
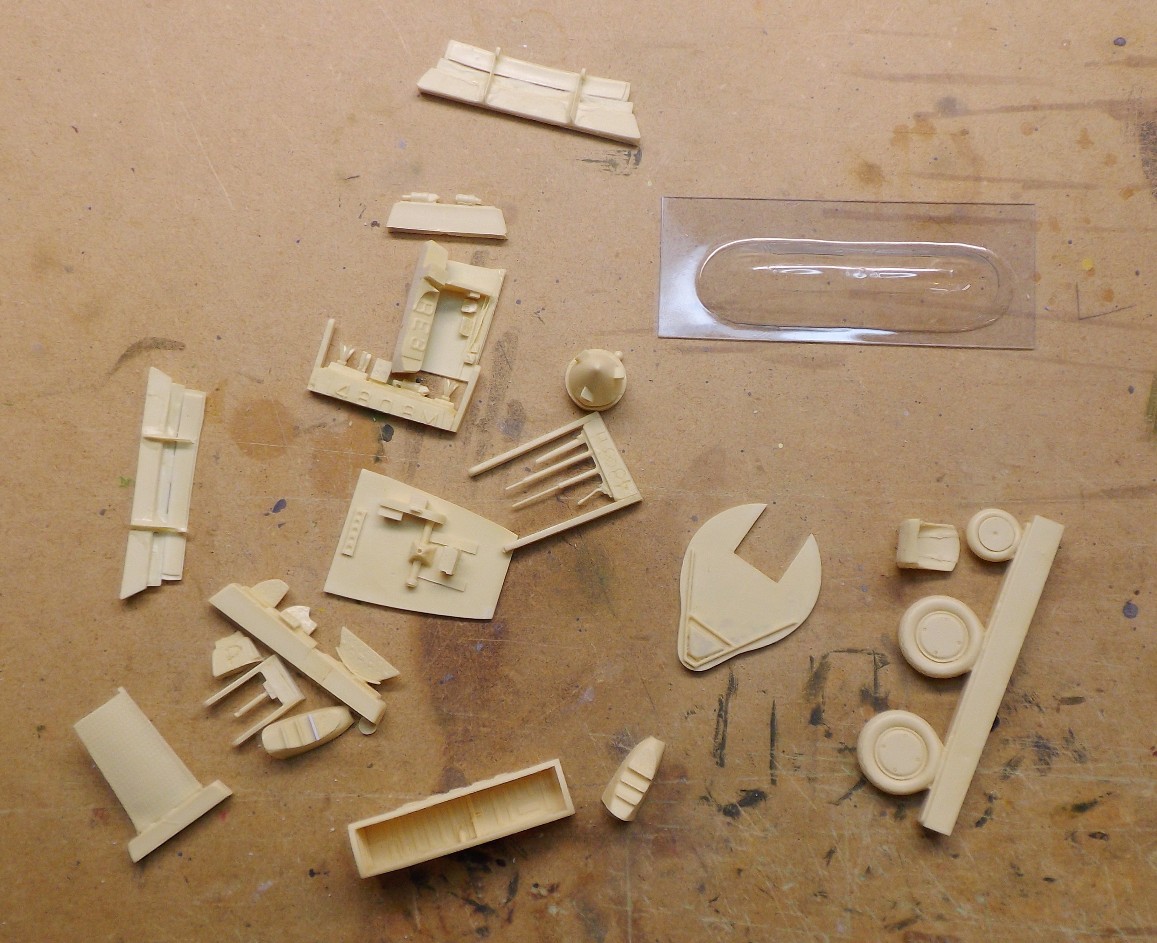
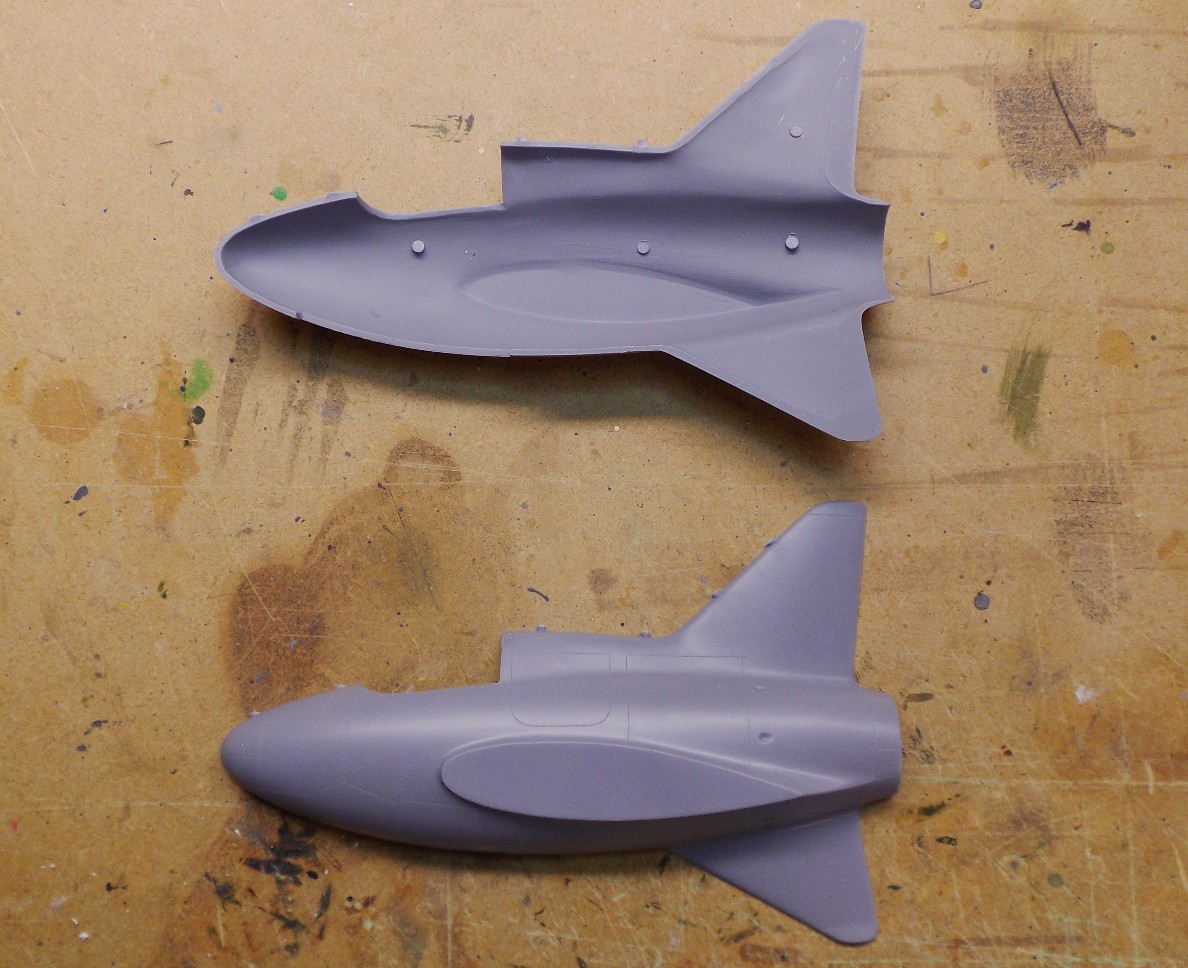
There's not a lot to it: 31 pieces in styrene, 30 in resin, 2 in vacform, and a decal sheet.


Of course I started it before I took pictures.

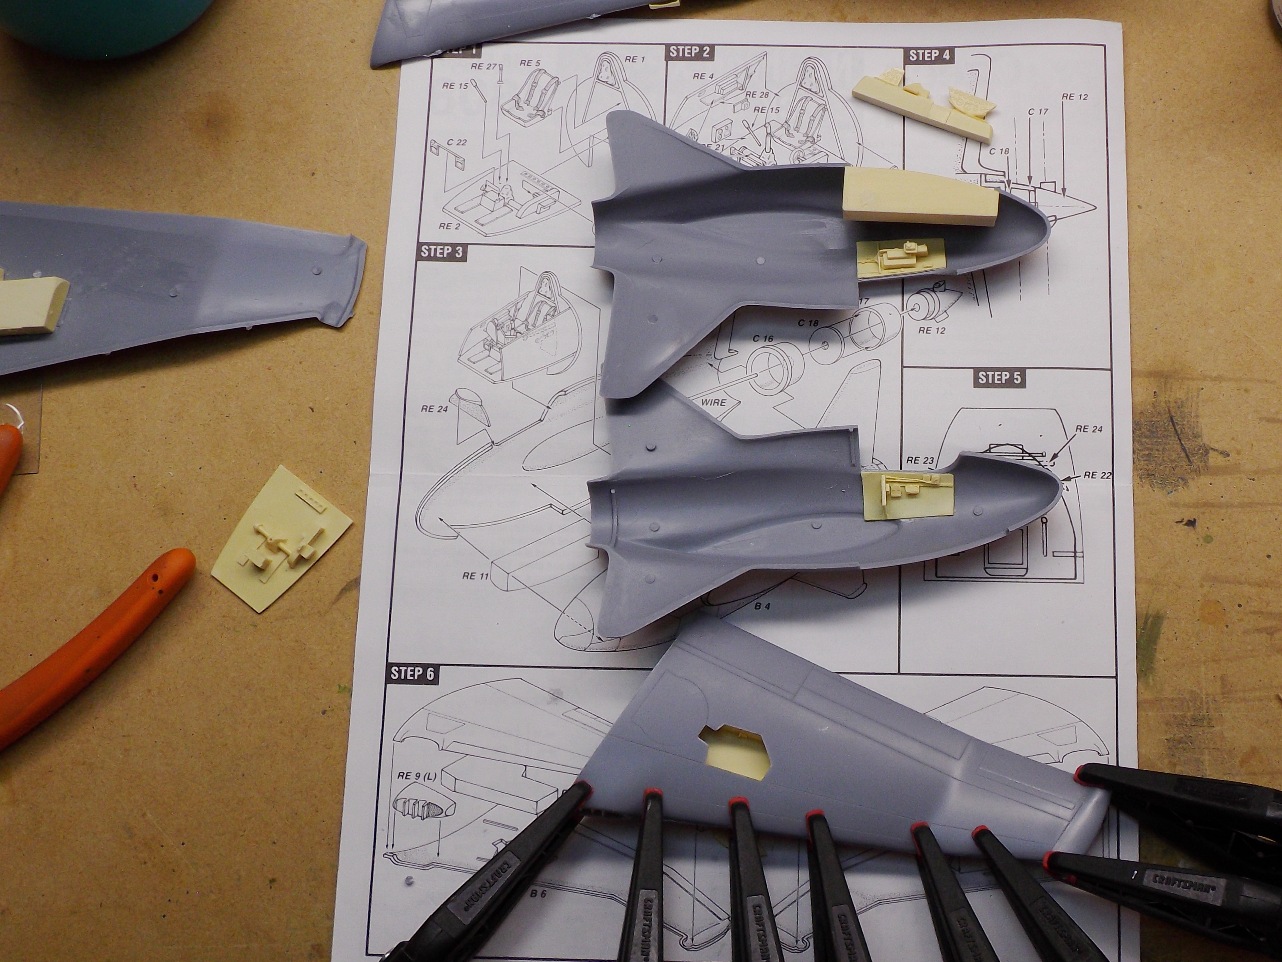
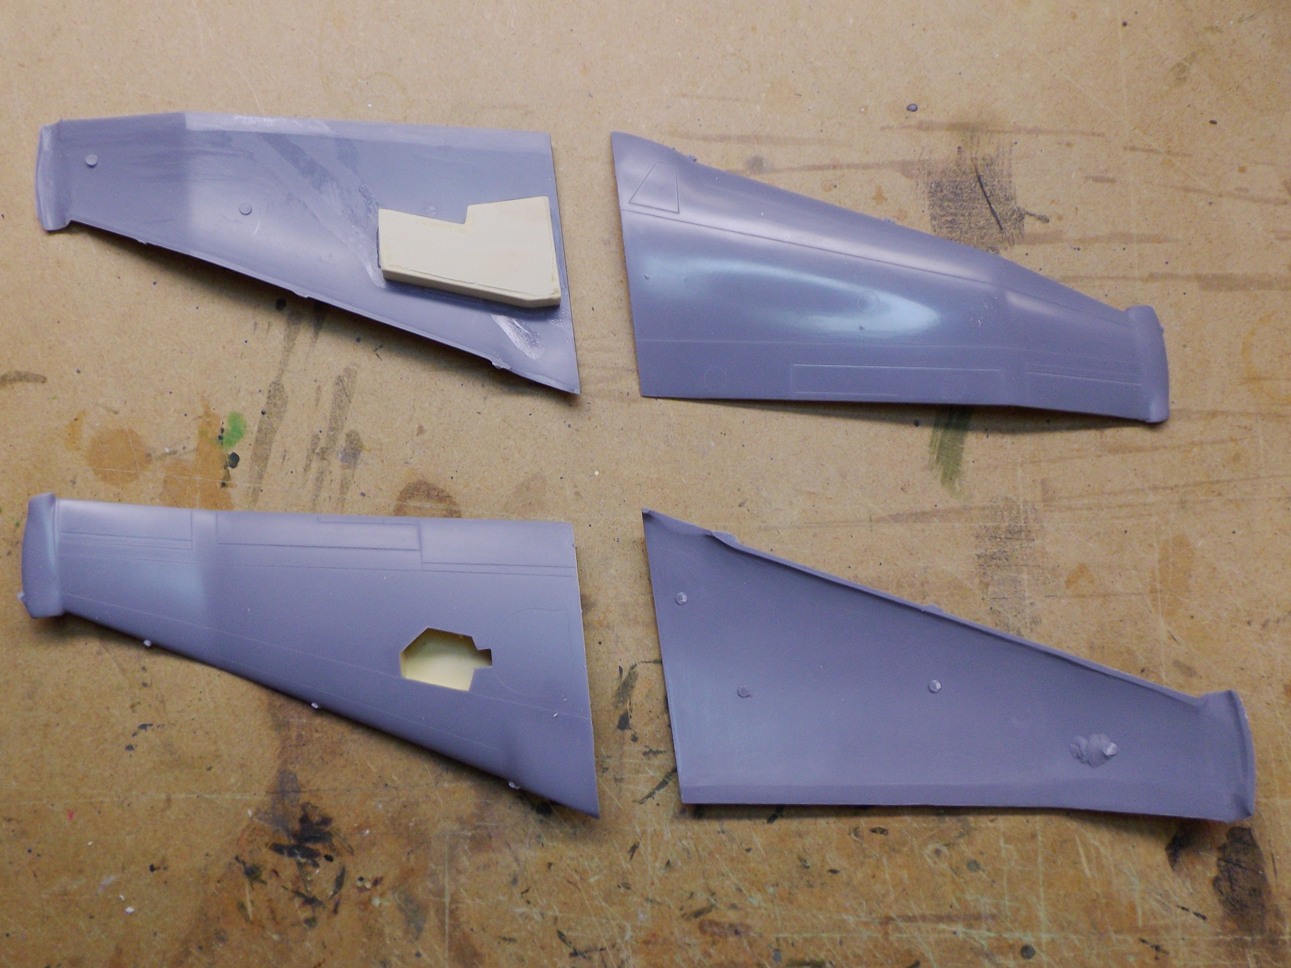
I started with the wings and the resin landing gear bay and intakes(?). The bays needed the backs sanded down in order to fit between the wing halves.


While those were "drying," I started on the cockpit:


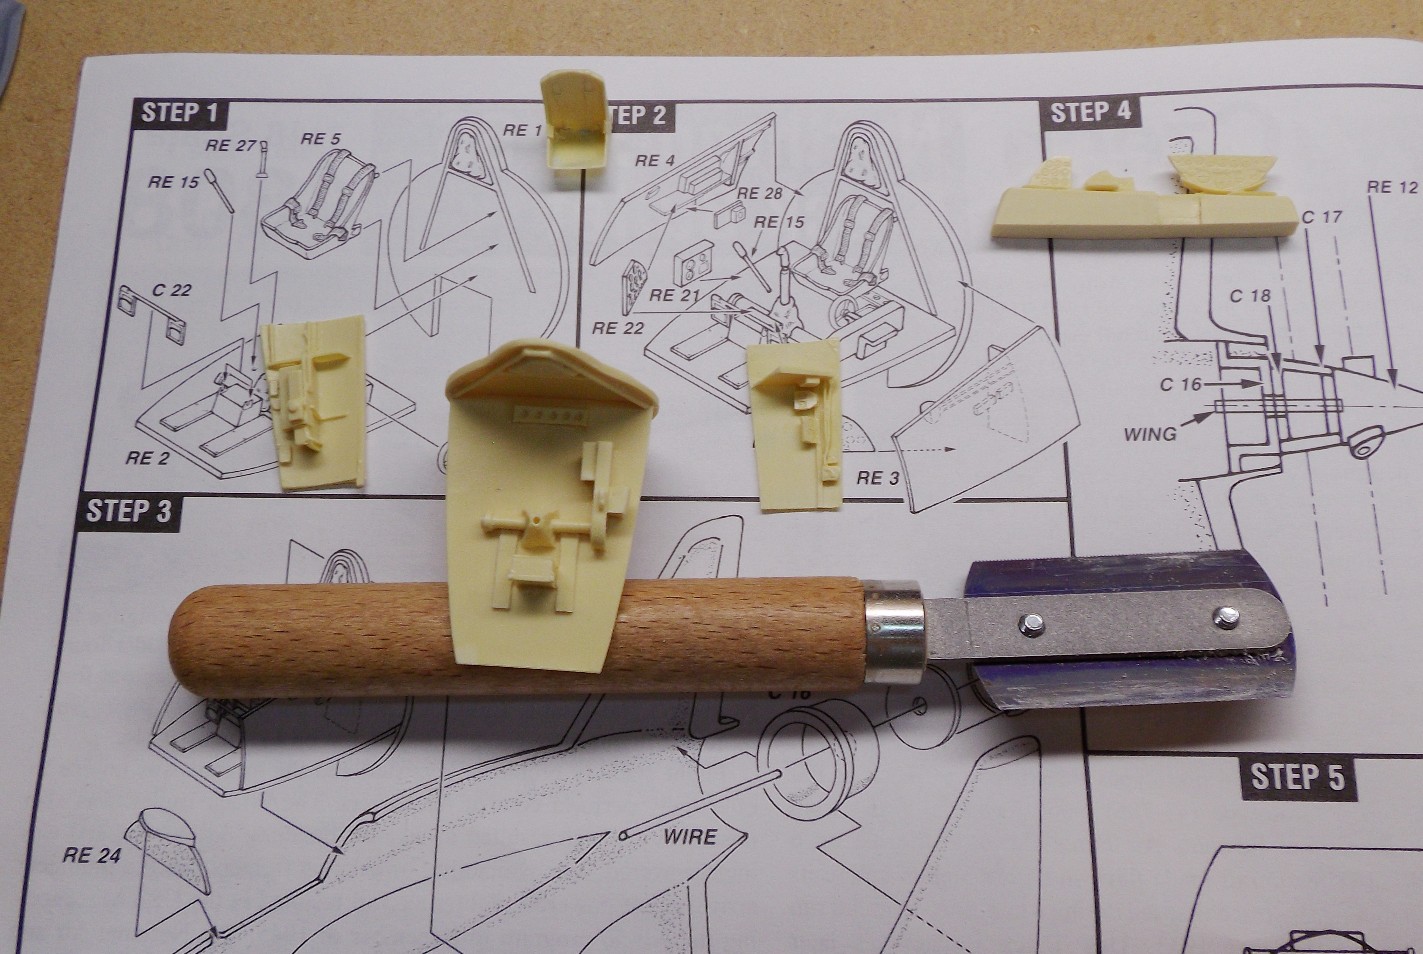
I'll need to see if I can find some pictures of the cockpit for painting references.

So far, quality is pretty fair. This should be a fun build.

Mike
Bigrip74
_VISITCOMMUNITY
Texas, United States
Joined: February 22, 2008
KitMaker: 5,026 posts
AeroScale: 2,811 posts
Posted: Thursday, June 01, 2017 - 08:11 AM UTC
Mike, nice job so far on the XP-56. I remember the kit and it was too expensive for me at the time it came out. I could not recall if the a/c had actually flown so Wikipedia.
https://en.wikipedia.org/wiki/Northrop_XP-56_Black_Bullet

Bob
Scrodes
_VISITCOMMUNITY
Ontario, Canada
Joined: July 22, 2012
KitMaker: 771 posts
AeroScale: 763 posts
Posted: Thursday, June 01, 2017 - 10:11 PM UTC
Some of the craziest years in aviation as they tried to apply all that they had learned in recent years.


Nice progress so far.
TacFireGuru
_VISITCOMMUNITY
Colorado, United States
Joined: December 25, 2004
KitMaker: 3,770 posts
AeroScale: 201 posts
Posted: Thursday, June 01, 2017 - 11:43 PM UTC

Quoted Text

Some of the craziest years in aviation as they tried to apply all that they had learned in recent years.


Makes for some very interesting aircraft.

There are no instrument decals included, so I need to find a set. I did find some good pictures of the interior tho.

Mike
chukw1
_VISITCOMMUNITY
California, United States
Joined: November 28, 2007
KitMaker: 817 posts
AeroScale: 729 posts
Posted: Friday, June 02, 2017 - 06:06 AM UTC
If I live long enough to build mine I'll do it up in tricolor Marine markings! A word of advice: fix the rear exhausts- there should be three per side on the upper fuselage- compare the box photo to the kit parts. An easy fix.
Cheers- and keep us posted!
chuk
TacFireGuru
_VISITCOMMUNITY
Colorado, United States
Joined: December 25, 2004
KitMaker: 3,770 posts
AeroScale: 201 posts
Posted: Friday, June 02, 2017 - 06:46 AM UTC

Quoted Text

A word of advice: fix the rear exhausts


Oh yes, where the dimples are....absolutely!

Mike
TacFireGuru
_VISITCOMMUNITY
Colorado, United States
Joined: December 25, 2004
KitMaker: 3,770 posts
AeroScale: 201 posts
Posted: Friday, June 02, 2017 - 07:07 AM UTC
I thought I'd build the cockpit pieces and then install them in the fuselage halves...no way that was going to work. I'm pretty positive I would not have been able to get everything lined up properly.

Solution: Cockpit sidewalls installed directly to the respective fuselage half. Front wheel well installed in one half. Rear bulkhead will be installed next, followed by floor, then remaining bits and pieces for the cockpit. Everything will be pre-painted prior to installing as there's no room to properly paint if the floor is in (pretty sharp angle of the sides to the floor). As you can see, the bulkhead and floor were separated.

One wing being glued together. Bit of a gap by the resin intake, but I can narrow it some and then fill as needed.


Mike
 _GOTOTOP