_GOTOBOTTOM
World War II: USA
Aircraft of the United States in WWII.
Hosted by Rowan Baylis
1/48 P-51D Tamiya
Venko555
_VISITCOMMUNITY
Bulgaria
Joined: December 07, 2013
KitMaker: 908 posts
AeroScale: 206 posts
Posted: Thursday, May 19, 2016 - 09:00 AM UTC
Hello!

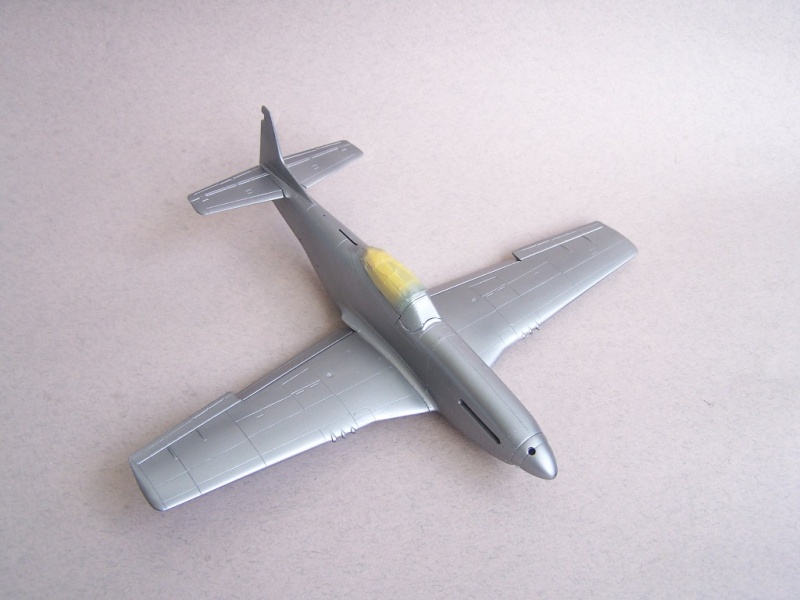
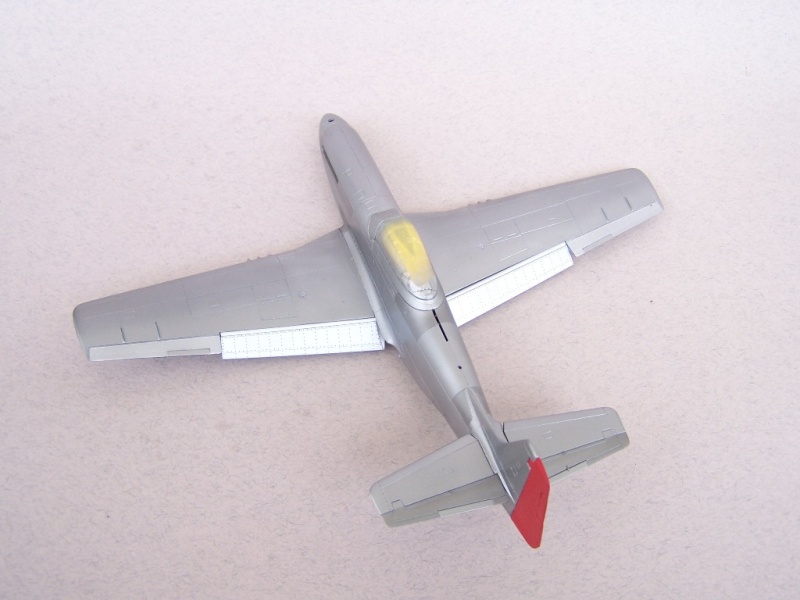
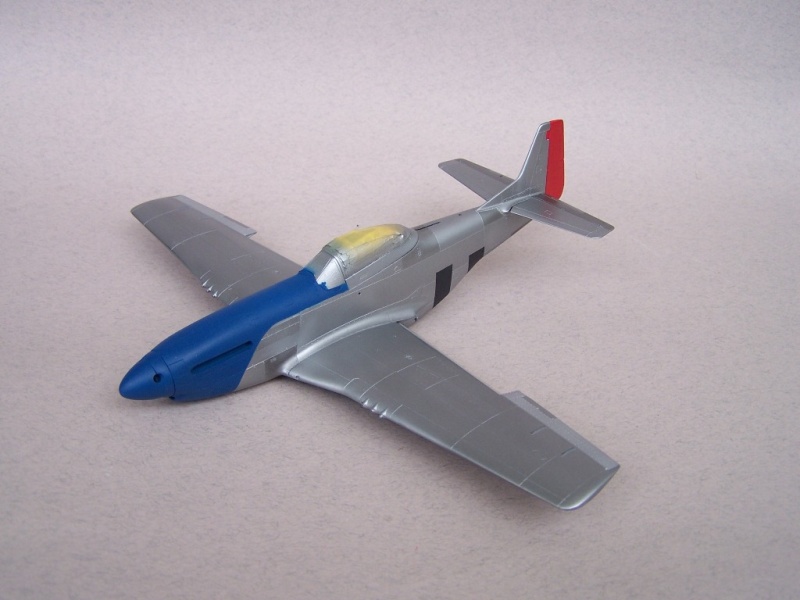
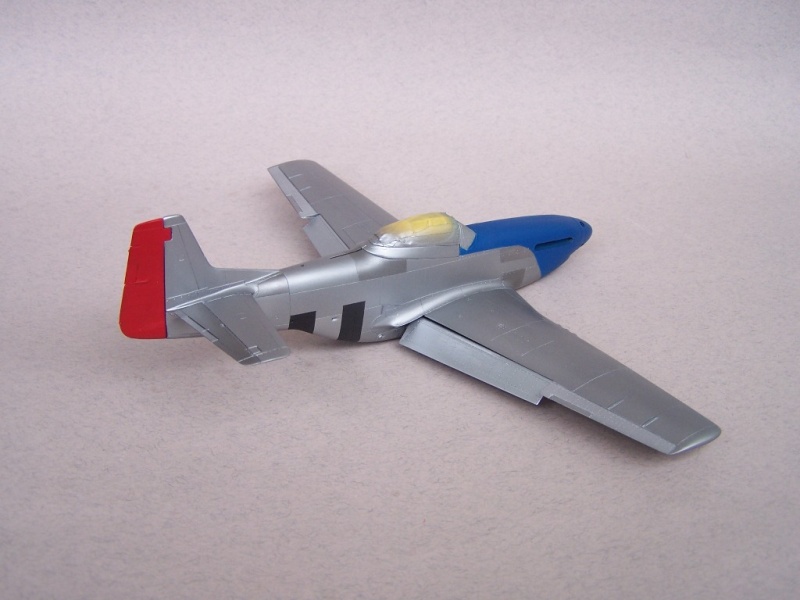
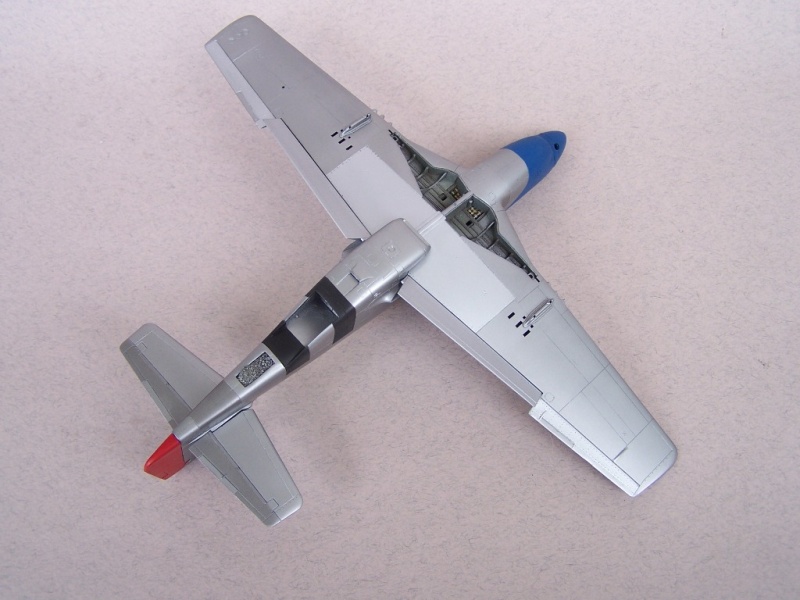
I want to present my work of this iconic aircraft of WW2 : P-51D Mustang.
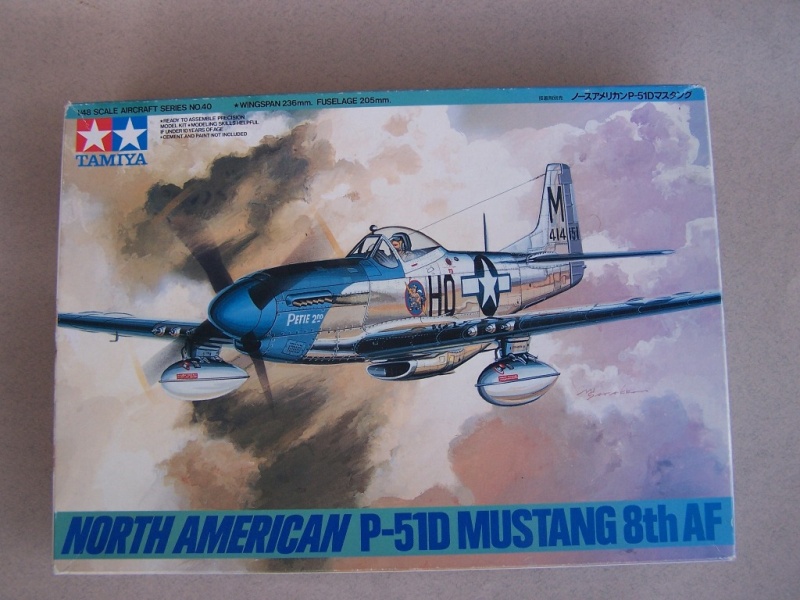
Kit is from Tamiya, one of the best 1/48 aircraft models IMHO.


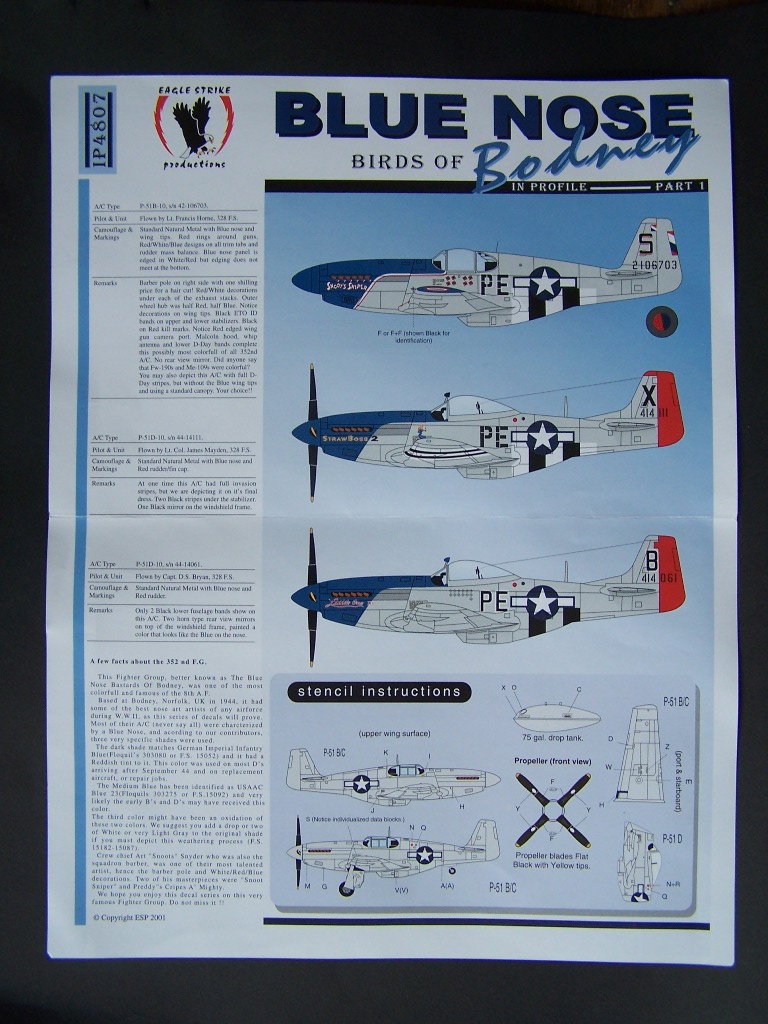
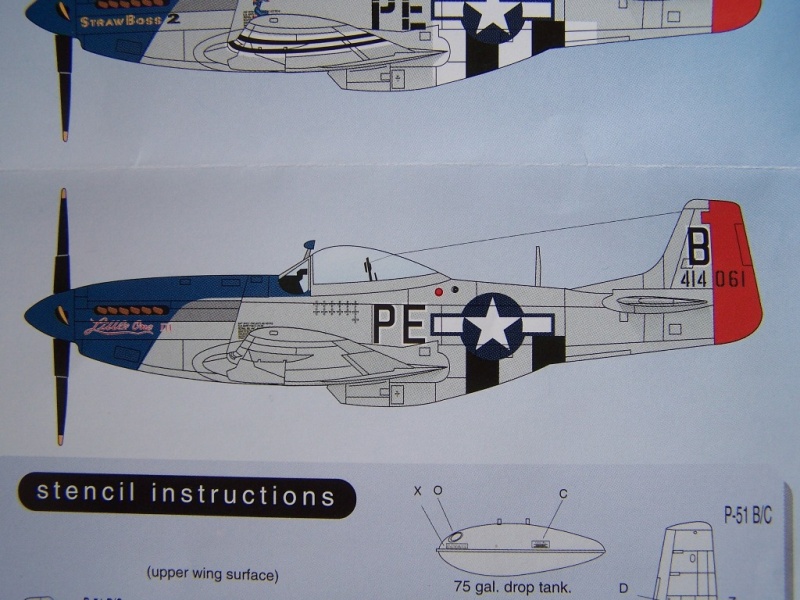
I will represent the bird of capt. Donald S. Bryan, "The Little one" . Markings are from Eagle strike "Blue nose Birds of Bodney" .


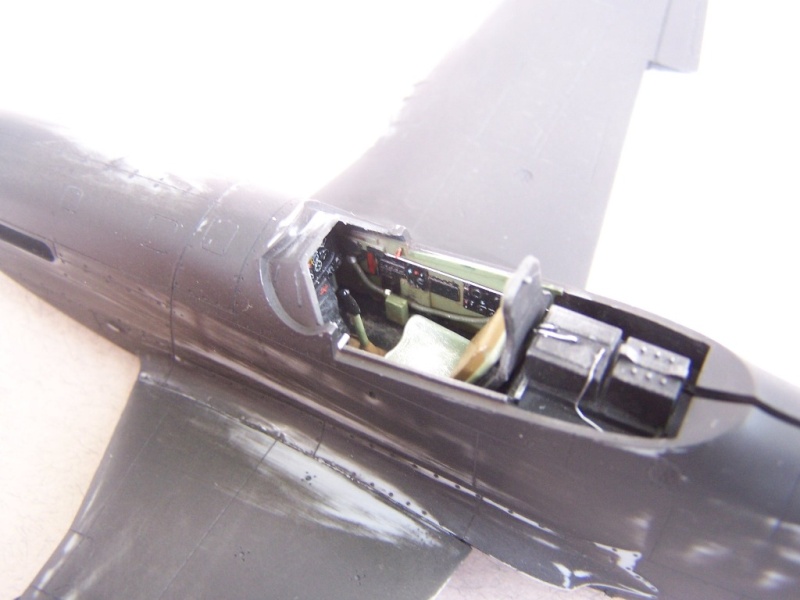
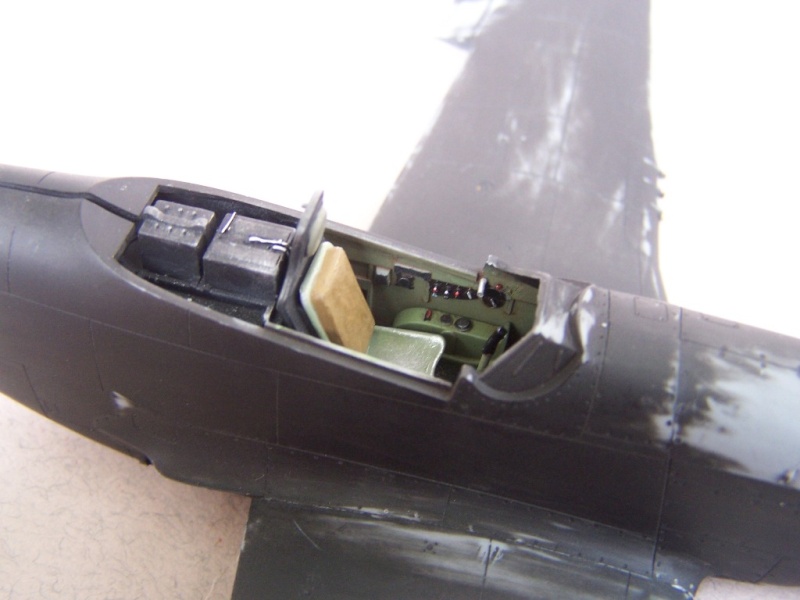
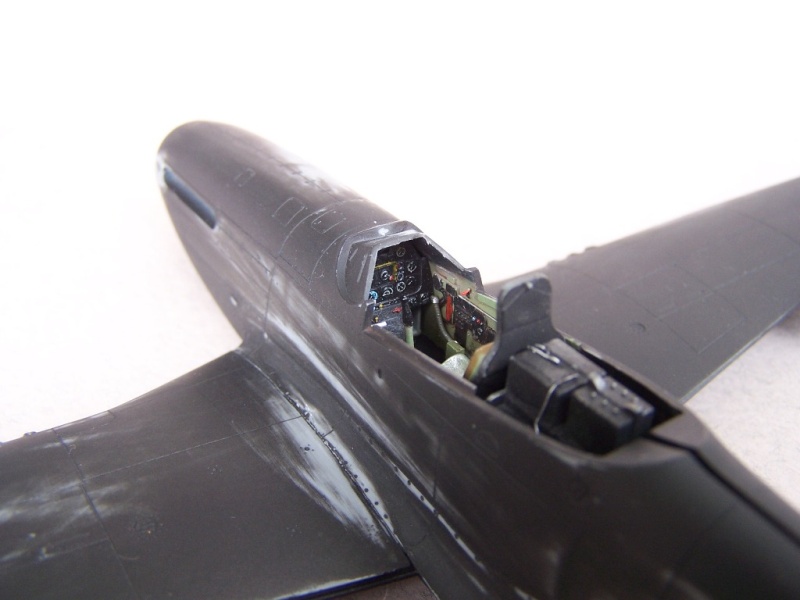
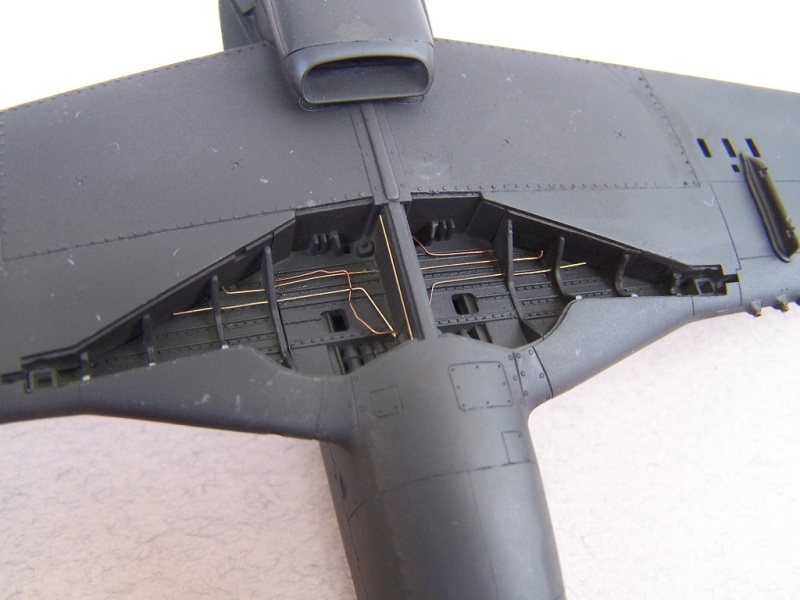
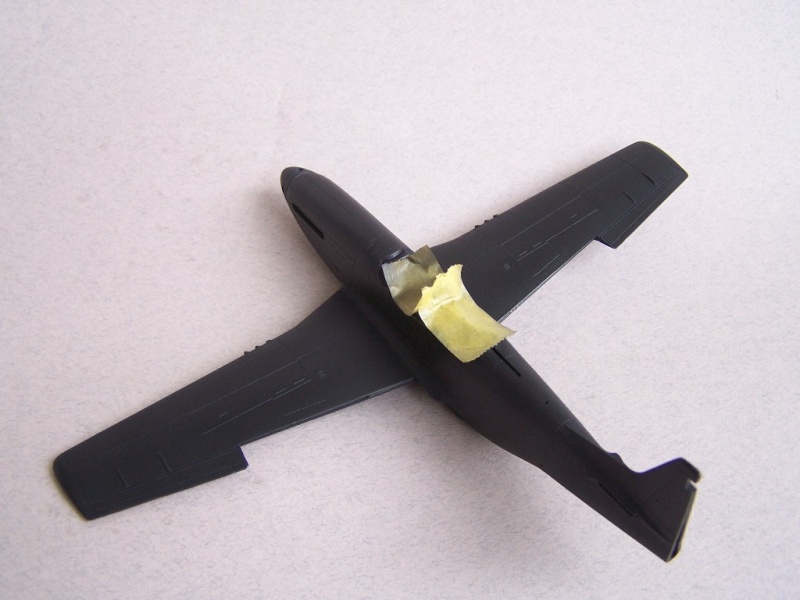
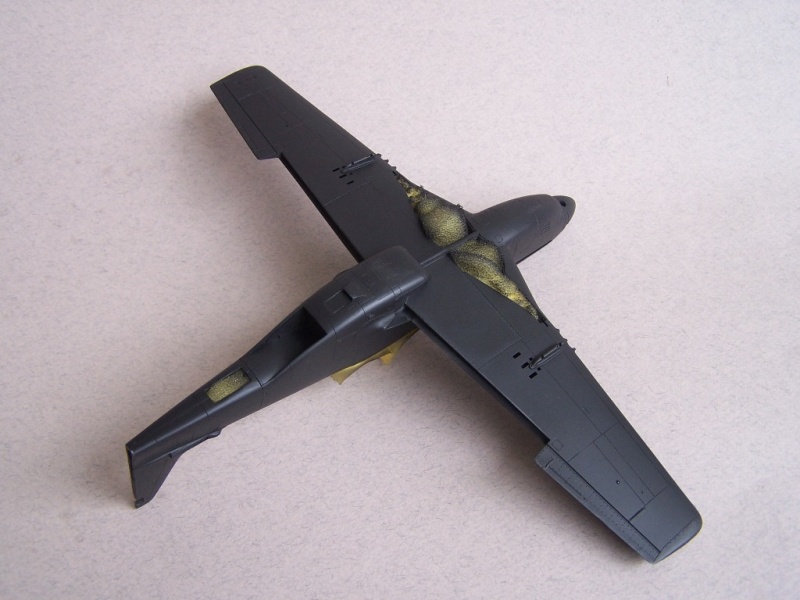
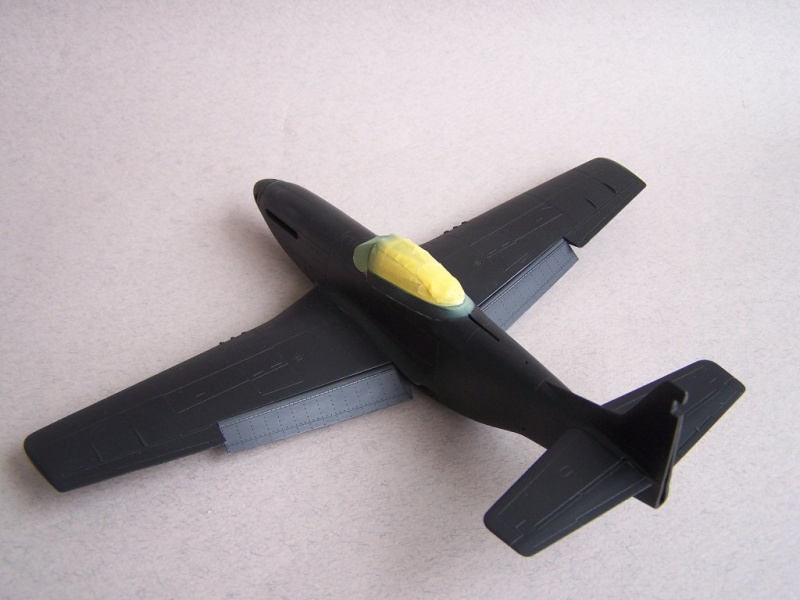
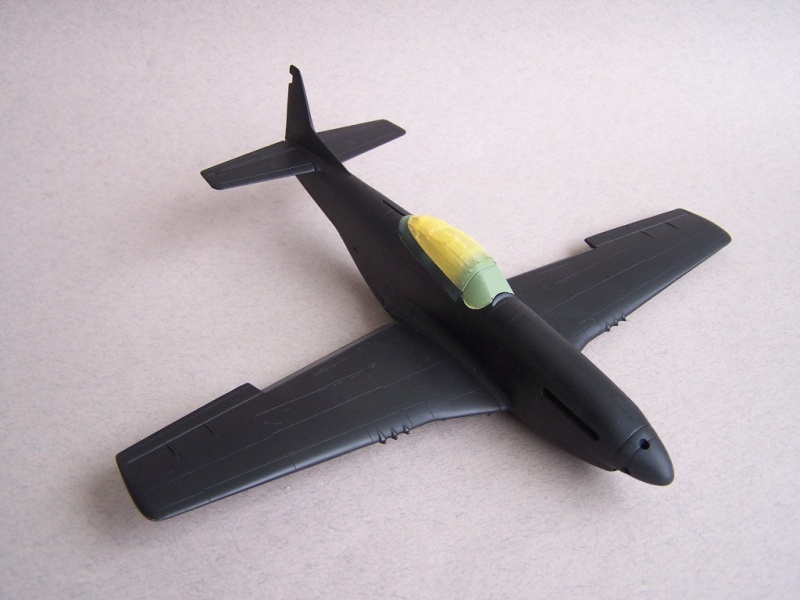
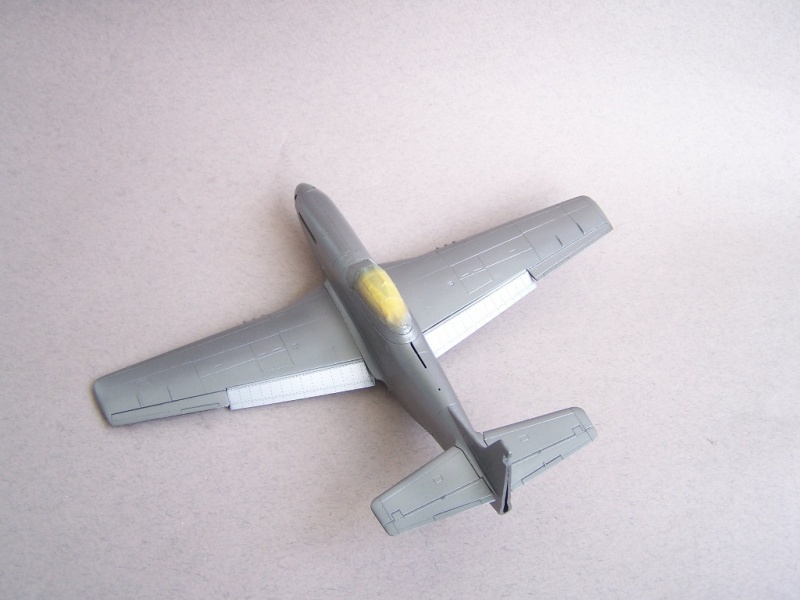
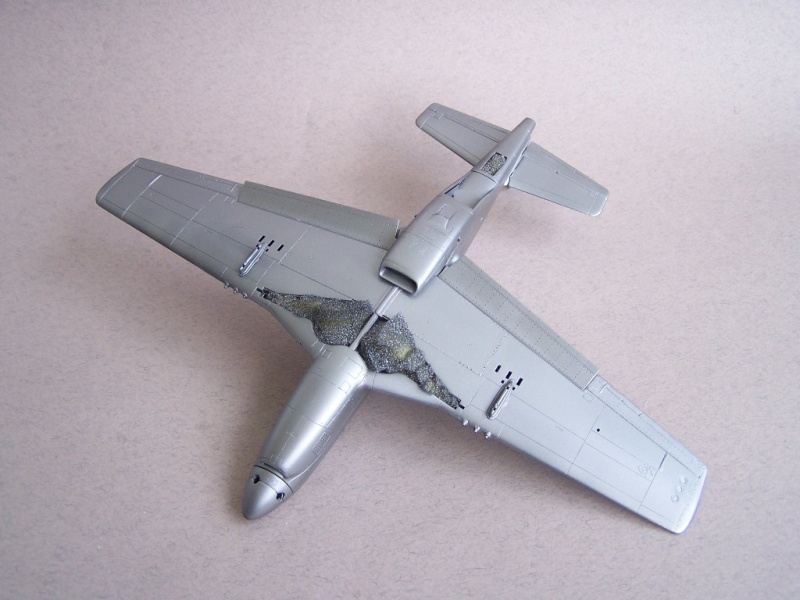
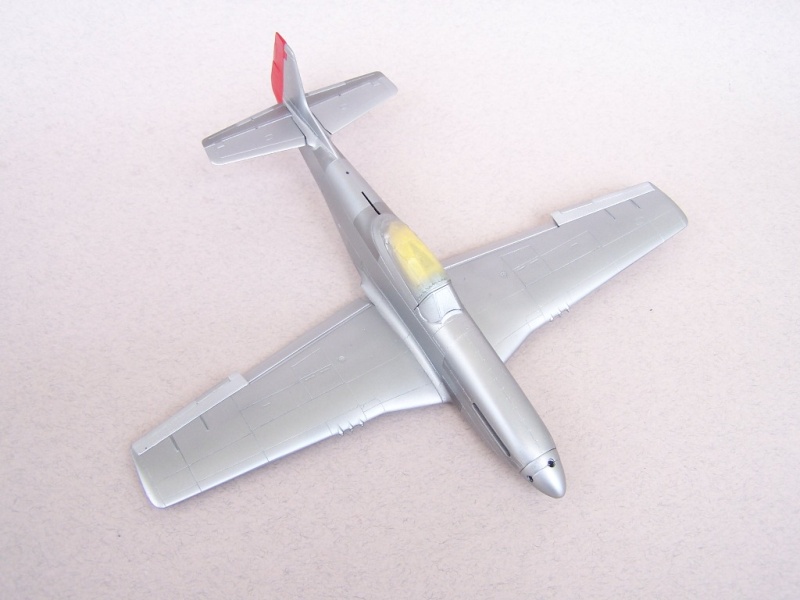
Main construction is almost complete, I will show pictures later, have to do some improvements.

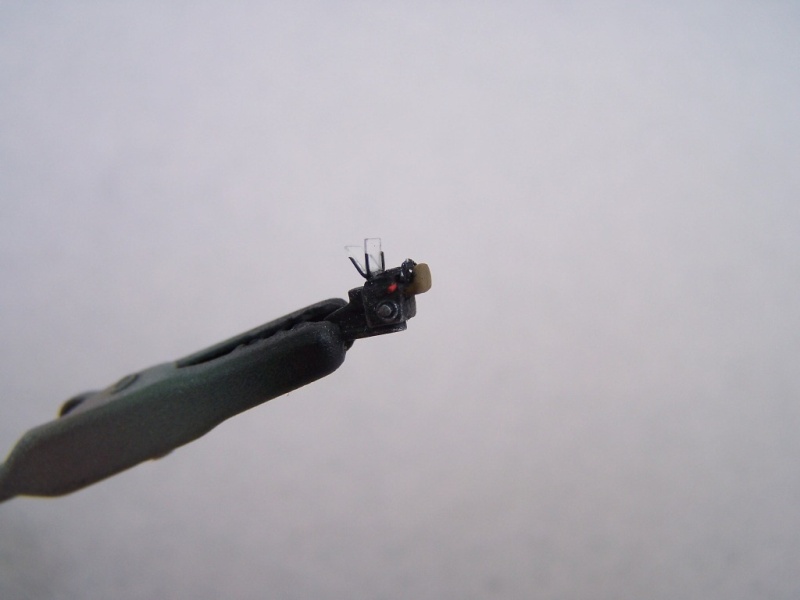
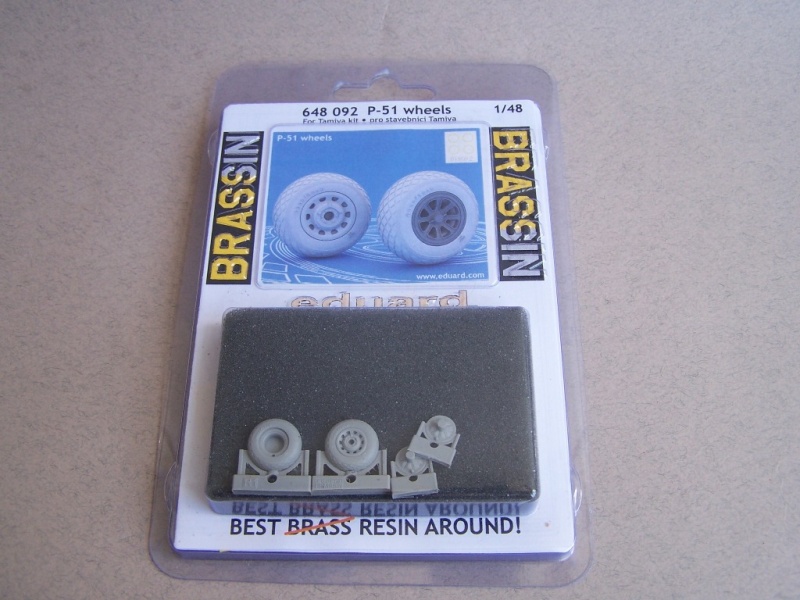
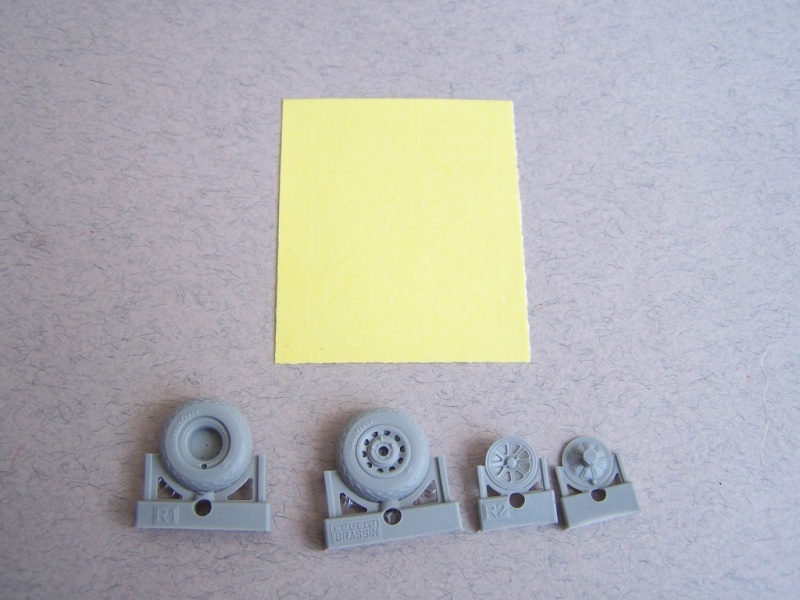
Minimum aftermarket will be used here (only resin wheels and canopy mask from Eduard), most is scratch.

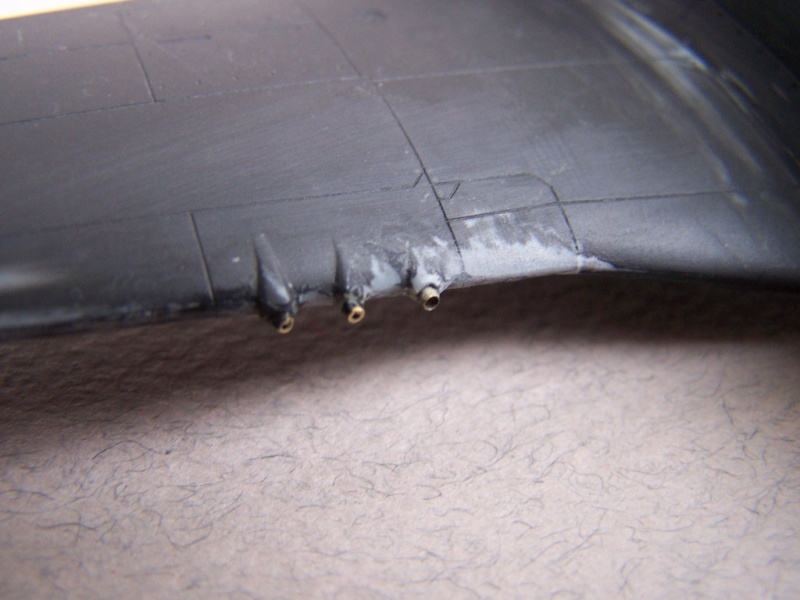
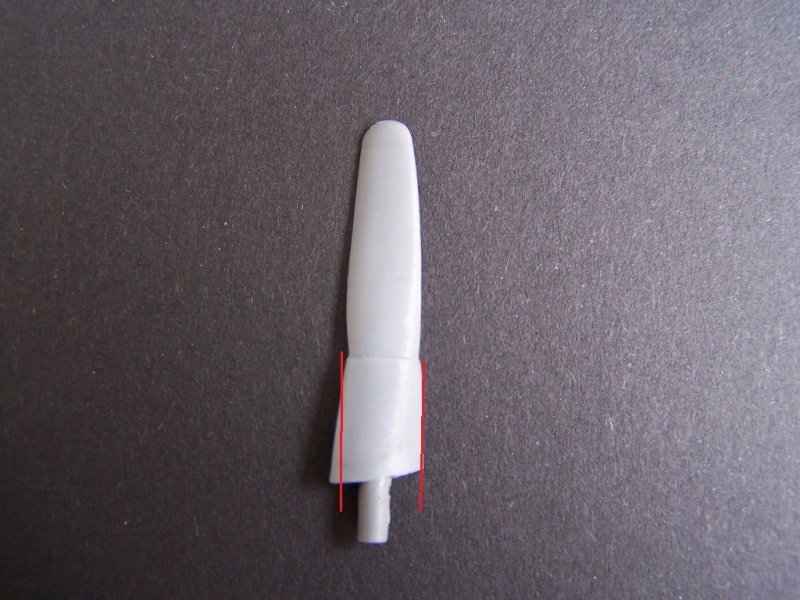
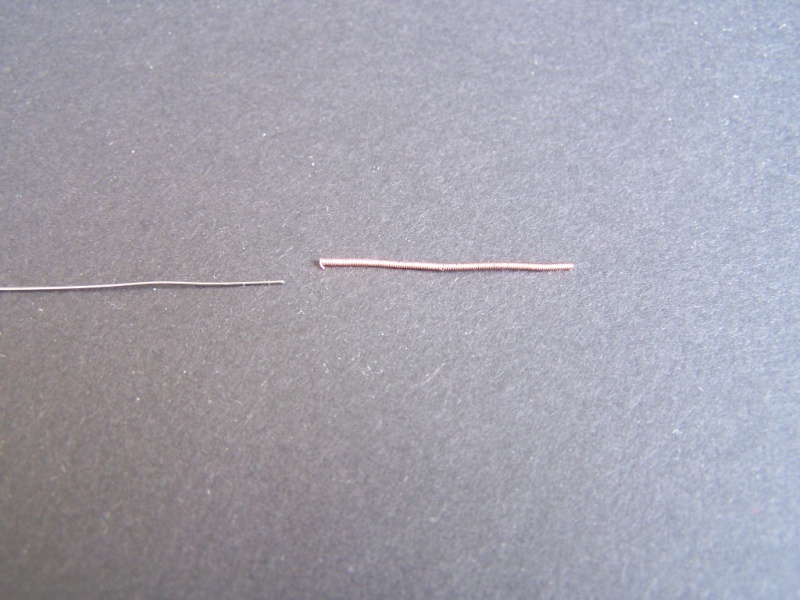
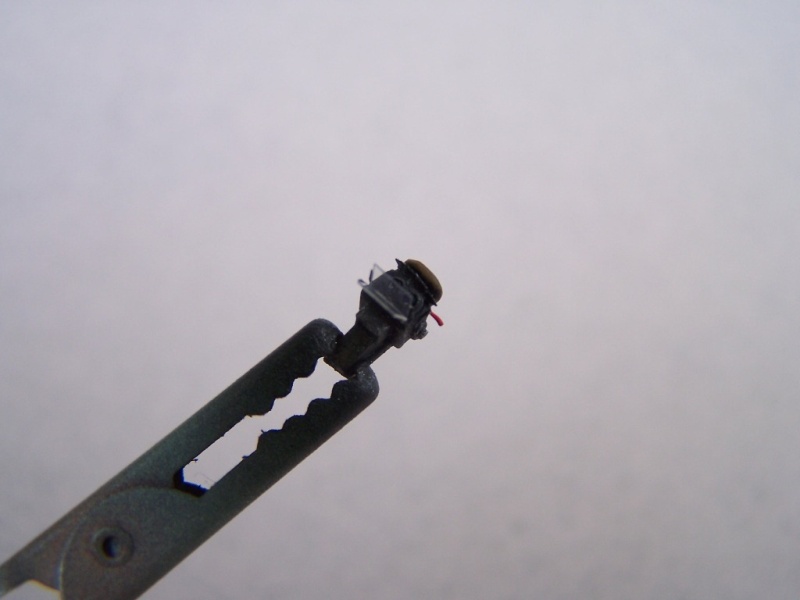
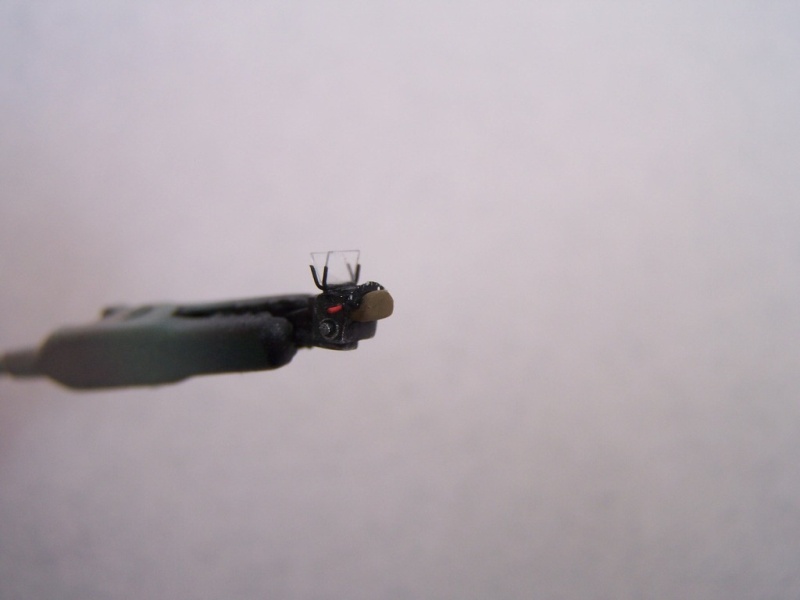
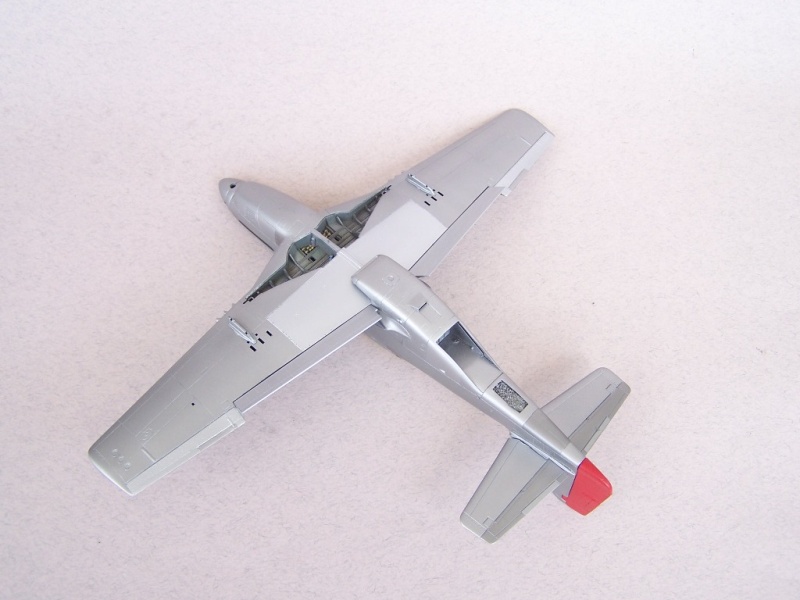
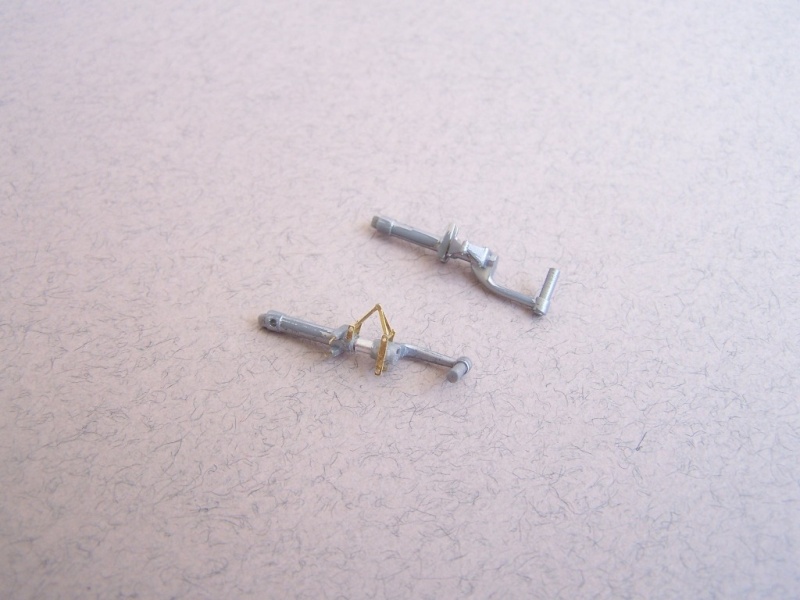
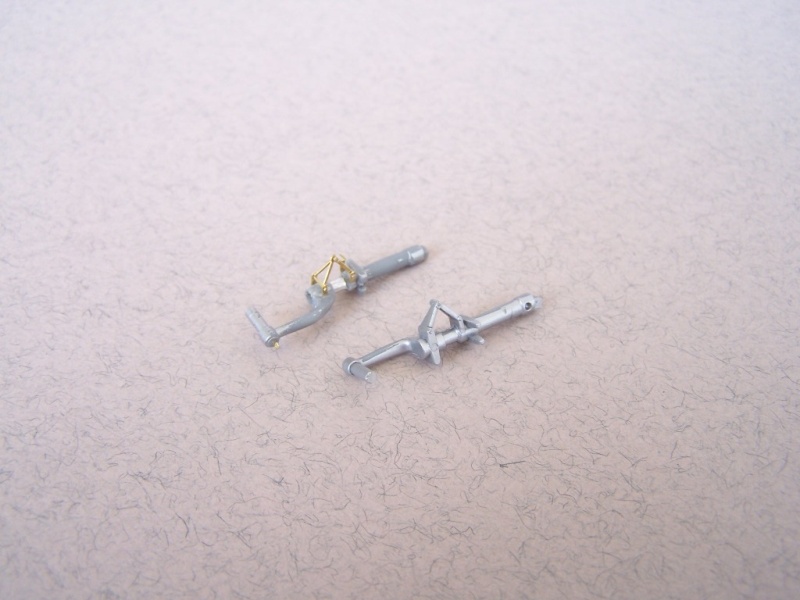
Some work on the landing gear:


Thanks!

V

Kilo_Uniform
_VISITCOMMUNITY
Gauteng, South Africa
Joined: July 03, 2015
KitMaker: 280 posts
AeroScale: 141 posts
Posted: Thursday, May 19, 2016 - 08:49 PM UTC
Hi Venelin,

I will be following along - I have this kit in the stash and the P-51D is my all-time favourite aircraft.

Looking forward to the next update.

Regards,
Kobus
CReading
#001
_VISITCOMMUNITY
California, United States
Joined: February 09, 2002
KitMaker: 1,726 posts
AeroScale: 89 posts
Posted: Friday, May 20, 2016 - 04:47 AM UTC
Following this also. Lots of love for those Blue Nosed Bastards of Bodney.

Cheers,
C.
Venko555
_VISITCOMMUNITY
Bulgaria
Joined: December 07, 2013
KitMaker: 908 posts
AeroScale: 206 posts
Posted: Friday, May 20, 2016 - 09:20 AM UTC
Thanks!

I choose the "Birds...", because of the attractive colors. I like the blue-red-metallic combo

Cheers!

V
Venko555
_VISITCOMMUNITY
Bulgaria
Joined: December 07, 2013
KitMaker: 908 posts
AeroScale: 206 posts
Posted: Friday, May 20, 2016 - 07:22 PM UTC
Proceeding with the gunsight. Scratch from old PE frets, plastic rods etc. Clear parts are cut already, but will put them after painting.


Thanks!

V
Venko555
_VISITCOMMUNITY
Bulgaria
Joined: December 07, 2013
KitMaker: 908 posts
AeroScale: 206 posts
Posted: Friday, May 20, 2016 - 08:14 PM UTC
...And replacing the kit guns with brass tubes, some need to be drilled more.

I decided to try new primer: Finishing Surfacer 1500. Excellent stuff, very fine, thinned with Leveling thinner sprays with no problems.


Cheers!

V

Venko555
_VISITCOMMUNITY
Bulgaria
Joined: December 07, 2013
KitMaker: 908 posts
AeroScale: 206 posts
Posted: Saturday, May 21, 2016 - 01:45 PM UTC
Have to do some corrections on the Hamilton standard propellers. The Tamiya ones are wider at the base, so little trimming and sanding will be needed.


V
Venko555
_VISITCOMMUNITY
Bulgaria
Joined: December 07, 2013
KitMaker: 908 posts
AeroScale: 206 posts
Posted: Saturday, May 21, 2016 - 07:50 PM UTC
More scratch on the cockpit:

-instrumental dials are from old decals;
-some levers, pipes, wires on the radio etc.;
-floor is from wood, but repainted with black paint, a bit of drybrushing to represent wear;
-back of the seat is treated with Surfacer 500 to represent leather (subtle);
-wash from Burnt umber oil paint;


Cheers!

V
Venko555
_VISITCOMMUNITY
Bulgaria
Joined: December 07, 2013
KitMaker: 908 posts
AeroScale: 206 posts
Posted: Sunday, May 22, 2016 - 07:12 PM UTC
Gunsight is painted:


...also some pipes on the wheel bay:


Thanks!

V
AussieReg
Staff MemberAssociate Editor
AUTOMODELER
#007
_VISITCOMMUNITY
Victoria, Australia
Joined: June 09, 2009
KitMaker: 8,156 posts
AeroScale: 3,756 posts
Posted: Monday, May 23, 2016 - 02:37 AM UTC
Nice work so far, the added details look very good.

Cheers, D
GhostHawk
_VISITCOMMUNITY
Cordoba, Argentina
Joined: January 27, 2011
KitMaker: 268 posts
AeroScale: 264 posts
Posted: Monday, May 23, 2016 - 04:26 AM UTC
Really Good so far...!!!

Keep pushing forward...!

Bye...
Venko555
_VISITCOMMUNITY
Bulgaria
Joined: December 07, 2013
KitMaker: 908 posts
AeroScale: 206 posts
Posted: Monday, May 23, 2016 - 08:56 AM UTC
Thanks!

I wanted minimum aftermarket here and maximum scratch build .

Cheers!

V

Kilo_Uniform
_VISITCOMMUNITY
Gauteng, South Africa
Joined: July 03, 2015
KitMaker: 280 posts
AeroScale: 141 posts
Posted: Monday, May 23, 2016 - 09:35 PM UTC
Hi Venelin,

Some really excellent scratch building. Your Mustang is looking really good!

Looking forward to the next update.

Regards,
Kobus
Twentecable
_VISITCOMMUNITY
Overijssel, Netherlands
Joined: September 13, 2003
KitMaker: 339 posts
AeroScale: 244 posts
Posted: Monday, May 23, 2016 - 10:55 PM UTC
Wow very nice nice works looks great!

gr TC
Venko555
_VISITCOMMUNITY
Bulgaria
Joined: December 07, 2013
KitMaker: 908 posts
AeroScale: 206 posts
Posted: Monday, May 23, 2016 - 11:12 PM UTC
Thanks

I have some other scratch to do and hope to start painting soon

Cheers!
V
Venko555
_VISITCOMMUNITY
Bulgaria
Joined: December 07, 2013
KitMaker: 908 posts
AeroScale: 206 posts
Posted: Wednesday, May 25, 2016 - 05:28 PM UTC
Overall priming, rest of the parts are also primed. The Surfacer can be polished to high shine, but I want regular finish here with the Alclads. Canopy was dipped in future, will dry overnight, mask and proceeding with the painting.


Thanks!

V
Joel_W
Staff MemberAssociate Editor
AUTOMODELER
_VISITCOMMUNITY
New York, United States
Joined: December 04, 2010
KitMaker: 11,666 posts
AeroScale: 7,410 posts
Posted: Wednesday, May 25, 2016 - 07:58 PM UTC
Venelin,
A most impressive build to date on one of the most popular kits Tamiya makes in 1/48 scale,(one that I keep on saying is my next build, but to date hasn't happened).

I must say that I'm rather impressed with you restrained detailing. The scissor links on the landing gear struts are incredible, whose PE is it? Did you foil or use AlcadII chrome for the oleos?

While I haven't used Mr. Surfacer's Black 1500 primer/sealer, I do use their gray 1500, and like it very much. Trouble is I'm starting to amass a continuous growing collection of primers.

I'm rather interested in your reference for the need for the small modification the Tamiya Hamilton Standard Prop. I don't recall anyone ever mentioning that. then again, It's something that I don't think I've ever taken the time to correct on any kit I've ever built other then Revell Ventura PV-1. Excellent find.

I'm subscribing so I don't miss any of your build posts.

Joel
Venko555
_VISITCOMMUNITY
Bulgaria
Joined: December 07, 2013
KitMaker: 908 posts
AeroScale: 206 posts
Posted: Wednesday, May 25, 2016 - 08:36 PM UTC
Thanks Joel!

PE on landing gear is from Voyager 1/35 Tiger I fret, plus brass beams . It was very useful- many, many small parts left

Yes, it's a foil for oleos.

(By the way, old PE frets are very useful, no matter of scale )

Finishing Surfacer 1500 is a very good, suppose the gray is same. Thinned with more Leveling thinner it's excellent. I have Alclad, AK primers etc., but IMHO that one is the best of them for me.

As for propeller blades, I've read on other articles that they need slightly sanding at the base. But maybe I will leave them as they are, or will replace them with Quickboost ones. Still not decided and someone with more knowledge will help here

I'm a complete novice about Mustangs, so this build is a kind of challenge for me

Cheers!

V
Venko555
_VISITCOMMUNITY
Bulgaria
Joined: December 07, 2013
KitMaker: 908 posts
AeroScale: 206 posts
Posted: Thursday, May 26, 2016 - 04:39 PM UTC
Canopy is ready:


Thanks!
V
Venko555
_VISITCOMMUNITY
Bulgaria
Joined: December 07, 2013
KitMaker: 908 posts
AeroScale: 206 posts
Posted: Thursday, May 26, 2016 - 07:15 PM UTC
Alclad duraluminium:


Venko555
_VISITCOMMUNITY
Bulgaria
Joined: December 07, 2013
KitMaker: 908 posts
AeroScale: 206 posts
Posted: Friday, May 27, 2016 - 05:16 PM UTC
I will let the main color to dry, in the meantime preparing the landing gear. The resin wheels are superb, with slightly better detail than Tamiya ones, but the latter are also OK.


Thanks!

V
Venko555
_VISITCOMMUNITY
Bulgaria
Joined: December 07, 2013
KitMaker: 908 posts
AeroScale: 206 posts
Posted: Saturday, May 28, 2016 - 02:20 PM UTC
Different shades on the panels:

-Alclad Dark and White aluminium;
-Gunze Mr. Metal color Stainless steel;

Wheel bays will be resprayed and weathered later.
May be the pictures are a bit light, but this is my fault

Next is the Blue nose...


Cheers!

V

Szmann
_VISITCOMMUNITY
Netherlands Antilles
Joined: September 02, 2014
KitMaker: 1,977 posts
AeroScale: 295 posts
Posted: Saturday, May 28, 2016 - 05:56 PM UTC
Looking good so far, Venko. Keep up the good job.

Cheers!
Gabriel
Venko555
_VISITCOMMUNITY
Bulgaria
Joined: December 07, 2013
KitMaker: 908 posts
AeroScale: 206 posts
Posted: Saturday, May 28, 2016 - 06:06 PM UTC
Thanks, Gabriel!

We have a blue nose , and the two black stripes on the fuselage. Blue is Lifecolor LC-10 Matt Dark blue, straight from the bottle, and I like it. You can add a bit black or light grey, if you want darker or lighter shade, respectively.


Cheers!

Venelin
Joel_W
Staff MemberAssociate Editor
AUTOMODELER
_VISITCOMMUNITY
New York, United States
Joined: December 04, 2010
KitMaker: 11,666 posts
AeroScale: 7,410 posts
Posted: Saturday, May 28, 2016 - 10:00 PM UTC
Venelin,
Excellent job of painting those various panels, the effect is most realistic. The blue nose and black I.D. stripes are dead on perfect.

Joel


 _GOTOTOP