_GOTOBOTTOM
World War II
Discuss WWII and the era directly before and after the war from 1935-1949.
Hosted by Rowan Baylis
Italeri 1/72 Macchi C.202 Folgore
mrockhill
_VISITCOMMUNITY
Pennsylvania, United States
Joined: June 17, 2009
KitMaker: 566 posts
AeroScale: 507 posts
Posted: Saturday, November 14, 2015 - 08:40 AM UTC
Ive been working on this Italeri C.202 for the thunder and lightning campaign and decided to share with everyone else. The kit is pretty simple fairly well detailed and it was on my doorstep for $12. The cockit is simplified but considering the narrow cockpit opening and framed canopy closed it should be plenty convincing. On this build Ive chosen to focus on the smoke ring camo finish for which I ordered up some mike grant decals which should result in the best combination of time money and preservation of sanity.

As usual work begins in the cockpit, which in this case required some ejector pin mark removal and replacement of lost sidewall detail with stretched sprue.
Some quick research convinced me to use light gray for the cockpit color over the green I previously planned on. Silver for the seat and stick with black, OD, and blue taking care of the details with a gray/brown oil wash and some dry brushing giving it some life.

I also got to work on hollowing out the exhaust stacks and their cooling vents. In both cases I start with a micro drill and then shape the opening with a fresh #11 exacto. When done I give a very light detail brushing of tamiya thin cement to kill any leftover fuzz.

I should be able to get the fuselage and wings together here soon, hopefully tomorrow
GazzaS
#424
_VISITCOMMUNITY
Queensland, Australia
Joined: April 23, 2015
KitMaker: 4,648 posts
AeroScale: 1,938 posts
Posted: Saturday, November 14, 2015 - 08:45 AM UTC
Nice looking work on those stacks, Mike! I find them difficult enough at 1/48.

Gary
spaarndammer
_VISITCOMMUNITY
Noord-Holland, Netherlands
Joined: January 28, 2007
KitMaker: 1,945 posts
AeroScale: 388 posts
Posted: Saturday, November 14, 2015 - 11:27 PM UTC
I once gave this kit as a present to my nephew for his birthday, but later on he gave it back to me because it couldn't spark any interest in scale modelling.

In will follow this with interest and also thought about buying the Mike Grant decals.

Your start is already promising, with opening up the exhausts.


Jelger
Joel_W
Staff MemberAssociate Editor
AUTOMODELER
_VISITCOMMUNITY
New York, United States
Joined: December 04, 2010
KitMaker: 11,666 posts
AeroScale: 7,410 posts
Posted: Sunday, November 15, 2015 - 07:26 PM UTC
Mike,
Nice start to your build.

I'm really glad that you decided to share your campaign build with us non-campaign guys, as it's nearly impossible to try and follow a build in a campaign thread. I sure do wish that more members would do the same. It's gotten a little slow around here of late, but the campaigns seem to be buzzing with builds.

I'm really looking forward to your camo paint scheme. It should be quite spectacular.

Joel
ArmouredSprue
_VISITCOMMUNITY
South Australia, Australia
Joined: January 09, 2002
KitMaker: 1,958 posts
AeroScale: 116 posts
Posted: Monday, November 16, 2015 - 06:43 AM UTC
Nice work

I have one of this in my stash crying for me to build it...
mrockhill
_VISITCOMMUNITY
Pennsylvania, United States
Joined: June 17, 2009
KitMaker: 566 posts
AeroScale: 507 posts
Posted: Sunday, November 29, 2015 - 11:01 AM UTC
Thanks for all the comments guys! Not much progress to report except that the decals arrived! Lately Ive been focusing my benchtime to try and get my F-51 build done for the fighter bomber campaign. Soon that build should be in the paonting phase and I get back building this little gem. In the meantime ive been fidgeting around dry fitting the wings plus the upper and lower cowl pieces. It looks like some work will be involved, cant say im a fan of how the nose is engineered thus far
spaarndammer
_VISITCOMMUNITY
Noord-Holland, Netherlands
Joined: January 28, 2007
KitMaker: 1,945 posts
AeroScale: 388 posts
Posted: Sunday, November 29, 2015 - 11:47 AM UTC
It will be interesting to see how to those decals will look on your model. I will keep following this thread.

On the web I found an interesting site about the Macchi 202, with lots of profiles:
http://www.asisbiz.com/MC-202.html

There are Luftwaffe profiles as well and even a profile of a captured one by the US.


Jelger
Joel_W
Staff MemberAssociate Editor
AUTOMODELER
_VISITCOMMUNITY
New York, United States
Joined: December 04, 2010
KitMaker: 11,666 posts
AeroScale: 7,410 posts
Posted: Sunday, November 29, 2015 - 10:46 PM UTC
Mike,
I'm really looking forward to seeing how that camo paint scheme comes out. I'm quite sure that you'll nail it.
Joel
Twentecable
_VISITCOMMUNITY
Overijssel, Netherlands
Joined: September 13, 2003
KitMaker: 339 posts
AeroScale: 244 posts
Posted: Sunday, November 29, 2015 - 11:56 PM UTC
Nice paintjob
especially on the seat..

gr TC
mrockhill
_VISITCOMMUNITY
Pennsylvania, United States
Joined: June 17, 2009
KitMaker: 566 posts
AeroScale: 507 posts
Posted: Monday, November 30, 2015 - 04:15 AM UTC
Thanks for the compliments guys, I got high hopes for this kit and I'm glad they make decals because making masks for this would make this undoable for me in this scale, it would be on the shelf of doom after one wing!

The hardest thing will be making sure the camo looks balanced and doesnt bunch or worse I run short. However its most likely the sheet has ample decals either way it will be a decaling battle royale.... I may need more decal solution!

Jelger thanks for the link, ill check it out this evening. Always looking for new schemes and reasons to grow the stash!

Joel_W
Staff MemberAssociate Editor
AUTOMODELER
_VISITCOMMUNITY
New York, United States
Joined: December 04, 2010
KitMaker: 11,666 posts
AeroScale: 7,410 posts
Posted: Monday, November 30, 2015 - 10:30 PM UTC
Mike,
I'm a little confused. Are you talking about the National insignias?
Joel
mrockhill
_VISITCOMMUNITY
Pennsylvania, United States
Joined: June 17, 2009
KitMaker: 566 posts
AeroScale: 507 posts
Posted: Sunday, December 13, 2015 - 10:11 AM UTC
Joel,
I think I was mentioning how tiring a process masking the camo would be without the decals. The national insignia will be from the very nice kit sheet.

No pictures but theres been progress. Ive glued the fuselage halves together and secured the cockpit. Next I glued the upper cowl/nose piece into place. This takes some care as it wont line up and sit flush all the way around on its own. It still leaves an ugly, irregular seam Ill have to figure out... thanks italeri.

Dry fitting showed all pieces involved in the foward wing root area would be a mess, so I needed to proceed with care. To start I glued the lower wing on. None of the wing root or fillets line up requiring sanding and putty. The rear of the wing to fuselage bottom has a sizeable gap to fill. Next I test fit the lower cowl which fit oversized and was filed to fit. This was much better than needing putty IMHO.

Next up will be the wing to halves. Dry fitting shows a nice join on one side and a large gap on the other and I need to scrounge up a head on view to get an idea how much dihedral these wings should have.
GazzaS
#424
_VISITCOMMUNITY
Queensland, Australia
Joined: April 23, 2015
KitMaker: 4,648 posts
AeroScale: 1,938 posts
Posted: Sunday, December 13, 2015 - 02:07 PM UTC
Mike,
She sounds like a little beast. Still, I'm looking forward to what you make of it. Someday I'll attempt it in 1/48 scale.
mrockhill
_VISITCOMMUNITY
Pennsylvania, United States
Joined: June 17, 2009
KitMaker: 566 posts
AeroScale: 507 posts
Posted: Monday, December 14, 2015 - 12:01 AM UTC
Gary,
Im pretty stoked to see how this little bugger turns out myself, especially with my F-51D sidelined for now. As soon as I get the wing together and properly aligned the rest should be a breeze until decal time.

Ive also got a hasegawa 1/48 202 in the stash as well as the dreaded tauro 205. Though this 202 will be the only one sporting smoke ring camo. The Italians had way too many interesting camo schemes to allow any repeats in my collection
litespeed
Staff MemberNews Reporter
AEROSCALE
_VISITCOMMUNITY
England - North West, United Kingdom
Joined: October 15, 2009
KitMaker: 1,976 posts
AeroScale: 1,789 posts
Posted: Monday, December 14, 2015 - 02:29 AM UTC
Enjoying your build log Mike. I can't wait to see how the 'smoke ring' decals turn out. They could well be a real must have for anyone considering this sort of scheme, but are put off by the difficulty of creating such a effect by air brush or hairy stick.
tim
mrockhill
_VISITCOMMUNITY
Pennsylvania, United States
Joined: June 17, 2009
KitMaker: 566 posts
AeroScale: 507 posts
Posted: Friday, December 25, 2015 - 01:39 AM UTC
A Merry Christmas to everyone out there! Im enjoying a nice quiet christmas at home this year, I absolutely despise holiday travelling. So Ive got some more progress to report as I get some time in at the bench.

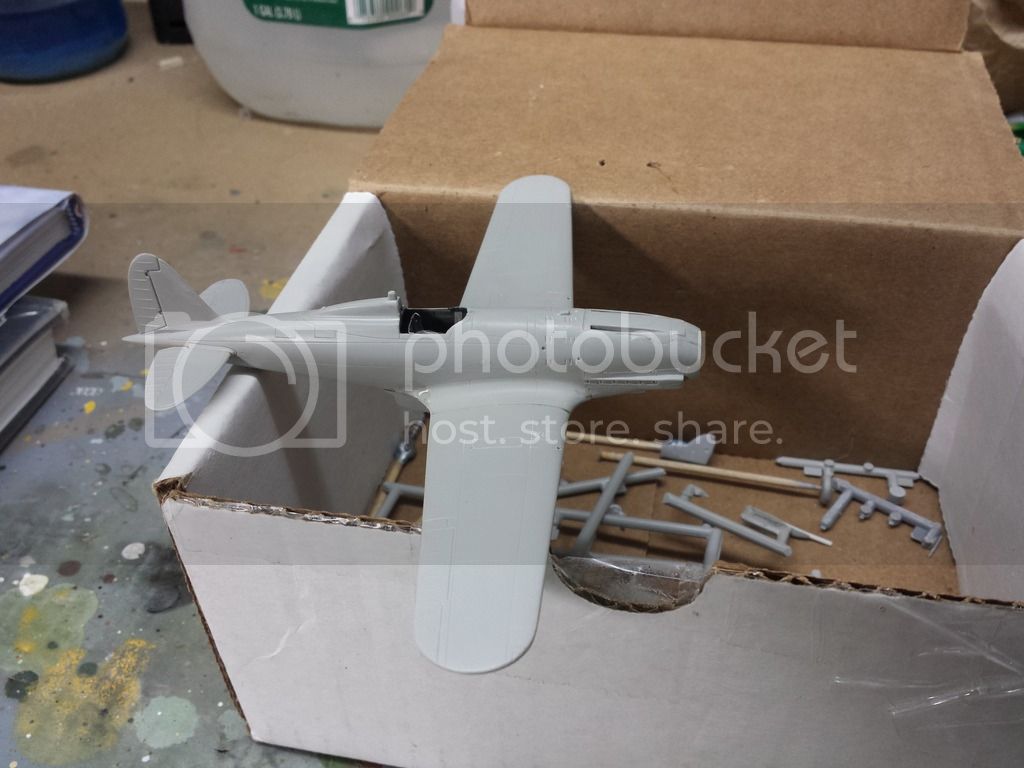
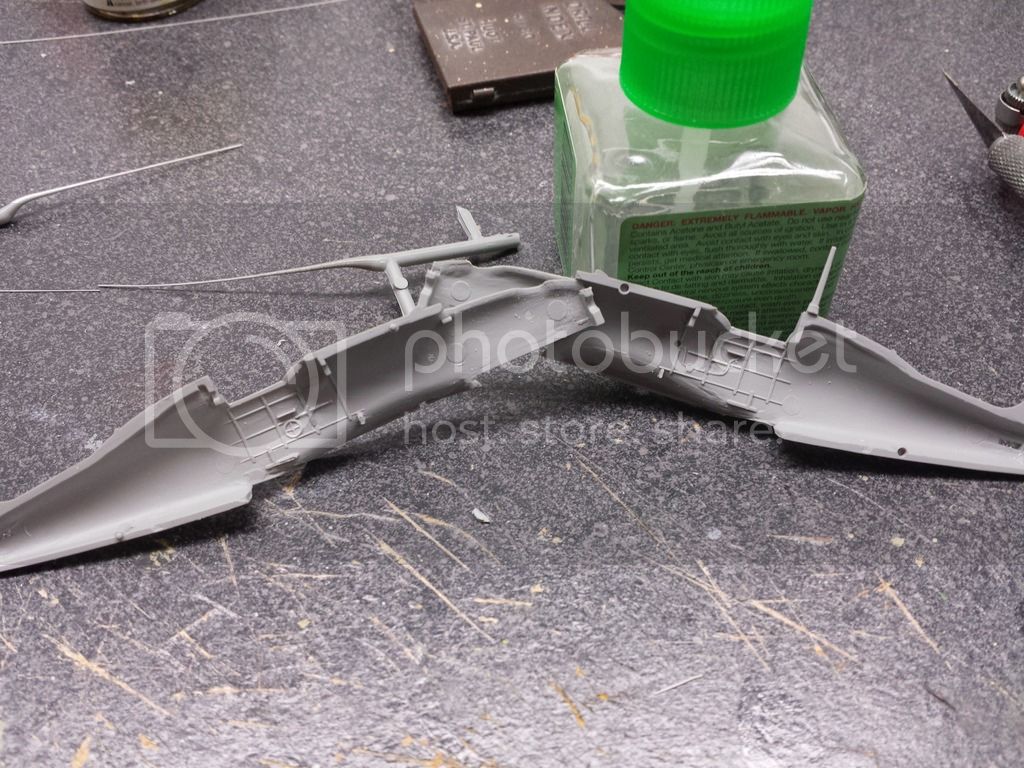
I decided to tackle the wings the other day and it was a multi step project. Modelling skills and filler were definitely required! Imitially I had set the lower wing trying to get the best compromise between edge alignment and mounting it square. Dry fitting showed I would have dihedral issues and wing roots stepped and gapped if built as it sits. I glued the upper wing halves on at the tips only while having them held in place to ensure alignment. I then added .005 styrene shims to the front on the wing gap and filed them til the wing roots were flush. These were then glued.

To set dihedral, in a very unscientific fashion, I stuck a long piece of clear scotch tap to the underside of the wing tip, over the tip and to the top of the cowl and eye balled it over the front profile of a C.205, best I have on hand 
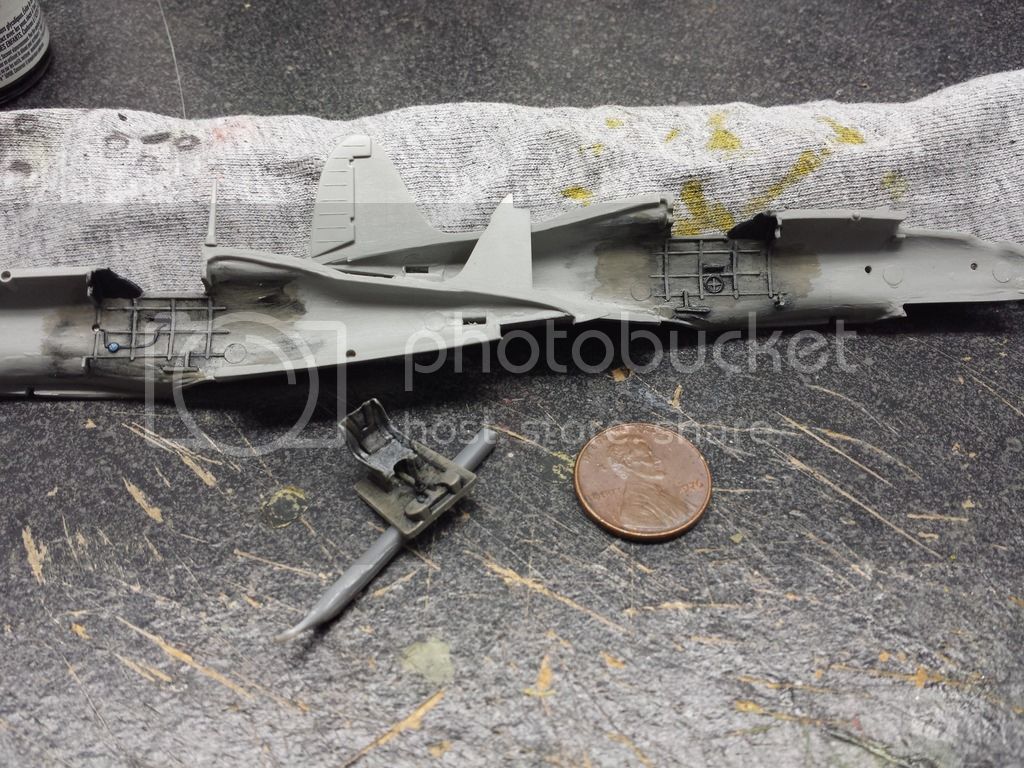
. I did this one wing at at time. Each time initially glued with cement then having CA flowed into the seams later. The wing gaps were uneven but only required filling, which is where I am today, this kit certainly needs plenty of filler so I'll be busy for a bit.


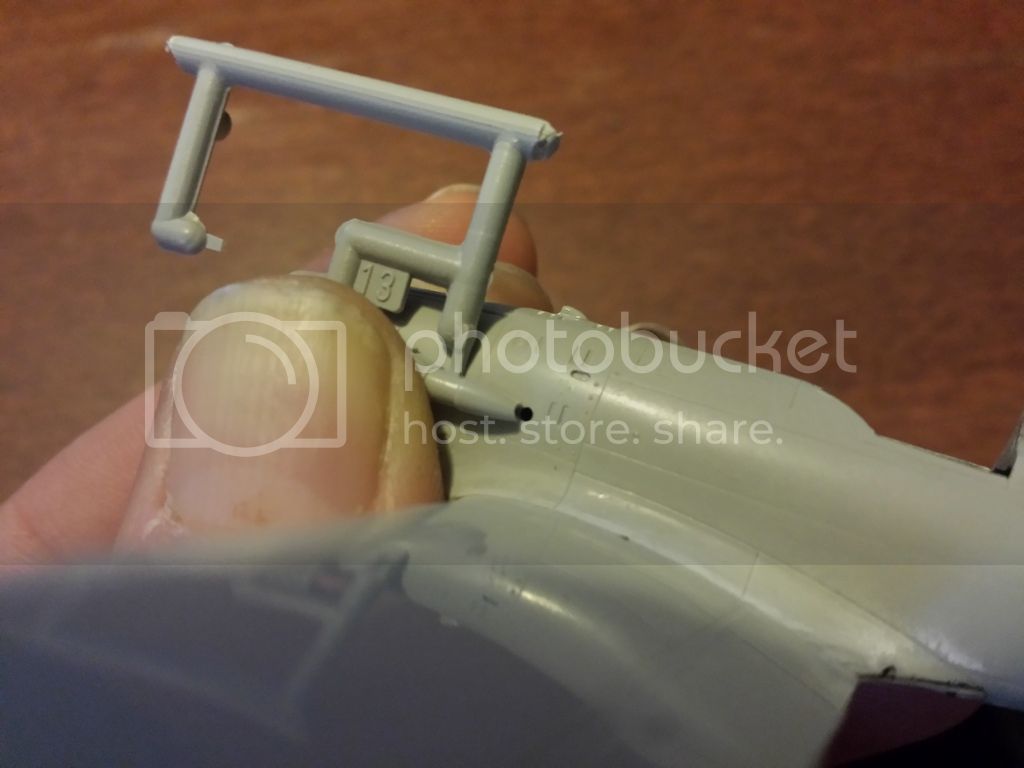
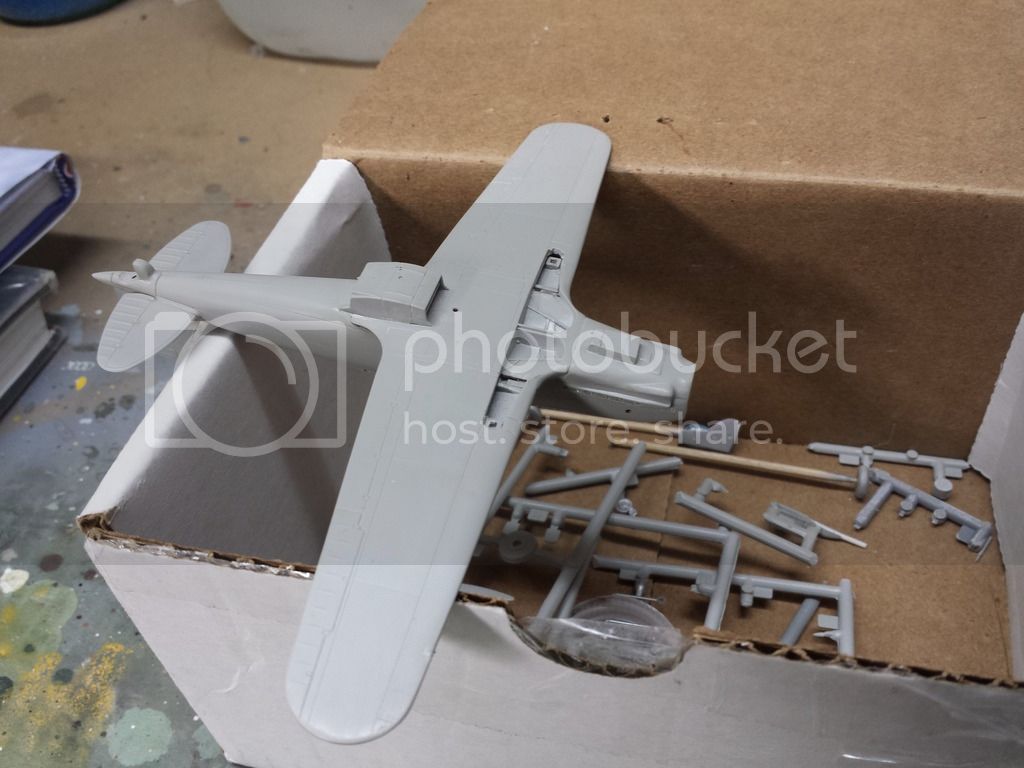
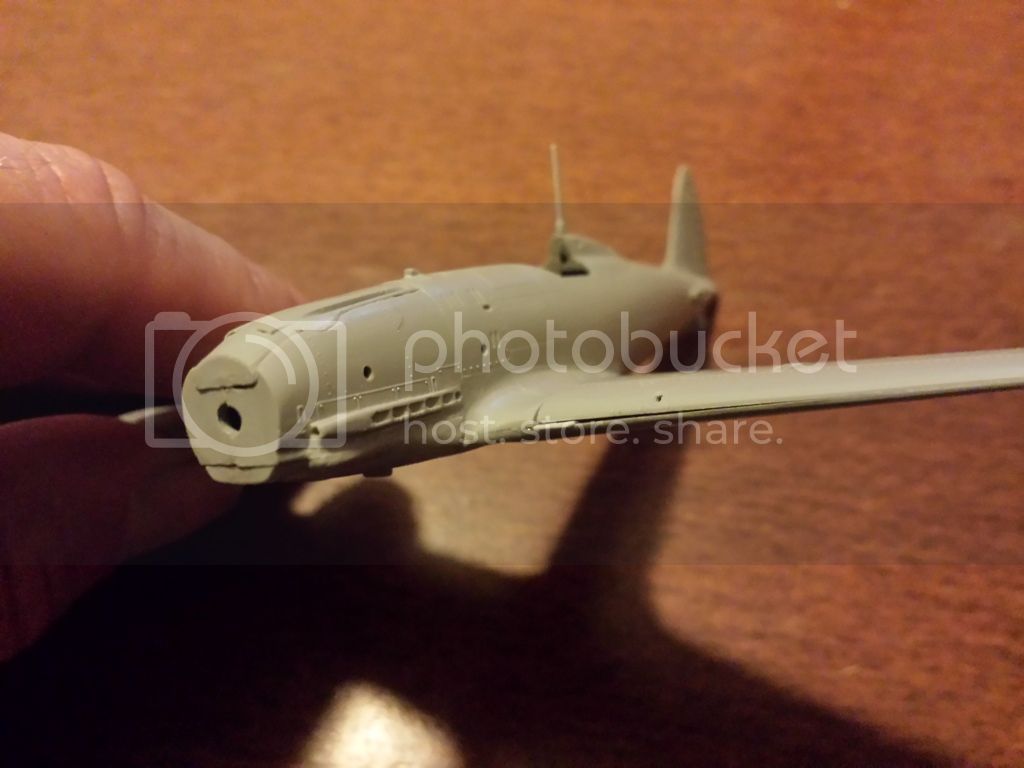
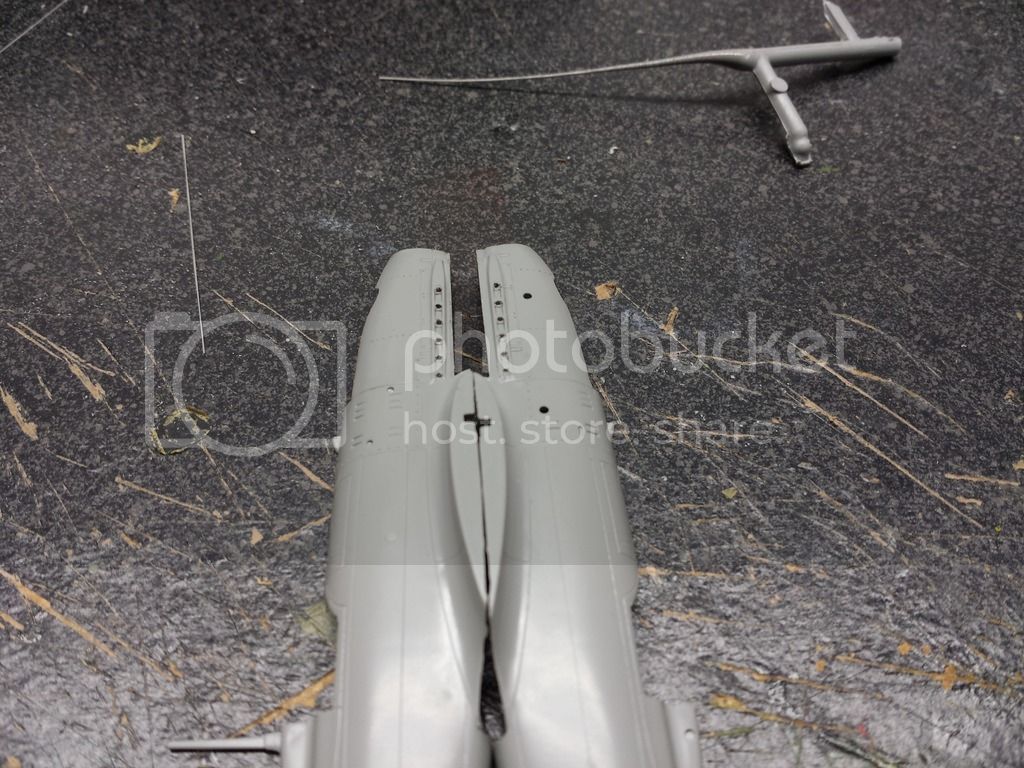
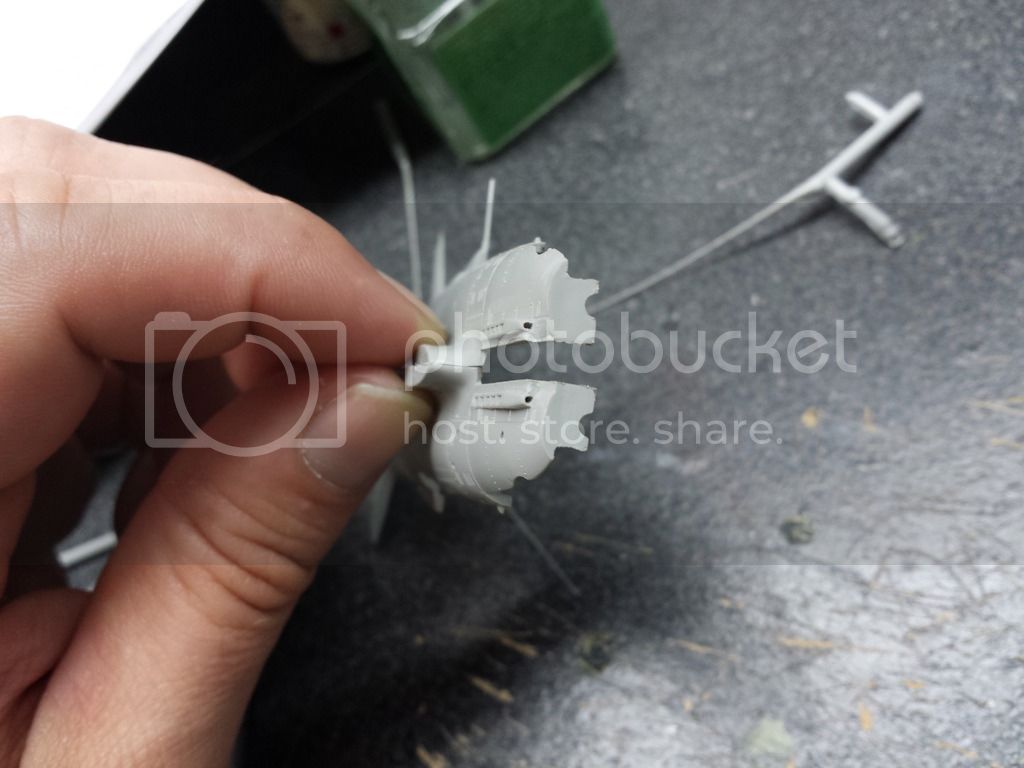
I also went to test fit the air cleaner/intake and found it to be a short shot, missing the very tip and the locator pin. The sharp eyed may notice it is lucky part number 13!!! Ive got replacement bits from italeri before but while they were active emailing me and such, it took a while to get my parts and the campaign may be over by then. I think I can fix this myself with either styrene chunk or putty blob and some file work
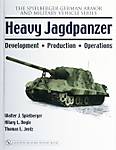
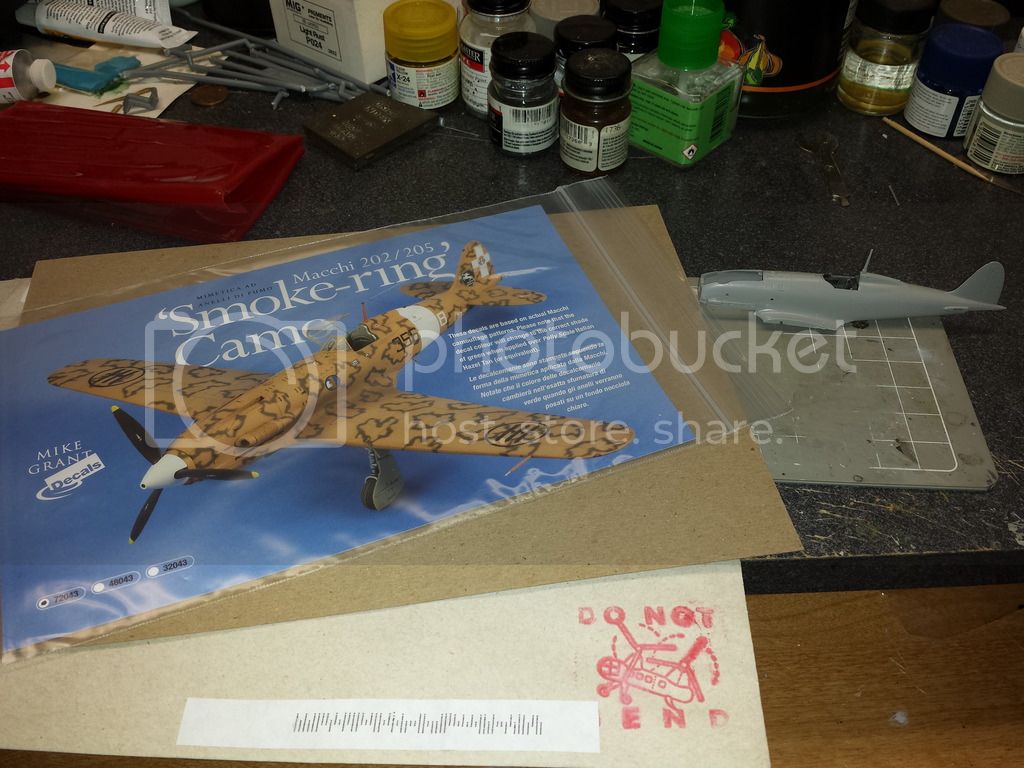
Joel_W
Staff MemberAssociate Editor
AUTOMODELER
_VISITCOMMUNITY
New York, United States
Joined: December 04, 2010
KitMaker: 11,666 posts
AeroScale: 7,410 posts
Posted: Thursday, December 31, 2015 - 01:34 AM UTC
Mike,
I really like how you're going about dealing with that nasty alignment of the top section of the wing to the fuselage. the space in the leading edge shouldn't be much of an issue, but it looks like the top section of the wing where it butts up against the fuselage is short of the leading edge of the lower wing. I certainly can see how this build has continued to be a major user of putty.

Joel
mrockhill
_VISITCOMMUNITY
Pennsylvania, United States
Joined: June 17, 2009
KitMaker: 566 posts
AeroScale: 507 posts
Posted: Thursday, December 31, 2015 - 06:56 PM UTC
Joel, Thanks for peeking in on my Macchi! Im enjoying this kit quite a bit. Despite its minor issues It hasnt resisted my efforts much and is shaping up nicely I just need to finish up sanding the lower cowl before I attach the horizontal stabs and the 3 intakes and really getting her looking the part of a "Folgore"

On a lower note I finally managed to knock off the wonderfully shaped antenna post without noticing and lost it. I'll have to fashion one out of styrene or brass rod which shouldnt be difficult. The hidden blessing is it will be easier to figure out the antenna aerial rigging
spaarndammer
_VISITCOMMUNITY
Noord-Holland, Netherlands
Joined: January 28, 2007
KitMaker: 1,945 posts
AeroScale: 388 posts
Posted: Friday, January 01, 2016 - 01:56 AM UTC
Hi Mike,

Although i feel a bit sorry for you for all the problems the kit has, but I am glad someone explains all the issues with this kit, before i will start with it.

I have great respect for your work on this. Good luck with the sanding.


Jelger
mrockhill
_VISITCOMMUNITY
Pennsylvania, United States
Joined: June 17, 2009
KitMaker: 566 posts
AeroScale: 507 posts
Posted: Friday, January 01, 2016 - 03:25 AM UTC
Thank you Jelger for your compliments on my build, Im glad its interesting to people other than myself!

I really dont think its a troublesome kit, I maybe making it seem worse than it is, still modelling skills are required to get a nice build. I probably would have been happy to slap this together as a kid and been very pleased with myself. It hasnt put me off of looking into some other Italeri 1/72 Italian WWII kits like the SM.81 being built on this forum. Ill certainly pick up one of their SM.79s when I get a chance
heavyjagdpanzer
_VISITCOMMUNITY
Georgia, United States
Joined: February 17, 2013
KitMaker: 173 posts
AeroScale: 108 posts
Posted: Friday, January 01, 2016 - 03:40 AM UTC
Mike, I love the C.202. I think it is one of the most beautiful fighters of WW II. I have got a 1/48 scale Hasegawa kit that I would like to build. I am particularly interested in how the “smoke ring” decals turn out. The other camo options on the Folgore looks like they would be really hard to paint.
mrockhill
_VISITCOMMUNITY
Pennsylvania, United States
Joined: June 17, 2009
KitMaker: 566 posts
AeroScale: 507 posts
Posted: Tuesday, January 12, 2016 - 06:50 PM UTC
Bill, thanks for your interest im my Macchi! I agree, the C.202, not to mention other italian inline engined fighters, are works of art.

An update is overdue on this build and I'm happy to say the slow hours of filling and sanding are about done. I've also got the wings, stabilizers, radiator and oil cooler intake installed and its now looking very much like a Macchi I also finally managed to knock the pitot tube off! All that is now needed before paint is to rescribe some panel lines, attach a tiny intake ahead of the canopy, attach the canopy, and get the antenna and pitot tube sorted out.


greif8
_VISITCOMMUNITY
Bayern, Germany
Joined: January 17, 2006
KitMaker: 673 posts
AeroScale: 492 posts
Posted: Wednesday, January 13, 2016 - 12:55 PM UTC
Mike it looks like you are turning a pig's ear into a silk purse with this build. I think the camo pattern will look very fetching once you get that far.

Ernest
Joel_W
Staff MemberAssociate Editor
AUTOMODELER
_VISITCOMMUNITY
New York, United States
Joined: December 04, 2010
KitMaker: 11,666 posts
AeroScale: 7,410 posts
Posted: Thursday, January 14, 2016 - 12:13 AM UTC
Mike,
You're making excellent progress. Just about ready for the primer coat.
Joel
 _GOTOTOP