_GOTOBOTTOM
World War II
Discuss WWII and the era directly before and after the war from 1935-1949.
Hosted by Rowan Baylis
Bümbler Bü-1 Flugzeugtrager
GazzaS
#424
_VISITCOMMUNITY
Queensland, Australia
Joined: April 23, 2015
KitMaker: 4,648 posts
AeroScale: 1,938 posts
Posted: Friday, October 23, 2015 - 01:47 PM UTC
Hello Friends,
Born of desperation I began today's work. My airbrush is broken, and I had to wait until the day I expected my new nozzle to arrive (yesterday) in the mail to learn that it was out of stock. So, I ordered another from another place, so someday hopefully I'd have a spare.
The director of Bümbler Flugzeug Werke, Frau (Big) Bertha Bümbler, directed that the production team should begin another model, or at least quit moping about the executive lounge area.
I didn't really want to start another model, but through the preceding weeks had been trying to germinate the seed within my brain into a flowering idea of how I could alleviate the crowding in the Wife's China cabinet.
I didn't have a chance of coming up with the funds required for a proper store-bought cabinet. I didn't have downloaded plans from the internet. I had a shed full of tools, some scraps of lumber, and a $50 Father's Day voucher from Bunnings (Australia's equivalent to Home Depot).
My voucher bought me a 36$ piece of acrylic sheet, some 8g 20MM wood screws, and a sheet of thin MDF. Upon returning to the production facility, I discovered I had overestimated the amount of scrap wood available and headed back to Bunnings the back way. On the way I saw a business with a pile of wood out front with a sign that said "help yourself". It was mostly 2 X 4's and thick, water-damaged MDF. However, I did find a very worn piece of 3/8" ply that was well-screwed to some 2 X 4's.
Pretty deep into the build, somebody on the team thought we should make a blog. One of these may be the culprit:
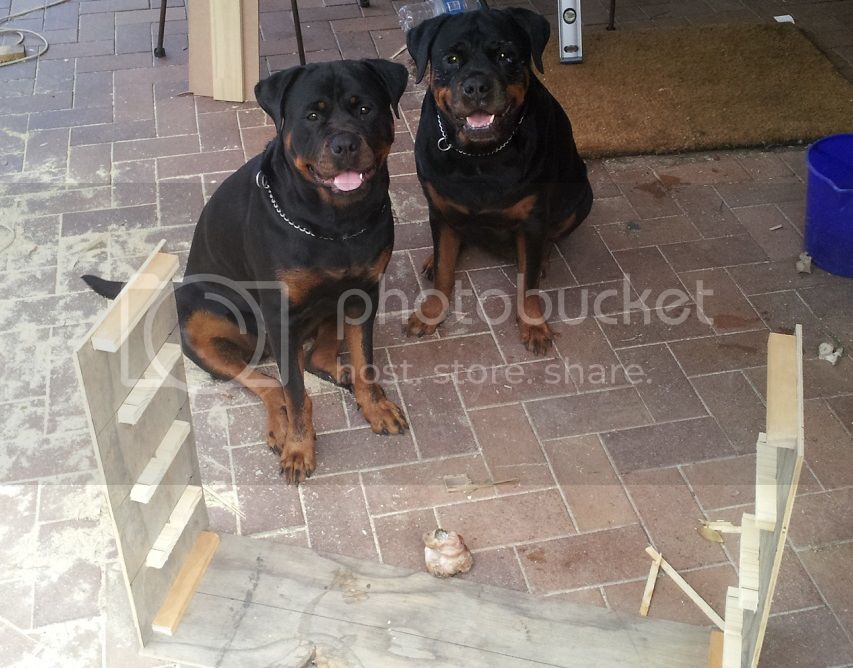
I didn't want to spend money on brackets and stuff until I knew if I could build the cabinet light enough to hang on a wall.
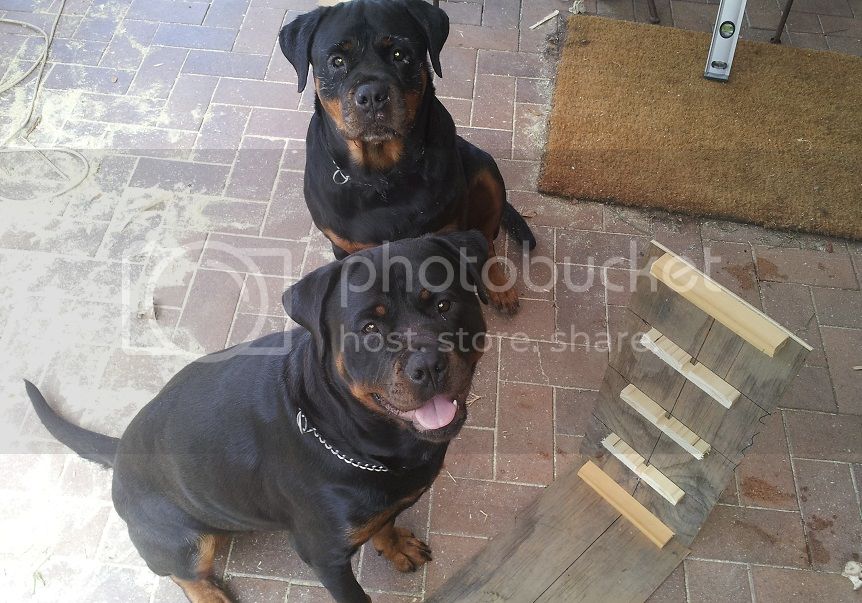
I had originally planned that my cabinet would need to be 8 inches deep to accommodate 1/48 scale aircraft. However, to my consternation, measuring the P-47 showed that my minimum depth needed to be closer to 11 inches. It's amazing how long they'll sit still when they know you have biscuits in your pockets.
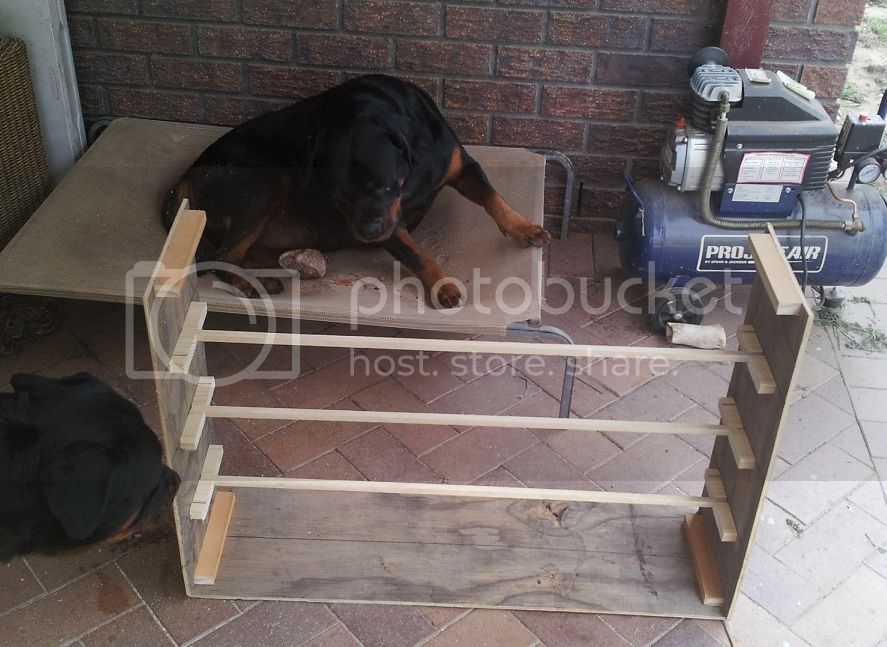
Biscuits eaten, it was time to relax and admire our handiwork. By the way, Tail and ear Lopping is Verboten here in Australia!
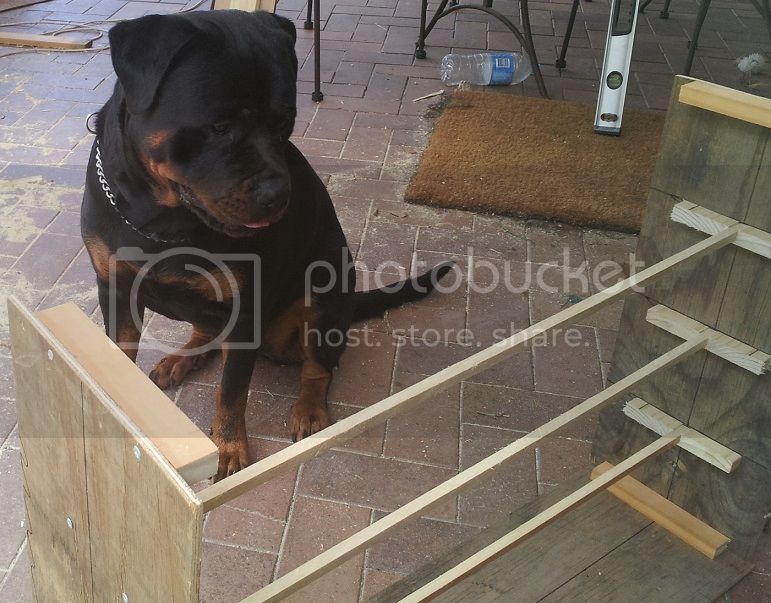
I had underestimated the rigidity of the MDF I was going to use on the shelves. I ripped down some lumber to 12mm X 12mm and made stiffeners. Her name is Gypsy the Fearless. Neither lawnmowers, whipper-snipper, vacuum cleaner, nor the sudden firing up of the compressor can make her flinch and slink away.
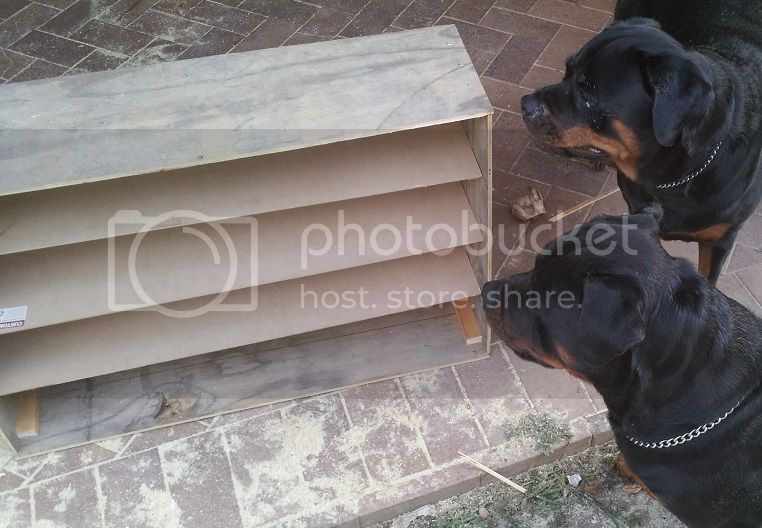
Will watch work for food. Waddya expect? No opposable thumbs!
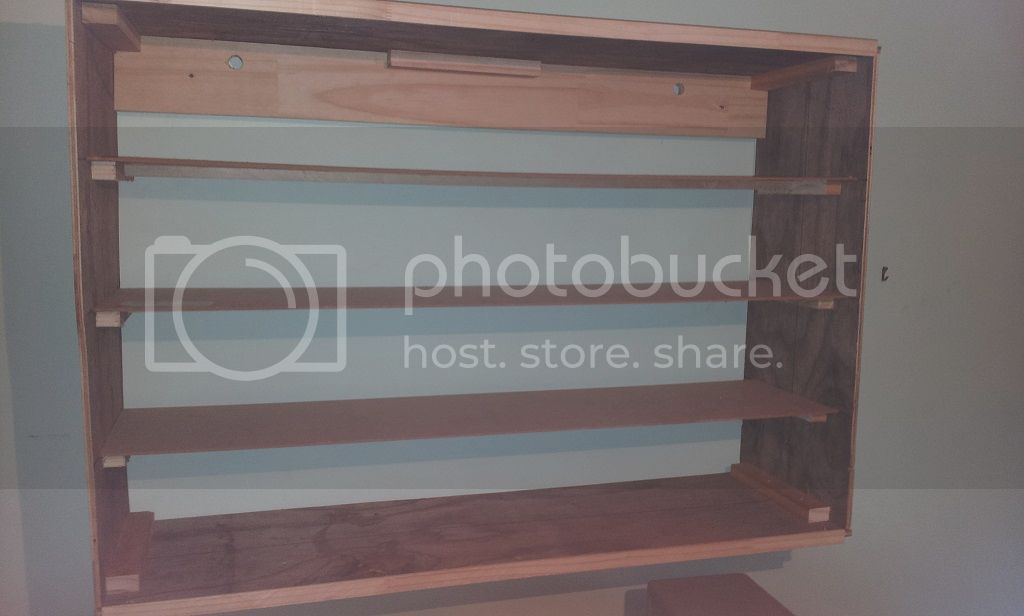
Finally on the wall! Two studs have large screws driven in to them to support the weight.
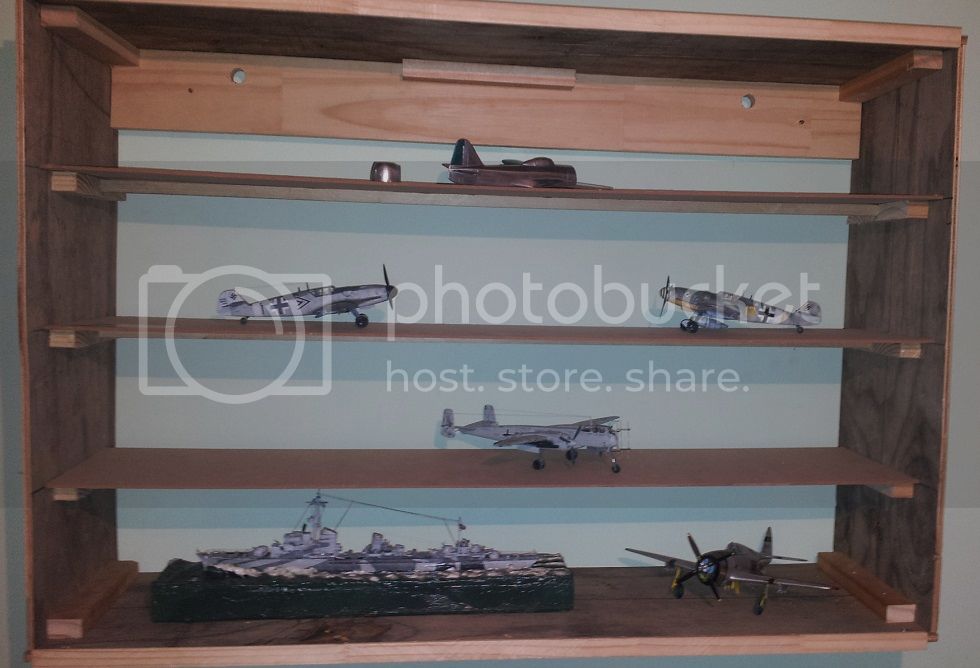
With my production since I returned from the dead to the world of styrene.
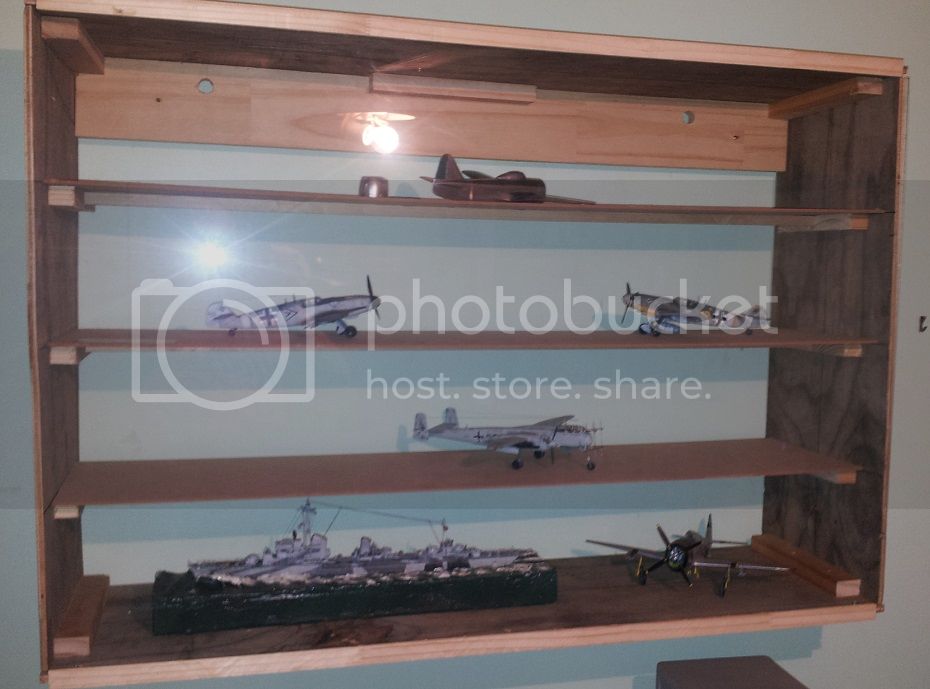
And finally the sheet of clear acrylic to keep most of the dust away. It slides in and out from either side. Glare provided by a naked bulb and poor photography skills.

Maybe tomorrow some paint.

Thanks for looking,

Gary
phumbles
_VISITCOMMUNITY
Australia
Joined: June 14, 2013
KitMaker: 82 posts
AeroScale: 81 posts
Posted: Friday, October 23, 2015 - 04:07 PM UTC
Hi Gary , at least you will get some use out of that. I am spending the weekend painting cupboards for the wife to store her craft stuff .have fun filling it, Phil.
GazzaS
#424
_VISITCOMMUNITY
Queensland, Australia
Joined: April 23, 2015
KitMaker: 4,648 posts
AeroScale: 1,938 posts
Posted: Saturday, October 24, 2015 - 06:09 AM UTC
Thanks Phil! I'm the most reluctant of DIY-ers. But at least this thing will hold quite a few finished kits.

Gary
Joel_W
Staff MemberAssociate Editor
AUTOMODELER
_VISITCOMMUNITY
New York, United States
Joined: December 04, 2010
KitMaker: 11,666 posts
AeroScale: 7,410 posts
Posted: Saturday, October 24, 2015 - 07:20 PM UTC
Gary,
Just a great DIY display cabinet. And you finished it no less. Just be prepared to build a 2nd one sooner then you think, as they do have a way of getting full faster then you imagined.

Both your helpers did an outstanding job of keeping you focused on the project at hand.

Joel
GazzaS
#424
_VISITCOMMUNITY
Queensland, Australia
Joined: April 23, 2015
KitMaker: 4,648 posts
AeroScale: 1,938 posts
Posted: Saturday, October 24, 2015 - 11:17 PM UTC
Hi Joel,
Thanks. It was an all-day job, and the next one will have to be made of all new materials with a much more refined finish. This one is pretty ugly, but will suffice for a while.

Best wishes,

Gary
Joel_W
Staff MemberAssociate Editor
AUTOMODELER
_VISITCOMMUNITY
New York, United States
Joined: December 04, 2010
KitMaker: 11,666 posts
AeroScale: 7,410 posts
Posted: Sunday, October 25, 2015 - 07:30 PM UTC

Quoted Text

Hi Joel,
Thanks. It was an all-day job, and the next one will have to be made of all new materials with a much more refined finish. This one is pretty ugly, but will suffice for a while.

Best wishes,

Gary


Gary,
Until you build your next unit, this one will serve you quite well, especially keeping a modelers greatest enemy at bay: DUST
Joel
GazzaS
#424
_VISITCOMMUNITY
Queensland, Australia
Joined: April 23, 2015
KitMaker: 4,648 posts
AeroScale: 1,938 posts
Posted: Sunday, October 25, 2015 - 10:58 PM UTC
Oh man, do I hate dust!

I kinda went stupid yesterday. I found a 1/48 scale Revell B-29 on E-bay for a price 25-50% lower than other E-bay offerings and more than 75% cheaper than I could buy it from Amazon. So, instead of sleeping, I've been mentally engineering a way to put it in a picture frame type of arrangement to hang it on a wall. The framing isn't the hard part. It's gonna be re-engineering the landing gear to bear the entire weight of the model 90 degrees away from where it was originally intended.

 _GOTOTOP