_GOTOBOTTOM
World War II
Discuss WWII and the era directly before and after the war from 1935-1949.
Hosted by Rowan Baylis
WiP Wellington to Warwick conversion
pbhawkin
_VISITCOMMUNITY
New South Wales, Australia
Joined: November 23, 2009
KitMaker: 179 posts
AeroScale: 170 posts
Posted: Sunday, May 17, 2015 - 05:58 AM UTC
Hi guys,
This is a slowly progressing build that has been on my list (and on my bench) for ages.
Until I got a nice reference (Vickers Wellington 1936 to 1953, Haynes Owners Workshop Manual) that showed exactly the difference in wings and fuselage it was slow going.
This first photo shows the page with the differences between the Wellington and Warwick:
pbhawkin
_VISITCOMMUNITY
New South Wales, Australia
Joined: November 23, 2009
KitMaker: 179 posts
AeroScale: 170 posts
Posted: Sunday, May 17, 2015 - 06:02 AM UTC
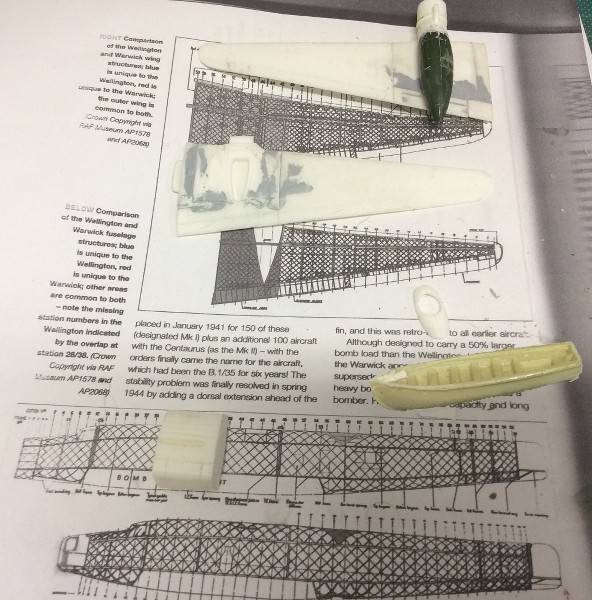
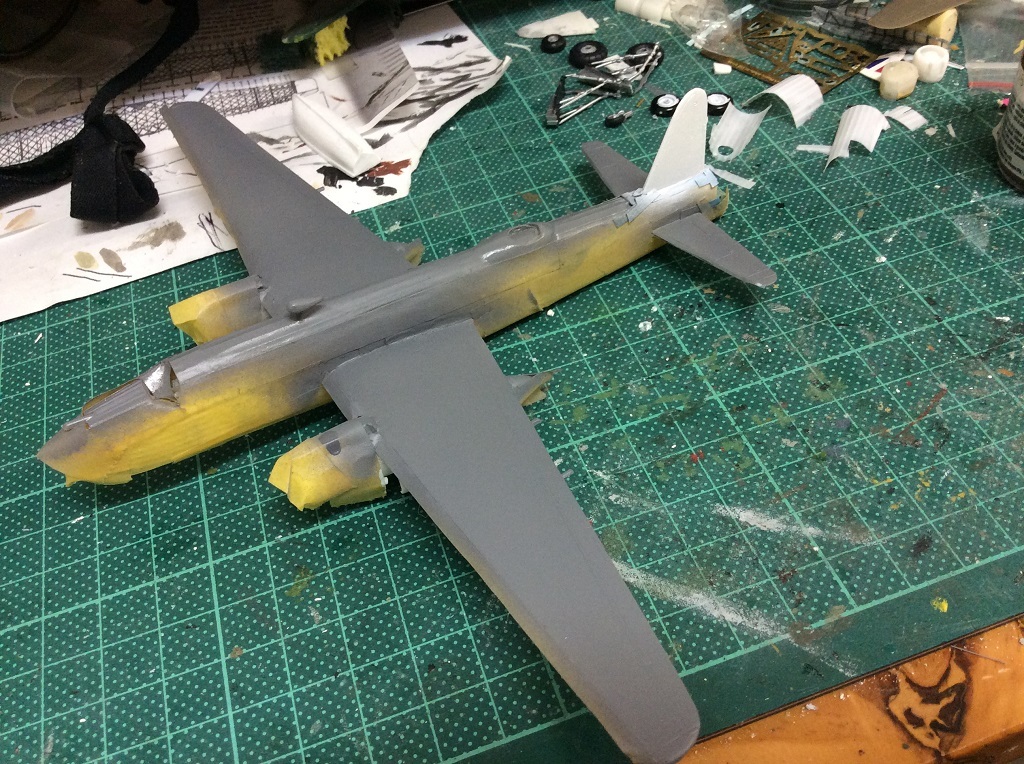
You will see that I have already cut out a section from a Wellington fuselage to insert into another fuselage to lengthening it by the required amount. Some work will be required at the join to the wing to smooth it out.
Also visible are a casting I made from a Lancaster upper turret (courtesy of F-toys model) fairing that I will add to the spine of the fuselage for the upper turret on the Warwick.
A resin lifeboat is also in the picture as are two completed Warwick wings.

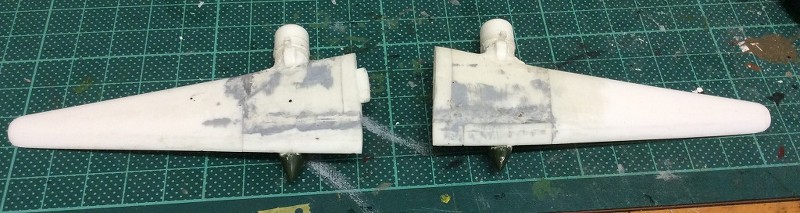
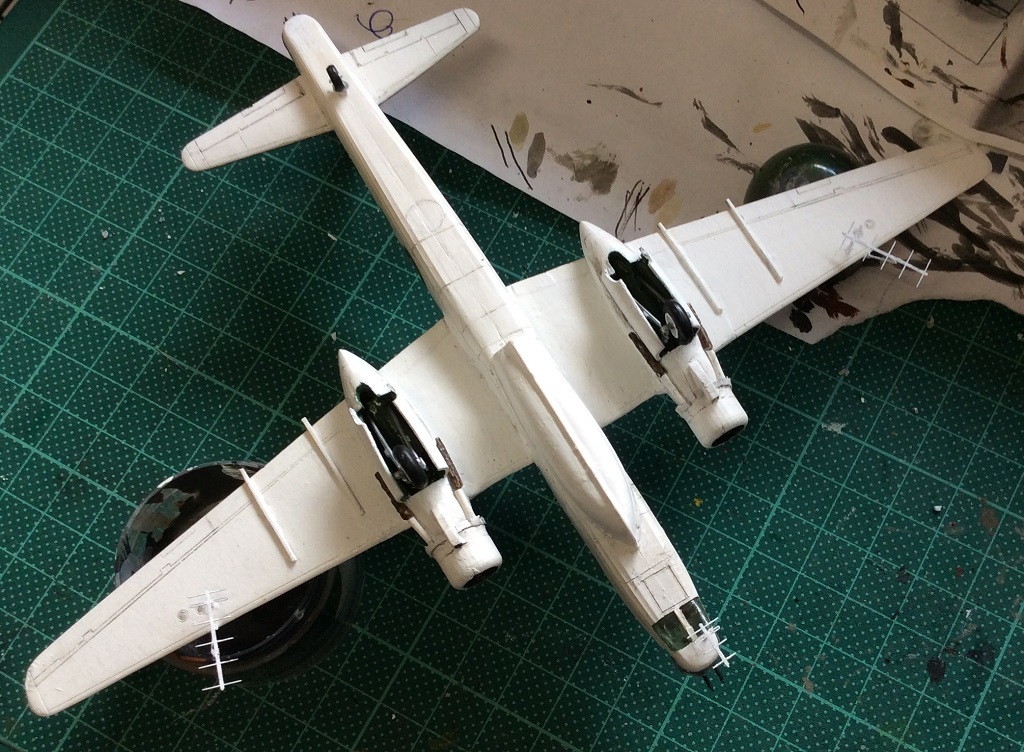
This picture shows how I cut up a number of Wellington wings and used the pieces like a jigsaw puzzle to make the appropriate length and increasing chord for a Warwick wing:


The wings are the same from the outside of the engine to the wing tip (on the wellington) with the Warwick having an extra 3 feet (6mm) added to the outside of the engine for the wing length.

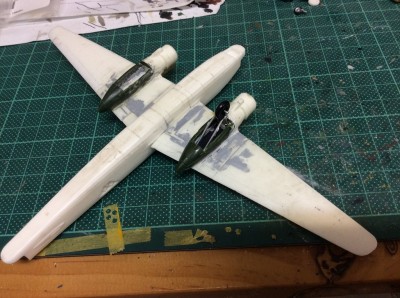
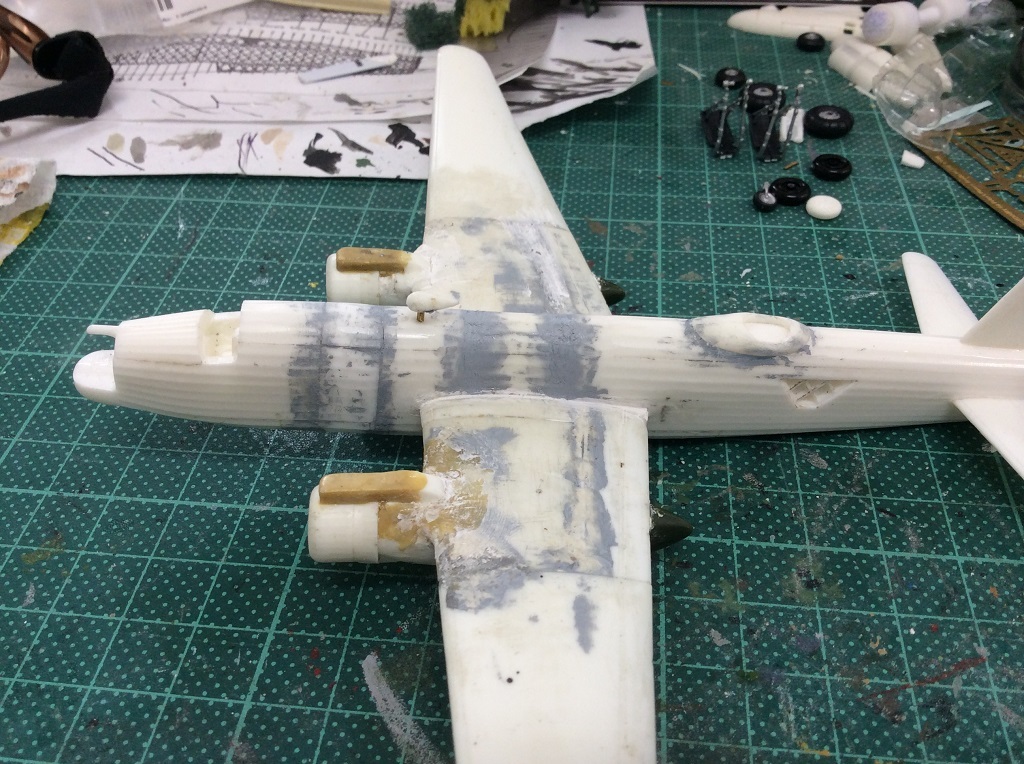
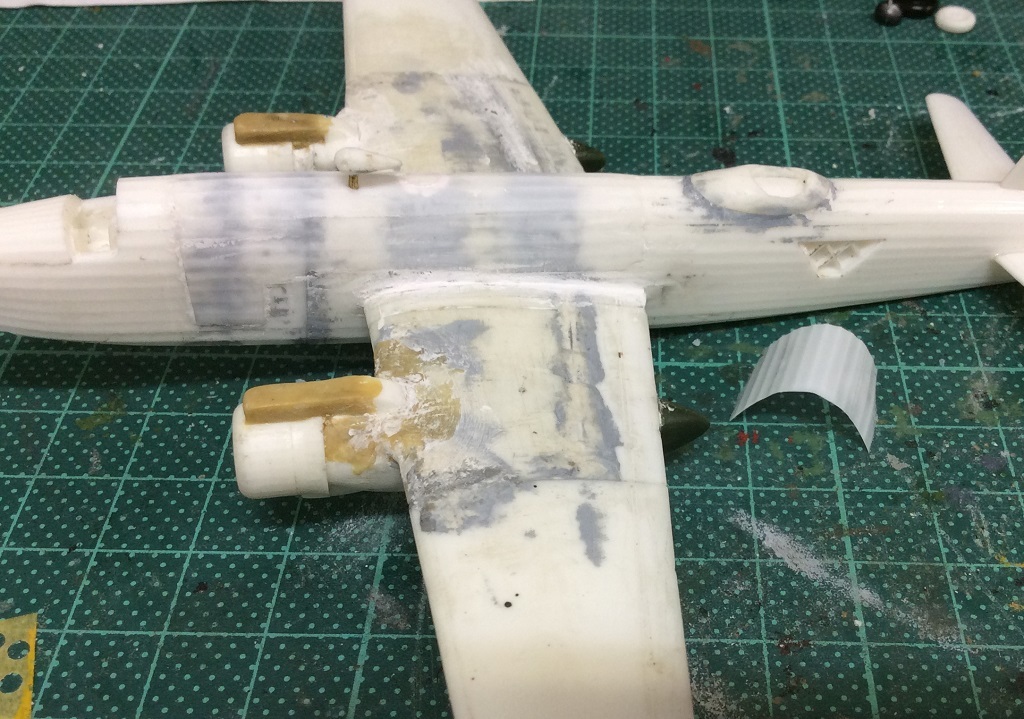
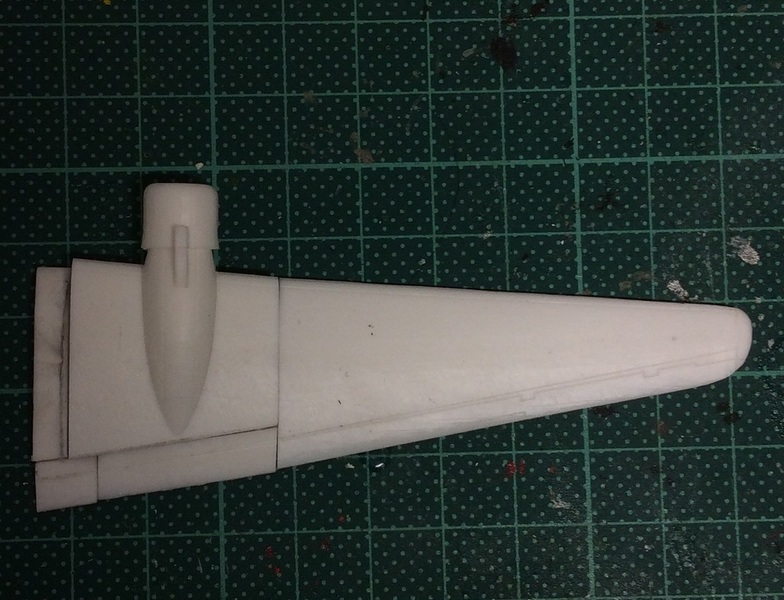
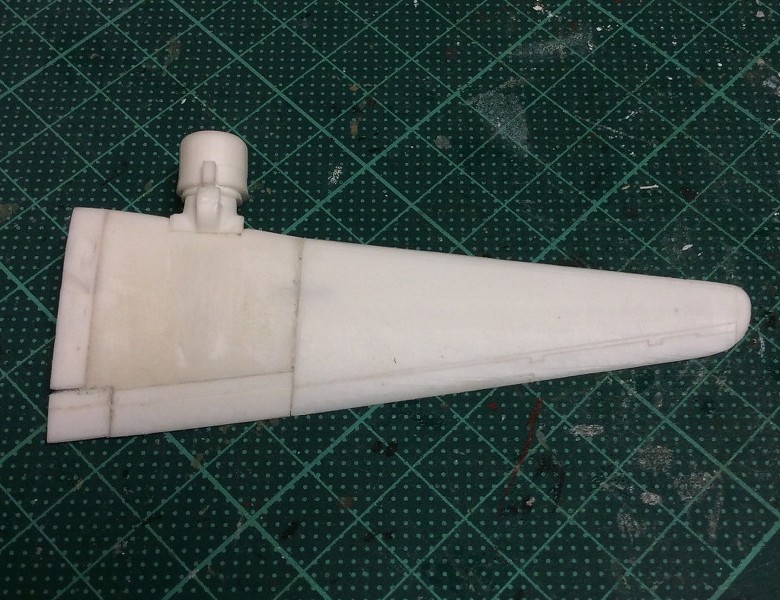
Here is the wing once glued, puttied and sanded:

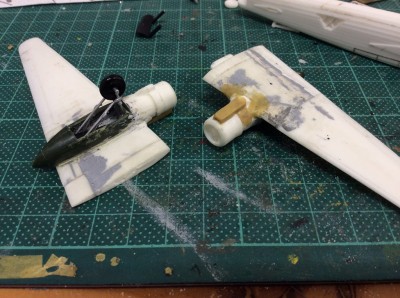
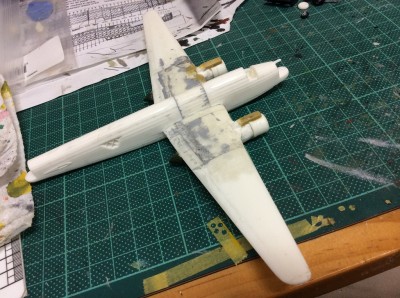
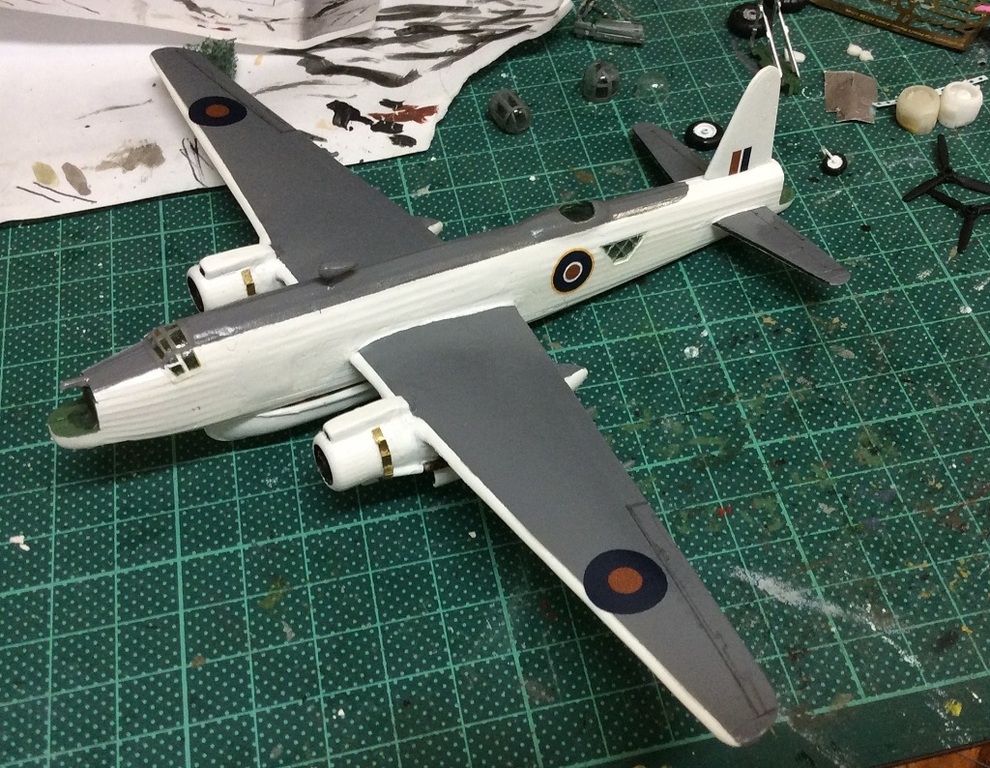
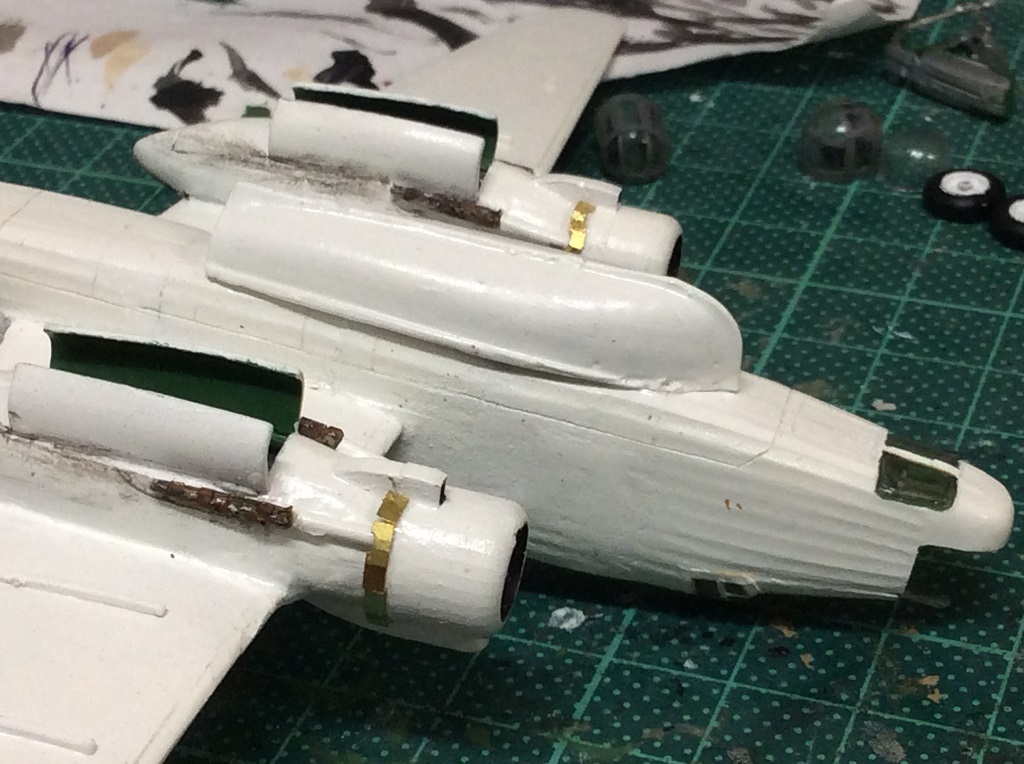
The Wellington's nacelle has been removed as the Warwicks was all below the wing with the engine being mostly under the wing unlike the Wellington which was centred on the wing when looked at from the front.
pbhawkin
_VISITCOMMUNITY
New South Wales, Australia
Joined: November 23, 2009
KitMaker: 179 posts
AeroScale: 170 posts
Posted: Sunday, May 17, 2015 - 06:04 AM UTC
Top view of the wings with the engines and new nacelles on:


And view of the undersides:

The Green nacelles are adapted from a Minicraft B-25 Mitchell !!
Some more putty work is required to finish the shape of the engines as well as the prominent air intake on the top of the engine.
I also have to open up the nacelle to allow the landing gear (from above mentioned Lancaster) to be installed and adapt some landing gear doors.
Merlin
Staff MemberSenior Editor
AEROSCALE
#017
_VISITCOMMUNITY
United Kingdom
Joined: June 11, 2003
KitMaker: 17,582 posts
AeroScale: 12,795 posts
Posted: Wednesday, May 20, 2015 - 12:14 AM UTC
Hi Peter

This is a really interesting conversion. The Warwick is a subject you certainly don't see every day. I used to know an ex-RAF fitter who once worked on the beast - it's a sadly overlooked aircraft these days.

All the best

Rowan
pbhawkin
_VISITCOMMUNITY
New South Wales, Australia
Joined: November 23, 2009
KitMaker: 179 posts
AeroScale: 170 posts
Posted: Sunday, March 13, 2016 - 05:50 AM UTC
Progress!
Got around to opening up the nacelles for the landing gear. Used the landing gear from a F-toys Lancaster with wheels from the spares box (Despite a lot of reference material (there isn't much on the Warwick)) I have not been able to find if the undercarriage was the same as the Wellington's (anybody know?). But comparing pictures and 3D plans the undercarriage looks 'beefed up' with larger tyres and the plane certainly sits differently.
Top air intake made from Tamiya epoxy putty added.


I also cut a fuselage through the middle of the wing attachment point and glued in the insert to get the Warwick's extra length over the Wellington.
And finally attached the wings. Puttying in the wing fillet still needs doing but I am very happy that the model 'sits' flat on the nacelles and fuselage.

Holdfast
Staff MemberPresident
IPMS-UK KITMAKER BRANCH
#056
_VISITCOMMUNITY
England - South West, United Kingdom
Joined: September 30, 2002
KitMaker: 8,581 posts
AeroScale: 4,913 posts
Posted: Sunday, March 13, 2016 - 11:53 AM UTC
Very nicely done
The Warrick has never been on my radar and a kit of it is probably not going to happen, certainly not in 1/32 scale I salute the fact that you even contemplated doing this and the fact that you are making such a good job of it, well done
Redhand
#522
_VISITCOMMUNITY
New Jersey, United States
Joined: January 20, 2013
KitMaker: 1,460 posts
AeroScale: 1,443 posts
Posted: Sunday, March 13, 2016 - 04:48 PM UTC
Egad! What an ambitious conversion! 1/72 I assume. When done you will certainly have a unique model.

Looks very good so far. Do you have any pics or profiles of the particular A/C you're modeling?
greif8
_VISITCOMMUNITY
Bayern, Germany
Joined: January 17, 2006
KitMaker: 673 posts
AeroScale: 492 posts
Posted: Sunday, March 13, 2016 - 05:50 PM UTC
First rate work on a tough and extensive conversion Peter. You are a braver man than I!
JClapp
#259
_VISITCOMMUNITY
Massachusetts, United States
Joined: October 23, 2011
KitMaker: 2,265 posts
AeroScale: 1,715 posts
Posted: Sunday, March 13, 2016 - 08:04 PM UTC
That's 1/144 scale.
Fascinating project. I had never heard of the Warwick before this.
Home made resin castings, scratch built bits, plus parts from a Mitchell and a Lancaster, resourceful model building!
pbhawkin
_VISITCOMMUNITY
New South Wales, Australia
Joined: November 23, 2009
KitMaker: 179 posts
AeroScale: 170 posts
Posted: Monday, March 14, 2016 - 07:25 AM UTC
Brian, it is 1/144 scale.
Here is a picture of the plane but mine will have ASV aerials and the Lifeboat as well.
pbhawkin
_VISITCOMMUNITY
New South Wales, Australia
Joined: November 23, 2009
KitMaker: 179 posts
AeroScale: 170 posts
Posted: Saturday, April 16, 2016 - 08:28 AM UTC
This picture show the extensions inserted into the Wellington fuselage to lengthen it to that of a Warwick.


And here I covered the joins with a very thin piece of resin fuselage that was 'slush molded' (by pouring a small amount of resin into the Wellington fuselage mold and tilting the mold to thinly cover the area). You can see how thin the piece was by the offcut in the picture.


The whole plane was painted White and then masked for the Dark Sea Grey.


Then the Sea Grey and decals.

I have also added some PE cowlings as well as added the side glazing and cockpit.
pbhawkin
_VISITCOMMUNITY
New South Wales, Australia
Joined: November 23, 2009
KitMaker: 179 posts
AeroScale: 170 posts
Posted: Saturday, April 16, 2016 - 08:36 AM UTC
Exhausts added.


And some weathering done.


AND here it is finished:


And a comparison with one of my Wellingtons.


It feels great to finally get this on the display shelf!
AussieReg
Staff MemberAssociate Editor
AUTOMODELER
#007
_VISITCOMMUNITY
Victoria, Australia
Joined: June 09, 2009
KitMaker: 8,156 posts
AeroScale: 3,756 posts
Posted: Saturday, April 16, 2016 - 11:10 AM UTC
Lovely work Peter, a really unique build!

Cheers, D
GazzaS
#424
_VISITCOMMUNITY
Queensland, Australia
Joined: April 23, 2015
KitMaker: 4,648 posts
AeroScale: 1,938 posts
Posted: Saturday, April 16, 2016 - 11:32 AM UTC
Peter,
Very impressive job! I really like the conversion. Looks a bit more impressive than the average Wellington.

Gaz
 _GOTOTOP