_GOTOBOTTOM
World War II
Discuss WWII and the era directly before and after the war from 1935-1949.
Hosted by Rowan Baylis
North American P-51 Mustang, Airfix 1/72
Maelstrom
_VISITCOMMUNITY
Victoria, Australia
Joined: August 11, 2014
KitMaker: 20 posts
AeroScale: 19 posts
Posted: Tuesday, December 23, 2014 - 01:46 PM UTC
Hi all, wanted a relatively quick project before Christmas after my Lancaster build.

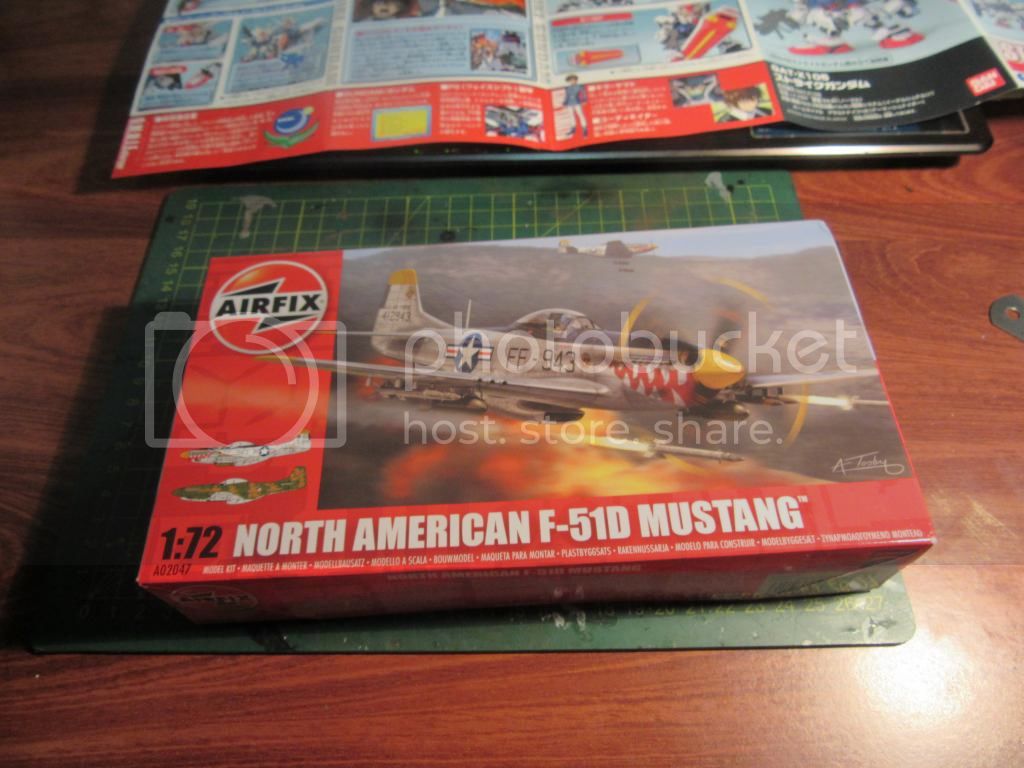
Was browsing through my hobby store and picked this Airfix North American P-51 Mustang of the shelf. It was only $12 AUD!


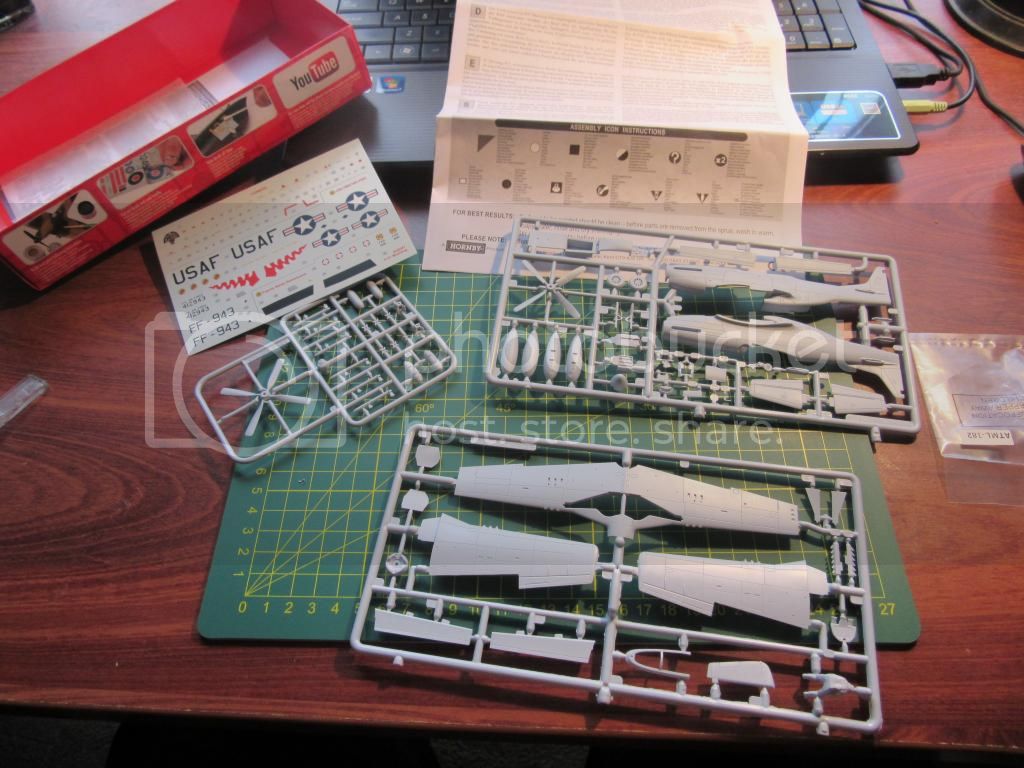
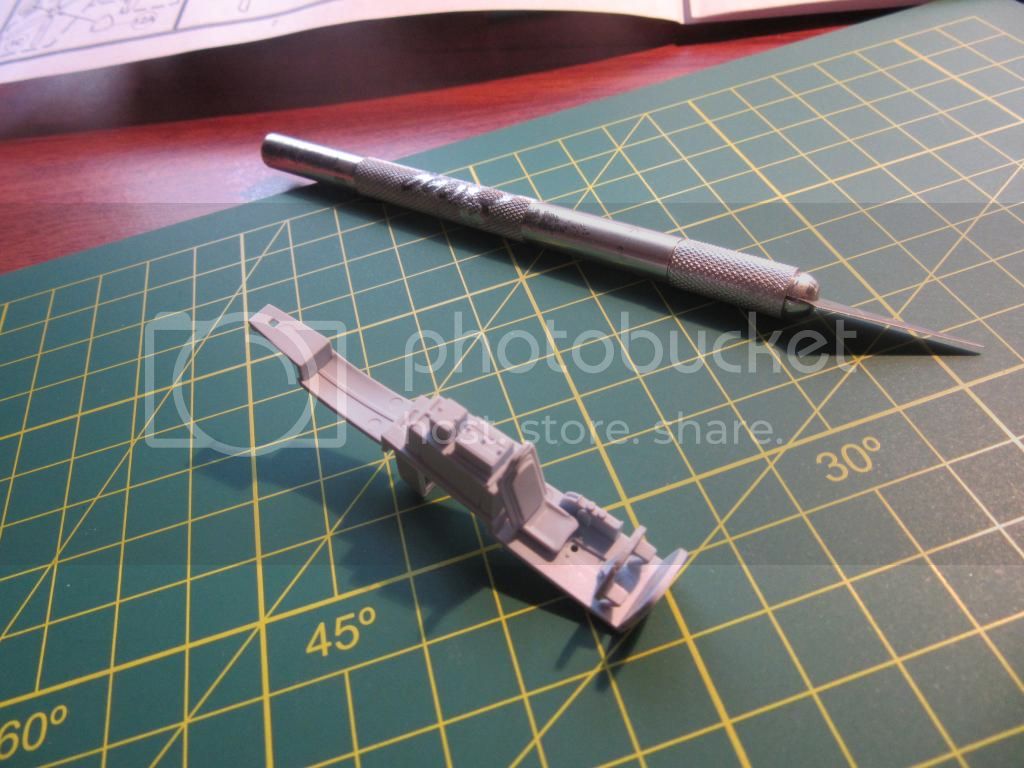
Here are the parts out of the box:

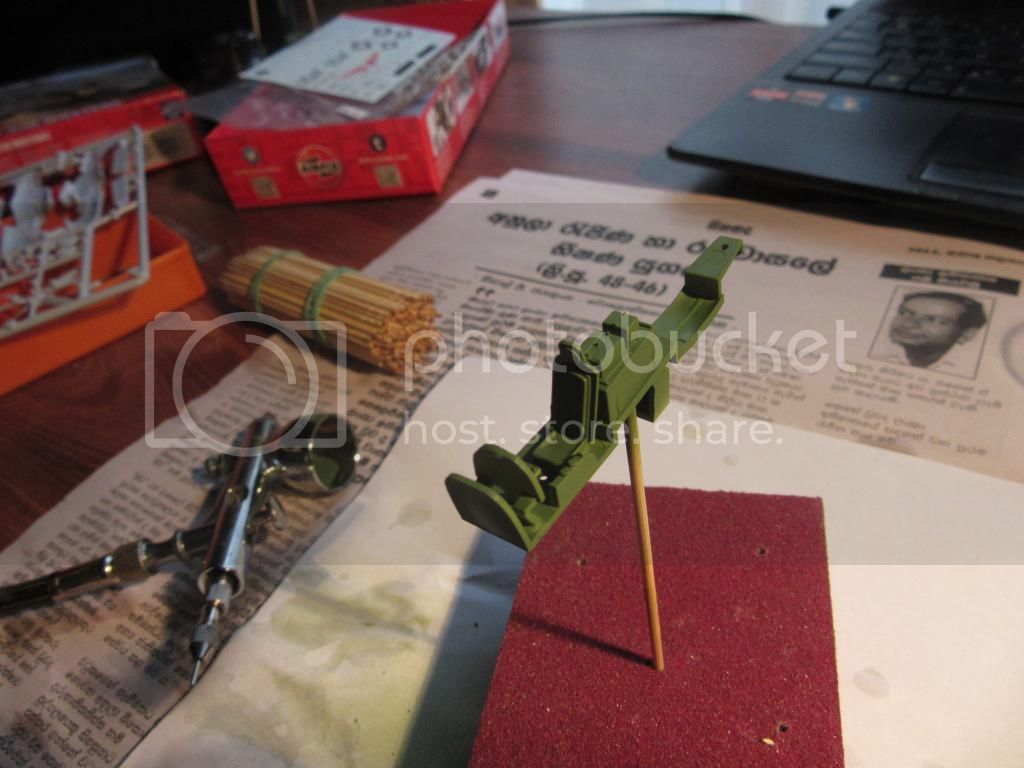
As usual started putting together and painting the cockpit. Kit came with a pilot figure.


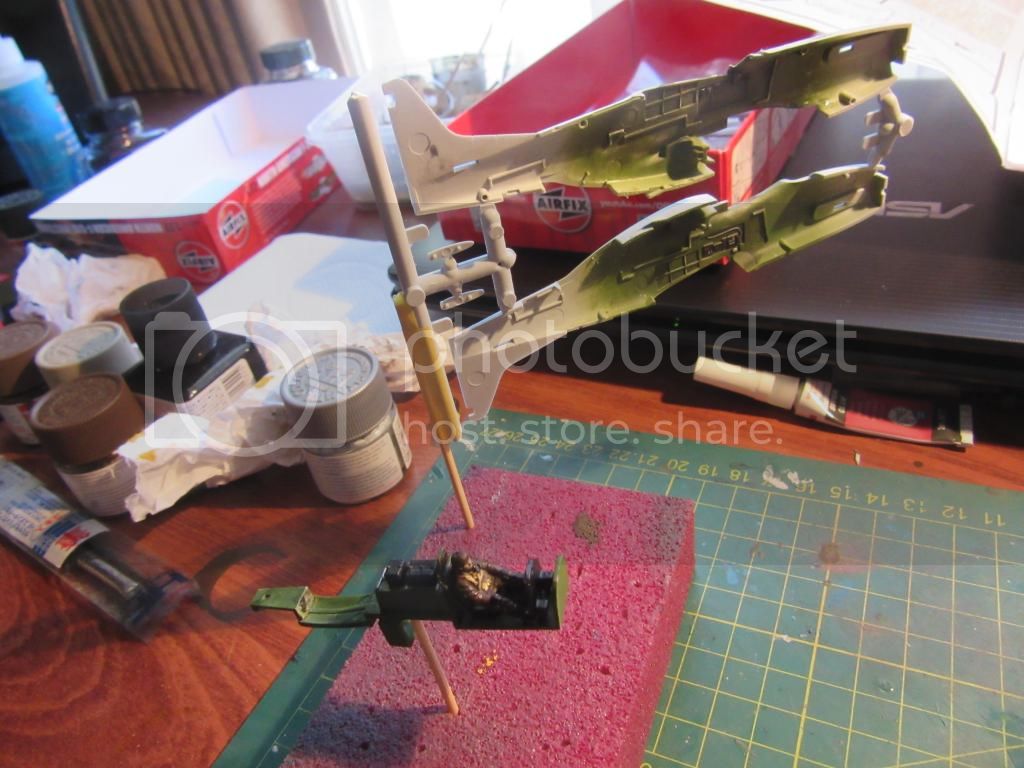
Glued together fuselage pieces and wings once done. I was really impressed with the quality of the fit for a low end kit.


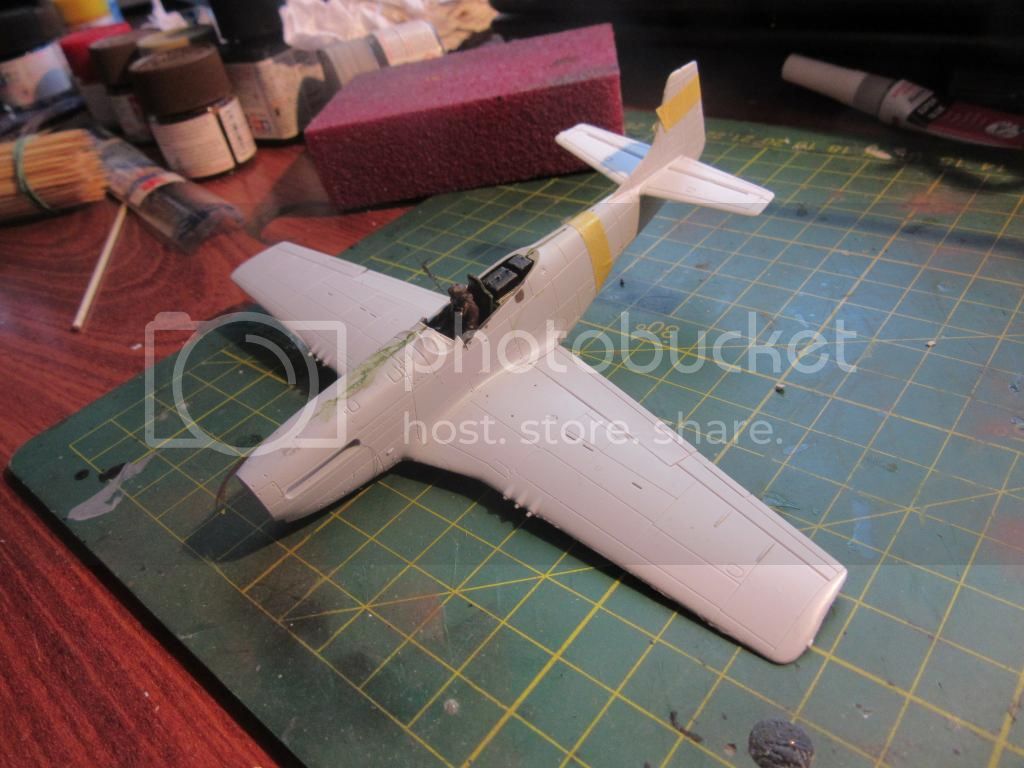
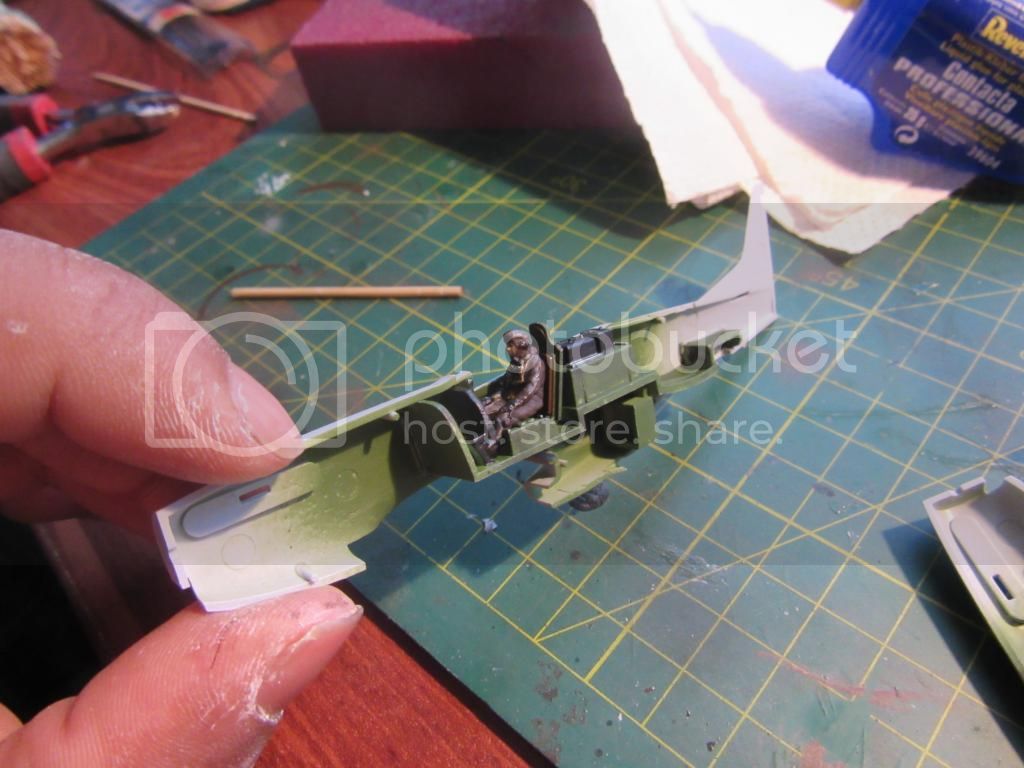
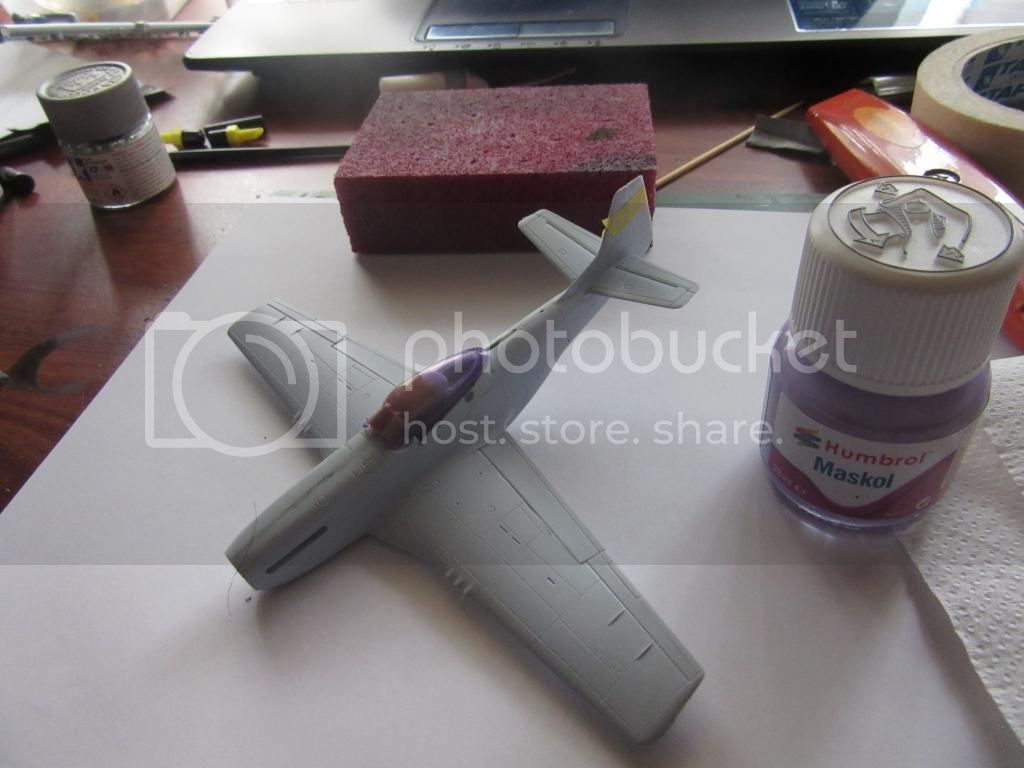
Masked off cockpit with some humbrol maskol before spray:


Airbrushed on tamiya XF-16 flat aluminum as the base coat. Ideally I would have liked to have used a tamiya TS spray but I wanted to get through the model economically, and I had a jar of XF-16 in my paint inventory. There difference is not very noticable:

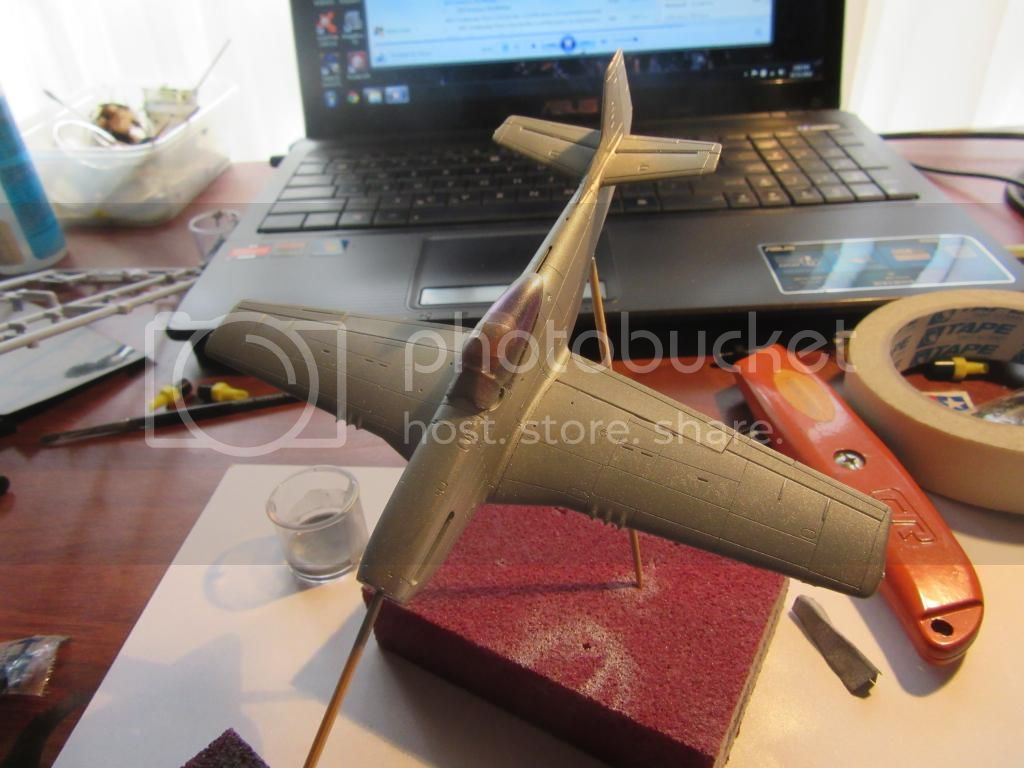
As you might have noticed, I tried to cheat and go straight for the base coat without any primer. I felt inclined to try this because as much I like putting primer on it sometimes reduces the detail of the seam-lines. I will explain why this was kinda a bad idea later on.

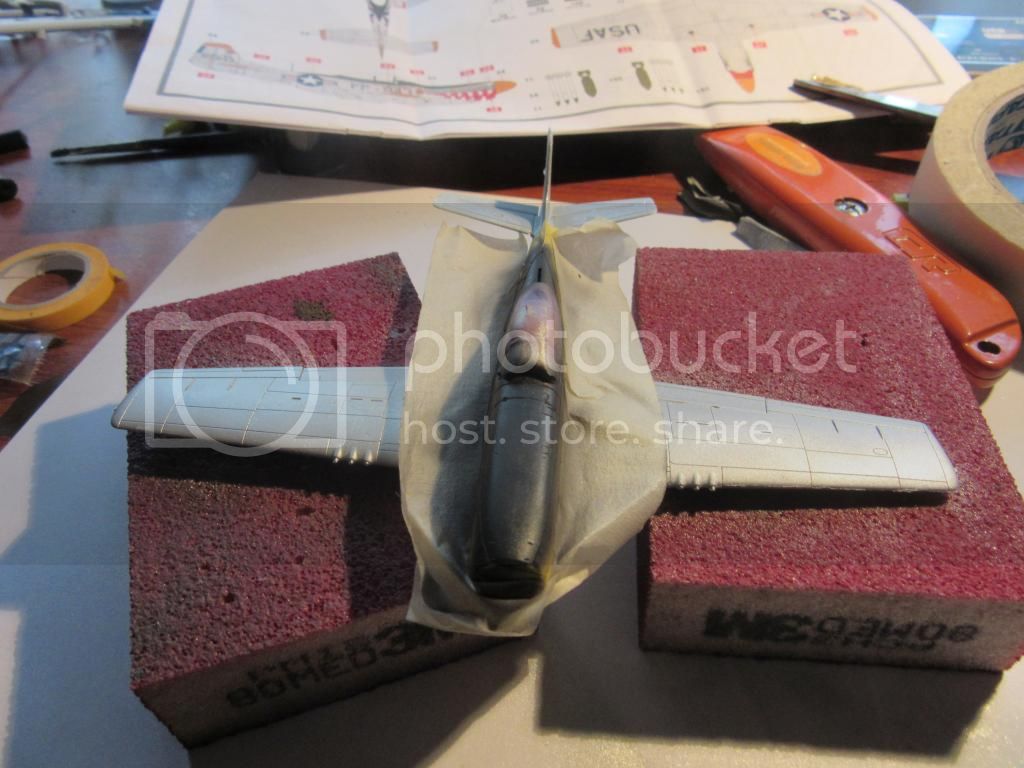
Masked off top area and sprayed on some tamiya XF-1 flat black:


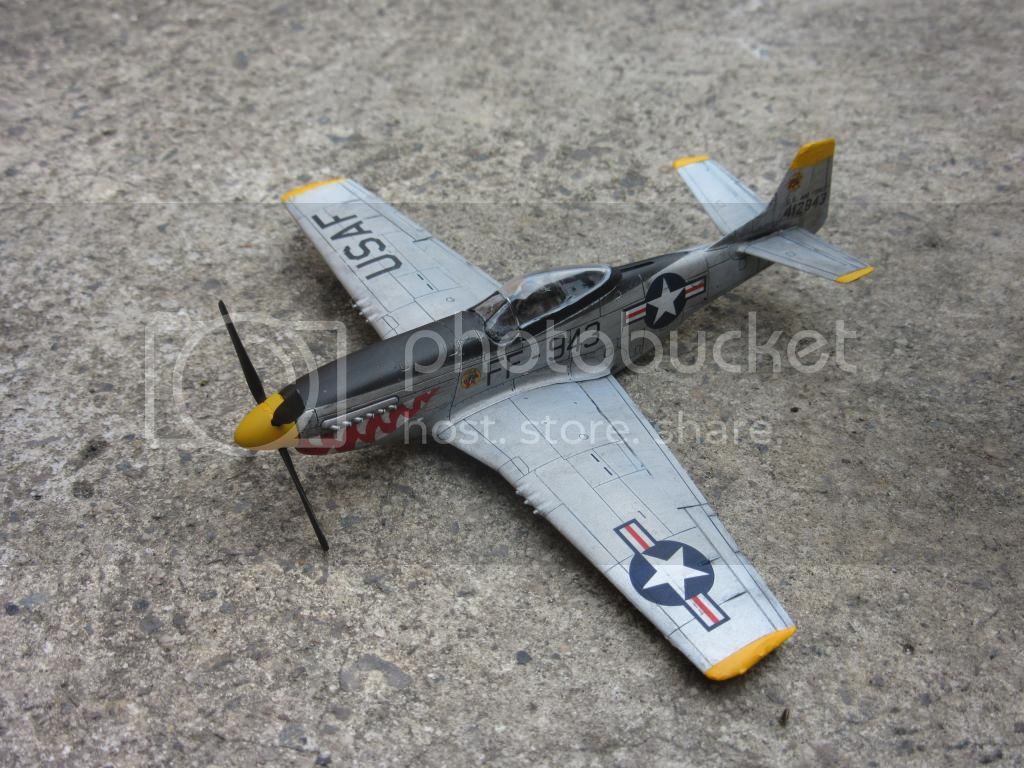
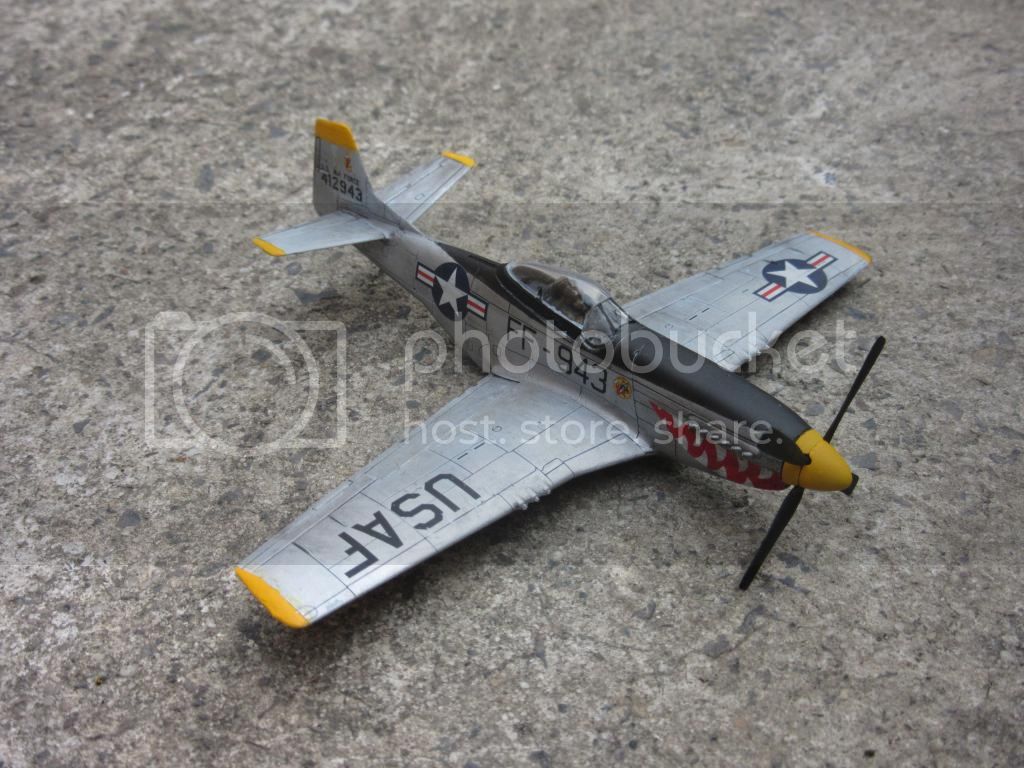
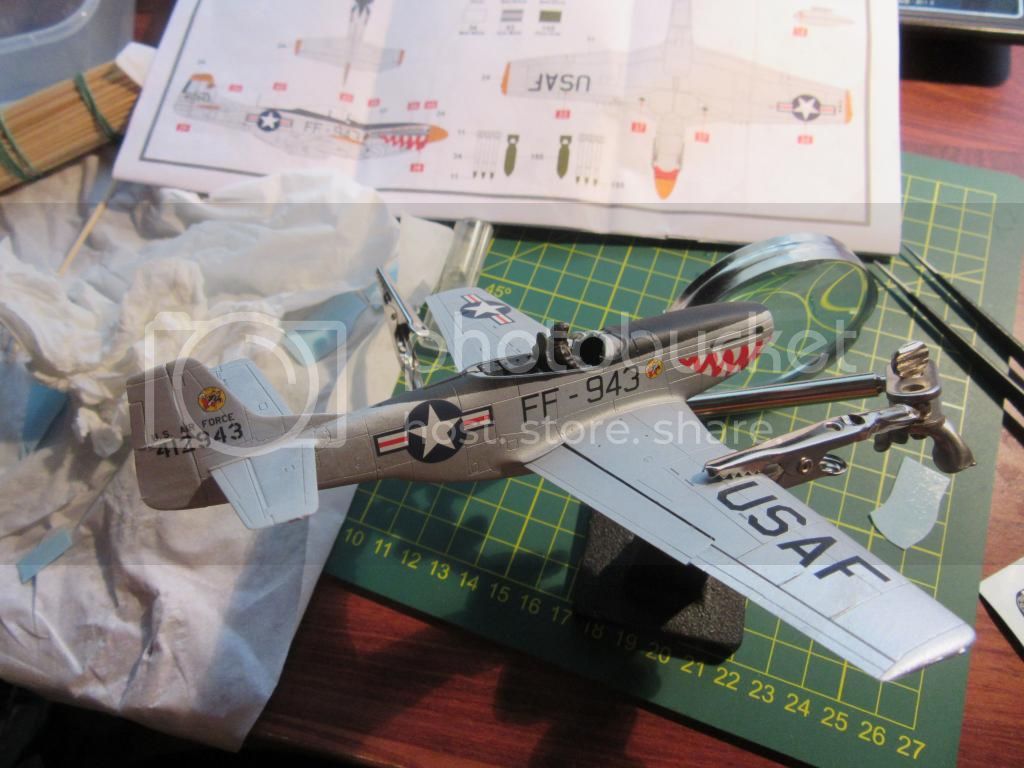
Started applying the decals. This went pretty smoothly (unlike usual):


I'll stop here for now. Thanks for following the build so far.
Joel_W
Staff MemberAssociate Editor
AUTOMODELER
_VISITCOMMUNITY
New York, United States
Joined: December 04, 2010
KitMaker: 11,666 posts
AeroScale: 7,410 posts
Posted: Tuesday, December 23, 2014 - 06:43 PM UTC
Dinuka,

Looking quite good so far through decaling. I do have to admit that I was somewhat surprised to see your build after paint being held by a 3rd hand that's an alligator clip. Sure hope that it didn't leave any "teeth" marks in the wing surface.
Joel
Maelstrom
_VISITCOMMUNITY
Victoria, Australia
Joined: August 11, 2014
KitMaker: 20 posts
AeroScale: 19 posts
Posted: Wednesday, December 24, 2014 - 04:16 AM UTC
Hi Joel. Yes it was a bit of a rookie mistake I admit with the alligator clips. It did leave a very light mark, and on realizing this I decided it was more prudent to use a dampening material (actually I used unused sections of the decaling sheet) to protect the model surface. Unfortunately I learn best through mistakes
Jessie_C
_VISITCOMMUNITY
British Columbia, Canada
Joined: September 03, 2009
KitMaker: 6,965 posts
AeroScale: 6,247 posts
Posted: Wednesday, December 24, 2014 - 10:40 AM UTC
A good trick for those alligator clips is to wrap masking tape around their jaws. It stays in place, doesn't slip and prevents marks
Maelstrom
_VISITCOMMUNITY
Victoria, Australia
Joined: August 11, 2014
KitMaker: 20 posts
AeroScale: 19 posts
Posted: Wednesday, December 24, 2014 - 06:41 PM UTC
That's a pretty neat tip Jessica. I'm gonna use it next time!
Maelstrom
_VISITCOMMUNITY
Victoria, Australia
Joined: August 11, 2014
KitMaker: 20 posts
AeroScale: 19 posts
Posted: Thursday, January 08, 2015 - 05:50 PM UTC
Hi guys, sorry its been a while since my last upload. I just wanted to finish the build by posting these two photos of the end result (still need to paint the propeller tips):


I am pretty happy with how it turned out. thanks for following this build.
Alex11
_VISITCOMMUNITY
Alabama, United States
Joined: January 16, 2015
KitMaker: 13 posts
AeroScale: 4 posts
Posted: Saturday, January 17, 2015 - 02:42 PM UTC
wow! I also have my own North American P-51D Mustang, it can improve any collection, I should admit!
Joel_W
Staff MemberAssociate Editor
AUTOMODELER
_VISITCOMMUNITY
New York, United States
Joined: December 04, 2010
KitMaker: 11,666 posts
AeroScale: 7,410 posts
Posted: Saturday, January 17, 2015 - 08:40 PM UTC
Dinuka,
Nicely done.
Joel
 _GOTOTOP