

With my Hien on the shelf for now, I thought it was time to break out this kit. I managed to pick it up at a flea market for $5 a couple of years back. First impressions lead me to believe that this looks like a nice kit. Originally my plan was to build it as a Swiss bird, but as with so many other things plans changed. Instead this will be one of my alternate history birds. So welcome to the build log for this kit, to be painted in the colors of the Republic of China Air Force (thank you, spare Flying Tigers decals!).
Pictures will be forthcoming!
World War II
Discuss WWII and the era directly before and after the war from 1935-1949.
Discuss WWII and the era directly before and after the war from 1935-1949.
Hosted by Rowan Baylis
1:48 Hasegawa Bf109G-6

Bushioka

Joined: January 13, 2014
KitMaker: 107 posts
AeroScale: 105 posts
Posted: Wednesday, November 12, 2014 - 07:20 PM UTC
Joel_W
Joined: December 04, 2010
KitMaker: 11,666 posts
AeroScale: 7,410 posts
Posted: Thursday, November 13, 2014 - 12:16 AM UTC
Myrtyn,
Sounds like an interesting build, especially with those markings. Will be tagging along.
Joel
Sounds like an interesting build, especially with those markings. Will be tagging along.
Joel

Bushioka
Joined: January 13, 2014
KitMaker: 107 posts
AeroScale: 105 posts
Posted: Sunday, November 30, 2014 - 03:57 AM UTC
Getting closer to the finishing details, the fuselage and wings are together now. Hooray! I've held off on progress reports because my home PC doesn't have a way to upload pictures from my camera and my laptop was recently sick. That said I hope to have some up in the next couple of days.
In the meantime I can say that Hasegawa's kit is fairly detailed, especially considering the luck I had in finding at a flea market. Found the same product at a local shop brand new for $35. There are some pieces that don't appear to be alternate version items, though, and I can only assume they're extra pieces in case one loses them.
Stupidly I forgot to cut holes in a few places the instructions called for (to allow for certain pieces to fit), so I'm having to fudge with that. Also some excess cement managed to escape out of the fuselage, so I'm wondering what the best way to remove it is. All difficulties aside I'm pretty happy with the kit and looking forward to getting it done.
Now for the markings, I've read up what's available about the ROCAF during WW2 and found that aircraft would be delivered in bare metal or sometimes in the base color for the nation of manufacture. Typically a foreign aircraft would get at least a topside olive drab or green camo job, albeit somewhat haphazard. Sometimes the underside would get the treatment too, others it'd be left gray or bare metal. For this bird, I'm going all olive green with a white nose cone and black prop blades. Nothing really appears to have been uniform in the ROCAF due to the chaotic nature of the war with Japan and the Nationalists' supply situation. The only thing that was was the base color for ROCAF aircraft (olive green/drab) and the number of white and blue stripes on the tail (when it had the stripes at all). Every image I've found of ROCAF planes with this striking detail has 6 each of white and blue, so that's a part of this What If? project as well. Here's what I'm talking about:
The thing I'm puzzled about is where to place the national markings. In some cases, like the Flying Tigers, the sun disc is on the top and underside of the wings but not the fuselage. On some aircraft operated by (presumably) Chinese pilots the fuselage and underside of the wings show the marking but the top of the wings don't. This is explained to some degree by the fact that the ROCAF never had air superiority so only the undersides got the treatment. So for a Messerschmitt that was, in this 'what if' sold to the ROC government, which option makes more sense? Advice would be most welcome.
Bushioka
Joined: January 13, 2014
KitMaker: 107 posts
AeroScale: 105 posts
Posted: Tuesday, December 09, 2014 - 03:37 AM UTC
Finally had the opportunity to get some in-progress pictures uploaded today. These are scattered shots from over the past couple of weeks, so bear with me.
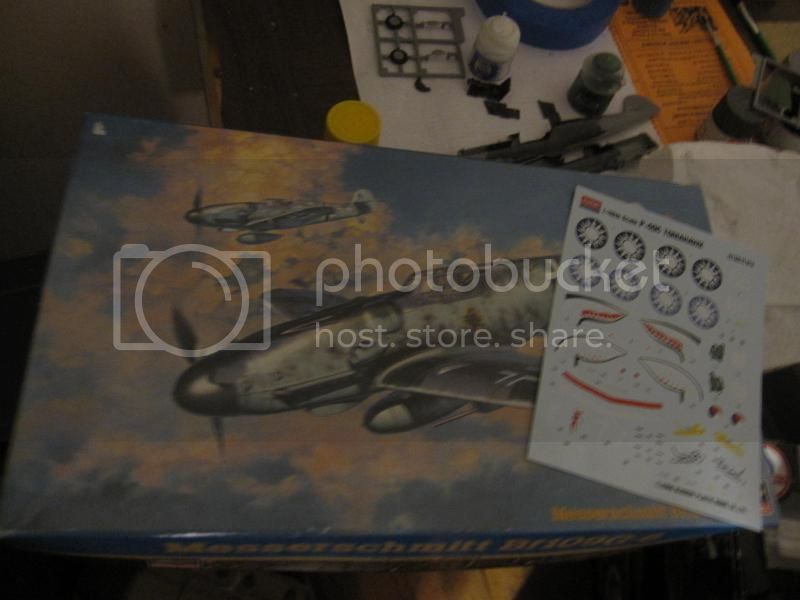
First a look at the kit itself: the box is a little beat up from both being at a flea market and in storage while I was working in Japan. The decals are going to be a mix of some from the original Hasegawa kit and national markings from an Academy P40E kit. I'm hoping these decals are better than the ones that came with Academy's Avia S.199.
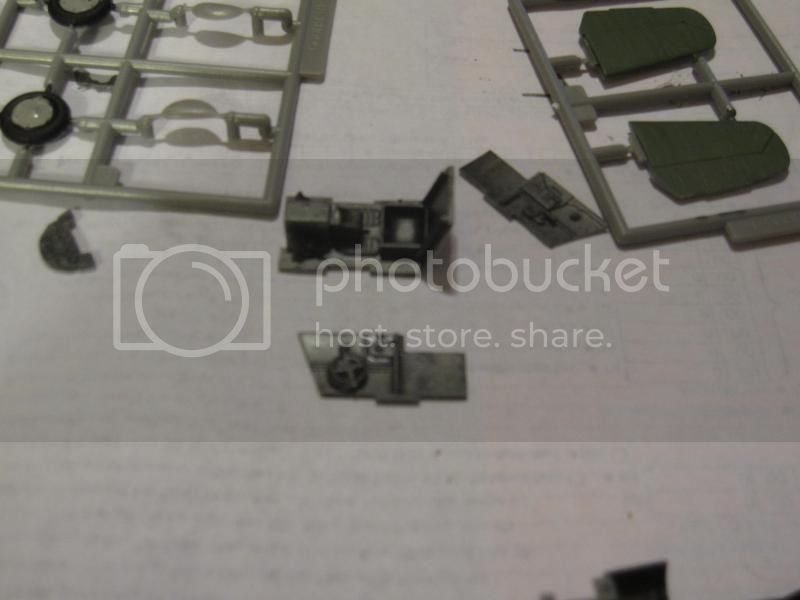
I ended up using metallic grey paint for the cockpit, though I think in the end it would've been better to do it a little lighter color:
For the tail stripes I masked the rear tail fin after a primary coat of white. After debating between Tamiya's flat blue and a lighter tone from Games Workshop I ended up using the latter. It's thinner paint though so it required a couple of coats to not show white bleeding through:
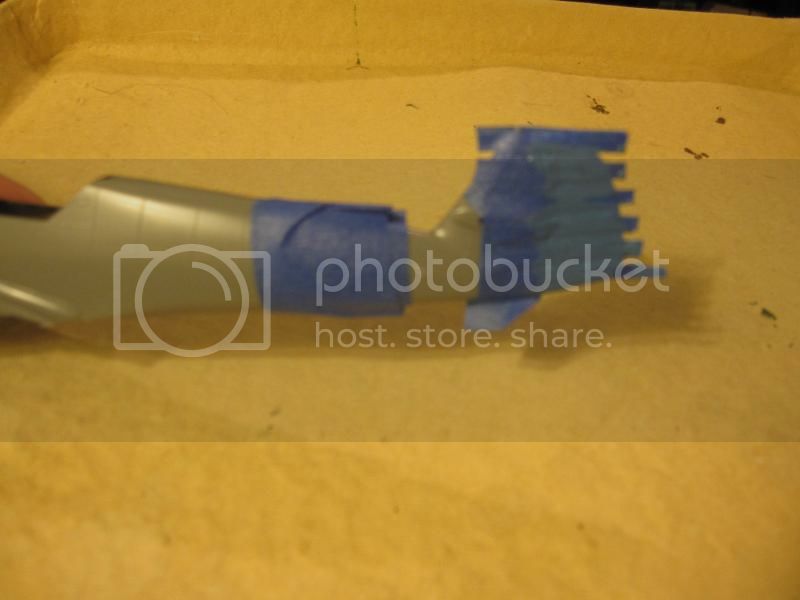
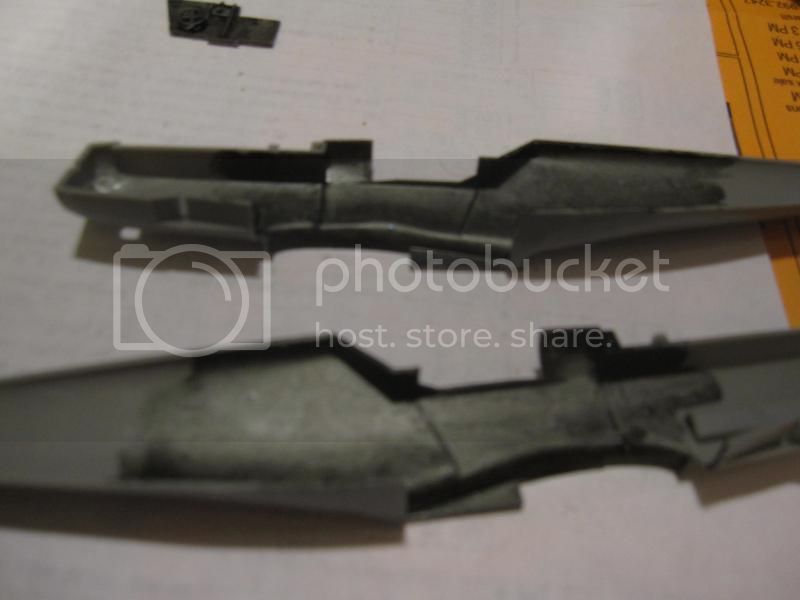
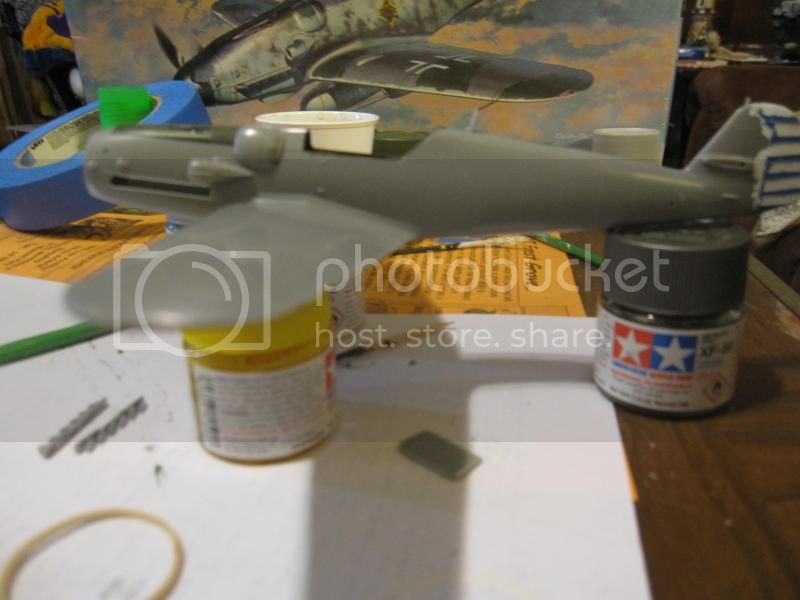
Overall I've really enjoyed the fit of the kit. None of the parts had much trouble getting into place during dry fitting, which was incredibly helpful. Especially compared to the Arii Ki-61 I attempted to build previously! Because I'm stupid I forgot to drill holes for certain pieces like the antenna loop and the pieces added on top of the wings. To solve this I cut off the pegs that would've fit into those holes so they'd sit as intended. After sanding the peg nubs down I attached them to satisfaction. Here's the Gustav in partial paint after wings and fuselage have been joined:
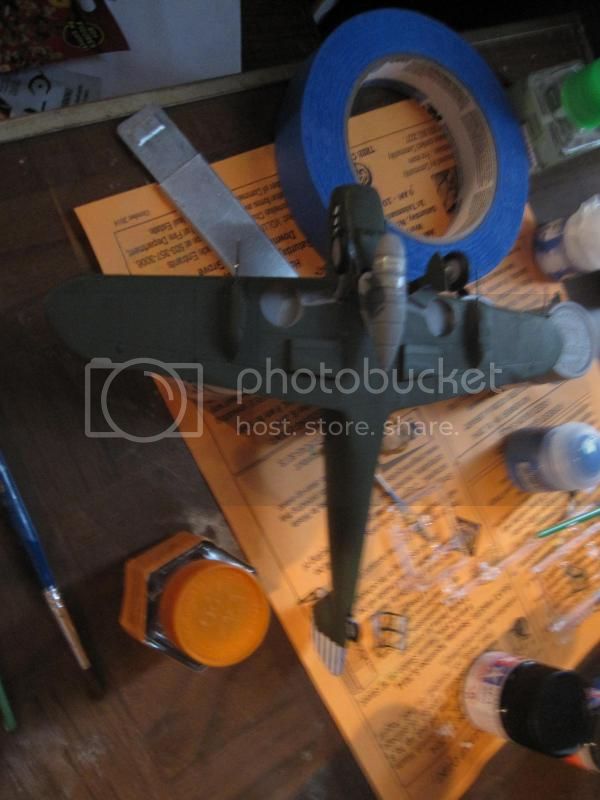
I don't seem to have remembered to take other in progress pictures, so we now jump to progress as of today. Landing gears, fuel tanks and underside guns have been affixed. Full paint applied to the body of the plane. Biggest problem is the MG attached to the front of the right wing, since it doesn't take a lot of pressure to cause it to fall off! I've already reattached it once.
My painting techniques are pretty low tech, just acrylic paint and hairy brushes. I've not been able to get an airbrush, so this is how it'll go for now. Also the pictures I've taken are pretty low quality so that's another thing to work on.
Anyway, here's the belly of the beast:
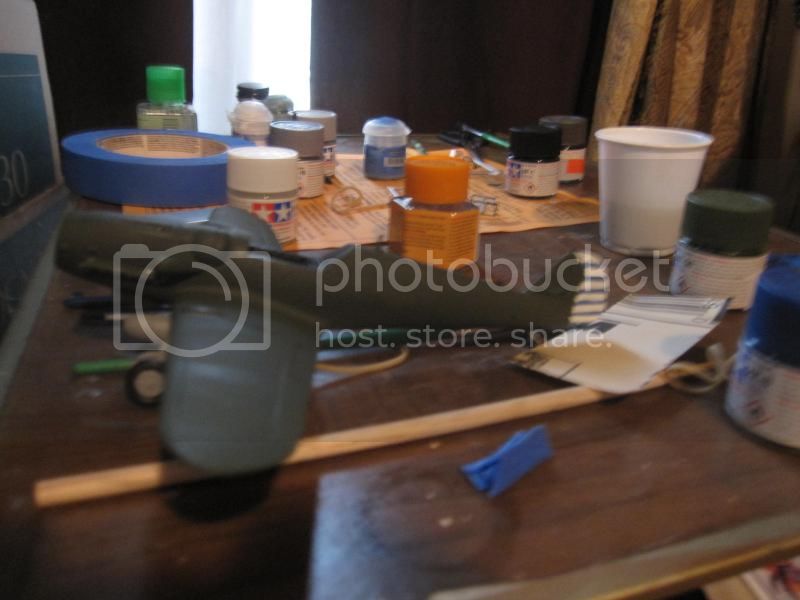
And the bird as she looks now when right side up. I touched up the tail stripes after noting that the blue bled through the painter's tape I used.
First a look at the kit itself: the box is a little beat up from both being at a flea market and in storage while I was working in Japan. The decals are going to be a mix of some from the original Hasegawa kit and national markings from an Academy P40E kit. I'm hoping these decals are better than the ones that came with Academy's Avia S.199.
I ended up using metallic grey paint for the cockpit, though I think in the end it would've been better to do it a little lighter color:
For the tail stripes I masked the rear tail fin after a primary coat of white. After debating between Tamiya's flat blue and a lighter tone from Games Workshop I ended up using the latter. It's thinner paint though so it required a couple of coats to not show white bleeding through:
Overall I've really enjoyed the fit of the kit. None of the parts had much trouble getting into place during dry fitting, which was incredibly helpful. Especially compared to the Arii Ki-61 I attempted to build previously! Because I'm stupid I forgot to drill holes for certain pieces like the antenna loop and the pieces added on top of the wings. To solve this I cut off the pegs that would've fit into those holes so they'd sit as intended. After sanding the peg nubs down I attached them to satisfaction. Here's the Gustav in partial paint after wings and fuselage have been joined:
I don't seem to have remembered to take other in progress pictures, so we now jump to progress as of today. Landing gears, fuel tanks and underside guns have been affixed. Full paint applied to the body of the plane. Biggest problem is the MG attached to the front of the right wing, since it doesn't take a lot of pressure to cause it to fall off! I've already reattached it once.
My painting techniques are pretty low tech, just acrylic paint and hairy brushes. I've not been able to get an airbrush, so this is how it'll go for now. Also the pictures I've taken are pretty low quality so that's another thing to work on.
Anyway, here's the belly of the beast:
And the bird as she looks now when right side up. I touched up the tail stripes after noting that the blue bled through the painter's tape I used.
Bushioka
Joined: January 13, 2014
KitMaker: 107 posts
AeroScale: 105 posts
Posted: Tuesday, December 16, 2014 - 05:25 AM UTC
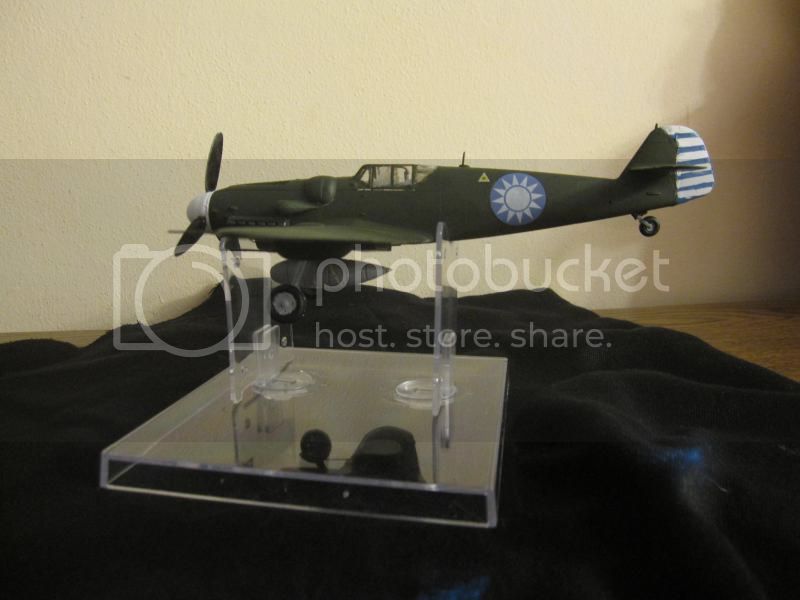
Finally finished the kit! Here is the Bf.109 G-6 in Republic of China Air Force colors:
The belly of the beast:
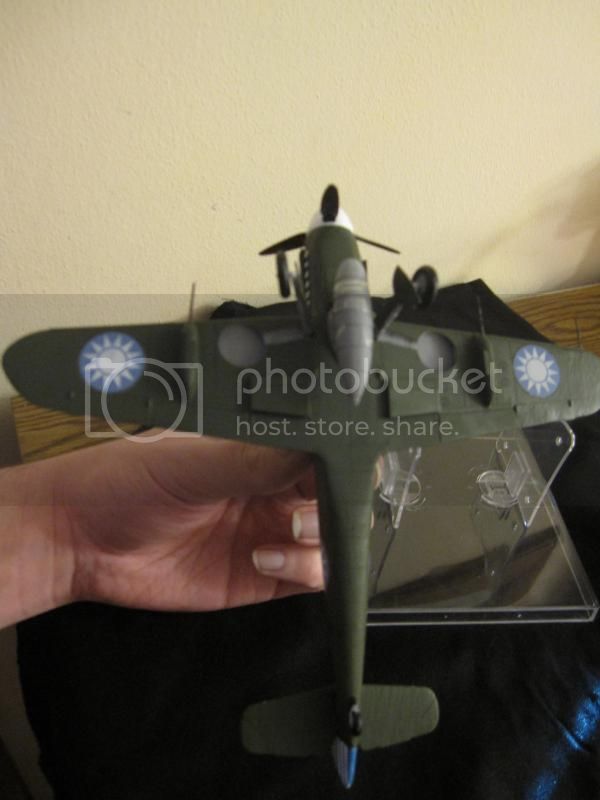
The belly of the beast:
 |

WEB HOSTING BY


Copyright ©2021 AeroScale and Kitmaker Network, a subsidiary of Silver Star Enterprises
All Rights Reserved. Please read our Conditions of Use and Privacy Policy.
All Rights Reserved. Please read our Conditions of Use and Privacy Policy.