_GOTOBOTTOM
World War II
Discuss WWII and the era directly before and after the war from 1935-1949.
Hosted by Rowan Baylis
Lancaster B.III, 1:72, Revell Build
Maelstrom
_VISITCOMMUNITY
Victoria, Australia
Joined: August 11, 2014
KitMaker: 20 posts
AeroScale: 19 posts
Posted: Thursday, October 02, 2014 - 01:35 AM UTC
Hi, welcome to my second official build on Aeroscale.

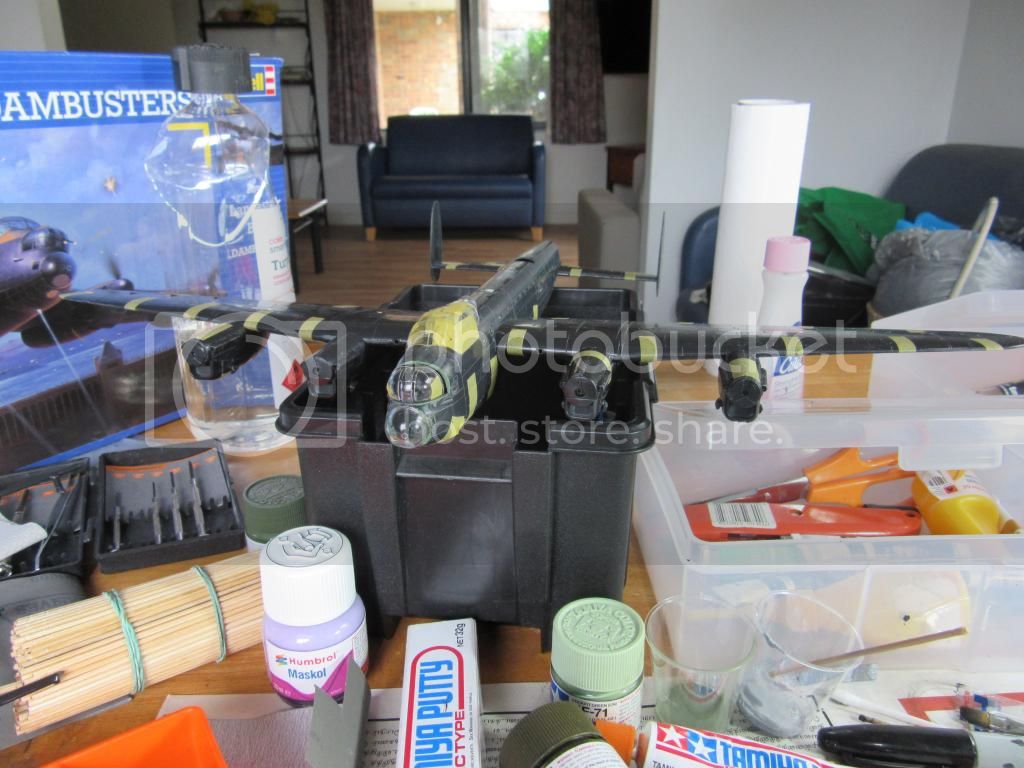
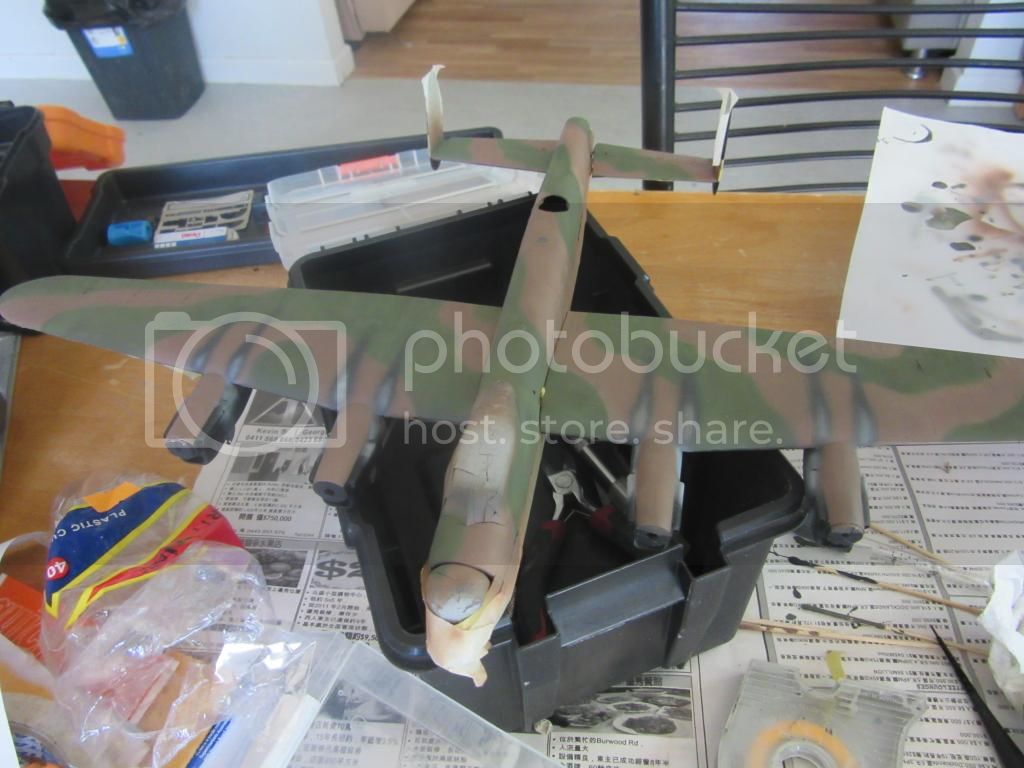
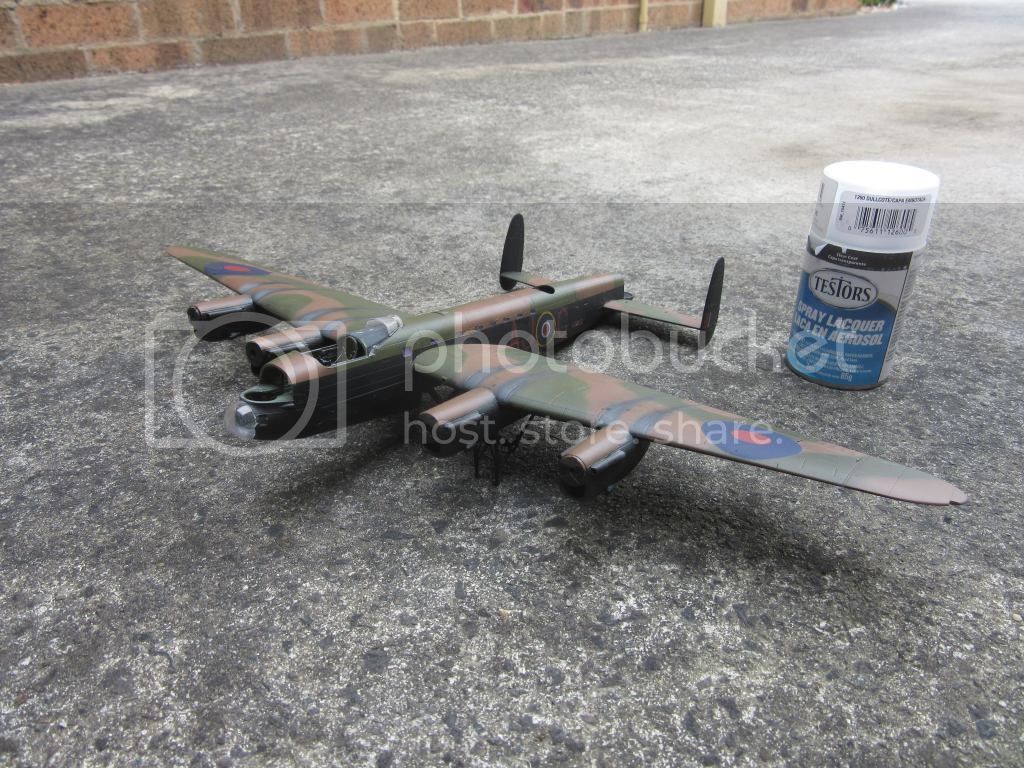
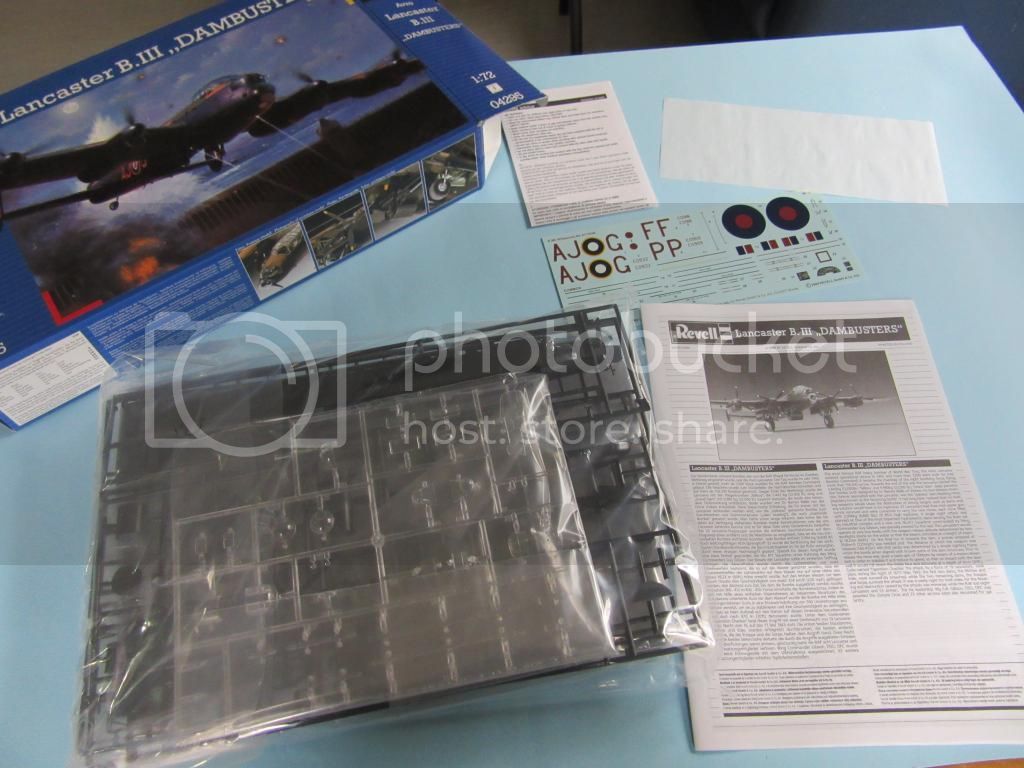
This time i shall be tackling the 1:72 Lancaster B.III 'Dambusters' kit by Revell, kit no. 04295.

This kit proved most enjoyable as I began learning more about 'Operation Chastise' and the highly ambitious bombing raids conducted by the RAF over the 16th and 17th of May 1943 to take out the Ruhr dams in Germany. Even more astonishing being the reliance of this operation on a highly experimental 'bouncing bomb' that required the bomber crews to release the bomb/mine at low altitude above the water, at a critical distance from the dam wall, and with substantial backspin to induce adequate bounce for it to reach the wall and then submerge to a depth before exploding. Finding myself heavily caught up in this I did end up watching 'The Dam Busters' (1955)!

Here's some prescribed viewing:
https://www.youtube.com/watch?v=lCRIsjJFRNo

Actually to be honest it really did remind me of the Death Star Trench sequence in Star Wars: A New Hope (1977), but we're digressing.

Let's get to the build.

Here's the unboxing, not really much to talk about here:


Glued together cockpit parts. Some of the parts off the sprue did require a bit of work before they were ready to fit as per the instructions, but not too much:


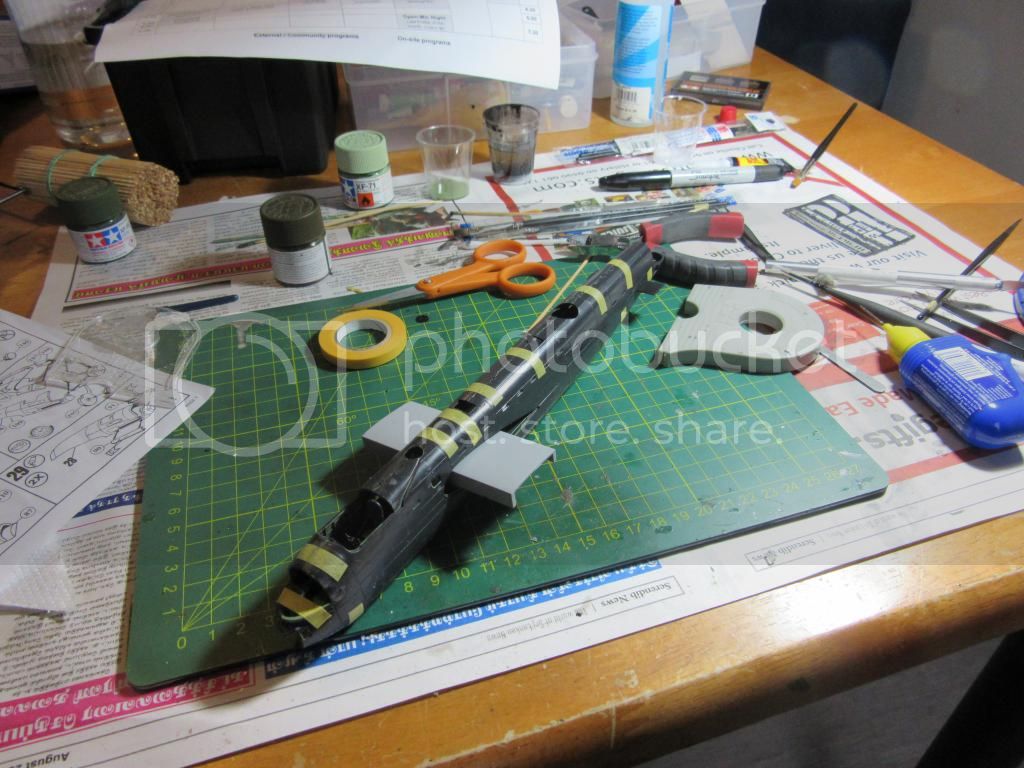
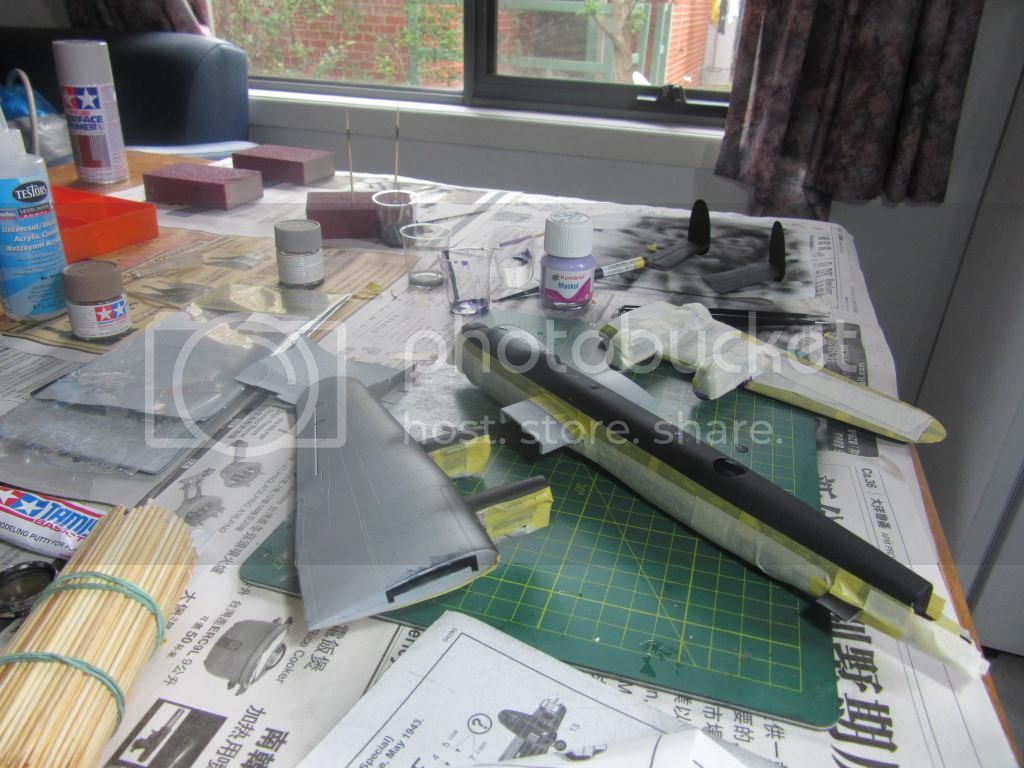
Moved on to Priming. Used Tamiya Surface Primer (Light Grey) FINE. Was really happy with the result as I had only used the 'non-fine' version in previous builds, but this turned out much better:

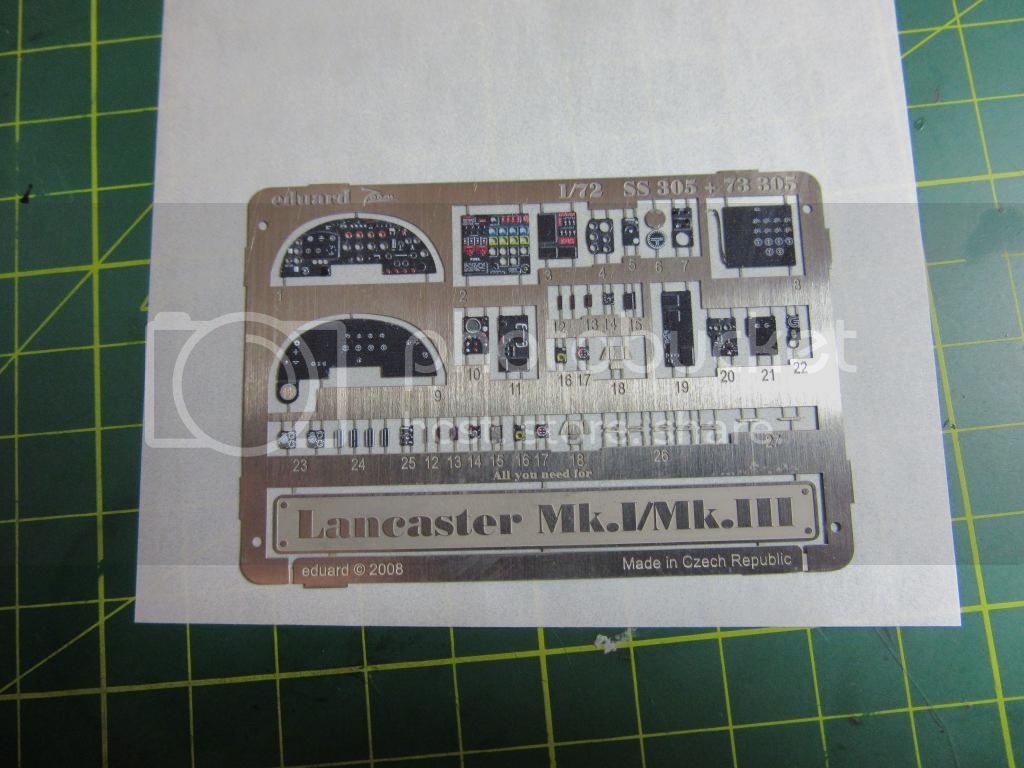
Ordered some Eduard photo-etched parts online. I find these really tricky and temperamental to work with, but a lot of people helped my get my head around them on my last build, so I felt much better equipped this time. Cyanoacrylate adhesive all the way!:
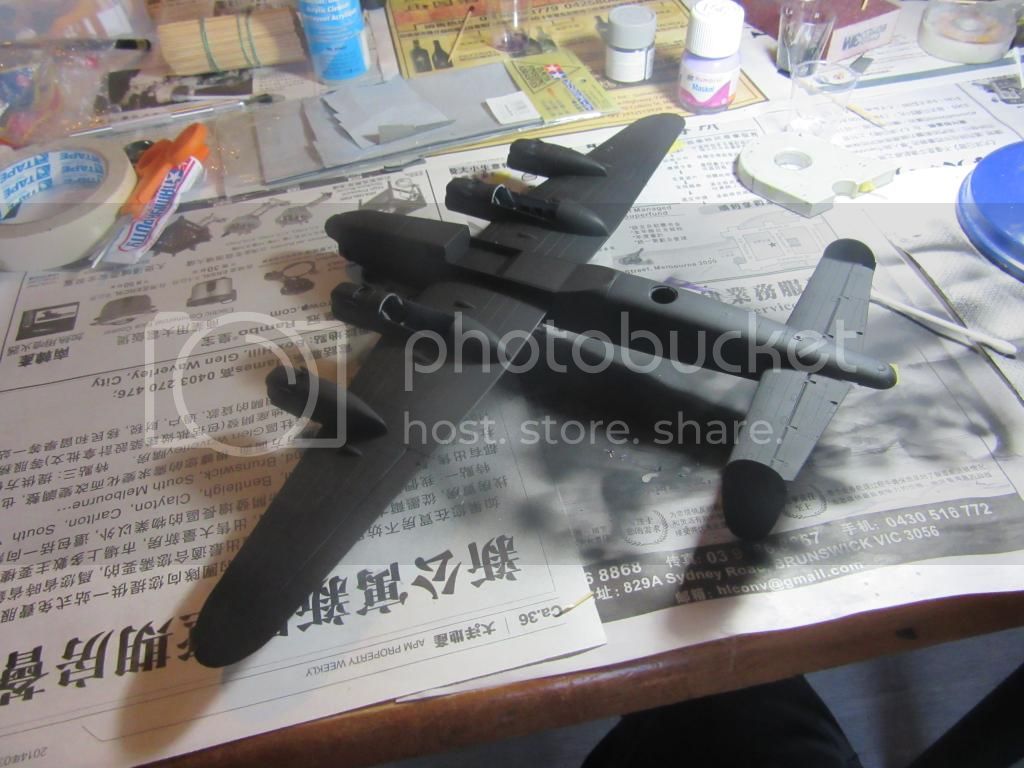
Cockpit painted.


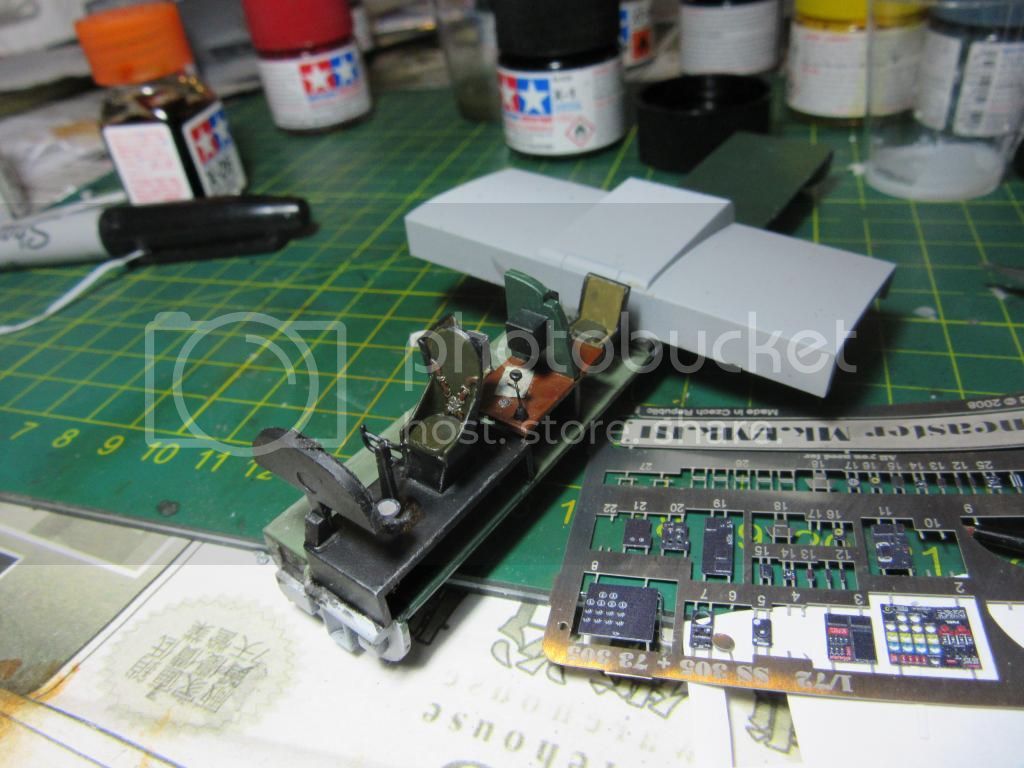
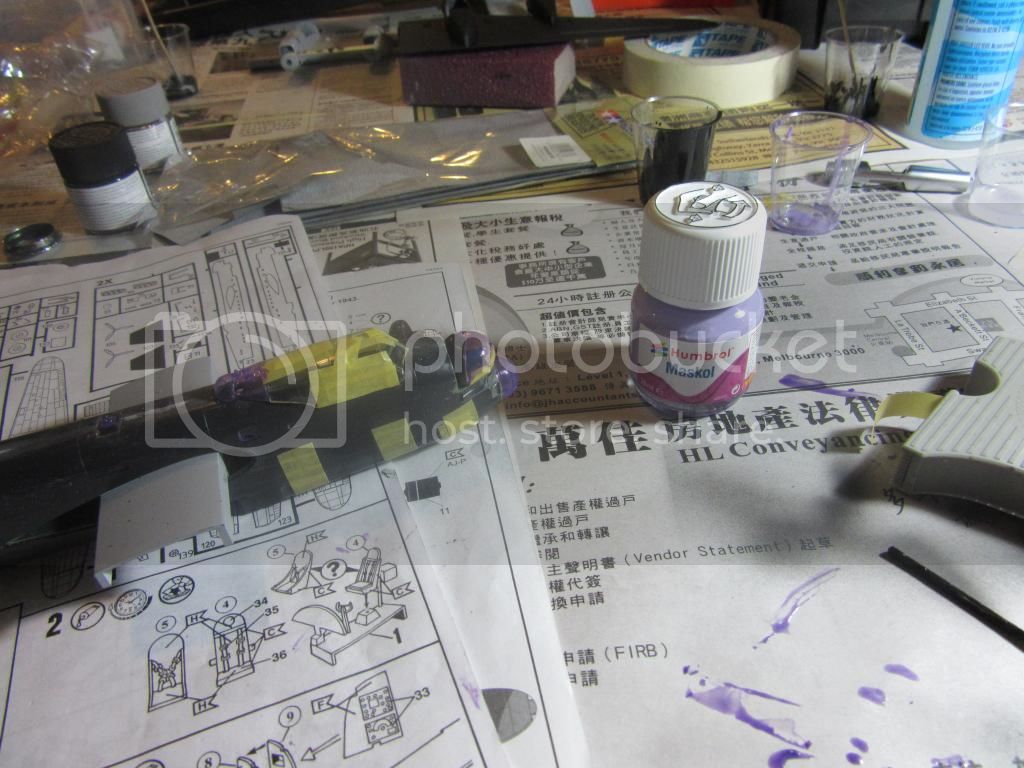
Not finished just yet. All painting was done with a brush. I would have preferred to use an airbrush on certain areas, but I don't have a compressor anymore because my last one ended up having a faulty pressure switch, and though its still under warranty, it looks like I won't see a replacement for a good three weeks maybe.

But back to the build, I attempted to scratch build a few things in like the seat cushions, the desk lamp and navigators map with pen. I'm not all that confident with scratch building. I was hoping someone would share tips or a good reference thread. Once everything comes together more satisfactorily i'll start trying to put in some chipping effects with a Derwent silver metallic pencil.

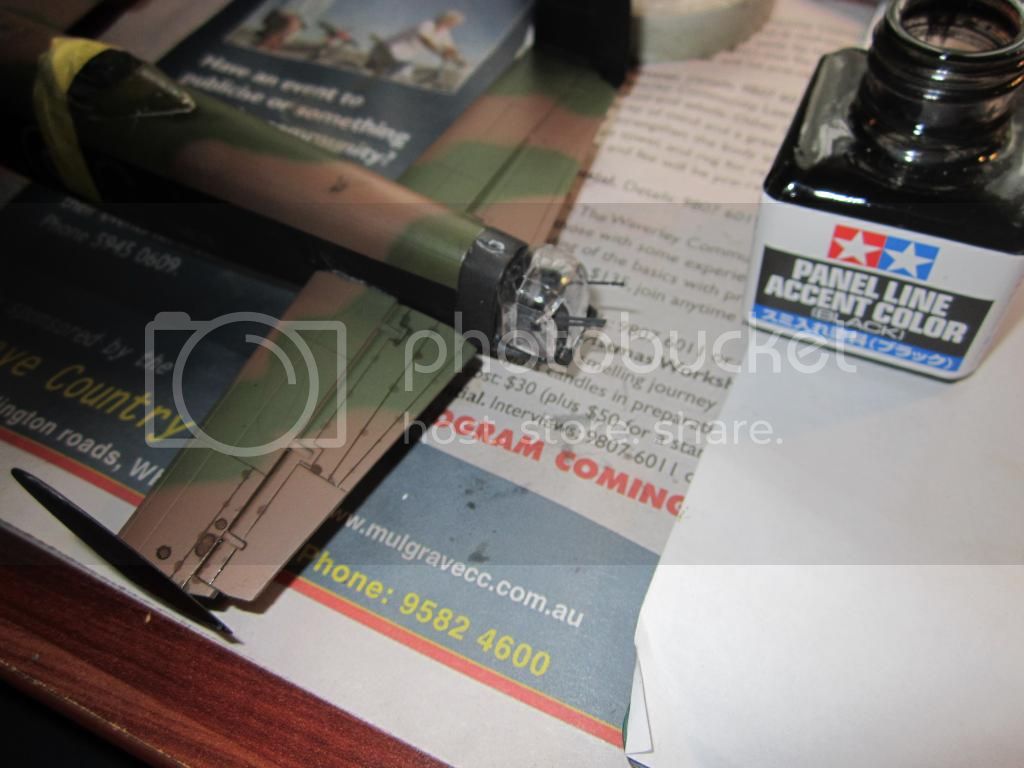
Here's the cockpit from the back view.


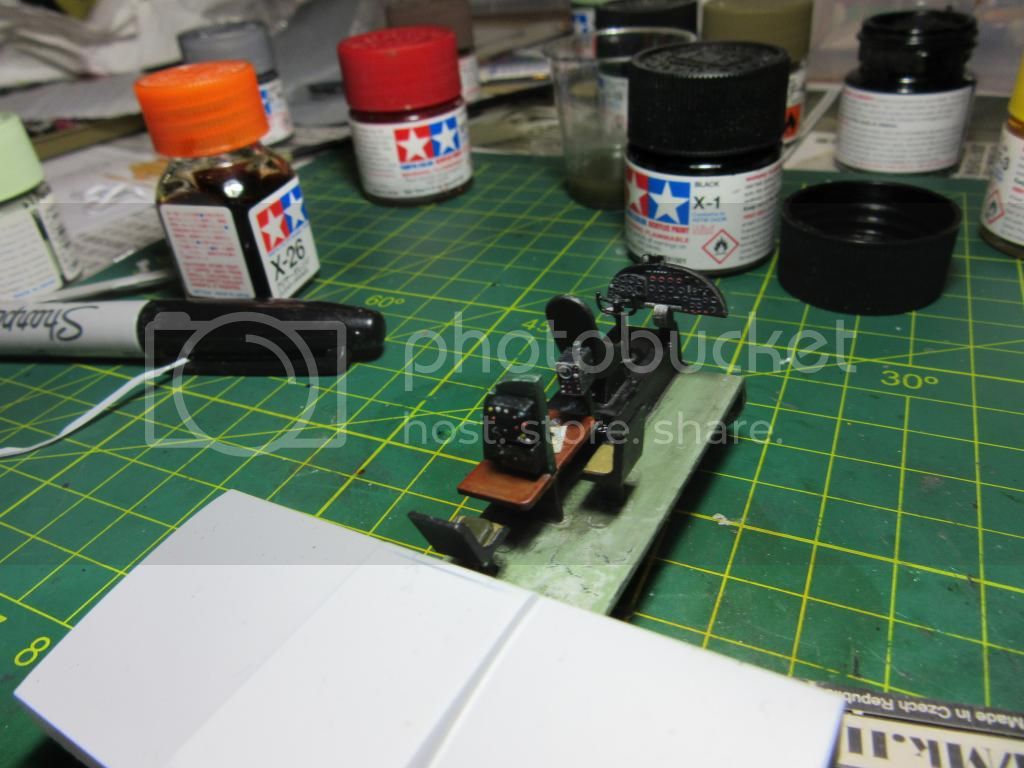
From the back it doesn't look too bad but paint on the floor is cracking. I have a feeling I will need to re-paint and apply the wash again. i have a bad habit of spraying too much Tamiya TS-80 Flat Clear on, and it can really crack the paint. 
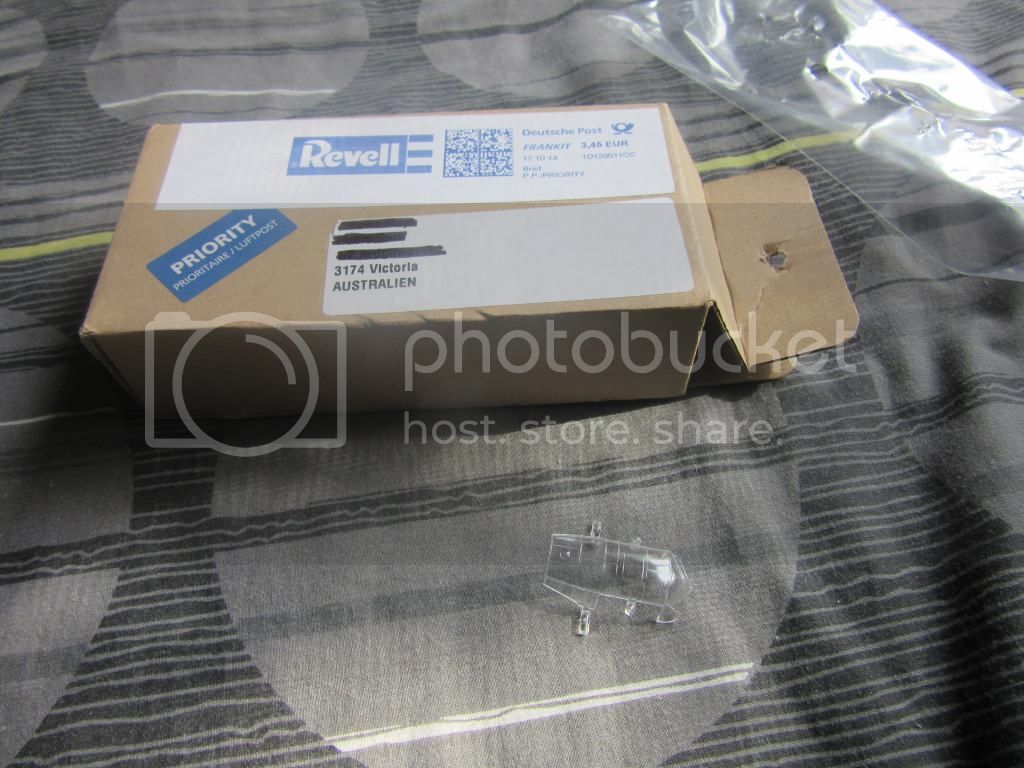
But apart from this I feel more or less content with everything, including the end result with the PE parts.

This is my last photo for this build so far, and it is kinda tragic:


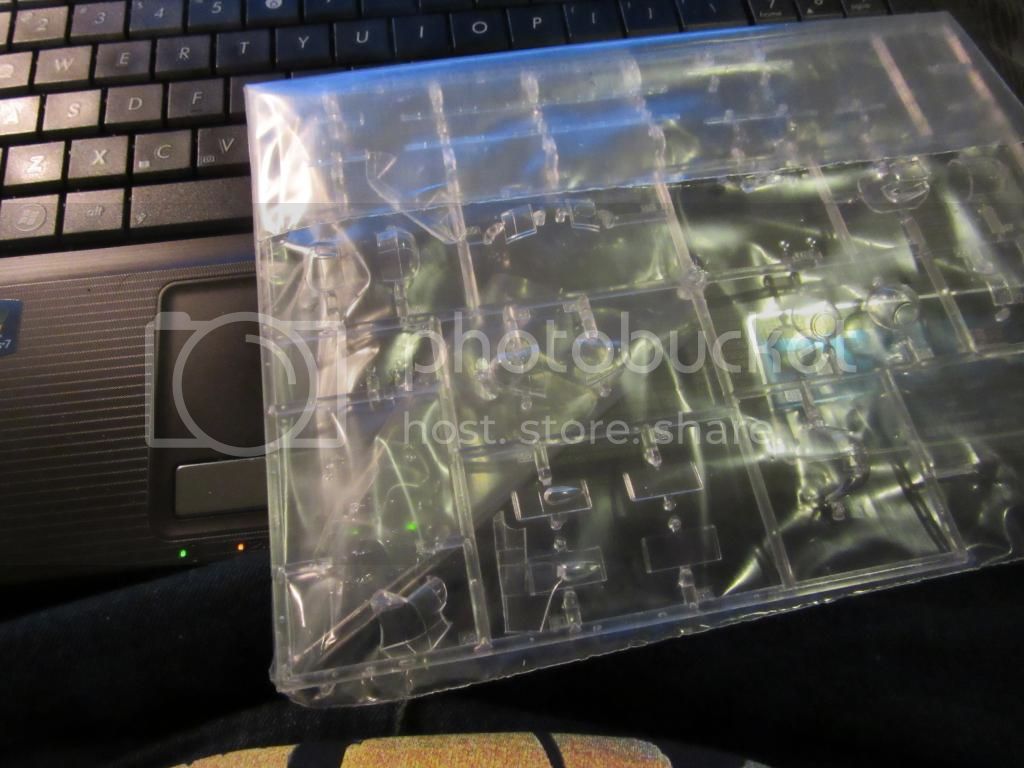
Yes that is indeed a CRACKED part 48 on the clear parts sprue, which just happens to be the cockpit canopy! After spending some considerable time 'not' getting over this, I spurred up the initiative to contact revell replacement parts through [email protected], and they actually got back to me very promptly, which I was very very impressed with.

Well there you have it! I hope you enjoyed reading about my progress so far. I will try my bet to update soon.
Gremlin56
Joined: October 30, 2005
KitMaker: 3,897 posts
AeroScale: 564 posts
Posted: Thursday, October 02, 2014 - 03:41 AM UTC
I like it, still a long way to go and a shame about the transparency, but it's starting off nicely.
Joel_W
Staff MemberAssociate Editor
AUTOMODELER
_VISITCOMMUNITY
New York, United States
Joined: December 04, 2010
KitMaker: 11,666 posts
AeroScale: 7,410 posts
Posted: Thursday, October 02, 2014 - 07:30 AM UTC
Nice start to a rather complex build. Looking foward to your next update.
Joel
berndm
_VISITCOMMUNITY
Niedersachsen, Germany
Joined: March 26, 2014
KitMaker: 844 posts
AeroScale: 630 posts
Posted: Thursday, October 02, 2014 - 05:03 PM UTC
Good luck with your Dambuster, beside the Eduard PEs a set
of new wheels and new gun barrels could be helpful too.

I got this kit in my hand some days ago, looking for a new project. Made some dry fits with the fuselage and wings, they
fit teally good.
I will follow your build and looking forward to your next progress.
Bernd
Maelstrom
_VISITCOMMUNITY
Victoria, Australia
Joined: August 11, 2014
KitMaker: 20 posts
AeroScale: 19 posts
Posted: Wednesday, October 22, 2014 - 06:37 PM UTC
Hi all, just a few photos to update my progress:


Gluing fuselage sections together:

Dry test fit of wing & tail assemblies.


Using Humbrol Maskol to mask off clear sections before prime & base coat:

My first time using Humbrol Maskol but it was a good experience!

Fuselage with Tamiya XF-1 Flat Black airbrushed on as base color:

Masking off top surfaces of fuselage, wings & tail sections to prepare for base camouflage color:

Thanks for reading. will update soon.
berndm
_VISITCOMMUNITY
Niedersachsen, Germany
Joined: March 26, 2014
KitMaker: 844 posts
AeroScale: 630 posts
Posted: Thursday, October 23, 2014 - 02:46 AM UTC
Nice progress, looking good !
Joel_W
Staff MemberAssociate Editor
AUTOMODELER
_VISITCOMMUNITY
New York, United States
Joined: December 04, 2010
KitMaker: 11,666 posts
AeroScale: 7,410 posts
Posted: Thursday, October 23, 2014 - 06:47 AM UTC
It's always nice to finally see some paint going on. Next time you need a flat black surface, instead of XF-1, try Tamiya's XF-69 Nato Black, as I feel it has a better scale effect.
Joel
phantom_phanatic309
#372
_VISITCOMMUNITY
United Kingdom
Joined: March 10, 2010
KitMaker: 2,568 posts
AeroScale: 1,619 posts
Posted: Thursday, October 23, 2014 - 07:00 AM UTC
Looking good.
I have one of these in the stash and it's good to see that it goes together with no hassles. Personally I still prefer the Revell Lanc over Airfix's new one. Having seen a few built examples in the flesh I found that it lacked the finesse of the Revell. Everything just looked more 'chunky'.
Looking forward to seeing the completed.
Maelstrom
_VISITCOMMUNITY
Victoria, Australia
Joined: August 11, 2014
KitMaker: 20 posts
AeroScale: 19 posts
Posted: Thursday, October 23, 2014 - 08:34 AM UTC
Thanks Joel I'll definitely try the Nato Black next time. Thanks Bernd and Stephen!
Joel_W
Staff MemberAssociate Editor
AUTOMODELER
_VISITCOMMUNITY
New York, United States
Joined: December 04, 2010
KitMaker: 11,666 posts
AeroScale: 7,410 posts
Posted: Friday, October 24, 2014 - 04:46 AM UTC

Quoted Text

Thanks Joel I'll definitely try the Nato Black next time. Thanks Bernd and Stephen!


It's also the best color I've found for a newish tire look.

Joel
Maelstrom
_VISITCOMMUNITY
Victoria, Australia
Joined: August 11, 2014
KitMaker: 20 posts
AeroScale: 19 posts
Posted: Thursday, November 06, 2014 - 04:42 PM UTC
Hi all, just a quick update today.

Next step was to airbrush on the camouflage scheme & engine exhaust streaks:


What do you guys think about the streak lines? Be honest; are they convincing enough, or if not what can I do to improve them?

Also I am happy to report that the replacement part I requested from Revell came in the other day, which was a huge relief!


That's all for now, till next time!
berndm
_VISITCOMMUNITY
Niedersachsen, Germany
Joined: March 26, 2014
KitMaker: 844 posts
AeroScale: 630 posts
Posted: Thursday, November 06, 2014 - 07:24 PM UTC
Hi Dinuka, nice progress, i would expand the stains to the trailing edges of the wings, beside that, they look very good

Best
Bernd
Joel_W
Staff MemberAssociate Editor
AUTOMODELER
_VISITCOMMUNITY
New York, United States
Joined: December 04, 2010
KitMaker: 11,666 posts
AeroScale: 7,410 posts
Posted: Saturday, November 08, 2014 - 08:19 PM UTC
Dinuka,
Excellent job on the camo paint scheme. The exhaust staining looks good, but I would tend to think that the lighter gray should be just a little bit darker. Best way to determine colors and how far back the staining goes, is some photographs.
Joel
Maelstrom
_VISITCOMMUNITY
Victoria, Australia
Joined: August 11, 2014
KitMaker: 20 posts
AeroScale: 19 posts
Posted: Wednesday, December 10, 2014 - 11:13 AM UTC
Hey guys, a few new photos to add to the build:

Got the engine streaks to a standard I was happy with and then sprayed on a few coats of testers dullcote. pretty happy with the finish.


Using this Tamiya Panel Line Accent (Black) product for first time, and it seemed to do the job pretty well. Remember to use turpentine to carefully wipe away the excess.


Moved on to the panel lines on the wings. Added yellow tips to the propellers. A quick dry-fit of the glued together canopy before masking it for paint.

Well that's it so far. The aftermarket wheels were totally worth it. Need to order another set of aftermarket gun barrels. I ordered one earlier with the wheels, but perhaps applied them to the model prematurely and most of them snapped of.
Joel_W
Staff MemberAssociate Editor
AUTOMODELER
_VISITCOMMUNITY
New York, United States
Joined: December 04, 2010
KitMaker: 11,666 posts
AeroScale: 7,410 posts
Posted: Wednesday, December 10, 2014 - 10:31 PM UTC
Dinuka,
Your Lancaster is really coming along quite nicely now. The camo paint scheme looks great.

I've never used the Tamiya wash for panel lines. I've switched to Model Master enamels heavily thinned with Mineral Spirits. Works great, and allows me to custom tune the color to just a shade or two darker then the base color.

Joel
Maelstrom
_VISITCOMMUNITY
Victoria, Australia
Joined: August 11, 2014
KitMaker: 20 posts
AeroScale: 19 posts
Posted: Thursday, December 11, 2014 - 03:10 AM UTC
Thanks Joel

I'll have a look into the model master enamels.
JPTRR
Staff MemberManaging Editor
RAILROAD MODELING
#051
_VISITCOMMUNITY
Tennessee, United States
Joined: December 21, 2002
KitMaker: 7,772 posts
AeroScale: 3,175 posts
Posted: Thursday, December 11, 2014 - 05:31 AM UTC
Great looking Lanc! It do not envy your painting the canopies.

Fine looking exhaust stains!
SaxonTheShiba
_VISITCOMMUNITY
United States
Joined: February 01, 2009
KitMaker: 1,233 posts
AeroScale: 663 posts
Posted: Thursday, December 11, 2014 - 06:01 AM UTC
Great looking Lancaster! I really like the work you did creating the exhaust stains. Well done!

Best wishes,

Ian
chris1
_VISITCOMMUNITY
Auckland, New Zealand
Joined: October 25, 2005
KitMaker: 949 posts
AeroScale: 493 posts
Posted: Thursday, December 11, 2014 - 08:26 AM UTC
Just finished reading your thread.
She's looking good.well done.

Regarding your comment about the Star Wars trench sequence-I read or heard somewhere that George Lucas was inspired by the dams raid and thats why its so similar.

Now the Hobbit trilogy is complete I believe Sir Peter Jackson
is going to make a start on his version of the dambusters.
By all accounts he is continually being asked when will it begin filming
I guess to shut us all up LIGHTS CAMERA ACTION as they say.

Chris
 _GOTOTOP