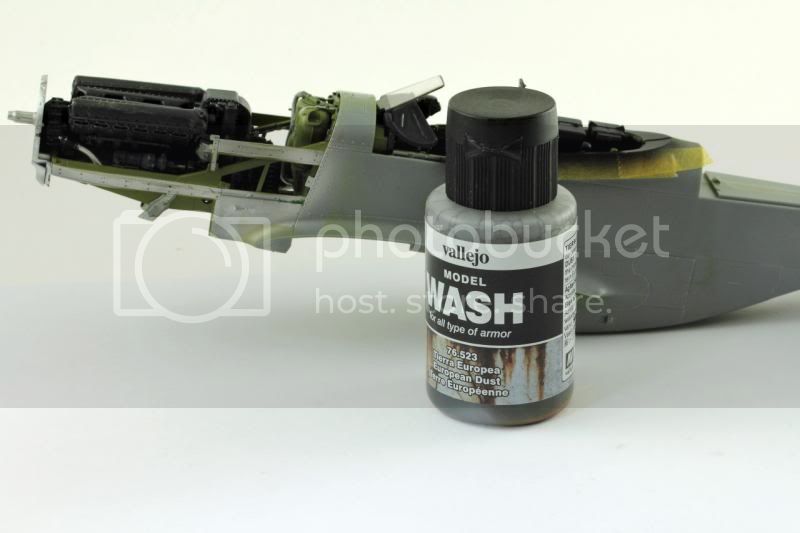
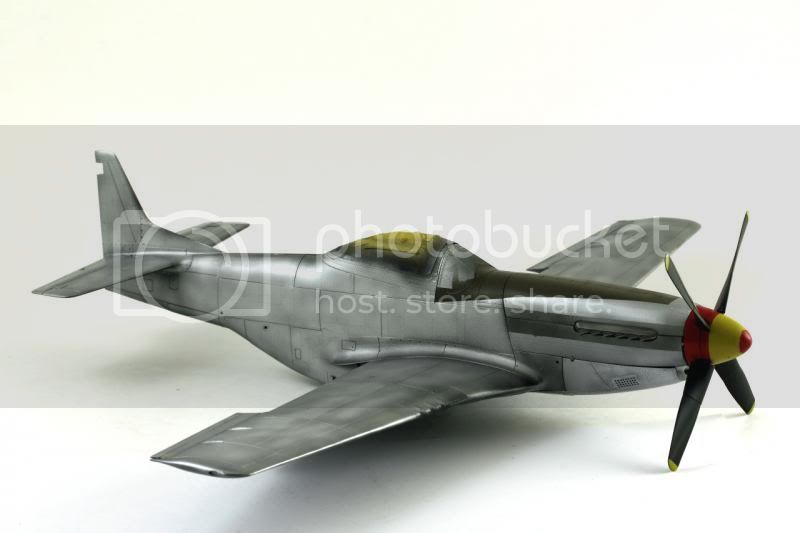
Hi Steve - its a great link isn't it. The thing I notice is that during wartime surface these aircraft were not pristine they got filthy! That one on LSP he has gone and done a fine job of producing a ultra polished present day war bird restoration. Mine will be not so errr.... pretty LOL
They're creepy and they're kooky,
Mysterious and spooky,
They're all together ooky,
The ALCLAD Family.
:lol:
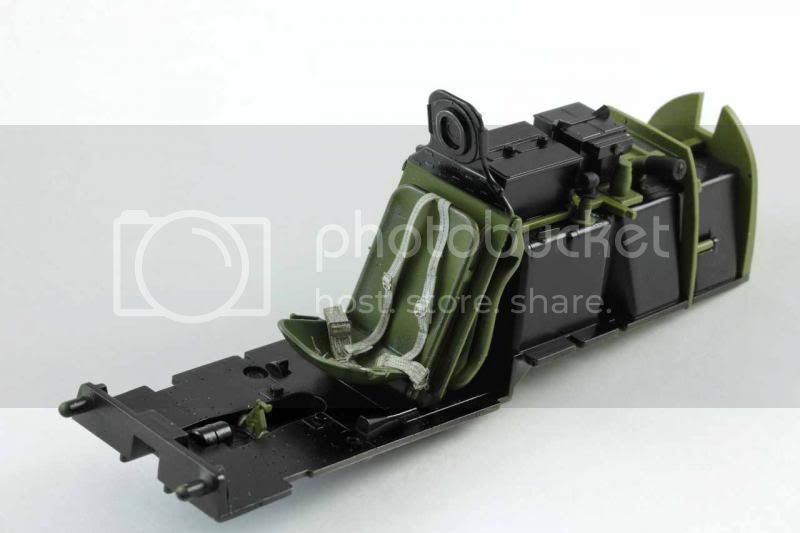
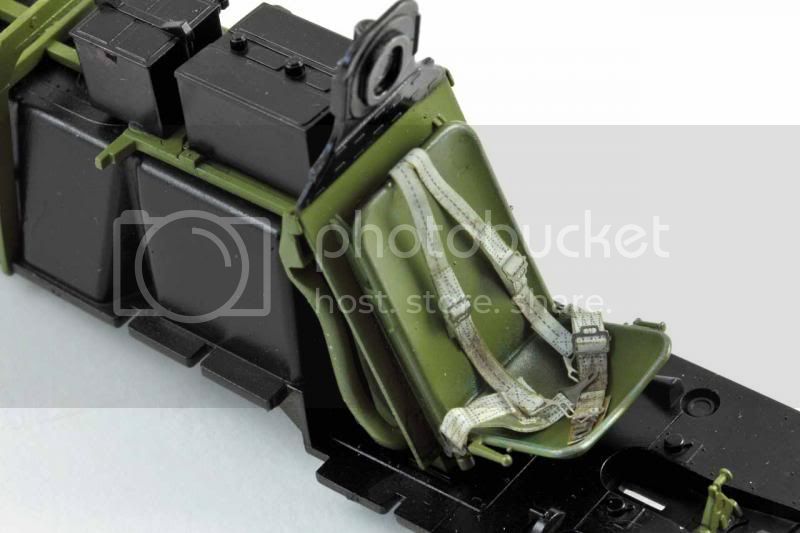
A lot of people get all freaked out about using metallic paints - like they are some form of witchcraft. My take is this - get your surface prep work done and the rest takes care of itself. After all that sanding polishing, a few more things are required. I use paint wipes or tak clothes and get all the dust and grease off the model. Then the most important thing I find is to put on some neoprene or latex gloves - you dont want greasy prints on the thing!
As I mentioned the alclads will go onto bare plastic no problems but if you want something nice, I use the gloss primer. Now I before did an entire 100% opaque black coat of the primer. But now I apply more like pre shade technique so laid it thick on the panel lines and sort of mottled it all over the rest of the model. The alclad primer dries in minutes.
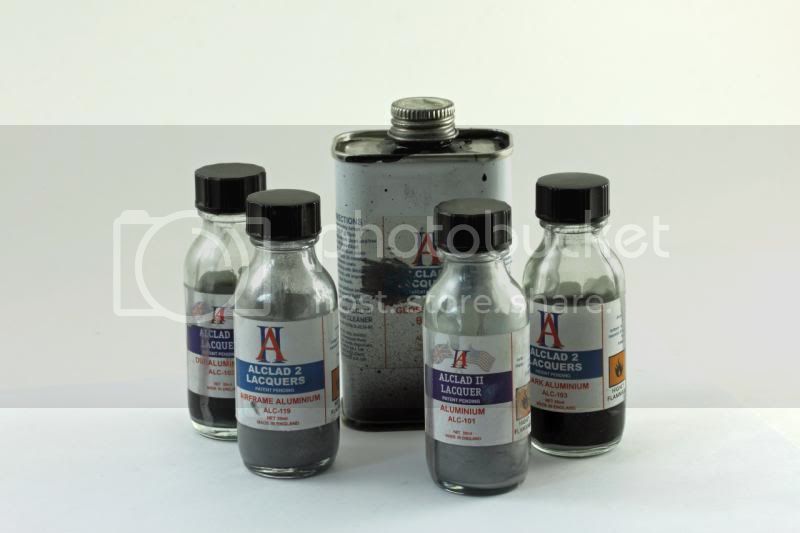
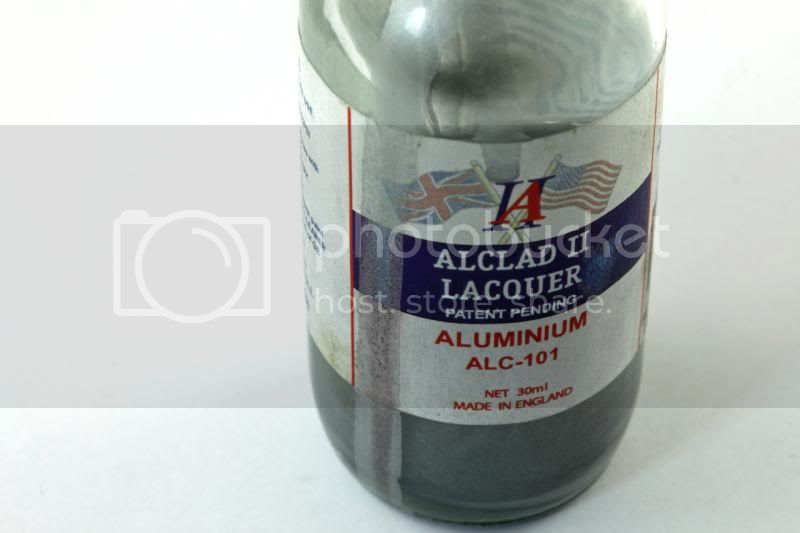
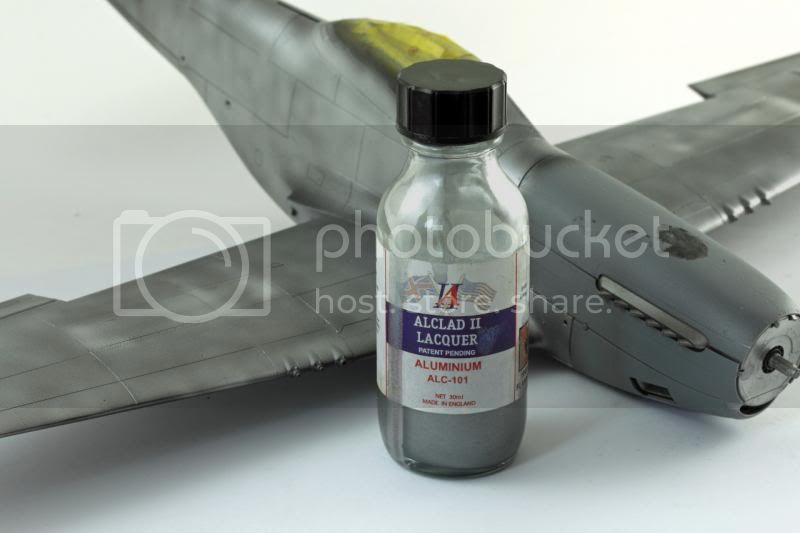
Here is the Alclad metal pigments in a lacquer suspension.

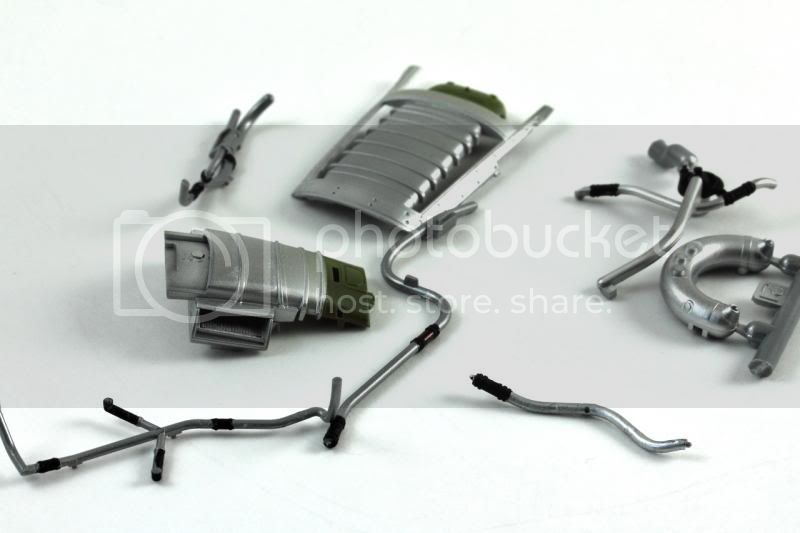
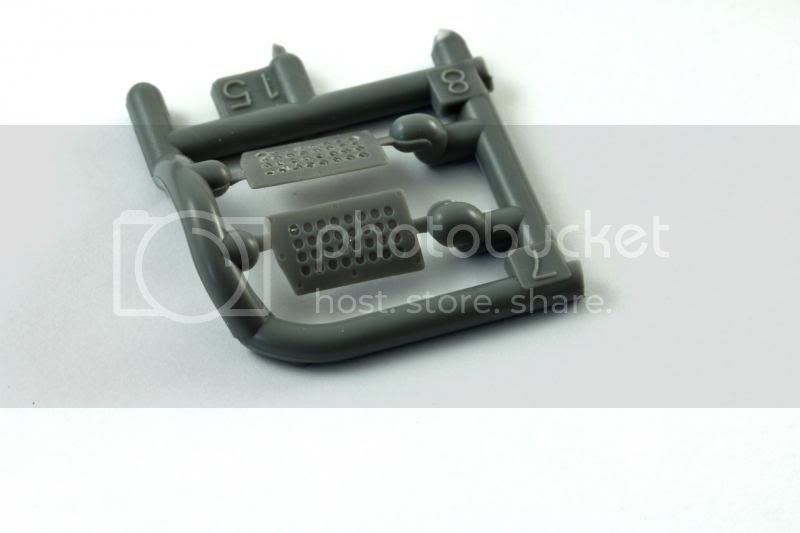
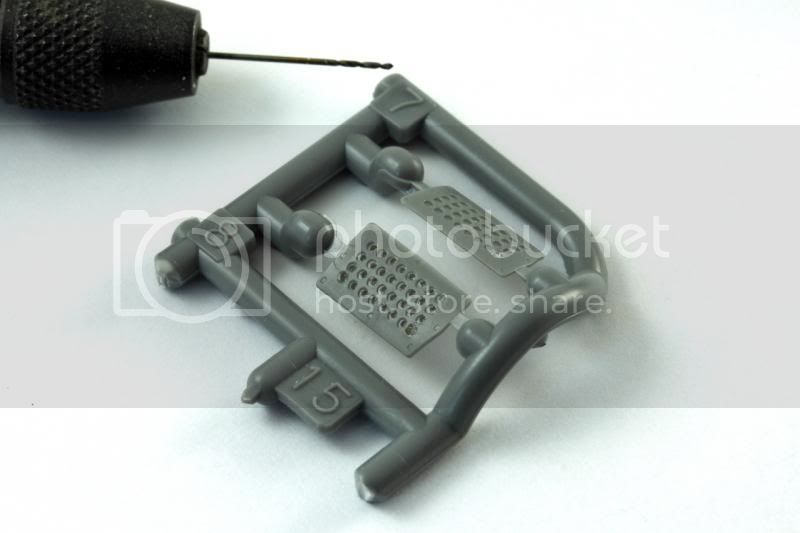
I use these clamps to hold smaller parts

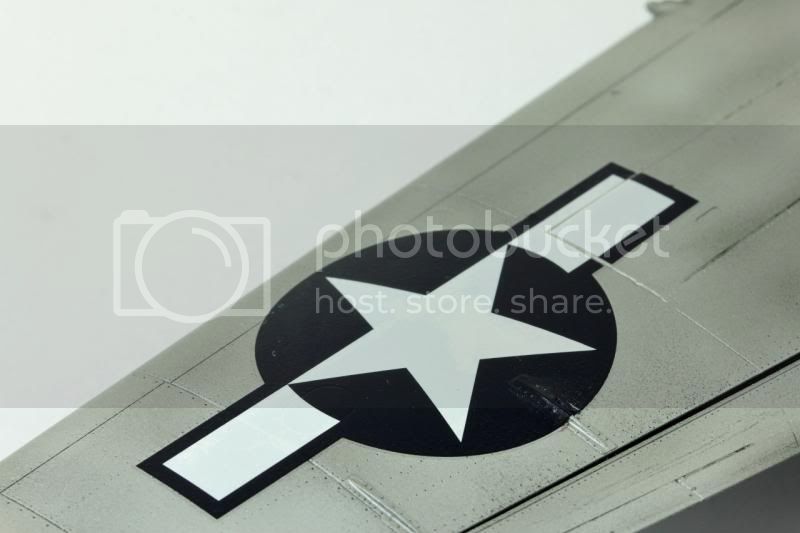
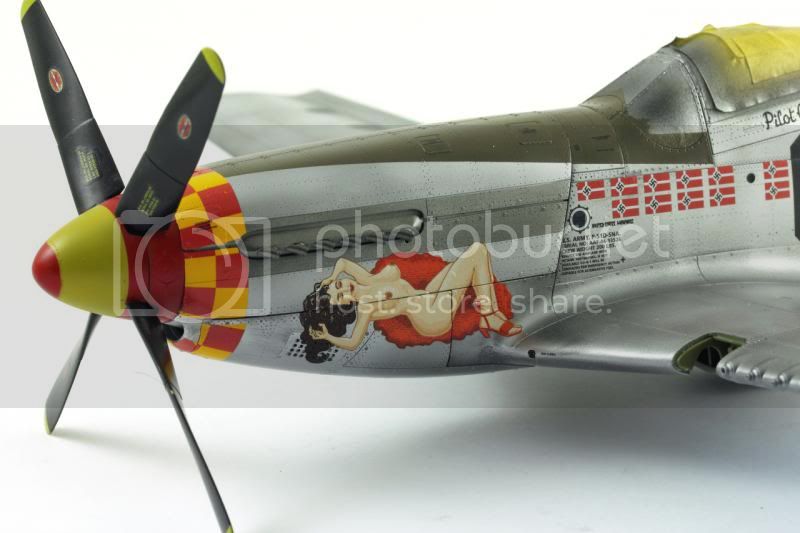
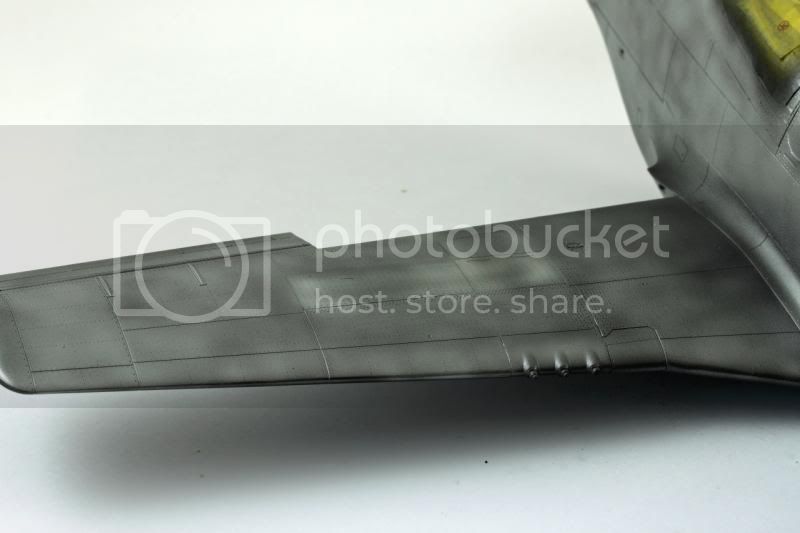
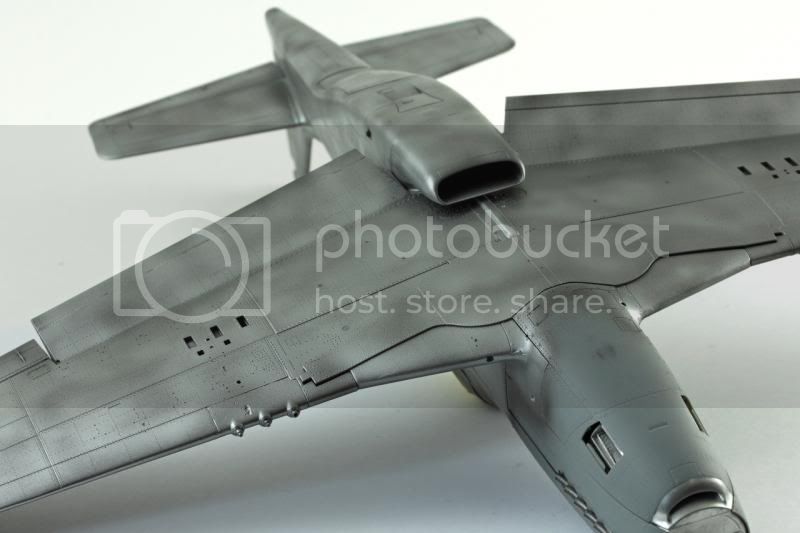
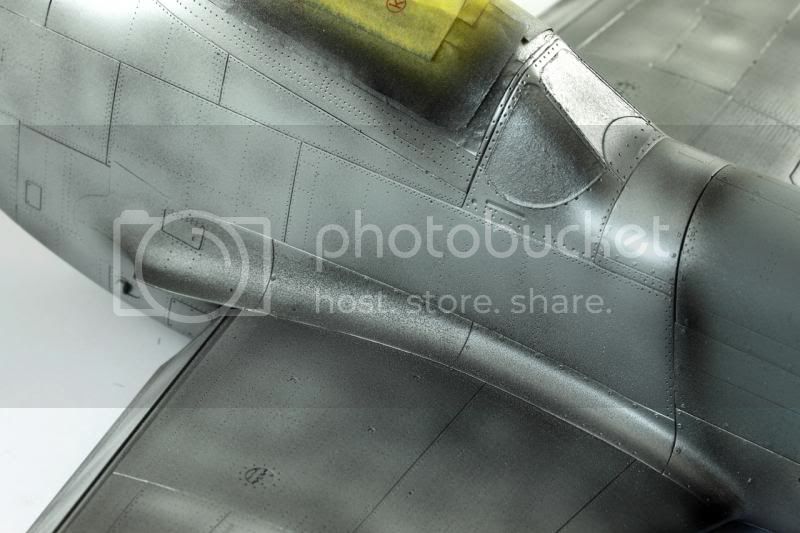
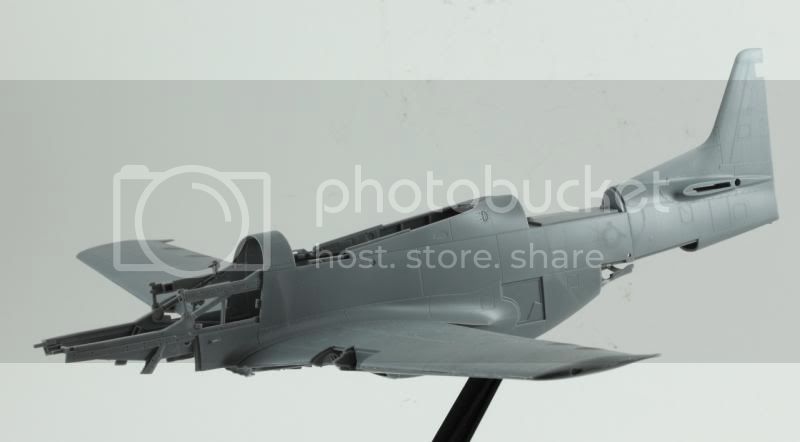
After the application of Alclads - I used the Aircraft Aluminium on the leading edges and gun covers. Then "Aluminium" as the basic shade. You can see the results of the mottling
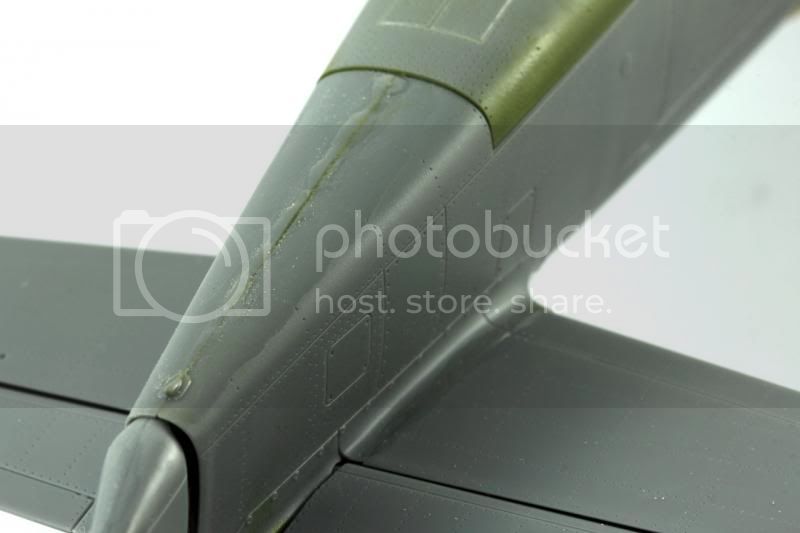
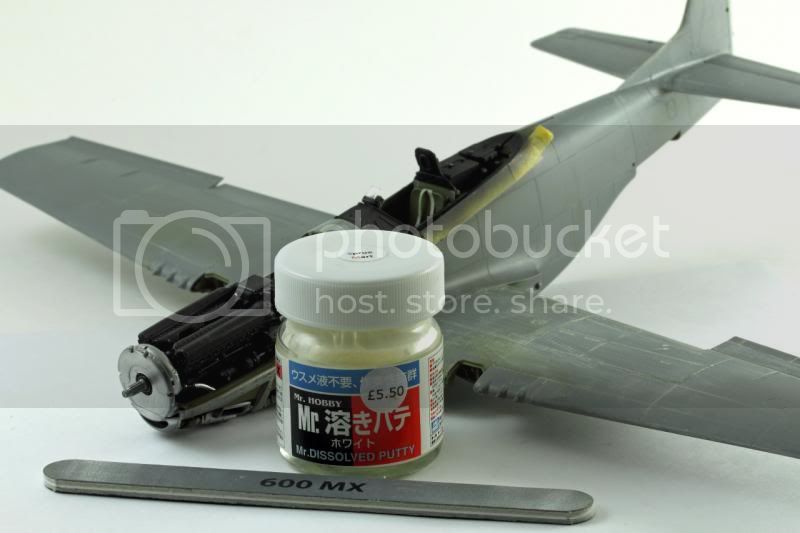
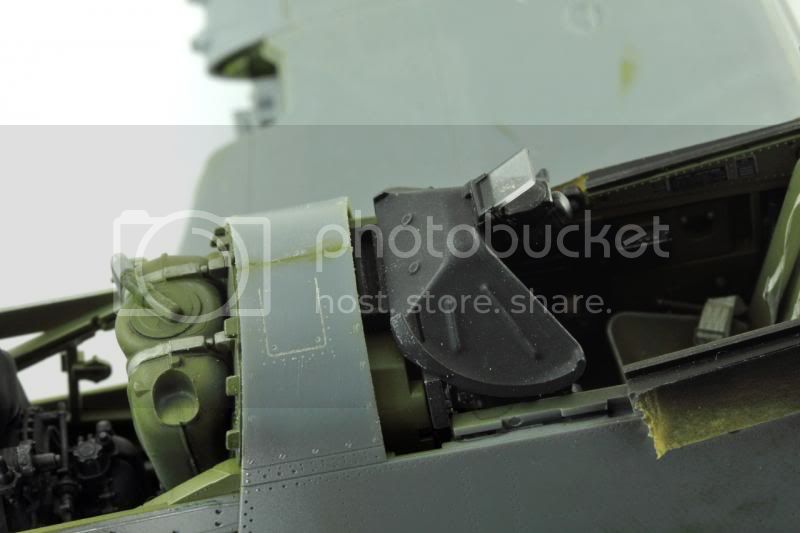
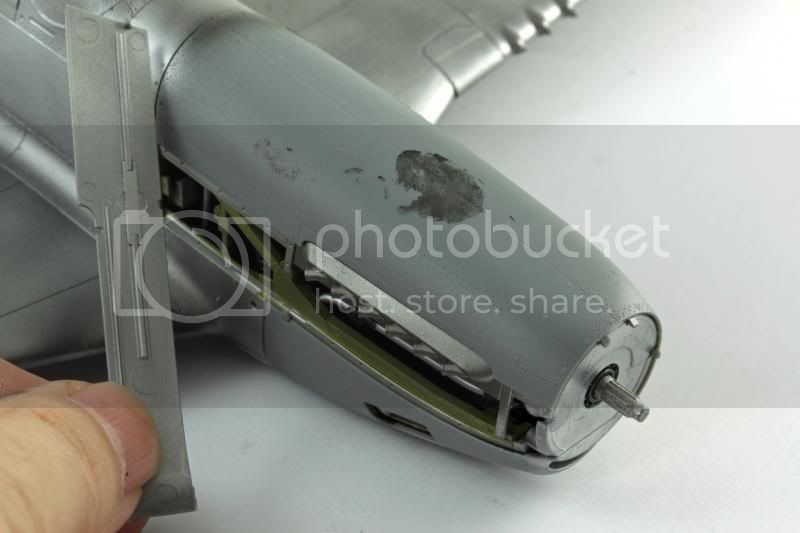
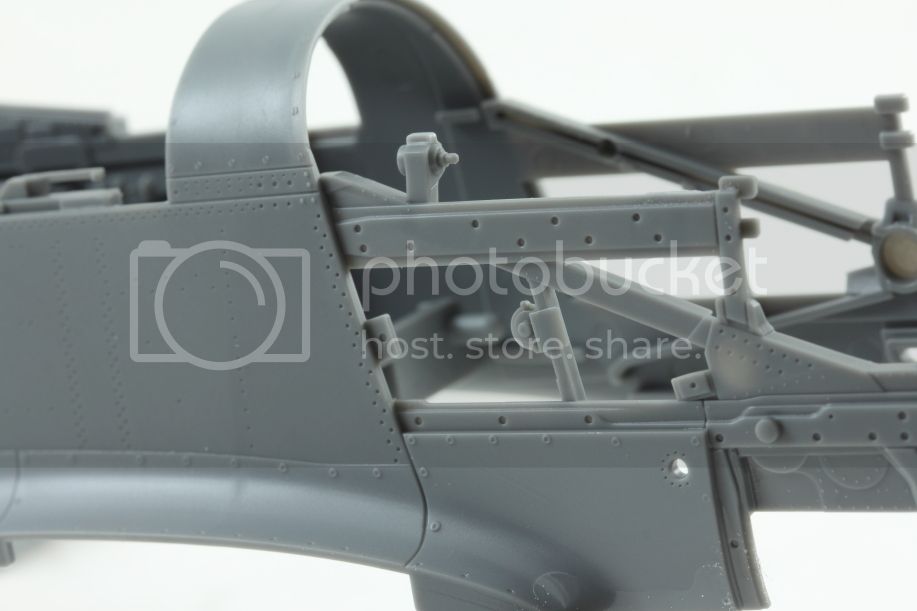
here is the area that had a lot of seams and required the most filler.
before -
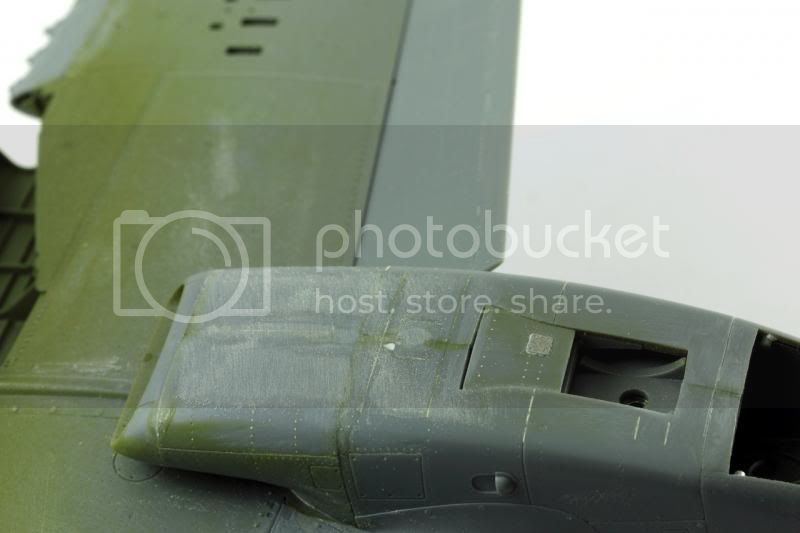
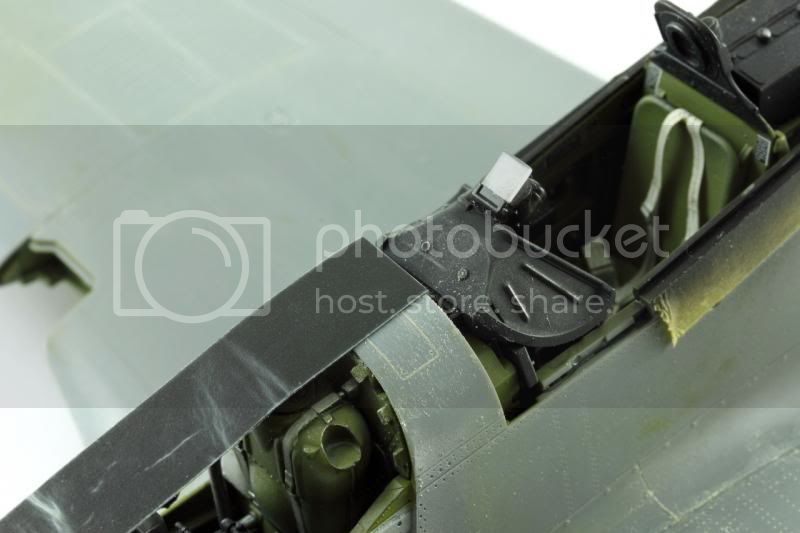
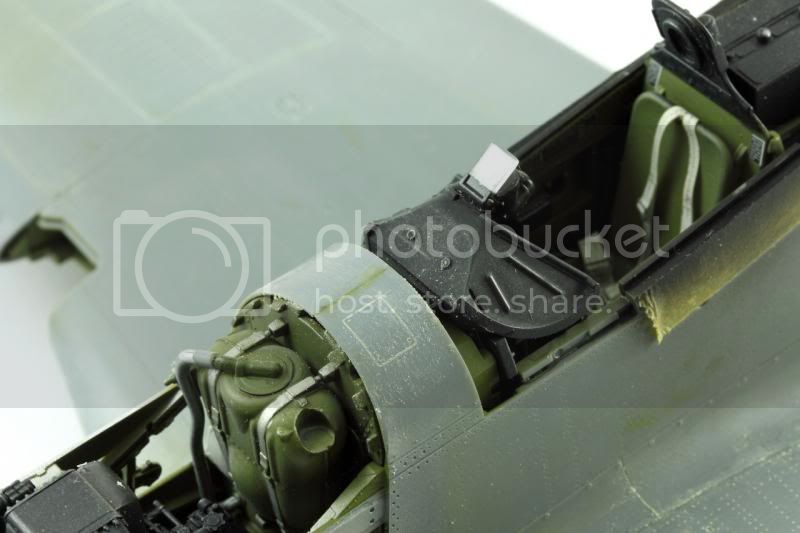
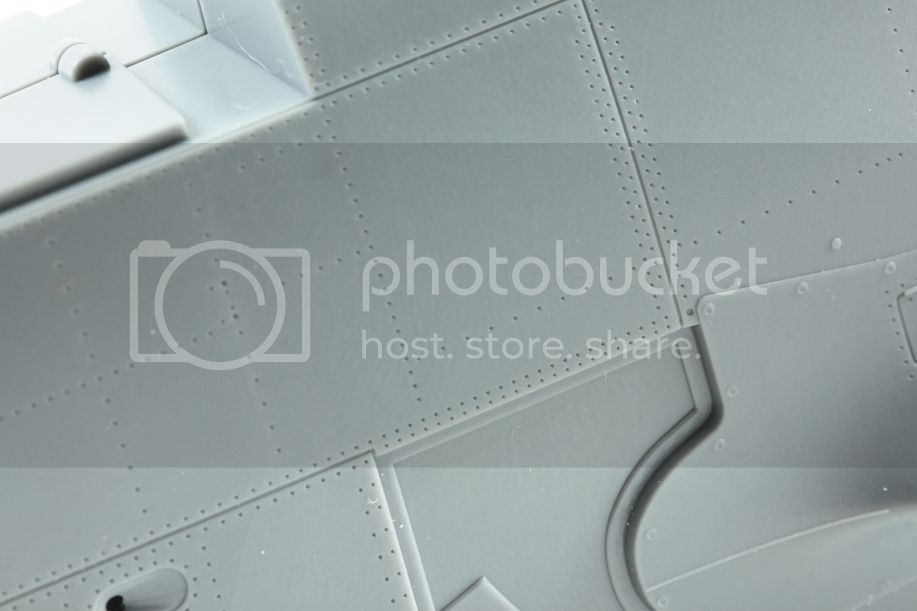
after -
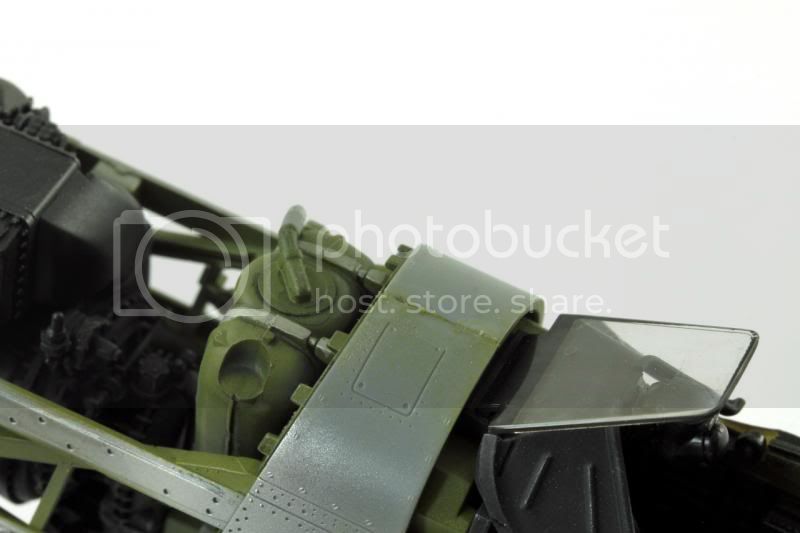
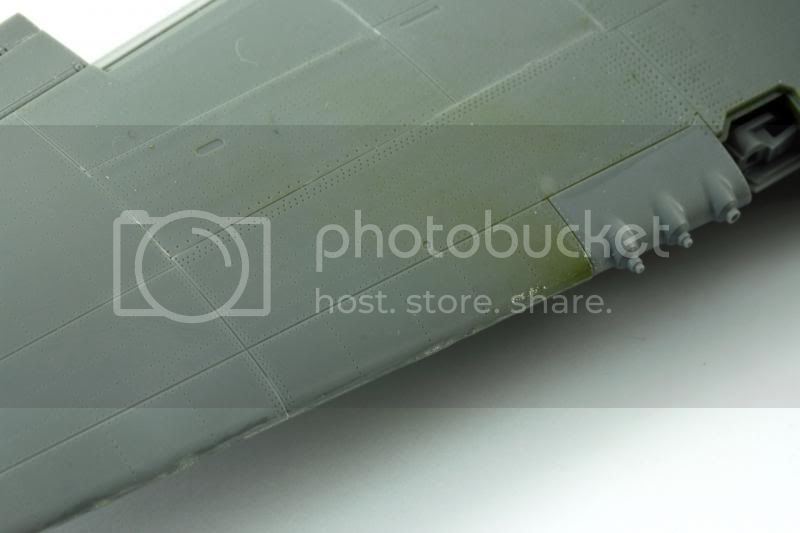
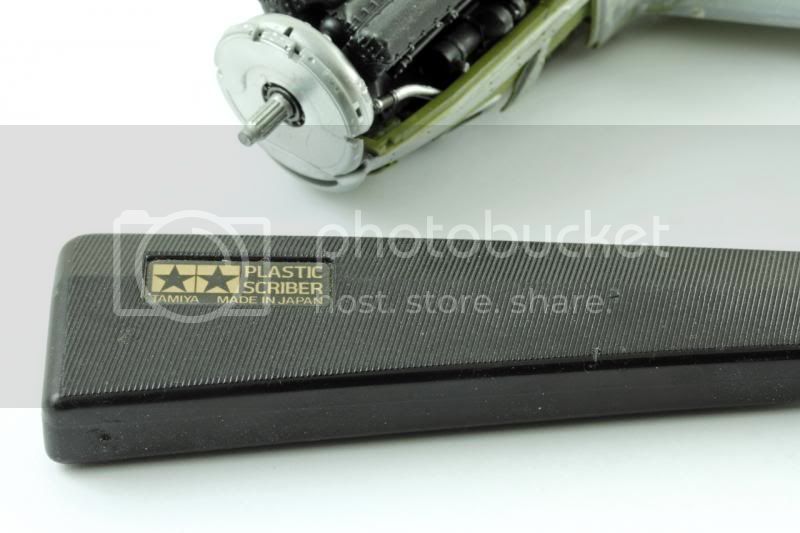
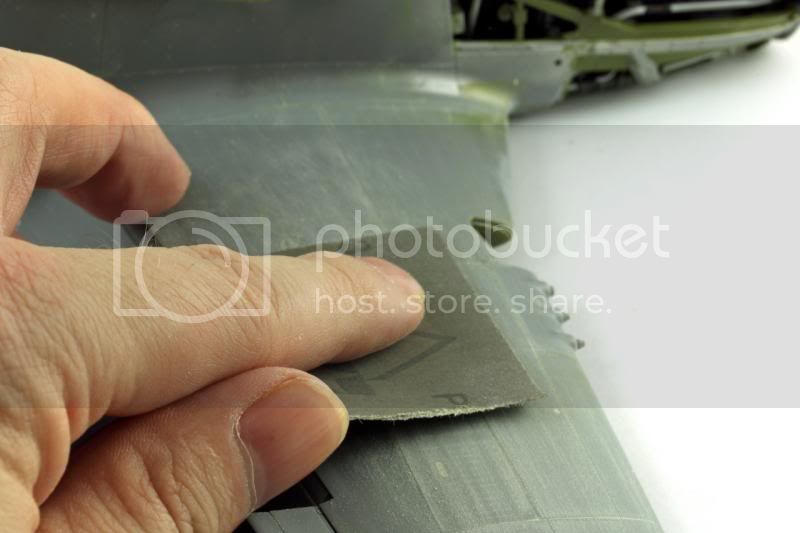
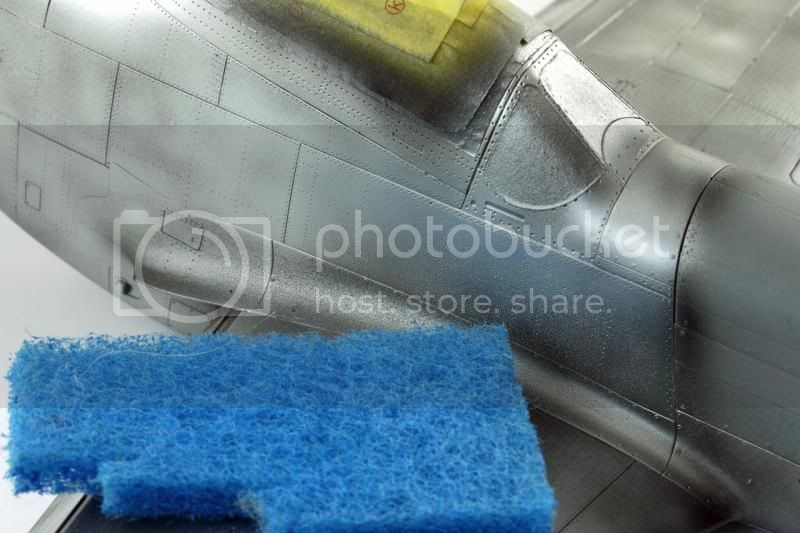
Alclad lays down very smoothly. But in this area i have a grainy texture - maybe due to being to far from the area when spraying.
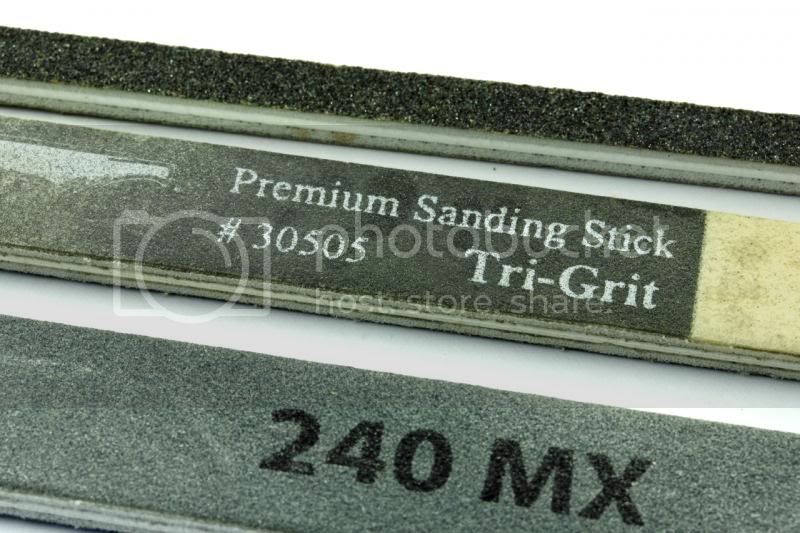
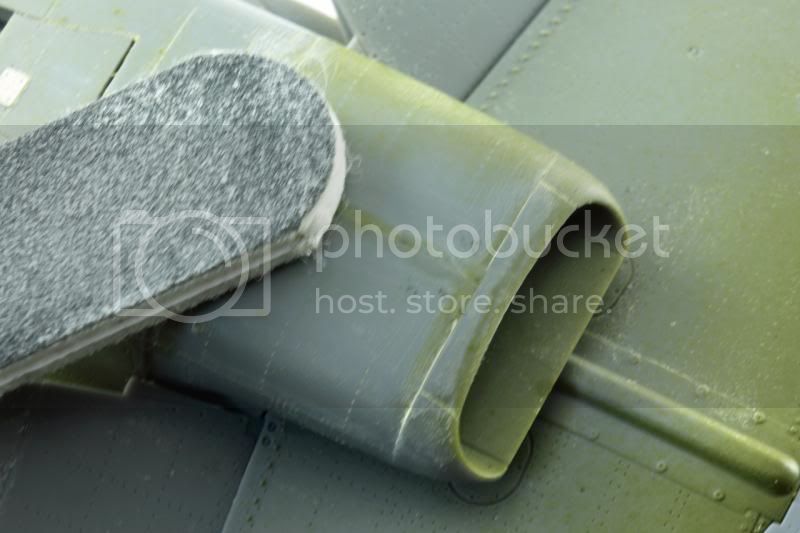
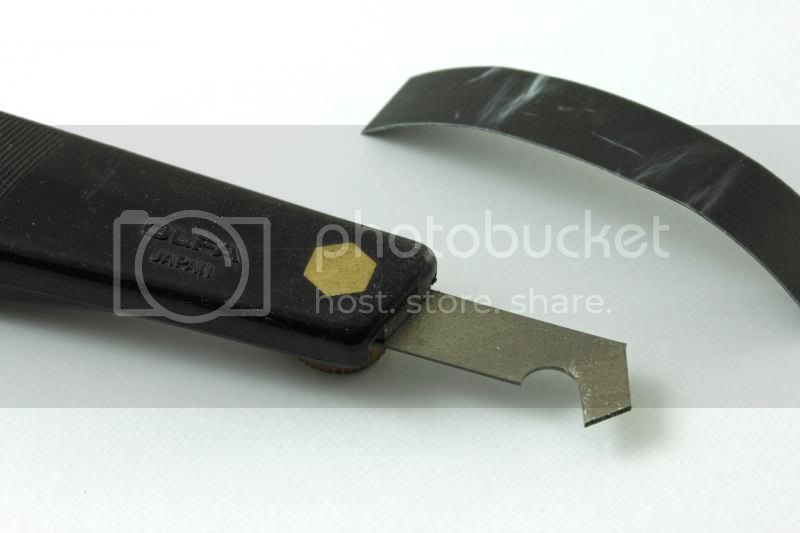
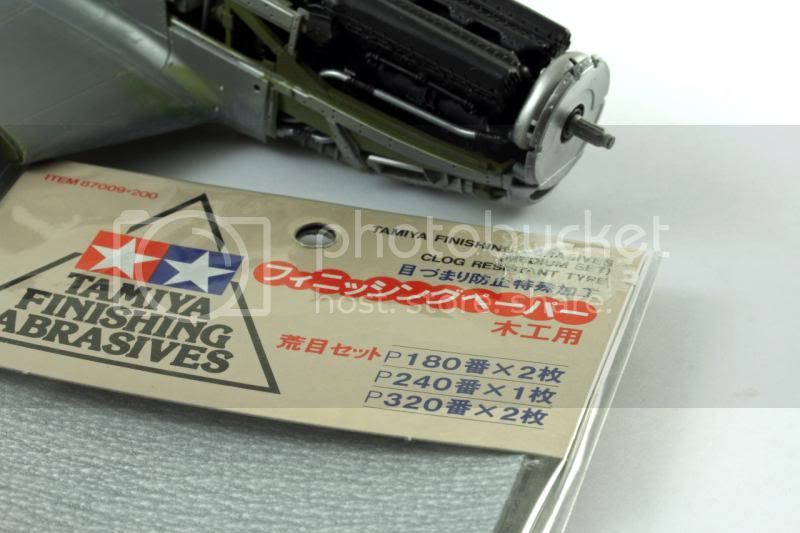
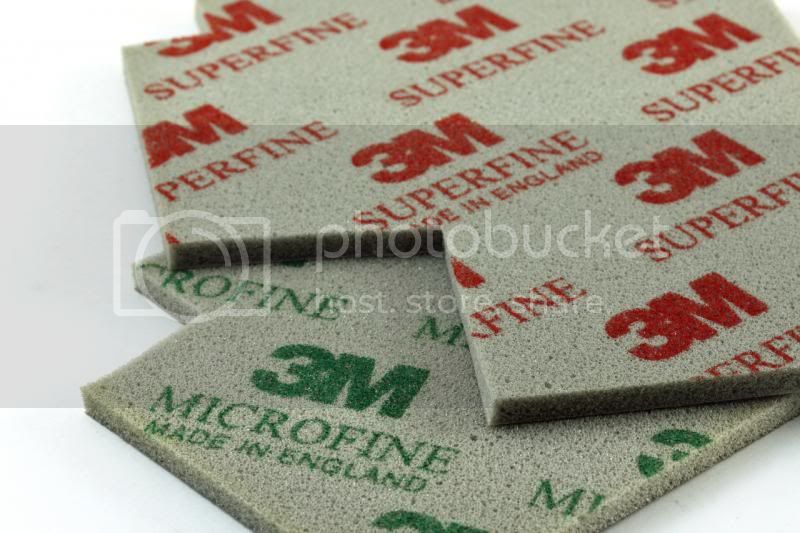
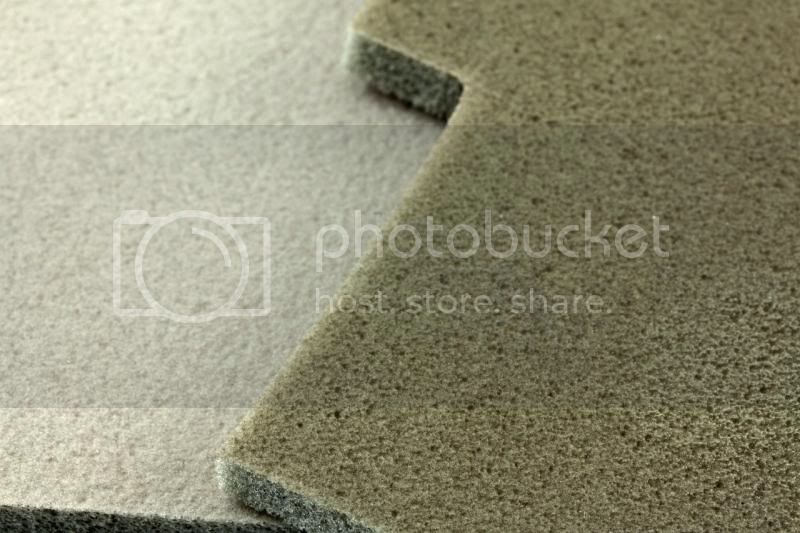
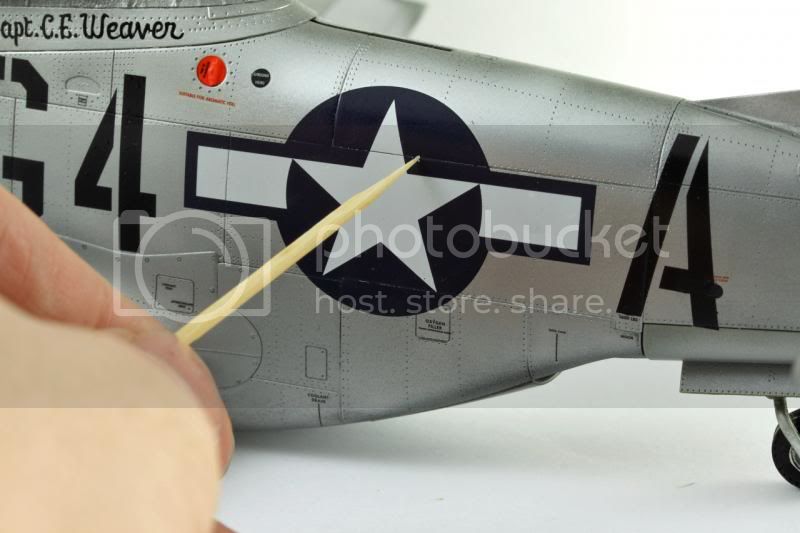
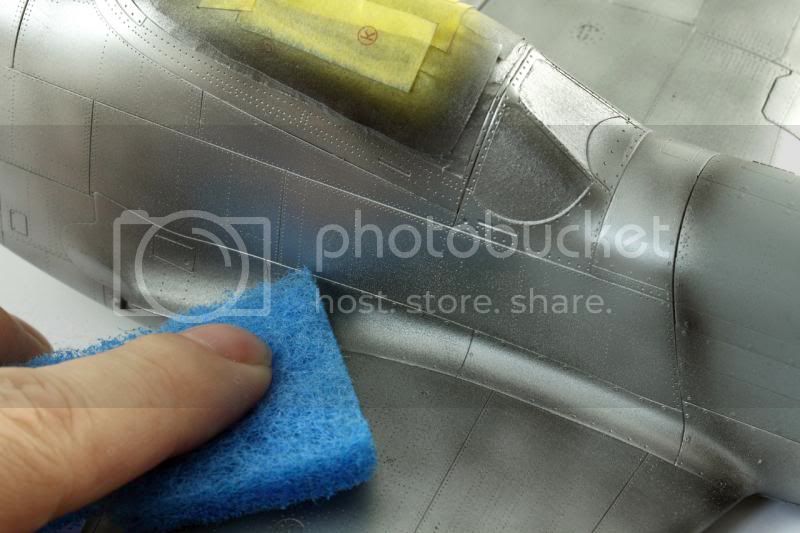
To solve that I use the microfine pad and then this scotchbrite to polish it smooth
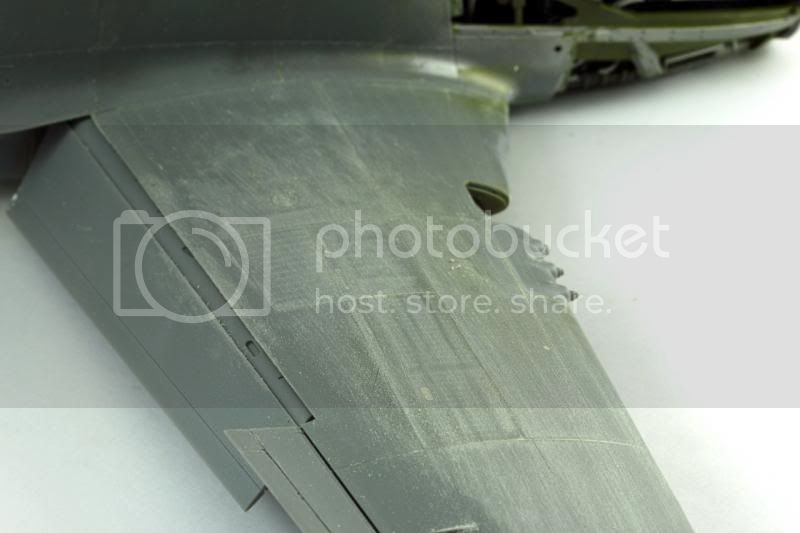
smoothed down and no damage to paint
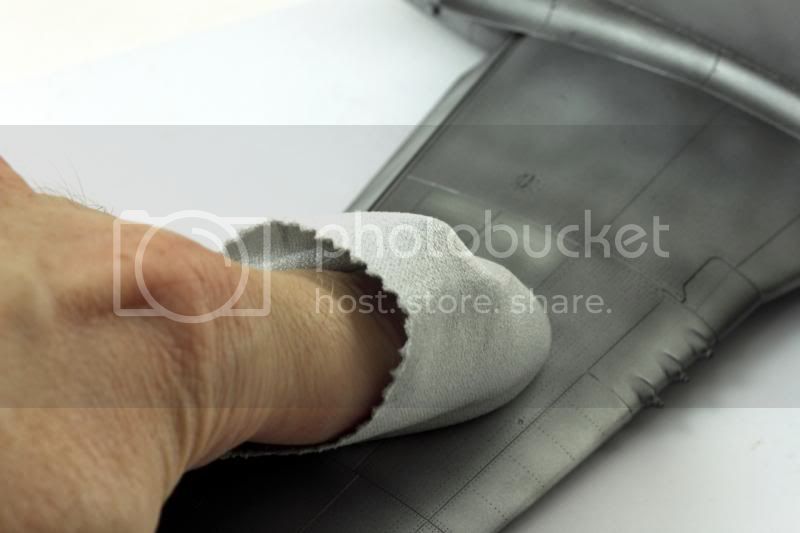
You can use a cloth to polish up also
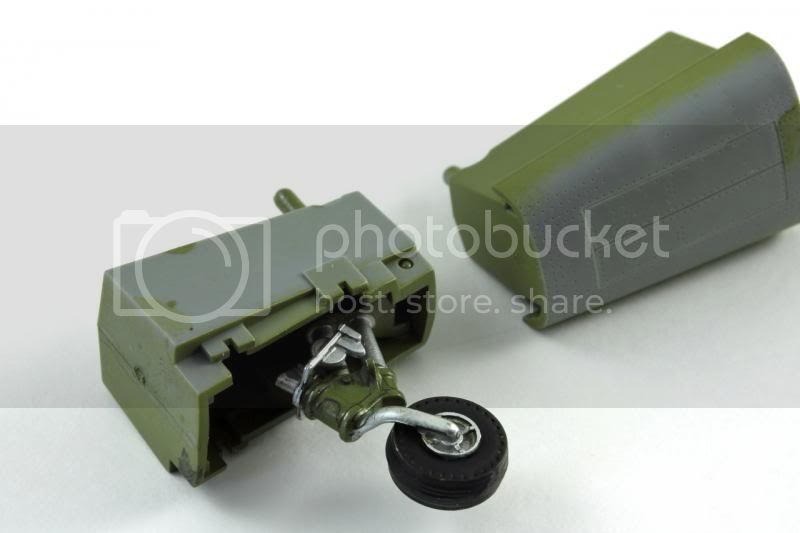
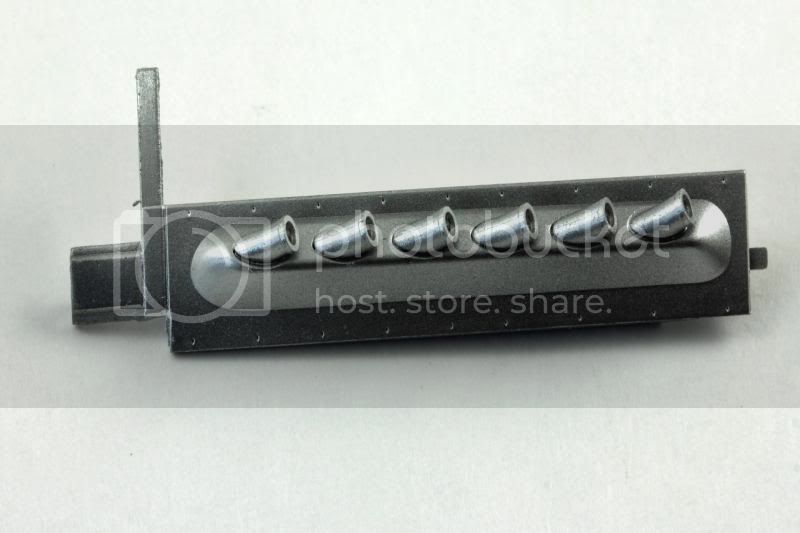
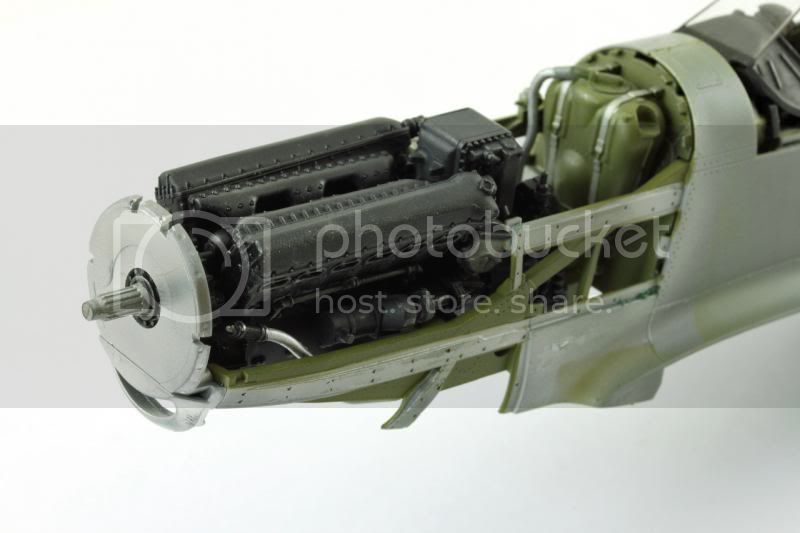
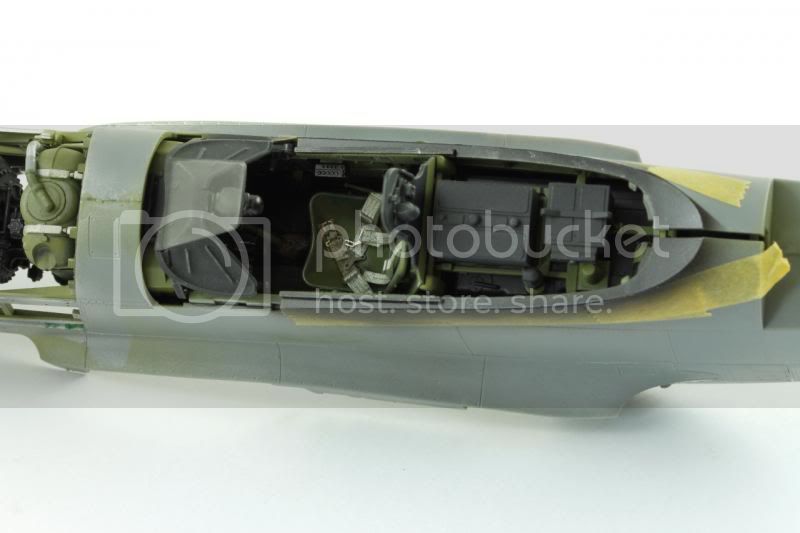
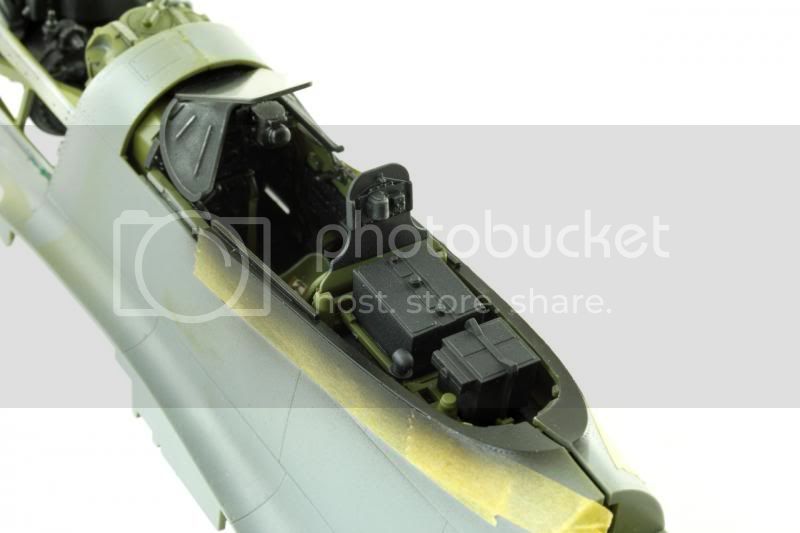
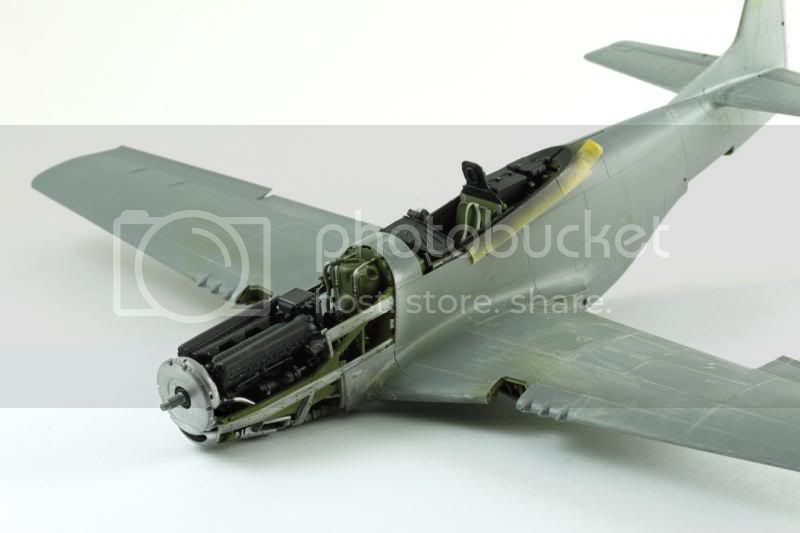
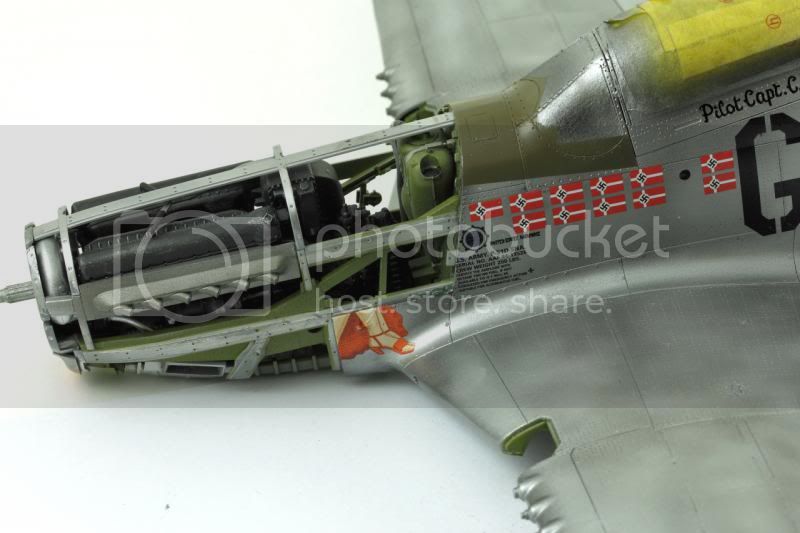
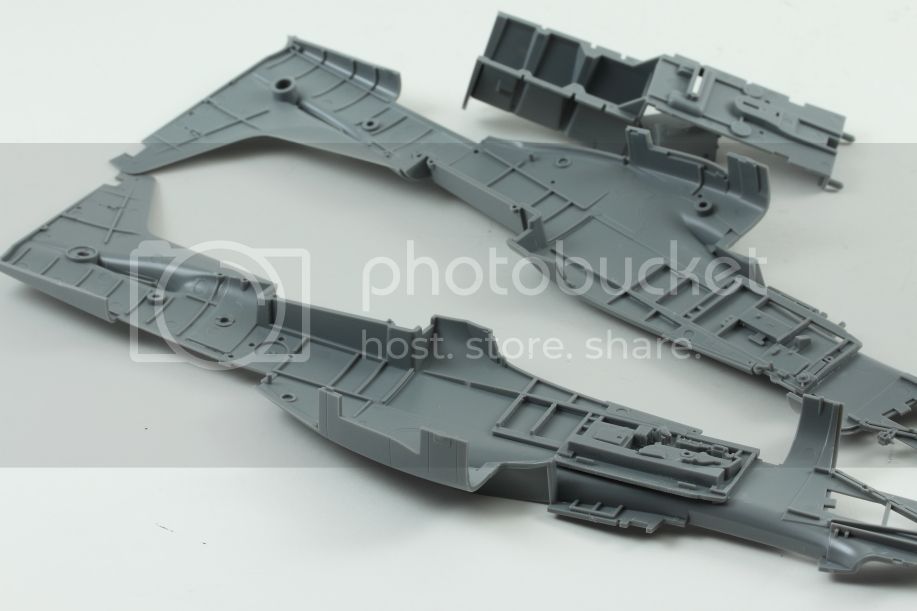
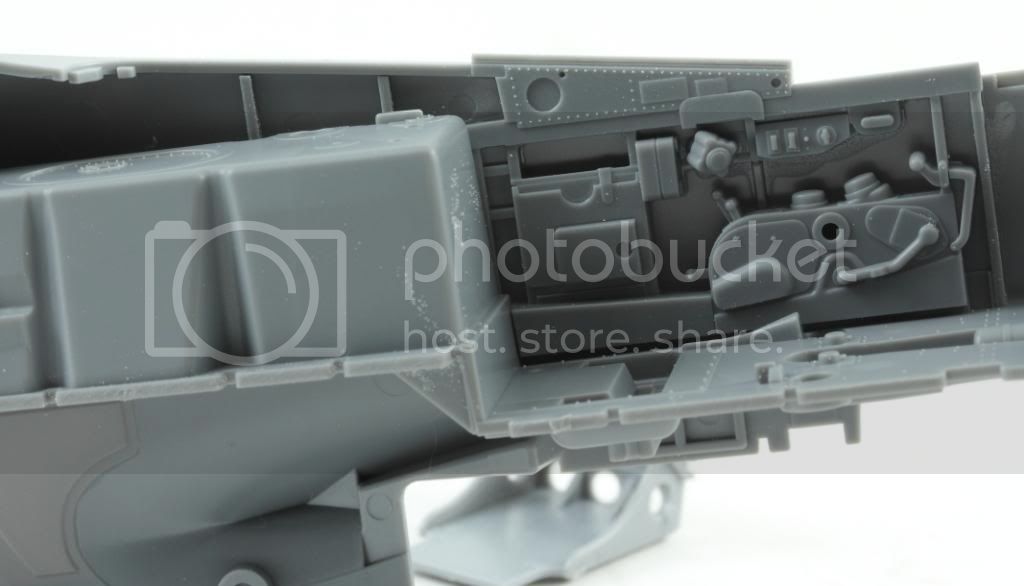
Because Tamiya provided the model with removable panels for the engine - they served to "mask" off the engine during the painting.
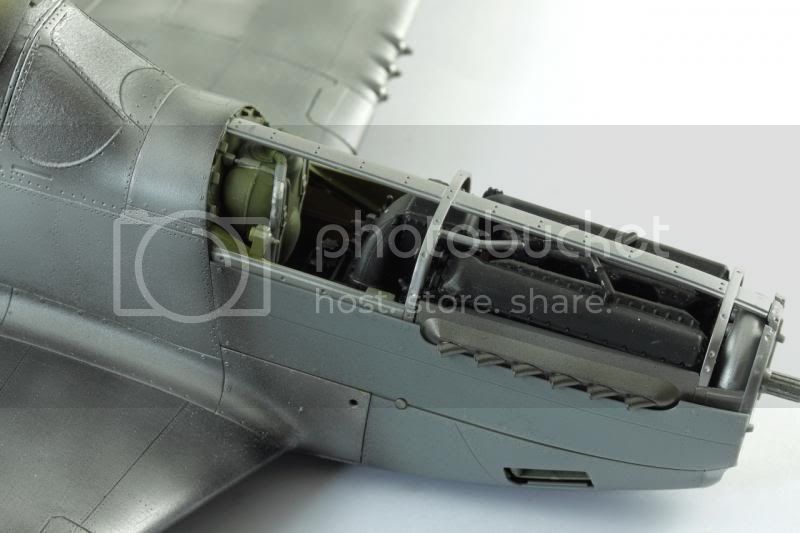
held on by tiny magnets - cool
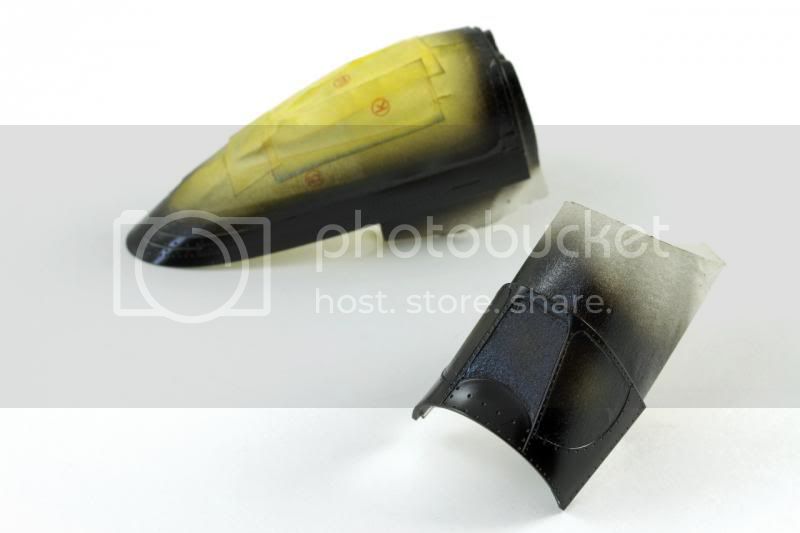
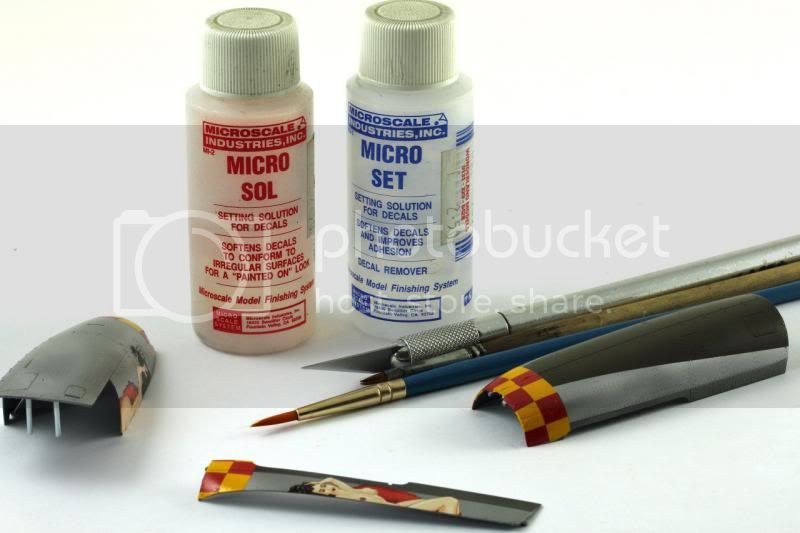
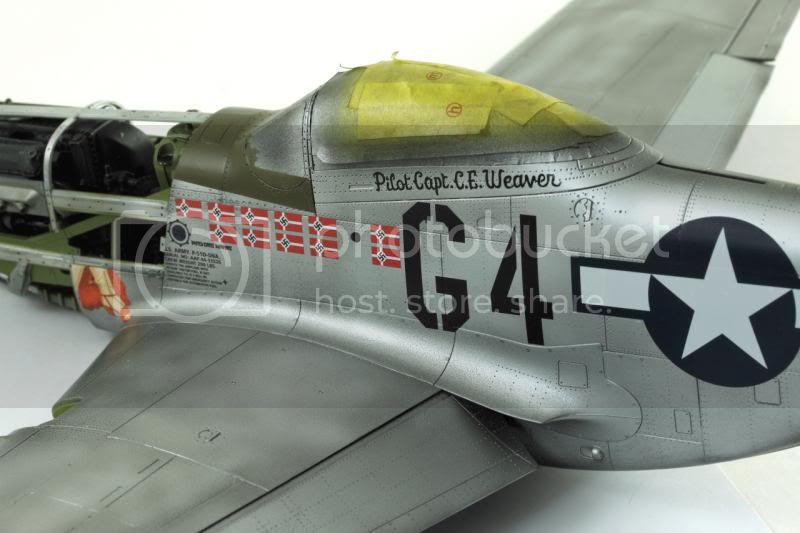
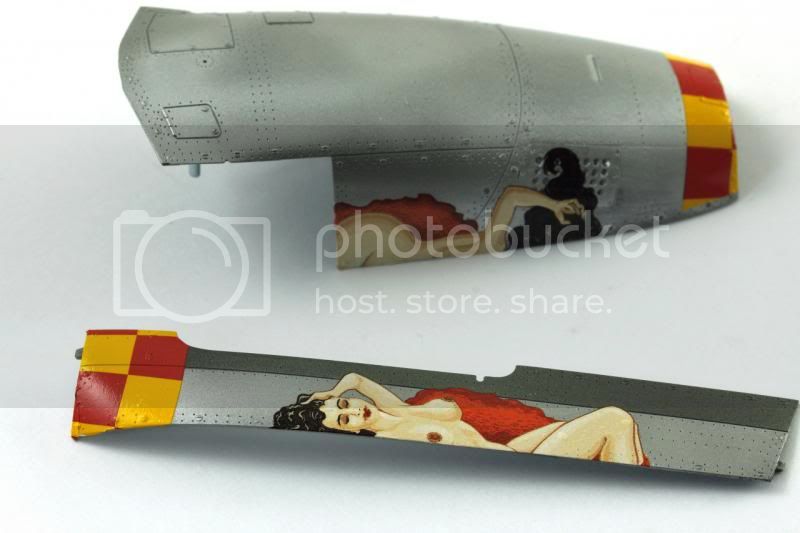
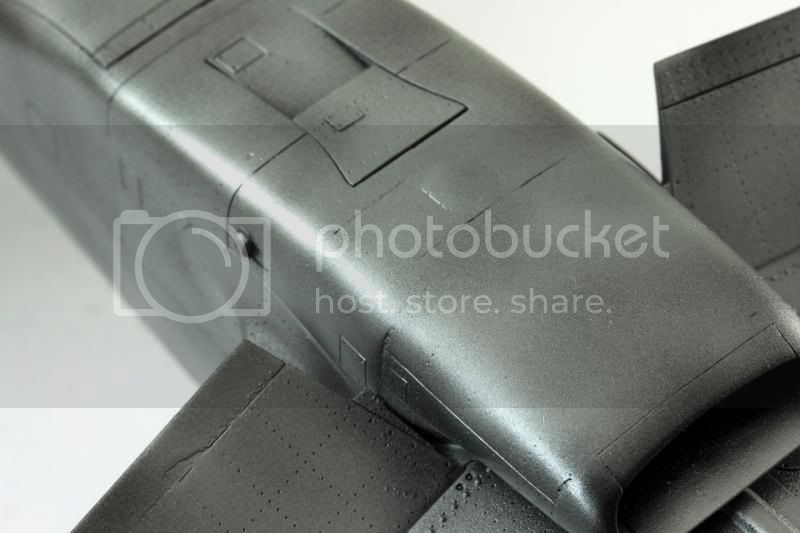
Now to add more variety the panels for the engine, and rudder were painted separately without any primer straight onto bare plastic, I used White aluminium for them. An area of the cowling near the exhaust was masked and painted "jet exhaust"
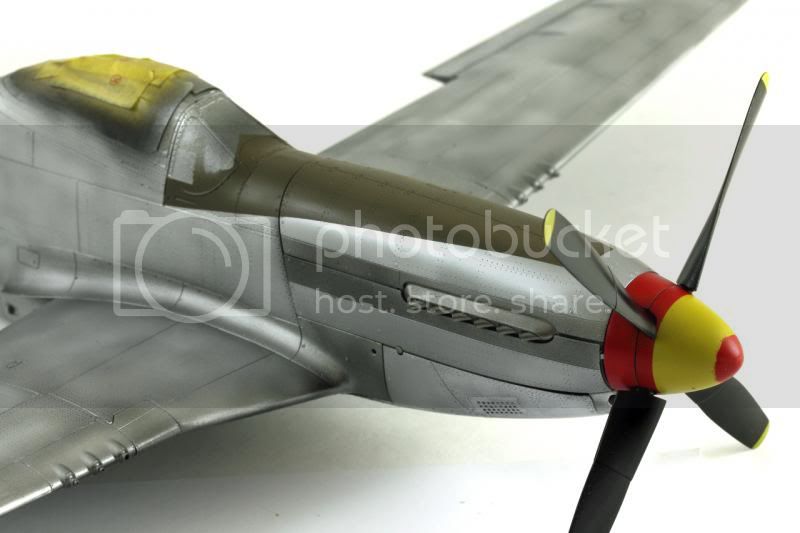
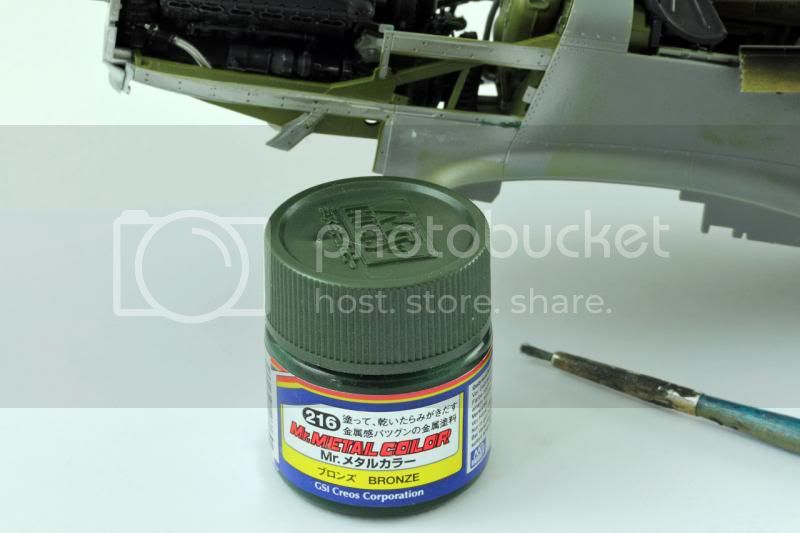
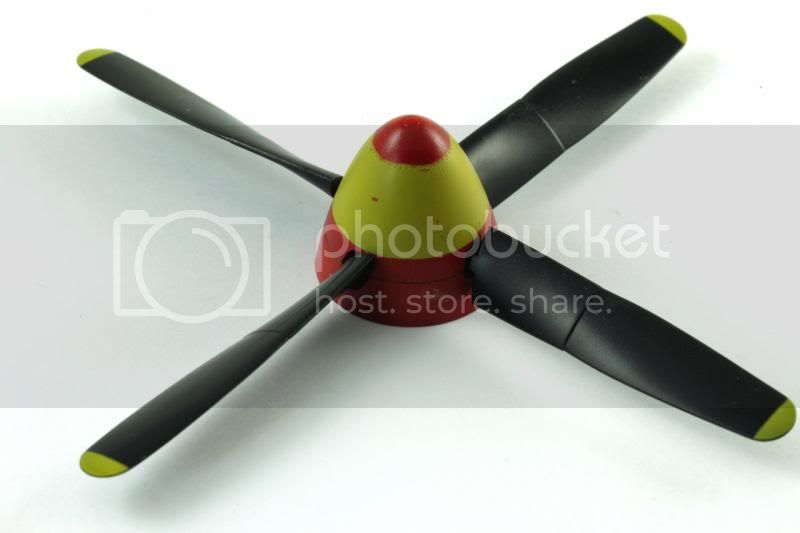
Seriously painting the prop was more work than the alclads!
best
Mark


 I recently had to tape together the wings and fuselage of Tamiya's Sptfire Mk VIII, to sort out the shape of the camo mask and I was very impressed with the fit, it was flawless