_GOTOBOTTOM
Rotary Wing
Discuss helicopters and other rotary wing aircraft from any era.
1/35 USCG MH-60J Jayhawk Conversion
HeavyArty
_VISITCOMMUNITY
Florida, United States
Joined: May 16, 2002
KitMaker: 17,694 posts
AeroScale: 1,728 posts
Posted: Tuesday, October 14, 2008 - 12:20 AM UTC
I have started a project that I have wanted to do for quite some time. I love the look of the USCG MH-60J with its bright colors. I have built up the courage and started cutting plastic.

There isn't any kit of the HH/MH-60J Jayhawk in any scale. There are a couple great conversion sets by Fireball Modelworks in 1/72 and Cobra Company in 1/48, but I wanted a big one w/lots of detail. I have wanted to do one for a while, but I prefer to build large helos. After watching The Guardian on TV recently, it peaked my interest in doing a Jayhawk.

I started gathering reference materials and figuring out how to do it using a 1/35 Academy MH-60G kit. I will be using the Cobra Company open UH-60 exhausts, along with a couple of the interior bulkheads that I mastered for Cobra. I will also use parts of their MH-60L correction set (widened step sponsons, rear wall, one piece intakes) and parts from the MH-60L SOAR set (which I think is now the MH-60G set). Once I thought about it, it doesn't look like it will be too hard.

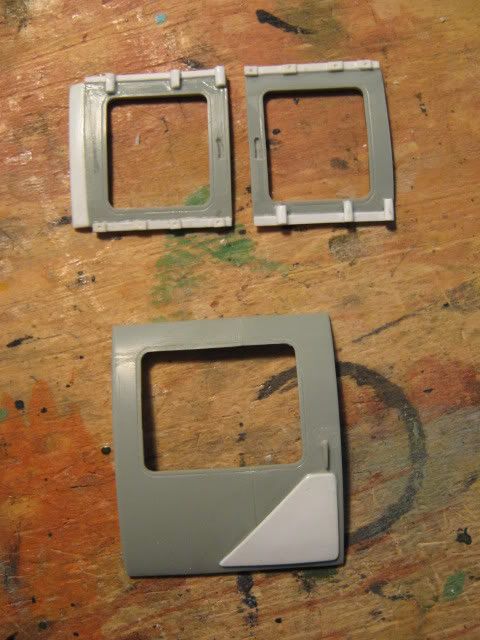
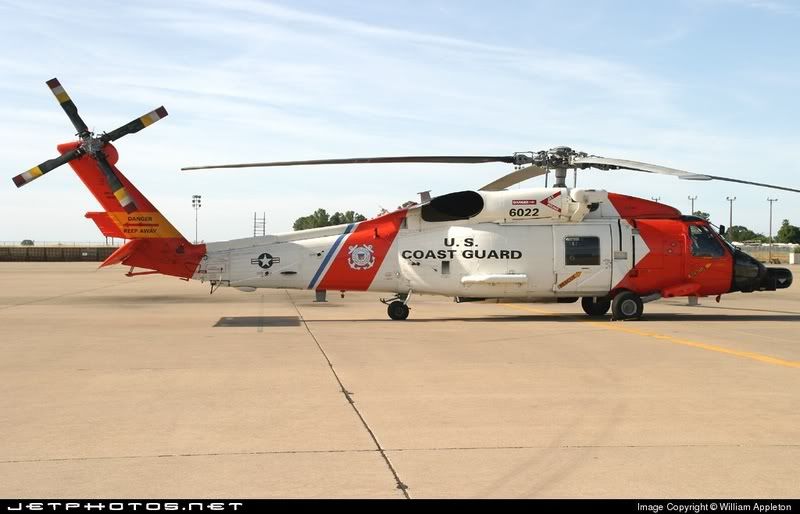
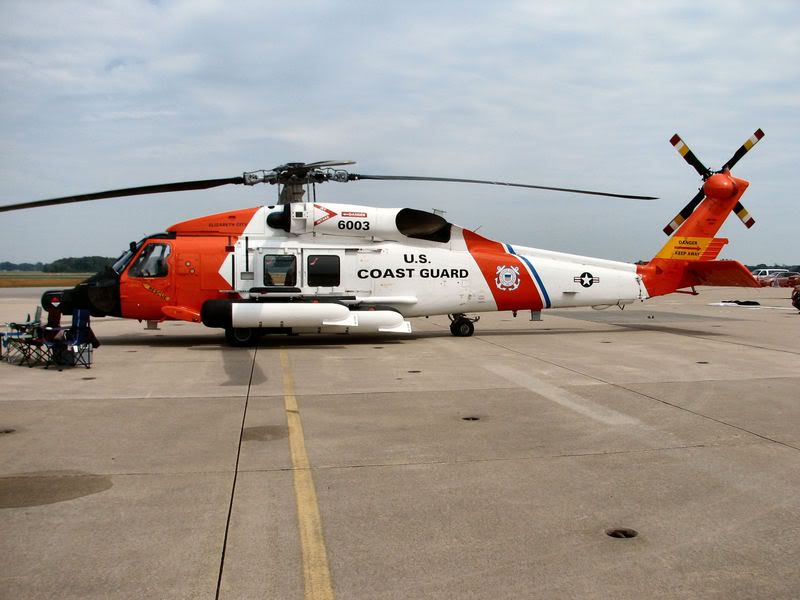
Here is what I will be building, the armed MH-60J version:


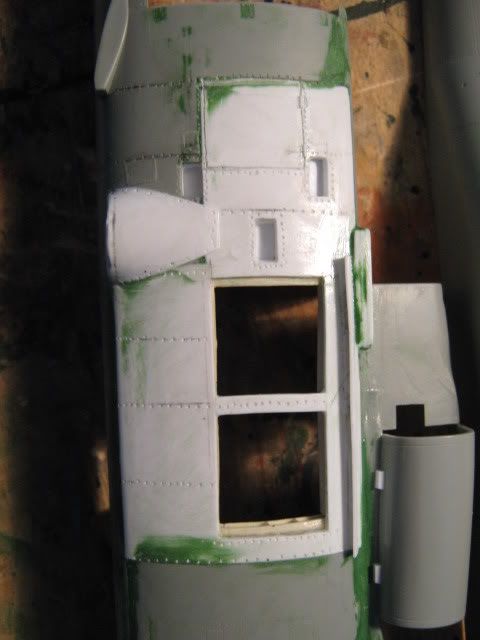
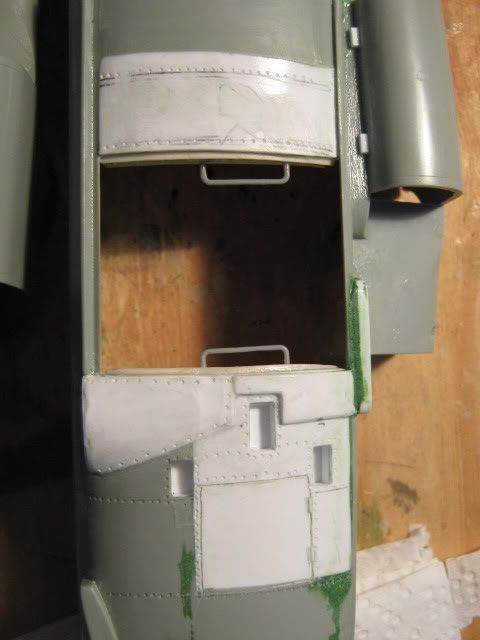
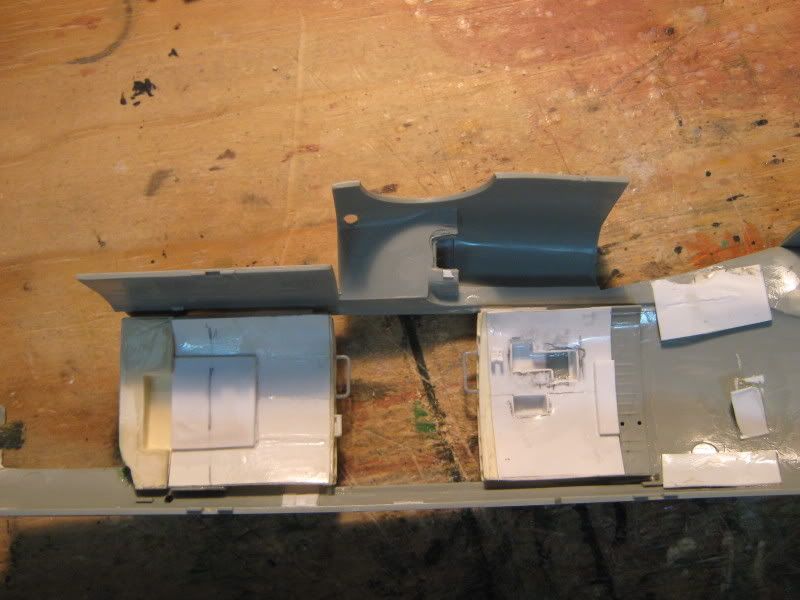
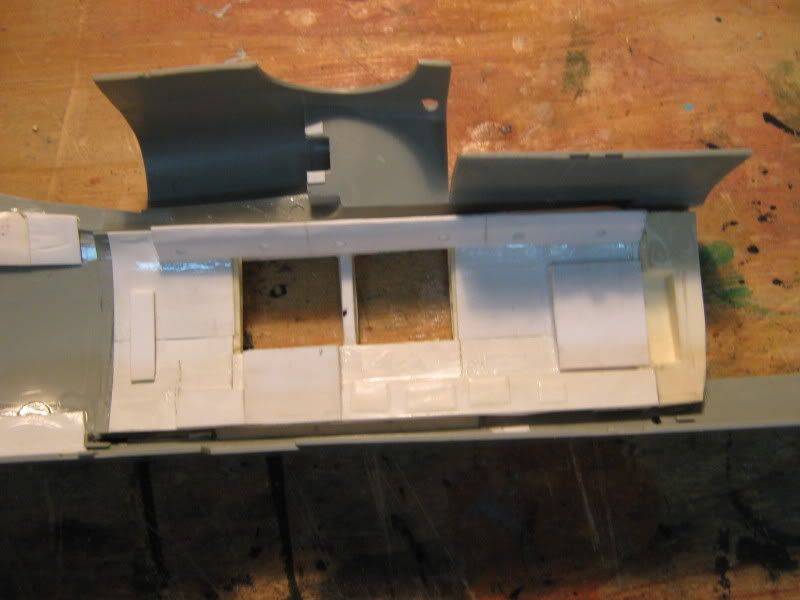
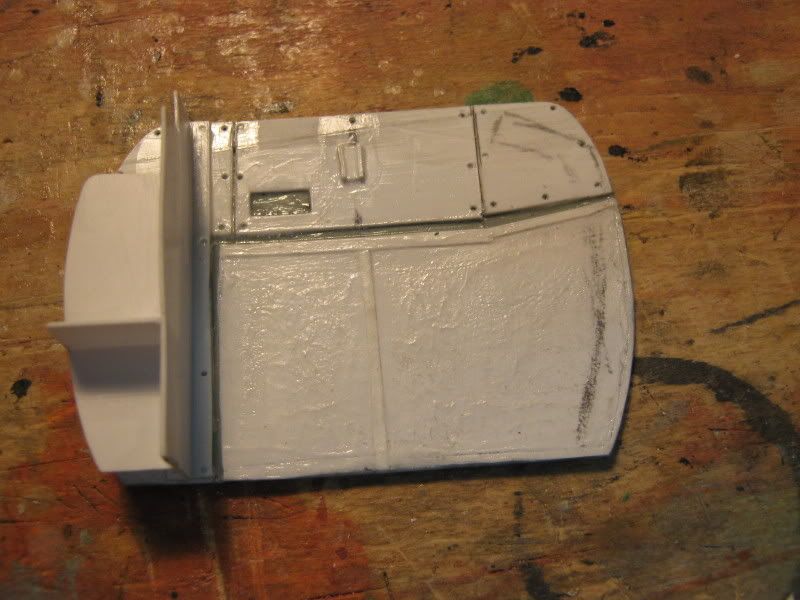
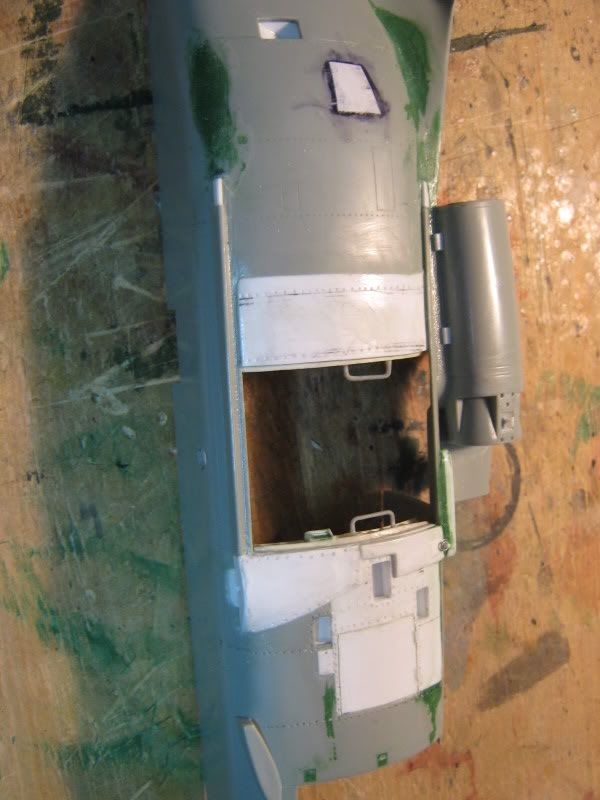
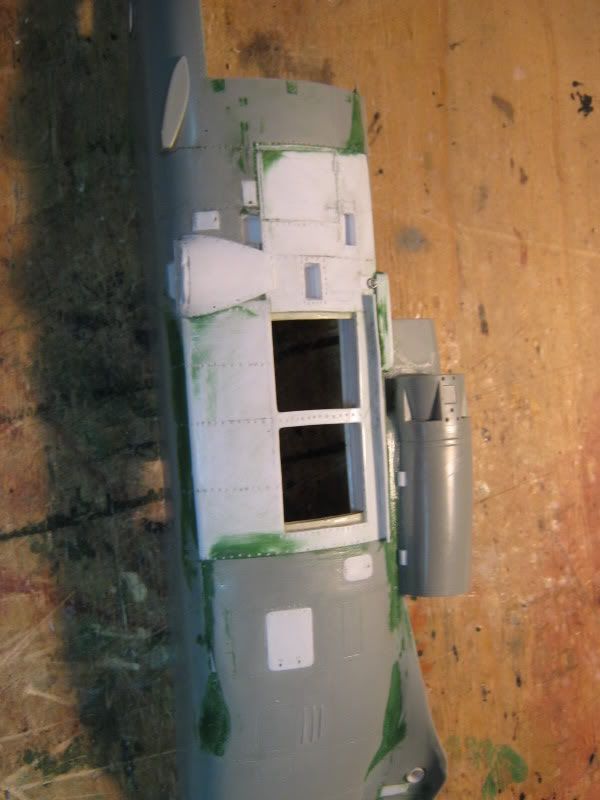
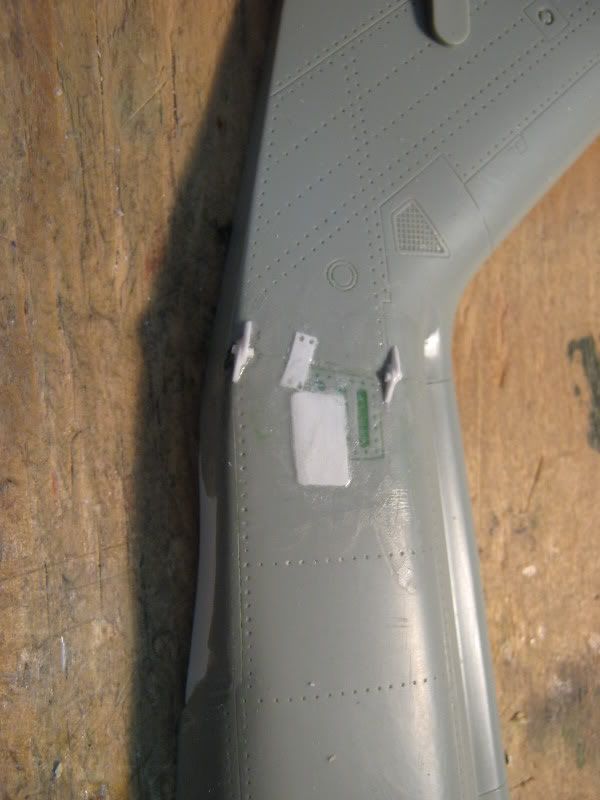
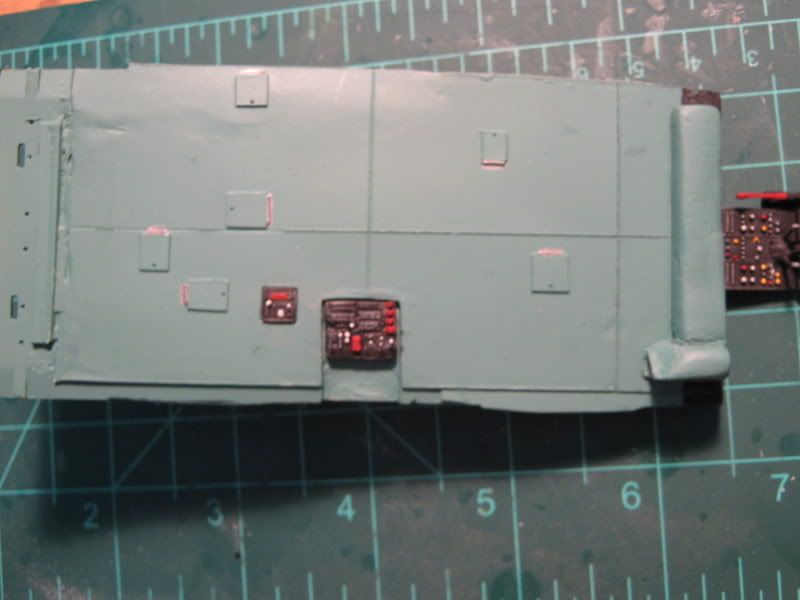
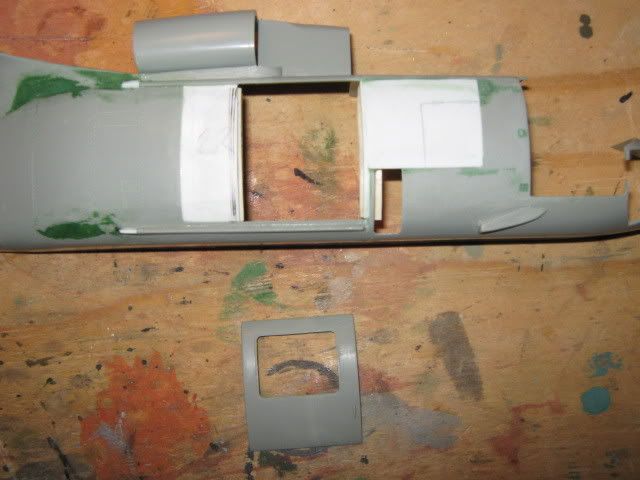
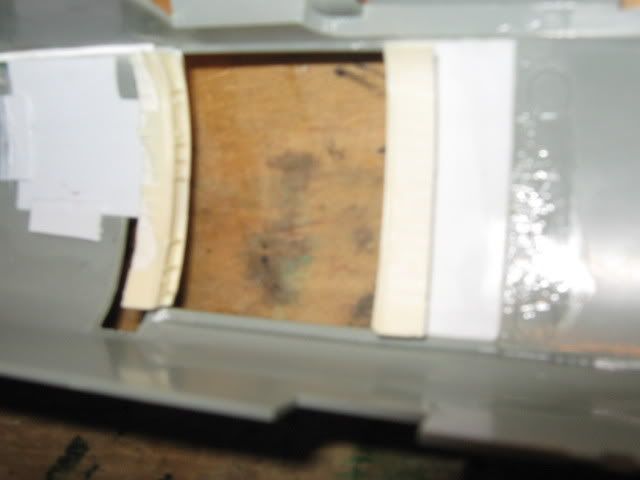
I have started by closing in the fuselage on both sides. I had to cut off the door fairings on the port side and half of the starboard side fairing.


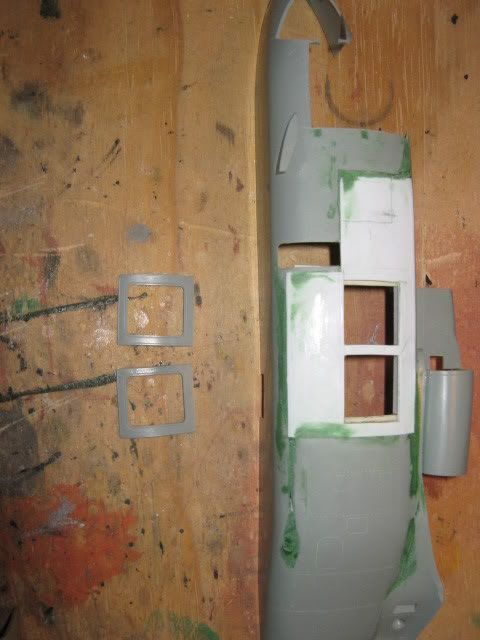
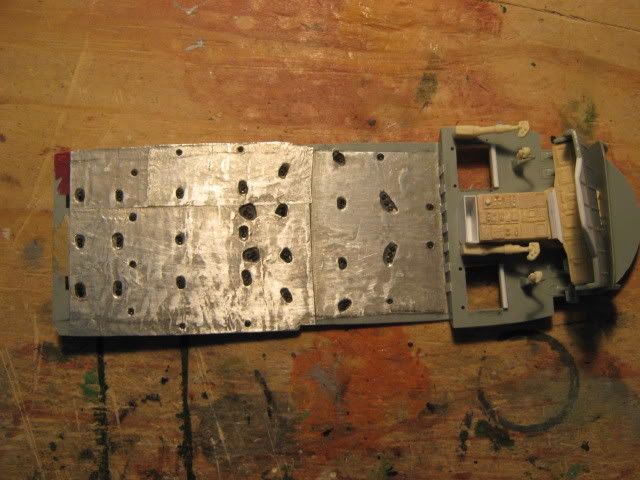
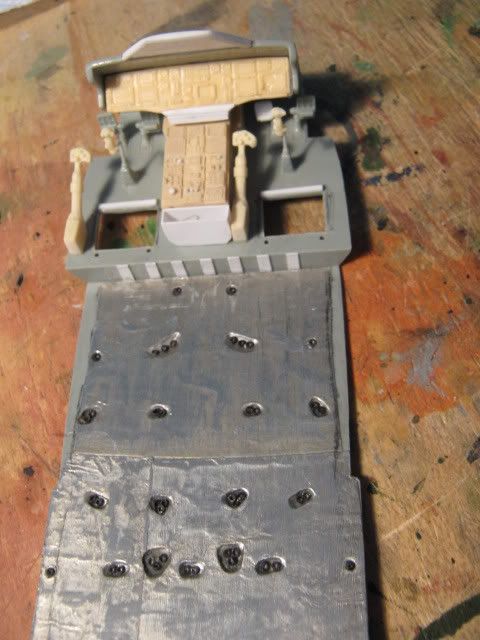
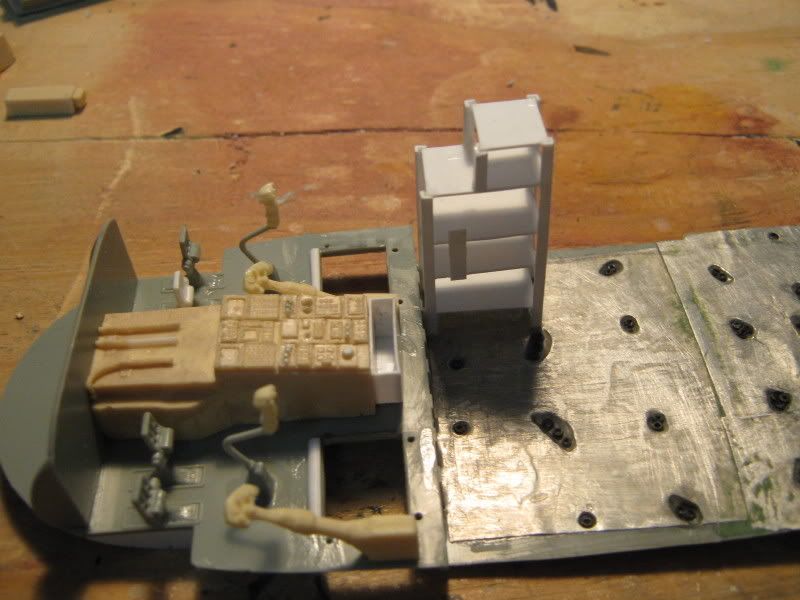
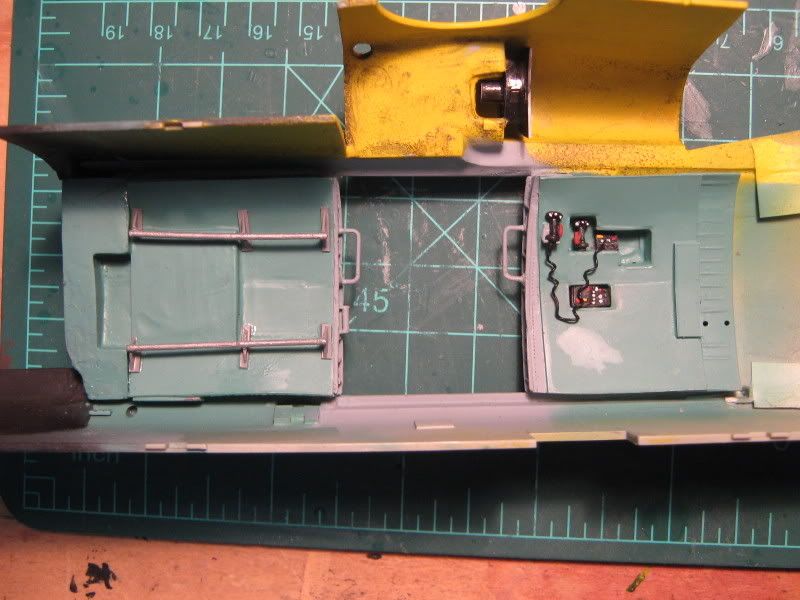
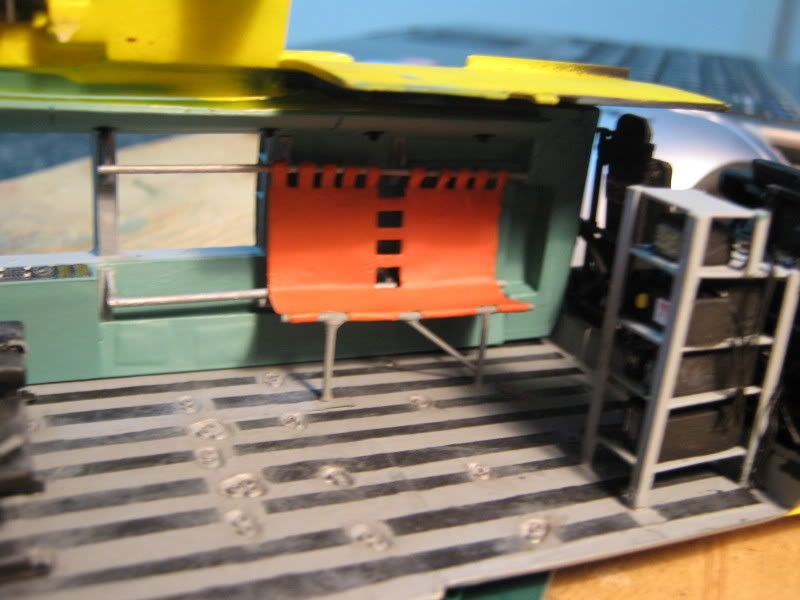
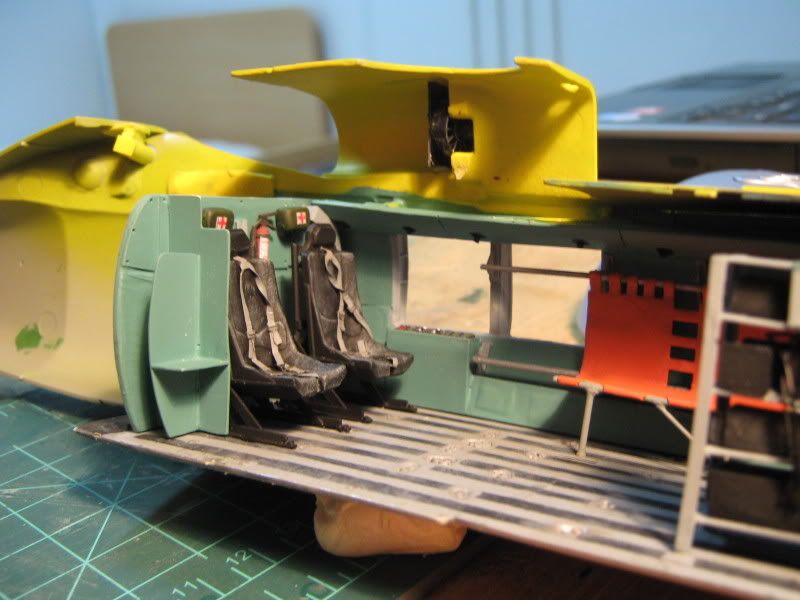
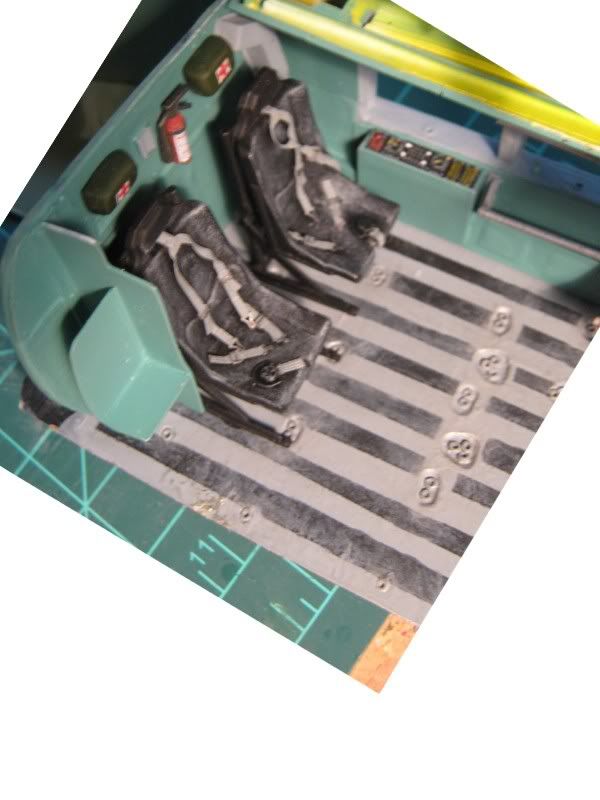
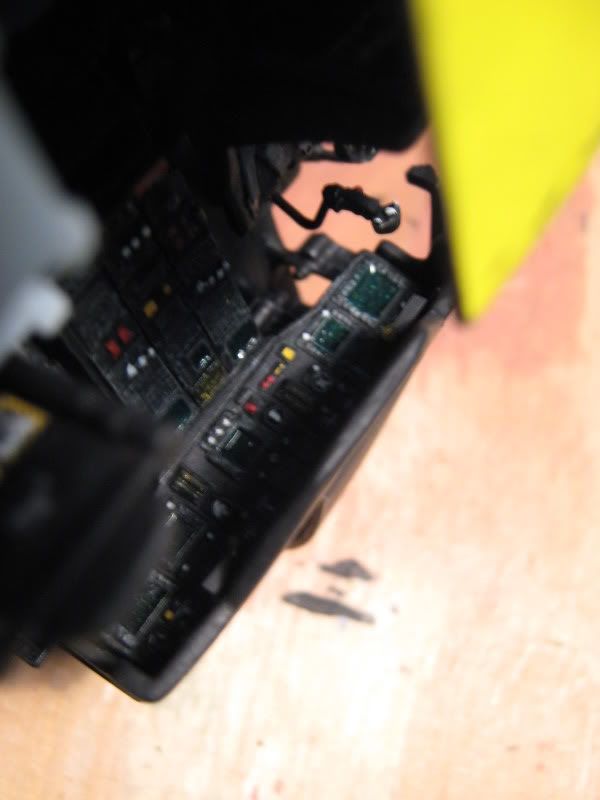
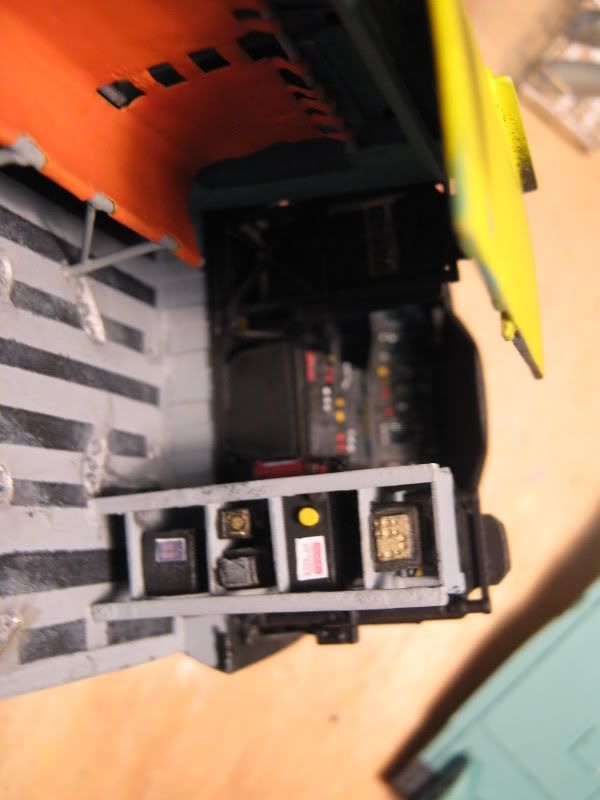
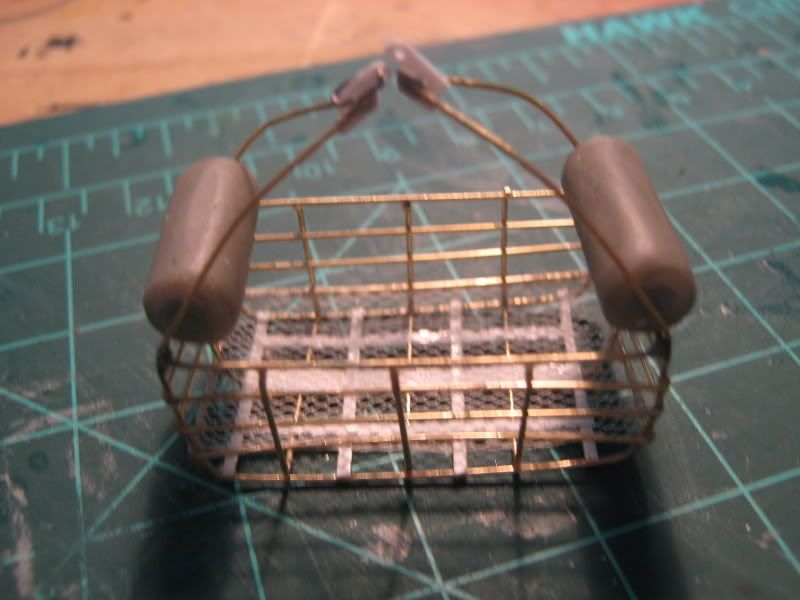
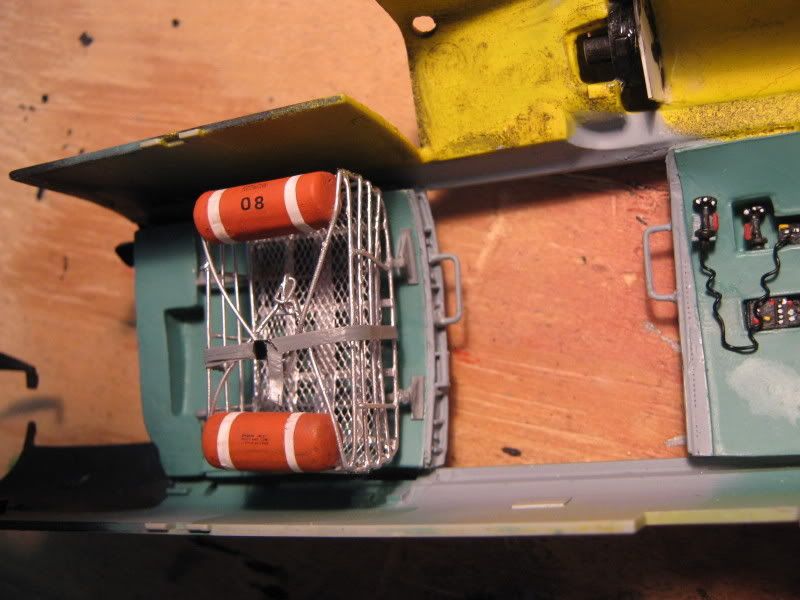
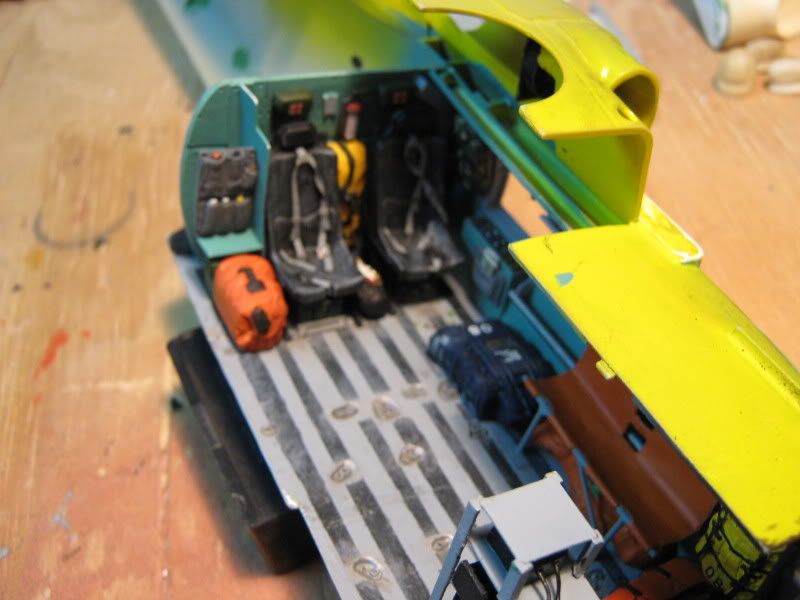
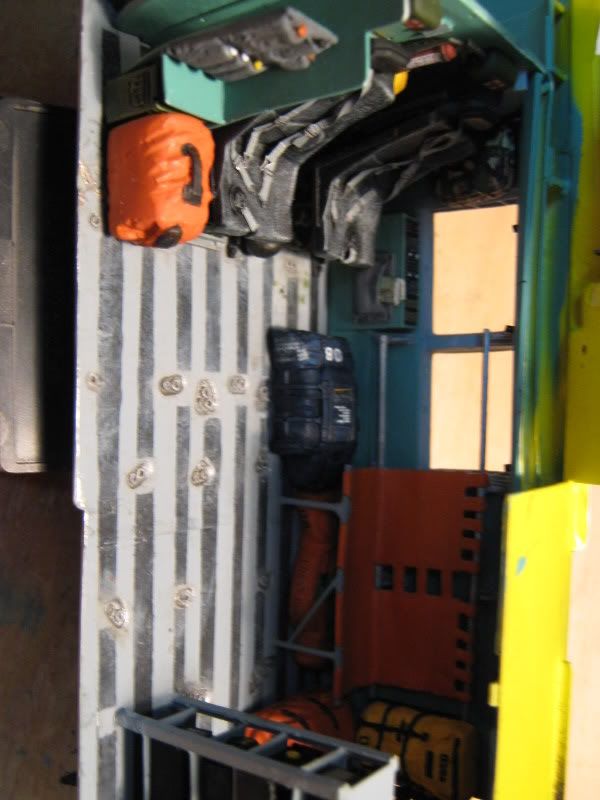
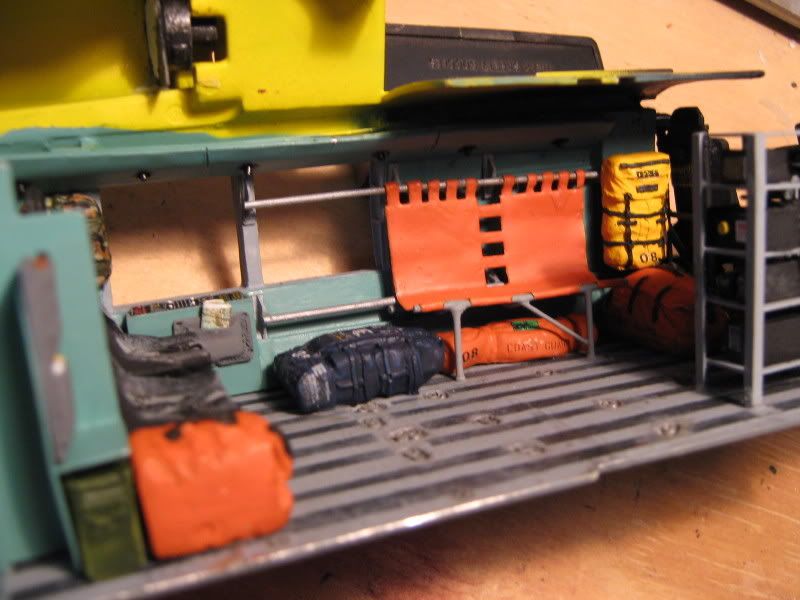
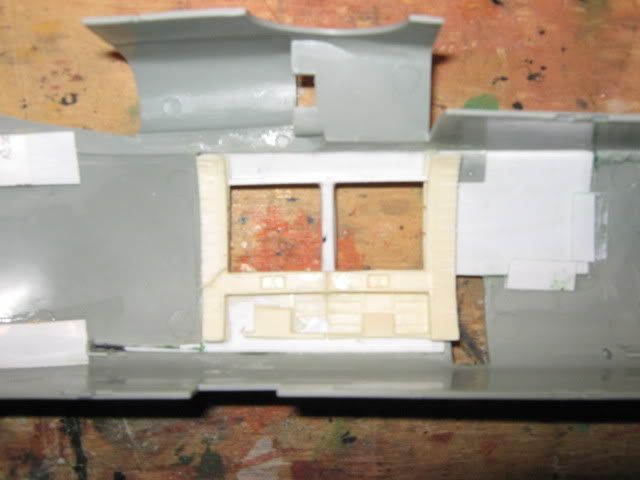
And working on the interior bulkheads.


I'll keep you updated as this project develops.
seb43
_VISITCOMMUNITY
Paris, France
Joined: August 30, 2005
KitMaker: 2,315 posts
AeroScale: 17 posts
Posted: Tuesday, October 14, 2008 - 08:19 AM UTC
Great Bird at 1/35
Will keep an eye on this build Gino
Cheers
Seb
GunTruck
_VISITCOMMUNITY
California, United States
Joined: December 01, 2001
KitMaker: 5,885 posts
AeroScale: 103 posts
Posted: Tuesday, October 14, 2008 - 12:01 PM UTC
This will be a fun one to watch come together. I really like the look of the Jayhawk.
HeavyArty
_VISITCOMMUNITY
Florida, United States
Joined: May 16, 2002
KitMaker: 17,694 posts
AeroScale: 1,728 posts
Posted: Tuesday, October 14, 2008 - 06:13 PM UTC
Thanks guys. Got some more done on it last night. I cut out the steps on the forward sides. Also cut out a vent on the right side and relocated the APU exhaust. I added the strut fairings and a fairing around the sliding right side door as well. I'll post some more pics soon.
seb43
_VISITCOMMUNITY
Paris, France
Joined: August 30, 2005
KitMaker: 2,315 posts
AeroScale: 17 posts
Posted: Friday, October 17, 2008 - 08:20 AM UTC
Good news
Waiting for the pictures Gino
Cheers
Seb
HeavyArty
_VISITCOMMUNITY
Florida, United States
Joined: May 16, 2002
KitMaker: 17,694 posts
AeroScale: 1,728 posts
Posted: Monday, October 20, 2008 - 11:32 PM UTC
Here is the latest progress. I have finished closing in the fuselage and added rivet details and cut out the steps. I also added the rooftop hard points for the ESSS wing connections and fairings around the landing gear and door cargo opening.


On the inside, I cut out all the mounting points in the floor using a template someone posted at one of the helo sites, sorry I don't remember who. Then I sheethed the floor using lead foil and pressed it into the openings. Then I placed small rings using the insulation off of copper wire into each. The instrument panel, console, and collectives are from the CC set. I added the extended glare shield to the kit glare shield as well. The floor under the pilots seats was opened to show the radio bays. And a map case was made from sheet styrene. One rudder pedal went AWOL, so I made one out of styrene to replace it.


Lastly, I have added the details to the sliding port side windows and starboard cargo door.


Next up are the rear cabin details.
seb43
_VISITCOMMUNITY
Paris, France
Joined: August 30, 2005
KitMaker: 2,315 posts
AeroScale: 17 posts
Posted: Tuesday, October 21, 2008 - 04:09 AM UTC
Look good gino
Do you use steel plate for the base?
seb
HeavyArty
_VISITCOMMUNITY
Florida, United States
Joined: May 16, 2002
KitMaker: 17,694 posts
AeroScale: 1,728 posts
Posted: Tuesday, October 21, 2008 - 06:19 AM UTC
Hi Seb. The floor is covered in lead foil from the neck of a wine bottle.
seb43
_VISITCOMMUNITY
Paris, France
Joined: August 30, 2005
KitMaker: 2,315 posts
AeroScale: 17 posts
Posted: Tuesday, October 21, 2008 - 11:16 AM UTC
Look good to me Congrats
Cheers
Seb
Herchealer
_VISITCOMMUNITY
Indiana, United States
Joined: July 31, 2003
KitMaker: 1,523 posts
AeroScale: 175 posts
Posted: Wednesday, October 22, 2008 - 04:18 PM UTC
Neck of a wine bottle huh???? Where did you get that where you are???? LOL, ANyways it looks great Gino. Keep it up and stay safe over there. I'll be in your area an March if your still there.

Jeremy
HeavyArty
_VISITCOMMUNITY
Florida, United States
Joined: May 16, 2002
KitMaker: 17,694 posts
AeroScale: 1,728 posts
Posted: Wednesday, October 22, 2008 - 06:03 PM UTC
I'll be back home on leave in March. I should be here through June...or so. Once they decide on a 12 or 15 month tour. I'll keep you posted though.
HeavyArty
_VISITCOMMUNITY
Florida, United States
Joined: May 16, 2002
KitMaker: 17,694 posts
AeroScale: 1,728 posts
Posted: Monday, November 10, 2008 - 12:03 AM UTC
Here is the latest update. I have completed the construction of the rear cabin. The side walls, roof, and rear wall are all scratch. The radio rack is as well.


I also added various access panels on the fuselage.


And the tail fold hinges, which does not fold by the way.


I have strated painting the interior. I hope to have some more pictures as I get the interior done soon. I'll keep you posted.

Thanks for looking.
Avus
_VISITCOMMUNITY
Roma, Italy
Joined: March 10, 2006
KitMaker: 302 posts
AeroScale: 112 posts
Posted: Monday, November 10, 2008 - 01:17 AM UTC
Outstanding!
What else is there to say?
HeavyArty
_VISITCOMMUNITY
Florida, United States
Joined: May 16, 2002
KitMaker: 17,694 posts
AeroScale: 1,728 posts
Posted: Monday, November 10, 2008 - 09:03 PM UTC
Thanks Avus. I'll keep you posted.
HeavyArty
_VISITCOMMUNITY
Florida, United States
Joined: May 16, 2002
KitMaker: 17,694 posts
AeroScale: 1,728 posts
Posted: Wednesday, November 19, 2008 - 05:28 AM UTC
More progress over the last week or so. I have laid the paint on the interior and started adding details. I forgot to take pics before starting to install the interior, so this is the best I have.

Staboard inner wall with hoist controls.


Port side w/interior installed. The web seat is made out of lead foil and styrene rod. The crew seats along the back wall are the left over pilots seats with new frames and Eduard PE belts.


Cockpit with Cobra Company seats, instrument panel, center console, and collectives and cyclic handles. All detail painting done by hand.


Roof and overhead console. The air duct work is done in A & B putty.


Finally, the scratch-built rescue basket. Made out of 0.020 brass rod soldered and super glued together, bridal viel toole for the mesh bottom, and A & B putty for the flotation rolls on either end.


Hope you like it. Now onto painting all the gear to go inside. Thanks for looking.
Percheron
_VISITCOMMUNITY
Washington, United States
Joined: September 23, 2006
KitMaker: 432 posts
AeroScale: 360 posts
Posted: Wednesday, November 19, 2008 - 05:54 AM UTC
Gino,

Great work! My dad retired from the Coast Guard after 33 years of service as a E9. I always like to see a Coastie bird take shape. Well done

-Derek
Avus
_VISITCOMMUNITY
Roma, Italy
Joined: March 10, 2006
KitMaker: 302 posts
AeroScale: 112 posts
Posted: Wednesday, November 19, 2008 - 07:05 PM UTC
Simply amazing and that basket is just great!
Looking forward to see this one done.

Knowing the origin of the lead foil you used, let me know if you need more, I'll gladly help you getting rid of the bottles' content!
HeavyArty
_VISITCOMMUNITY
Florida, United States
Joined: May 16, 2002
KitMaker: 17,694 posts
AeroScale: 1,728 posts
Posted: Thursday, November 20, 2008 - 12:55 AM UTC
Thanks Avus. I wouldn't want to contribute to your delinquency though.
HeavyArty
_VISITCOMMUNITY
Florida, United States
Joined: May 16, 2002
KitMaker: 17,694 posts
AeroScale: 1,728 posts
Posted: Sunday, November 23, 2008 - 10:44 PM UTC
The interior is done. Here it is before I sealed it up. Of course you can only see about half the details after its closed up. Oh well, I know its all there.

Rescue Basket


The rest of the gear.


seb43
_VISITCOMMUNITY
Paris, France
Joined: August 30, 2005
KitMaker: 2,315 posts
AeroScale: 17 posts
Posted: Monday, November 24, 2008 - 06:32 AM UTC
Nice interior Gino
BTW I love your bags, there is some verlinden the yellow one right ?
But the rest i cannot recognize them, especially the black one and the orange one at the rear not at the front that look like a The North Face heavy duty duffle ??


Cheers
Seb
HeavyArty
_VISITCOMMUNITY
Florida, United States
Joined: May 16, 2002
KitMaker: 17,694 posts
AeroScale: 1,728 posts
Posted: Monday, November 24, 2008 - 08:12 AM UTC
Thanks Seb. Truthfully, I'm not sure where all the bags are from. I just reached into my spares box and pulled out some that looked right. The orange one by the back seats is a cut down duffle bag, the yellow one between the back seats is a Tamiya duffle bag out of I think their old 2 1/2 ton accessory set, the dark blue one on the floor is a MOLLE ruck from Legend (maybe?), the orange one under the troop seat is from Academy's M113 kits, the other two are resin ones form somewhere. I pretty much make copies of all my bags. These are actually all resin copies I made myself, so no telling where they came from.
kenner
_VISITCOMMUNITY
Ontario, Canada
Joined: October 14, 2007
KitMaker: 122 posts
AeroScale: 119 posts
Posted: Monday, November 24, 2008 - 01:44 PM UTC
Nice work on the interior!
It's really coming together.

seb43
_VISITCOMMUNITY
Paris, France
Joined: August 30, 2005
KitMaker: 2,315 posts
AeroScale: 17 posts
Posted: Monday, November 24, 2008 - 03:56 PM UTC
Gino
It is a pity you dont recall the brand, I like the orange one near the front of the cabin on the floor close to the yellow one.
Since you have a copy can you post a picture of it, some one will tell us
it will really appreciate
Cheers
Avus
_VISITCOMMUNITY
Roma, Italy
Joined: March 10, 2006
KitMaker: 302 posts
AeroScale: 112 posts
Posted: Monday, November 24, 2008 - 11:54 PM UTC
Impressive!
It's really proceeding very well.
HeavyArty
_VISITCOMMUNITY
Florida, United States
Joined: May 16, 2002
KitMaker: 17,694 posts
AeroScale: 1,728 posts
Posted: Tuesday, November 25, 2008 - 10:46 PM UTC
Thanks for the compliments. Still plugging away at it. I'm making the external stores mounts now.


Quoted Text

Since you have a copy can you post a picture of it, some one will tell us
it will really appreciate


Here is the larger bag, in the raw. No idea where it was from though.


 _GOTOTOP