


I have started my plan but have some other projects to finish first.
Sheldon


This is my first post on Aeroscale, so I hope I have it figured out.


 And it's a French's pilot mount!


What method did you use for painting the spinner?
Rowan Baylis (Merlin) did a review build of this kit. You can find the article here if you are interested.
It seems you have a nicely organized workbench...
Jean-Luc
 I used to be one of those people who let clutter inexorably crowd in on the work surface until I was working in a 100mm square. I finally realized, though, that it actually takes less time and is easier to have a system, and to place tools back in their "home" as they are set down.
  ).
).
Thanks All.Quoted Text
What method did you use for painting the spinner?
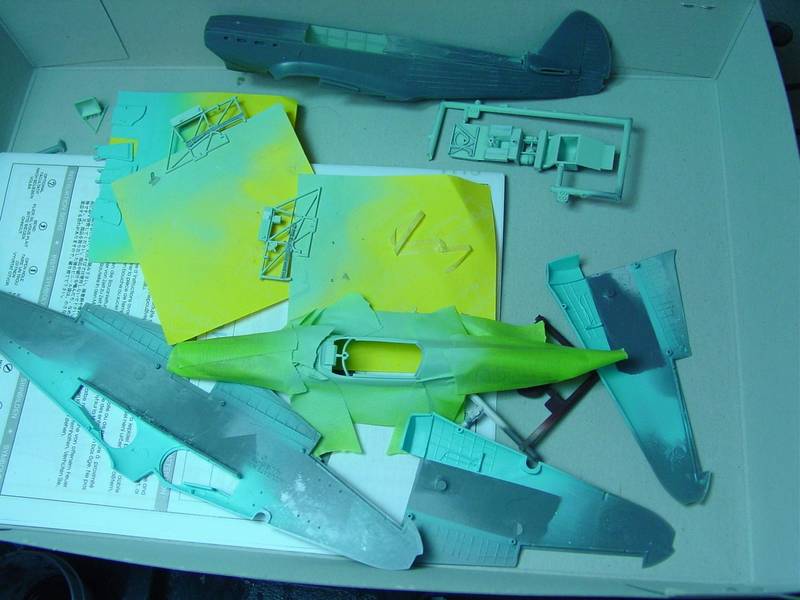
I first painted the spinner blue, then masked it using Tamiya tape to paint the white stripe, removed the tape and finally masked it to paint the red stripe.

 Bad news is I have another in the stash to do down the road.


 .
.


 .
.

 , and are shown here along with the interior as it stands at this point . . .


Hello!
I cannot find a good picture of an Il-2 Shturmovik(single seater) landing gear that might show some up close details. I have seen some pics where the landing gear is visible but the pic is either blurry or too dark under the plane to see the details. I was wondering if anyone possibly had a pic or two of the landing gear that you could post or e-mail me. I thought I would ask here since everyone is focusing on soviet craft right now. Thanks for any help with this matter.


 |


