

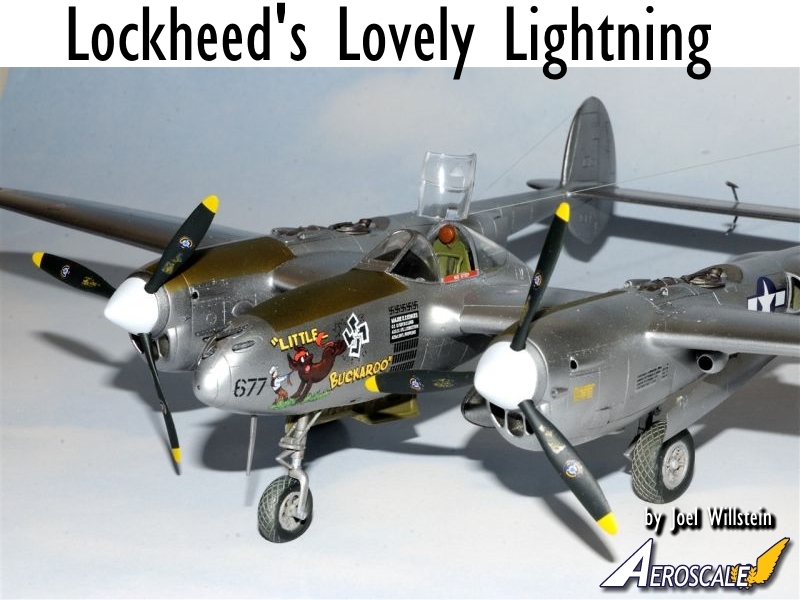
1⁄1Lockheed's Lovely Lightning
8
Comments
history
The Lockheed Corp skunks works headed up by Kelly Johnson and his team, came up wih a unique twin engine boom single seat fighter concept that required using the liquid-cooled Allison V-1710 engines with turbo-superchargers. The use of Tricycle landing gear gave the design extra credit towards awarding of the contract. Unlike most American fighters which had their machine guns in the wings, Kelly's team positioned them all in the cockpit nose.The P-38 was the first American fighter to make extensive use of stainless steel, flush-riveted, butt-jointed aluminum skin panels. It was also the first American fighter to fly faster than 400 mph.
The P-38 saw service as a fighter, Long range escort, dive bomber, ground-attack, night fighter, and photo reconnaissance. The Pacific Theatre of Operations, as well as the China Burma Theatre of Operations was where the P-38 was most effective. American Aces: Richard Bong with 40 kills, and Thomas McGuire 38 kills both flew several versions of the P-38.
The P-38 was also the only American fighter in production for the full duration of WW11.
The Kit
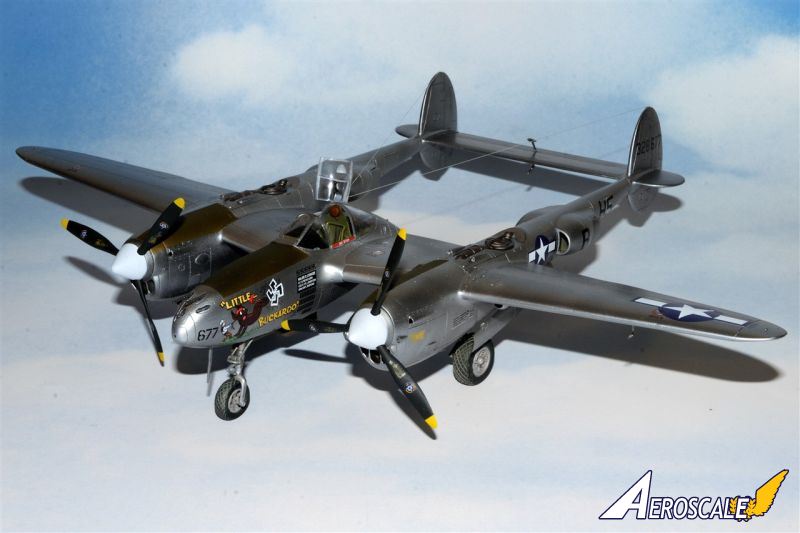
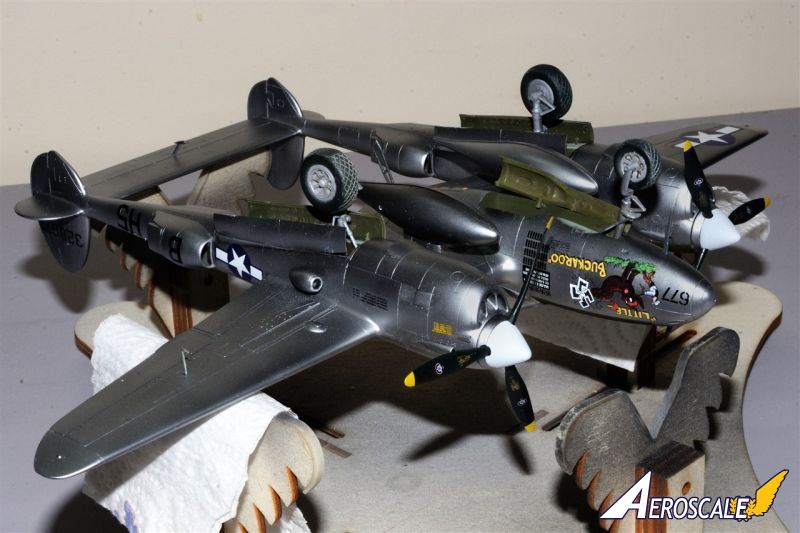
I used The Academy 1/48 scale P-38 for my build. I also used the following After Mark parts: Legend cockpit, Kit-World decals, UltraCast Wheels, Quickboost Turbo Chargers & Intakes, Quickboost machine guns, and Eduards Masks.Construction
The kit gives you the option of building at least 7 different versions. I opted for the L rather then the J version.The build started with the Legend cockpit, which is very well done with the exception of the seat and mounting bars. I found them so thin as to be next to useless, so I used the kit parts after thinning down the seat to a more scale appearance.
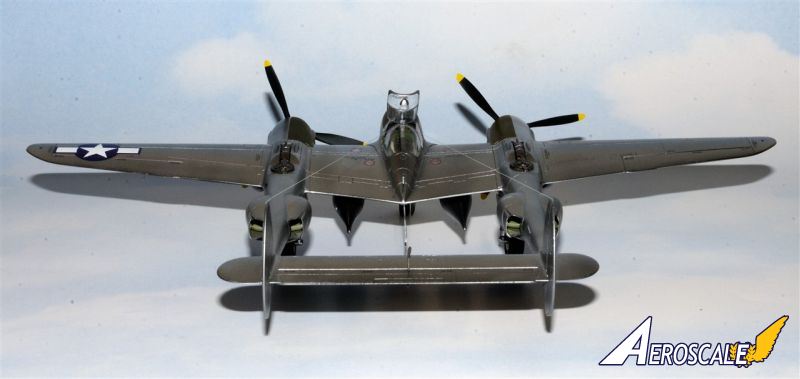
As per the instructions, before I glued on the nose section, I stuffed almost 40 gm of lead weight into the area in front of the cockpit so hopefully it wouldn't be a tail sitter. Fortunately, it wasn't, but not by much.
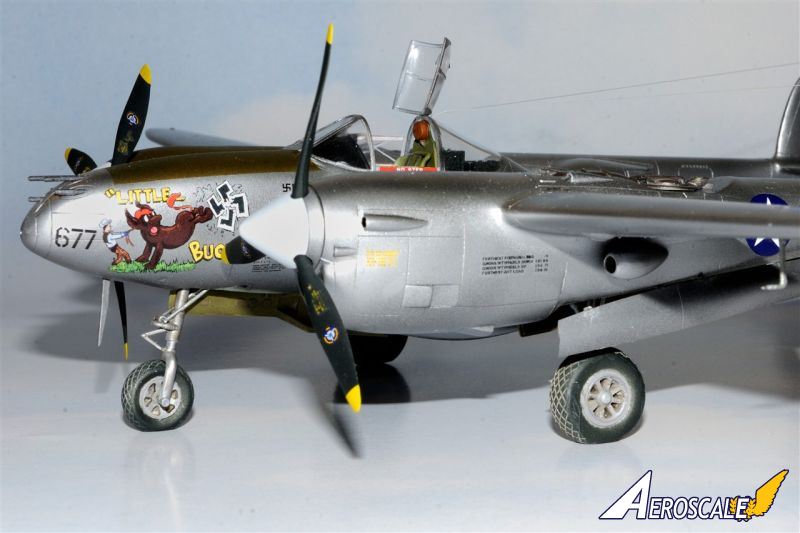
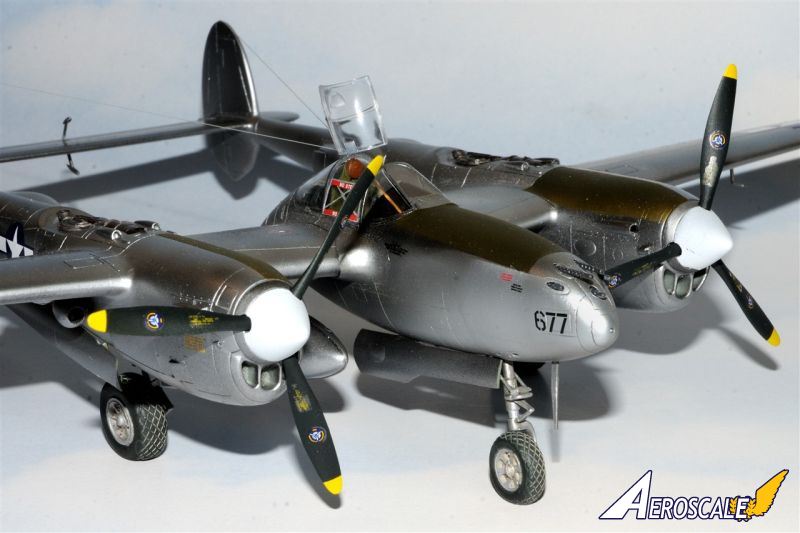
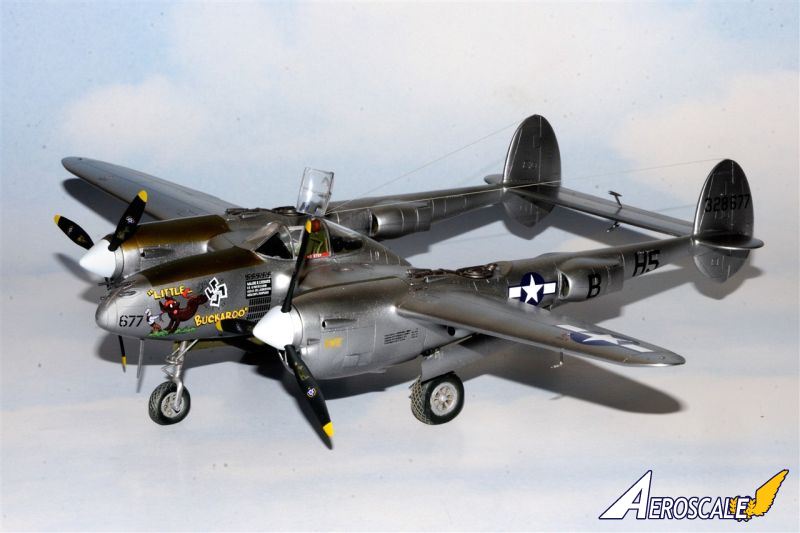
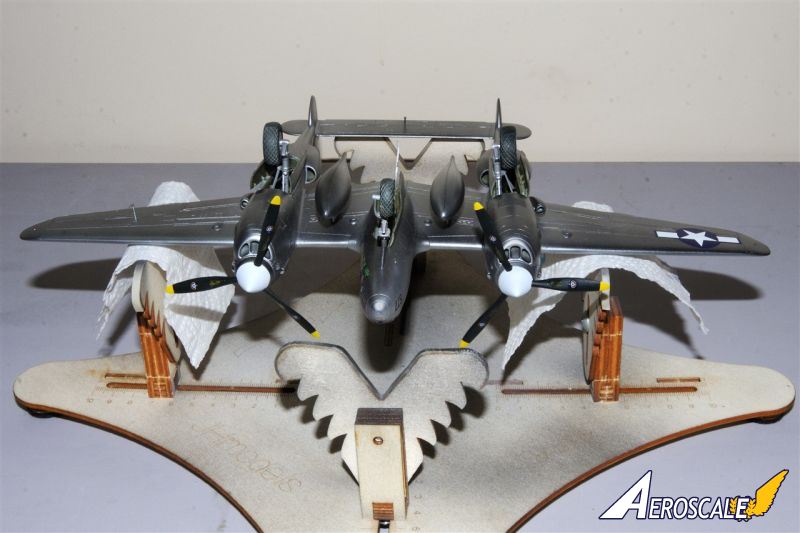
One area on every P-38 kit and build I've seen is that the Glycol radiator doors on both sides of each engine boom are always molded in the neutral position. So I cut them out, modified as needed, and re-attached them in a more open position.
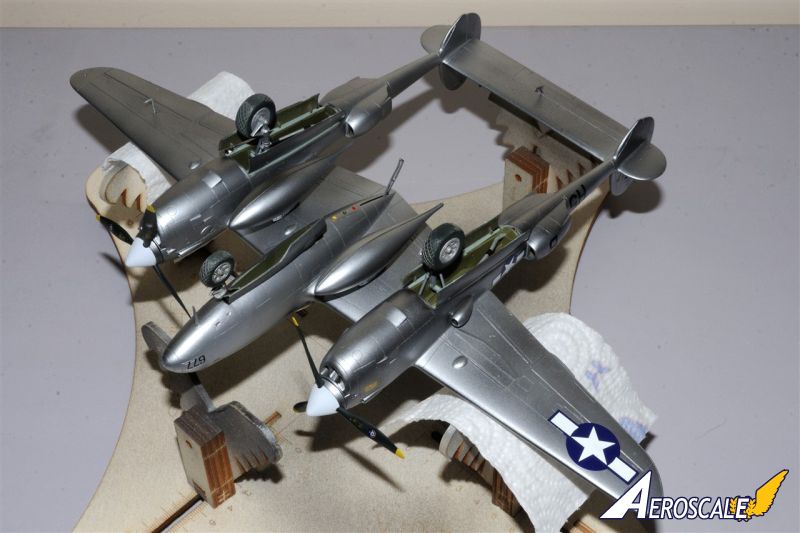
Next was the main landing gear wheel wells for both engine booms. This is without a doubt, the low point of the kit. The way they designed each well, you end up with a double wall thickness on both sides of the wells, that just look terrible. Unfortunately, there isn't anything you can do about it, and since my finished models are viewed in a display case, it's really a non-issue.
The wing/engine boom joints needed quite a lot of dry fitting and sanding to get just a fair fit. A lot of Green Stuff was needed to blend everything nicely together. This was a concern, as I needed a perfectly smooth and sealed surface for the Alcad. So after I the putty was sanded and polished, I hand primed it to seal the Green Stuff, then polished off the excess. Smaller areas of putty were just sealed with CA glue.
Painting
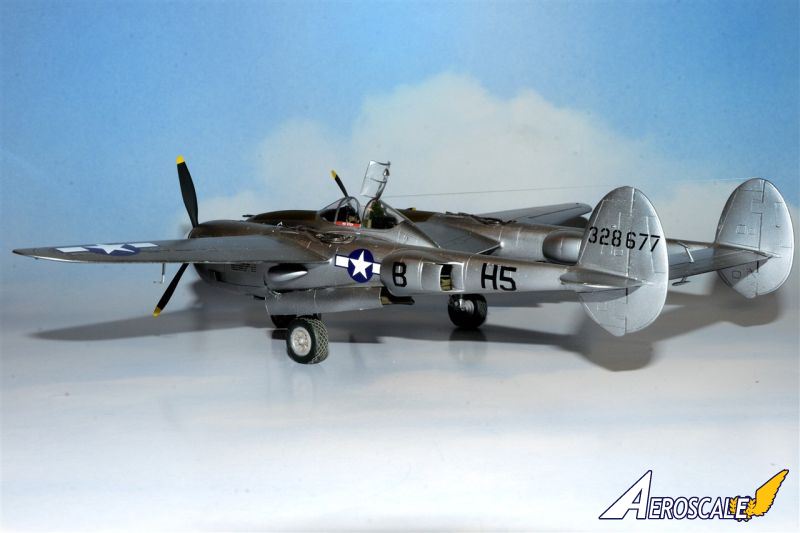
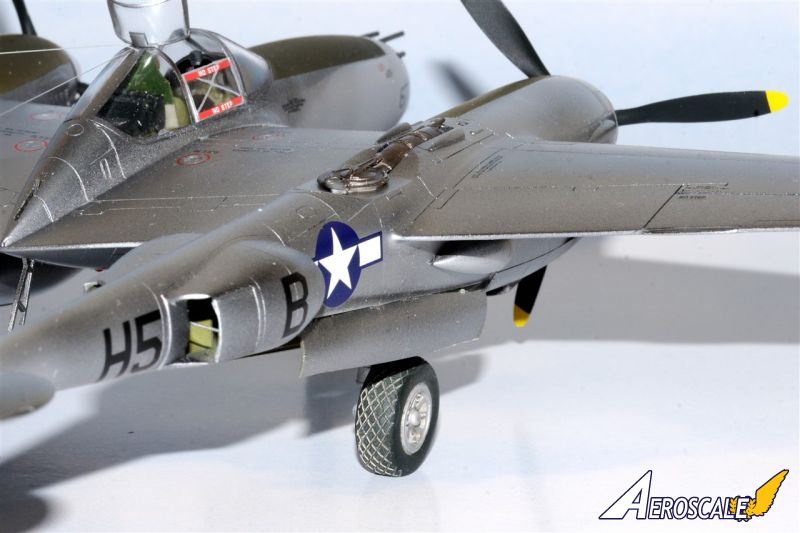
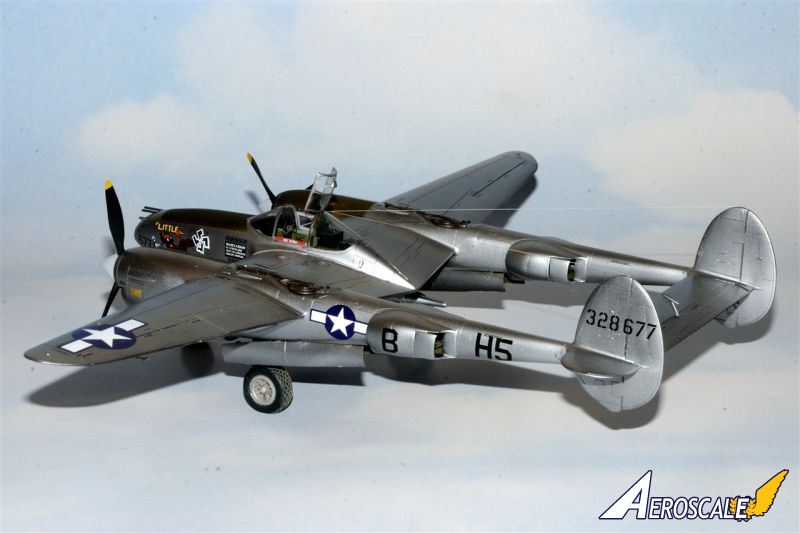
I primed the entire P-38L with Mr. Surfacer 1,000 primer. Then inspected for any surface errors, and of course found a few that needed attention. Once fixed and re-primed, I lightly polished out the primer with Micro Mesh pads from 4,000 to 12,000, and used a soft cotton lint free cloth for areas I couldn't polish. Next Alcad's Gloss Black was air brushed on. Conrtary to popular belief, it's not lacquer based, but rather enamel based, but dries almost as fast as lacquer. I waited a few days, polished out the Gloss Black, then air brushed on Alcad Aluminum 101. The next work session I masked and air brushed on the O.D. anti glare panels, as well as a few fuselage/wing panels with Dark Aluminum.Decalling
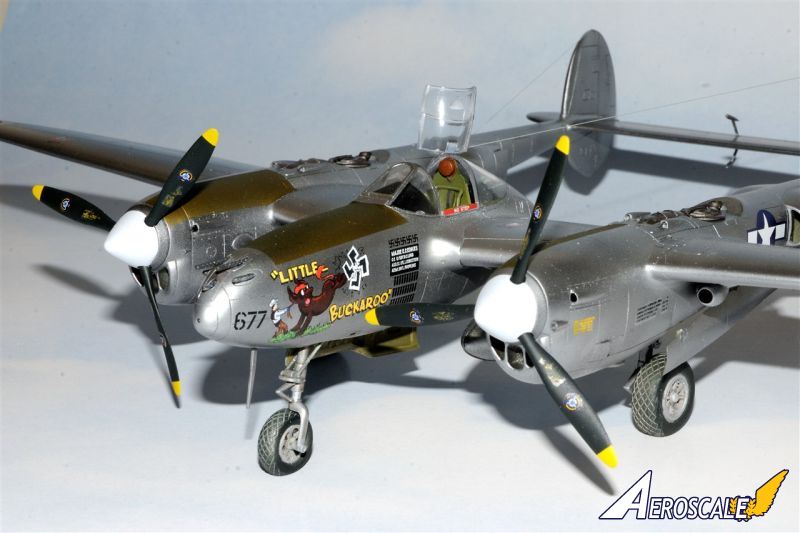
Since the surface was already smooth, I followed Alcad's advice and decalled directly on to the surface. Worked perfectly! The Kit-World decals were a absolute joy to use, and look fantastic.I sealed the decals and the NMF with Testors Metalizer Clear Sealer. I was somewhat concerned that it would change the look of the NMF, but I just can't see any difference from before to after.
Final Pieces
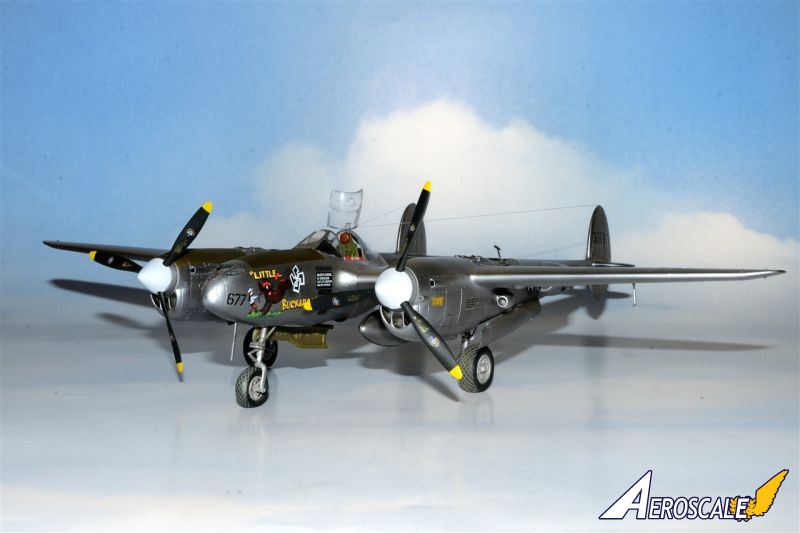
After the sealer had dried, I added all the little final details I'd left off out of fear of breaking them. The rest of the cockpit glass was added, then the two radio Antennas made from good old stretched sprue.Conclusion
After reading a dozen or so build reviews of the Academy 1/48 scale P-38 series of kits, I was prepared for the few fit issues I encountered. The kit is certainly well detailed with fine engraved panel lines. The finished model absolutely looks like a nicely proportioned P-38. I would recommend this kit to any modeller.
About the Author


FROM: NEW YORK, UNITED STATES
I've been a plastic scale modeler on and off for most of my life since I 1st found them on a shelf at a local toy store way back in the very early 1960s. Once in High School modeling stopped until the mid 1970s when I got married, and needed a hobby that would keep me at home. After 10 years I to...
Comments

A great looking P-38, very nicely done. I love the nose art. Again, very nicely done, very impressive.
DEC 12, 2014 - 08:13 AM


Beautiful build Joel, very nicely done. I really enjoyed following along in your build thread as well.
Cheers, D
DEC 13, 2014 - 02:22 AM
Great Lightning, Joel. Your NMF and the markings came out great on a perfectly build kit. Congratulations!
Best
Bernd
DEC 13, 2014 - 02:48 AM

(transaltor)
One of my favorite planes, congratulations great job !!
DEC 16, 2014 - 08:44 PM
Again, a sincere thanks to all for stopping by and having a look at my NMF P-38L. So glad that you all like the finished aircraft.
Joel
DEC 16, 2014 - 09:04 PM
Copyright ©2021 by Joel Willstein. Images also by copyright holder unless otherwise noted. The views and opinions expressed herein are solely the views and opinions of the authors and/or contributors to this Web site and do not necessarily represent the views and/or opinions of AeroScale, KitMaker Network, or Silver Star Enterrpises. Images also by copyright holder unless otherwise noted. Opinions expressed are those of the author(s) and not necessarily those of AeroScale. All rights reserved. Originally published on: 2014-12-12 19:52:00. Unique Reads: 8736

WEB HOSTING BY


Copyright ©2021 AeroScale and Kitmaker Network, a subsidiary of Silver Star Enterprises
All Rights Reserved. Please read our Conditions of Use and Privacy Policy.
All Rights Reserved. Please read our Conditions of Use and Privacy Policy.