

How To: Rigging Made Easy
20
Comments
introduction
Rigging biplanes sends many modellers into paroxysms of dread yet when approached with care and deliberation it's no harder than any other modelling task.preparation
You will need the following tools and supplies- A short length of scrap electrical wire;
- Wire cutters;
- Razor knife;
- Vice Grips or other locking pliers;
- A length of piano wire;
- Pin vise and micro drill bit;
- Supper glue (Cyanoacrylate) and applicator tool;
- Cuticle scissors (Optional).
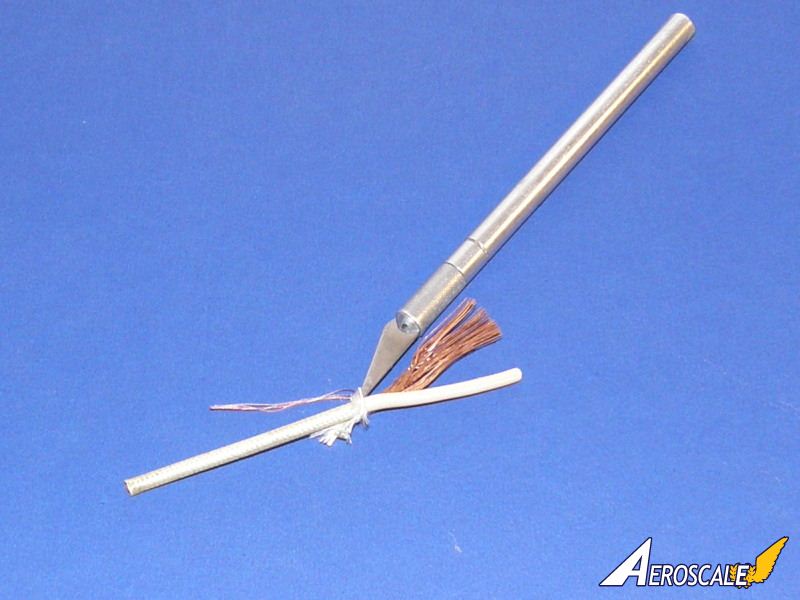
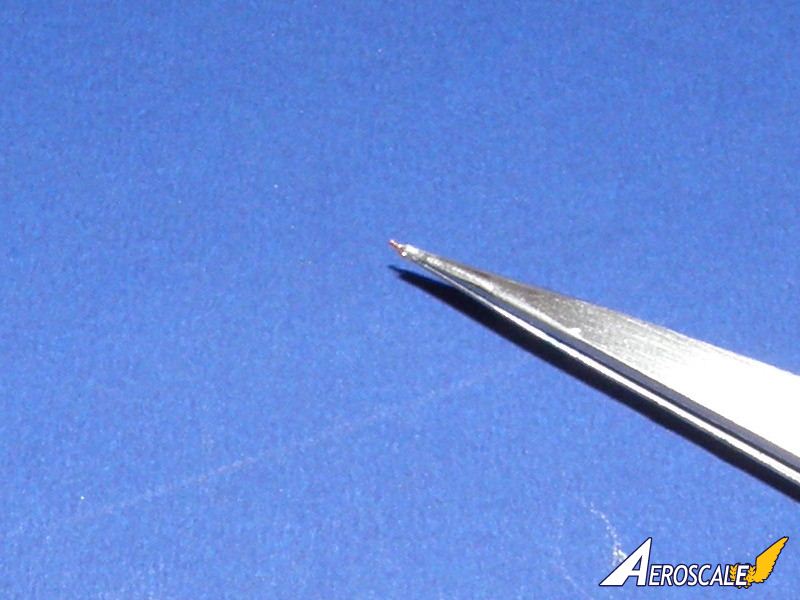
Run the tip of your blade along the length of the wire to cut through the insulation and peel it back, exposing the copper strands inside
Then tease out one strand and cut it to length. About 5cm (2) is a handy length.
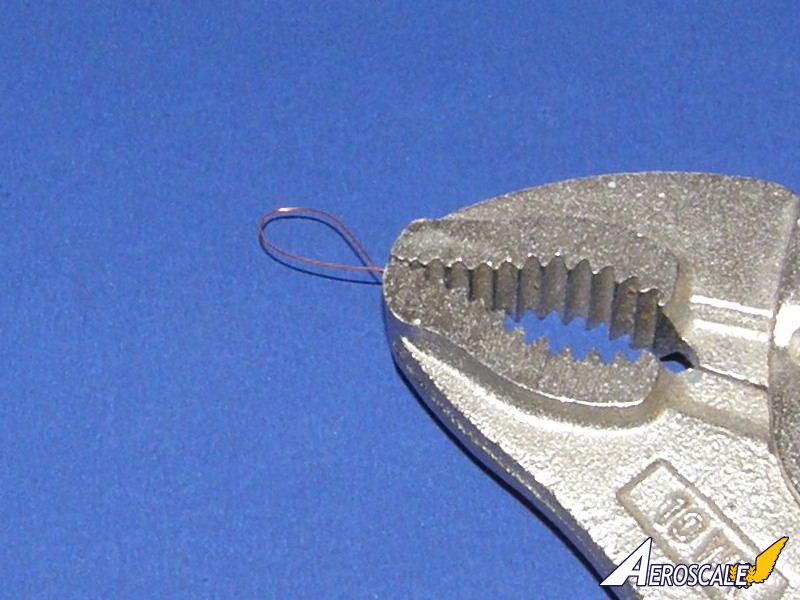
Form the wire into a loose loop and firmly clamp it in the Vise Grips. Clamp it firmer than that. You're going to hang the vise grips from it, so it better not be able to slip out. Crank that sucker down hard.
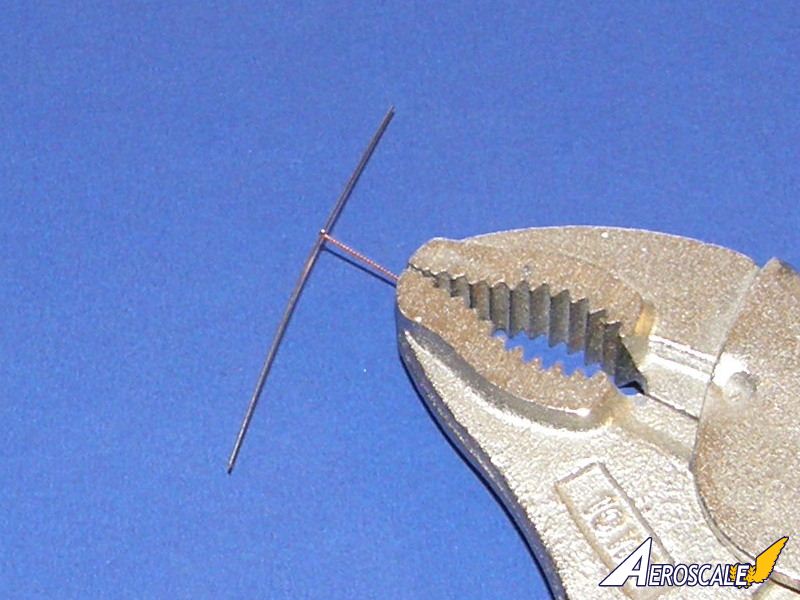
Slide the loop over the length of piano wire and suspend the vise grips so they're free to twirl.
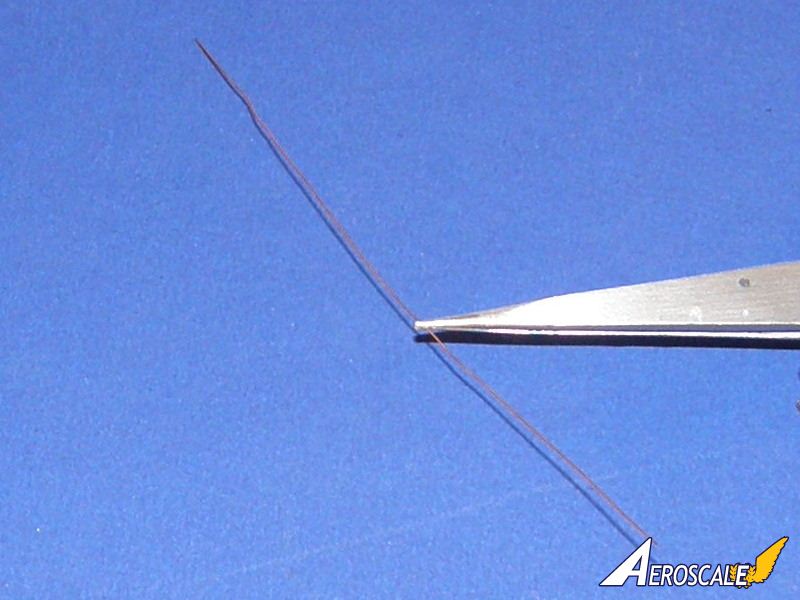
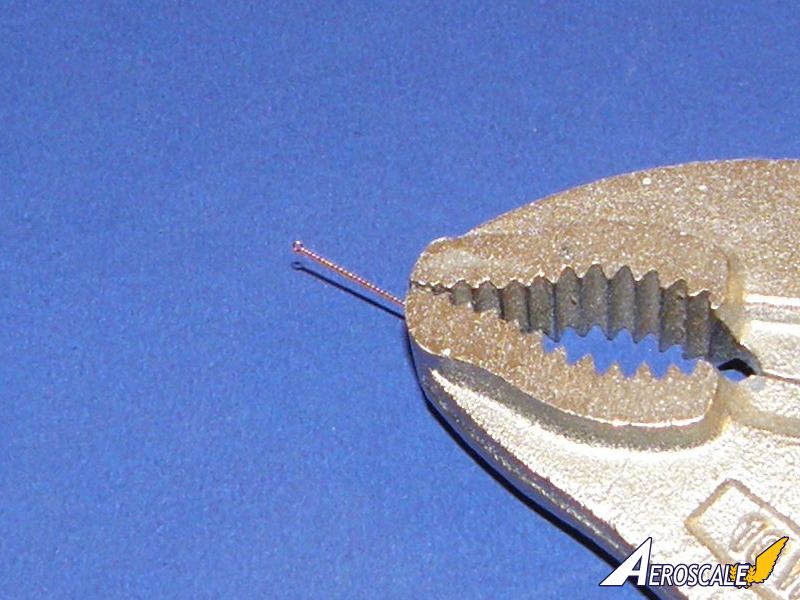
Gently twirl the vise grips so the wire wraps tightly together into a pigtail. Slide it off the piano wire and get ready to do the next one.
setting the anchor points
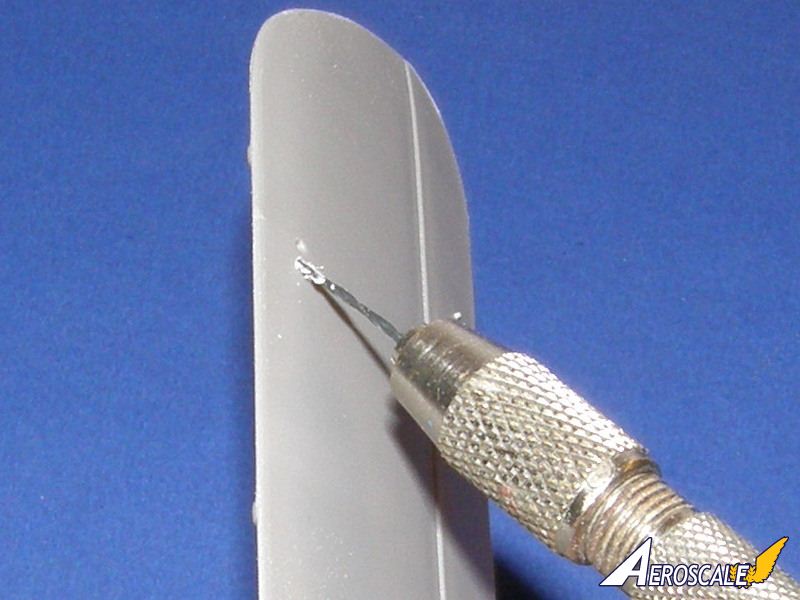
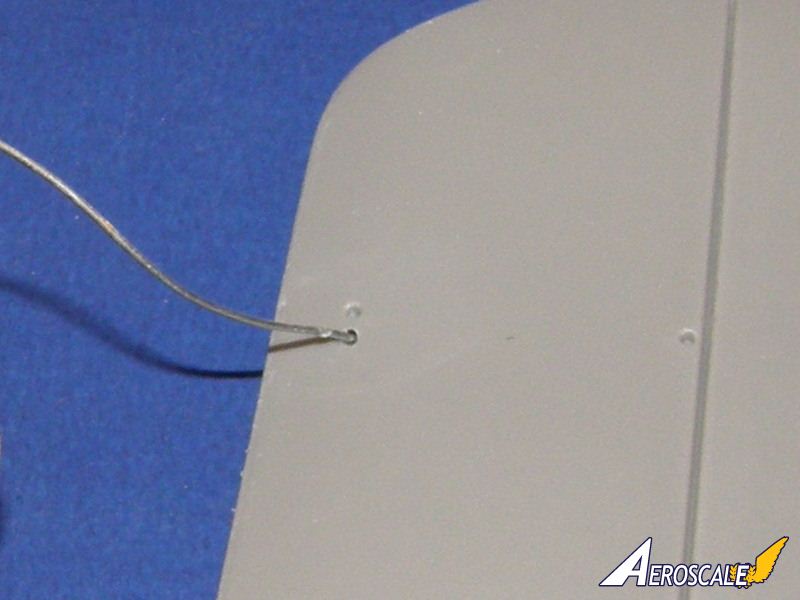
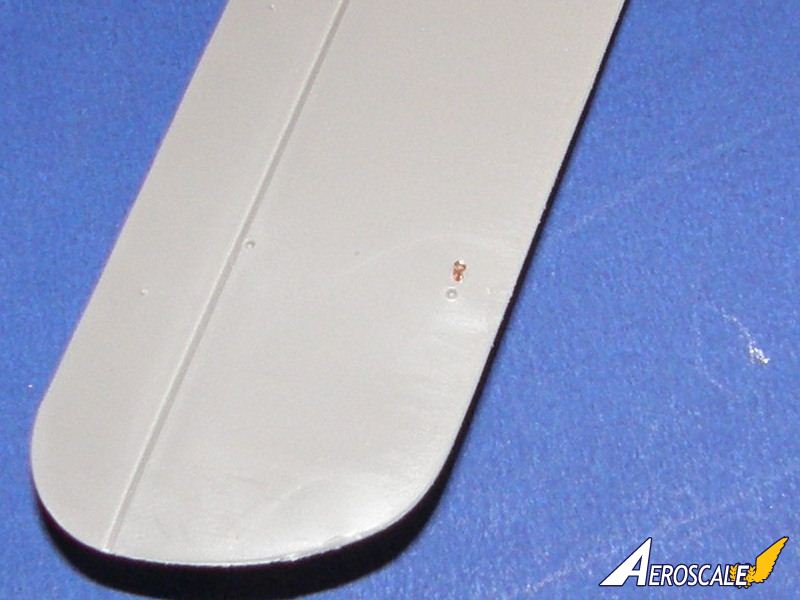
Now you have your rigging attachment loops formed. The next step is to have a wing ready to glue it intoDrill holes partway into the wing where you want the rigging anchored.
When you're ready to attach the anchor loops, dip your applicator into a puddle of super glue and transfer a drop into the hole
Trim the loop's pigtail (using cuticle scissors, nail clippers or wire cutters as you prefer) short enough so that only the loop protrudes above the wing surface and carefully insert it into the hole. Make sure that the loop is alligned in the direction you want it (flying wire anchors ought to allign with the airflow, for example). Allow the glue to set.
rigging
Now it's time to rig your model.Tools and equipment needed for this step
- Rigging line. This may be monofilament fishing line, invisible mending thread, braided silk suture thread, EZ Line or whatever material you feel most comfortable using (stretched sprue is not advisable due to its low tensile strength and lack of flexibility; this method puts considerable strain on the rigging lines);
- Tweezers;
- short lengths of micro tube (metal tube or heat-stretched plastic tube as you prefer);
- hemostats or other locking tweezers;
- Supper glue (Cyanoacrylate) and applicator tool;
- Super glue accelerator;
- Cuticle scissors.
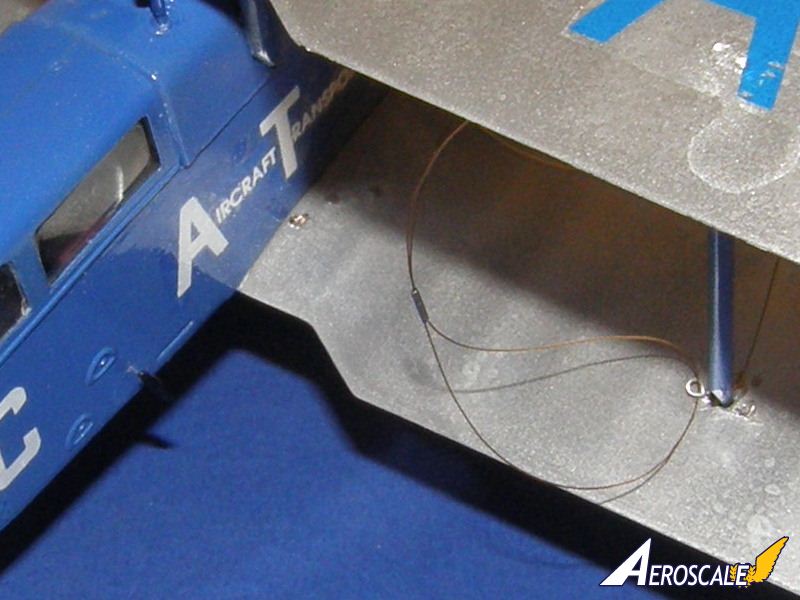
Pass the line through an anchor loop.
Double the line back on itself and run it back through the micro tube. This is often a frustrating exercise so be patient and take your time.
Draw the micro tube tightly against the anchor loop and apply a drop of super glue to the end away from the anchor loop. IMPORTANT NOTE: If the other end of the rigging line is already attached, remember to use the free end of the line to pull everything taught to ensure that the rigging line doesn't sag (if the model starts to bend, it's too tight. Use your judgement when considering how tight to pull the rigging.) Clamping a pair of hemostats (or locking tweezers) to the free end of the line can help pull it tight while allowing you a free hand to apply the glue. Hold the model so the hemostats dangle in line with the rigging path. This may sometimes mean holding it in adventurous positions.
Apply a drop of accelerator to set the glue, then trim off the free end. Be careful not to cut the rigging line by mistake.
If your rigging point does not require a turnbuckle, simply loop the line twice around the anchor loop, apply superglue, and trim off the free end (Don't forget to draw the line taught before applying the glue.)
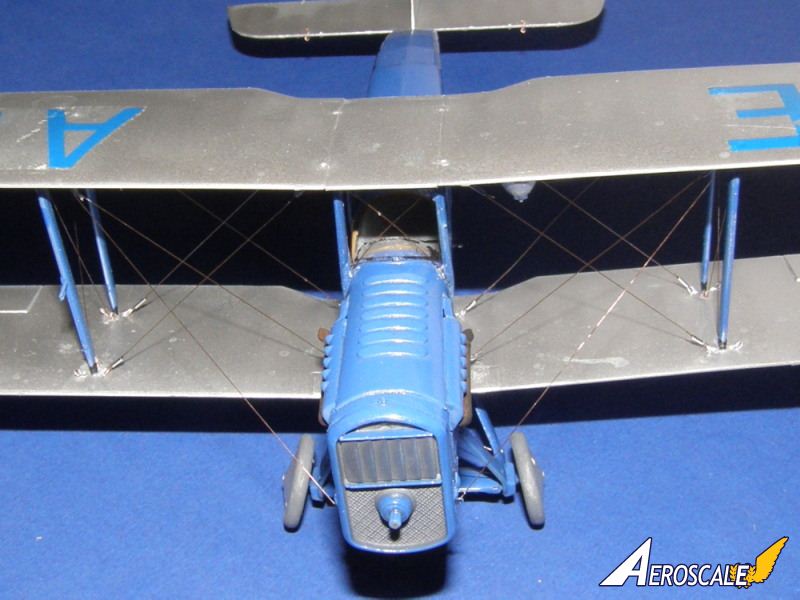
When rigging multiple-bay aircraft, work from inside to outside, and rig each bay in parallel with its opposite bay to avoid twisting the model from uneven stress.
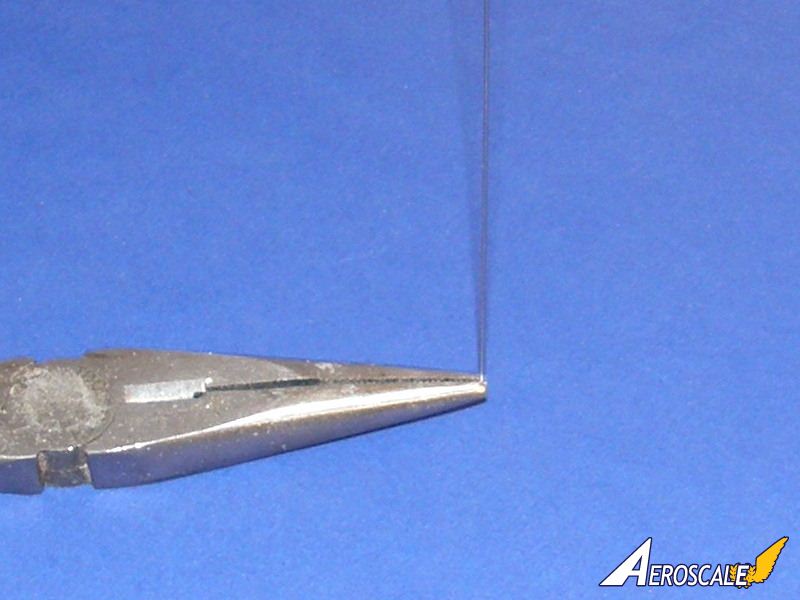
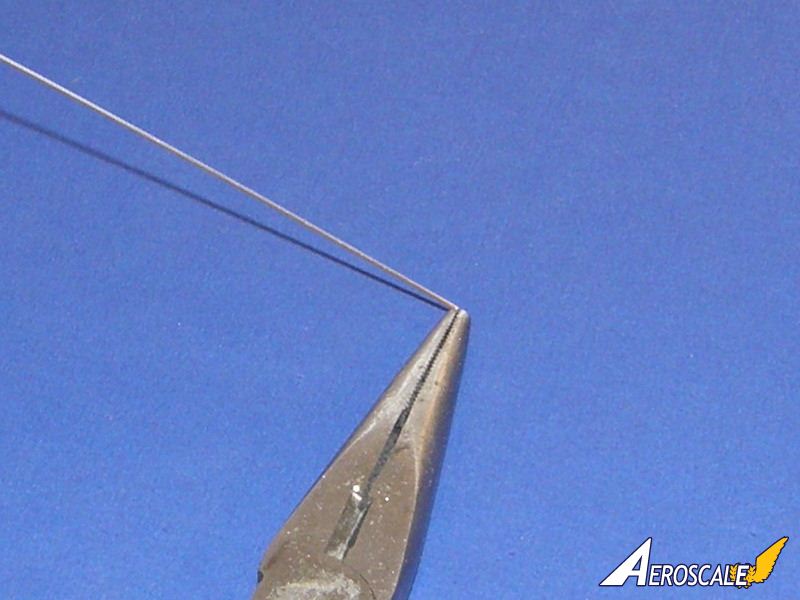
cutting steel micro tube
Many years ago I worked for a company which made Angioplasty catheters. I acquired a supply of steel hypotube material which had been scrapped during the manufacturing process and I've been using that whenever I need tiny tubes. I cut it using a needle file and my needle nose pliers. Hold the tube in the very end of the pliers so that one end is flush with the pliers. Score the tube with the needle file flush with the other side of the pliers to create a weak spot. Bend the tube away from the scored weak spot so that it breaks. It may be necessary to bend the tube back and forth a few times before it separates completely. Drop the section of tube into a handy container and repeat until you've cut sufficient lengths to complete your rigging job. Holding the tube in the very end of the pliers' jaws ensures that you'll cut consistent lengths.If you prefer using heat stretched plastic tube, cutting it without crushing is a challenge. The best way to proceed is to thread the tube onto a piece of piano wire and gently roll a sharp razor knife over it to create a weak point, then snap it off similar to the metal tube in the previous paragraph. A simple depth jig will ensure consistent tube lengths.
conclusion
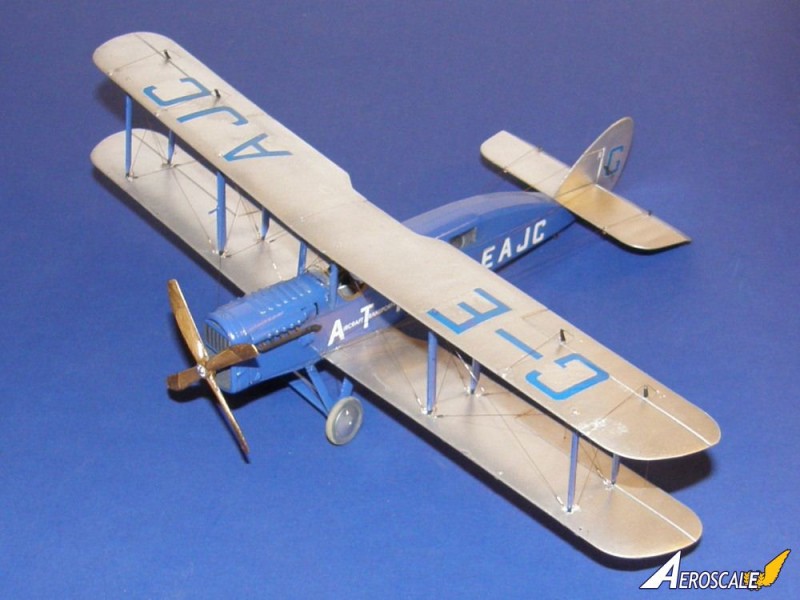
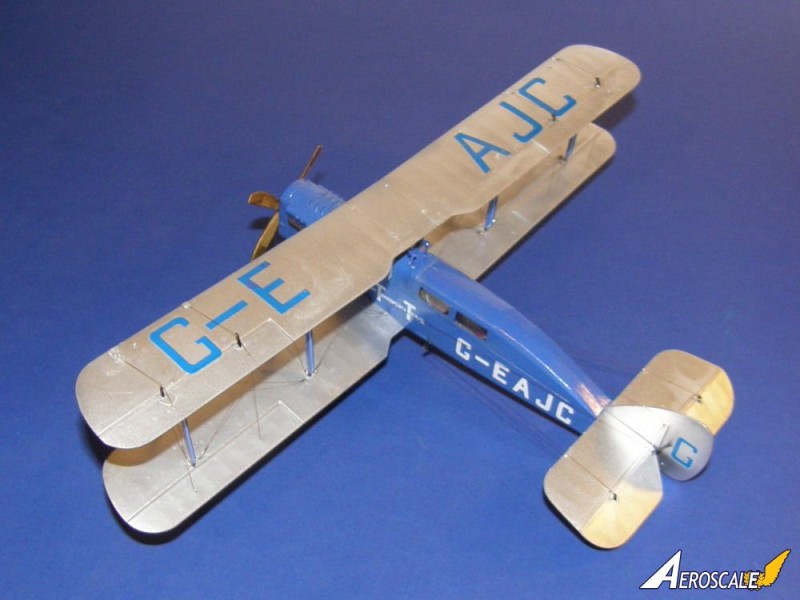
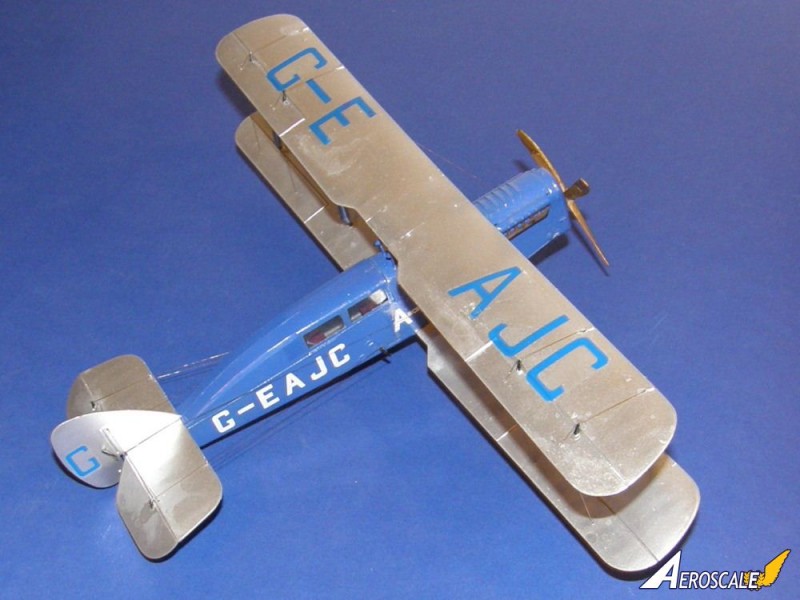
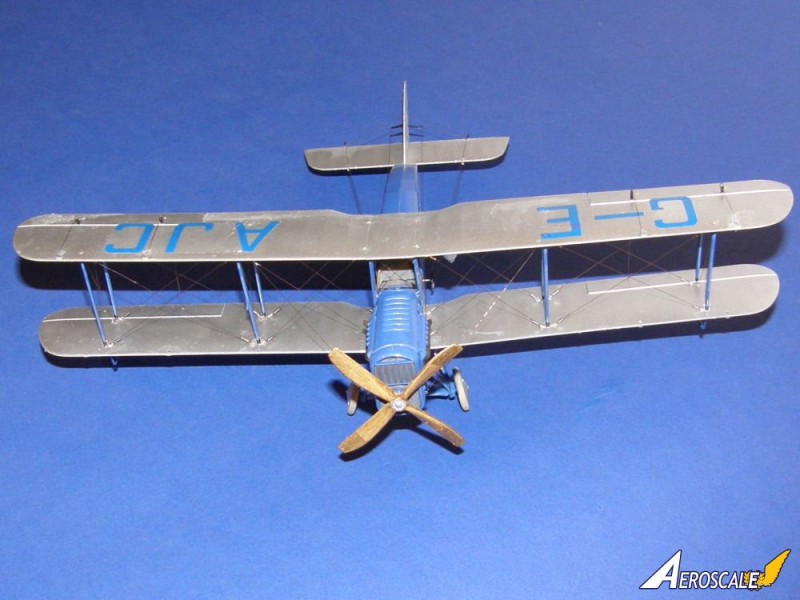
This method results in the rigging taking up a lot of the strain of holding the wings in place; it's a structural part of the model just as much as 1/1 scale rigging is part of the real aircraft. As a bonus, this rigging method greatly increases the strength of your model. Models that I have rigged in this way have survived falls that would otherwise reduce an unrigged model to scrap.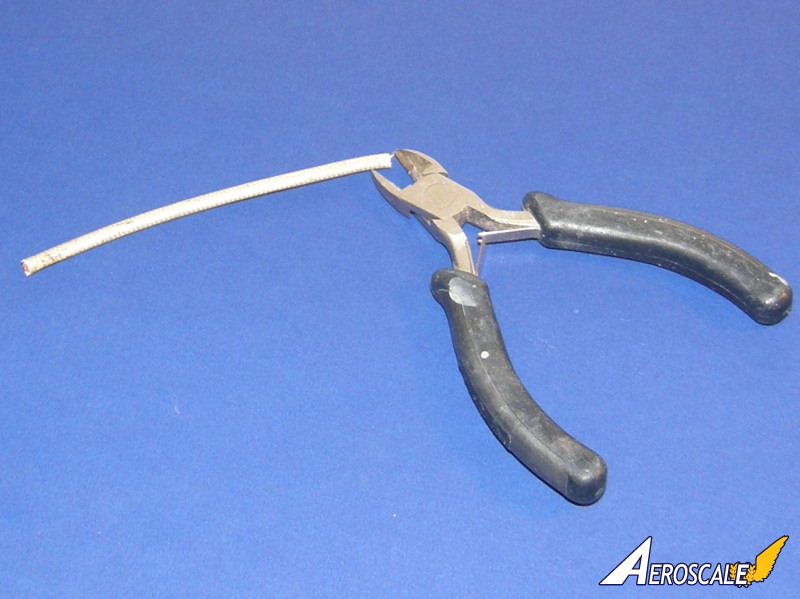

About the Author


Comments

As I mentioned in the article, I got mine from salvaging scrap from an old workplace but here's only one potential supplier.
MAR 18, 2014 - 10:11 AM

I took a look at their list and they have a bewildering array of sizes, all in US measurements. I know the higher the number = smaller size. What size would you recommend for 1/48 using EZ-line?
MAR 18, 2014 - 05:04 PM
The best way to determine that is to lay two pieces of EZ line together and measure them. Remember that you have to get the line through the tube, double it around the anchor point and back through the tube so it has to fit in there twice
MAR 18, 2014 - 05:20 PM

Thanks
This guide has come at a good time since I've got an Airfix Tiger Moth waiting in the wings. Will give rigging a go with it
MAR 20, 2014 - 03:56 AM
LINK
Anybody ever use these yet? Comes in both 1/48 and 1/32 in a variety of types.
MAR 21, 2014 - 03:37 AM

Jessica,
Thank you! Most informative and inspiring. No more stretched sprue nor thread for me. (Although my Life-Like Gladiator was saved from damage after a careless girlfriend dropped it due to rigging it with a single continuous piece of thread!)
MAR 24, 2014 - 12:48 AM
Thanks for this!
I have a DH2 in the stash I've be getting the itch to start.
MAR 28, 2014 - 08:29 AM

Thanks Jessie,
A very informative and useful feature.
Will be of use when the time comes.
Cheers
Chris
MAR 29, 2014 - 10:37 AM
Hi Jessie. Does a rigging cable have a turnbuckle and anchor point at both ends, or just anchor and turnbuckle at the bottom end, and anchor only at the upper end?
APR 02, 2014 - 05:45 AM
The answer to that is "It depends". Your best bet is to find clear pictures of your subject so you can see whether they do or not.
APR 02, 2014 - 02:12 PM
Copyright ©2021 by Jessica Cooper. Images also by copyright holder unless otherwise noted. The views and opinions expressed herein are solely the views and opinions of the authors and/or contributors to this Web site and do not necessarily represent the views and/or opinions of AeroScale, KitMaker Network, or Silver Star Enterrpises. Images also by copyright holder unless otherwise noted. Opinions expressed are those of the author(s) and not necessarily those of AeroScale. All rights reserved. Originally published on: 2014-03-08 00:29:13. Unique Reads: 14531

WEB HOSTING BY


Copyright ©2021 AeroScale and Kitmaker Network, a subsidiary of Silver Star Enterprises
All Rights Reserved. Please read our Conditions of Use and Privacy Policy.
All Rights Reserved. Please read our Conditions of Use and Privacy Policy.