

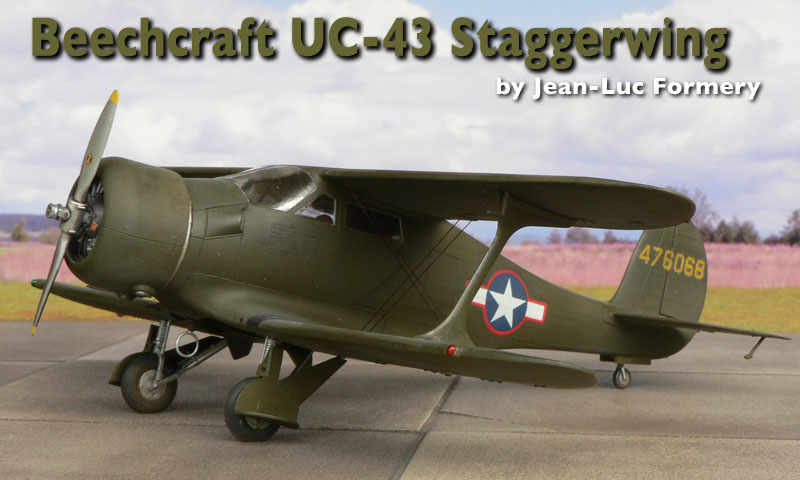
1⁄48UC-43 Staggerwing
5
Comments
The kit
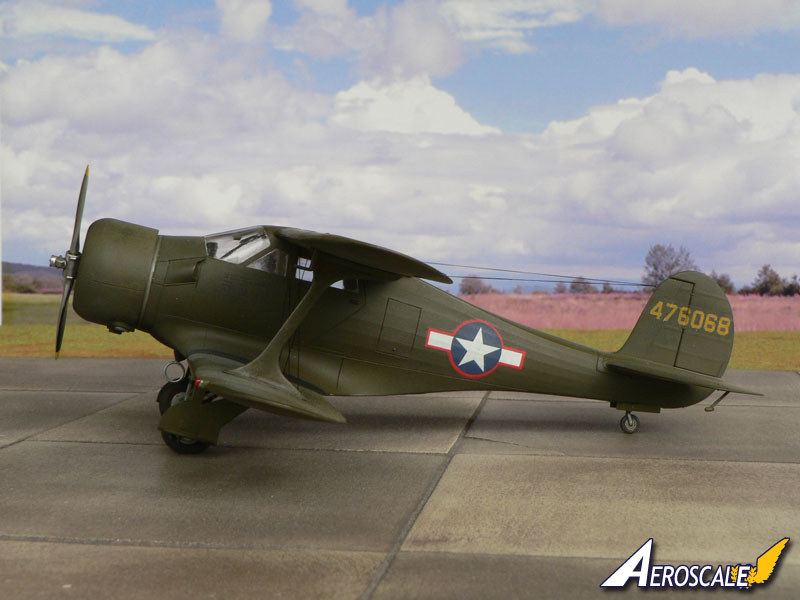
A review by Stephen T. Lawson of the Roden 1:48 scale kit of the Staggerwing can be found here (UC-43 version) and here (Mk.II or GB-2 version). Overall I quite agree with the rating of the kit and while it has it's weak points it is certainly a good representation of the original aircraft.The rendering of the fabric surface is well done in my opinion, except for some panel lines on the wings which look a bit odd. I chose to leave them as they were for this review build but I guess filling them wouldn't be a problem for an experienced modeler. The shape and dimensions seem to match the photos of preserved aircraft I've seen on the net. However, the rear fuselage should be rounder where it meets the rudder. I haven't altered my model so you can decide for yourself if this represents a "fatal flaw" or not. Some sanding can address the problem in a few minutes.
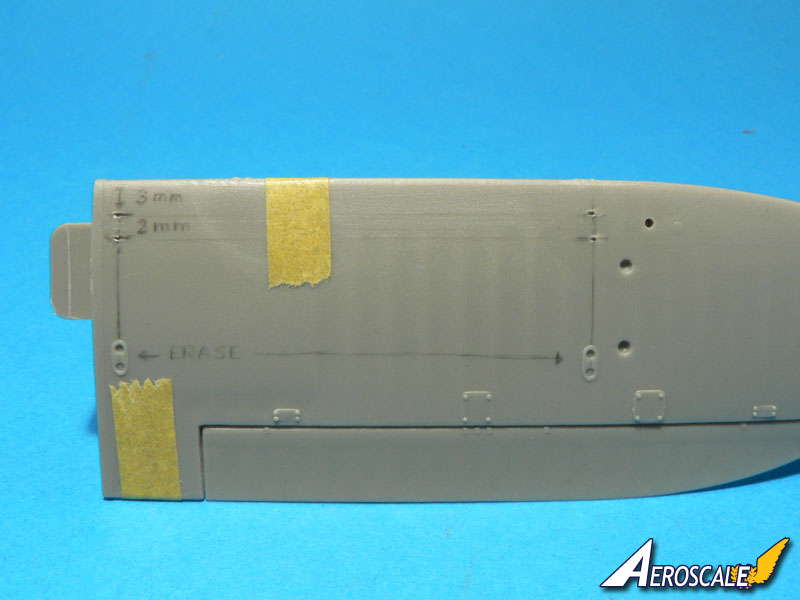
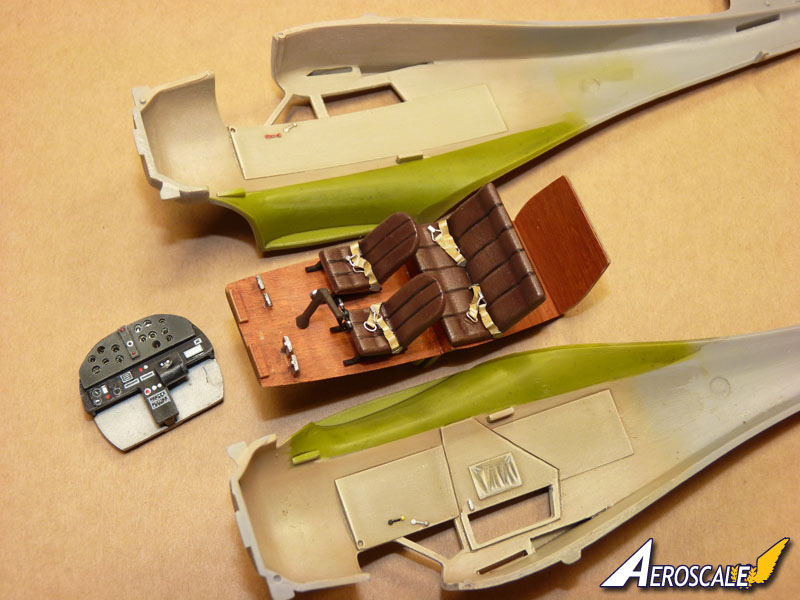
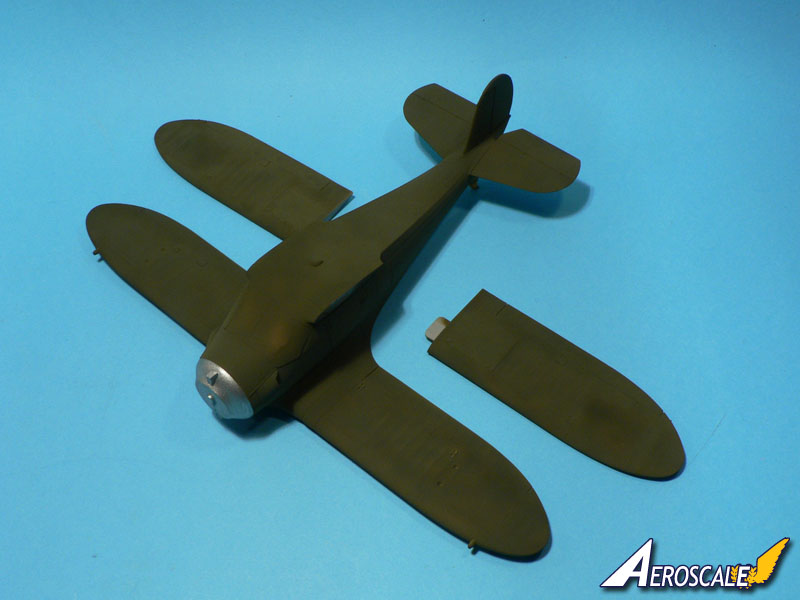
Something I did change is the position of the locators for the rigging cables on the underside of the upper wings. These should be placed near the leading edges and not the rear (see accompanying photo for exact location on the kit parts). On the real aircraft, the attachment points for the cables are placed back on the under wing and front on the upper wing. When on the ground and viewed from the side, the rigging cables are almost vertical. If placed like suggested by Roden, the would be parallel to the wing struts which is incorrect. This is an easy fix though.
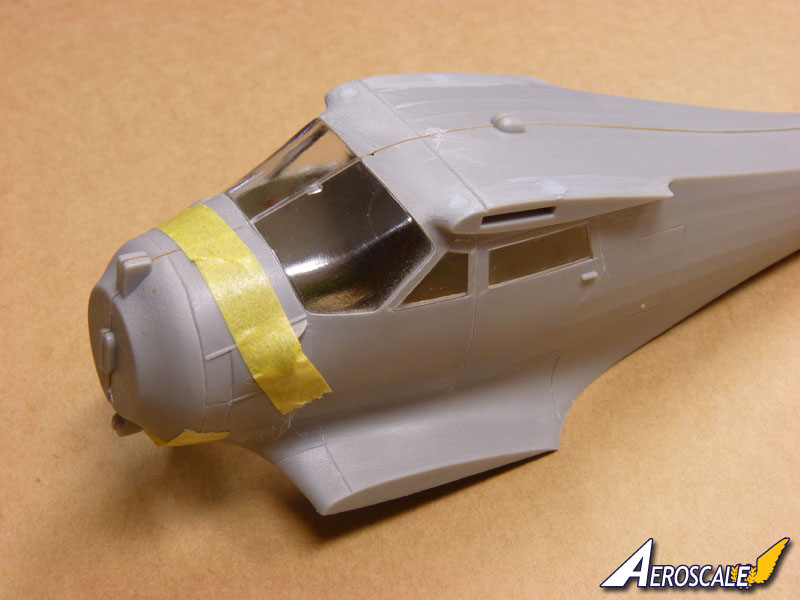
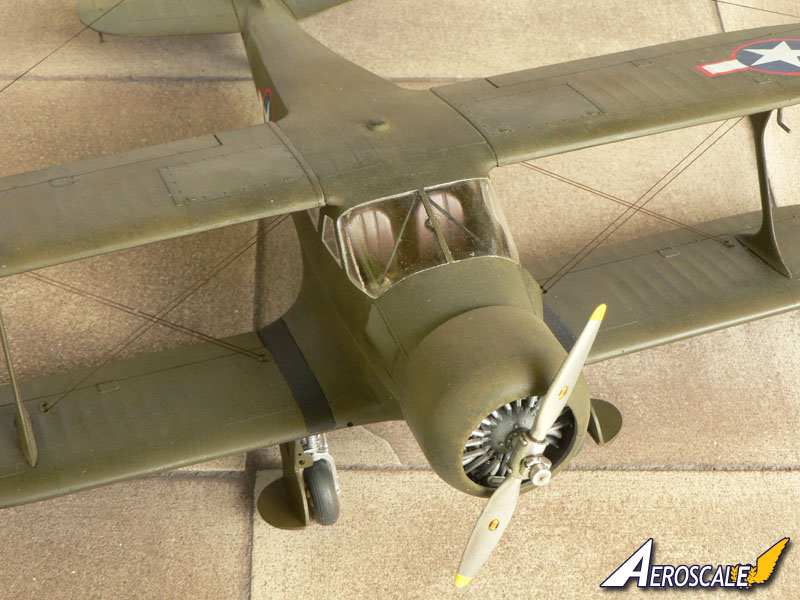
The clear parts of the kit, as said in the review, are not the best I've seen. I have tried to ameliorate their transparency by dipping them into future but I wasn't really successful. Some polishing could do the trick but replacing them with self made parts (vacuformed?) is probably the better option. The openings on the fuselage parts are to small resulting in the side windows to be sanded accordingly to fit.
The interior and the wheel wells are a bit basic but not in a dramatic way. I chose to add some scratched details in the cabin but left everything else as it was. Overall, I would say my model is built "almost" out of the box.
Assembling and painting the interior
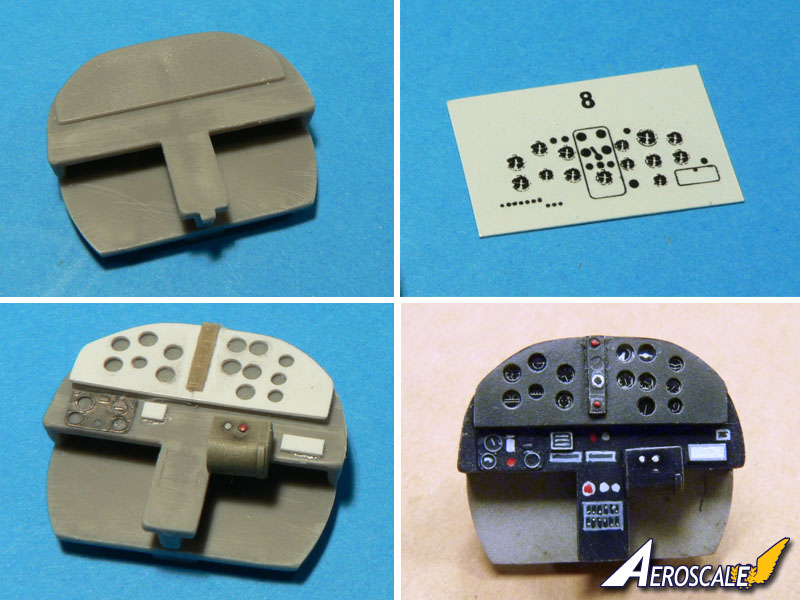
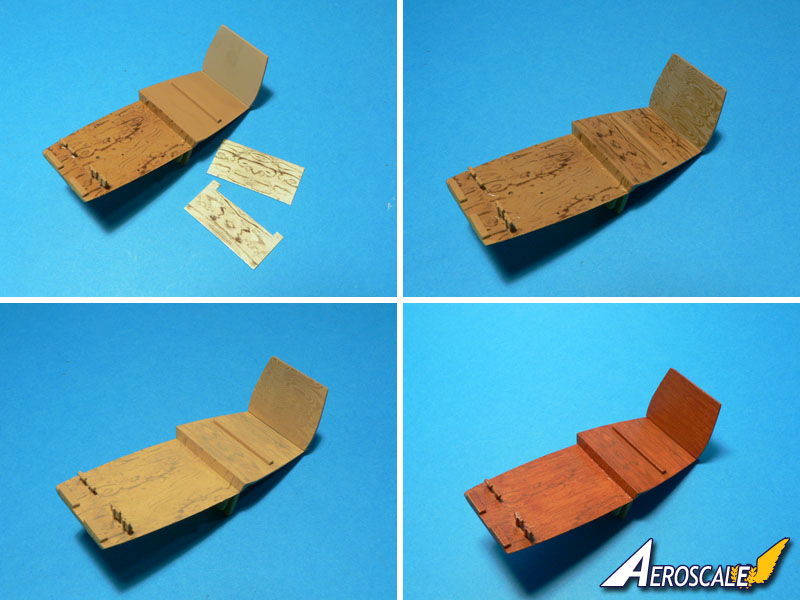
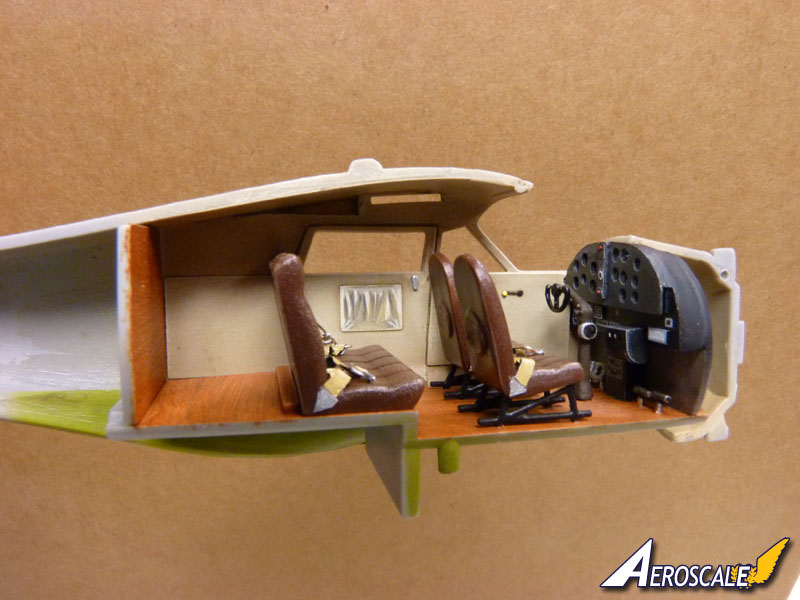
The first thing I have transformed in the interior is the instrument panel. Roden has provided a two piece front console with a decal to place on it. The problem is that there are no instrument bezels on the plastic part and that the dials on the decal sheet are all exactly the same! To my eyes it is not realistic at all, so I decided to replace everything with plasticard and pieces from the spare box.The cabin floor was made of wood. To replicated this I have used some Uschi van Der Rosten decals (see review here) and I must say they performed well. To do the interior I have used pictures of a British machine so I'm not sure if the colors are really accurate for an U.S. one. Seat belts were added using metal foil and fine wires. Everything else has been left unaltered. It is not necessary to do too much work here... unless you plan to leave the access door open of course, which wasn't my case.
The engine
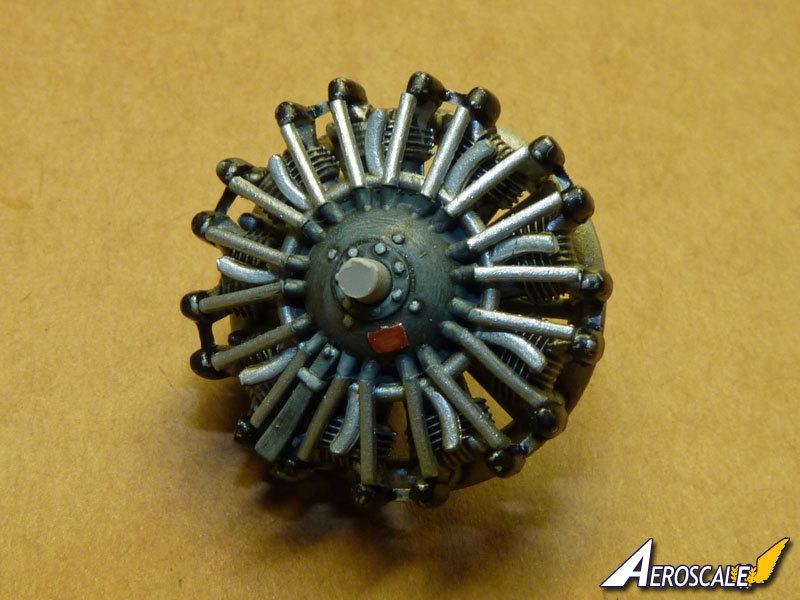
There is not much to write about the engine. Admittedly it is complete but the detail is a bit heavy in places. The pushrods and even more the ignition wires are too thick. They should be better replaced with finer parts for a better scale appearance. The only thing I have added here are the four latches on the cowling which Roden simply forgot (self adhesive metal foil).Main assembly
Once the fuselage is complete, the under wings and the horizontal tailplanes can be glued in place. The dry fit of the upper wings being very positive, I have decided to attach them later to make the painting of the model easier. I have had no difficulties to assemble the main parts together and only a very small amount of filler was needed here and there in the end.Camouflage painting and decalling
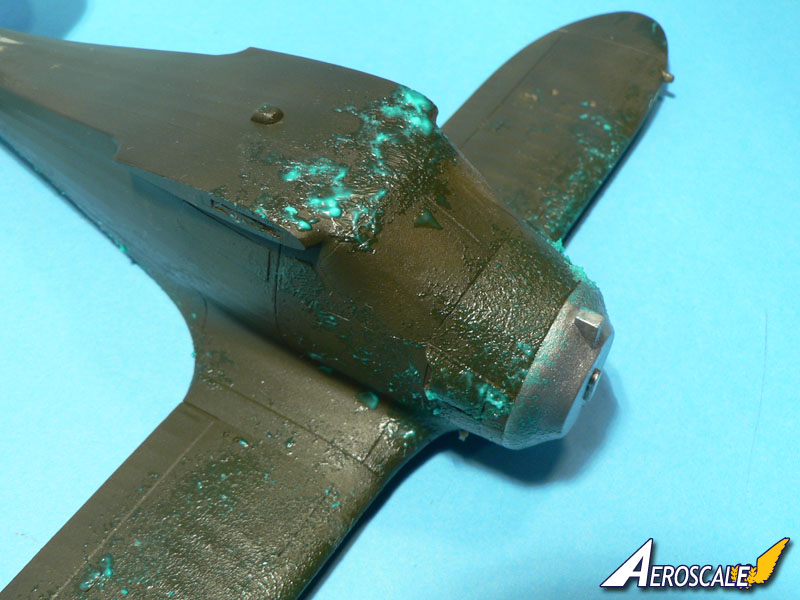
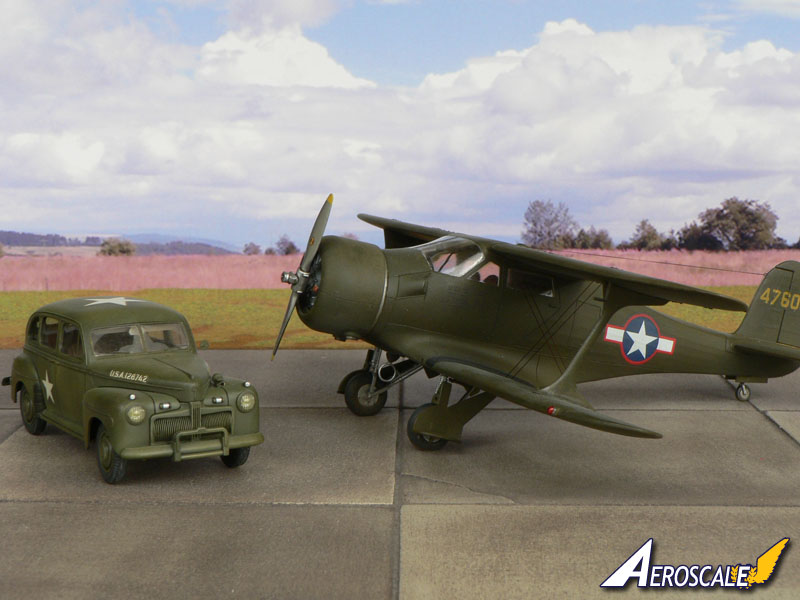
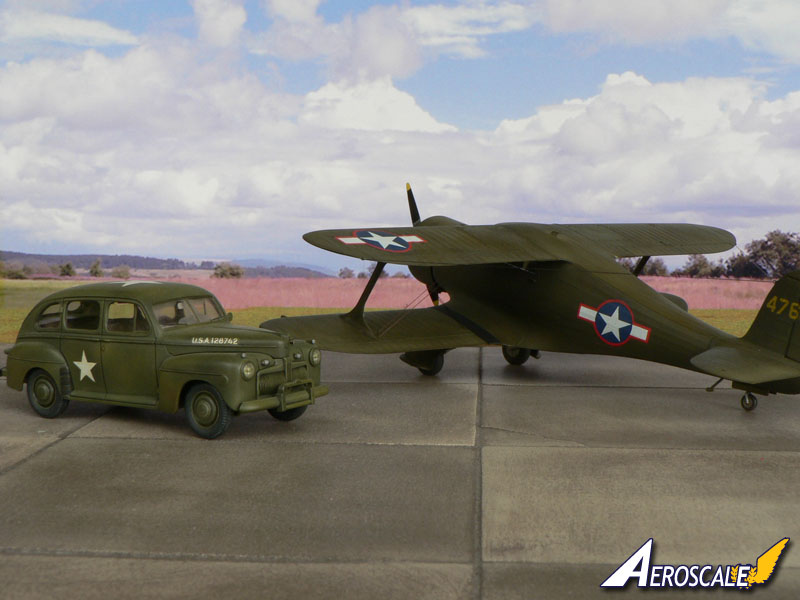
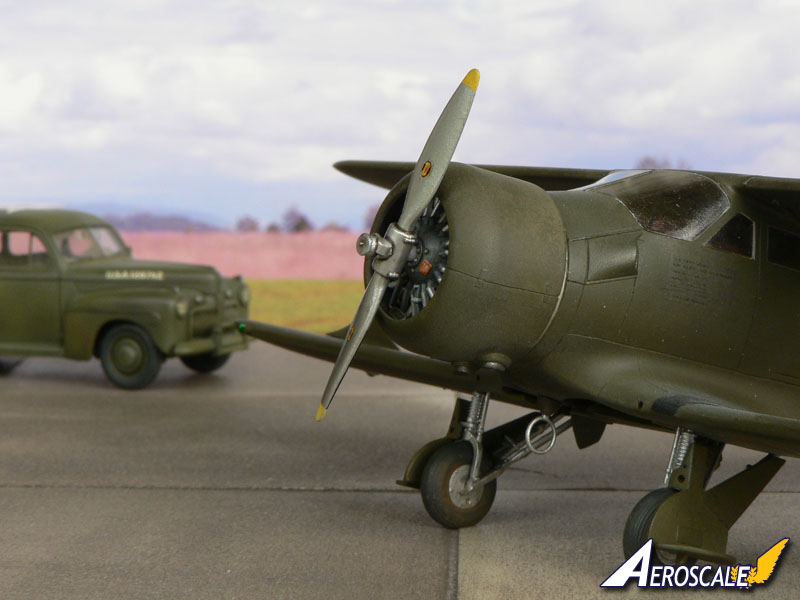
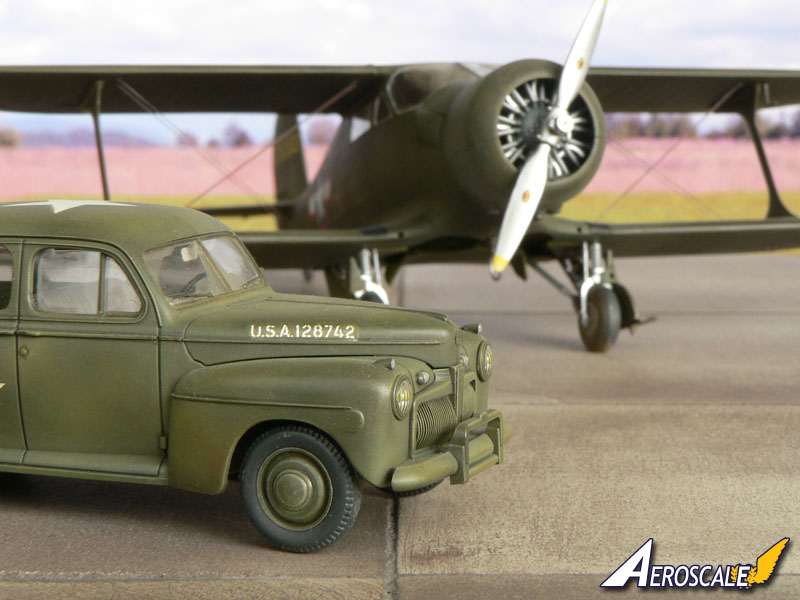
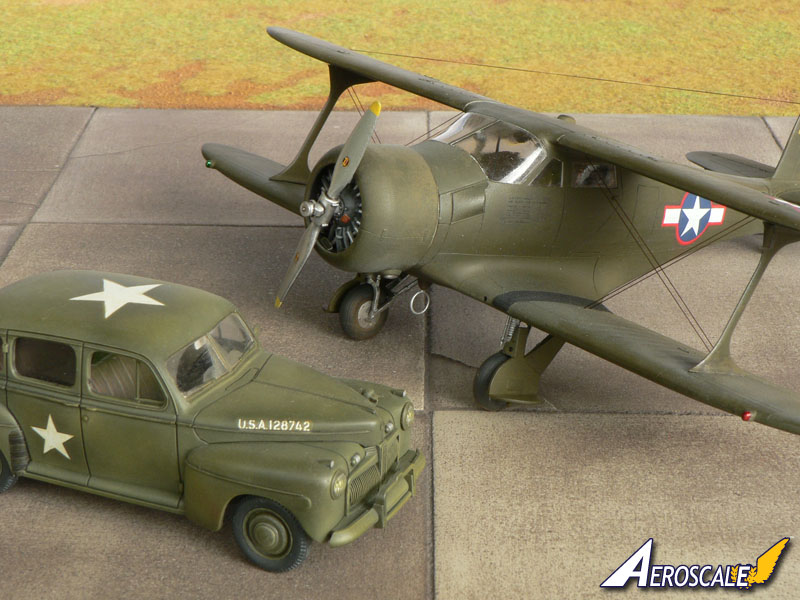
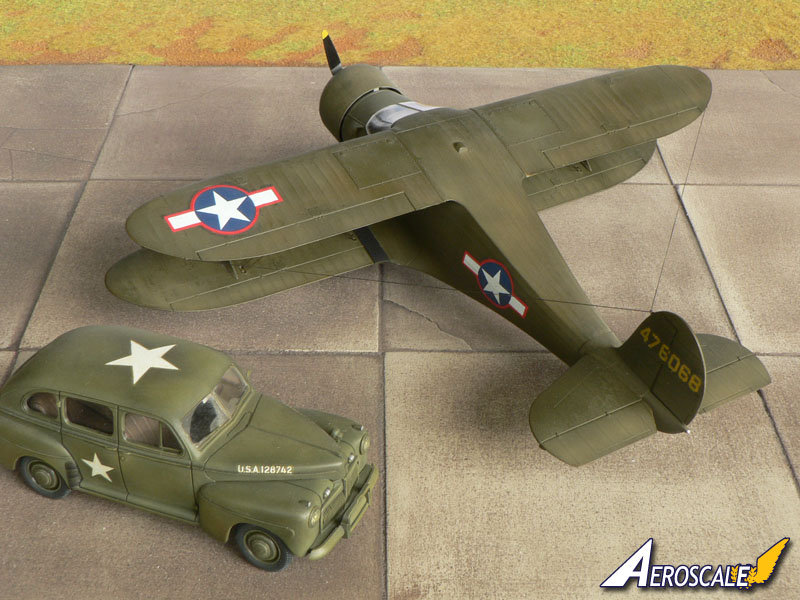
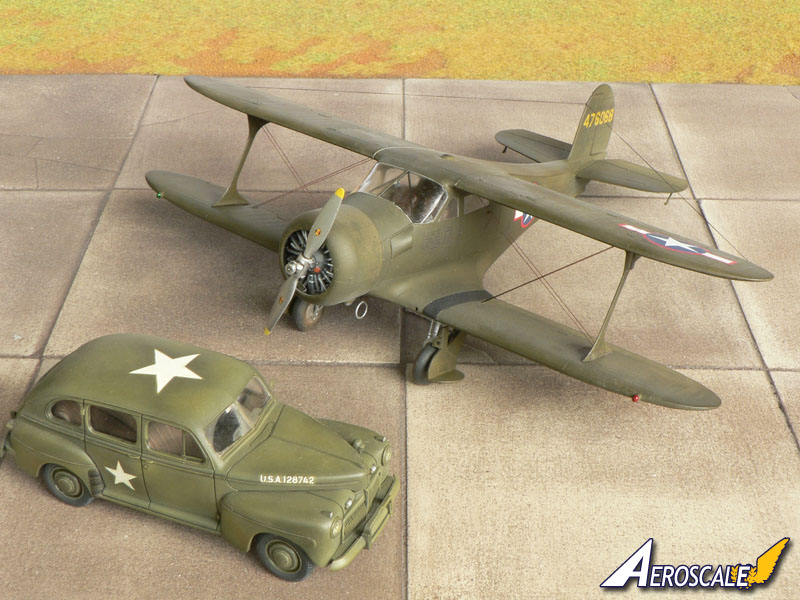
I decided to do the aircraft entirely painted in Olive Drab which carried the U.S. Star and Bar insignias with the red borders. Painting was therefore easy in that I only had to cover the model in one color! However, to add some interest to an otherwise boring paint scheme, I have used some masking fluid and a second layer of paint to achieve some variations to the basic color. The surface then received several coats of Klir (Future) and the decals were applied. Sadly they were misprinted in my sample, the white being slightly offset. Careful trimming and some corrections with a small brush did the trick. A coat of mat varnish (Gunze H20) was finally applied to protect the surface.finishing the build
Adding the undercarriage wasn't easy. The landing gear legs are nicely done but also very fiddly to put in place. Other than that, there is nothing bad to report. The upper wings fit easily and the last complicated work is the rigging. I used very fine smoke colored fishing thread on my model. The real ones were metal but I do like the result nevertheless. The last pieces I have glued in place were the Gonio antenna, the aerial wire and the elevator's mass balances. The latter are much too long in the kit and must be shortened quite a bit.Conclusion
Roden's Staggerwing is a nice kit. I wouldn't recommend it to beginners though as it doesn't build itself. However, with some additional details and improved clear parts, I'm sure it could be turned into a real gem. Eduard will release a photo etched set for it soon and the model will surely benefit a lot from it. We often complain that manufacturers only focus on the usual suspects so this Staggerwing is a very welcome addition to the 1:48 scale list of model kits.Many thanks to Roden and Stephen T. Lawson for providing me the kit for this build.
About the Author


FROM: MOSELLE, FRANCE
I'm mainly interested in WW2 aircraft and I build them in 1/48 scale.
Comments

Hi Jean-Luc
great build (as we expect from you ) ...I still wait for the Eduard PE before I begin this one.
cheers
Steffen
P.S. pls take this one on our GB trip, it will make a great companion for one of my Thunderbolts.
OCT 08, 2011 - 12:12 AM

Turned out looking great Jean Luc, nice review, and nice display.
OCT 08, 2011 - 04:10 AM

Very impressive Jean - Luc! I particularly like the slight variations in the monocolour camouflage. The wood flooring and the altered instrument dash board are very cool additions.
By the way the 1:48 Mk.II (or GB-2 version) is winging its way (postal service) to Ms. Jessica C. for her treatment.
OCT 08, 2011 - 03:28 PM

Beautiful build J-L, it really is a sweet looking aircraft !
Cheers, D
OCT 08, 2011 - 05:02 PM

Hi all,
Thank you for the kind words.
Steffen, I can take the model with me of course, though it's not the best I've done I think.
I'm looking forward to see Jessica's Mk.II...
Jean-Luc
OCT 09, 2011 - 07:17 PM
Copyright ©2021 by Jean-Luc Formery. Images also by copyright holder unless otherwise noted. The views and opinions expressed herein are solely the views and opinions of the authors and/or contributors to this Web site and do not necessarily represent the views and/or opinions of AeroScale, KitMaker Network, or Silver Star Enterrpises. Images also by copyright holder unless otherwise noted. Opinions expressed are those of the author(s) and not necessarily those of AeroScale. All rights reserved. Originally published on: 2011-10-08 00:00:00. Unique Reads: 11205

WEB HOSTING BY


Copyright ©2021 AeroScale and Kitmaker Network, a subsidiary of Silver Star Enterprises
All Rights Reserved. Please read our Conditions of Use and Privacy Policy.
All Rights Reserved. Please read our Conditions of Use and Privacy Policy.