History
The Westland Lysander was a British army co-operation and liaison aircraft produced by Westland Aircraft. It was used during the Second World War. The aircraft's exceptional short-field performance made possible clandestine missions using small, unprepared airstrips behind enemy lines that placed or recovered agents, particularly in occupied France. Like other British army air co-operation aircraft it was given the name of a mythical or legendary leader, in this case the Spartan general Lysander.
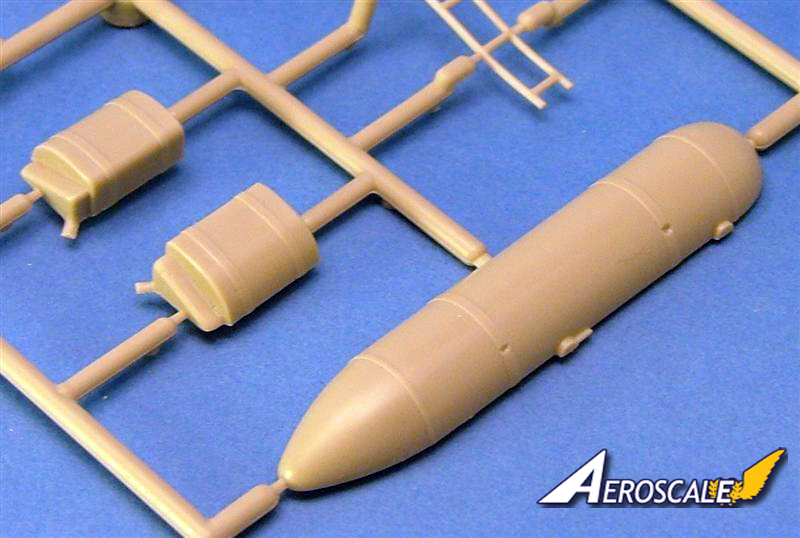
The Lysander Mk III SCW was a Special version for clandestine operations. It carried no armament and was equipped with a long-range 150 gallon fuel tank, and had a fixed external ladder.
Info from Wiki
Eduard's Lysander
Eduard's Lysander is an ex Gavia release, and has been released at least twice before by Eduard. The earliest review for this kit on Aeroscale, was by Rowan Baylis (Merlin), done way back in 2004!
-
Lysander Mk. III ProfiPack
-
Lysander Mk. III in Ilmavoimat service
This boxing of the Lysander is not as complex as the earlier release's, as there is less Photo Etch and resin parts to install. Compared to the earlier releases, this is nearly a "Weekend Edition" boxing, and should be pretty straightforward to build.
In the box
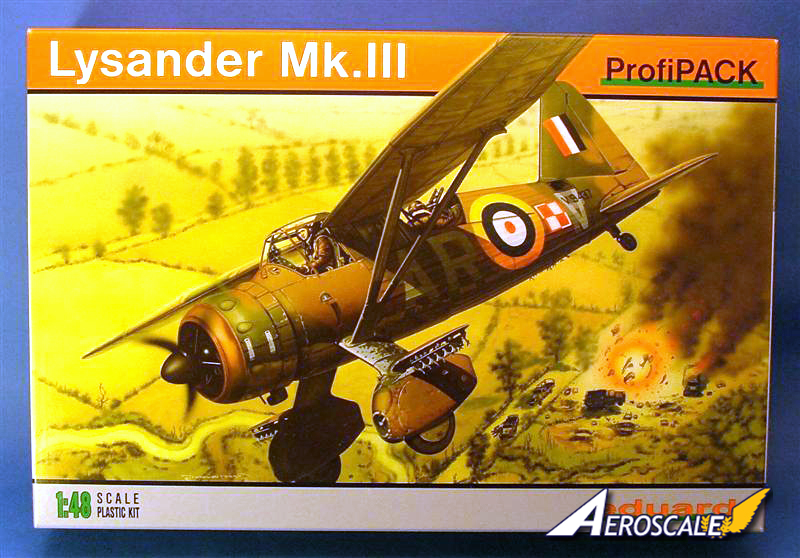
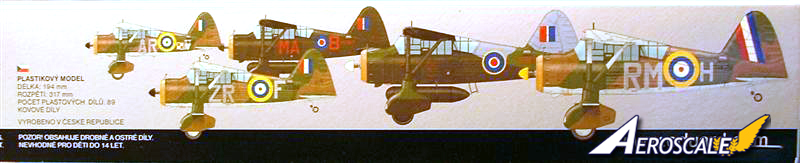
Packed in the standard lidded box. The box art wok is quite nice with a Lysander just finishing attacking some ground units. the box sides have a montage of the marking options. The end of the box now has a Blackberry info bar-code (the black and white square box), which links you direct to Eduard's product web page. All the latest Eduard kits have this bar-code, so you can scan and see what you get, as long as you have a Blackberry phone that is, if not you will have to open the box lol.
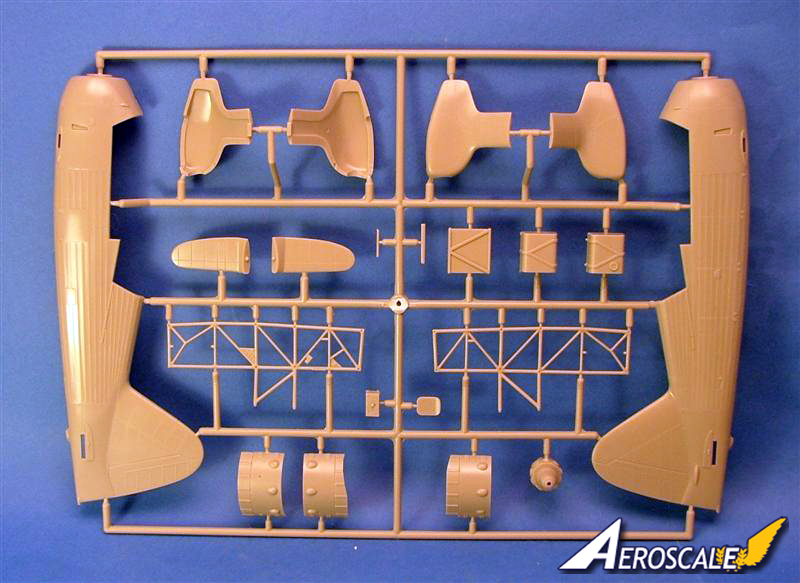
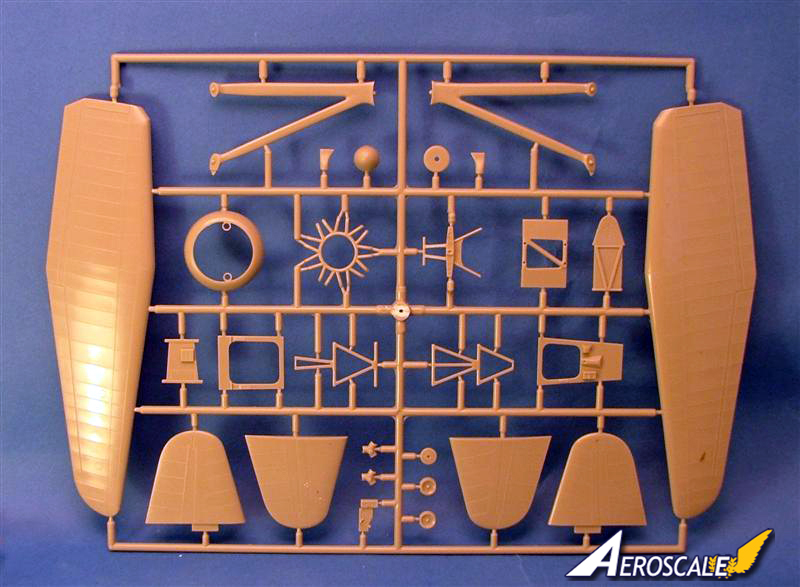
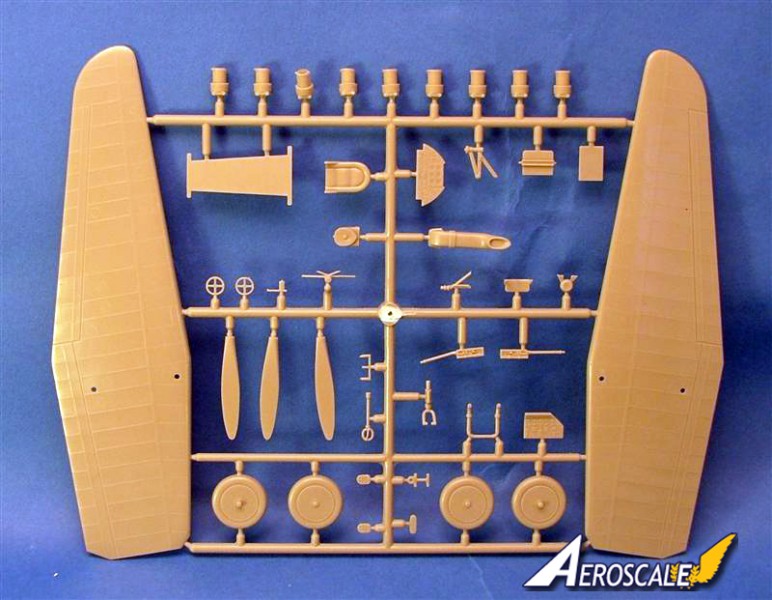
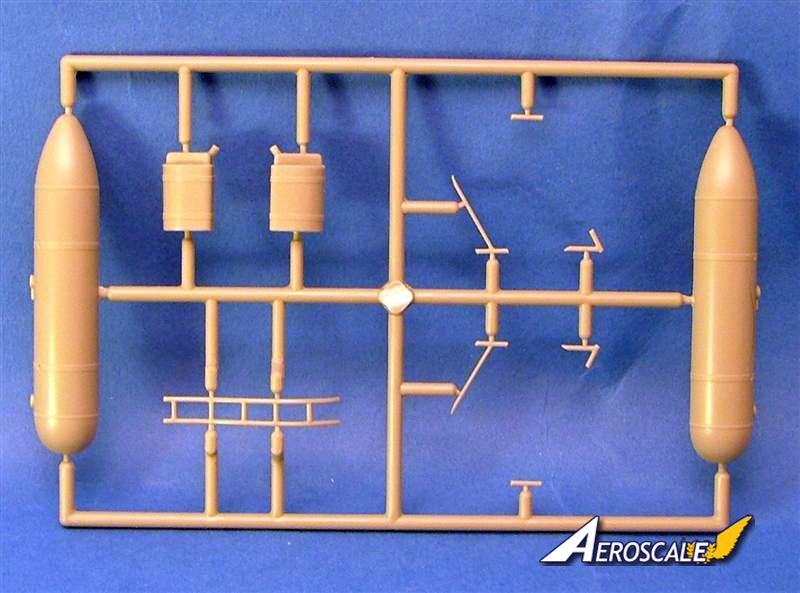
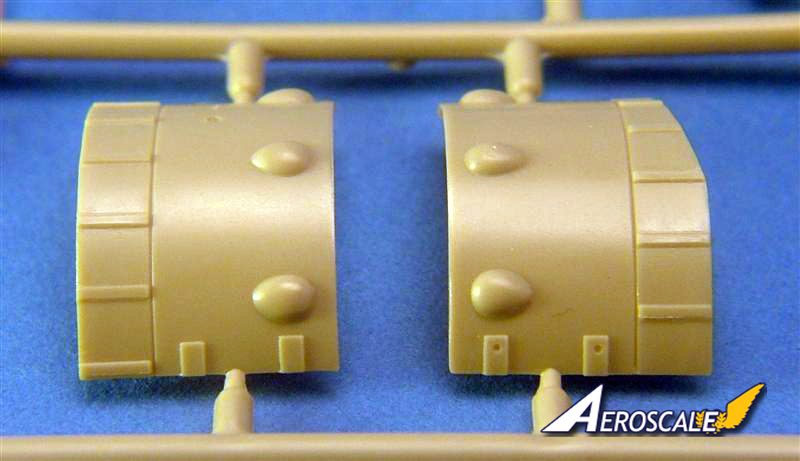
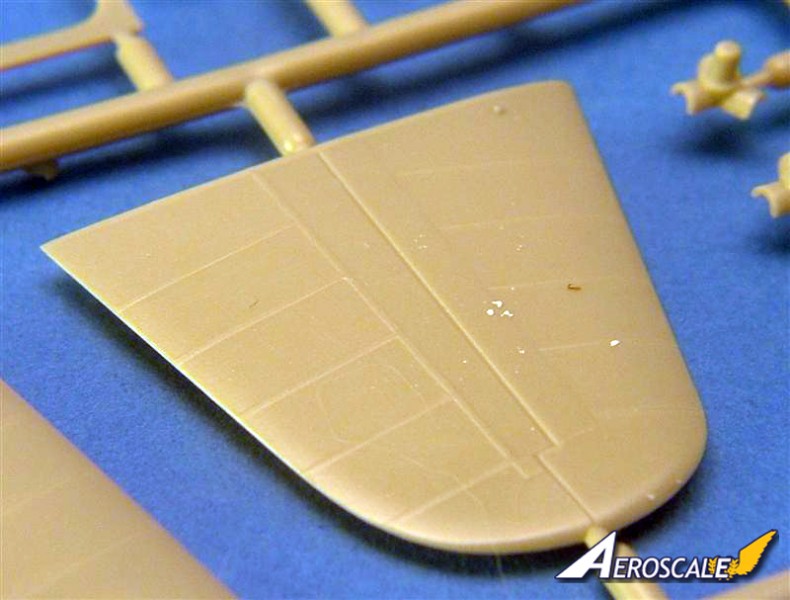
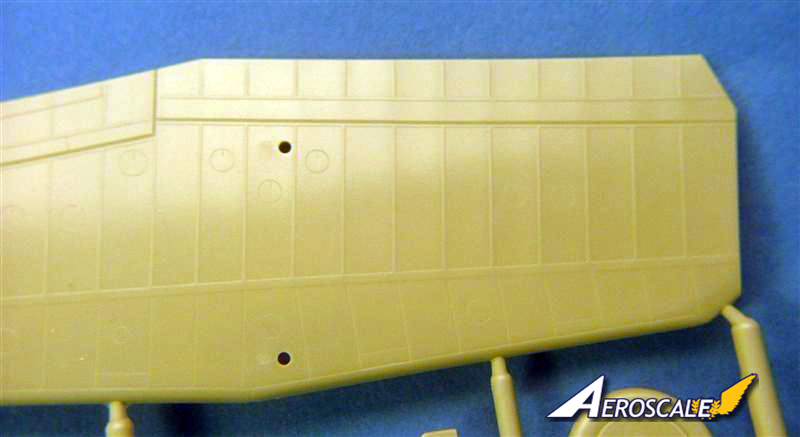
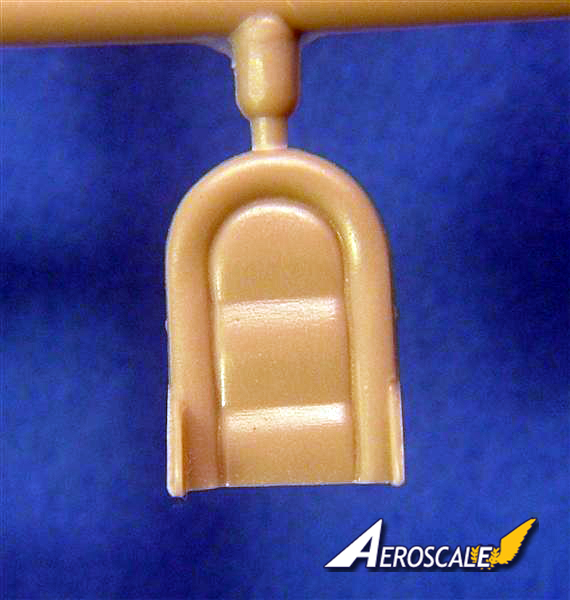
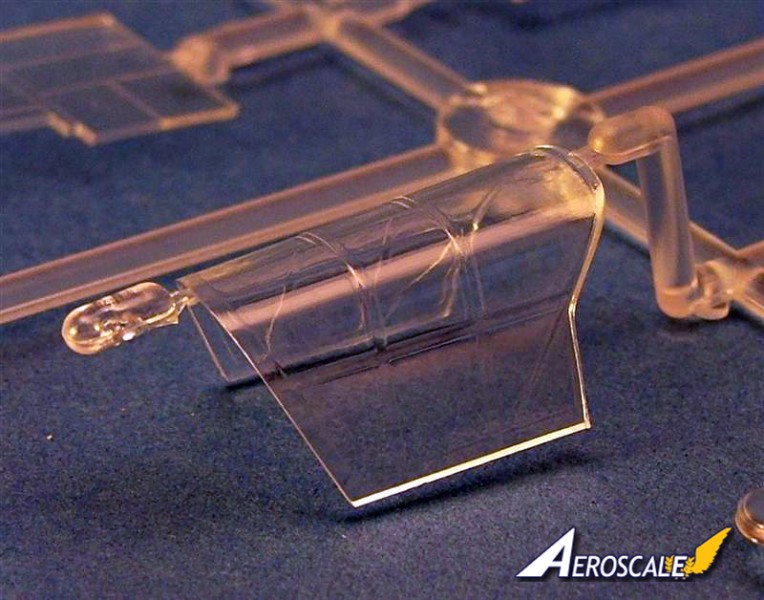
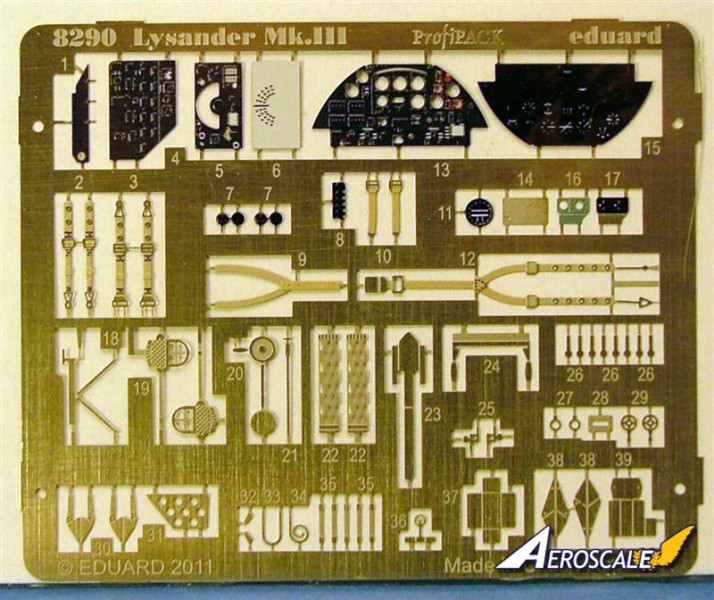
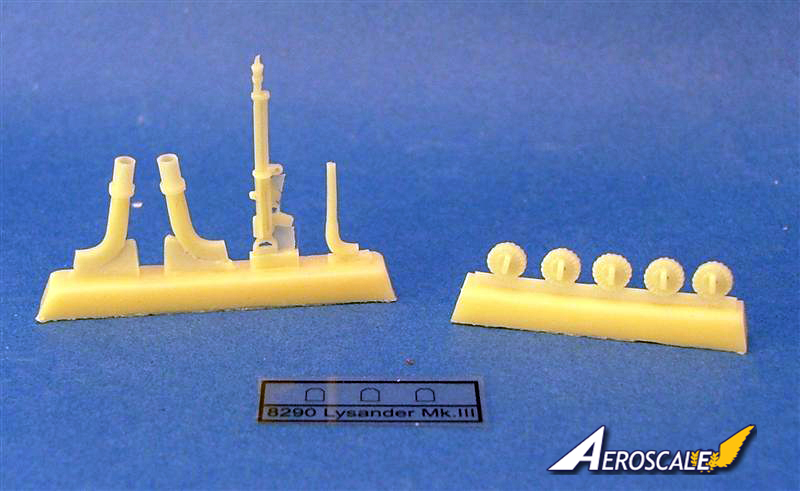
Packed into the box are four tan coloured sprues, one clear sprue, one partially coloured Photo etch fret, nine resin parts, a film sheet, a set of masks, the decal sheet and the instructions.
The sprues have very little flash, and no discrepancies in the plastic. The ejector pins marks are out of harms way, so they shouldn't cause any problems during the build.
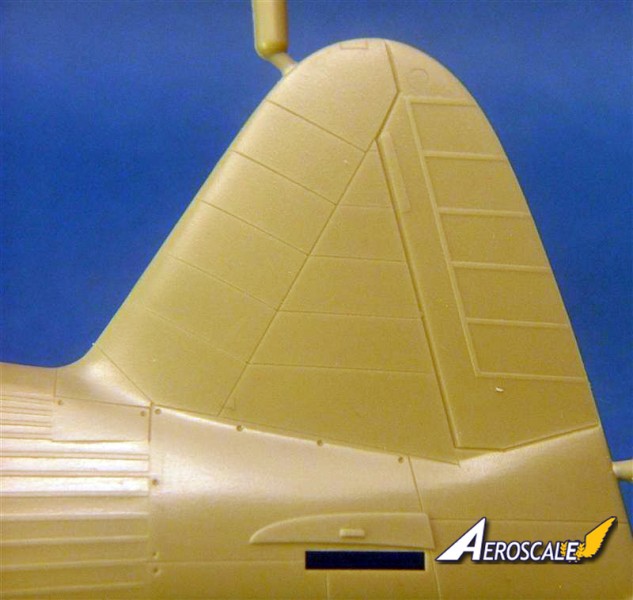
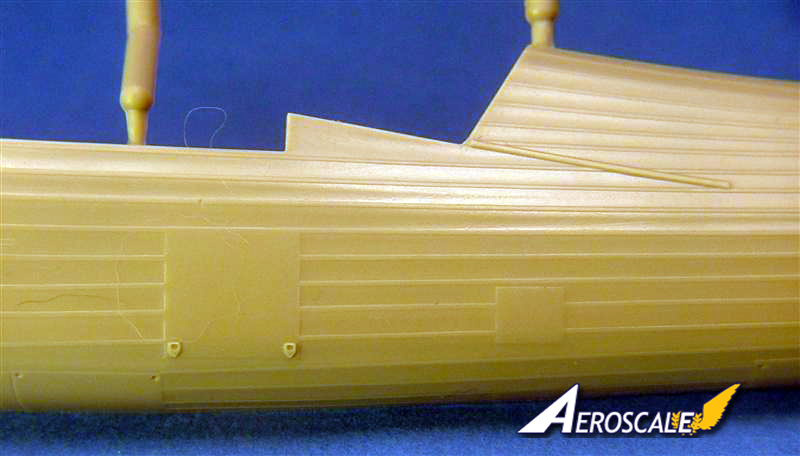
The kit has engraved panel lines and raised areas for the fabric, fasteners and vents adorning the kit.
A nicely detailed cockpit is included with colour P.E instrument panels, harness's, and few bits and bobs hanging off the interior framework.
Depending on which marking scheme you wish to build, the choice of armament is either one pintle-mounted Vickers, twin Lewis guns, or in the SCW role, none.
Both types of guns are resin and P.E affairs, with the single Vickers having a quite complex looking P.E pintle to build. The twin Lewis guns have P.E barrel sleeves, which will need to bent into a cylinder shape.
No weapons or hard points are supplied for the wheel spat stub wings, which is a bit misleading as the box artwork clearly shows hard points.
An engine is supplied, and the detail is fairly good, but you will have to supply and cut some plastic rod for the push rods.
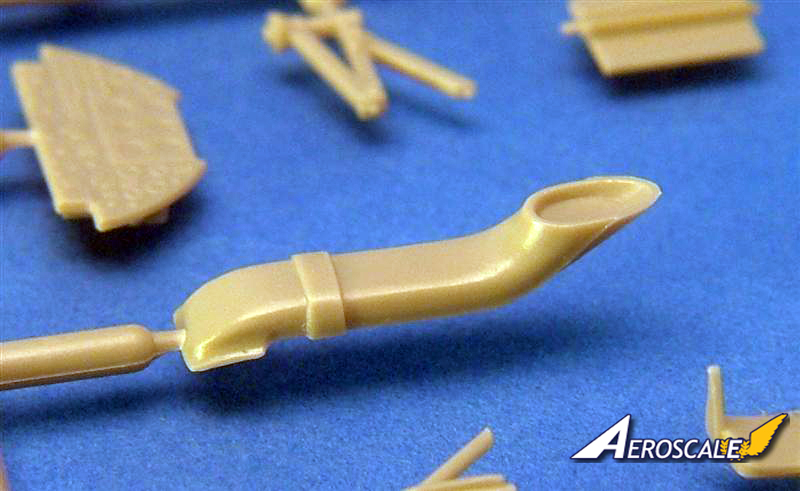
Marking option A has a long tapering rod, which you need to supply yourself, ending in a spiral "hook" , supplied as a P.E item, on the underside of the aircraft. This is possibly used for target towing, air-sea rescue, or picking up mail ( I couldn't quite figure out which lol).
The nine resin parts are only lightly attached to two casting blocks and are cream coloured, but have a little flash, which should be easy to remove.
The one fret of P.E is partially coloured with the instrument panels, harness's and side consoles coloured. The rest of the fret contains parts for the guns, sleeves, gun-sights and the pintle. The small clear film is used for the twin Lewis guns sighting mechanism.
The clear parts are crystal clear with raised frame details, which will aid in applying the masks.
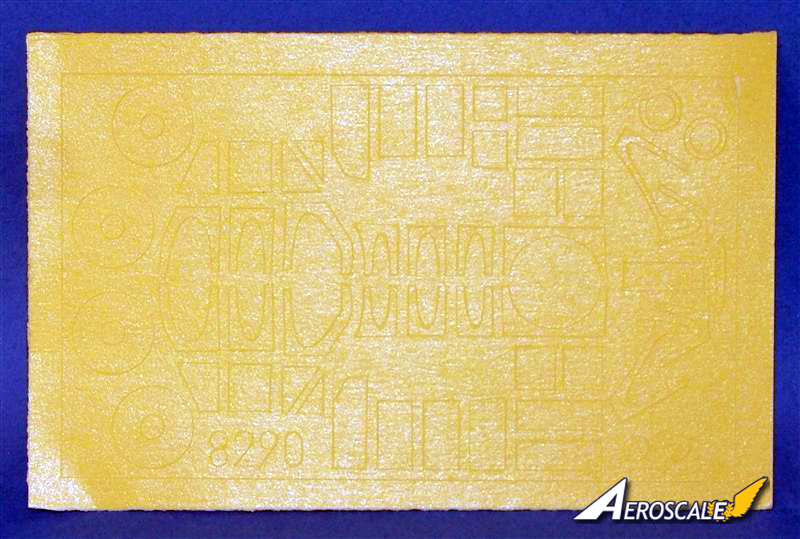
Masks for the canopy and wheels are supplied, and is the typical Kabuki tape material. A full guide to the position of the masks are given in the instruction booklet.
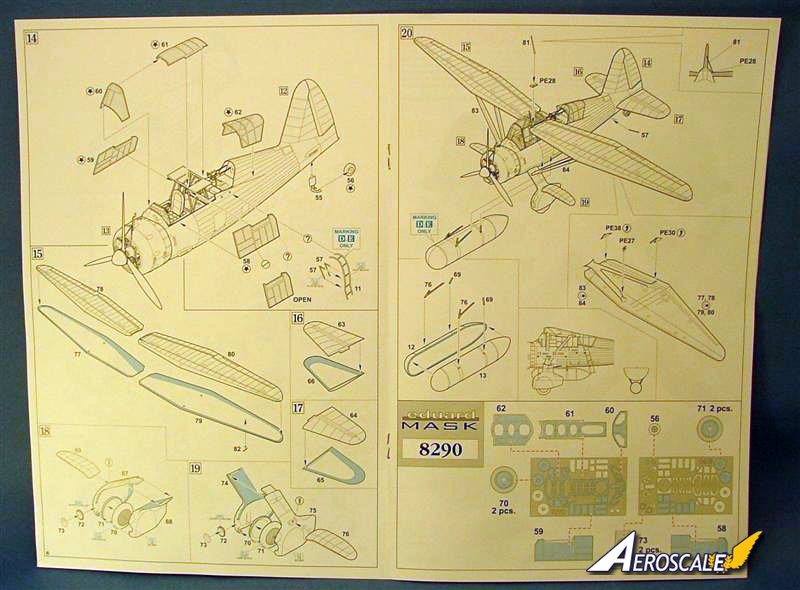
Instructions
The instruction book follows the usual Eduard standard layout, with a easy to follow build sequence, with internal colours given along the way, along with symbols and blue outlines signaling any steps needing, P.E, resin or optional parts.
The build sequence is over 20 steps, and is easy to follow.
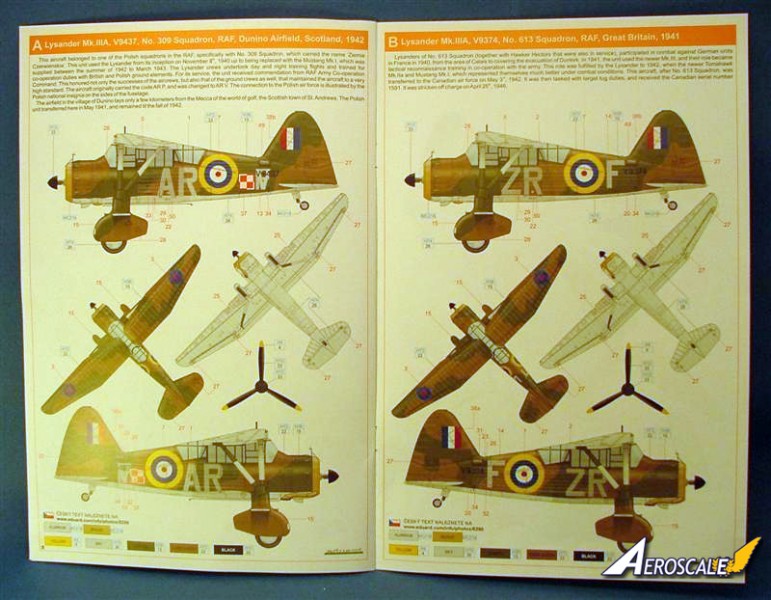
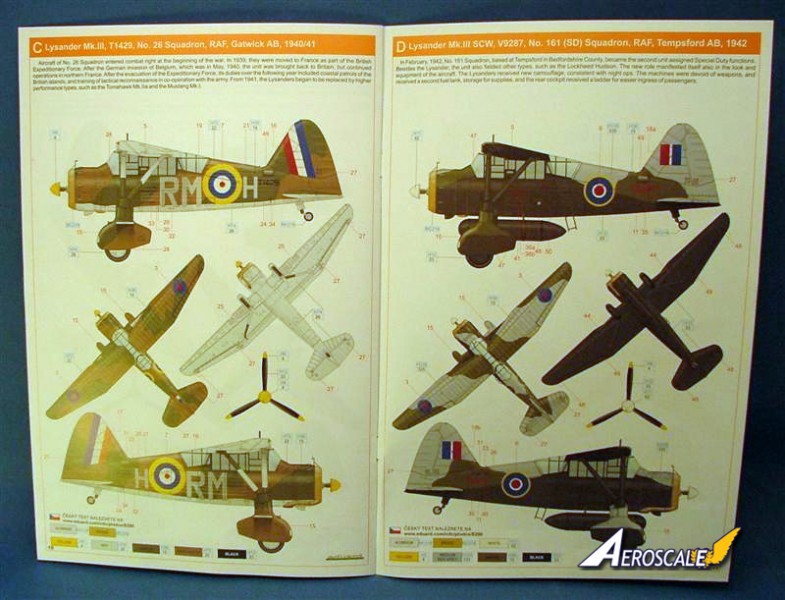
The last four pages have full colour profiles of the 5 marking options.
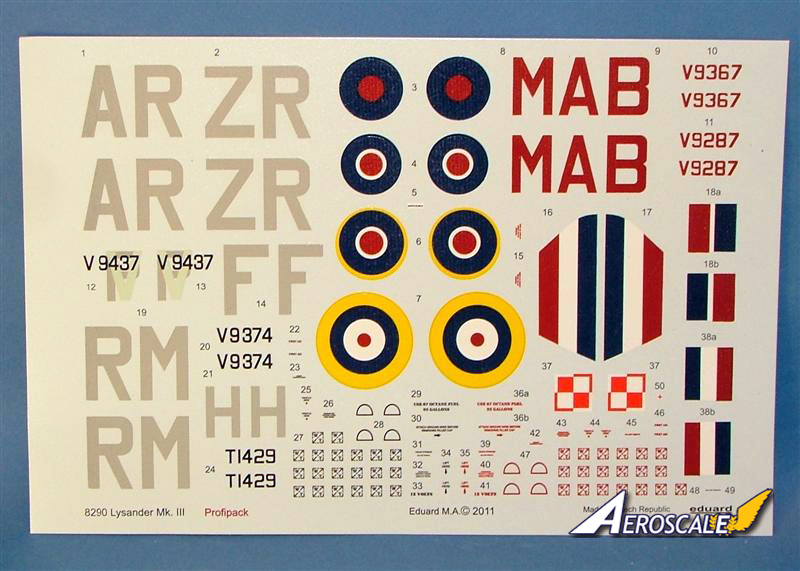
Decals and markings
The five marking option available are -
A - Lysander Mk.IIIA, V9437, No. 309 Squadron, RAF, Dunino Airfield, Scotland, 1942
Sky undersides and Grenn and brown camo uppers.
B - Lysander Mk.IIIA, V9374, No. 613 Squadron, RAF, Great Britain, 1941
Sky undersides and Grenn and brown camo uppers.
C - Lysander Mk.III, T1429, No. 26 Squadron, RAF, Gatwick AB, 1940/41
Sky undersides and Grenn and brown camo uppers.
D - Lysander Mk.III SCW, V9287, No. 161 (SD) Squadron, RAF, Tempsford AB, 1942
Black undersides with Green and Medium sea grey camo uppers.
E - Lysander Mk.III SCW, V9367, No. 161 (SD) Squadron, RAF, Tempsford AB, 1944
Full black uppers and lowers.
The decals are thinnish and glossy with very little carrier film around the edges. One area of concern is the roundels which seem to have lines printed on them, and look a little strange.


Comments