

1⁄72PZL P.1/I prototype
4
Comments
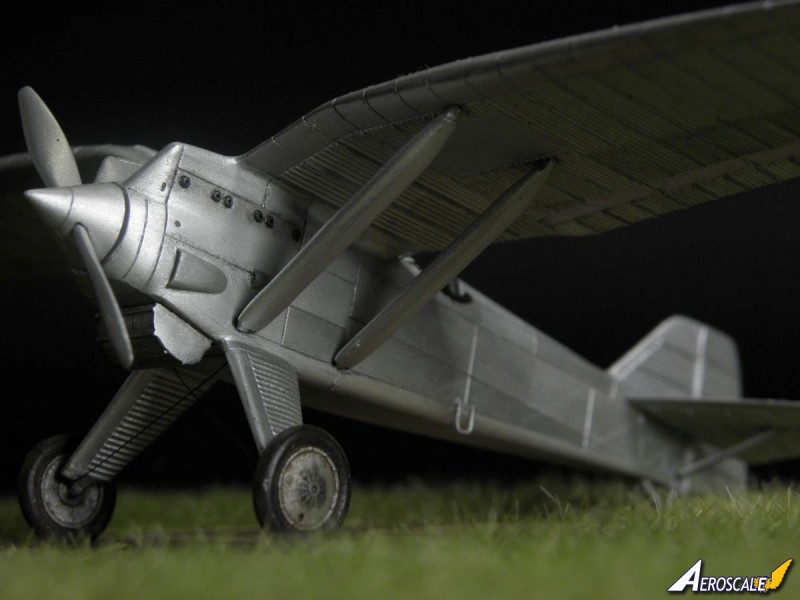
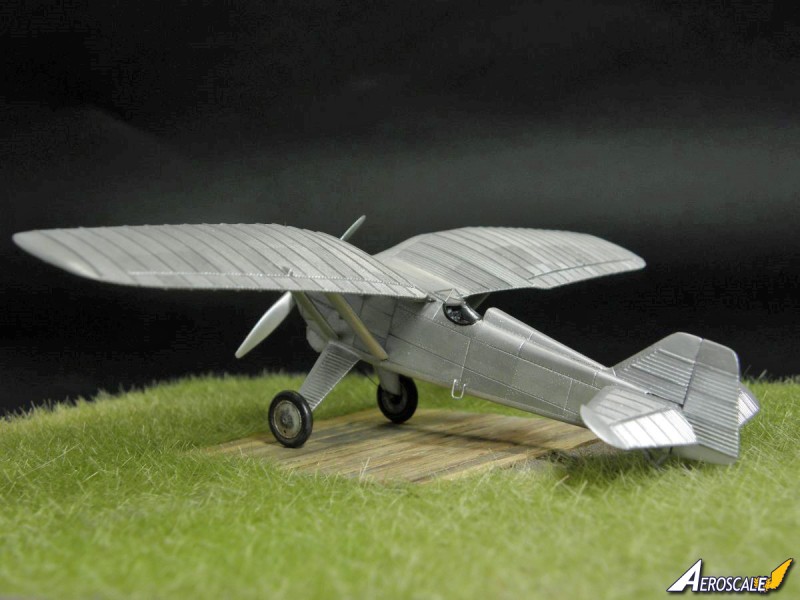
PZL P.1/I prototype
The model kit I used was PZL P.1/I prototype issued in the EZ-set line(catalogue number AH73001). The kit features the very first prototype machine with the Puławski gull-wing fighter series.Box contains about twenty five resin parts, six photoetched (seatbelts, windscreen frame and throttle levers) and a small film for windscreen "glass.
There are no decals as the original plane did not have any markings.
Some time ago Arma Hobby have announced incoming ending of production of their resin model kits so if you are interested in getting one of these better take hurry.
Assembly
Assembly of the kit was child easy, just follow instruction. A bit of experience I got with resin kits told me to do few minor improvements which should make my life easier.First of all I pre-drilled the undercarriage legs, main wings and front fuselage part to insert the steel rods which will improve final assembly and strengthen the connections. It also helps to align everything before final gluing together.
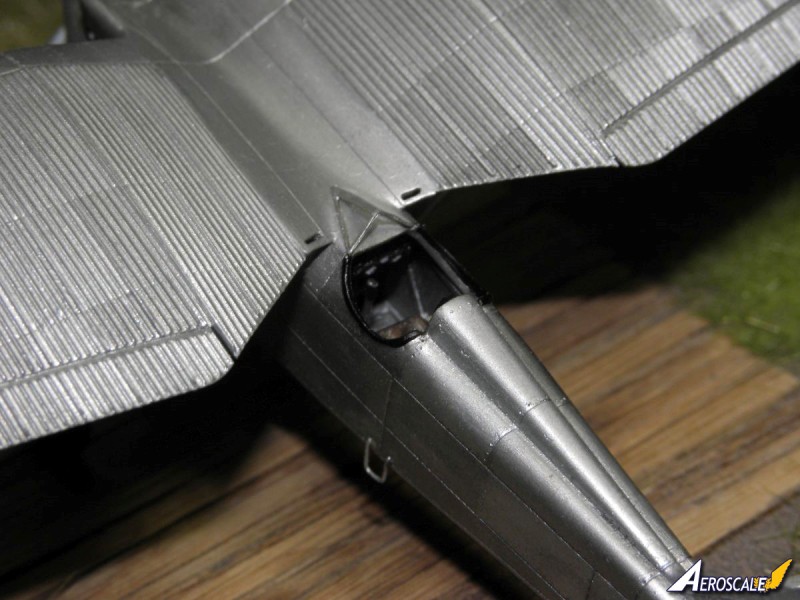
Fuselage of the kit is made of three parts engine as the forward section, cockpit and back of the fuselage and cockpit cover is some kind of an insert. Be very careful while cutting the engine off its casting block.
In the back section of this part the producer has made a small frill which enables quick connection with the rest of the fuselage. As I have already seen on some forums some folks have sanded it off and later cried about a lot of difficulties when joining and aligning two main fuselage parts.
As all the plane weight will be later supported just on the two thin undercarriage legs with small connection surfaces I decided it will be clever to reduce the weight of the model as much as possible. The forward section is cast as a monoblock which means its heavy, so the next step was removal of the inside of the "engine block. A Dremel tool with few drills and cutters was enough to produce a large pile of resin dust and scobs on the workbench however the final weight of the engine was significantly smaller. As a consequence of that step I had to cover the large gap in the place of the firewall which was seen from the cockpit opening. I crafted a new firewall using some thin styrene sheet. It may seem complicated when you read it now but it's not if you take a look on the unassembled kit. It wasn't more than an hour or so of work in total.
When working with the engine I also decided to enlarge the hollows of the exhaust pipes. Arma Hobby have made the exhaust gently hollowed however I thought the sides of pipes are too thick. Another half of an hour with the smallest drills I found and that's all here.
Producer company is run by modelers so the building sequence shown in the instructions was well thought off.
General fit of the parts it nearly perfect. The gaps in connections which I met are not even worth any serious mention. I filled them quickly with a tiny drop of CA glue and sanded smooth.
And here's another advice for novices take a good care with finishing the surface as it will be later painted with metallics. These paints do not forgive any imperfections of the surface so each and every scratch will be visible like a glowing neon.
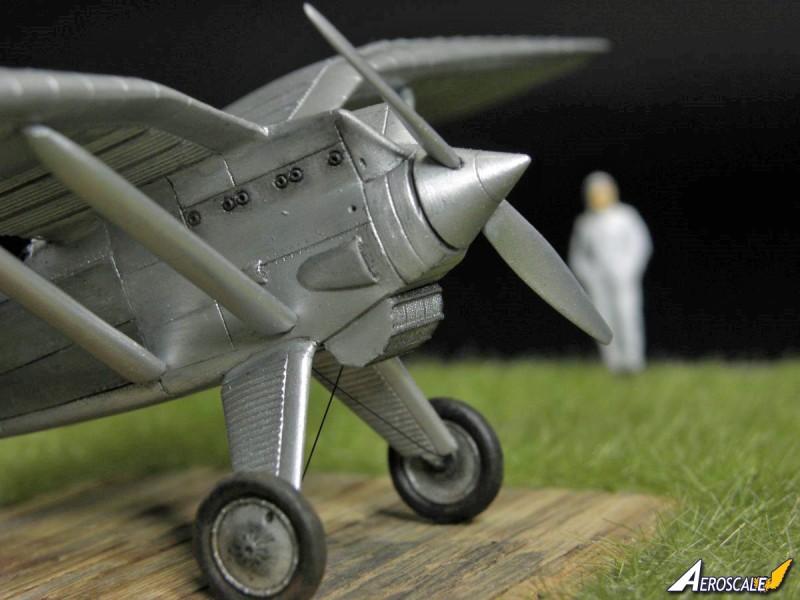
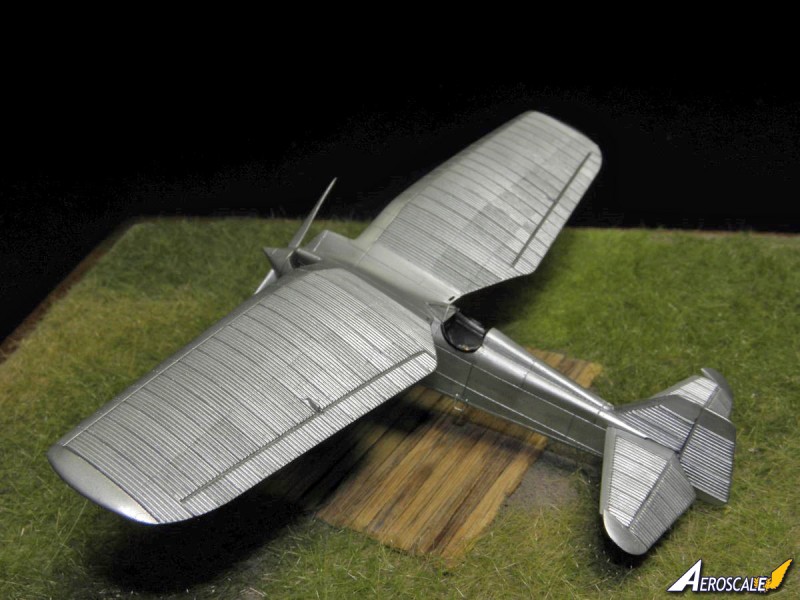
To enhance the surface a bit I added the rivet lines on the fuselage. These are quite visible on the archive photographs of the plane taken before its first flight. The smallest RB Productions riveter was used here. That was almost all to get the model ready for painting...there was still the question of the main wing struts to be solved.
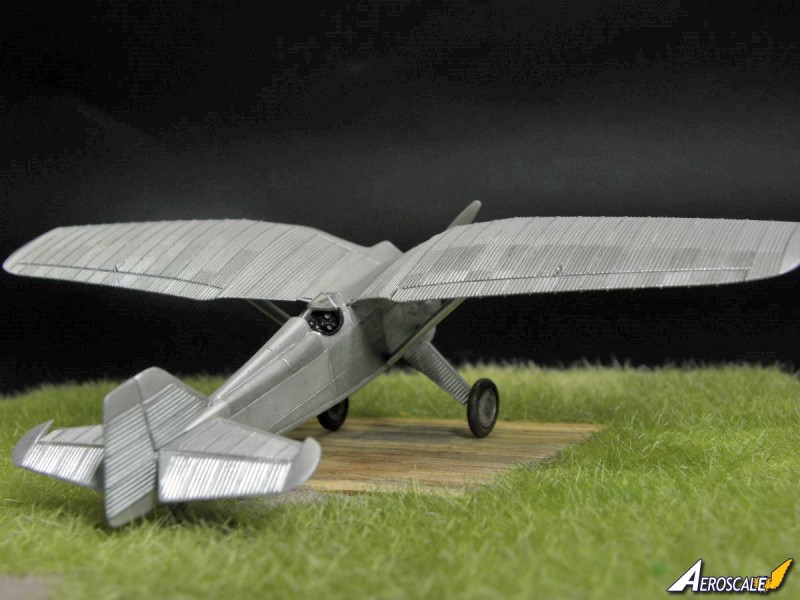
When I studied the archive photographs of the plane first and second prototypes and compared it to the model kit parts I have noticed a small difference of the lower struts endings. Kit parts are accurate for the second prototype, which is also available on the market as another boxing. In the second prototype the struts were narrowing at both ends, near wings and fuselage while in the first prototype they were straight near the fuselage and narrow at the top end. This meant I had to thicken the lower ends. For this task I used the CA glue and a single layer of the tissue. First I prepared thin stripes of tissue, about 2-3mm wide and glued their ends to each strut. When the glue dried I soaked the tissue stripe in CA and wraped few times around the strut. When everything was dry again all I had to do was to remove the excess material and by using a file and sanding paper form the proper shape of the strut end. No biggie.
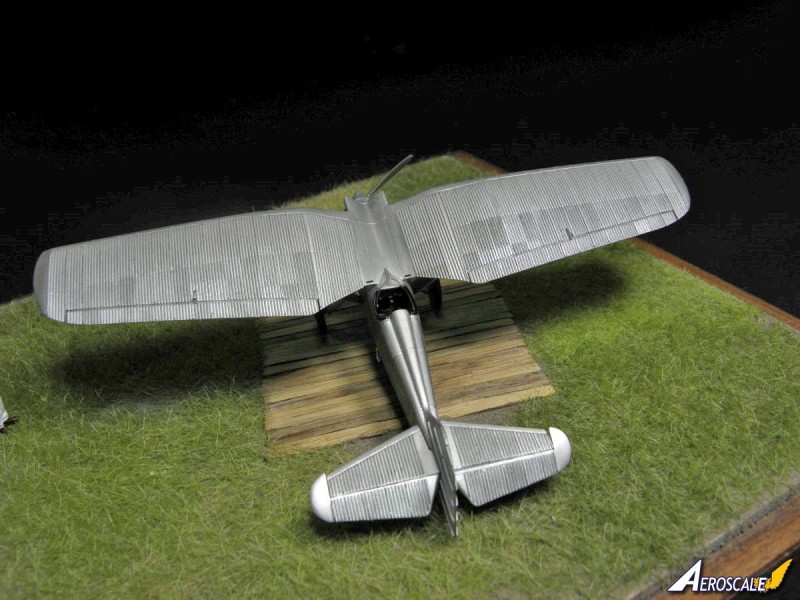
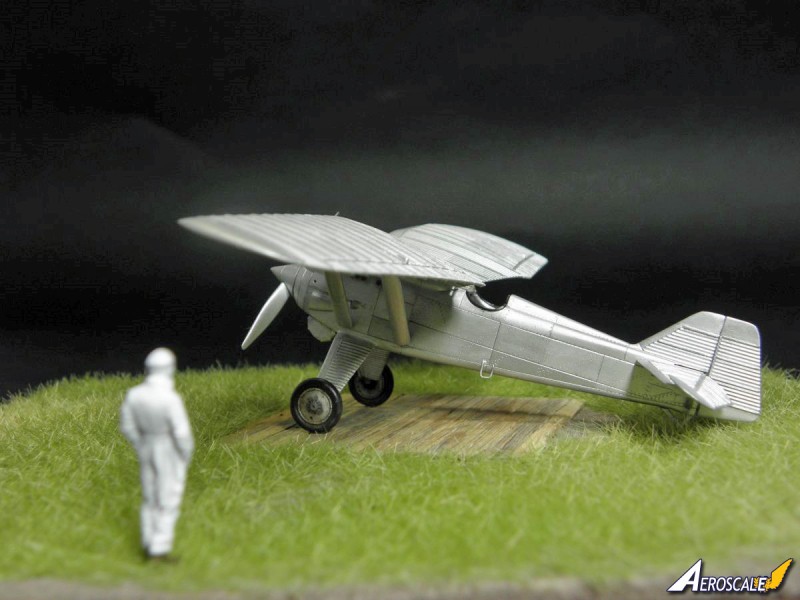
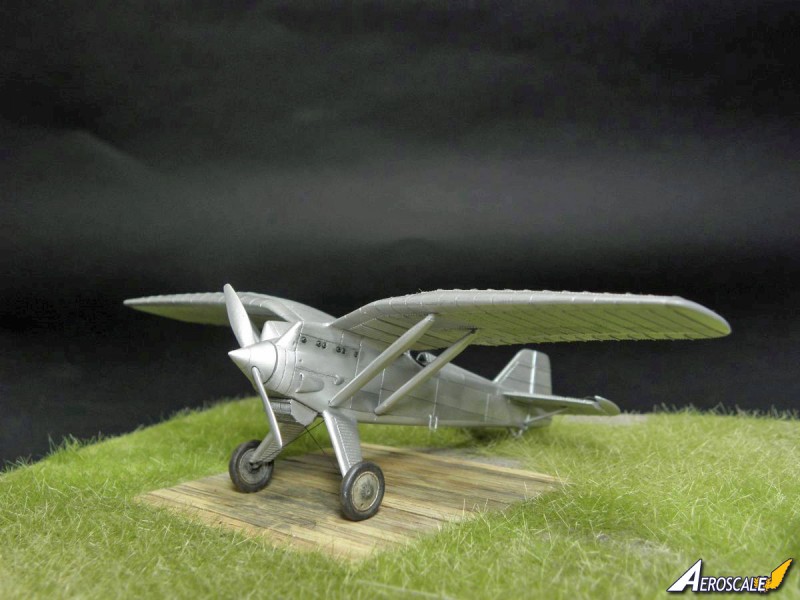
Painting. After a hard lesson (actually kicking of my backside) of painting aluminum on the LiM-1 I wanted to try something new. To the rescue came my lovely wife who some time earlier made me a gift of the new Vallejo metallic paint set. With the few shades of aluminum, steel, iron, etc, paint I decided to give it a try.
As usual the model was first washed with alcohol to remove any grease or dust in the panel lines and sprayed with the aluminum.
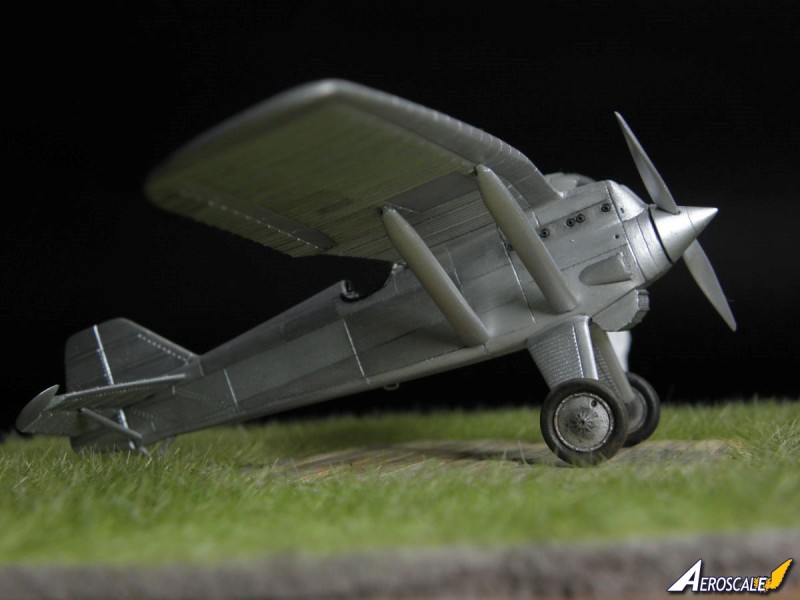
Particular panels of the fuselage and wings were hand painted with the tiny brush and randomly mixed darker aluminum colour. I have intensively thinned the darker colour as I wanted to apply it with multiple layers so that with each another layer particular panel would go darker than the other. This way using just one colour I achieved some variety of tones seen on the archive photographs.
The last step was painting details and applying of the dark wash, also mixed randomly using Vallejo Air black and browns. And that was the end with the model but there was still a base to do.
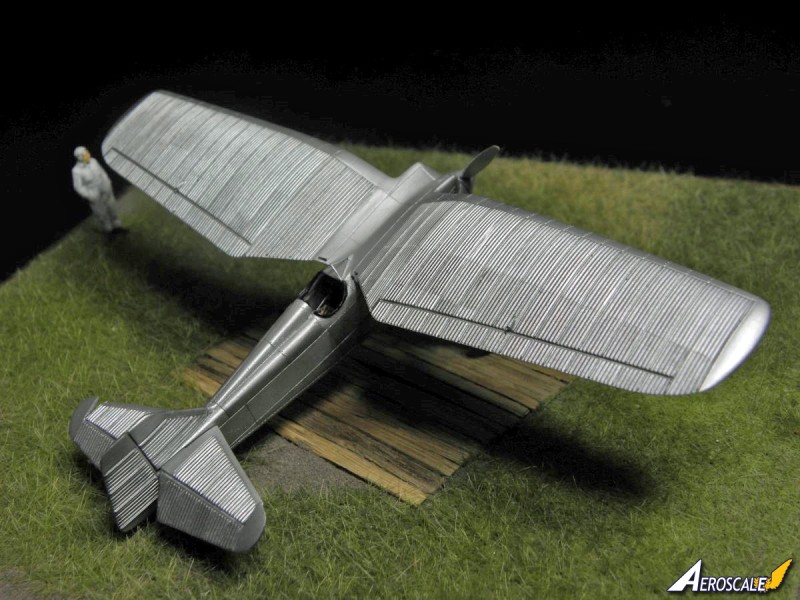
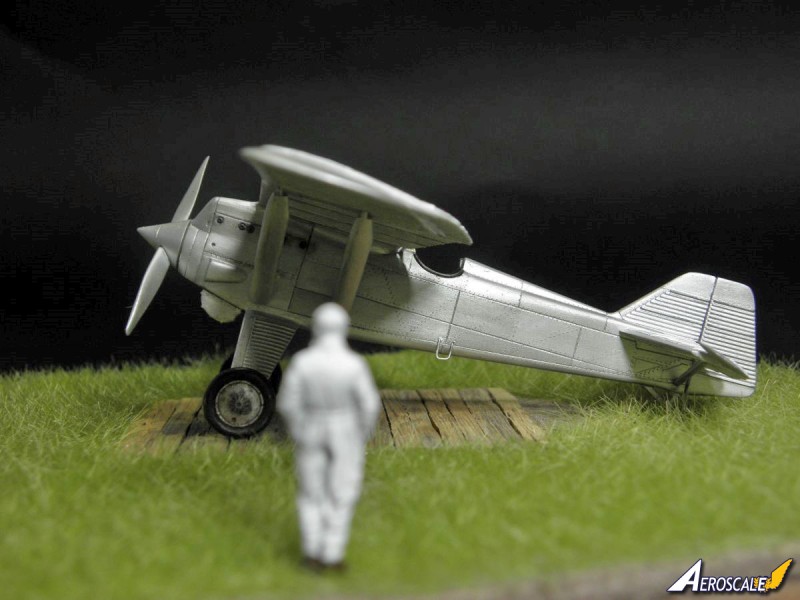
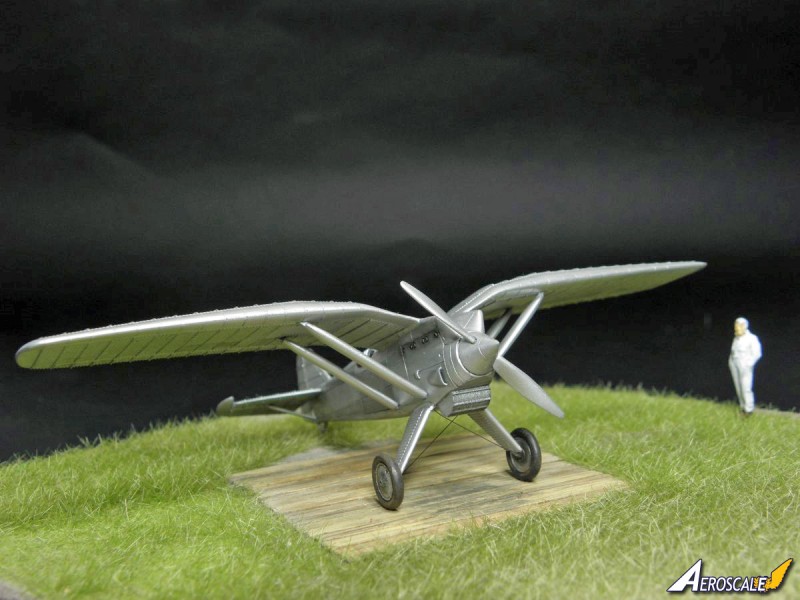
The base is a simple hand-made wooden frame, cut to shape and painted with some house-held tools with the thick cardboard glued on top.
Grass was made using the Pollak static grass for the railroad modeling (I guess H0 scale) and the wooden boards made from veneer.
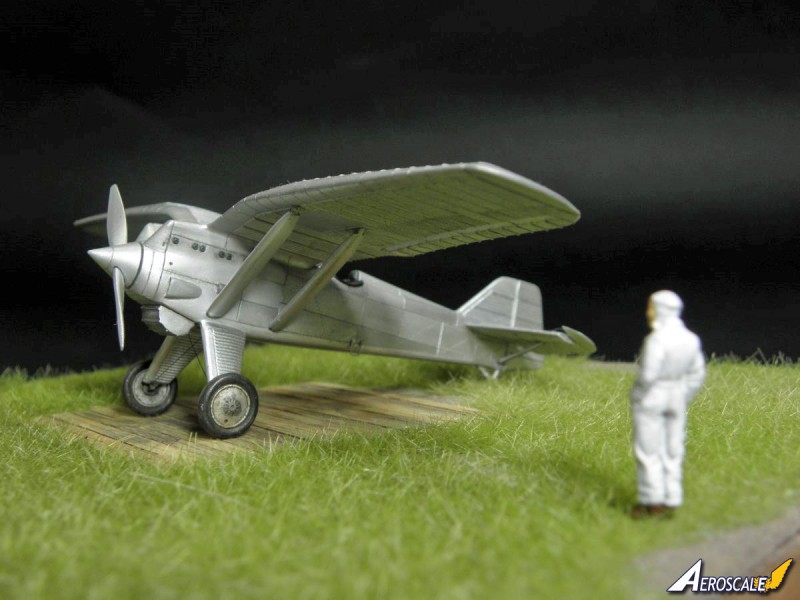
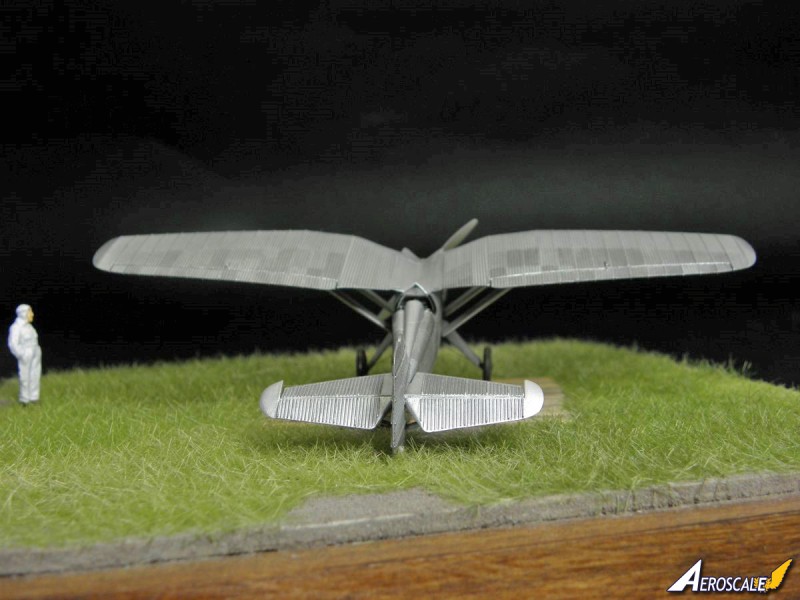
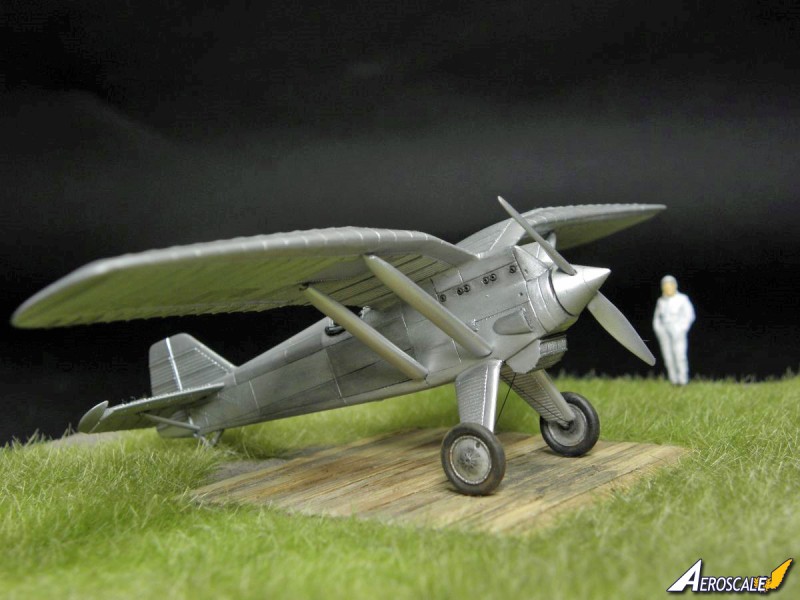
The figure seen on the side is the Adalbertus product (ADB74001) of then Cpt. Bolesław Orliński the famous Polish test pilot who flew the PZL P.1 prototype for the very first time. He also test-flew many of the future PZL fighters P.6, P.7, P.8 etc.
This is a one-piece figure so all I had to do was to clean the shape from flashes and paint it.
Having all pieces of the composition ready the last step was to put them together and take some photos. And that's really all. I hope you like the final result of my work. Please, feel free to leave a comment on the forum if you like it or not or if you simply just want to ask a question.
References used
"PZL P.7 vol. 1, author: Glass A., publisher: AJ-Press, published 2000
Link to the model kit on the producer website
http://www.armahobby.com/pzl-p-1-i-prototyp-ez-set.html


About the Author

Comments

Hi Michal
Lovely job! Thanks for submitting such an excellent article. I've long been a fan of PZL's gull-winged fighters in all their forms, so it's great to see the first of the line.
All the best
Rowan
SEP 15, 2017 - 12:22 AM
Hi!
Andy, many thanks for taking care of this feature - great job!
Thanks for comment Rowan, I'm really very glad you like my model. Arma Hobby had filled a huge gap on the Polish gull-winged fighters kits market. They have released P.1, P.6, P.7, P.8 and P.11 prototypes in both 1:72 and 1:48 scales. The P.1 was released in two boxings of the first and second prototypes differing in the engine nacelles, rudder, struts and of course the painting options. However the first prototype was released only in the 1:72 scale. I will try to build more of this line in the future - P.1 second prototype and P.8 are already in my stash.
SEP 16, 2017 - 01:00 PM

Many thanks Filip. I'm waiting impatiently for your second Cauldron to be finished.
SEP 17, 2017 - 05:00 PM
Copyright ©2021 by Michal Sindera. Images also by copyright holder unless otherwise noted. The views and opinions expressed herein are solely the views and opinions of the authors and/or contributors to this Web site and do not necessarily represent the views and/or opinions of AeroScale, KitMaker Network, or Silver Star Enterrpises. Images also by copyright holder unless otherwise noted. Opinions expressed are those of the author(s) and not necessarily those of AeroScale. All rights reserved. Originally published on: 2017-09-14 23:47:50. Unique Reads: 10303

WEB HOSTING BY


Copyright ©2021 AeroScale and Kitmaker Network, a subsidiary of Silver Star Enterprises
All Rights Reserved. Please read our Conditions of Use and Privacy Policy.
All Rights Reserved. Please read our Conditions of Use and Privacy Policy.