

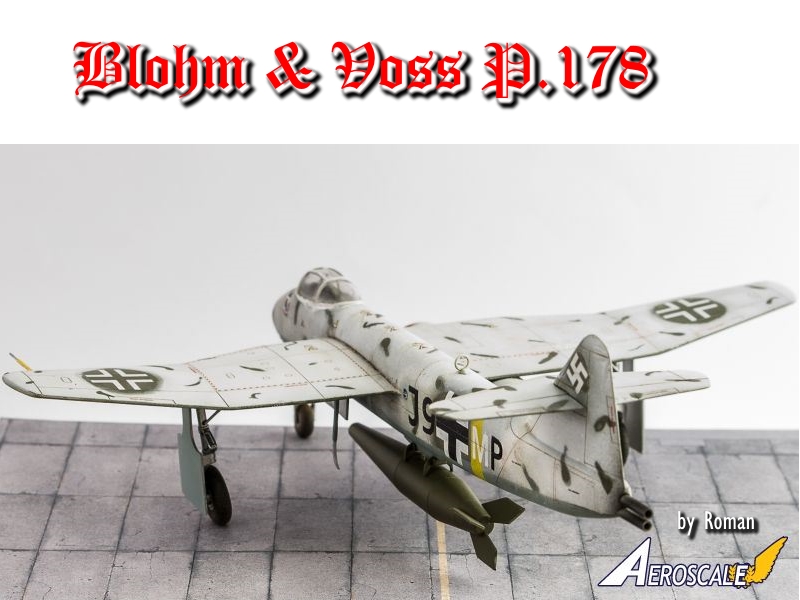
1⁄72Blohm & Voss P.178
1
Comment
history
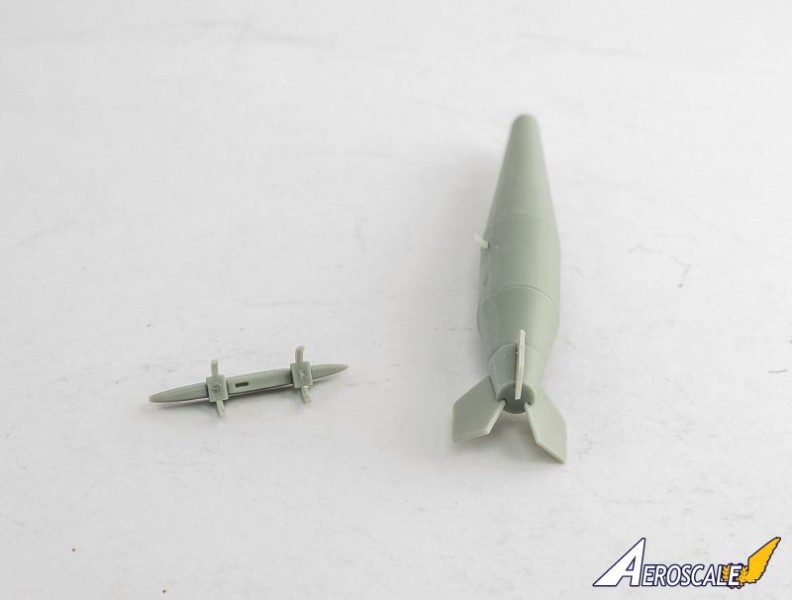
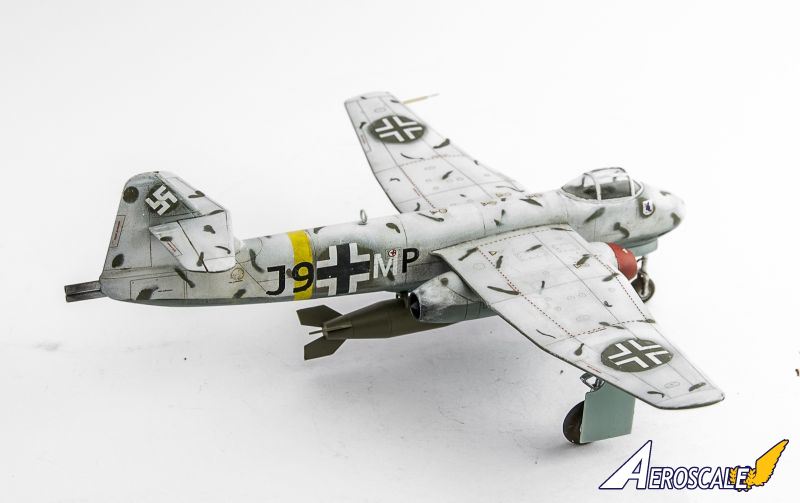
The BV P178 was designed as asymmetrical experimental jet bomber with Junkers Jumo 004 jet engine in a pod on the right wing. For take-off 2 solid-fuel rockets were supposed to be installed in the rear of the fuselage. Armament of BV P178 was planned to be two 15mm MG151 cannons in the nose, a bomb inside the fuselage (500 kg) or a larger bomb (1000 kg). As it never went into prototype design stage nothing can be said about estimated performance of characteristics.The Model
Now Bronco models offers 4 kits already and basically these kits differ only in external armament and markings. This build story is a follow up of a previously published in-box review. Please refer to it for sprue images, box content and so forth.Please take into consideration that I am not a very skilled aircraft modeller (actually this is my first ever finished aircraft model!) and some of my comments would come from a AFV modellers point of view.
The build
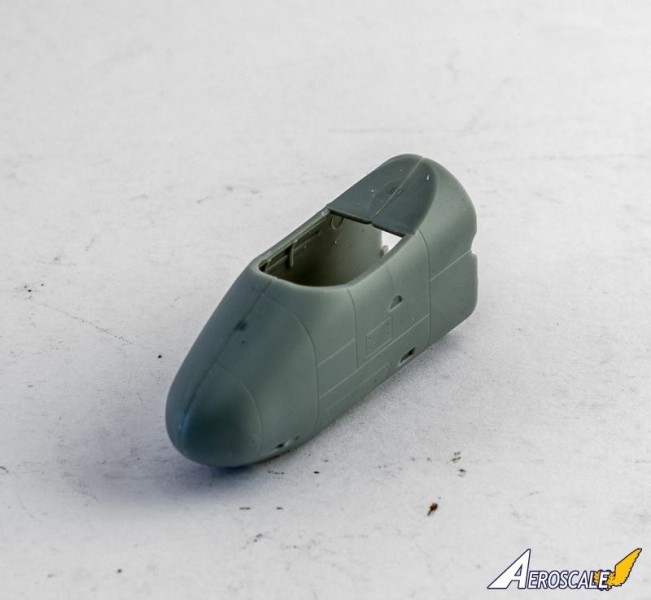
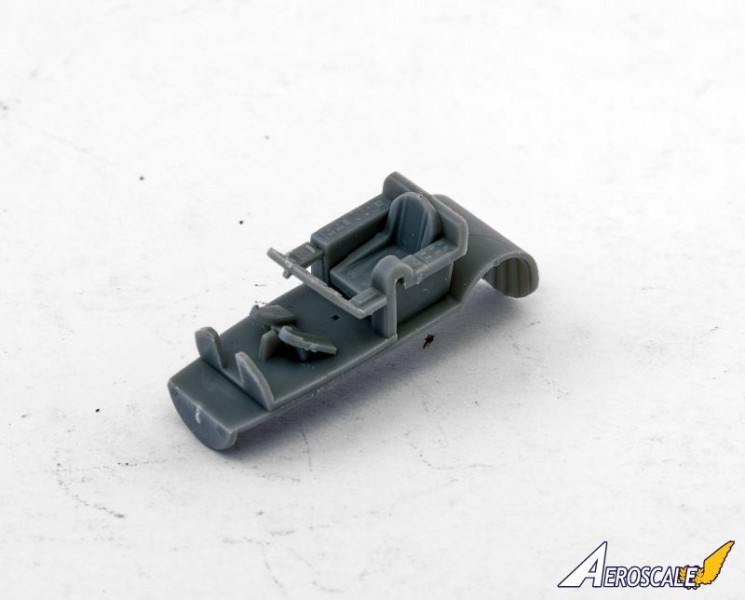
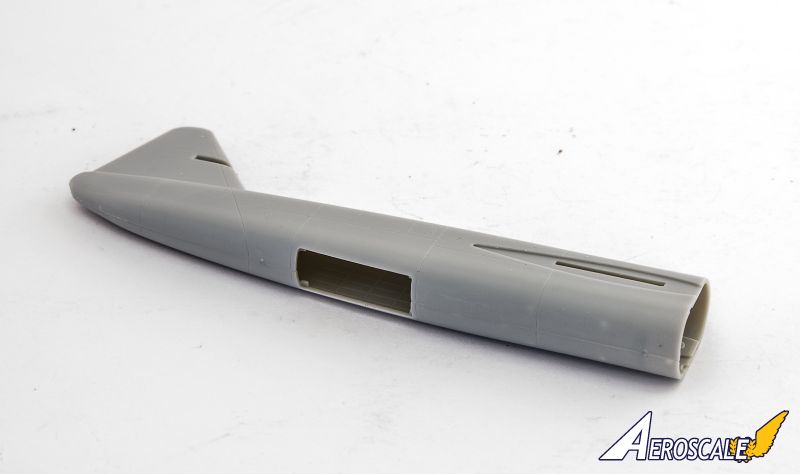
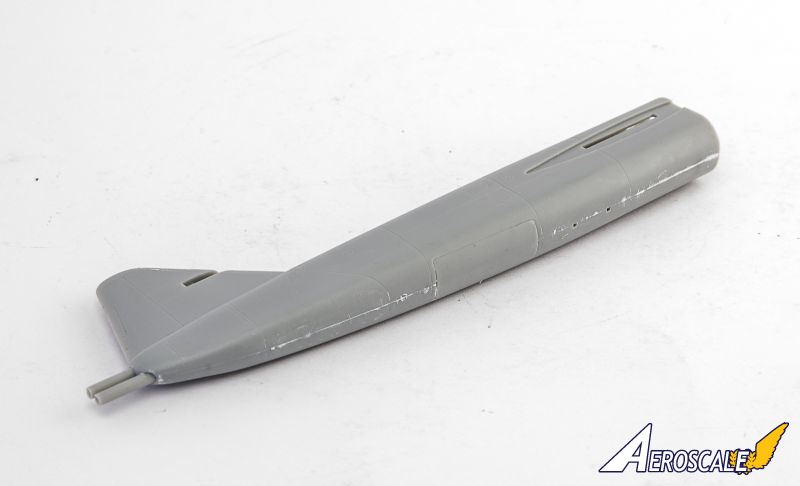
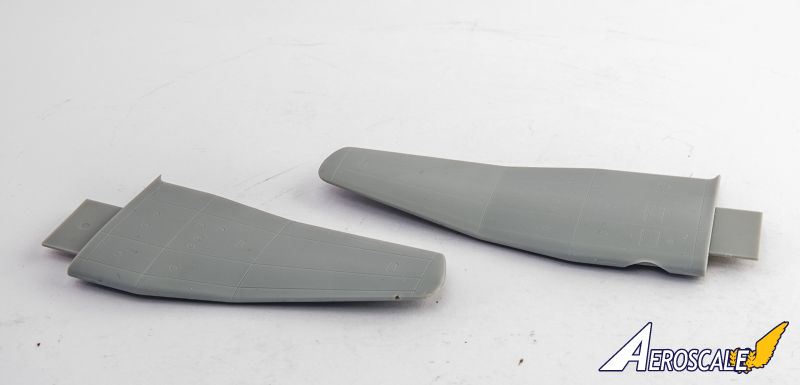
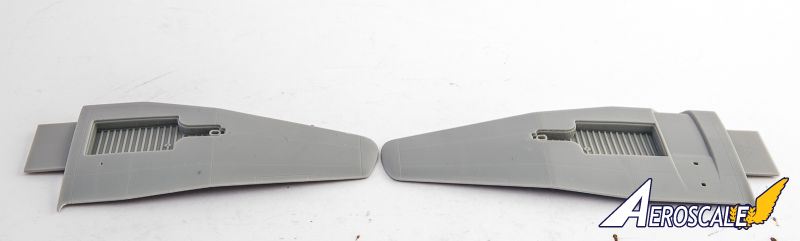
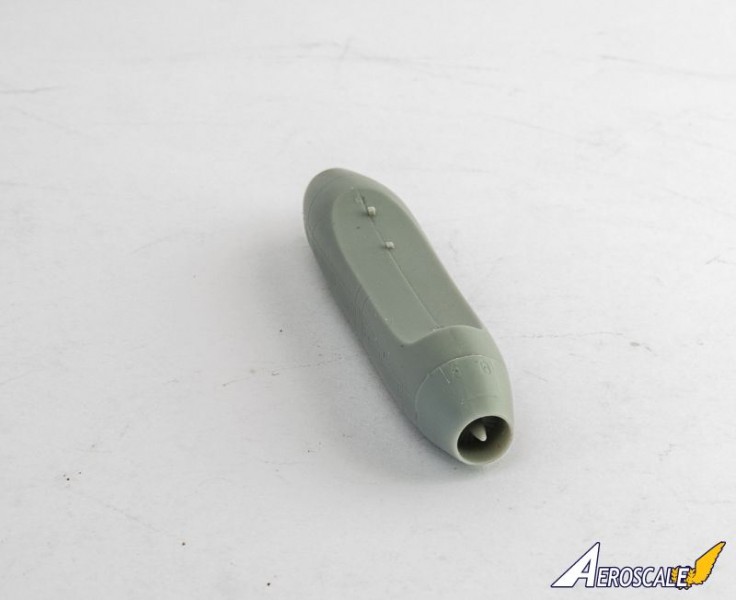
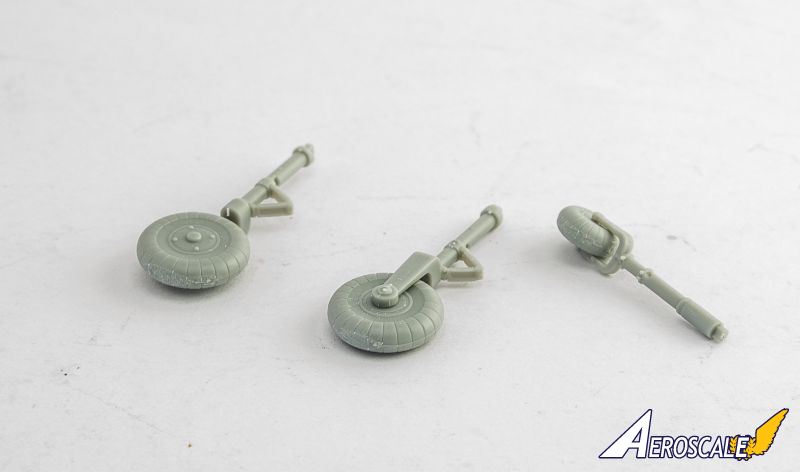
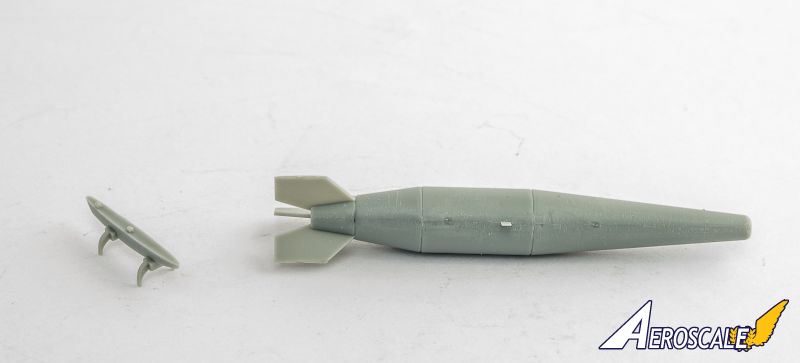
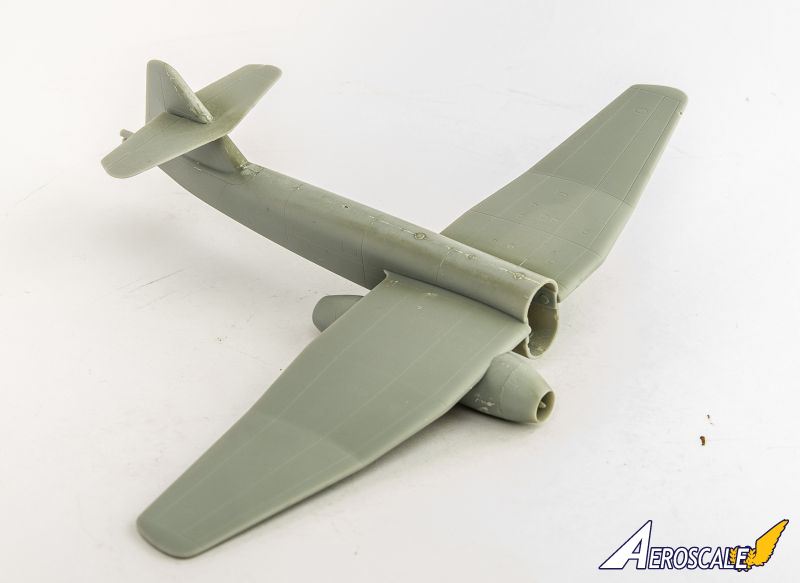
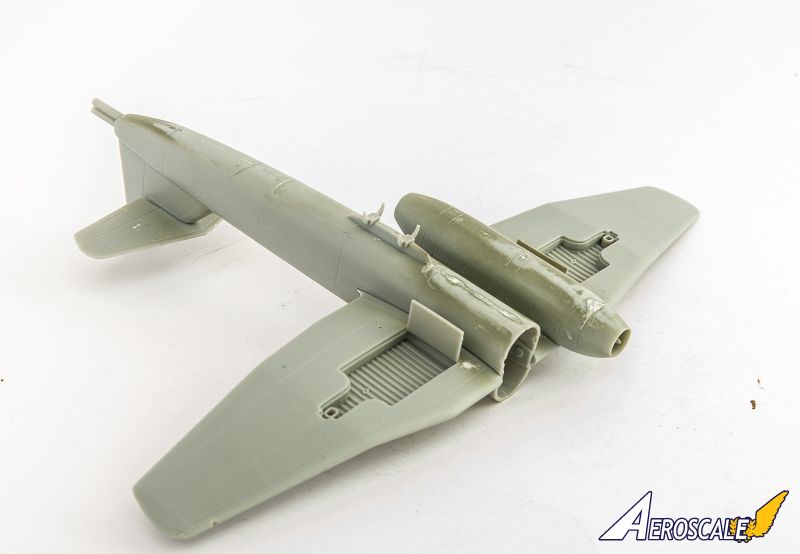
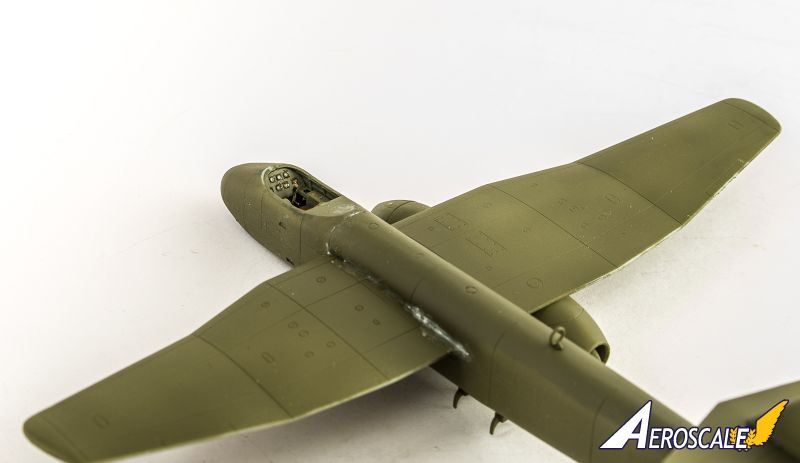
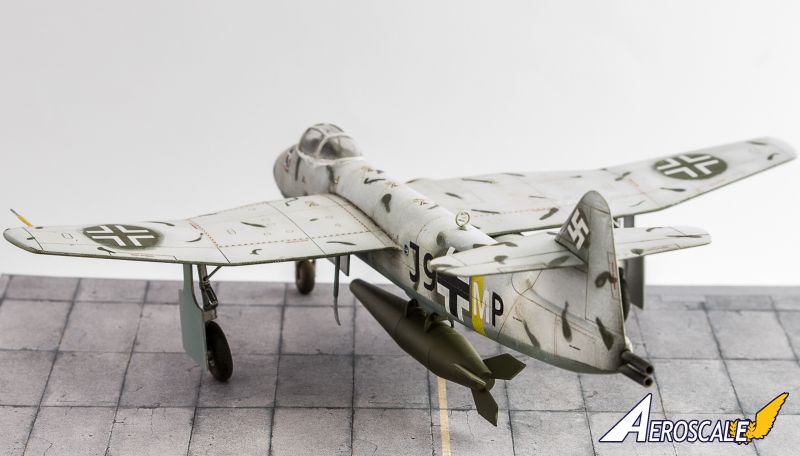
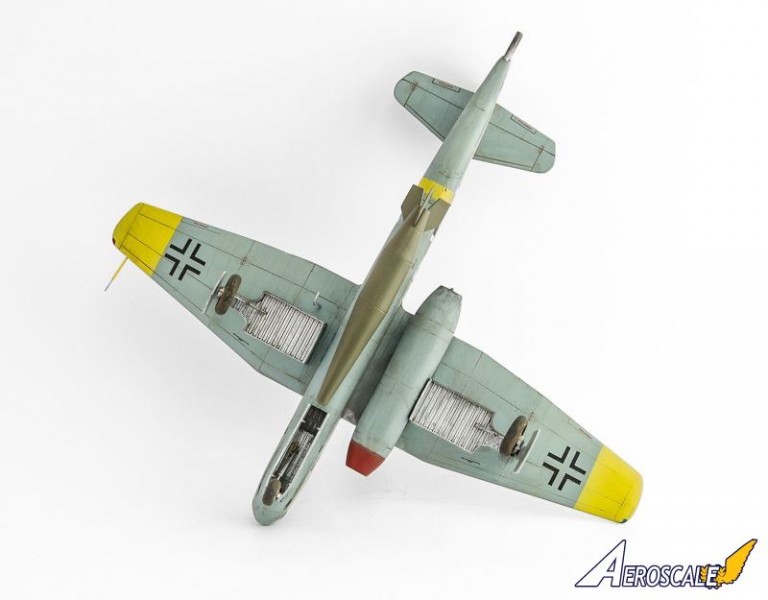
At the first glance it looks as a rather simple build with only 6 steps to complete this tiny model of elegant and original plane. Two first stages are dedicated to wing assembly and here there is an option for folded or expanded landing gear. I went for the latter variant and omitted gluing the chassis elements on site until final assembly. The fit of the wing parts was excellent and here I used no putty at all. Next step was to build a cockpit and nose of the fuselage. The cockpit has average detail which would have benefited from a better seat belts and control panel, however when I was finished I realized that these are sufficient as they are from the box as not much is seen through the canopy in principle.Here the manufacturer advises to put 10g of counterweight which is not included in the kit. I put roughly some amount of solder wire particles however, when I later joined the nose of the fuselage with the rest of the fuselage I discovered that what I added was not sufficient for model to stand on the chassis. Therefore I added more solder wire inside through the opening between the dashboard and cockpit floor. Moreover, I had to glue some solder wire inside the front landing gear bay. The gluing of the nose parts required a considerable amount of putty with subsequent sanding, refilling and sanding. This was challenging for me as in AFV modelling such situation never happens. Moreover, similar process was required for rest of the fuselage, engine and torpedo. To me it was not clear whether this aircraft should have panel lines on top of the fuselage but as it was shown in the manual on the last stage without them I filled them with putty and sanded. Next the wing was assembled together with the fuselage and here only minor gaps were on one of the sides. However, when I joined the nose I had to do some putty work again.
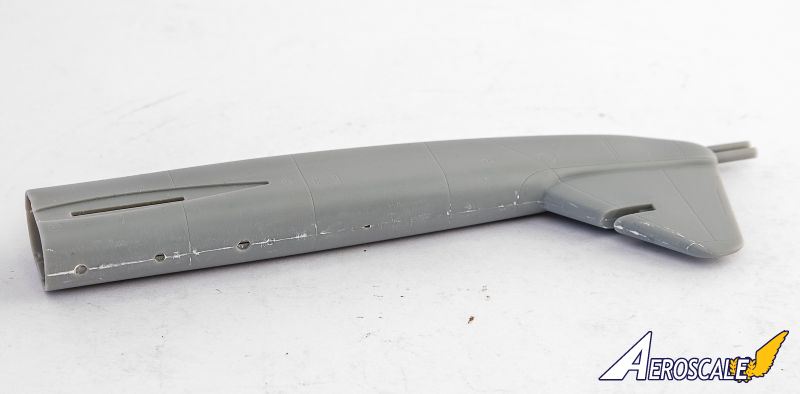
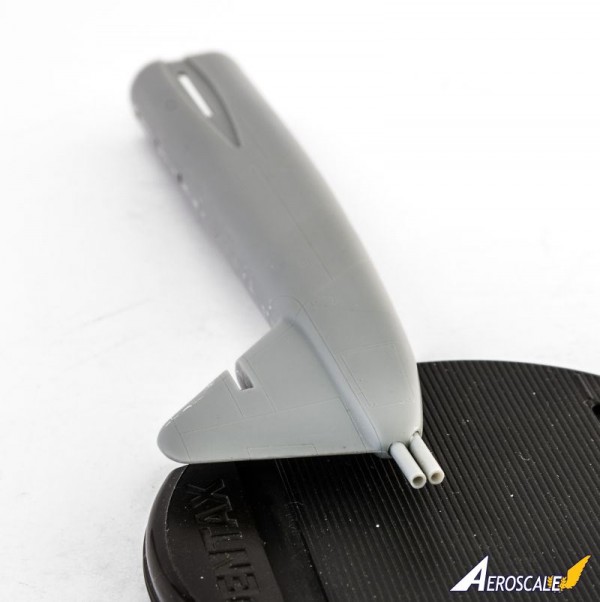
The openings of the supplementary rocket engines in the tail were bored out to make the walls thinner. I was considering drilling out MGs as well, but dropped that idea later.
Painting
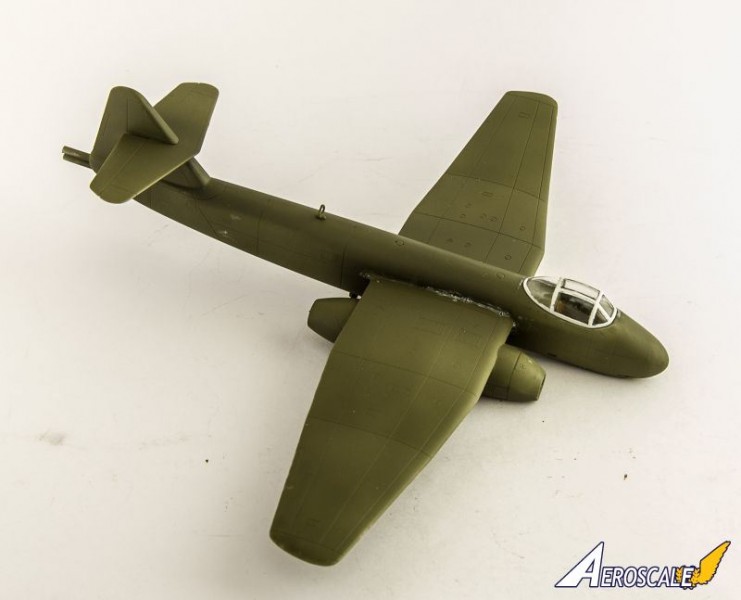
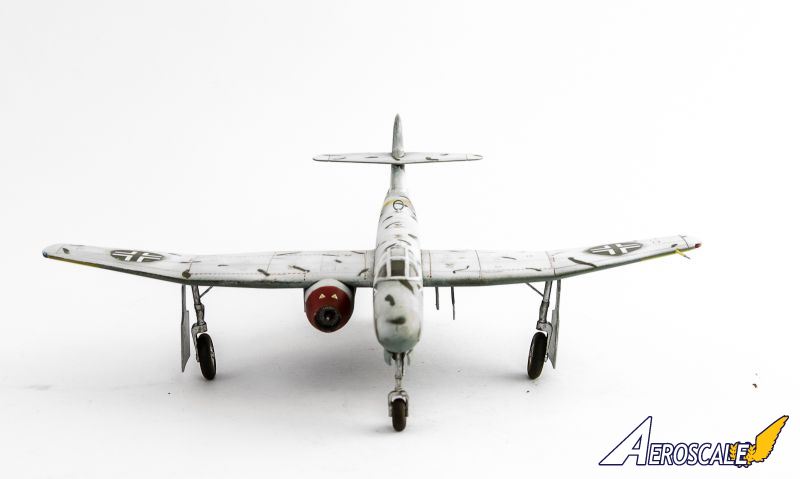
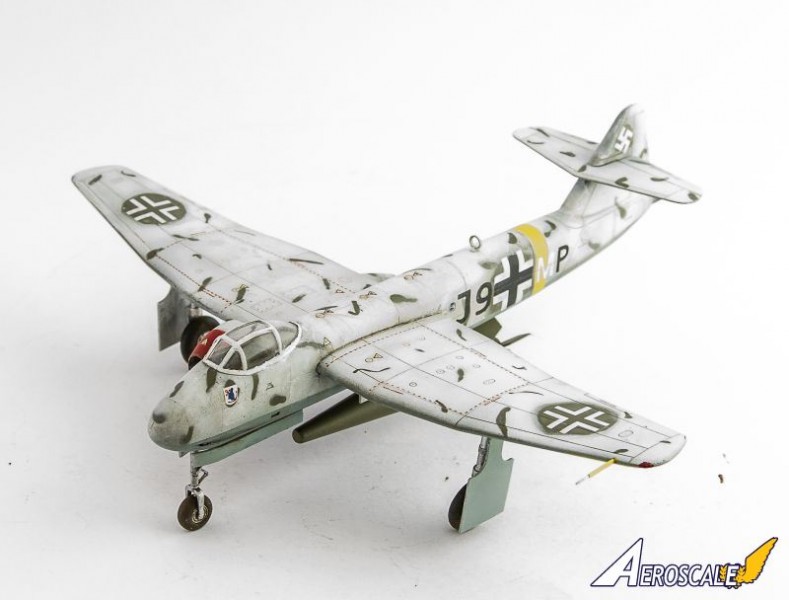
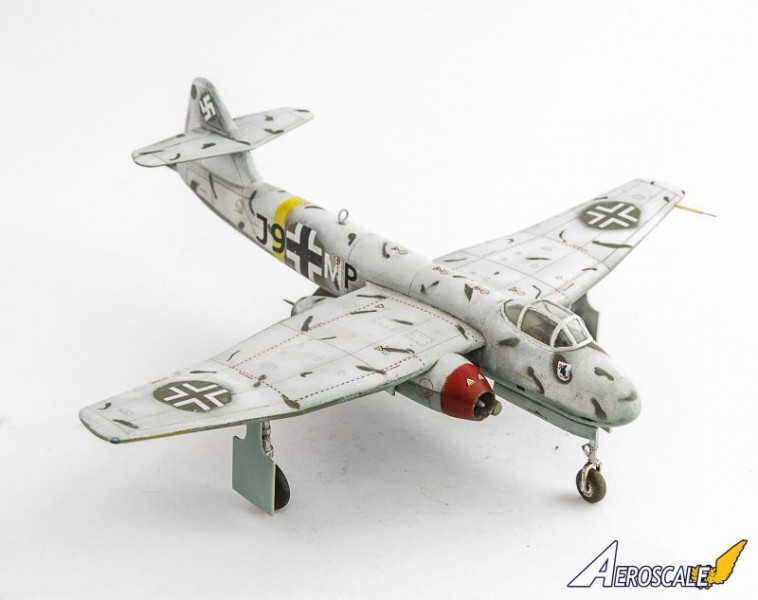
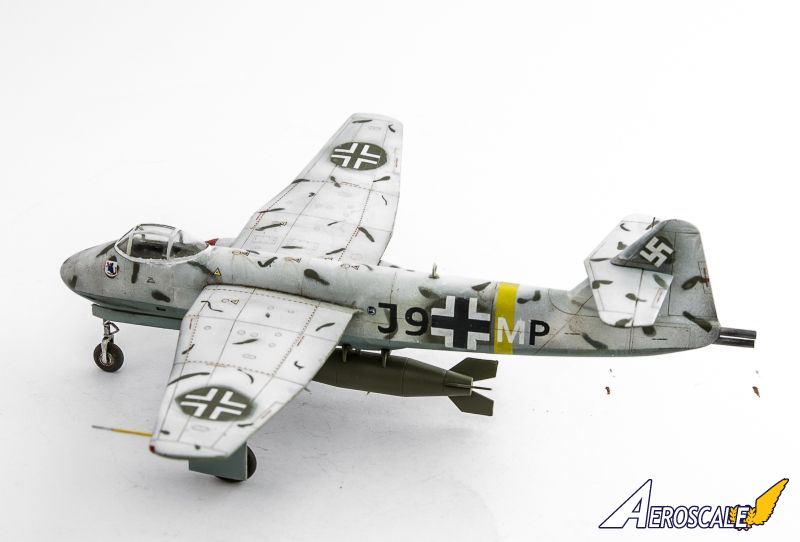
Canopy was masked and painted first with interior colour RLM Grey 02 and then airbrushed with flat white on top. The model was primed with Olive Green primer from Vallejo and I transferred some of the decals that should be on the green base colour crosses and swastikas. The latter ones are made of two halves and it took some time to align them. The decals were sealed with Mr. Mark setter and then the random dotted white camouflage was airbrushed. Masking was done with blue-tac in pattern similar to supplied paint scheme from the manufacturer. Next I masked the top surfaces and painted underside of the aircraft as well as yellow and red elements. Decals were transferred and here the letters were falling apart right after immersion into the tap water. Therefore I had to combine letters from the supplied variants of markings and even correct the shape of them with flat black acrylics and brush. When the decalling was complete I sealed the model with gloss varnish and did a pin wash with brownish enamel. White panels were refined for better appearance as well. Other weathering included light grime on the underside and some smoke on the engines. Finally I added landing gear, torpedo and pitot tube.Conclusion
Altogether this was a bit challenging build due to lack of experience with aircraft models and necessity to fill and polish some of the elements. Finishing is also not on top level, but I am happy that I learned a lot and tried something new. Hope you like it and I appreciate any feedback!

About the Author


Comments
Yay for weird German aircraft! Looks a good finish on it. The camouflage is looking good.
SEP 02, 2015 - 06:07 PM
Copyright ©2021 by Roman. Images also by copyright holder unless otherwise noted. The views and opinions expressed herein are solely the views and opinions of the authors and/or contributors to this Web site and do not necessarily represent the views and/or opinions of AeroScale, KitMaker Network, or Silver Star Enterrpises. Images also by copyright holder unless otherwise noted. Opinions expressed are those of the author(s) and not necessarily those of AeroScale. All rights reserved. Originally published on: 2015-08-15 08:50:06. Unique Reads: 8884

WEB HOSTING BY


Copyright ©2021 AeroScale and Kitmaker Network, a subsidiary of Silver Star Enterprises
All Rights Reserved. Please read our Conditions of Use and Privacy Policy.
All Rights Reserved. Please read our Conditions of Use and Privacy Policy.