

1⁄144MiG 21 Dual Combo Dual Build
...
Post a Comment
Double MiG-build!
This is the kind of build that starts more with an interest for the kit than for the aircraft. I have never been a MiG-enthusiast but I love the Eduard 1/144 kits, they are simply fantastic! With a detail level that surpasses most 1/72 kits, attractive decal options and packaging and in this case also a sheet of masks they are fun builds and great value.
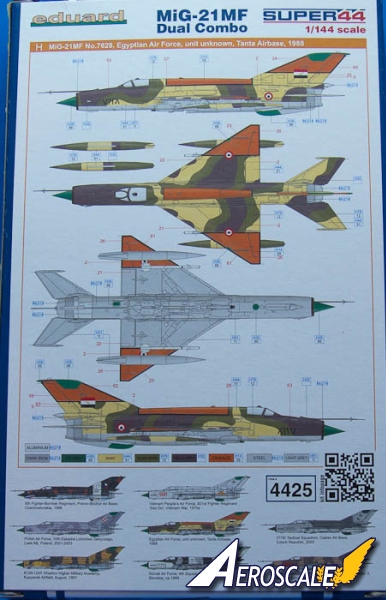
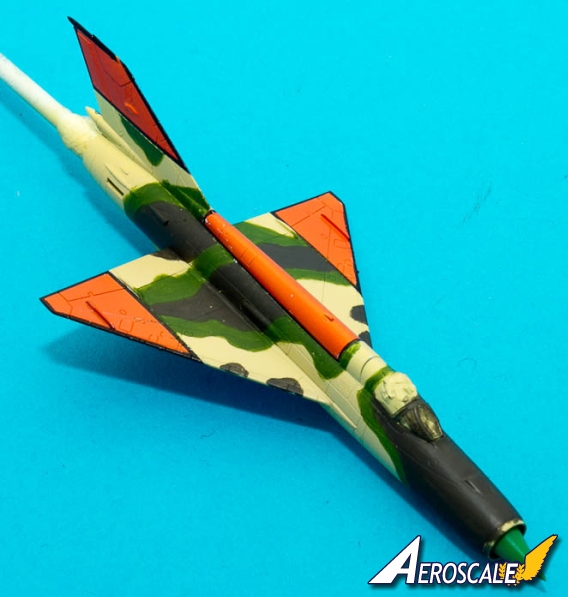
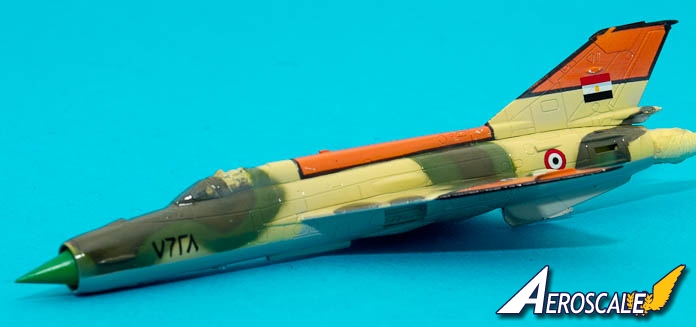
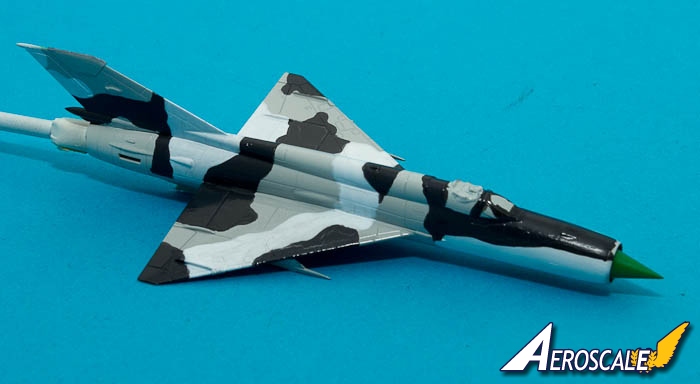
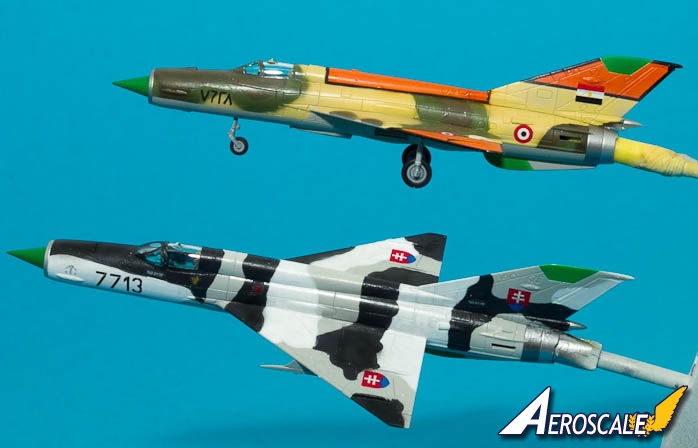
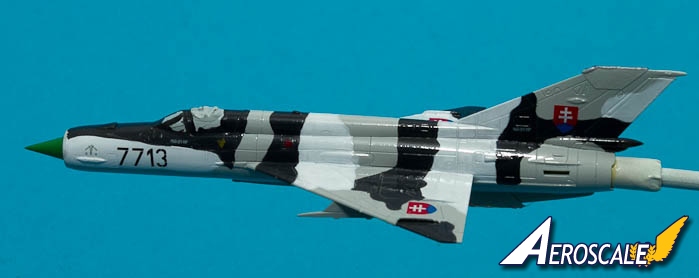
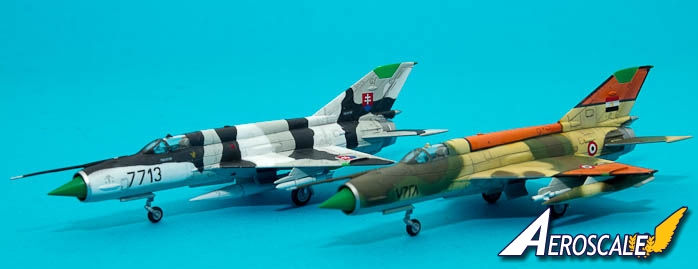
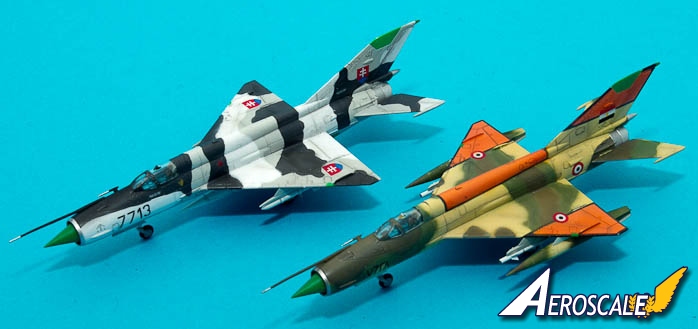
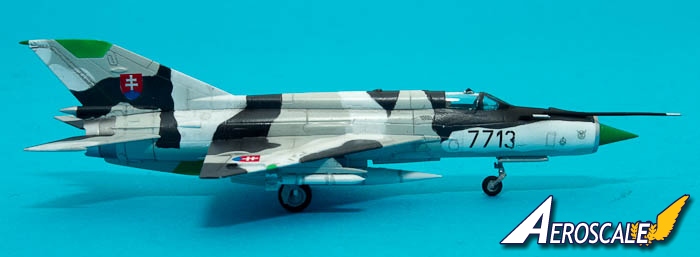
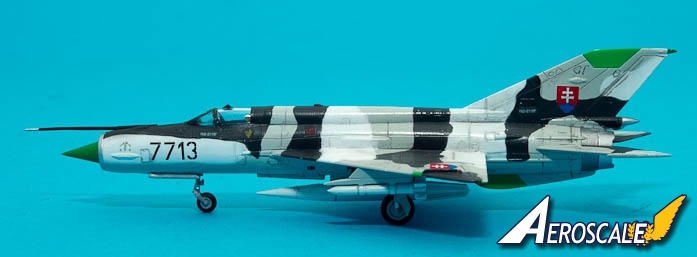
In this case Eduard has really gone over the top with the marking options. There are eight different alternatives from eight different countries (depending a bit on how you count since three of them are from Czechoslovakia, Slovakia and the Czech Republic but that is of less importance...), all in different colour combinations. I quickly found two favourites: the Egyptian one with orange ID fields on wings and tail and the Slovakian "cow-scheme" in black, white and grey!On to the building
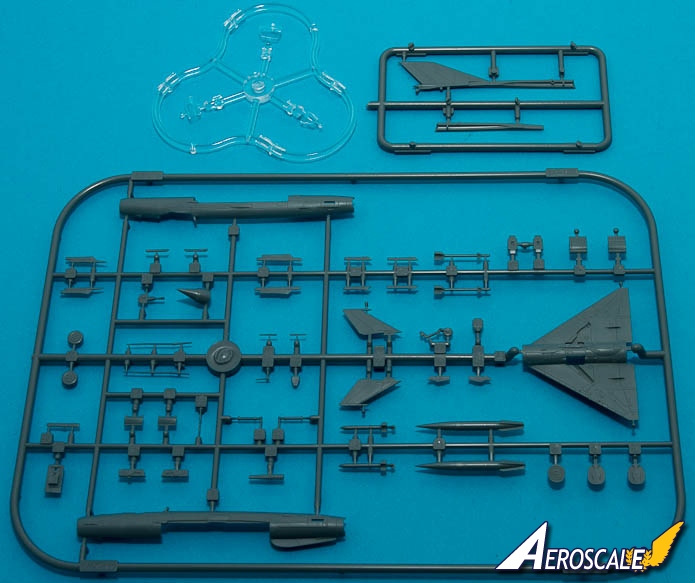
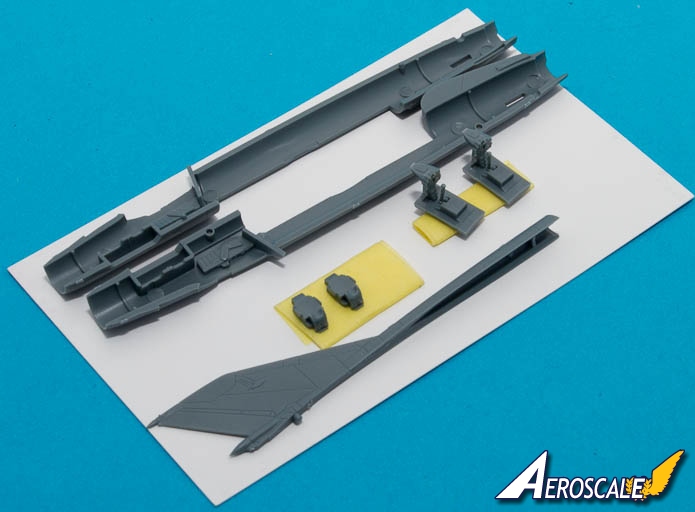
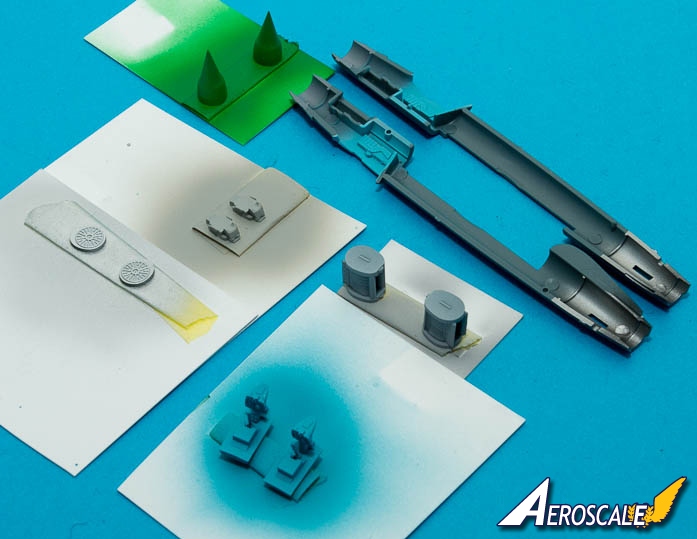
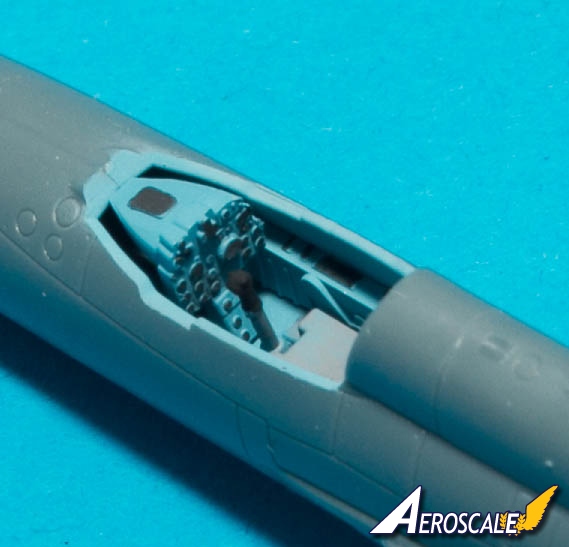
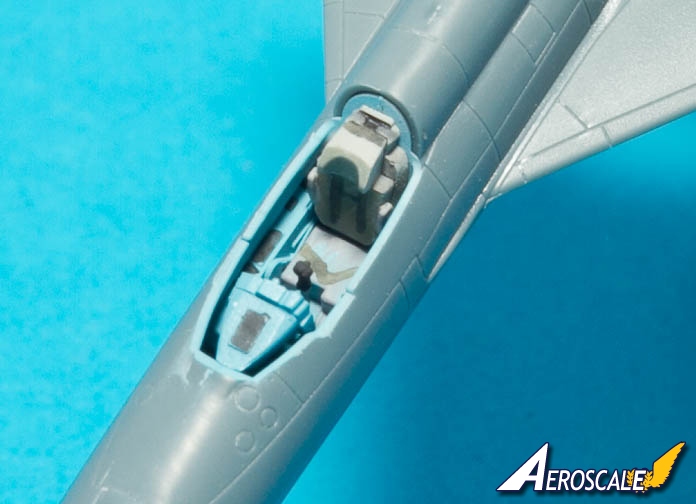
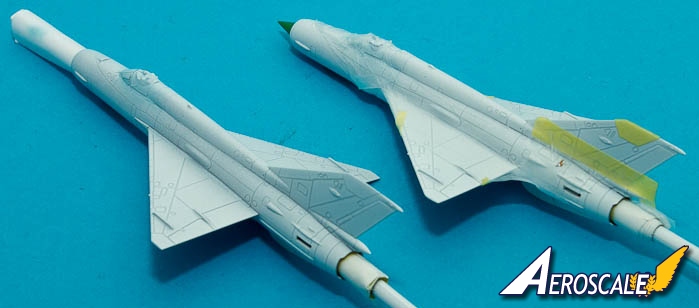
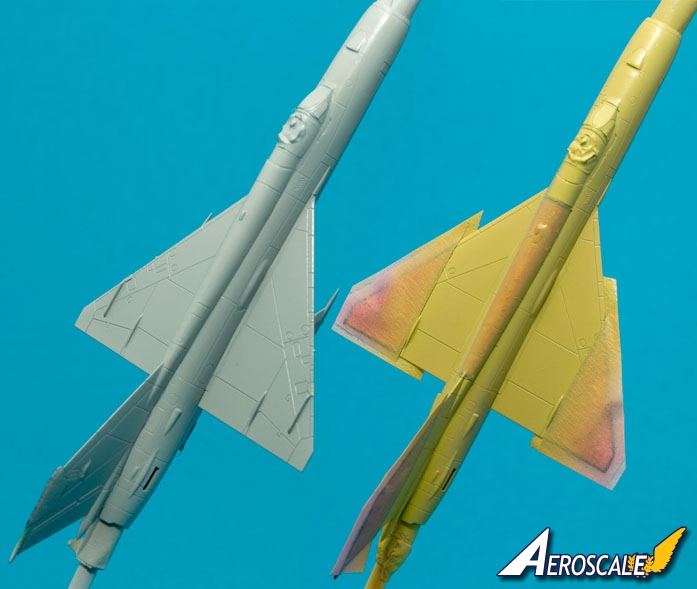
Construction is very traditional and very straight-forward thanks to the excellent engineering of the kit. Cockpit and ejection seat detail is more than adequate considering how little that can be seen if built with the canopy closed. I made one small mistake that could have been avoided if I had dry-fitted the parts more carefully: the separate spine got a bit high compared to the canopy, producing a small step. I probably pinched the spine a bit when I glued it together, if I had used the canopy and the fuselage as a jig I could have avoided that! Fit is otherwise very good but care when building pays off anyway since I like to avoid putty as far as possible on kits this small.painting
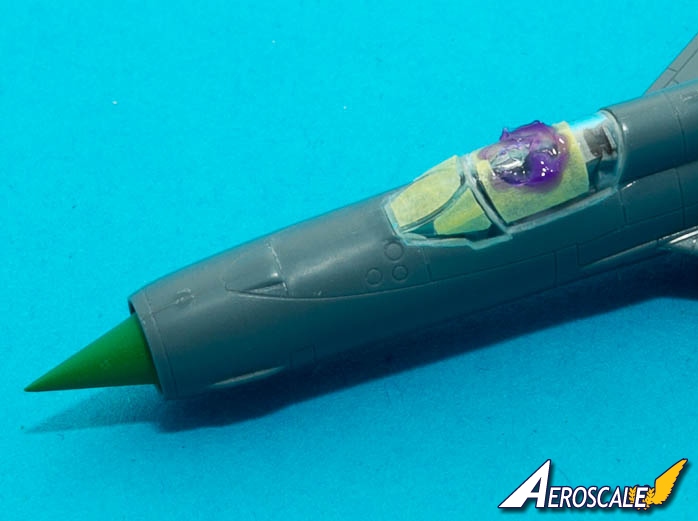
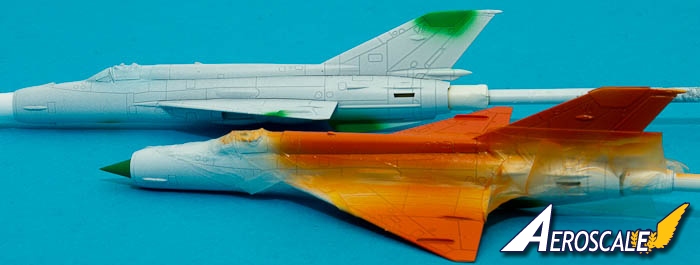
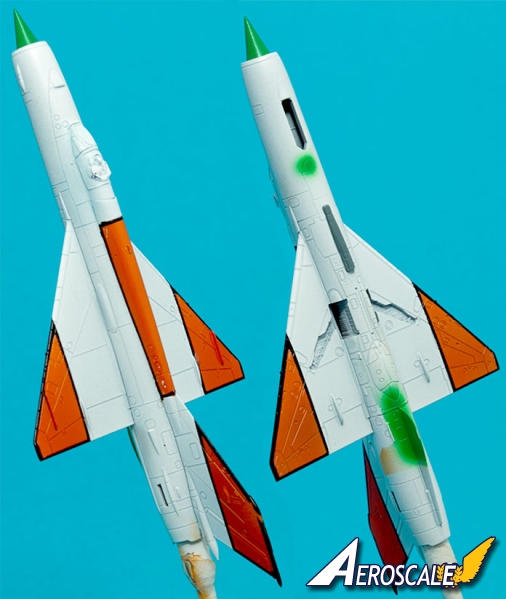
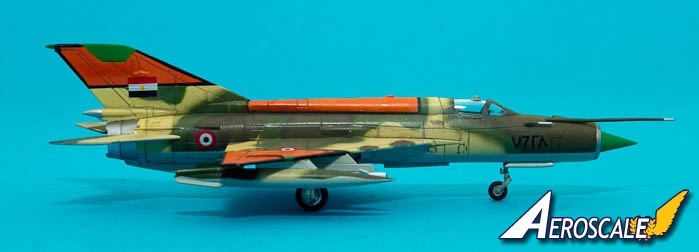
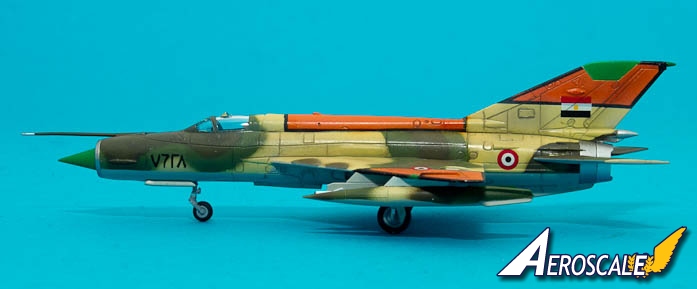
The fun and interesting part of these builds really is the painting! Both were primed using Tamiya "Fine White" primer. I dunk the can in hot tap water for a few minutes before spraying (don't use water from the kettle, it will make the bottom of the can go "pop", guess how I know that...), which makes the paint flow easier and it goes on even smoother than usual.I started with the orange fields of the Egyptian machine. These are outlined in black and Eduard supplies decal strips but I think using the decals would be a rather fiddly operation. Another problem is that the black outlines of the upper and lower panels meet along the wing and fin edges so I would have to touch up these areas with paint anyway.
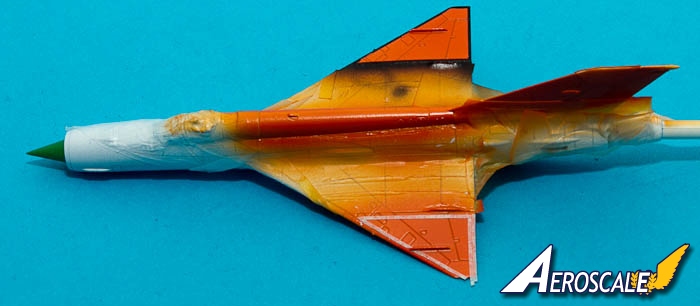
I put strips of Jammydog 0,5 mm masking tape where the black lines should be later. I then used this first set of strips as rulers and put another strip of tape along the first ones. Those were then peeled away, the center of the panel was masked using Parafilm and Tamiya black was carefully sprayed at low pressure. After two evenings, several feet of tape and one nervous breakdown later I finally had a MiG with seven orange panels outlined in black. My wife had a look at it and thought it looked like a poison dart frog!
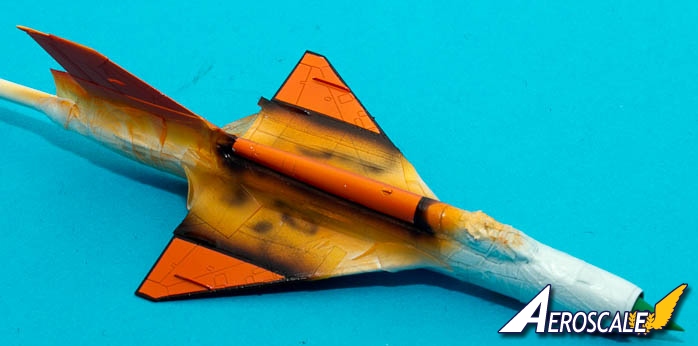
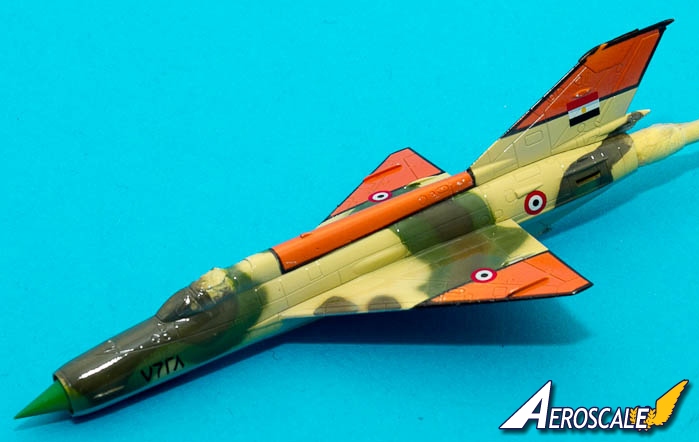
Camouflage... I made a half-hearted attempt at cutting masks from the 3-views in the instructions, only to realise that these were a bit larger than 1/144. The tape masks were also small (the kits are small to start with so there really was no reason to get surprised...) and tricky to handle so I decided to go for brush painting. This was a mistake... An evening of painting using Vallejo paints resulted in a rather uneven finish that didn't cover no matter how many coats I added. Big disappointment! I was however able to save it at least acceptably by polishing with MicroMesh and touching up using the airbrush. I should have done that from the beginning...
As you already know, there was another MiG to paint so I could repeat my mistakes... The Slovakian machine had a hard-edge camo and I thought that I could use Maskol for masking. For once clever I tried the Maskol on a test model and found that it enthusiastically attacked the underlying paint... A friend here at Aeroscale suggested using "tack". I got myself a few different packets and found out that it was far to stiff to mask a model this small with. And after going through the tape ordeal once more I decided to give the brush and Vallejo method a second chance... I would say that this went slightly better than the first attempt but I have realised that I am no brush painter...
Decals
After a coat of Tamiya acrylic clear, the decals went on without a hitch. They are a joy to work with! Decals were sealed with a semi-matte coat (I try to avoid a dead-matte finish on those small kits, a slight sheen makes them a bit easier to see!) and then all natural-metal parts were painted using Games Workshop "Mithril Silver" and "Chainmail".finishing up
I have a slightly ambivalent feeling about panel lines but in this case a wash gives the models a much more "detailed" look. I often use Vallejo's "German Grey" diluted with water and carefully applied using a small pointy brush. Care has to be taken so that the paint doesn't escape too far from the panel lines since it "bites" into the satin surface finish immediately. In case of accidents, the airbrush can be used to tone down the effect.Finally all underwing stores, landing gears and other small details were added and this is where I would like to give my last bit of advice to prospective builders: the parts are very small with very small surfaces to apply glue on. Drilling small holes and inserting thin metal wires would help a lot when glueing parts like the underwing pylons and the drop tanks.
So, after a build process that had both its ups and downs, I could finally move my MiGs to the display cabinet. There are things I wish I had done differently that would have given a better final result but I still like the look of these a lot. And considering the parts split (and the fact that there already has been an SMT-boxing released) I might get the chance to do another pair (a Finish one would fit the bill perfectly!) within soon!

About the Author


FROM: STOCKHOLM, SWEDEN
It all started with a Biggles book, one of those where he is a flying policeman... He flew an Auster of some kind. Later that year, this was in 1982 when I was 10, I got the Airfix Series 1 Auster for Christmas. Since then modelling has been my interest. It has survived RC flying, flying full sca...
Comments
Copyright ©2021 by Magnus Fridsell. Images also by copyright holder unless otherwise noted. The views and opinions expressed herein are solely the views and opinions of the authors and/or contributors to this Web site and do not necessarily represent the views and/or opinions of AeroScale, KitMaker Network, or Silver Star Enterrpises. Images also by copyright holder unless otherwise noted. Opinions expressed are those of the author(s) and not necessarily those of AeroScale. All rights reserved. Originally published on: 2012-02-25 00:00:00. Unique Reads: 9257

WEB HOSTING BY


Copyright ©2021 AeroScale and Kitmaker Network, a subsidiary of Silver Star Enterprises
All Rights Reserved. Please read our Conditions of Use and Privacy Policy.
All Rights Reserved. Please read our Conditions of Use and Privacy Policy.