

1⁄144Douglas DC-7
...
Post a Comment
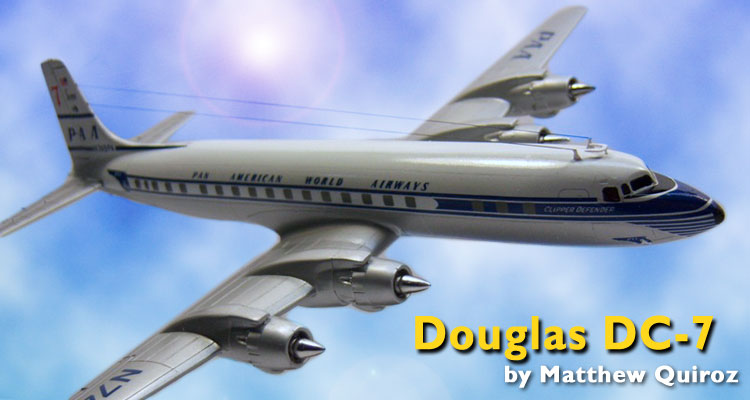
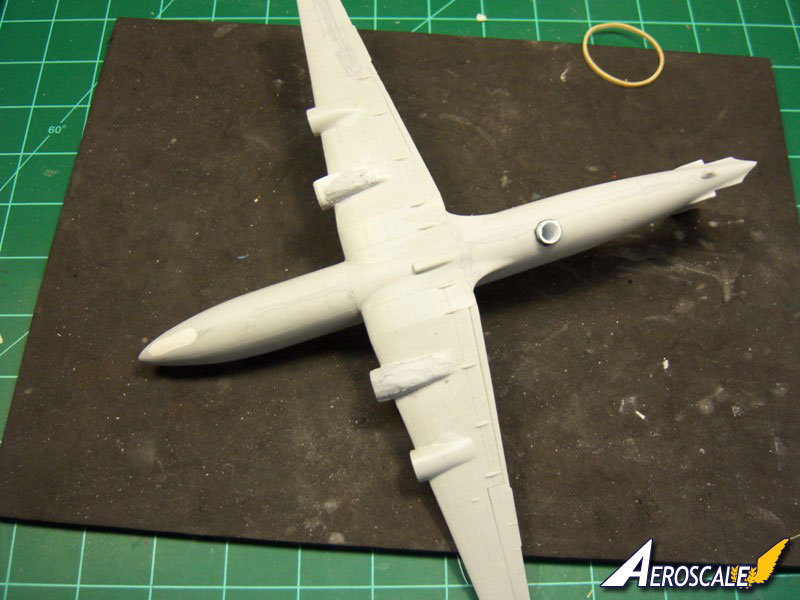
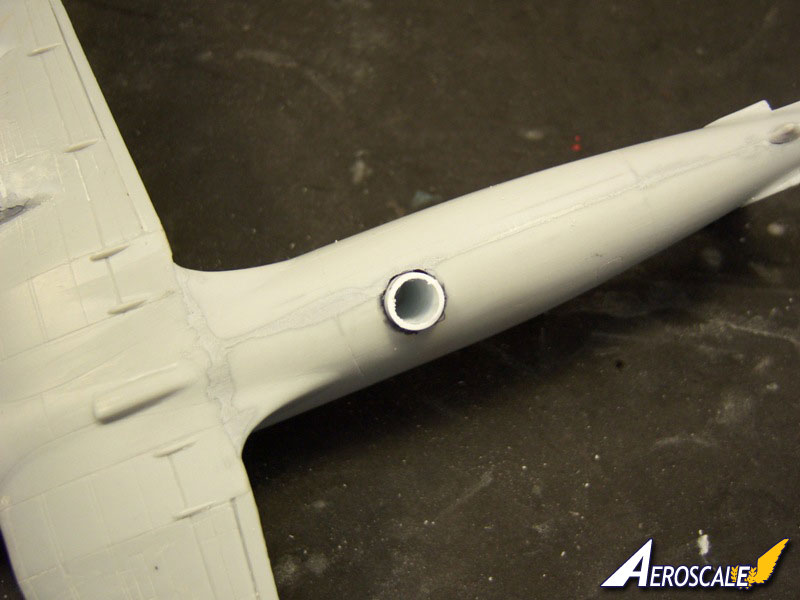
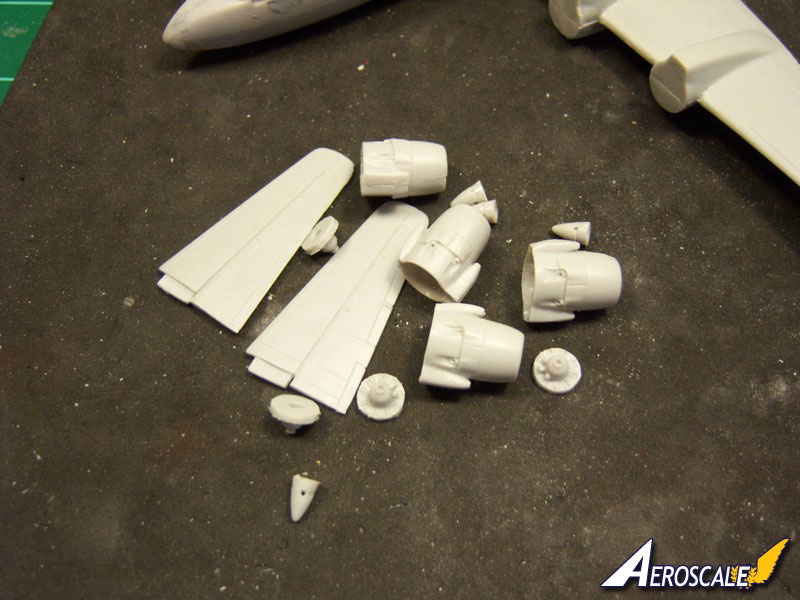
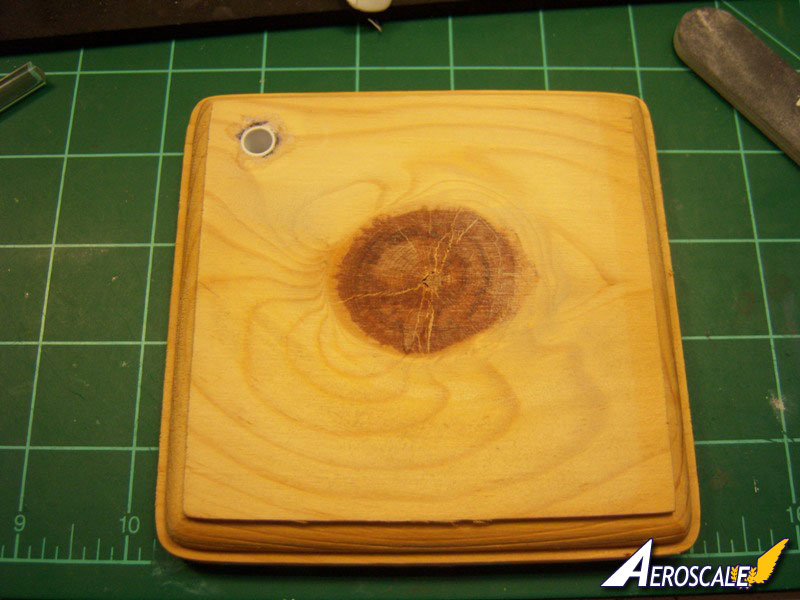
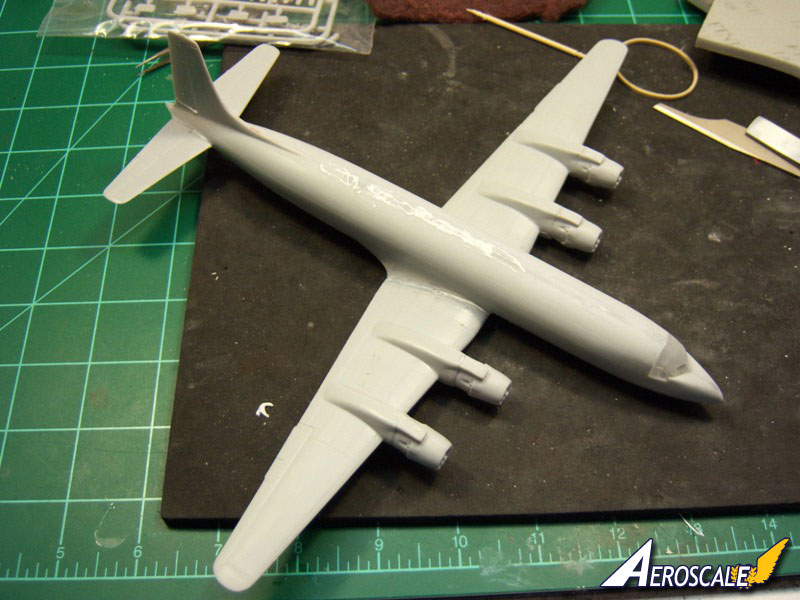
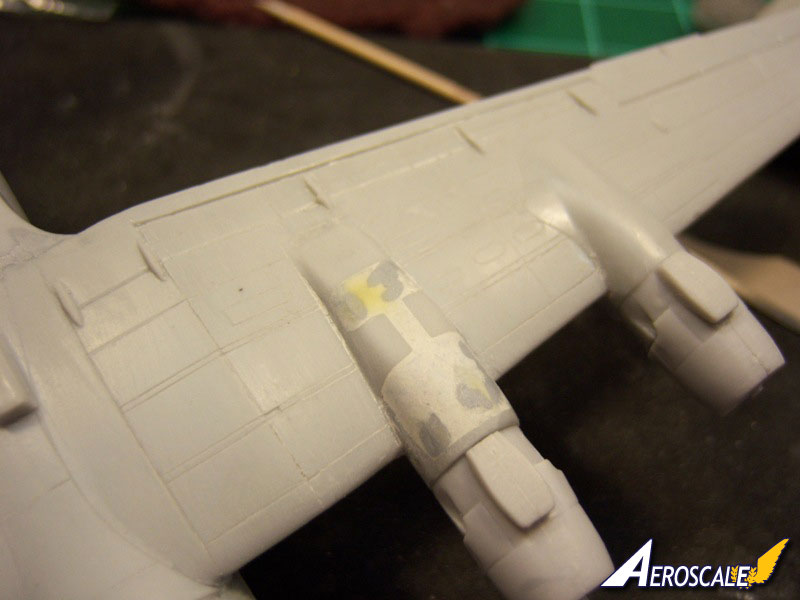
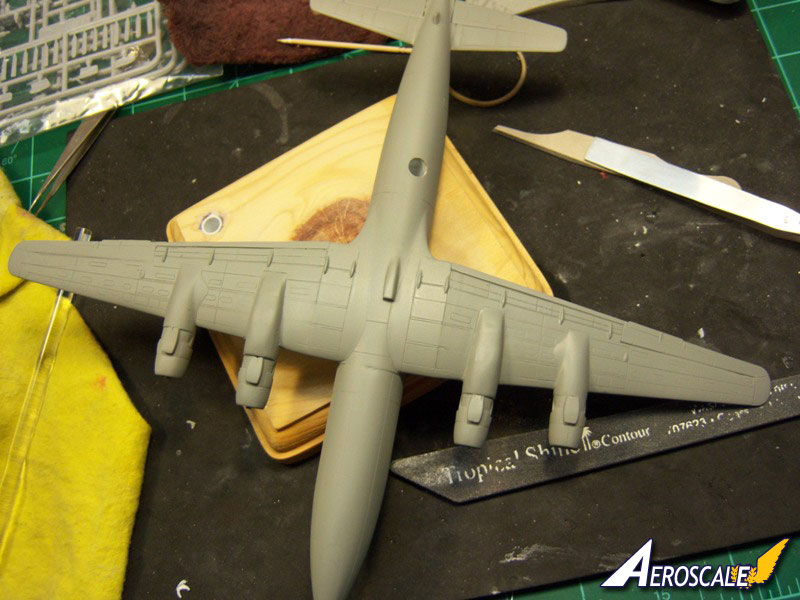
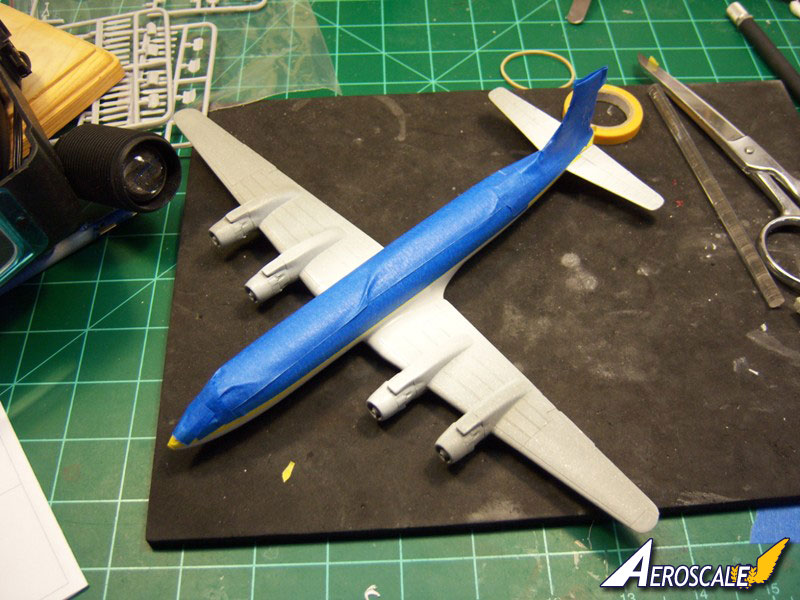
While this kit was no walk in the park, it didnt pose as many problems as I initially thought it would. Following Jessie Coopers build really helped a lot when I began mine. I looked at the problem areas she encountered and checked my kit against hers. I didnt have the same issues with the wing mating surfaces as she did, so I was able to avoid all that sanding in those areas. One main fit issue I had was the fuselage halves. They did not come together evenly. There was a divot/trough formed at the top where the halves met. This was filled with putty and sanded flush with the surrounding area and the panel lines re-scribed. When I started this project I wanted to do something different for the display. I decided to build the plane wheels up. Once the wings and fuselage were mated, the wheel wells were filled with a quick setting two part epoxy putty and allowed to dry overnight. At the same time I also added the tubing for the clear acrylic rod that would be used to support the plane once complete.
Once the putty was dry the areas were sanded down flush with the surrounding areas. A few small holes remained that needed some additional attention, but nothing substantial. After all the putty work was taken care of, the plane received a healthy dose of scratch filling primer and allowed to dry overnight.
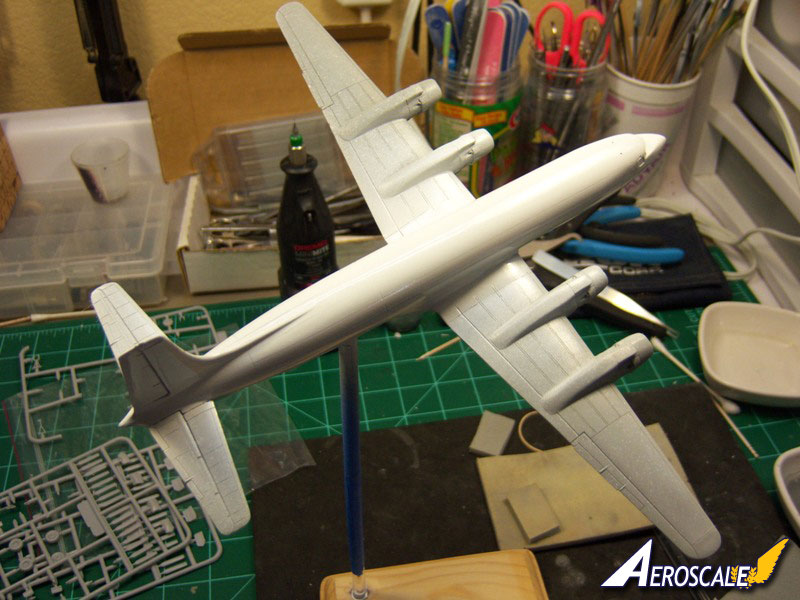
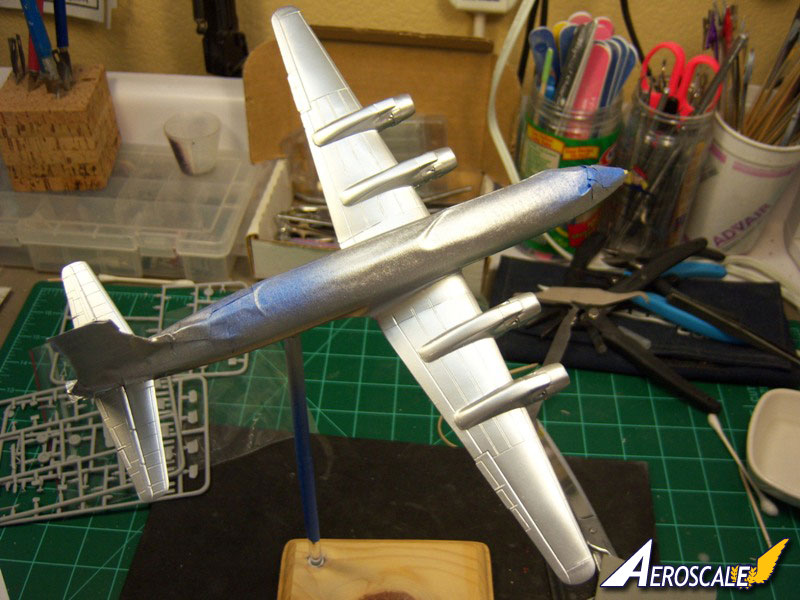
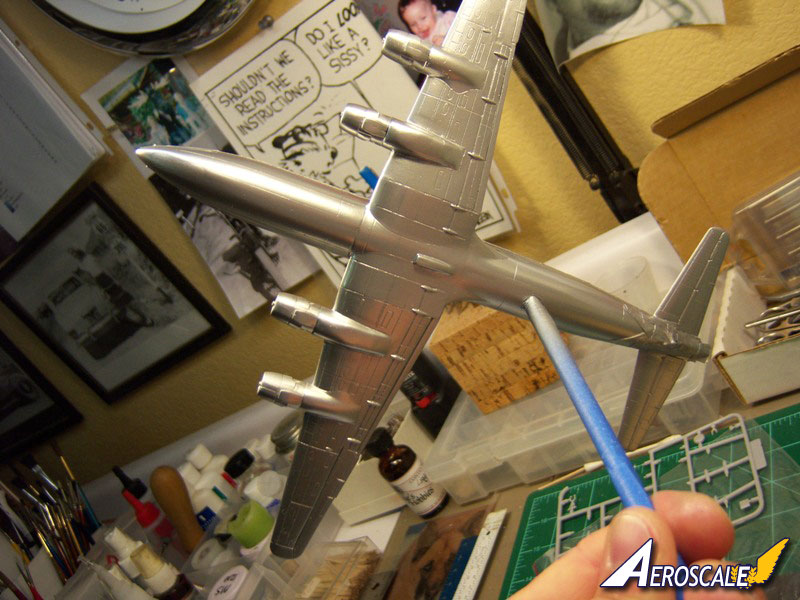
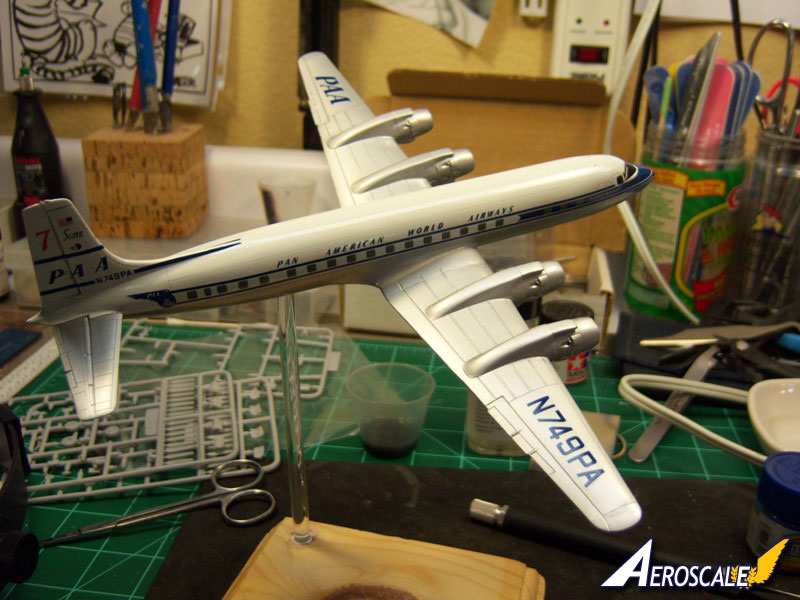
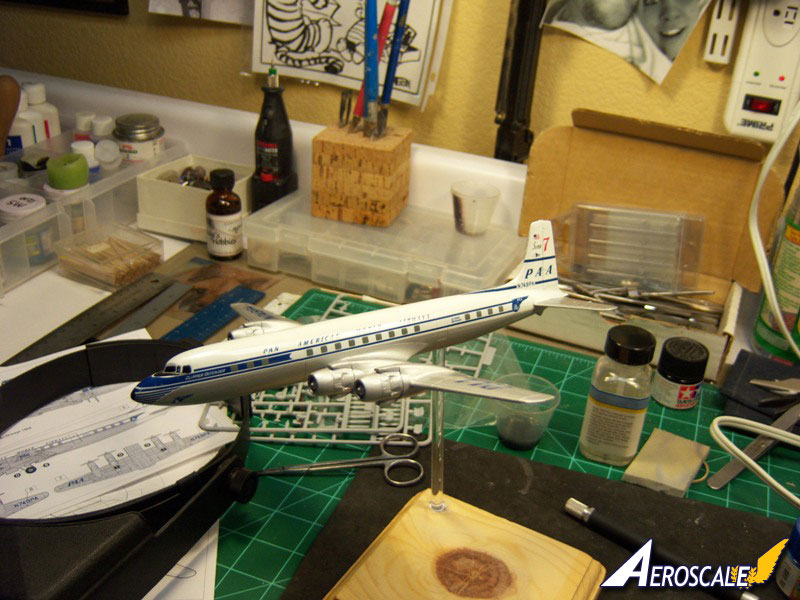
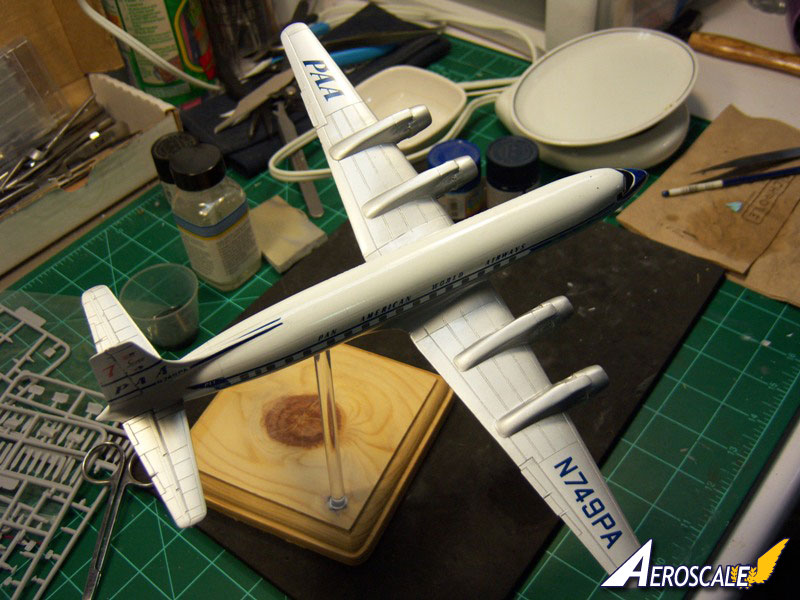
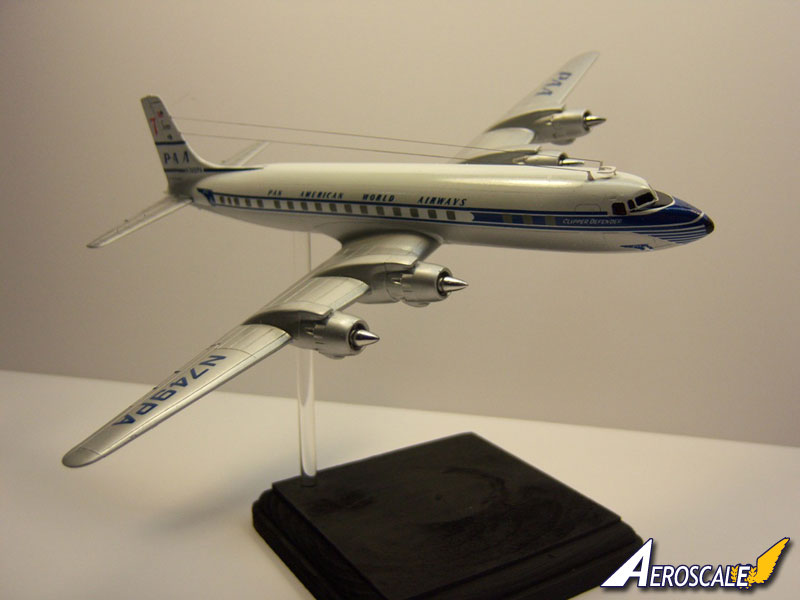
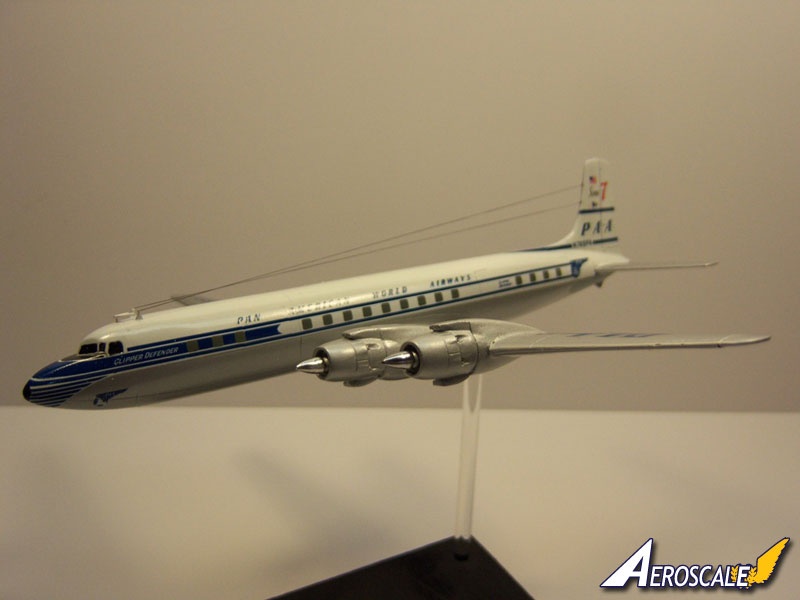
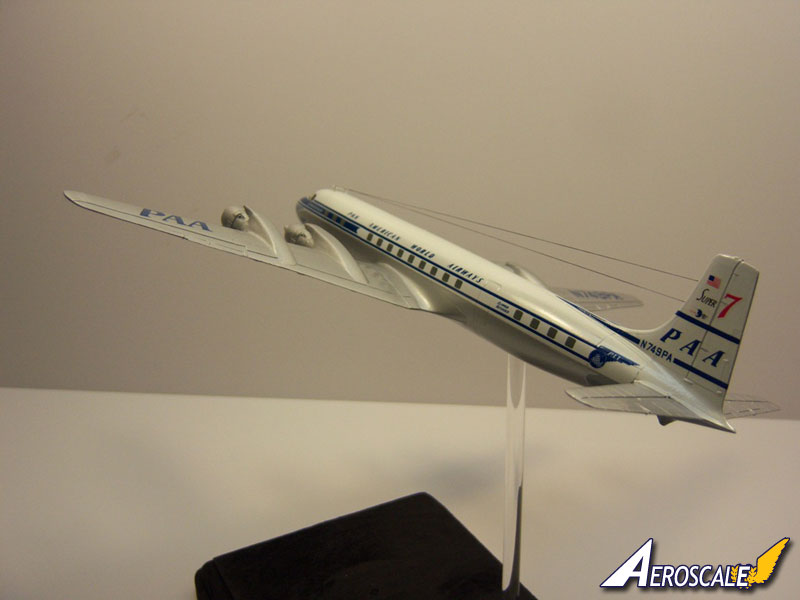
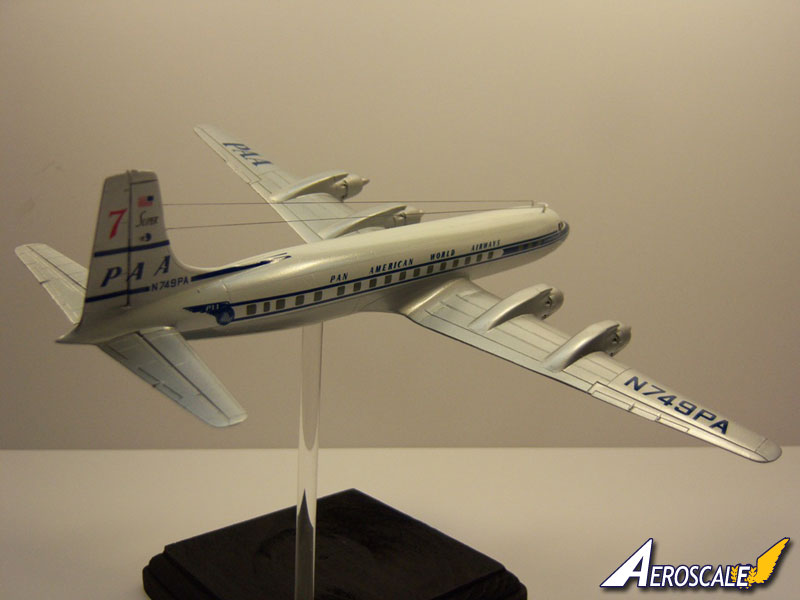
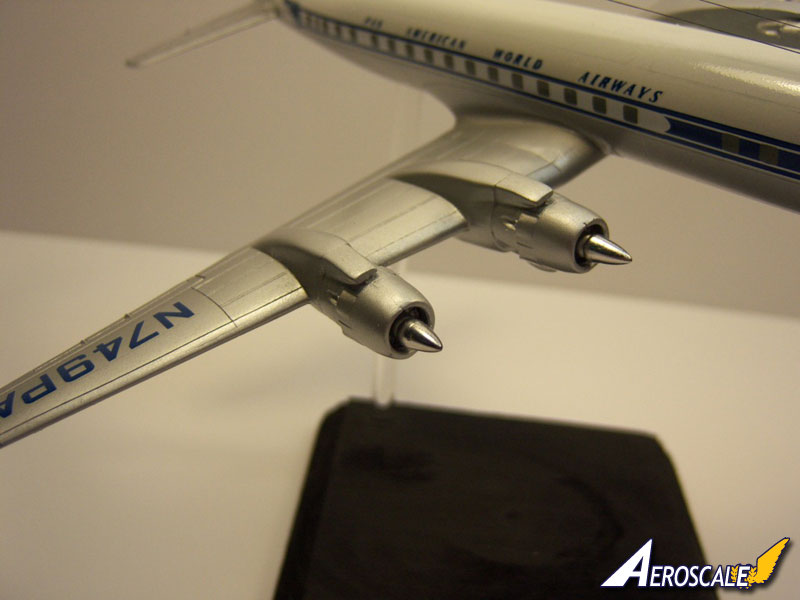
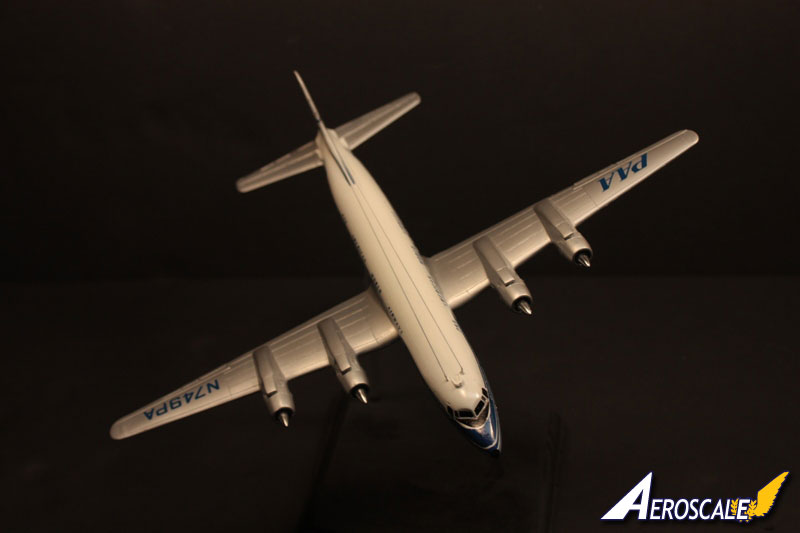
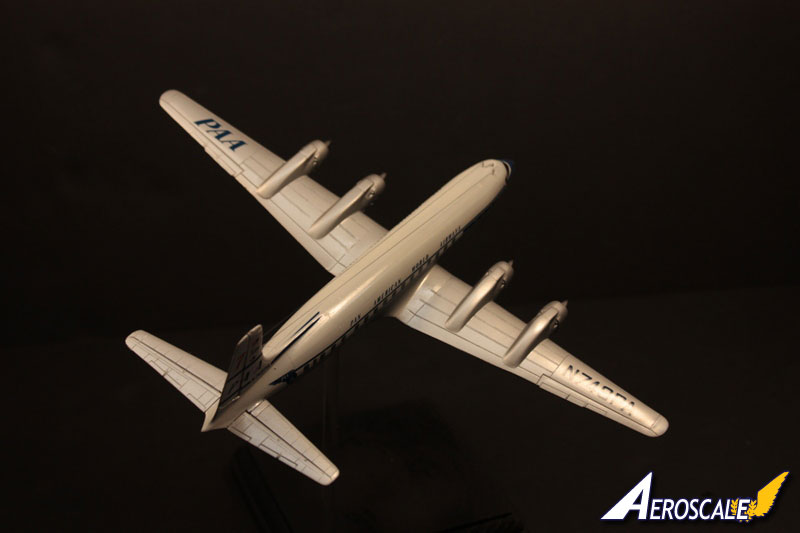
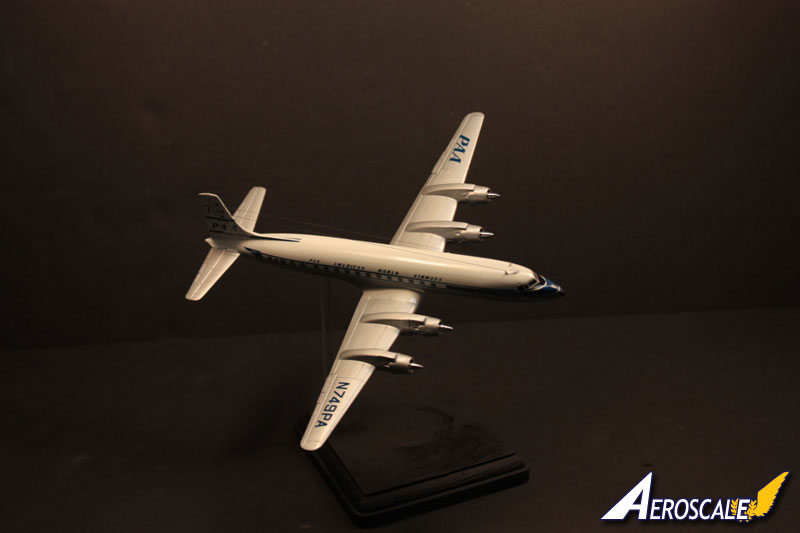
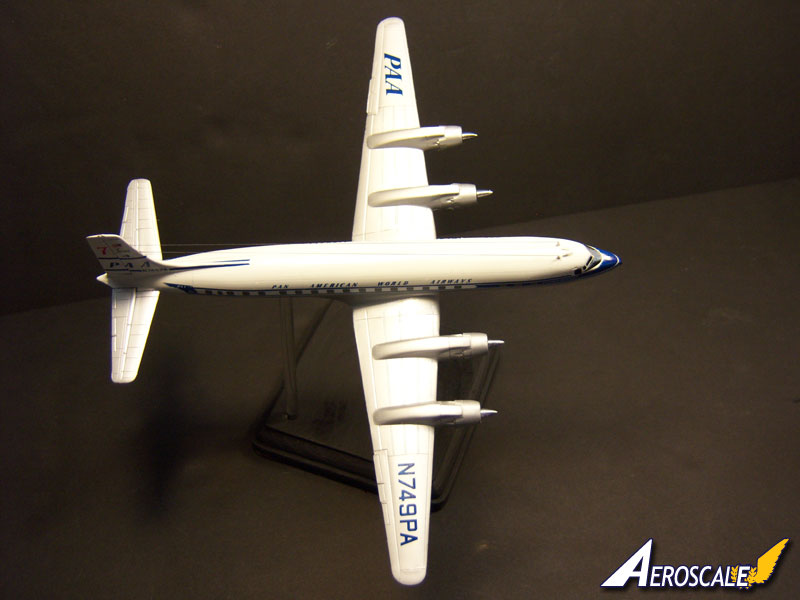
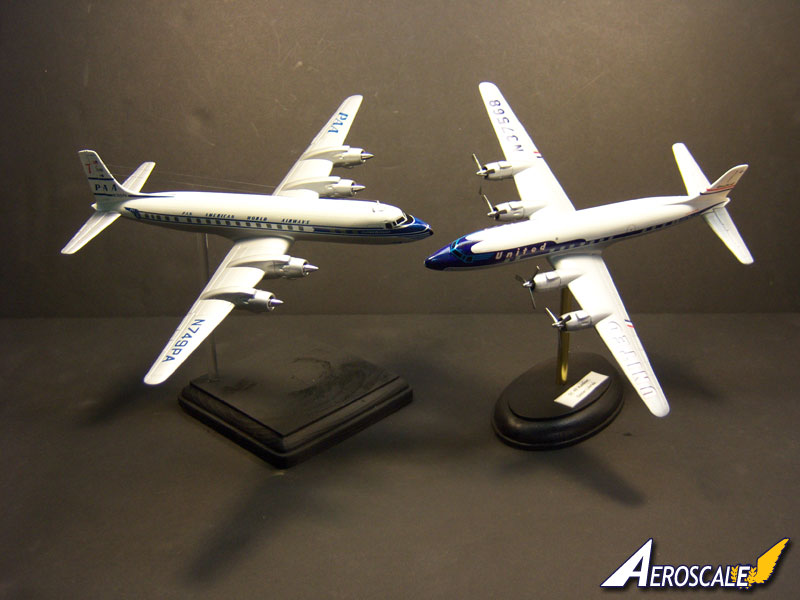
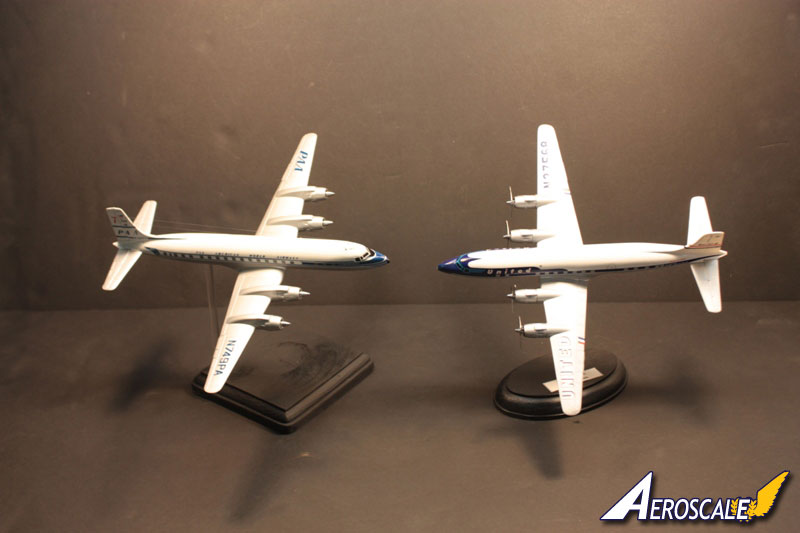
Tamiya rattle cans were used throughout for the painting. Gloss white was first sprayed along the spine and tail. Once dry, the white areas were masked off, the light gray area along the rear of the fuselage was sprayed, allowed to dry and then masked. The last color applied was the Silver Leaf. The instructions called for Aluminum, but as all I had on hand was silver leaf, silver leaf would have to do.
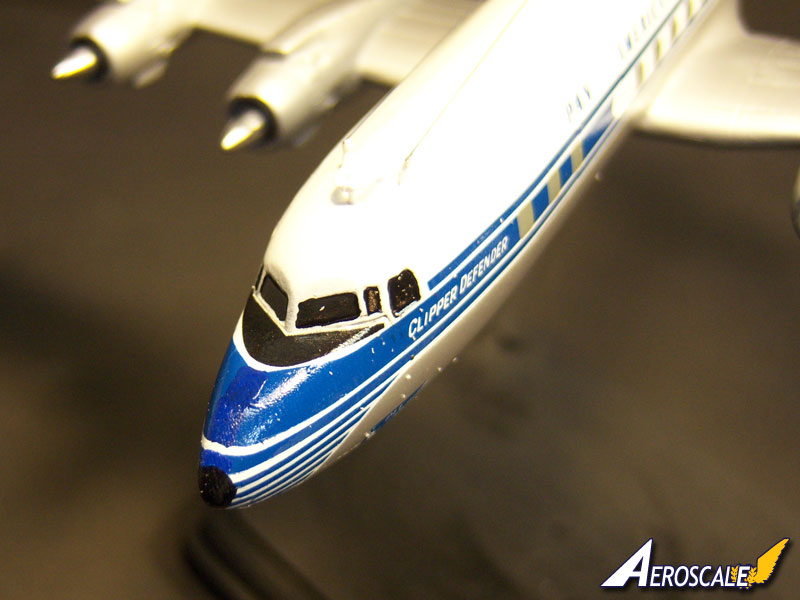
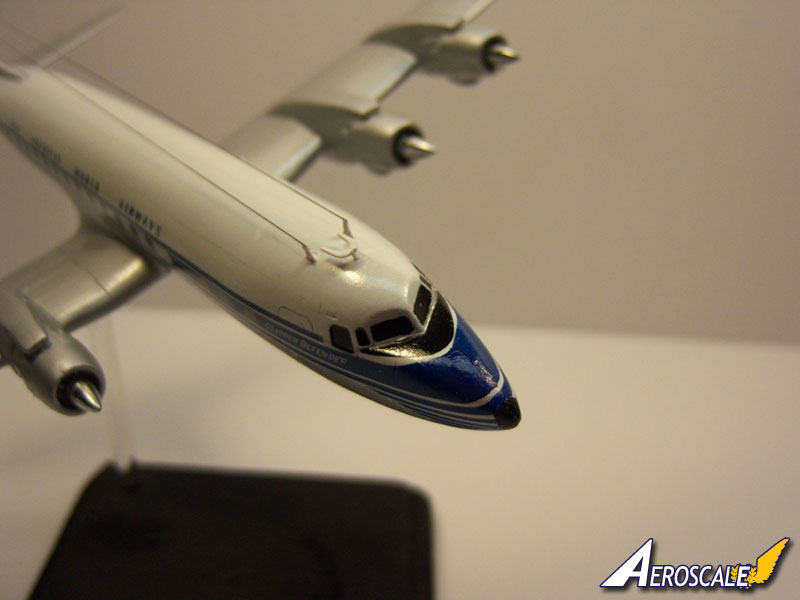
The great thing about Tamiya lacquers is that they dry very fast. After less than an hour, I was able to remove the masks and move right into applying the decals. The decals were excellent in spite of the fact that they tended to stick to the model as soon as the touched it. Even with liberal amounts of water applied ahead of time, they still fought me. I persevered and was able to get all of them applied in one session. Due to the stickiness of the decals I ended up with a small uncovered portion just forward of the windscreen. The easy solution was to paint this area in a matching color. The color matches near perfect and I am happy with the result.
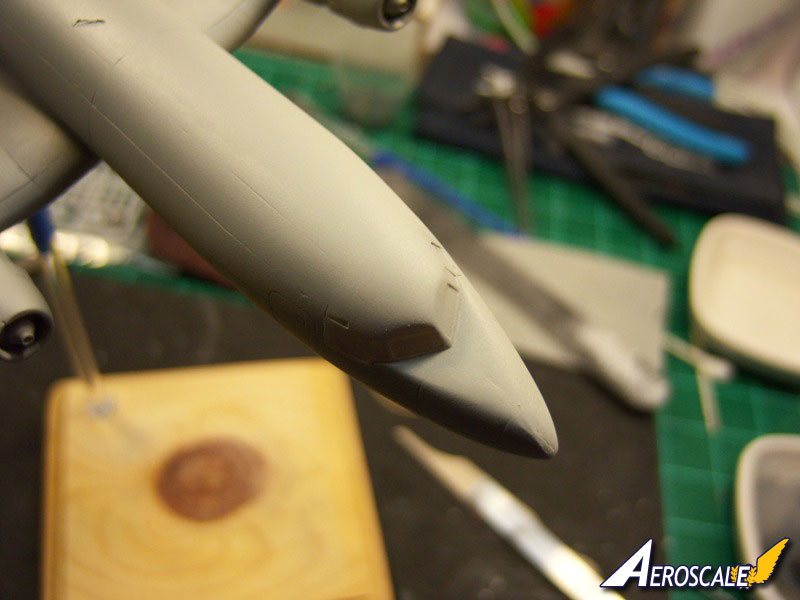
Taking a tip from Jessie, I left some of the attachment points on the antenna masts in place when I removed them from the sprue. I drilled corresponding sized holes to mount them in to provide a little more gluing surface. A small amount of CA was applied to the masts and then they were inserted into the holes. Two small lengths of EZ Line were cut and attached to the masts.
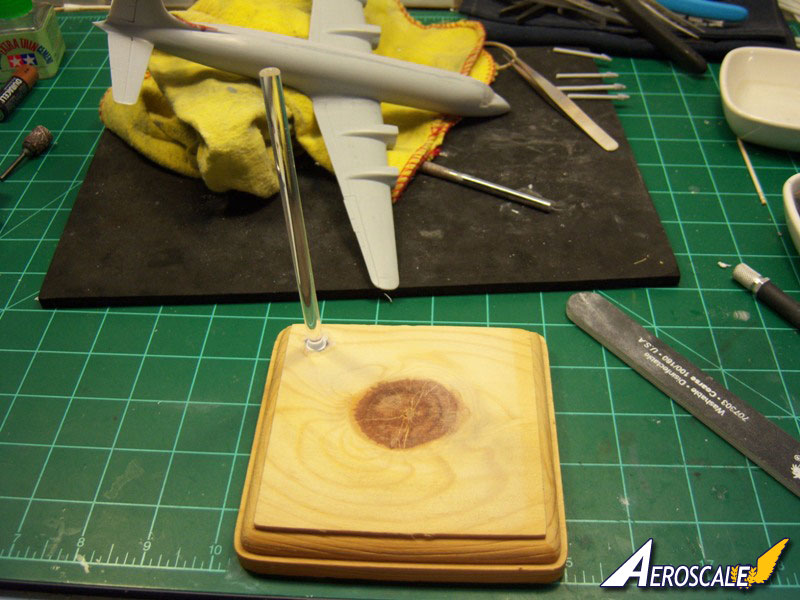
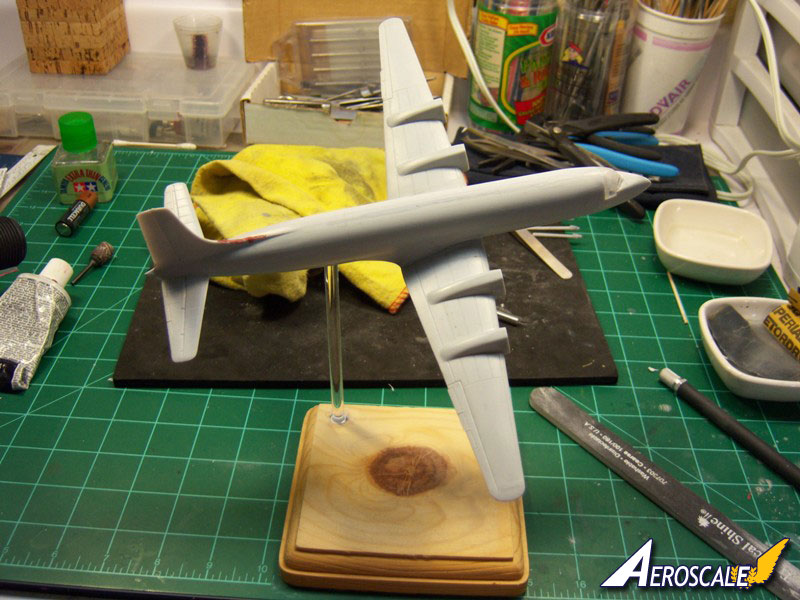
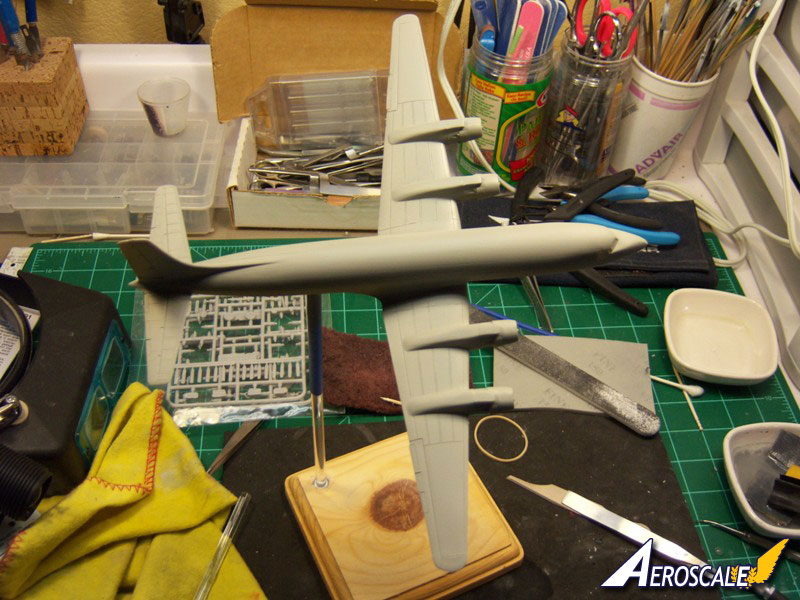
The final couple of pieces of the puzzle were to add the spinners to the engine faces and place the plane on the support rod. For my in flight display, I didnt want to have the props blades in place so I filled the holes in the spinners, sanded them smooth and then shot them in gloss black and Alclad II Chrome. They were drilled out on the back side and mounted to the engine faces with a small drop of CA. I dropped the plane onto the support rod and stepped back to admire the finished product.
Again, this is not a shake and bake kit, but it presents no problems that the average modeler cant overcome. Thanks to Roden for the review piece.
Once the putty was dry the areas were sanded down flush with the surrounding areas. A few small holes remained that needed some additional attention, but nothing substantial. After all the putty work was taken care of, the plane received a healthy dose of scratch filling primer and allowed to dry overnight.
Tamiya rattle cans were used throughout for the painting. Gloss white was first sprayed along the spine and tail. Once dry, the white areas were masked off, the light gray area along the rear of the fuselage was sprayed, allowed to dry and then masked. The last color applied was the Silver Leaf. The instructions called for Aluminum, but as all I had on hand was silver leaf, silver leaf would have to do.
The great thing about Tamiya lacquers is that they dry very fast. After less than an hour, I was able to remove the masks and move right into applying the decals. The decals were excellent in spite of the fact that they tended to stick to the model as soon as the touched it. Even with liberal amounts of water applied ahead of time, they still fought me. I persevered and was able to get all of them applied in one session. Due to the stickiness of the decals I ended up with a small uncovered portion just forward of the windscreen. The easy solution was to paint this area in a matching color. The color matches near perfect and I am happy with the result.
Taking a tip from Jessie, I left some of the attachment points on the antenna masts in place when I removed them from the sprue. I drilled corresponding sized holes to mount them in to provide a little more gluing surface. A small amount of CA was applied to the masts and then they were inserted into the holes. Two small lengths of EZ Line were cut and attached to the masts.
The final couple of pieces of the puzzle were to add the spinners to the engine faces and place the plane on the support rod. For my in flight display, I didnt want to have the props blades in place so I filled the holes in the spinners, sanded them smooth and then shot them in gloss black and Alclad II Chrome. They were drilled out on the back side and mounted to the engine faces with a small drop of CA. I dropped the plane onto the support rod and stepped back to admire the finished product.
Again, this is not a shake and bake kit, but it presents no problems that the average modeler cant overcome. Thanks to Roden for the review piece.


About the Author


FROM: CALIFORNIA, UNITED STATES
After a several year break from the hobby I have happily returned to it. Slowly, but surely getting my mojo back.
Comments
Copyright ©2021 by Matthew Quiroz. Images also by copyright holder unless otherwise noted. The views and opinions expressed herein are solely the views and opinions of the authors and/or contributors to this Web site and do not necessarily represent the views and/or opinions of AeroScale, KitMaker Network, or Silver Star Enterrpises. Images also by copyright holder unless otherwise noted. Opinions expressed are those of the author(s) and not necessarily those of AeroScale. All rights reserved. Originally published on: 2011-10-22 00:00:00. Unique Reads: 8582

WEB HOSTING BY


Copyright ©2021 AeroScale and Kitmaker Network, a subsidiary of Silver Star Enterprises
All Rights Reserved. Please read our Conditions of Use and Privacy Policy.
All Rights Reserved. Please read our Conditions of Use and Privacy Policy.