

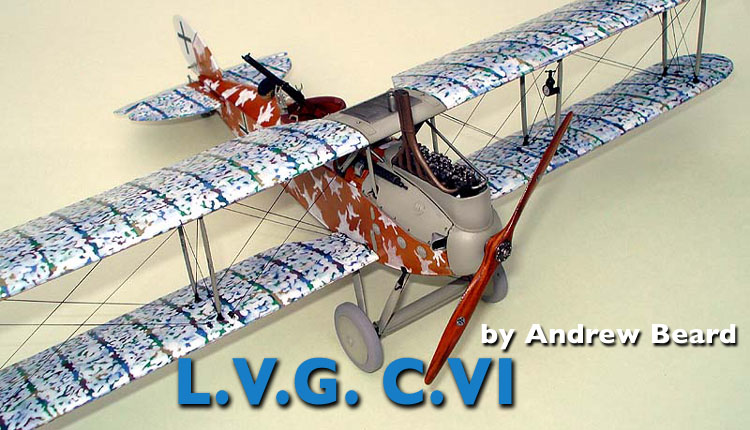
1⁄32L.V.G. C.VI
5
Comments
Introduction
Of course the Wingnut Wings kits need no introductions, they have been the talk of the forums ever since the first four kits were released. Not long after the the first kits were released I wrote an inbox review for the WNW's L.V.G. C.VI. Two weeks ago I finally decided to get building it and can now back up the inbox review with some hard evidence.Construction
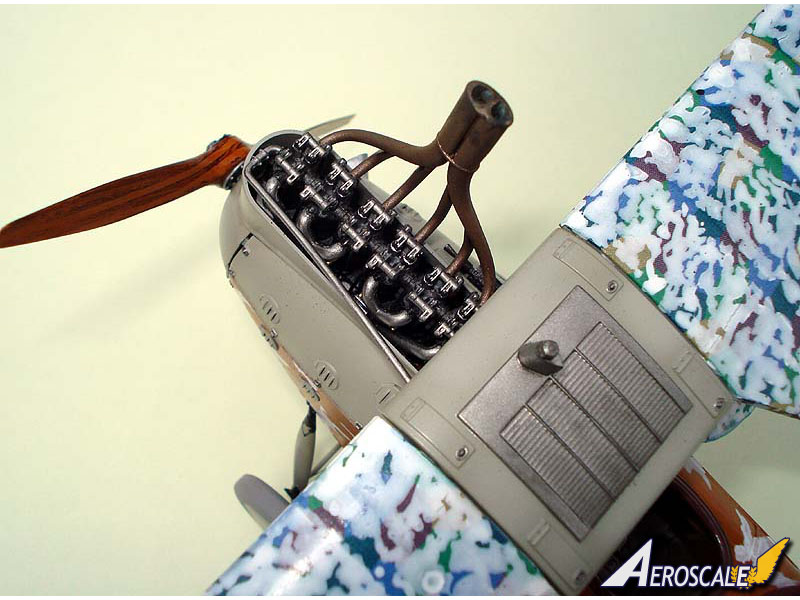
Looking over the parts in the box gives the confident impression that it will be a straight forward build. Actually building it proved that the initial impression was quite correct.The fit of parts was great, though very tight in places. This required more than usual sanding off of paint build-up from mating surfaces. This is especially important as the parts are quite thin, soft and flexible. So trying to make tight fitting parts go together can be risky, I got into the habit of habitually sanding down all joining lugs slightly and things went quite smoothly.
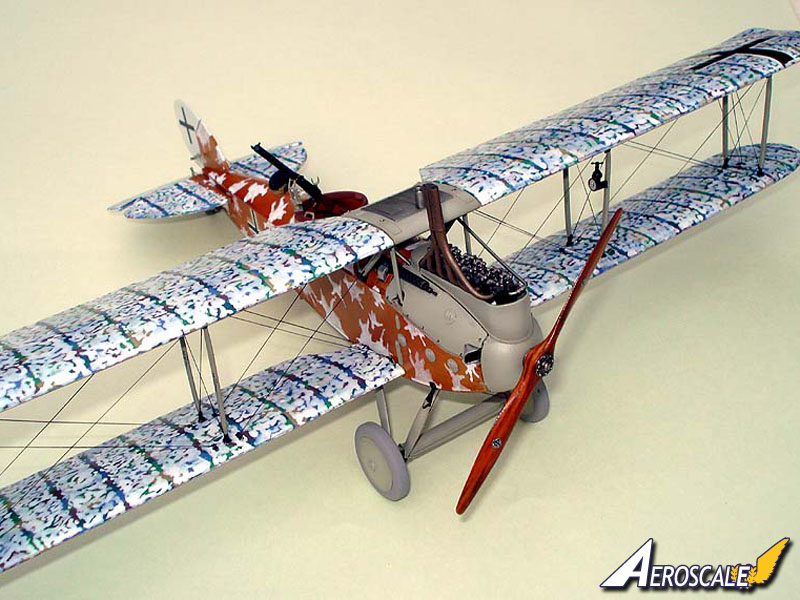
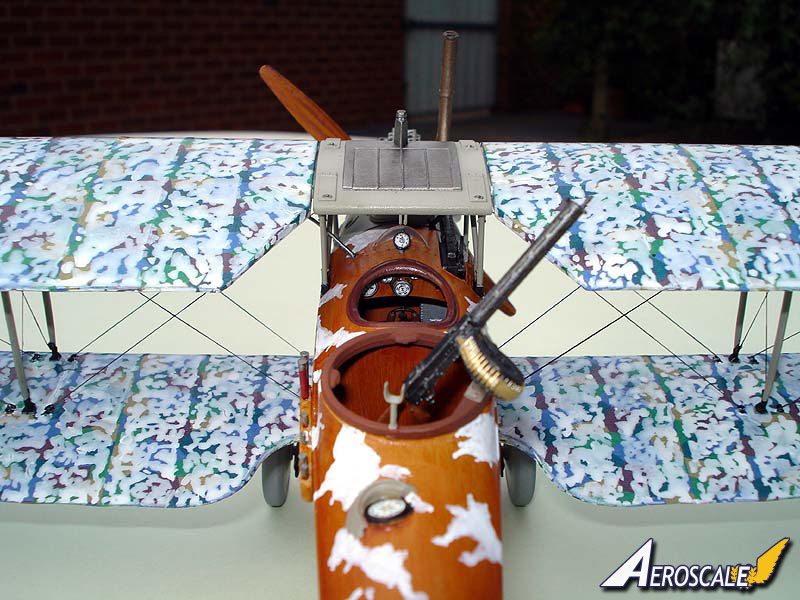
The softish plastic may have longer term implications on the L.V.G. That only time will tell. The lower wings are quite heavy and have very small (in scale I guess) locating spars. Even after the top wing is added and all the struts located, the wings are still a bit flexible. The wings appear to sit at the right dihedral for now, but who knows if they will sag with time. The L.V.G. could almost have done with metal spar reinforcement sort of like the Tamiya Storch.
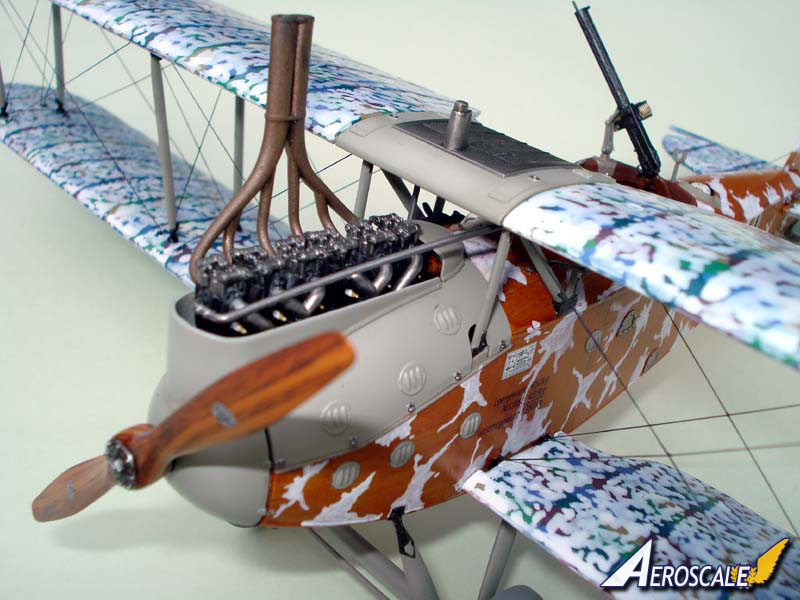
I added no extra detail apart from the obvious rigging. So what is seen is the basic WNW's kit. I did play with the idea of doing turn-buckles for the rigging, but for me it just seemed like a lot of tedious extra work, not to mention extra time that just delays getting to the bit I like most: the painting.
Finishing
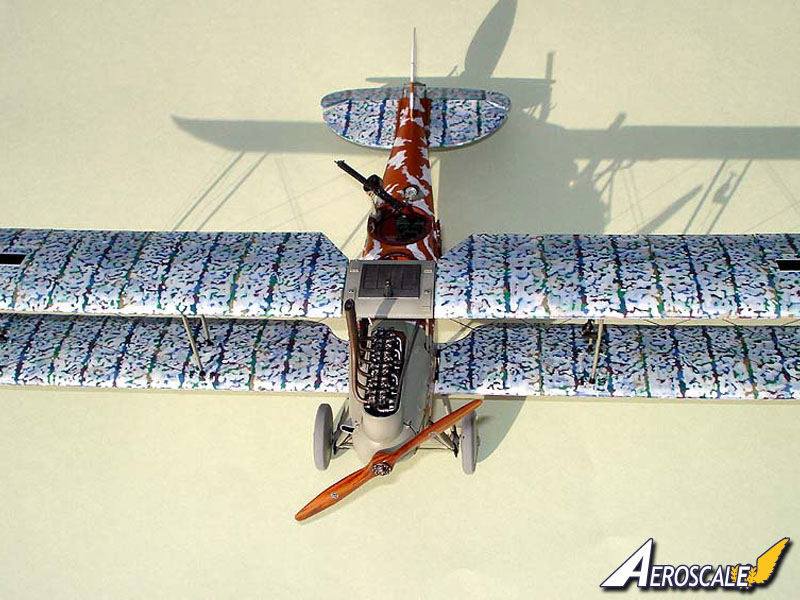
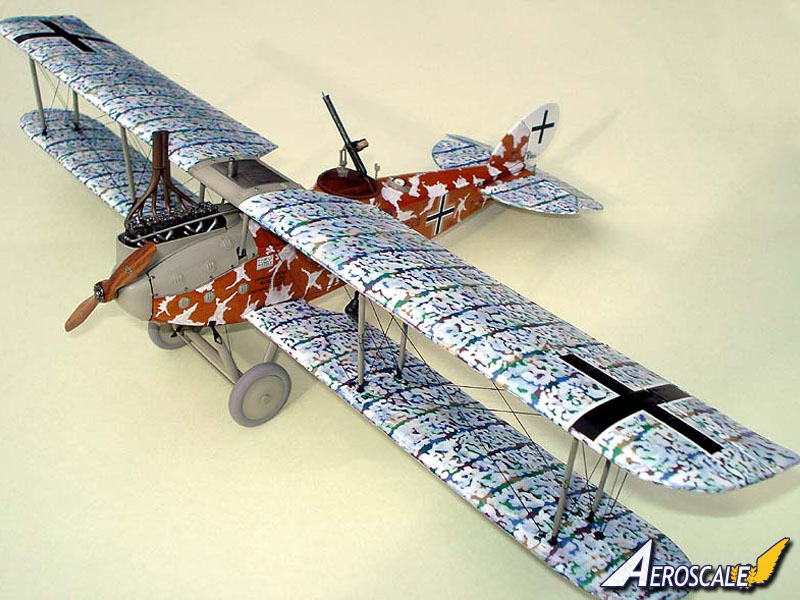
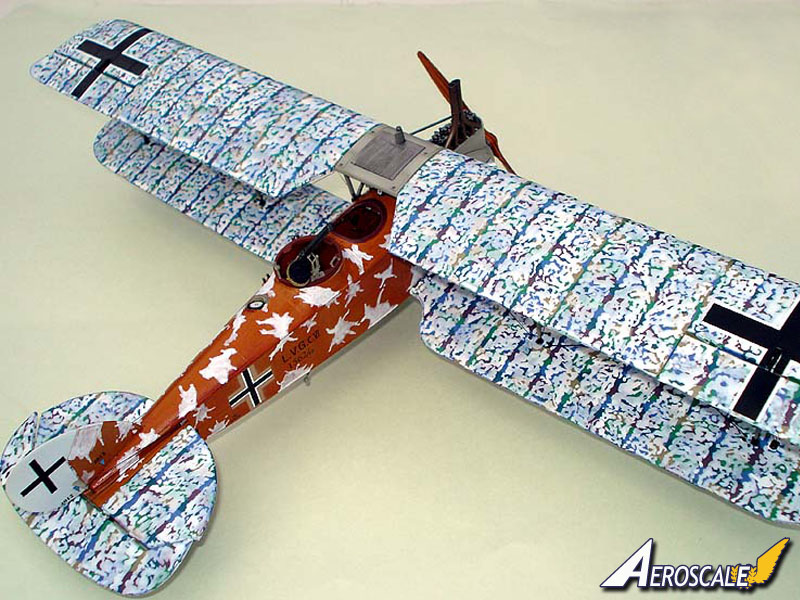
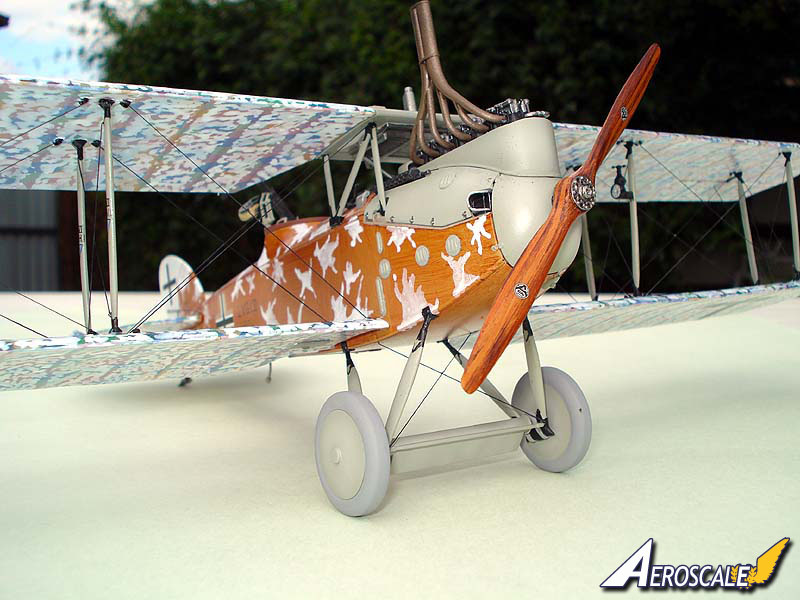
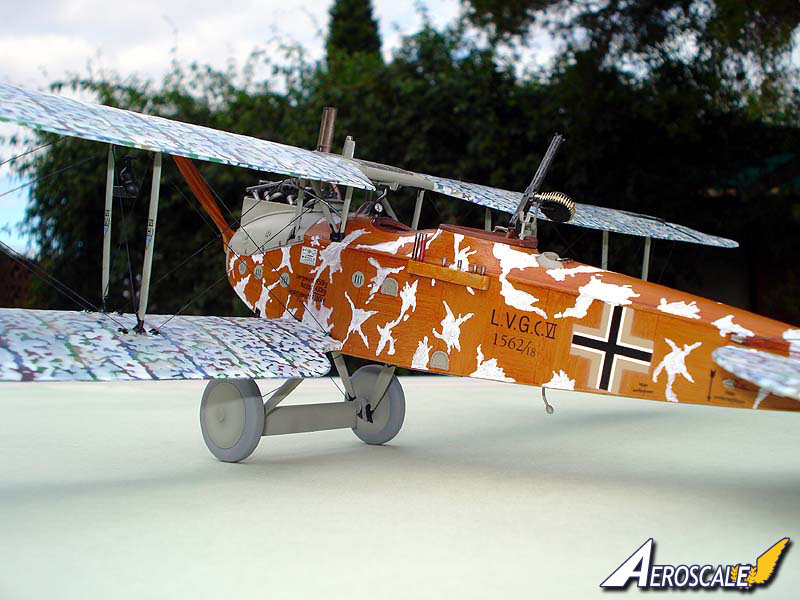
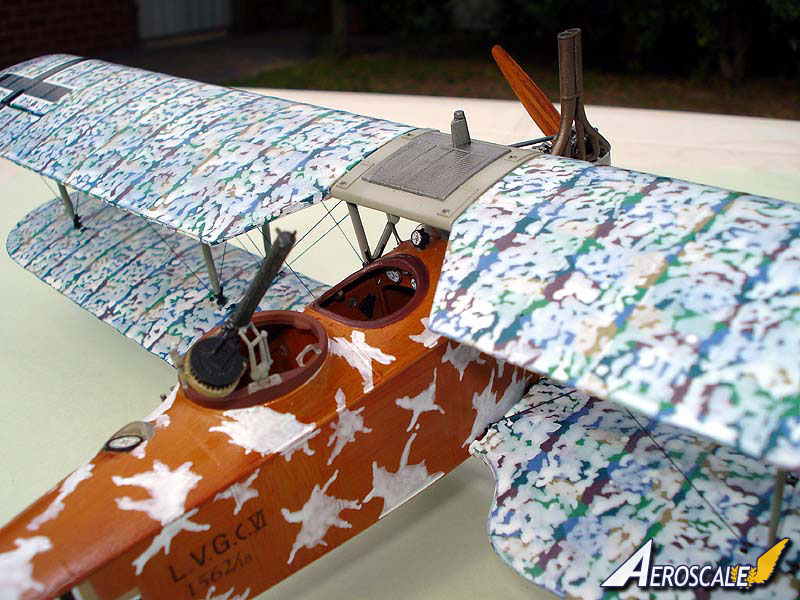
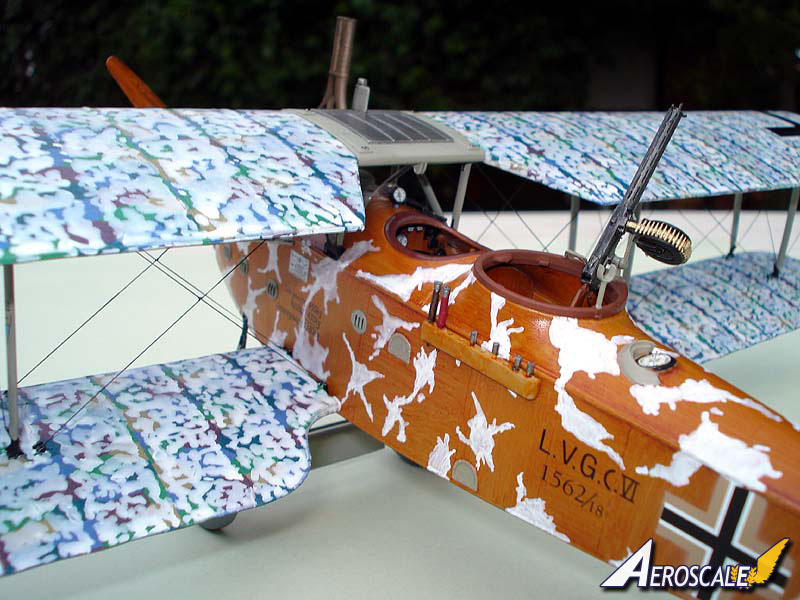
I decided I had to do the scheme that, so far, no one has seemed willing to touch. Well I have yet to see anyone do it on any of the forums that I visit anyway. It actually turned out to be relatively quick and easy.Though I normally use oils to do wood effect, I was unhappy about the extra long drying time they involve. I really like to keep things going at full speed and am always looking for shortcuts and time saving techniques. So I tried a combination between the technique given in the WNW's instructions and the water colour technique that features in an old aeroscale article. Basically I used a sponge dampened with water and roughly applied water colour paint over a base of Tamiya Acrylic Desert Yellow. Then just streaked over the top of the water colour whilst it was still wet, but with a cleaner sponge. It dries within a few minutes and can then be clear coated immediately. The whole fuselage was done, including the clear coat, in about 30 minutes. Oils would have to be left for up to few days instead of just minutes. And if the effect of the water colours doesn't look right, just wash it off and try again.
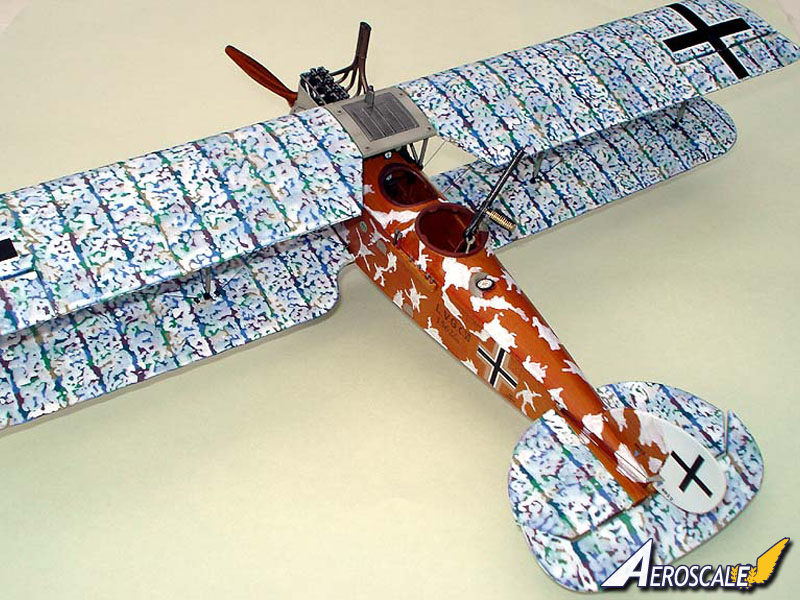
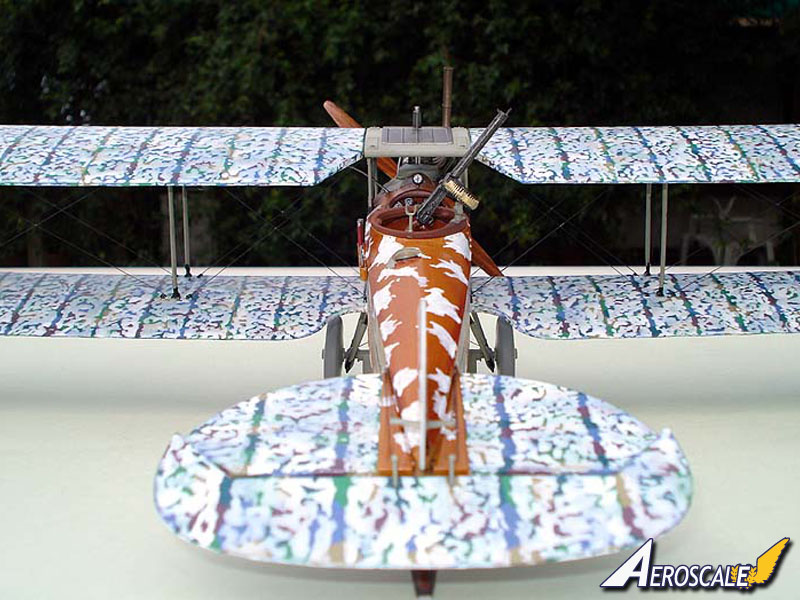
The white distemper camouflage was done by brush using thinned Vallejo white paint. At first I had to fight the urge to make it look too neat tidy. The photos in the instructions of this aircraft show that the finish was quite rough, with obvious brush strokes and varying coverage of the underlying surfaces. The right side fuselage pattern is somewhat guesswork, with no photos of that side and with WNW's not giving an artists impression of how it may have looked. So I roughly based it on the left side. Also studying the pics, I could see no evidence that this aircraft had visible rib tapes. Definitely not natural linen ones in any case as they are obvious on pics of other aircraft. So it either had no rib tapes or possibly lozenge tapes. I decided replicate what it appeared to me in the photos, simply the white distemper roughly applied up to the the ribs, but with no visible tapes.
Conclusion
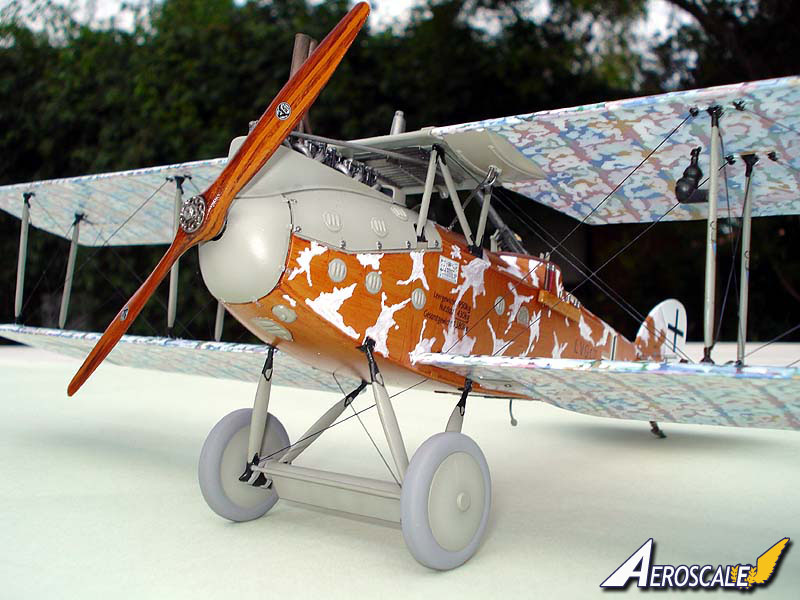
Like always I take the finished photos, look at something and notice that I forgot something. This time it is the two rigging wires from the nose cowl to the front spar area of the wings. I'll add them soon, but won't be taking a whole new set of pics. Just pretend that they're there for now.Having built this kit I feel that my original inbox review still stands as an accurate assessment. Though I'd maybe knock down a percent or two for the instructions. Call me a boring "old crusty" if you like, but I still prefer clear black and white line drawn exploded assembly steps to the computer style colour assembly steps used in the WNW's kits. I feel it's far easier to miss small parts when jumping around the assembly steps the way I do. The rest of the instruction booklet is still a work of art!
I also stand by what I originally said about the plastic parts. The WNW's moulding is outstanding. BUT I still think the Japanese are the leaders in tooling/moulding. Especially Hasegawa kits from the past few years. I think if the talented WNW's designers took their work to one of the big Japanese boys to do the tooling and moulding, I think we'd have a marginally better product still...and with that really hard plastic to stop the LVG wing flexing too. Of course the kits would then cost more like US$169 instead of US$69. And I'm perfectly happy with the current WNW's quality vs price if you don't mind.
At the current prices and with the Australian $ relatively strong (for now), these models are absolutely the best bargains in modelling at the moment.
About the Author

FROM: VICTORIA, AUSTRALIA
Matchbox model kits were the big thing for me when i was 10 years old. I made a mess of all of them i could get hold of, plus lots of Novo and Airfix kits too. When i was 13 i got a Tamiya F1 (Ferrari 312T3) car model for Christmas and i'd never seen anything like it! It was a turning point in t...
Comments

Excellent build Andrew ! Very different camo as well , I like it and will have to give a try some day . Thanks for sharing with us !
APR 10, 2010 - 01:24 AM

Hi Andrew
A fantastic build and an amazing colour scheme!
All the best
Rowan
APR 10, 2010 - 02:57 AM

Nice build. The thought of painting over all that wonderful lozenge is scary to me.
APR 10, 2010 - 05:26 AM

Here is the original "in-the-box-review". Excellent build Andy! I really like the scale "Winter Eidleweiss" scheme application. Model On!
APR 10, 2010 - 08:21 AM
Copyright ©2021 by Andrew Beard. Images also by copyright holder unless otherwise noted. The views and opinions expressed herein are solely the views and opinions of the authors and/or contributors to this Web site and do not necessarily represent the views and/or opinions of AeroScale, KitMaker Network, or Silver Star Enterrpises. Images also by copyright holder unless otherwise noted. Opinions expressed are those of the author(s) and not necessarily those of AeroScale. All rights reserved. Originally published on: 2010-04-10 00:00:00. Unique Reads: 9133

WEB HOSTING BY


Copyright ©2021 AeroScale and Kitmaker Network, a subsidiary of Silver Star Enterprises
All Rights Reserved. Please read our Conditions of Use and Privacy Policy.
All Rights Reserved. Please read our Conditions of Use and Privacy Policy.