

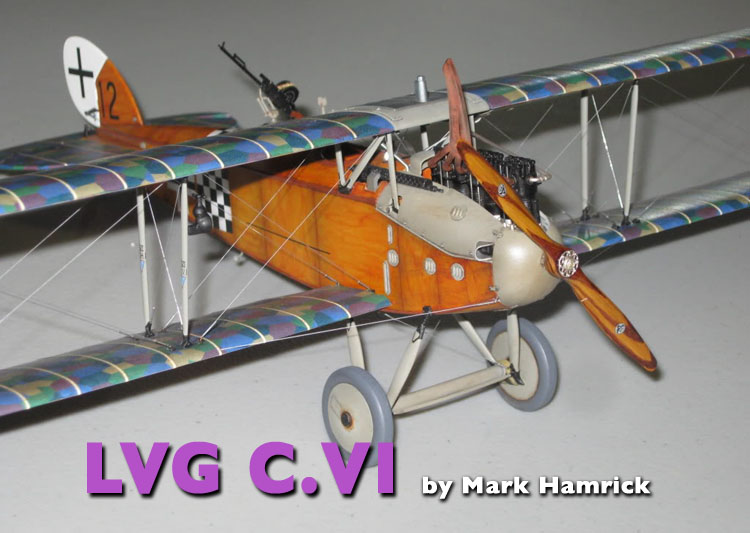
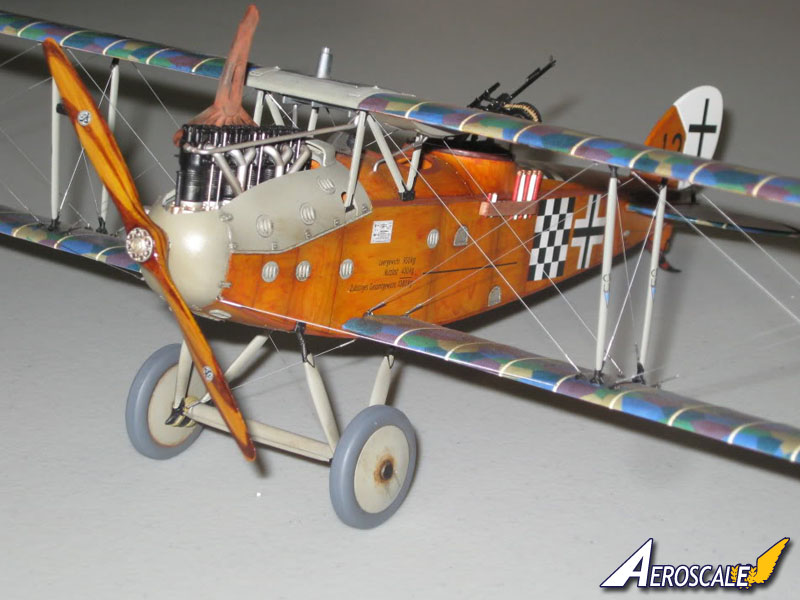
1⁄32LVG C.VI
11
Comments
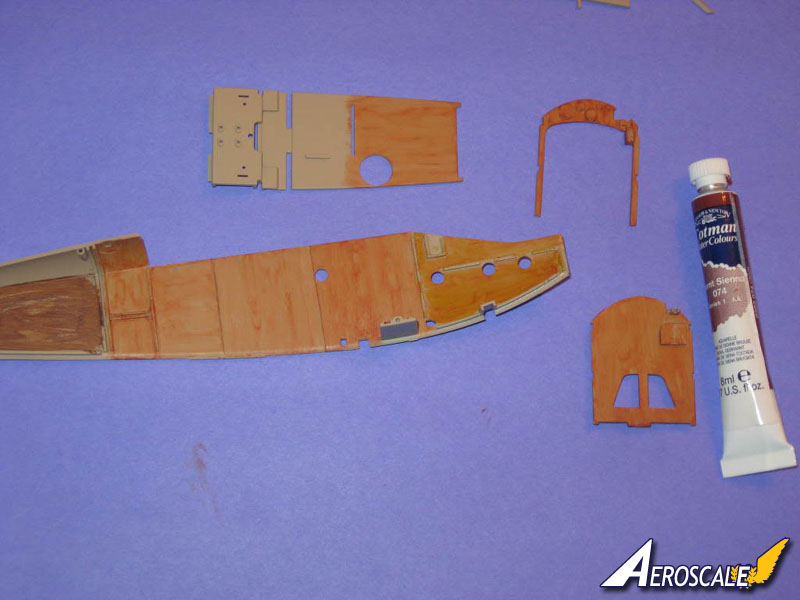
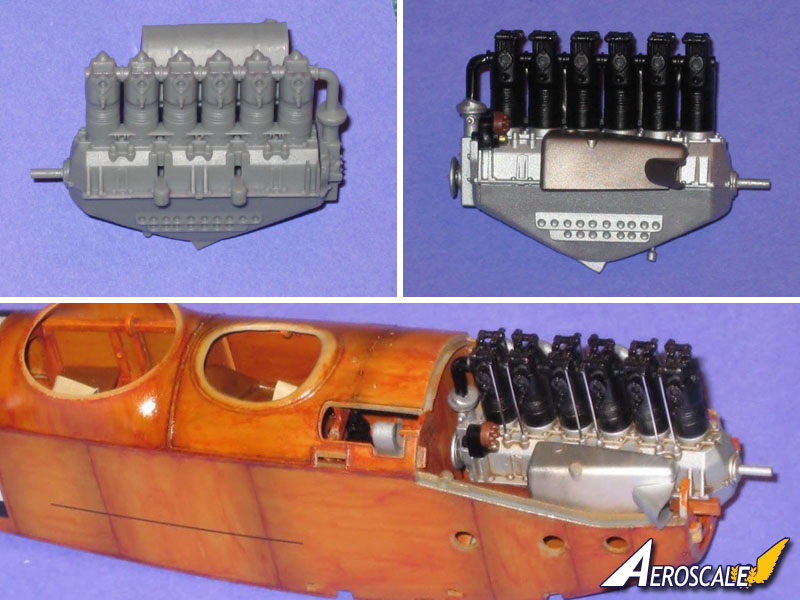
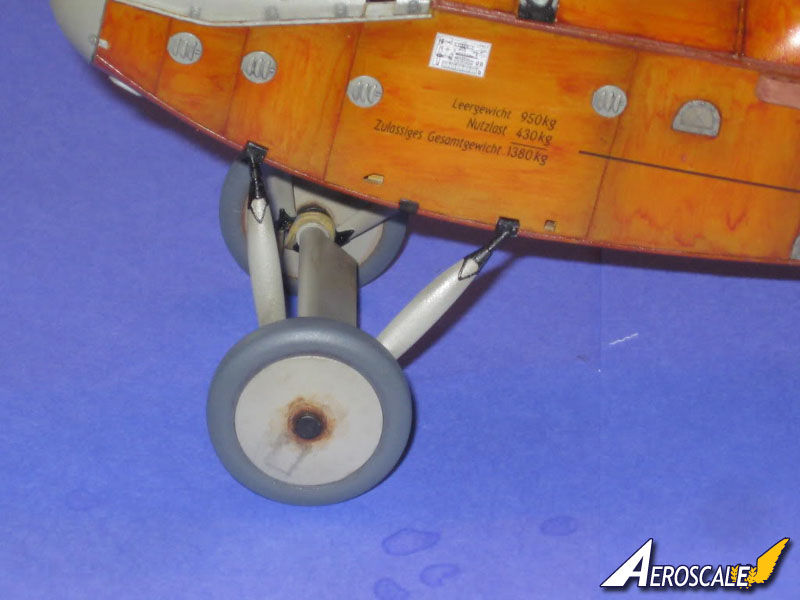
Fuselage
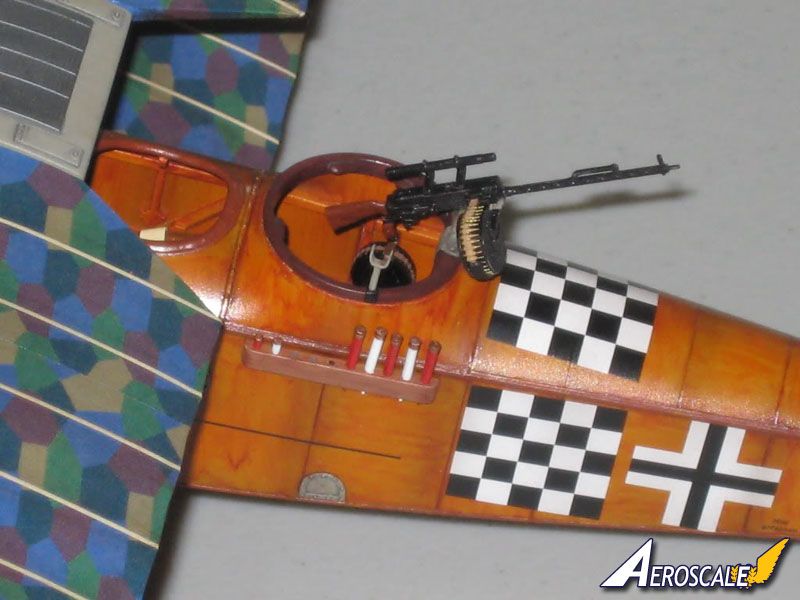
This is an OOB build for the Wingnuts 1/32 LVG C.VI. The fuselage sides and bottom have a very tight fit that need very little putty . I've painted all of the interior parts Tamiya Deck Tan. The interior didn't have the panel lines carried over from the outside so I scribed them in.I decided to try to use watercolors for the wood grain effect. They dry very quickly and are very easy to use and correct if you need to correct the "grain" you've painted on it. I'm using Windsor & Newton "Cotman Watercolours". In this case, Burnt Sienna over a coat of Tamiya Tan.
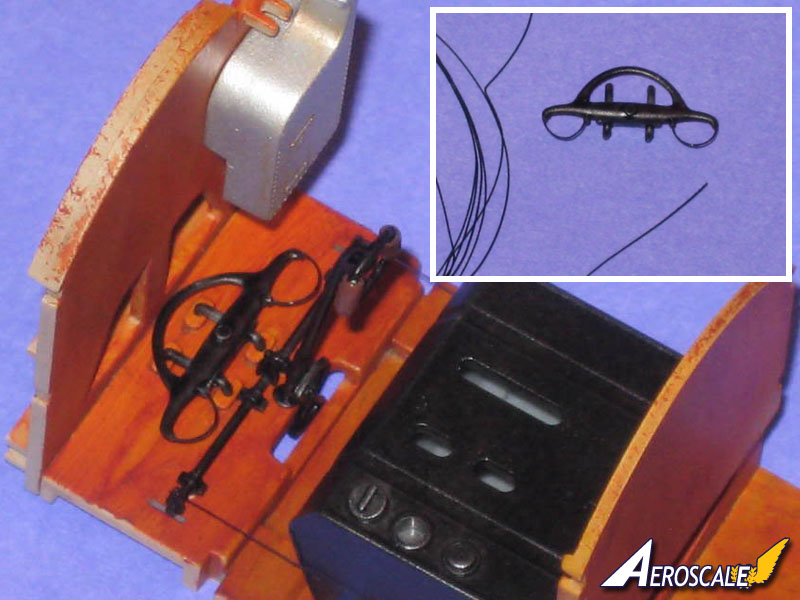
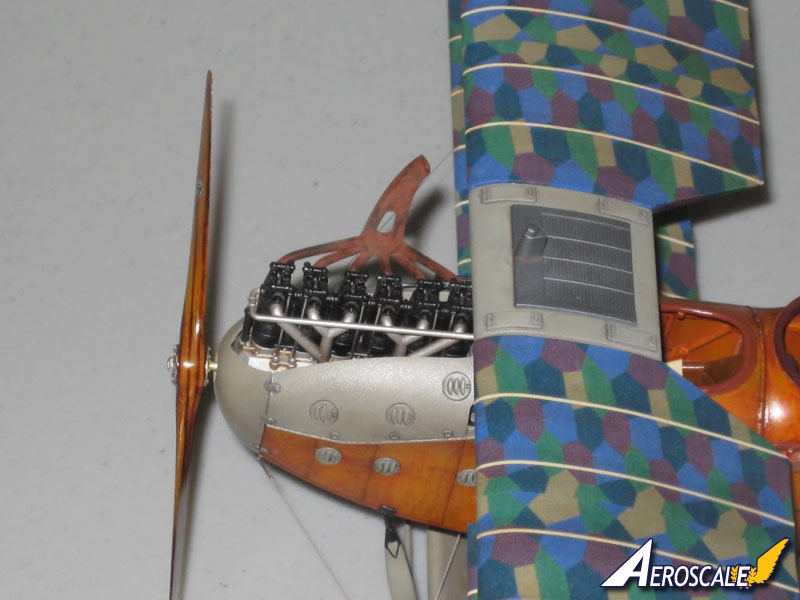
I finished the engine with a wash, drybrush and guitar string push rods The kit instrument face decals went down very well with no problems. I added a few control lines and loops to the rudder bar with thin black wire.
After painting the exterior, I accented the panel lines with Tamiya Smoke.
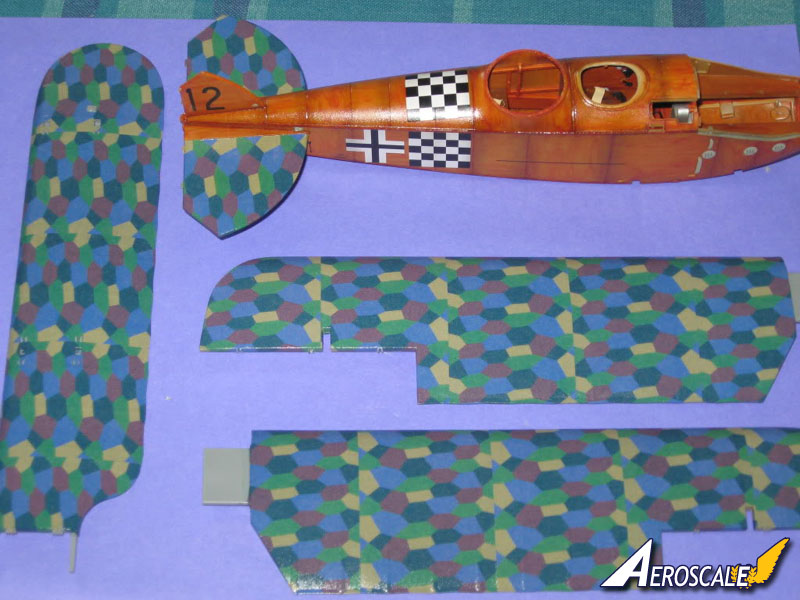
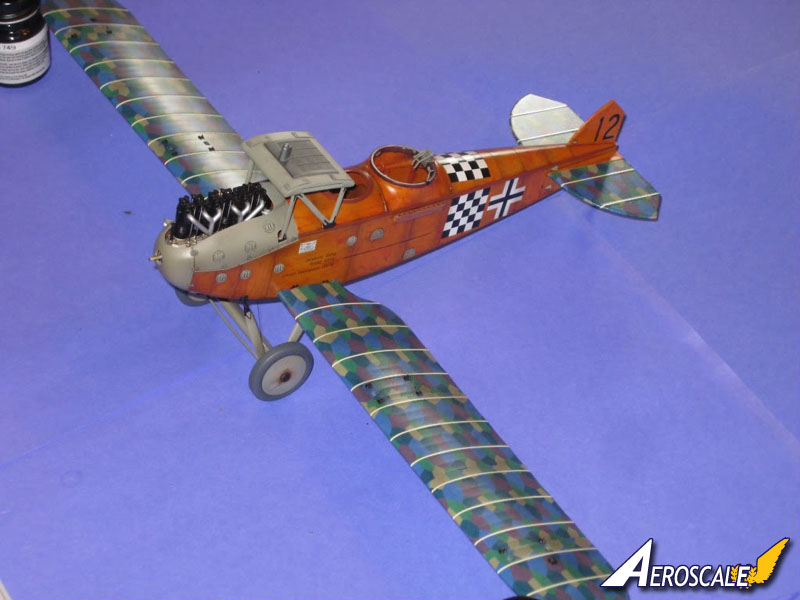
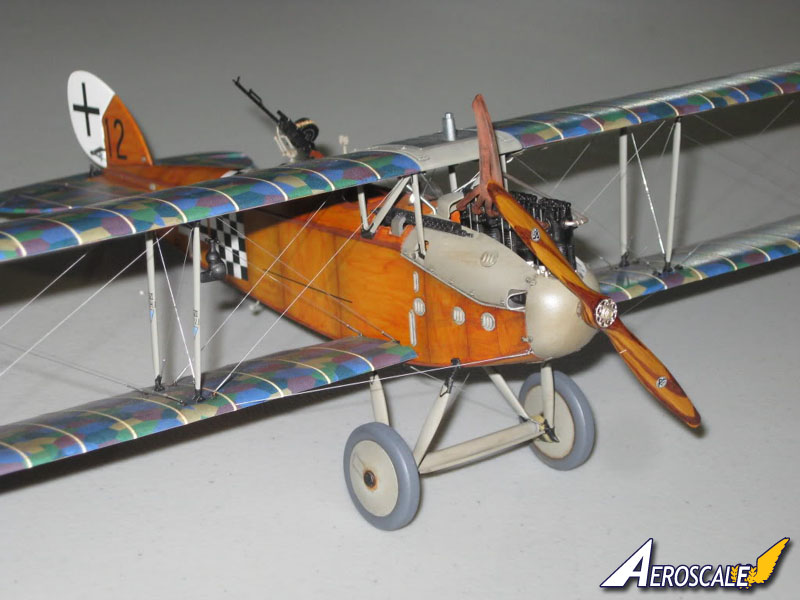
Decallig the wings
I started the decaling with the lozenge on the lower wings. I coated the wings with Future then decaled them. You could paint the wings. The color you paint them won't show through the lozenge. The decals go down great. You have to be careful cutting along the leading and trailing edges. I gave the decals 24 to 36 hrs to set. You are given just enough lozenge with maybe one full length, vertical wing size "panel" of extra. Keep your spare decal scraps. You can use them to cut small pieces off to "touch up" any nicks to the lozenge.I wouldn't try to mask the decals after you put them on. They could lift up very easily. Paint the under wing gas tank and under wing access panels before you decal. That will save you some trouble. There is just enough lozenge to do the kit so plan well. Measure twice, cut once.
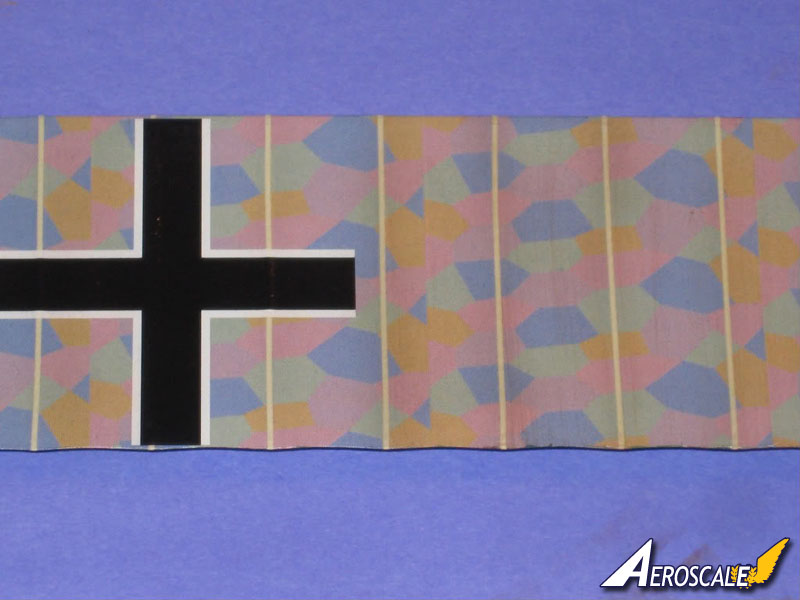
The decaling can be a marathon. I broke mine up into several sessions so I could keep focused. After I finished a top or bottom I would "Future" it (especially along the leading and trailing edges) to keep the decals down so they wouldn't chip or lift up while I was handling the wings for other decals.
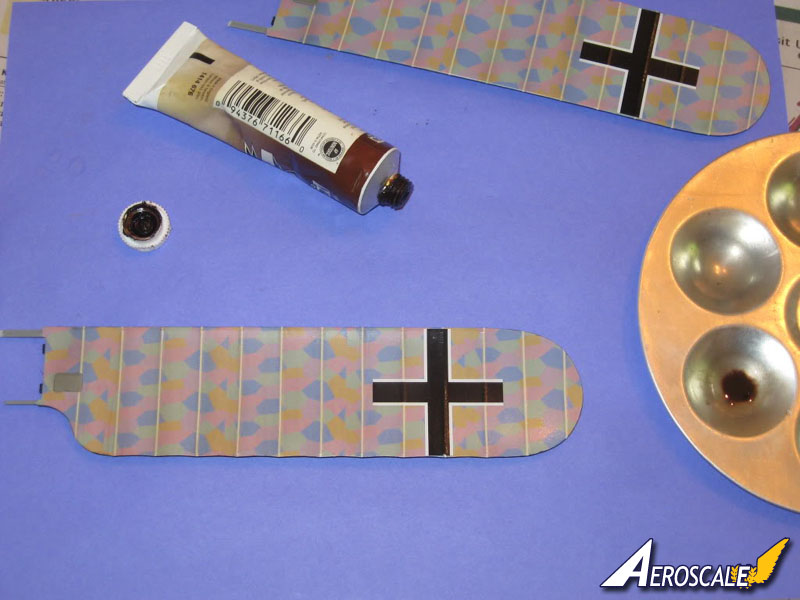
Weathering the wings
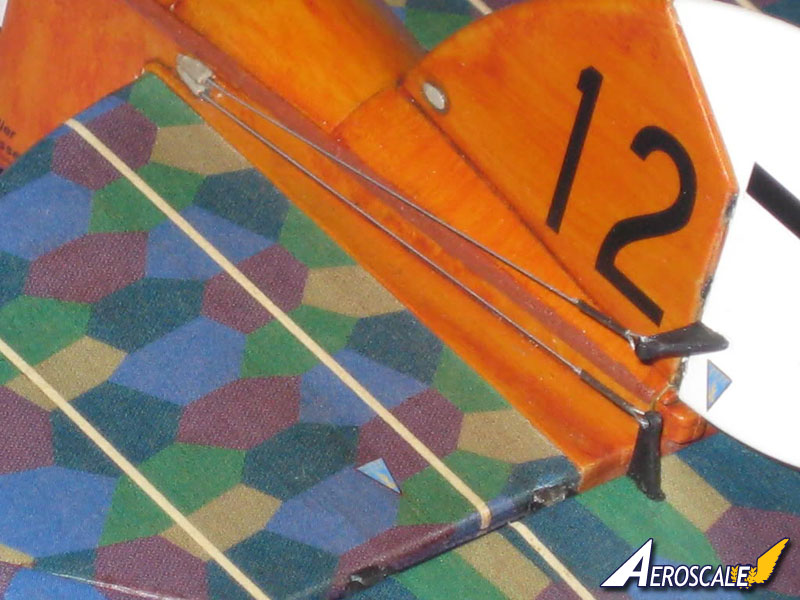
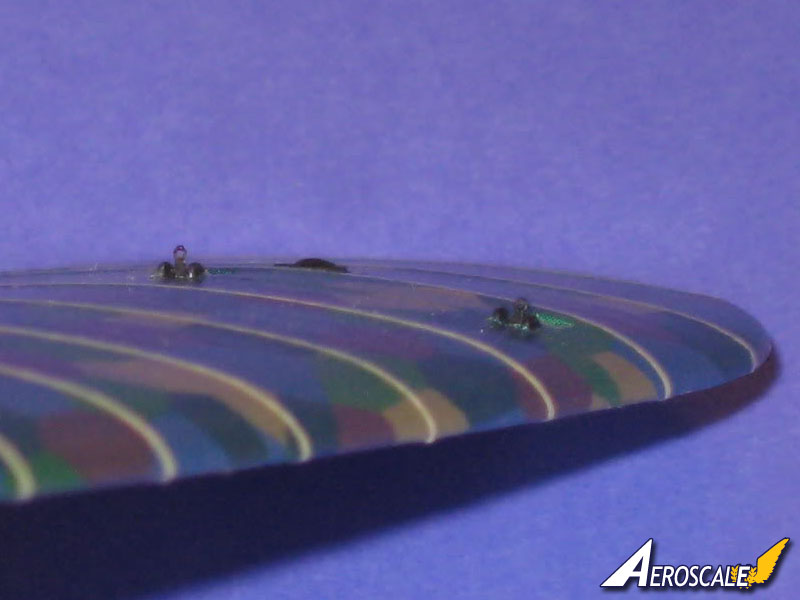
I then toned the lower lozenge down just a little with Tamiya "Smoke" on the lower wing. I added some streaking to the wings to simulate wear and to give then an "uneven" appearance to the color for contrast. I just used a little paint thinner and Van Dyke Brown oil paint. I added a few brush strokes of oil paint then brushed them from leading edge to trailing edge to thin them down.Rigging
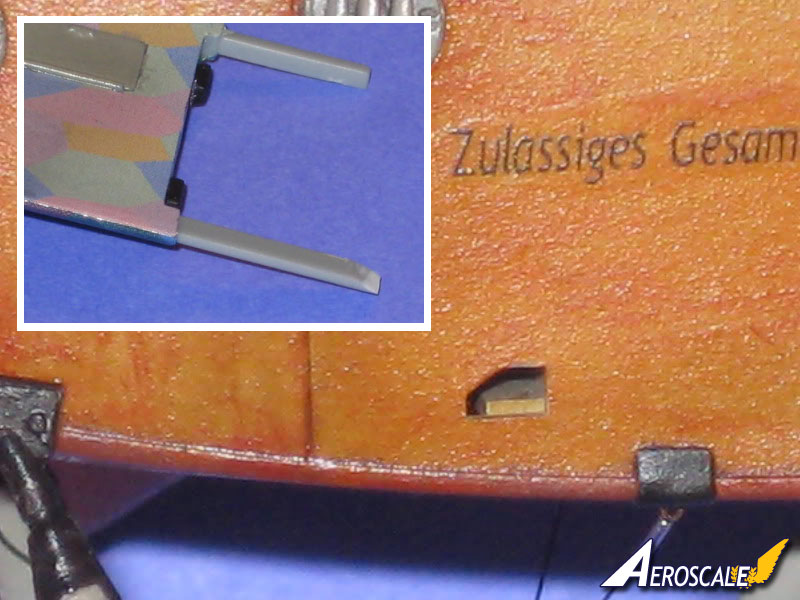
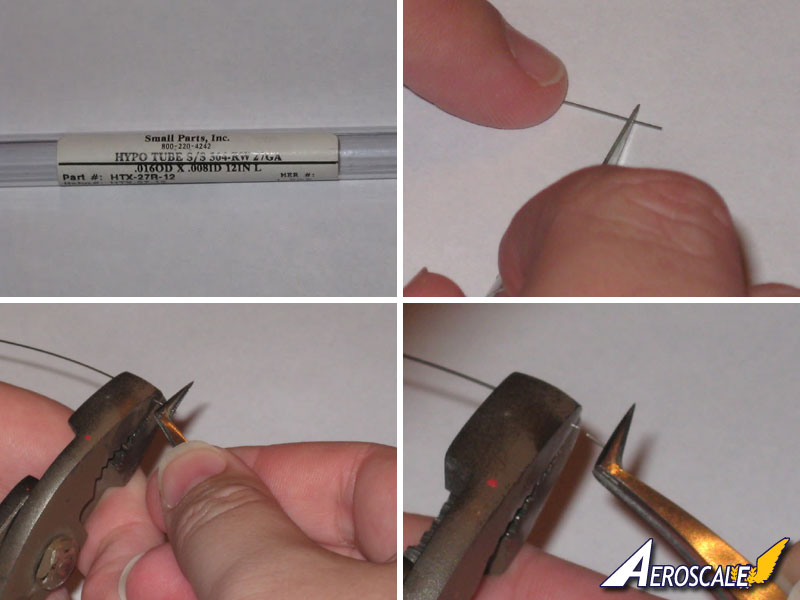
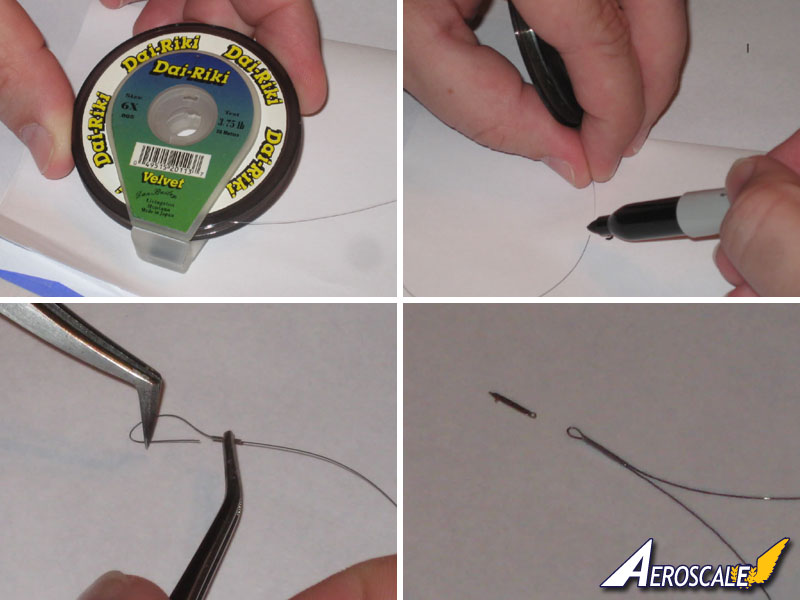
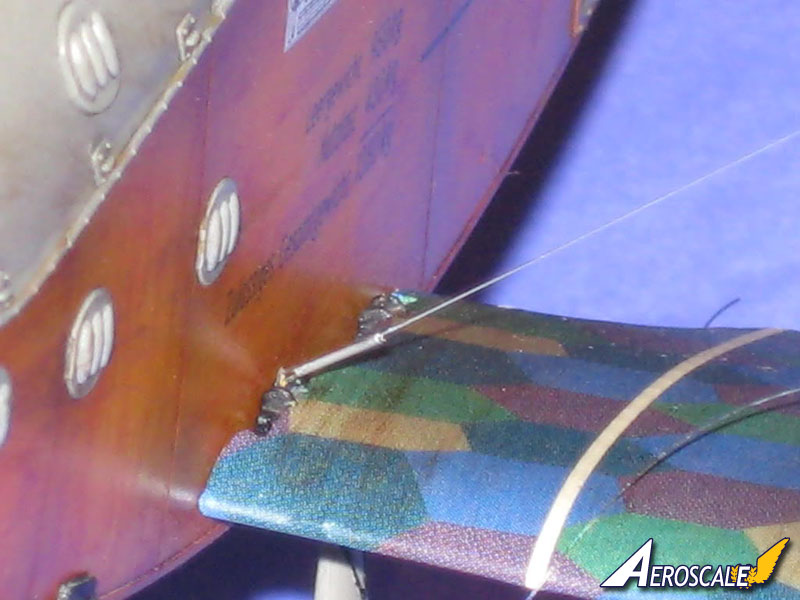
Here's a rundown of how I do the rigging. I don't use the "through the wing method" on this build. I use "Part of Poland" turnbuckles as attachment points for the rigging. I cut them in half and superglue them into the predrilled holes. I use hypodermic tube I get from "Small Parts" in 1 to 3 ft lengths. I use a sharp knife to score the tube by rolling it back and forth under the knife. You don't have to roll very far, just enough to go all the way around the tube. Next, I hold the tube in pliers and snap off the part with tweezers. I use Dai-Riki fishing line and color it by dragging it between a Sharpie and a piece of paper. Next, run it through the tube (and the attachment point on the wing) then loop it around and pull it through and clip off the extra line. In the end I decided to use a silver sharpie to color the rigging lines.Finishing up
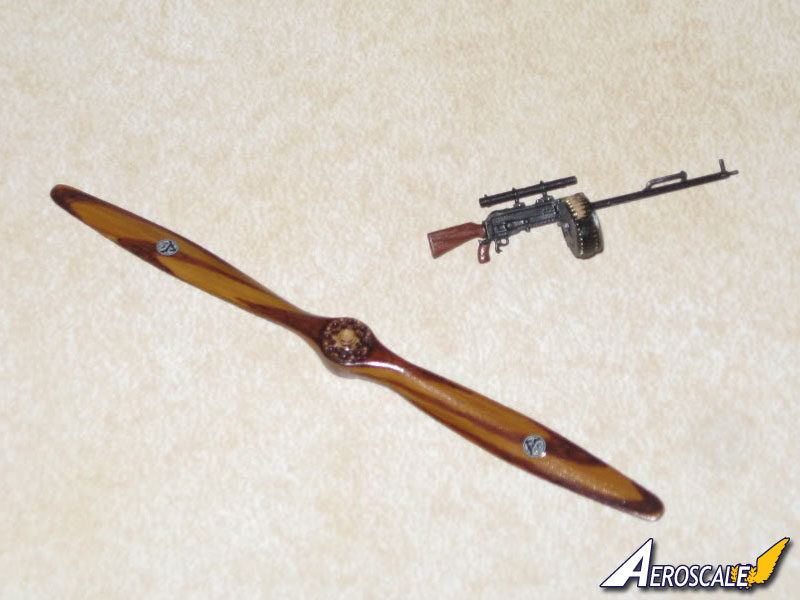
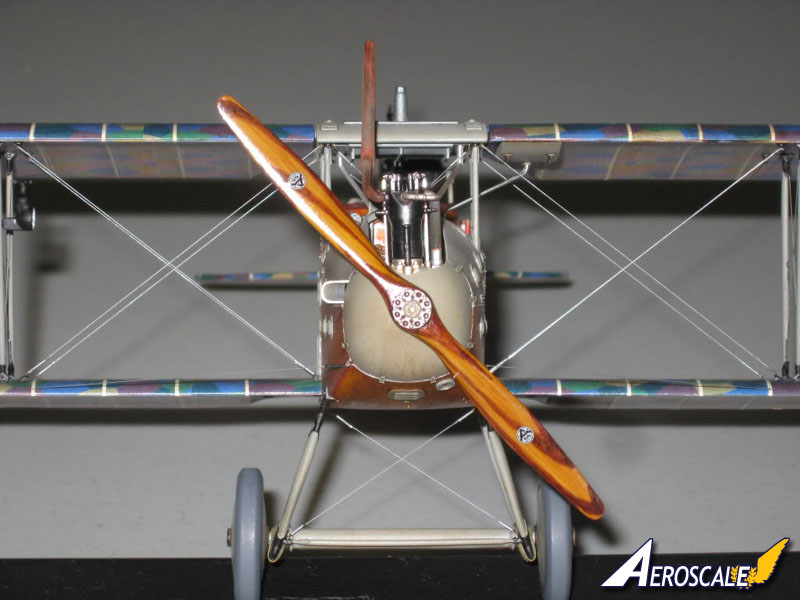
I painted the prop tan, then used oil paint for the grain, and drew the darker laminations on with a brown Sharpie using a picture of a real prop as a reference. Then I sealed it with Tamiya Clear Yellow.This was an extremely enjoyable build and makes a very nice addition to the display case.
Here is a link to the original forum build blog: WNW GB 2009-10 LVG C.VI


About the Author


Comments


Thanks everyone. It's great hanging out here at Aeroscale. I learn so much from you all. I'm looking forward to the next Wingnut releases!
Mark
JAN 10, 2010 - 02:43 AM

Outstanding work Mark. I am looking forward to seeing your next build. I will be using your build as a reference when I tackle mine.
JAN 10, 2010 - 05:36 AM

As I said before: Simply Beautiful, Congratulations Mark!
Cheers!
Claudio
JAN 11, 2010 - 06:20 PM

Mark,
Top shelf indeed! Excellent work all around.
Regards, Dwayne
JAN 11, 2010 - 09:45 PM

This is the kind of thing I love this site for. I know you have heard it before, Mark, but that was a great build.
JAN 12, 2010 - 08:05 AM

Mark,
Awesome Feature! I have to add one more OUTSTANDING build to the Chorus! Thanks for contributing your skills to the WNW group build and to this site!
RAGIII
JAN 13, 2010 - 02:41 AM
Really nice! I love the lozenge camo effect. Will add this one to my wish list.
JAN 13, 2010 - 05:21 AM
Copyright ©2021 by Mark Hamrick. Images also by copyright holder unless otherwise noted. The views and opinions expressed herein are solely the views and opinions of the authors and/or contributors to this Web site and do not necessarily represent the views and/or opinions of AeroScale, KitMaker Network, or Silver Star Enterrpises. Images also by copyright holder unless otherwise noted. Opinions expressed are those of the author(s) and not necessarily those of AeroScale. All rights reserved. Originally published on: 2010-01-09 00:00:00. Unique Reads: 9844

WEB HOSTING BY


Copyright ©2021 AeroScale and Kitmaker Network, a subsidiary of Silver Star Enterprises
All Rights Reserved. Please read our Conditions of Use and Privacy Policy.
All Rights Reserved. Please read our Conditions of Use and Privacy Policy.