

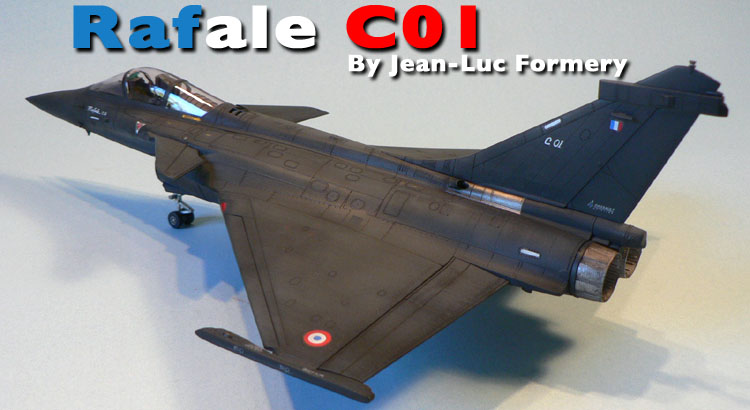
1⁄48Rafale C01
...
Post a Comment
Introduction
A review of the Hobby Boss 1/48 scale Rafale C01 kit by Rowan Baylis (Merlin) can be found here.Construction
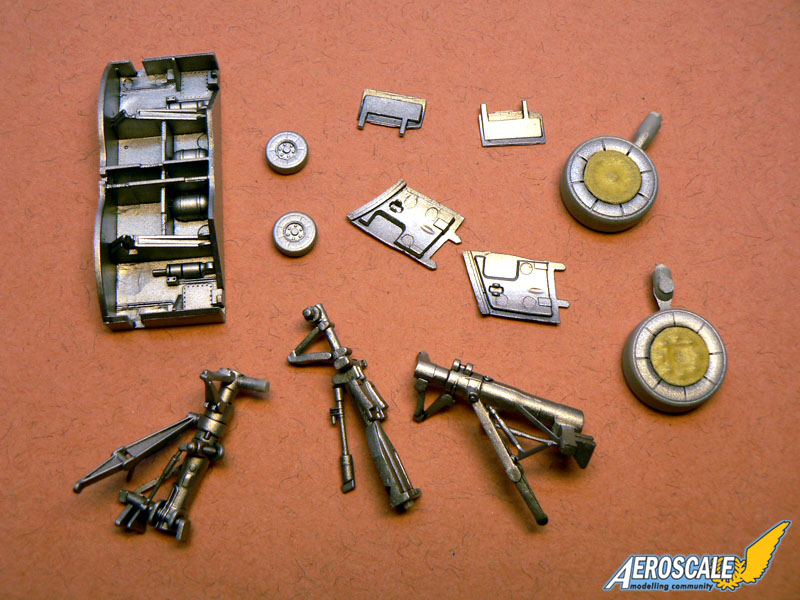
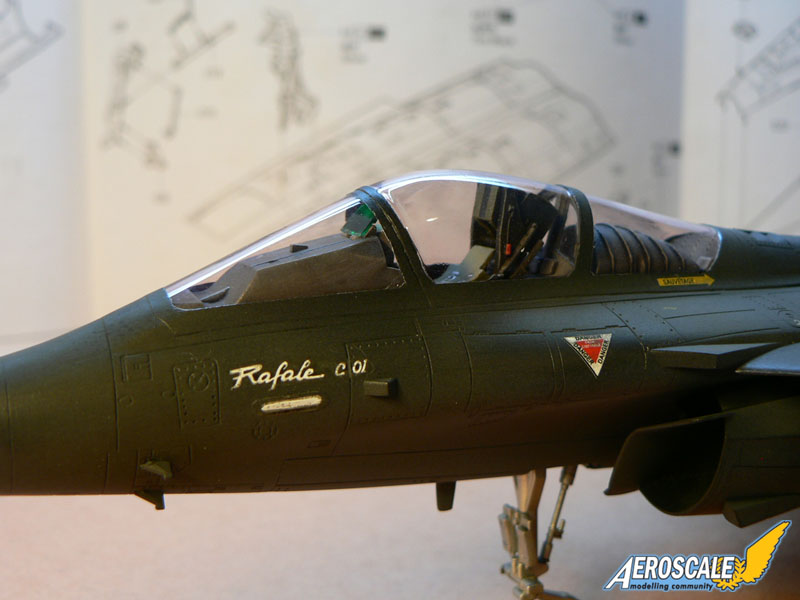
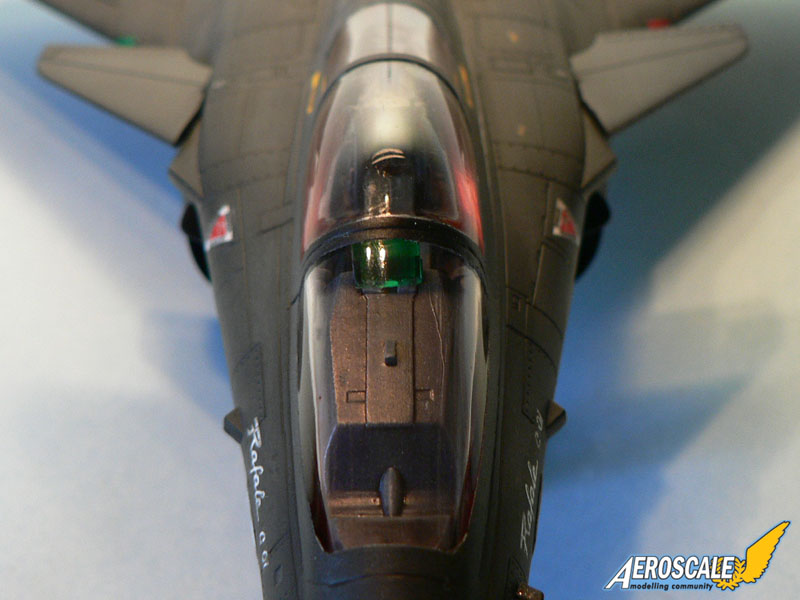
The cockpit interior is quite basic in the kit but it isn't much different on the real plane. I painted the parts in a dark grey color except for the pilot area and the instrument panel which is light grey. The seat is nice but the seat belts are molded on the cushion (colored in green). It is necessary to add some shadows to have more depth. I think it will look ok with the canopy in the closed position but if you want to display the model with an open cockpit photo-etched or home made seat belts will be necessary.I painted the undercarriage and the gear bays in silver. According to a French modeller I know, it is like that on most Dassault aircraft. The instructions tell you to paint the gear bay in white which is a bit odd.
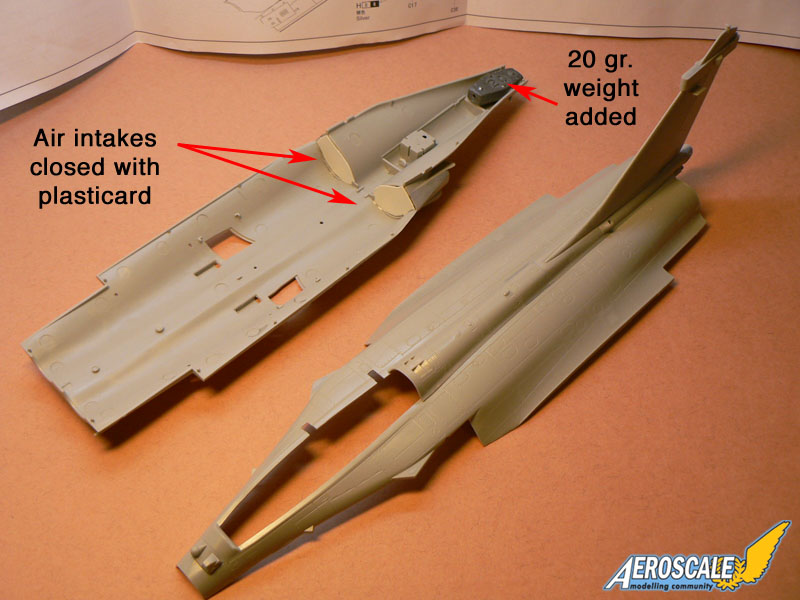
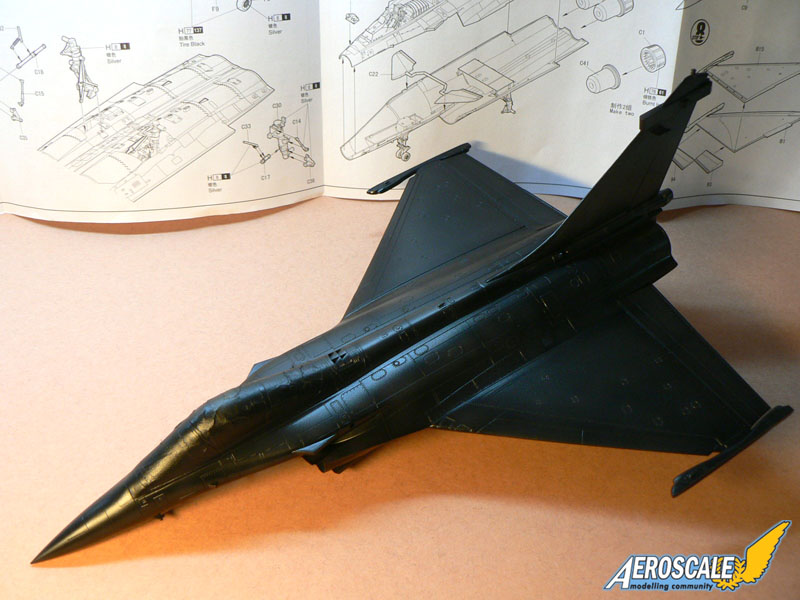
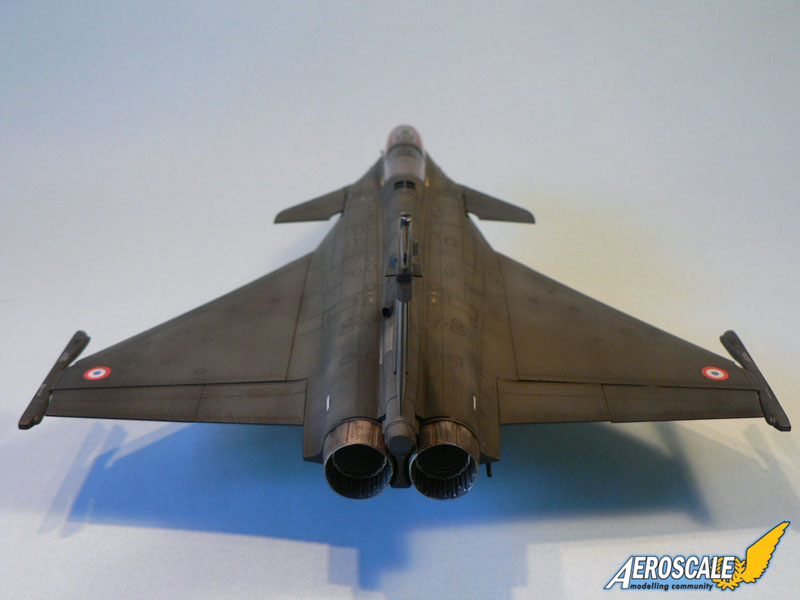
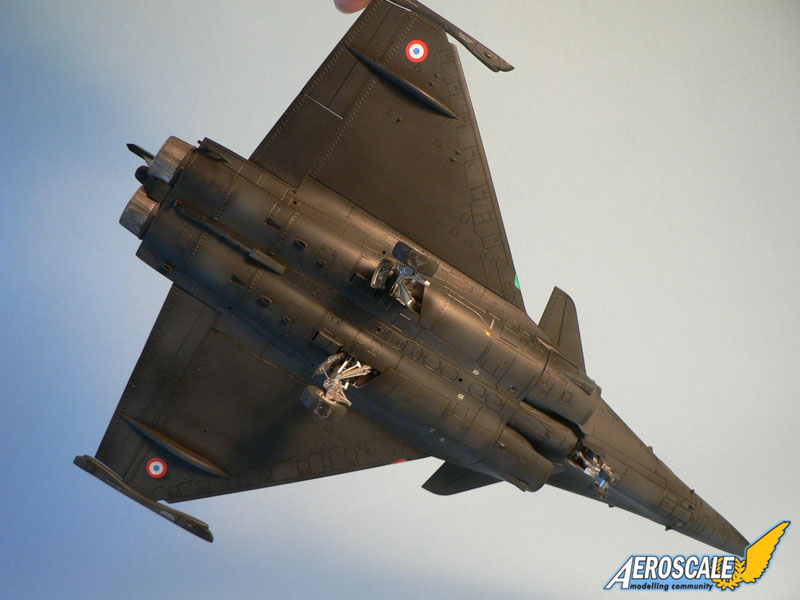
The fuselage halves are made of two main parts. Unlike what is usual on most aircraft models, there is one upper part and one under part. I have placed 20 gr of weight at the front to prevent my Rafale to be a tail sitter. I also closed the air intakes with plasticard and while this is not very accurate it is still better than an open view into the empty entrails of the model. The real plane's air tunnels have a quite complex shape and it would have been a nice touch from Hobby Boss to include them in their kit.
The fit of the Hobby Boss kit is good but I had to use filler in some places nevertheless. For example the slats on the leading edges of the wings have sink marks which must be eliminated. These marks would probably have been noticeable on the finished model. The upper part insert of the fuselage also needs some adjustments (the Rafale kit was designed by Hobby Boss so to allow them to produce the two-seater version as well). Finally, The air intakes probably require the most work and the biggest amount of putty! The only real difficulty on the underside is that the forward landing gear bay insert is a bit undersized. Here also filler is needed. Be careful not to glue the main landing gear legs into the wheel bays before gluing the fuselage halves together, because if you do so, you won't be able to position them afterwards! Getting them properly in place requires some care and patience though.
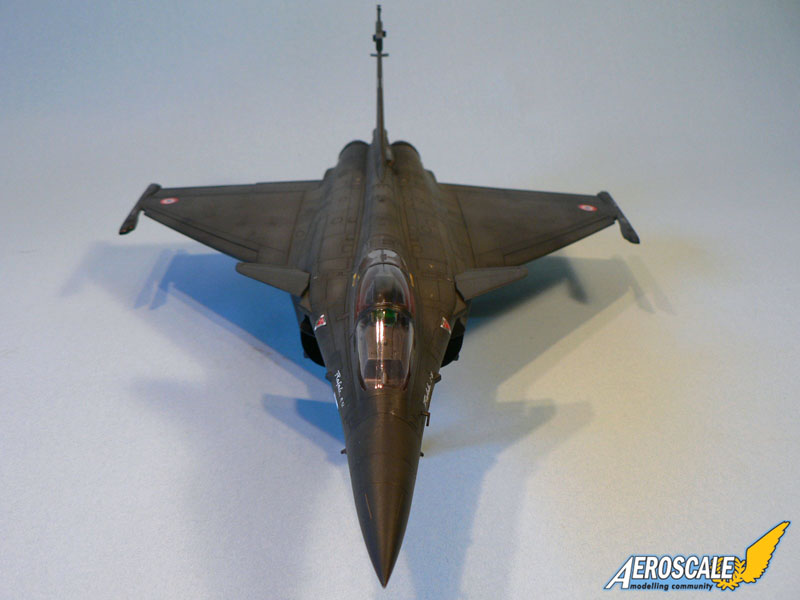
Before starting to apply some paint on the model, I've added filler on the clear parts as well, precisely where they meet with the fuselage. If you display the model with the canopy in the opened position, there will be no problem. But since I wanted to close the canopy to preserve the clean lines of the C01, I had to do some extra work as you can see on the pictures.
Painting and decalling
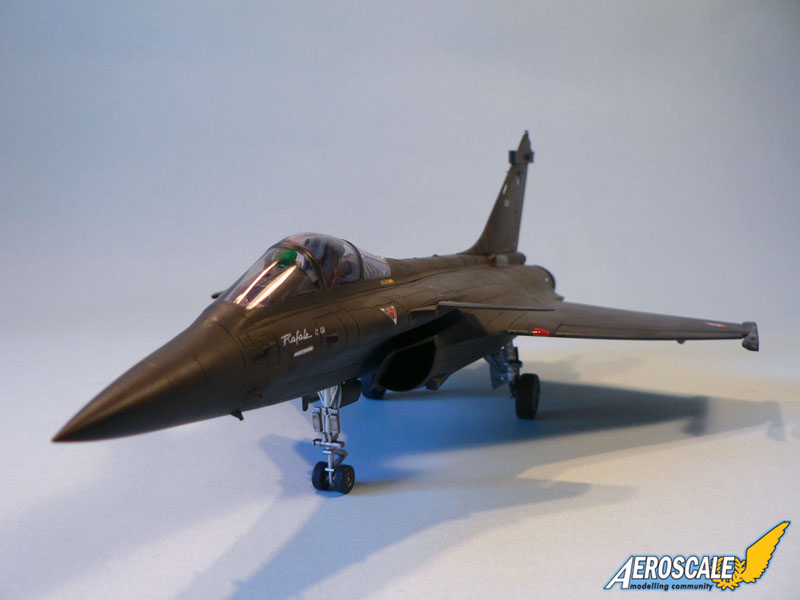
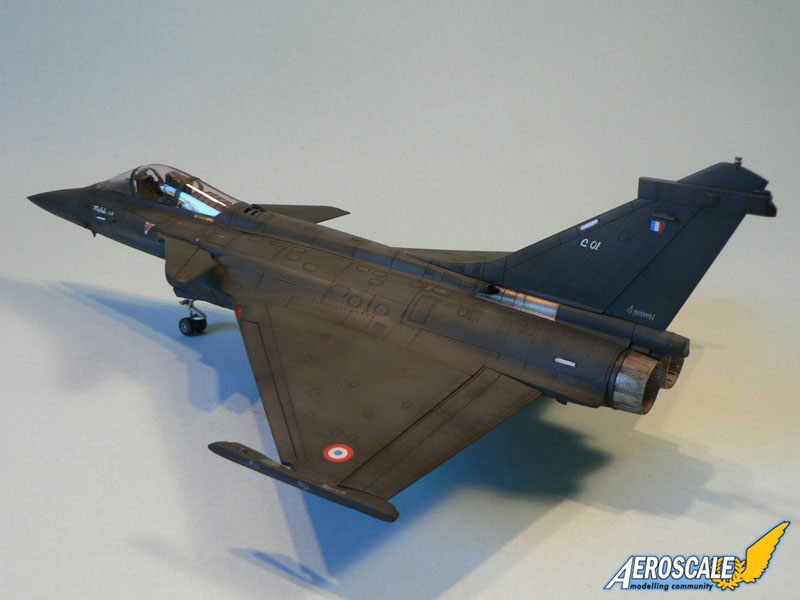
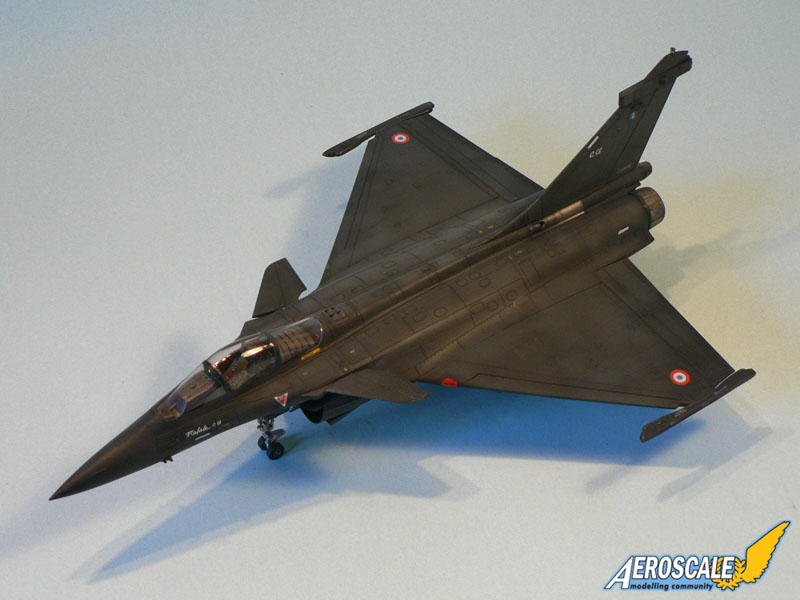
The whole model was first painted with Tamiya Black, some lighter shades of grey and even dark red brown color. Unfortunately the post shading effects all disappeared under several coats of Future. I then applied the decals and "weathered" the surface of the plane by applying different grey colors. I left the surface like that without spraying any varnish as it looked quite convincing, like the real prototype in fact, which was quite heavily weathered for a modern jet.The clear parts of the canopy where tinted in red with a mix of Future and Tamiya translucent paint (smoke, red and blue). The glazing's of the real plane are tinted as well. The formation lights are not provided as clear parts in the kit so I painted them in silver and added a coat of red and green transparent paint from Tamiya.
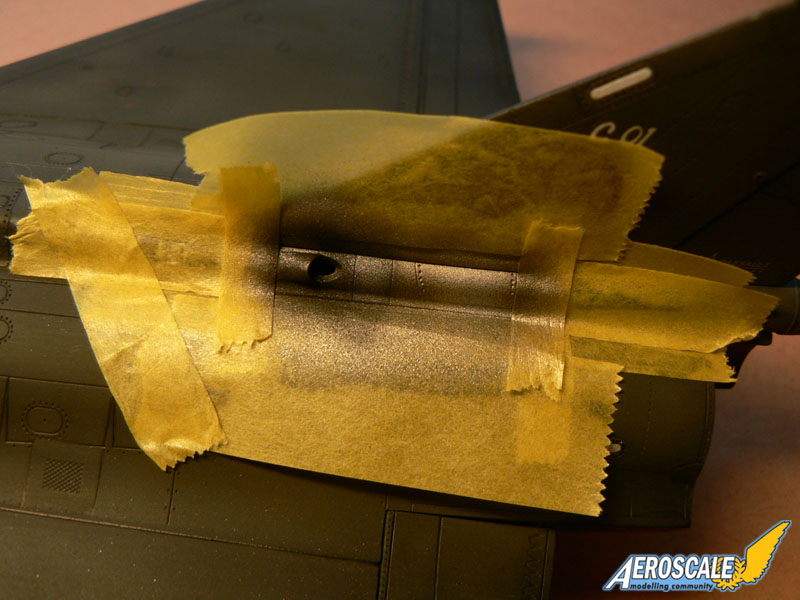
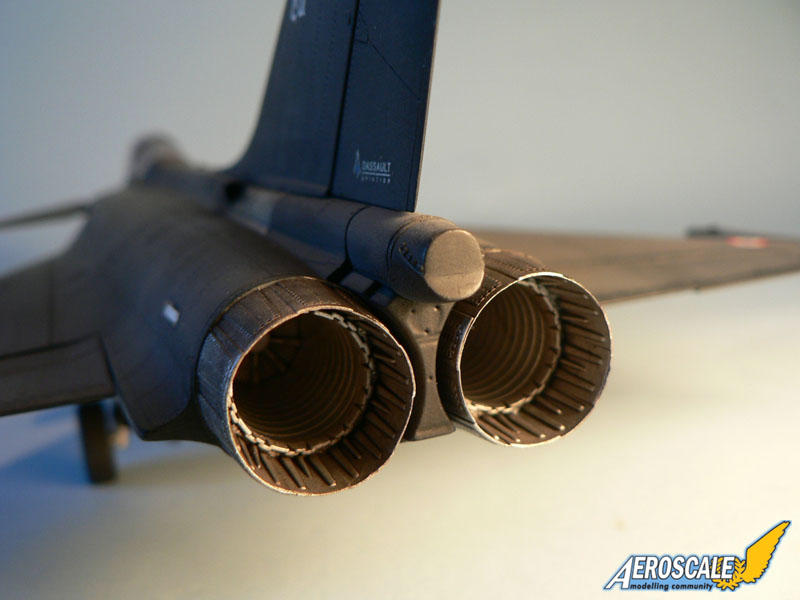
To enhance the panel lines of this model, I tried a new technique (at least for me). I used a 0,3 thick pen marker which is water based but water resistant once dry. It worked quite well I must say and I obtained the result I was looking for. I couldn't use a more common wash technique this time because the surface of the model is flat. I also painted some panels in burnt iron at the base of the rudder (only on one side) because there is an exhaust opening there and the panels are left bare metal on the Rafales.
Conclusion
Out of the box, the Hobby Boss Rafale C01 kit can be build into a very nice looking model. Only the relative lack of detail in the cockpit area as well as the need to use filler in some places represent bad points in my eyes. Other than that it's a kit I can recommend to every category of modelers except maybe the real novices.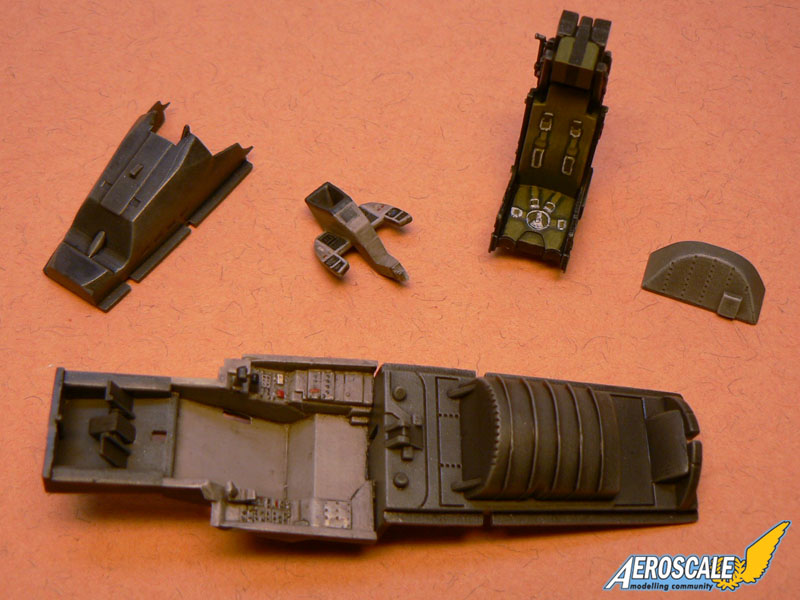


About the Author


FROM: MOSELLE, FRANCE
I'm mainly interested in WW2 aircraft and I build them in 1/48 scale.
Comments
Copyright ©2021 by Jean-Luc Formery. Images also by copyright holder unless otherwise noted. The views and opinions expressed herein are solely the views and opinions of the authors and/or contributors to this Web site and do not necessarily represent the views and/or opinions of AeroScale, KitMaker Network, or Silver Star Enterrpises. Images also by copyright holder unless otherwise noted. Opinions expressed are those of the author(s) and not necessarily those of AeroScale. All rights reserved. Originally published on: 2007-10-12 00:00:00. Unique Reads: 14201

WEB HOSTING BY


Copyright ©2021 AeroScale and Kitmaker Network, a subsidiary of Silver Star Enterprises
All Rights Reserved. Please read our Conditions of Use and Privacy Policy.
All Rights Reserved. Please read our Conditions of Use and Privacy Policy.