

Air Campaigns
Want to start or join a group build? This is where to start.
Want to start or join a group build? This is where to start.
Hosted by Frederick Boucher, Michael Satin
OFFICAL: RAF 100 Campaign
Removed by original poster on 08/13/18 - 03:34:25 (GMT).

bomber14

Joined: February 02, 2015
KitMaker: 330 posts
AeroScale: 286 posts
Posted: Sunday, August 12, 2018 - 03:37 PM UTC
some nice builds here. tim nice spit and i am relieved to see your sky matches the sky i'm using.
since these photos i have pre shaded and sprayed the sky

 " BORDER="0">
" BORDER="0">
since these photos i have pre shaded and sprayed the sky
" BORDER="0"> " BORDER="0"> bomber14
Joined: February 02, 2015
KitMaker: 330 posts
AeroScale: 286 posts
Posted: Sunday, August 12, 2018 - 03:54 PM UTC
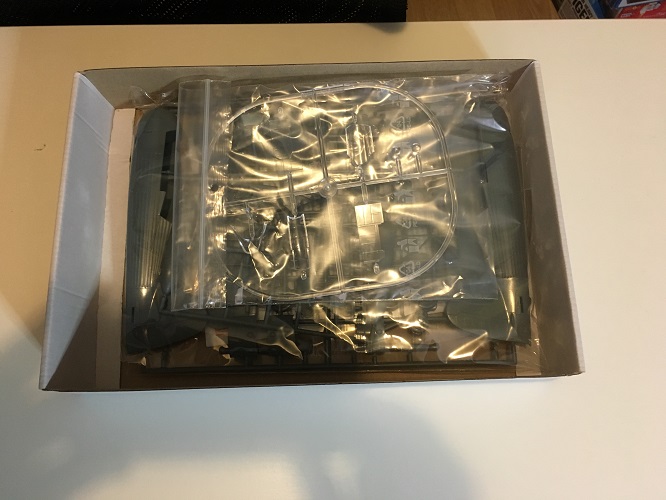
does anyone know witch prop would be right to use for a battle of britain hurricane? airfix supplies two props in their 1/48 kit but don't say which is which. thanks, joe
 " BORDER="0">
" BORDER="0"> 
c4willy

#305

Joined: February 01, 2006
KitMaker: 1,673 posts
AeroScale: 1,517 posts

Posted: Sunday, August 12, 2018 - 04:49 PM UTC
I believe it's the one to the right Joe, the one to the left looks like a rotol unit.
MichaelSatin

Joined: January 19, 2008
KitMaker: 3,909 posts
AeroScale: 2,904 posts
Posted: Sunday, August 12, 2018 - 11:59 PM UTC
Actually both types were used at the time of the Battle of Britain, with the Rotol unit probably predominating. Use the smaller, more pointed spinner with the sharper De Havilland prop and the larger, more bulbous spinner with the larger Rotol one.
As for which aircraft had which prop, you're sort of up in the air on that (so to speak). I don't think something like serial number will tell you. You either need to research the specific airframe or take a guess. As I say, I believe the Rotol prop was more widely used at the time.
Michael
As for which aircraft had which prop, you're sort of up in the air on that (so to speak). I don't think something like serial number will tell you. You either need to research the specific airframe or take a guess. As I say, I believe the Rotol prop was more widely used at the time.
Michael
bomber14
Joined: February 02, 2015
KitMaker: 330 posts
AeroScale: 286 posts
Posted: Monday, August 13, 2018 - 12:47 AM UTC
thanks chris/michael. i too had seen photos of both used but it's hard to tell some times if it is during the BOB time frame.
michael i was actually thinking the pointy spinner was matched to the rotol. i think the techmond sheet i am using shows the specific plane with the stubby spinner.
thanks again joe
michael i was actually thinking the pointy spinner was matched to the rotol. i think the techmond sheet i am using shows the specific plane with the stubby spinner.
thanks again joe

TimReynaga
Joined: May 03, 2006
KitMaker: 2,500 posts
AeroScale: 318 posts
Posted: Monday, August 13, 2018 - 07:32 AM UTC
Quoted Text
some nice builds here. tim nice spit and i am relieved to see your sky matches the sky i'm using.
I hope we aren't both wrong!


Torpon

Joined: February 28, 2012
KitMaker: 103 posts
AeroScale: 102 posts
Posted: Tuesday, August 14, 2018 - 08:02 PM UTC
Tim, Joe, great looking Spitfires!
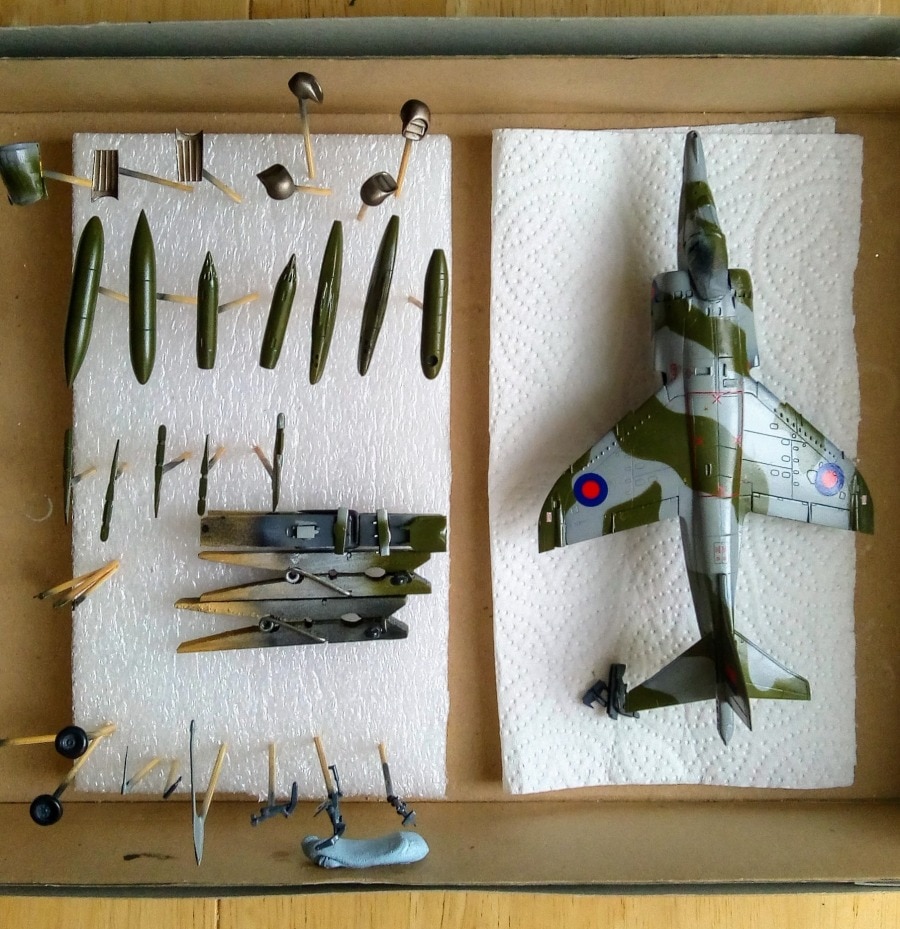
My Harrier has decals on and it is superglossy at the moment. Unfortunately I am now on holidays and it will have to stay like that for a couple of weeks.
Carlos.
My Harrier has decals on and it is superglossy at the moment. Unfortunately I am now on holidays and it will have to stay like that for a couple of weeks.
Carlos.

WombatWal
#496

Joined: August 09, 2018
KitMaker: 10 posts
AeroScale: 4 posts

Posted: Wednesday, August 15, 2018 - 03:56 PM UTC
Something a bit lower and slower, from me, than most of the other marvellous aircraft being built. That Heyford is a wonderful looking aircraft and those Matchbox colours are a horror.
Kit Eduard Lysander Mk. III
Start Date 16 August
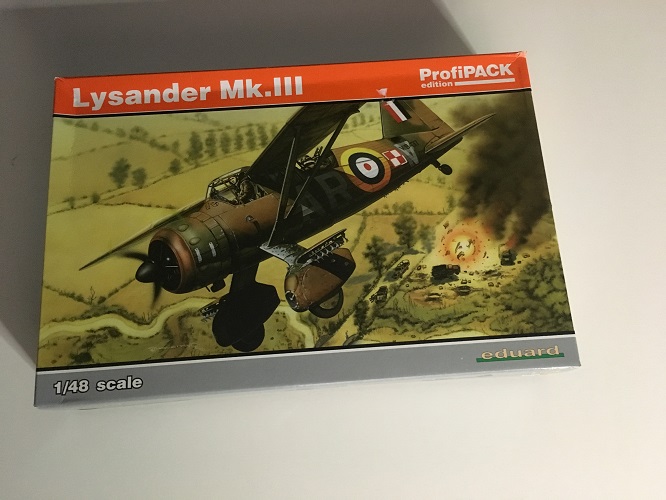
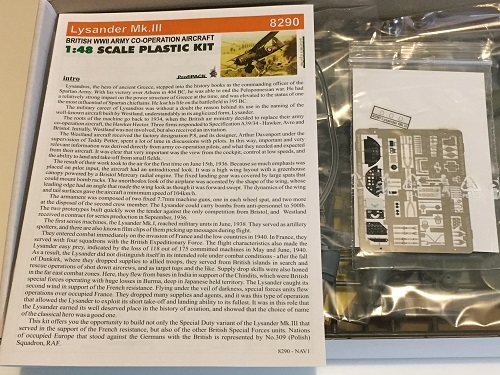
Kit Eduard Lysander Mk. III
Start Date 16 August

WIggus
Joined: July 07, 2017
KitMaker: 78 posts
AeroScale: 74 posts
Posted: Thursday, August 16, 2018 - 12:23 AM UTC
Ooooooohhh, Lysander!
I'm watching this one.
I finally got some flat coat to finish my Eduard Spitfire.
And in subsequent handling I broke the rudder right off.
I'll have to drill it out for some new pins. Grrrrrrrr.....
I'm watching this one.
I finally got some flat coat to finish my Eduard Spitfire.
And in subsequent handling I broke the rudder right off.
I'll have to drill it out for some new pins. Grrrrrrrr.....
TimReynaga
Joined: May 03, 2006
KitMaker: 2,500 posts
AeroScale: 318 posts
Posted: Thursday, August 16, 2018 - 11:29 AM UTC
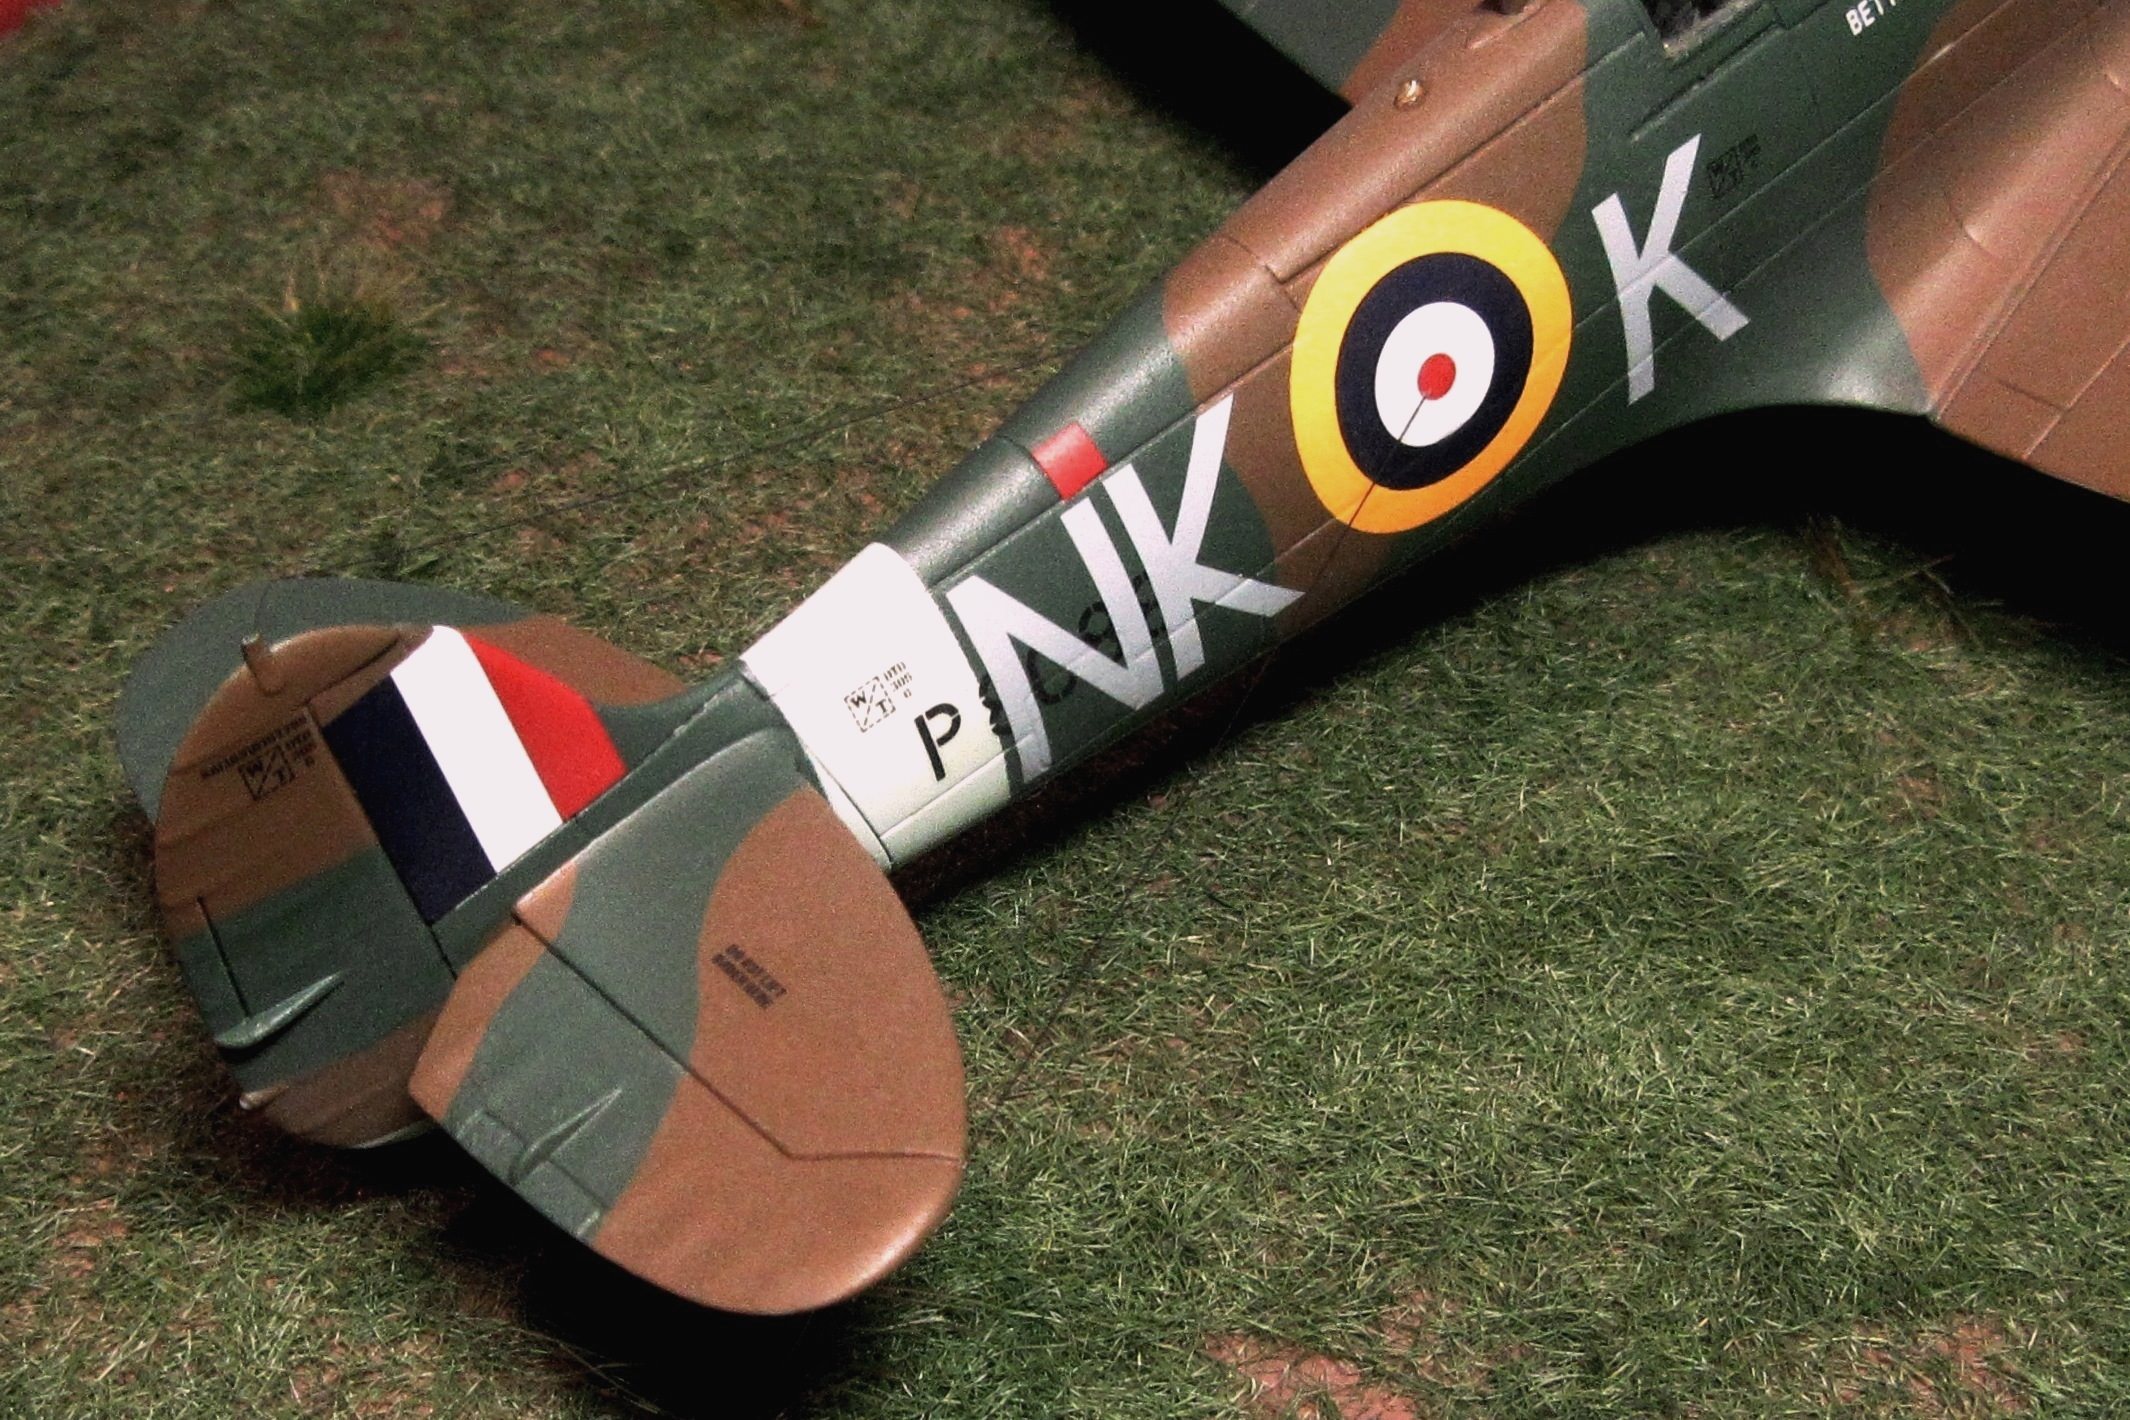
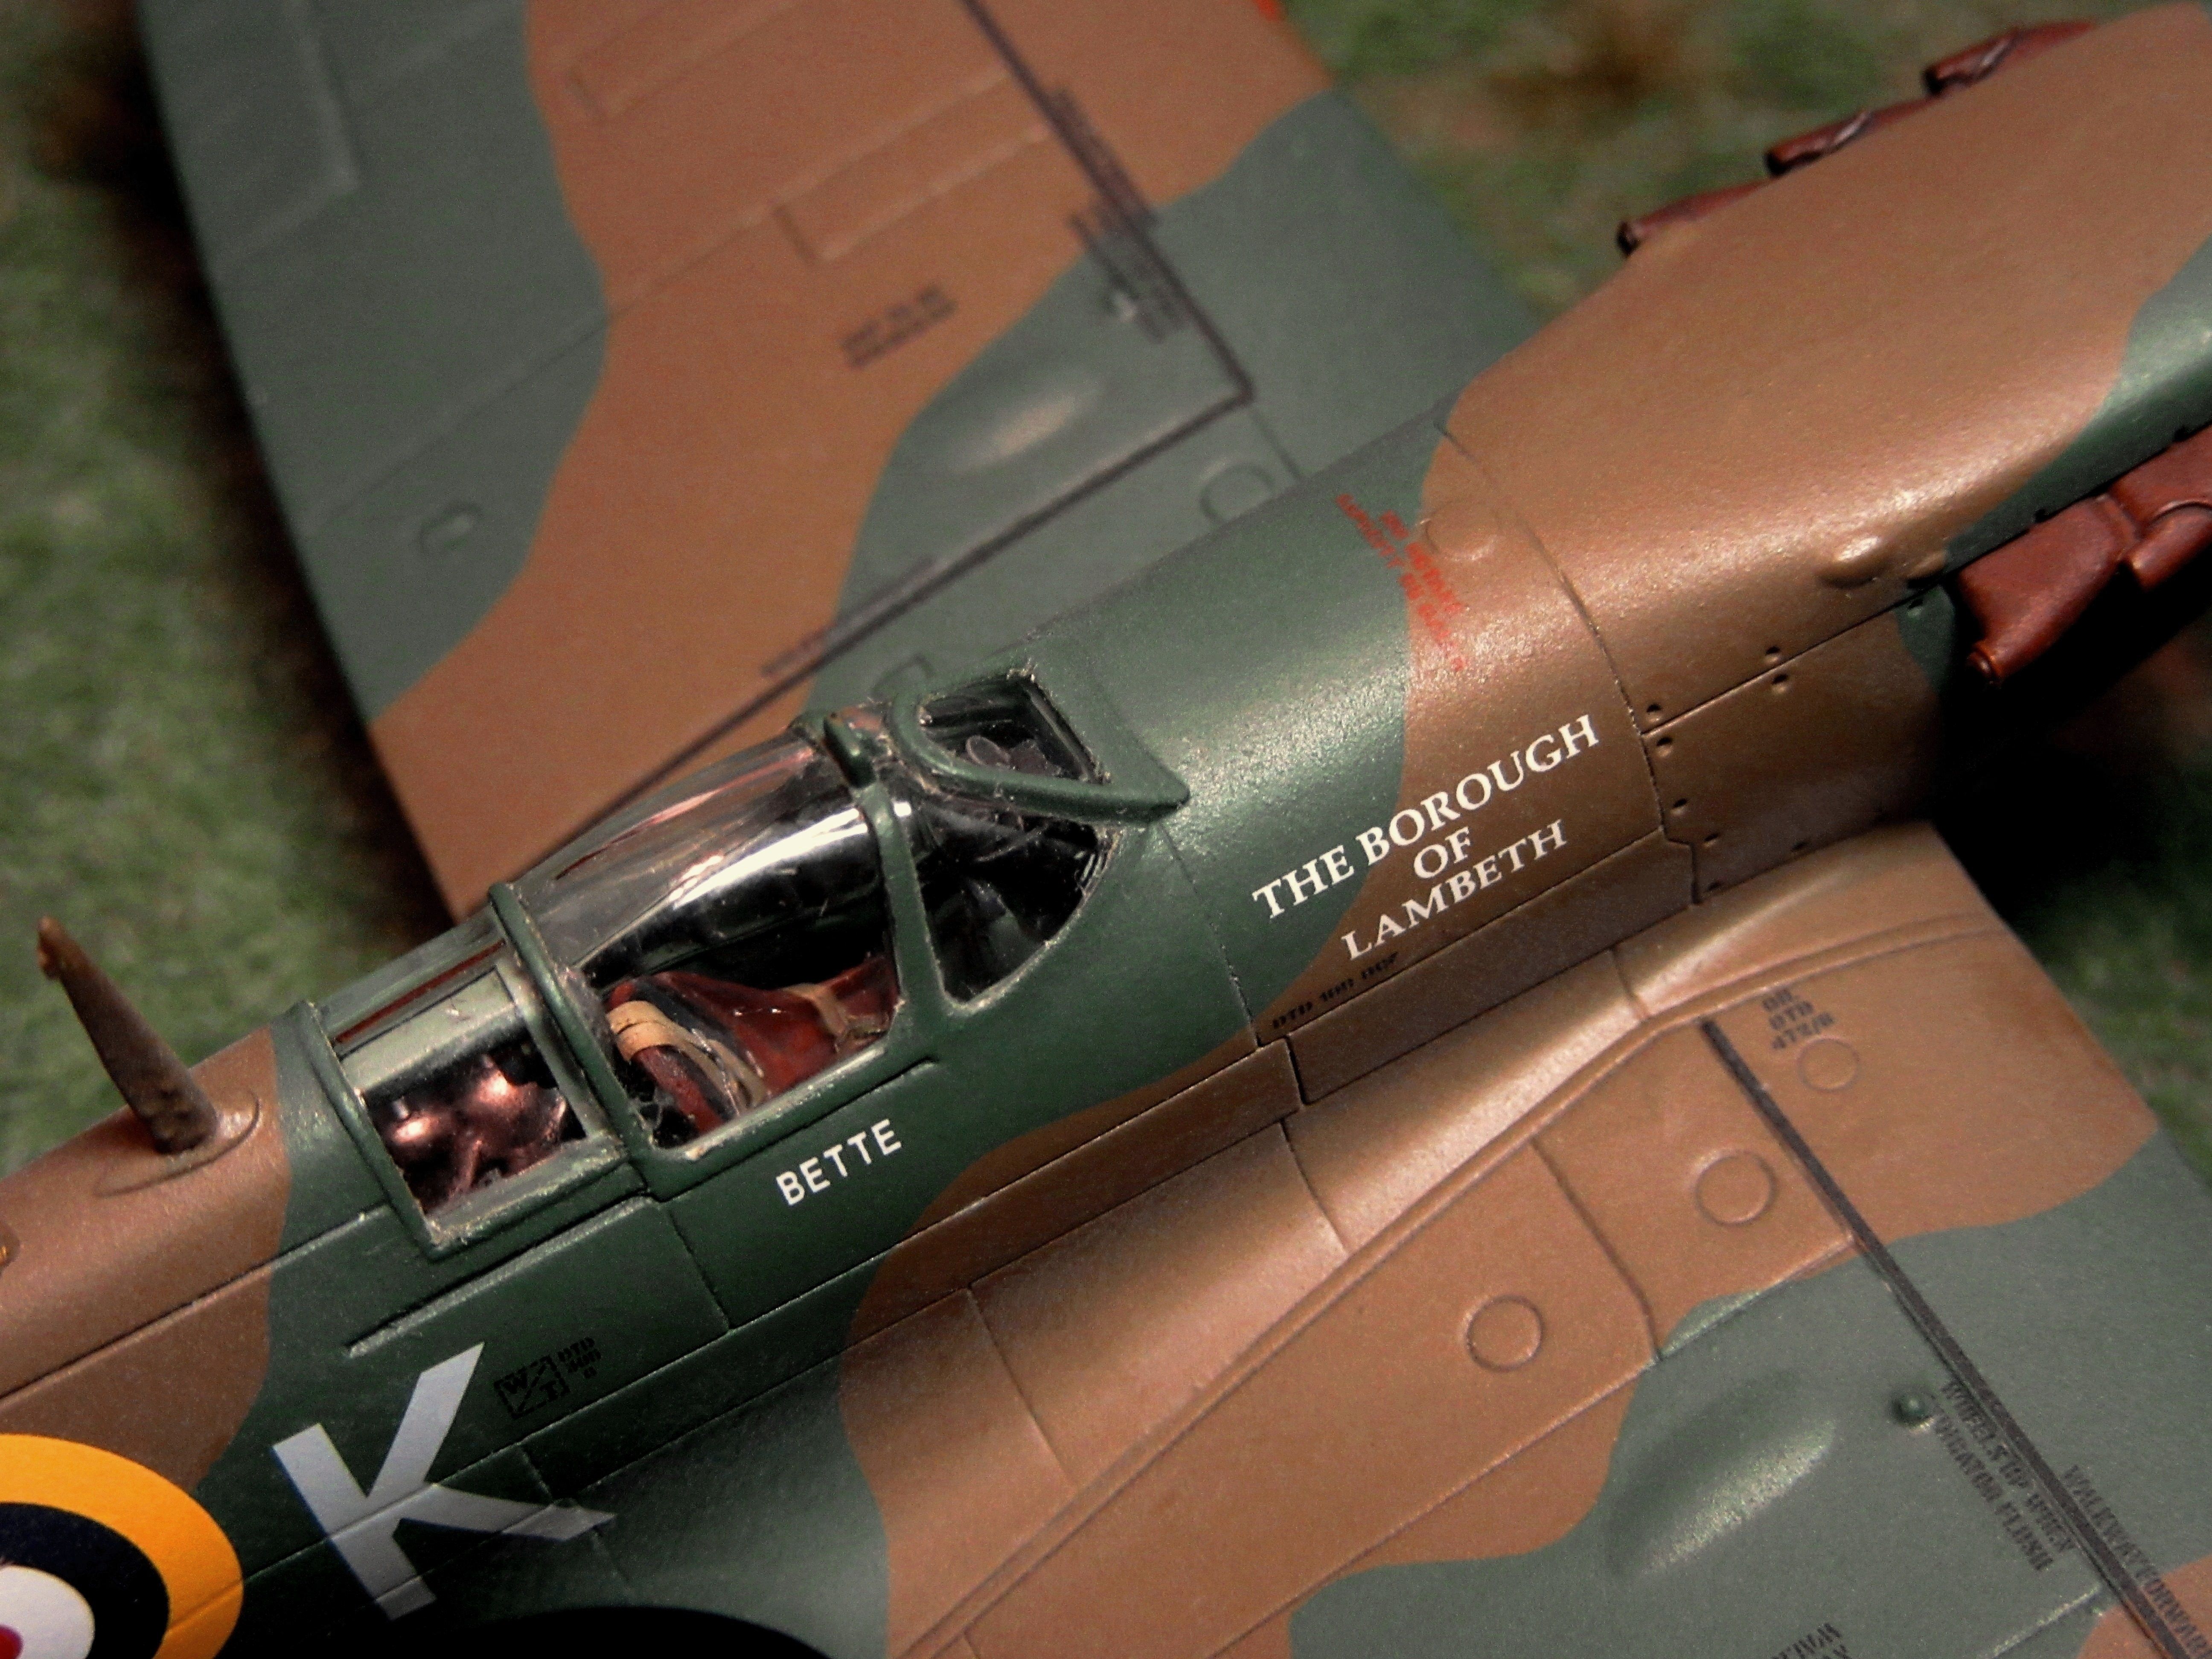
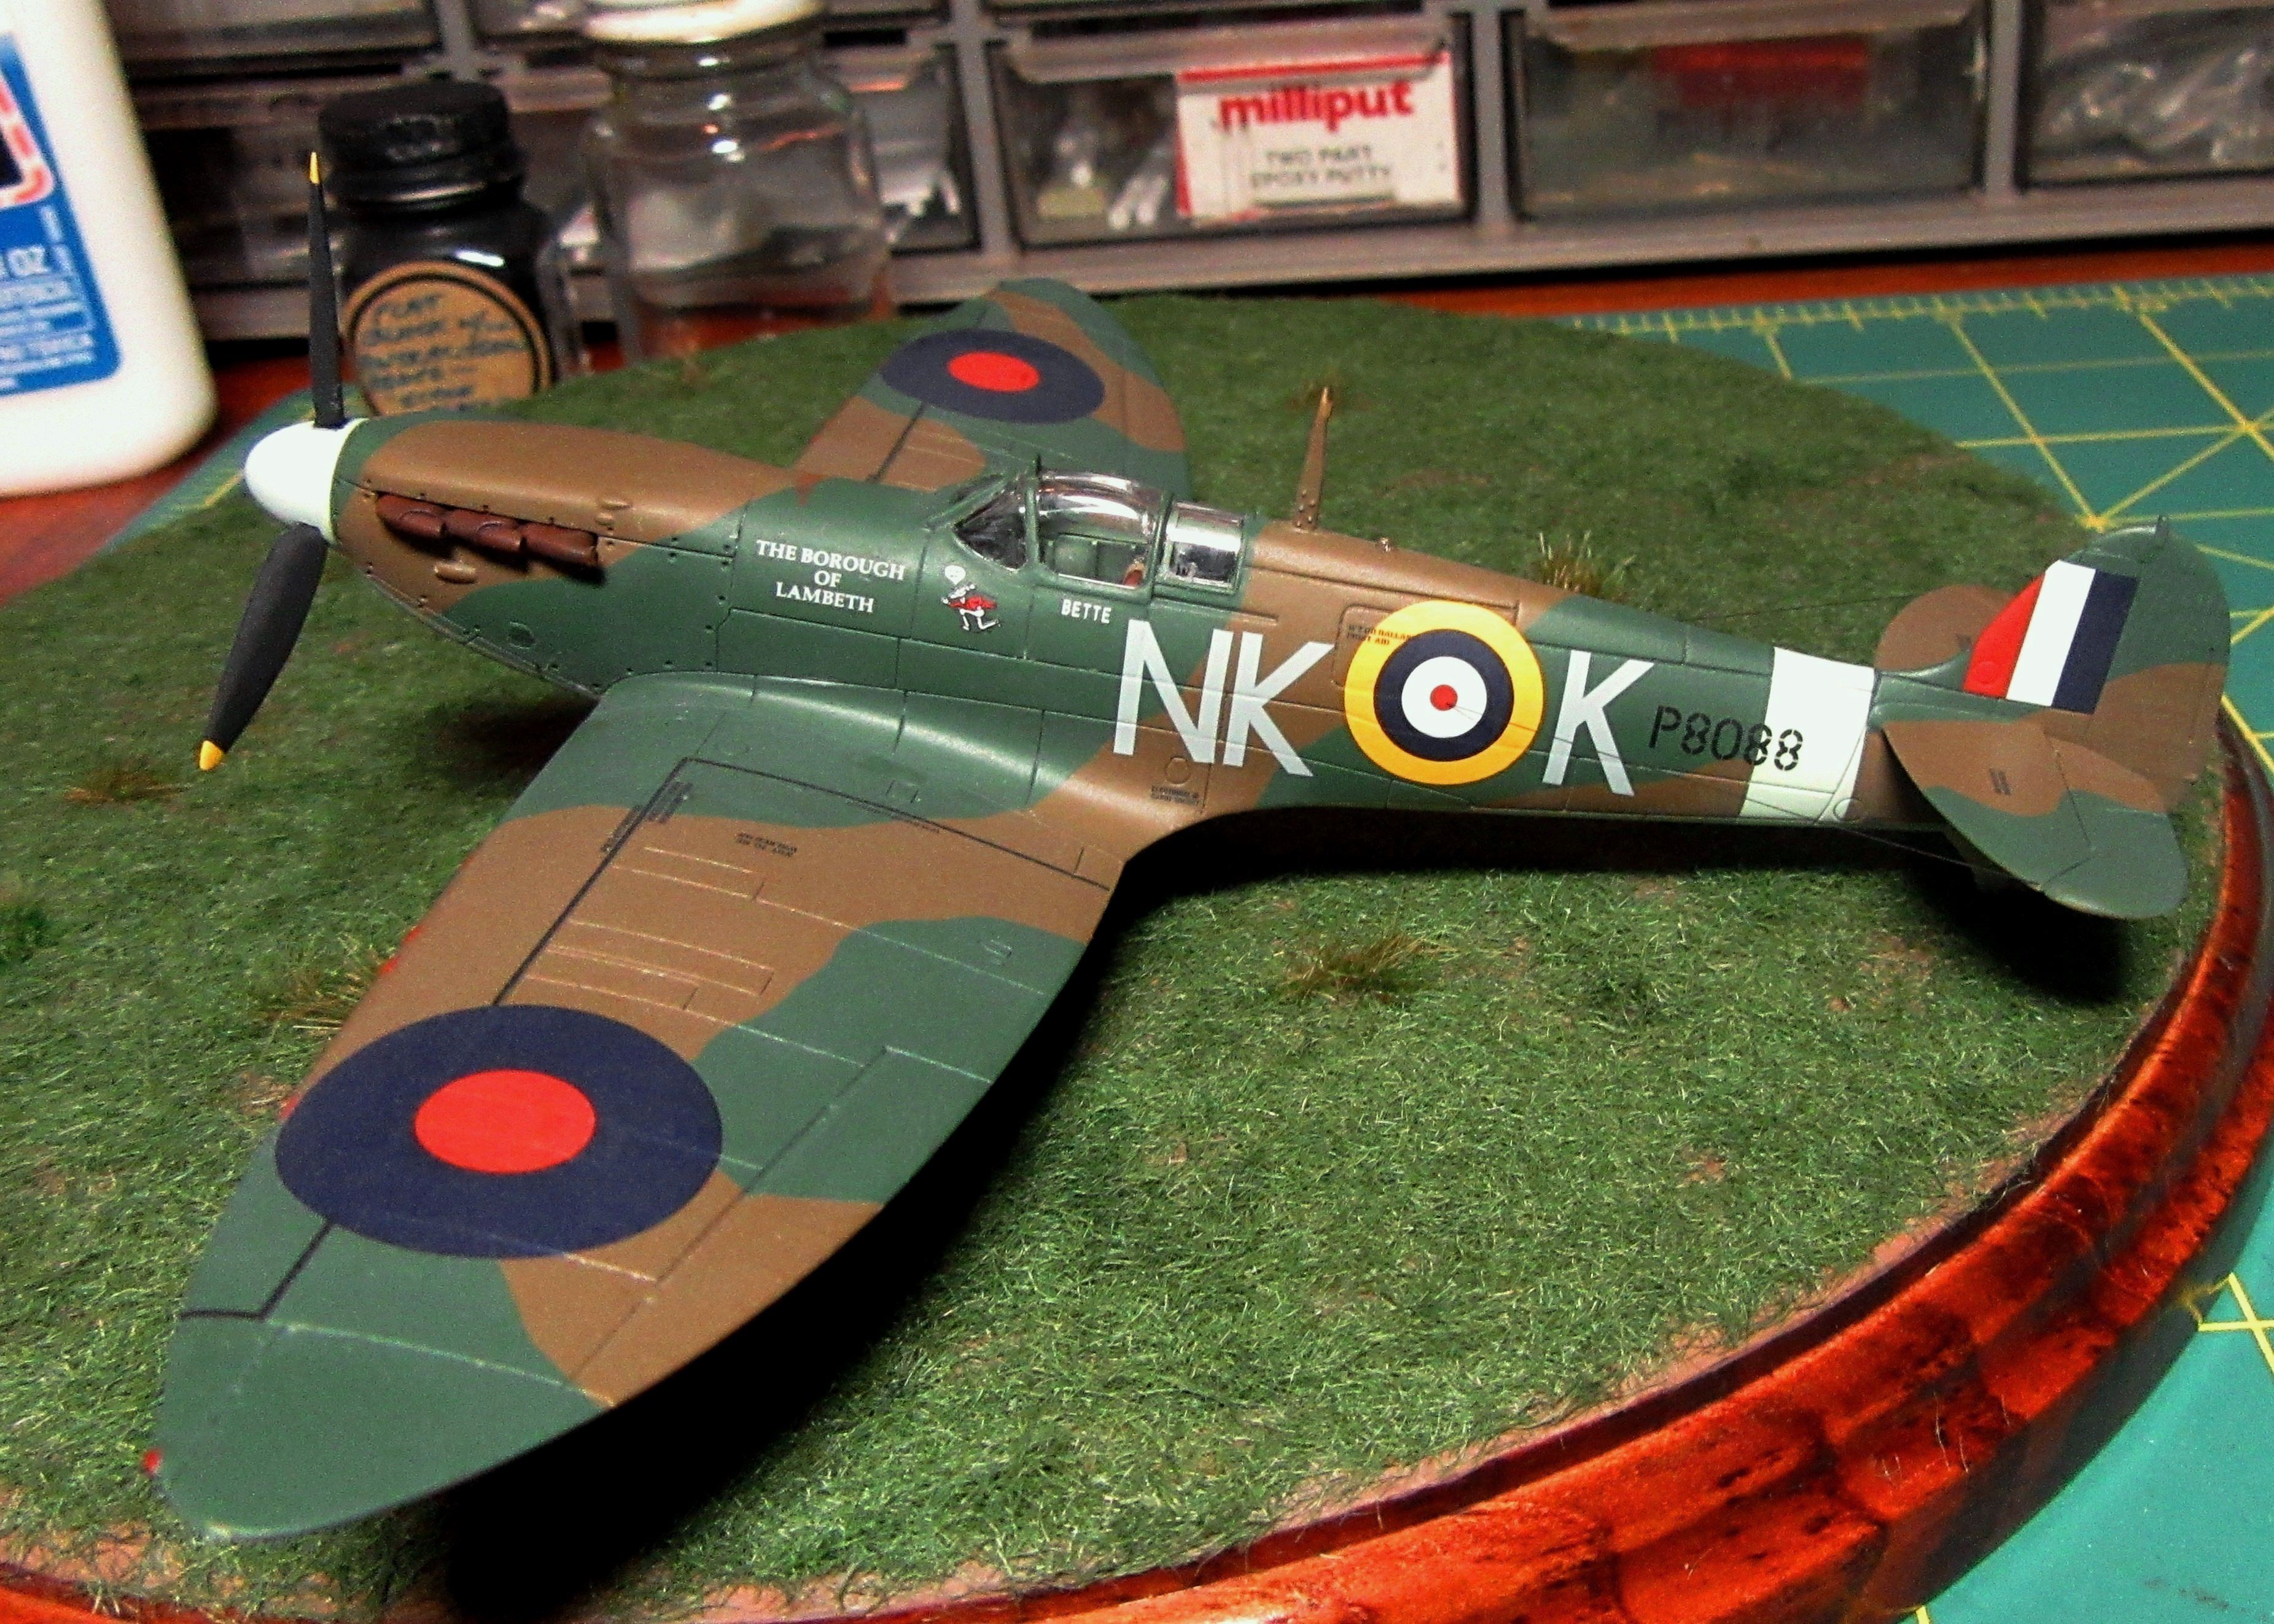
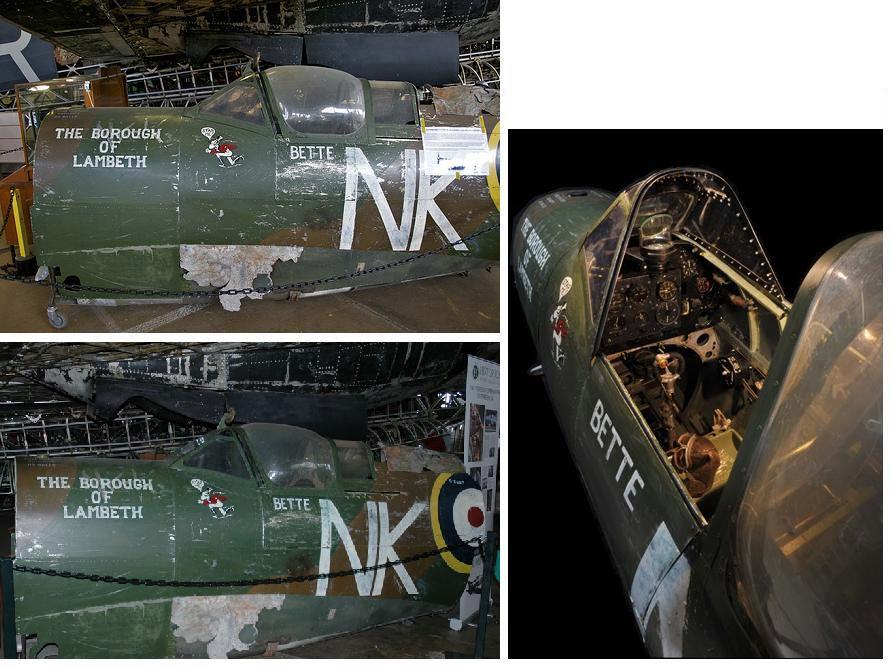
The wing decals went on without any problems, but the fuselage markings presented more of a challenge with the roundels and codes being a single decal with a large clear section connecting them.
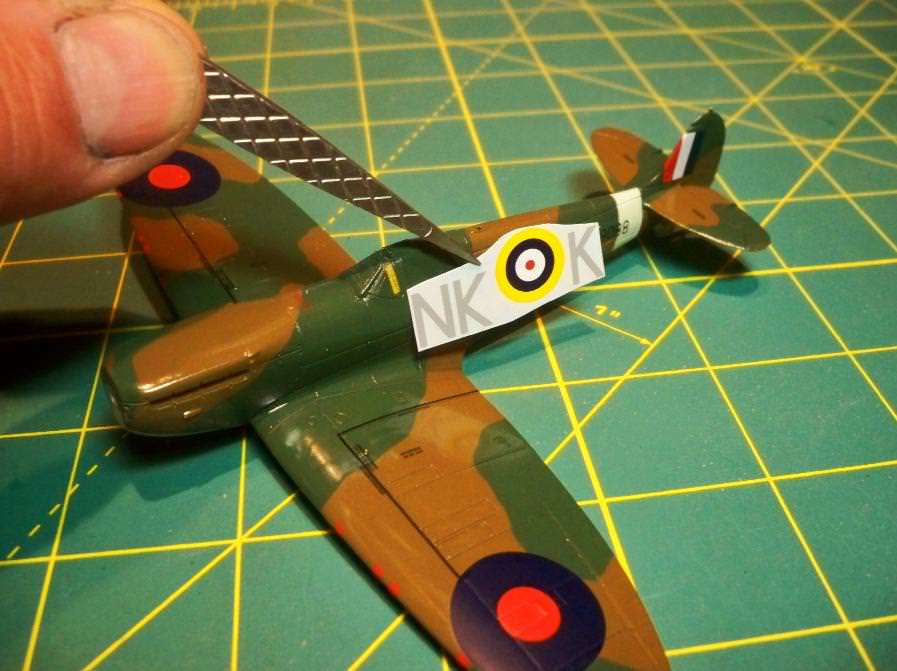
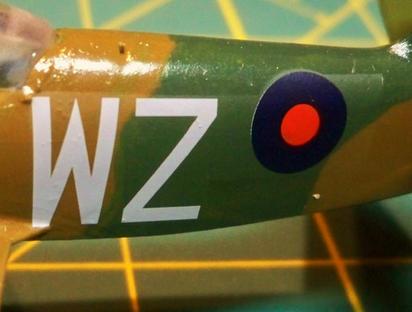
I applied the alternate markings in the kit on a test hulk, and as I had feared, the clear areas remained visible even after careful application of decal setting solution. They might still have worked fine under a final clear coat, but just to be safe I cut out the roundels and codes and applied them individually.
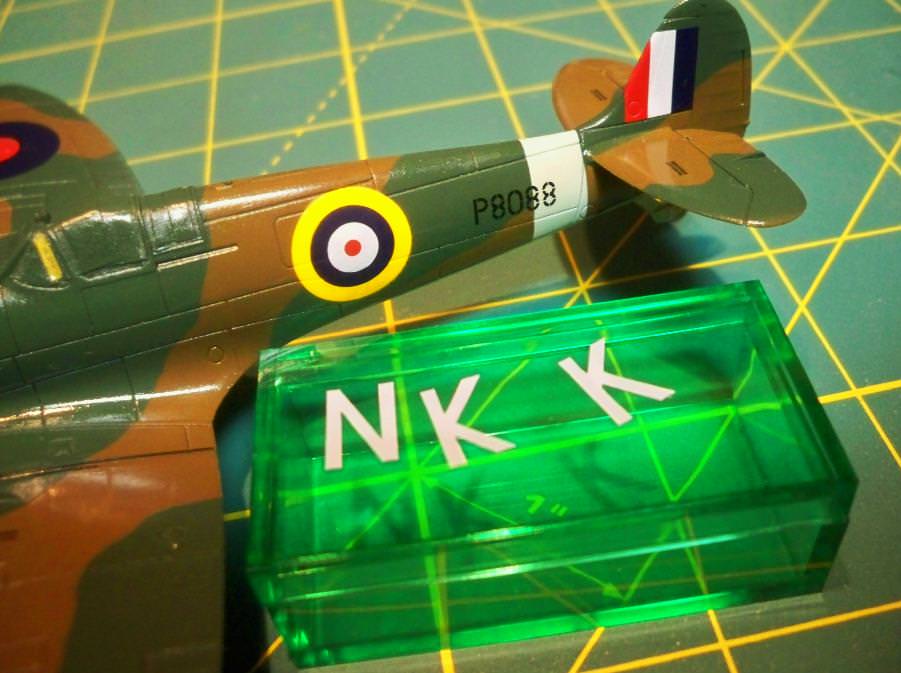
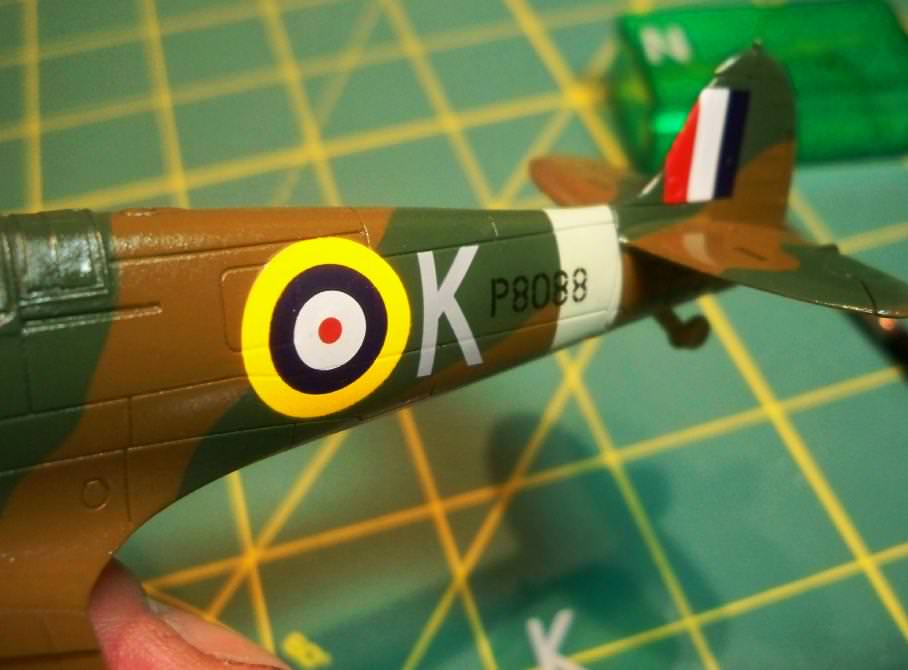
The smaller separate markings not only eliminated potential silvering, but they also made it easier to thoroughly soak the decals with setting solution and get them to conform to the rather deep panel lines on the model.
In the end, the kit decals performed beautifully!
I applied the alternate markings in the kit on a test hulk, and as I had feared, the clear areas remained visible even after careful application of decal setting solution. They might still have worked fine under a final clear coat, but just to be safe I cut out the roundels and codes and applied them individually.
The smaller separate markings not only eliminated potential silvering, but they also made it easier to thoroughly soak the decals with setting solution and get them to conform to the rather deep panel lines on the model.
In the end, the kit decals performed beautifully!

nico37

Joined: May 23, 2011
KitMaker: 651 posts
AeroScale: 181 posts

Posted: Sunday, August 19, 2018 - 10:47 PM UTC
Hi all,
really nice kits here, RAF used and uses so many pretty planes !!!
here is my progress on the Gladiator, riggings begining (thanks Airfix for the detailled plan !), engine and alu painting tries (I'm going to use the shinny "Mr Metal Color" alumine for the metalic parts and the umbrol 56 mat alumine for the canvas ones.
For the riggings i used thicker fishing wire than usual because the Gladiator's are thick and because .... i see them a lot more !!!!


Cheers
nico
really nice kits here, RAF used and uses so many pretty planes !!!
here is my progress on the Gladiator, riggings begining (thanks Airfix for the detailled plan !), engine and alu painting tries (I'm going to use the shinny "Mr Metal Color" alumine for the metalic parts and the umbrol 56 mat alumine for the canvas ones.
For the riggings i used thicker fishing wire than usual because the Gladiator's are thick and because .... i see them a lot more
!!!! 


Cheers
nico
WIggus
Joined: July 07, 2017
KitMaker: 78 posts
AeroScale: 74 posts
Posted: Monday, August 20, 2018 - 12:03 AM UTC
Wow! That is SOME rigging.
Looking forward to the results.
Looking forward to the results.
nico37
Joined: May 23, 2011
KitMaker: 651 posts
AeroScale: 181 posts
Posted: Monday, August 20, 2018 - 12:42 AM UTC
Quoted Text
Wow! That is SOME rigging.
Looking forward to the results.
Thanks a lot Wiggus, i'll do my best but it may be a bit long as i'll glue the 28 wires 2 at a time and then waiting untill there are dry, drawn tight them them and then move for the 2 others, i hope that'll be done in less than 2 weeks ....
cheers
nico
bomber14
Joined: February 02, 2015
KitMaker: 330 posts
AeroScale: 286 posts
Posted: Monday, August 20, 2018 - 12:53 AM UTC
Quoted Text
The wing decals went on without any problems, but the fuselage markings presented more of a challenge with the roundels and codes being a single decal with a large clear section connecting them.
I applied the alternate markings in the kit on a test hulk, and as I had feared, the clear areas remained visible even after careful application of decal setting solution. They might still have worked fine under a final clear coat, but just to be safe I cut out the roundels and codes and applied them individually.
The smaller separate markings not only eliminated potential silvering, but they also made it easier to thoroughly soak the decals with setting solution and get them to conform to the rather deep panel lines on the model.
In the end, the kit decals performed beautifully!
really nice work tim. so we both have the same shade of sky underneath, let's see if i can do as good a job on the top side of my hurricane. i'm using the vallejo BOB paint kit and for the first time pre cut camo masks by alm.i sprayed the dark earth and already i made a mistake, i forgot to completely mask off the underside of the cowl.
joe
TimReynaga
Joined: May 03, 2006
KitMaker: 2,500 posts
AeroScale: 318 posts
Posted: Wednesday, August 22, 2018 - 12:48 PM UTC
Thanks Joe - I'm curious to see how things go with the Vallejo colors on your Hurricane.
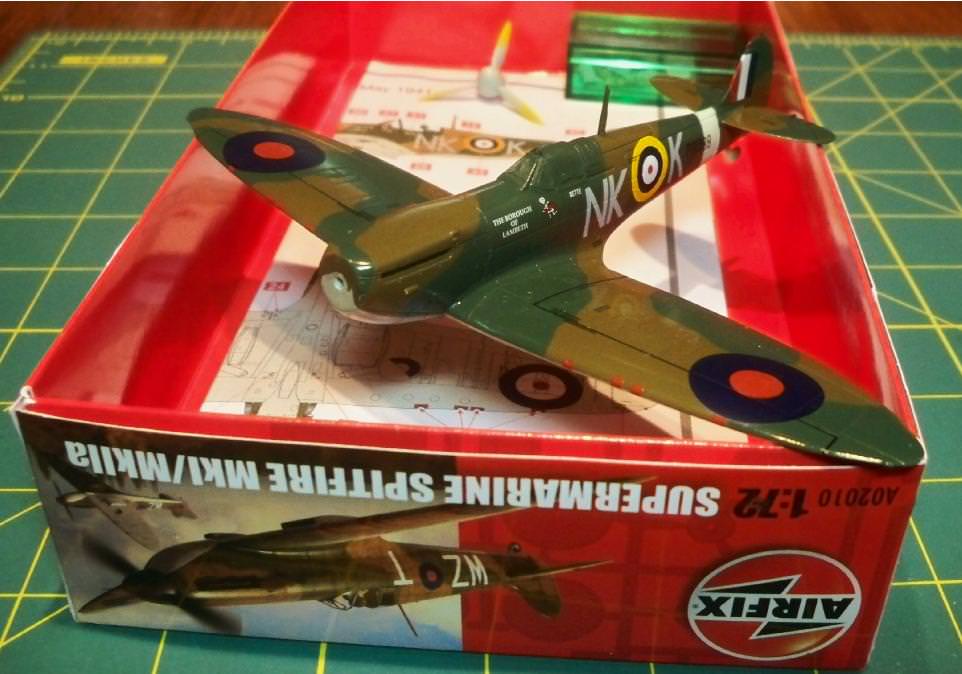
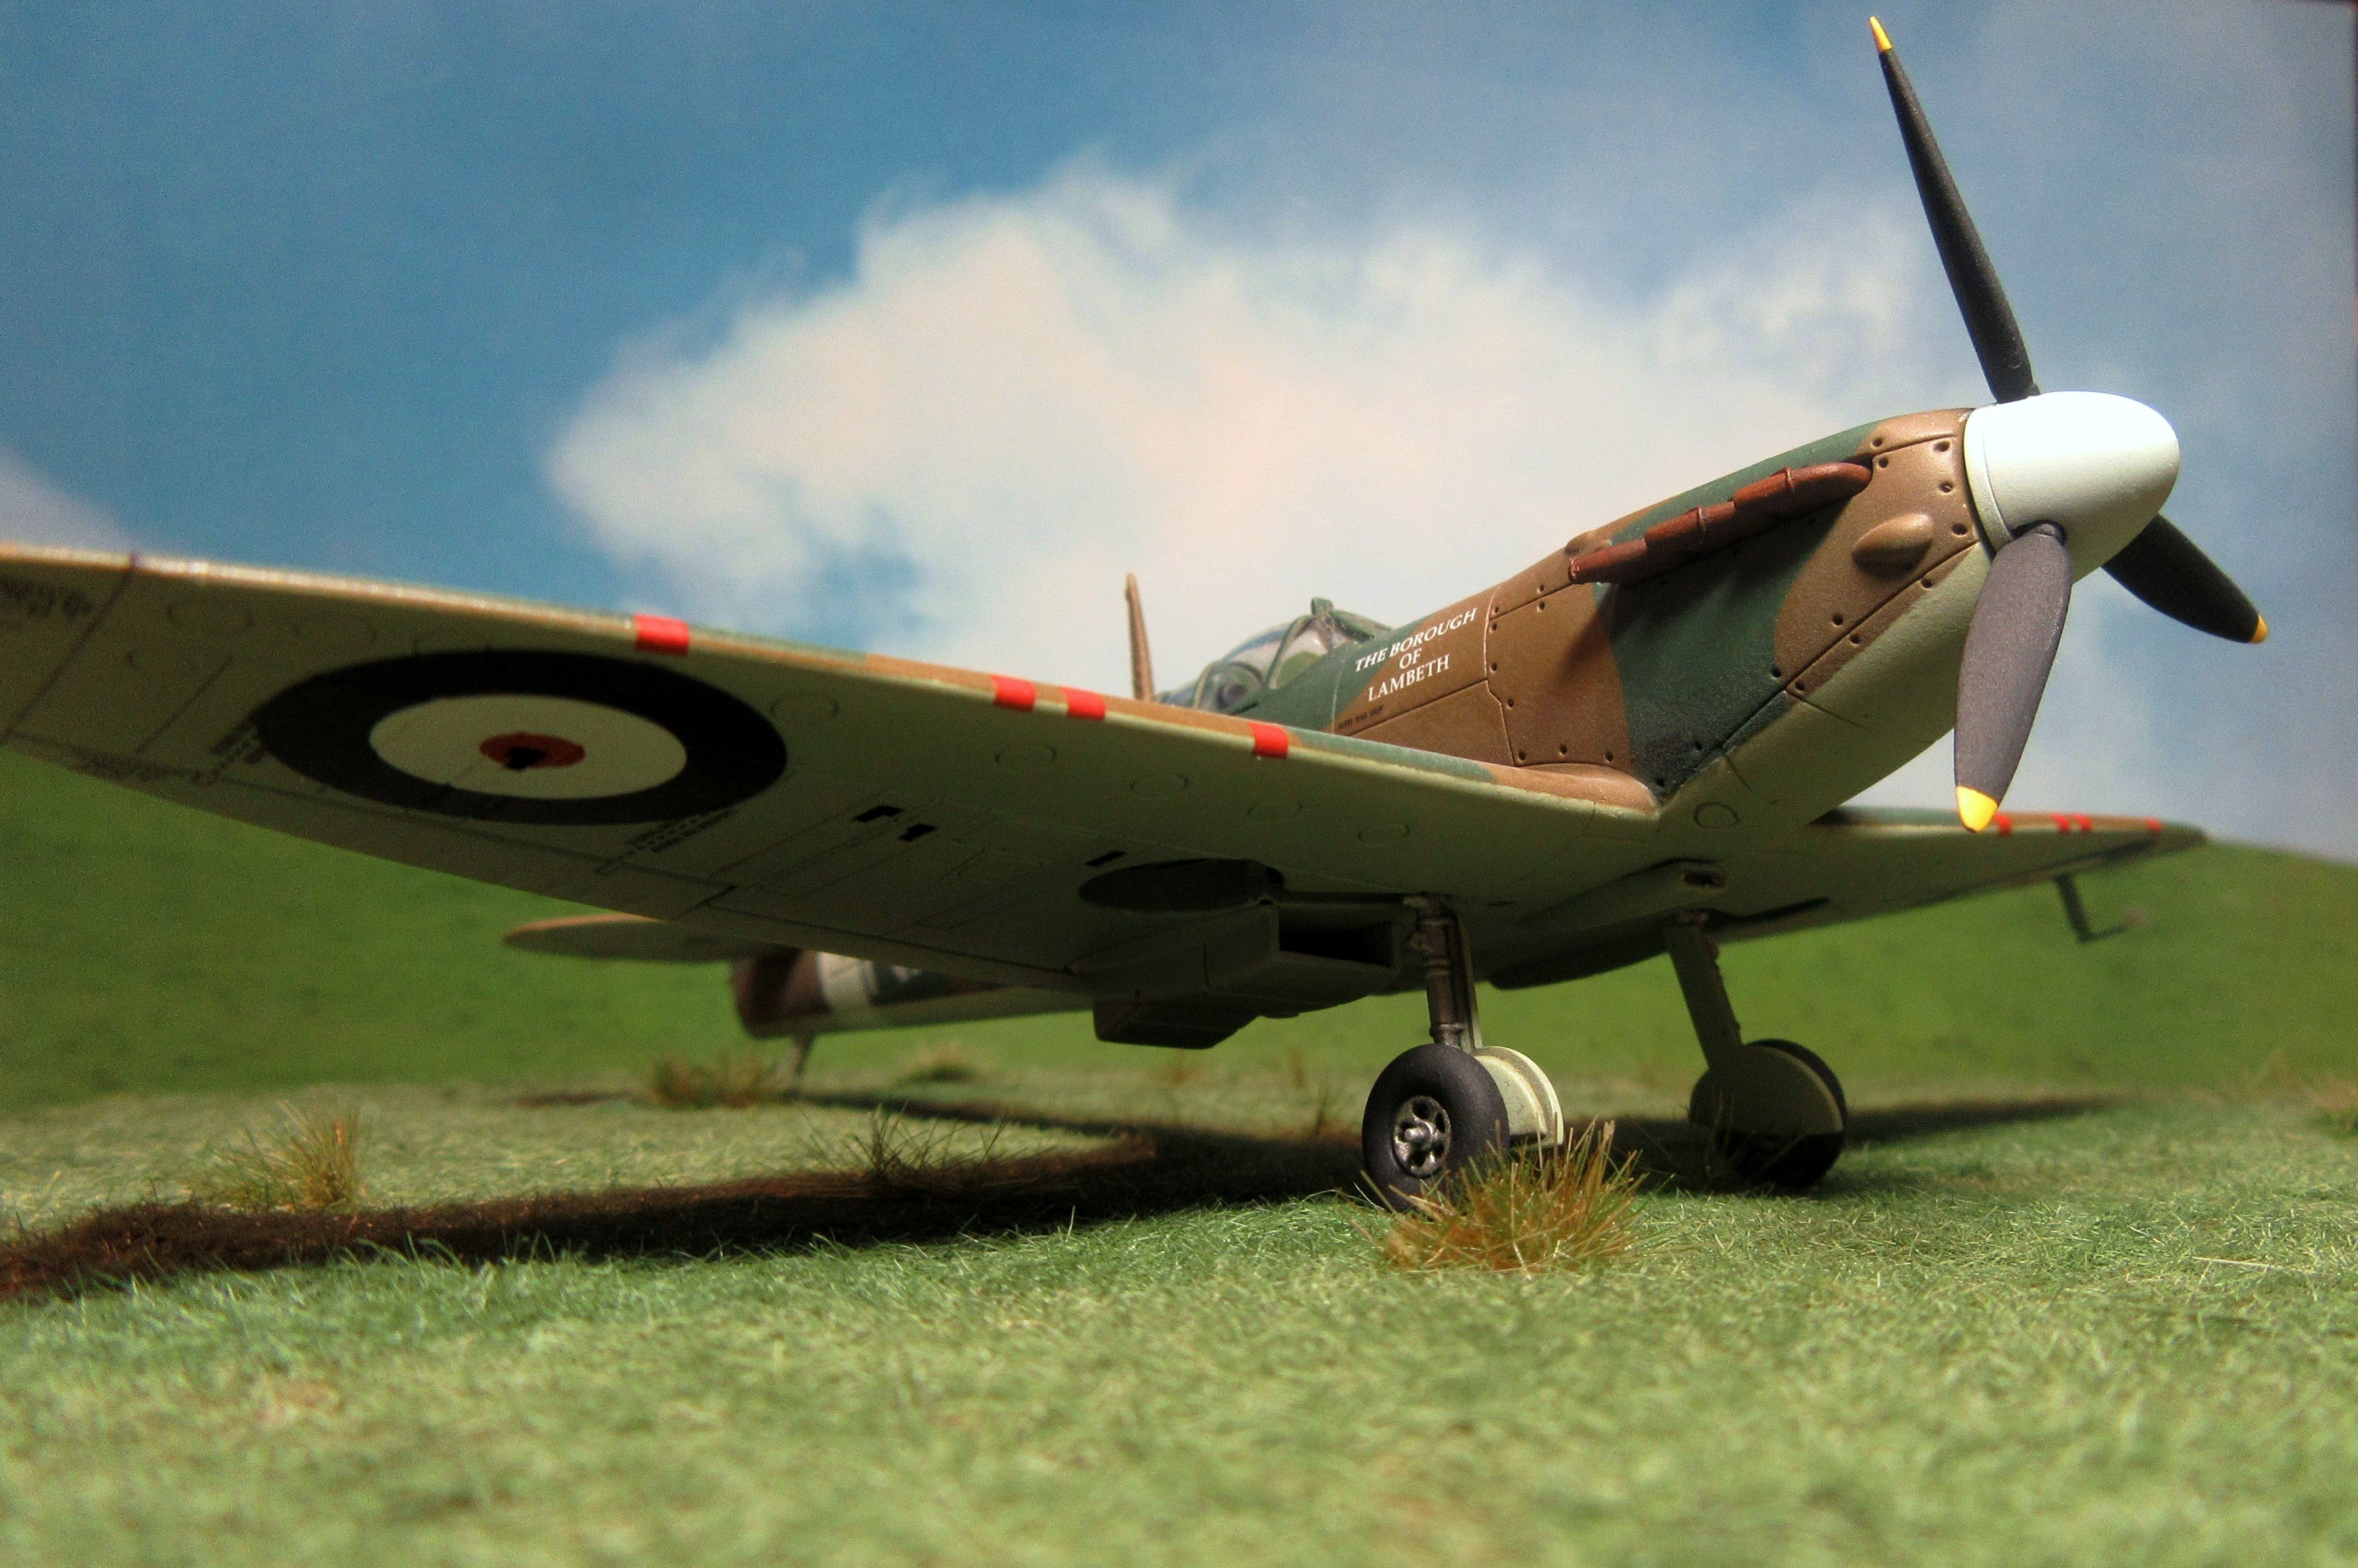
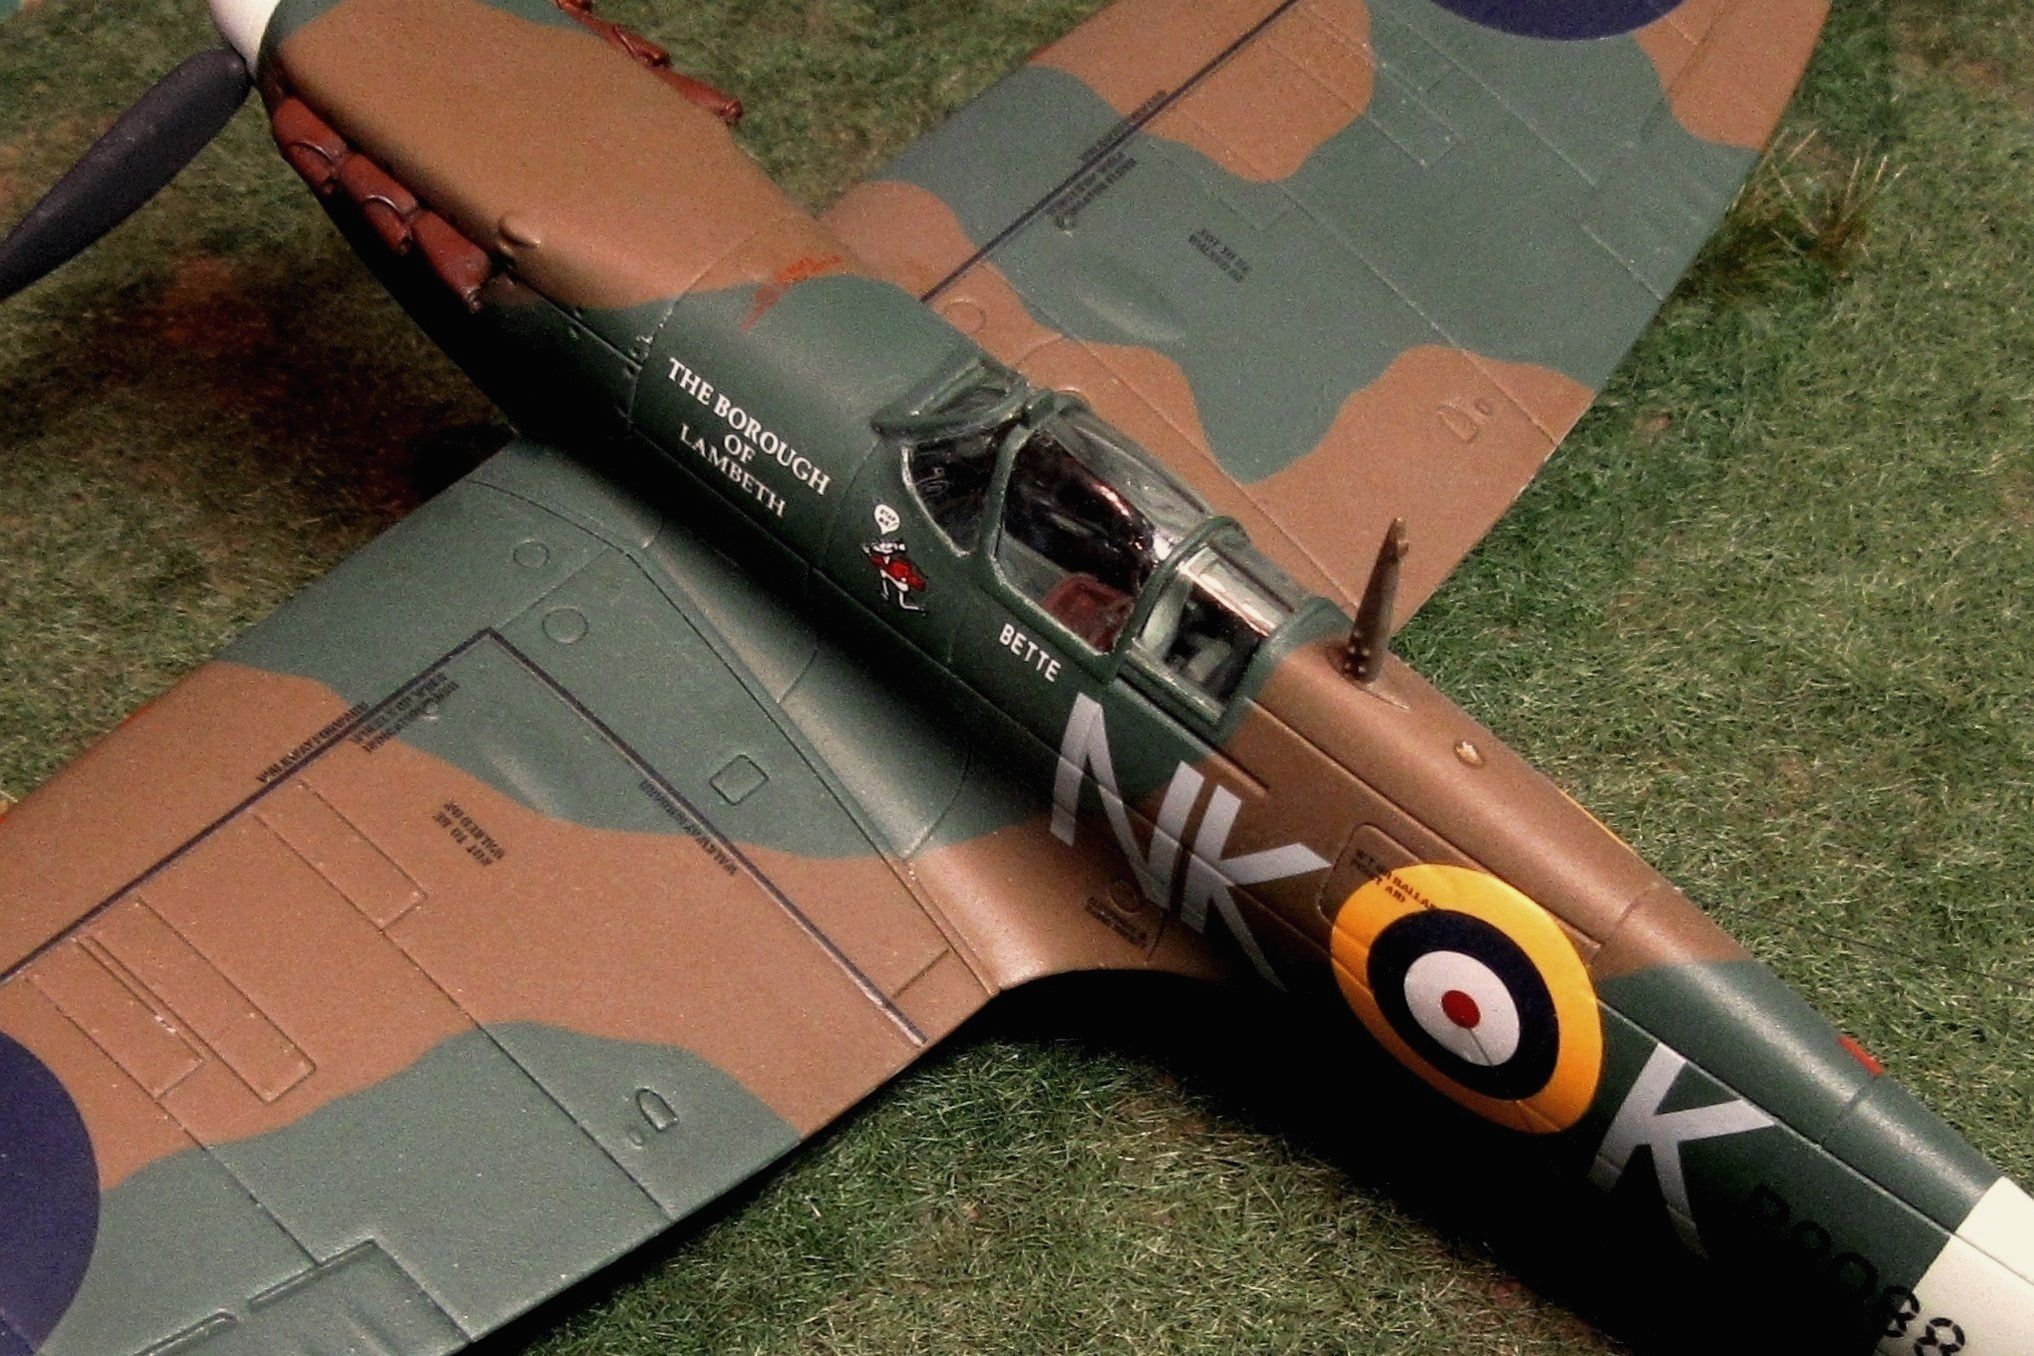
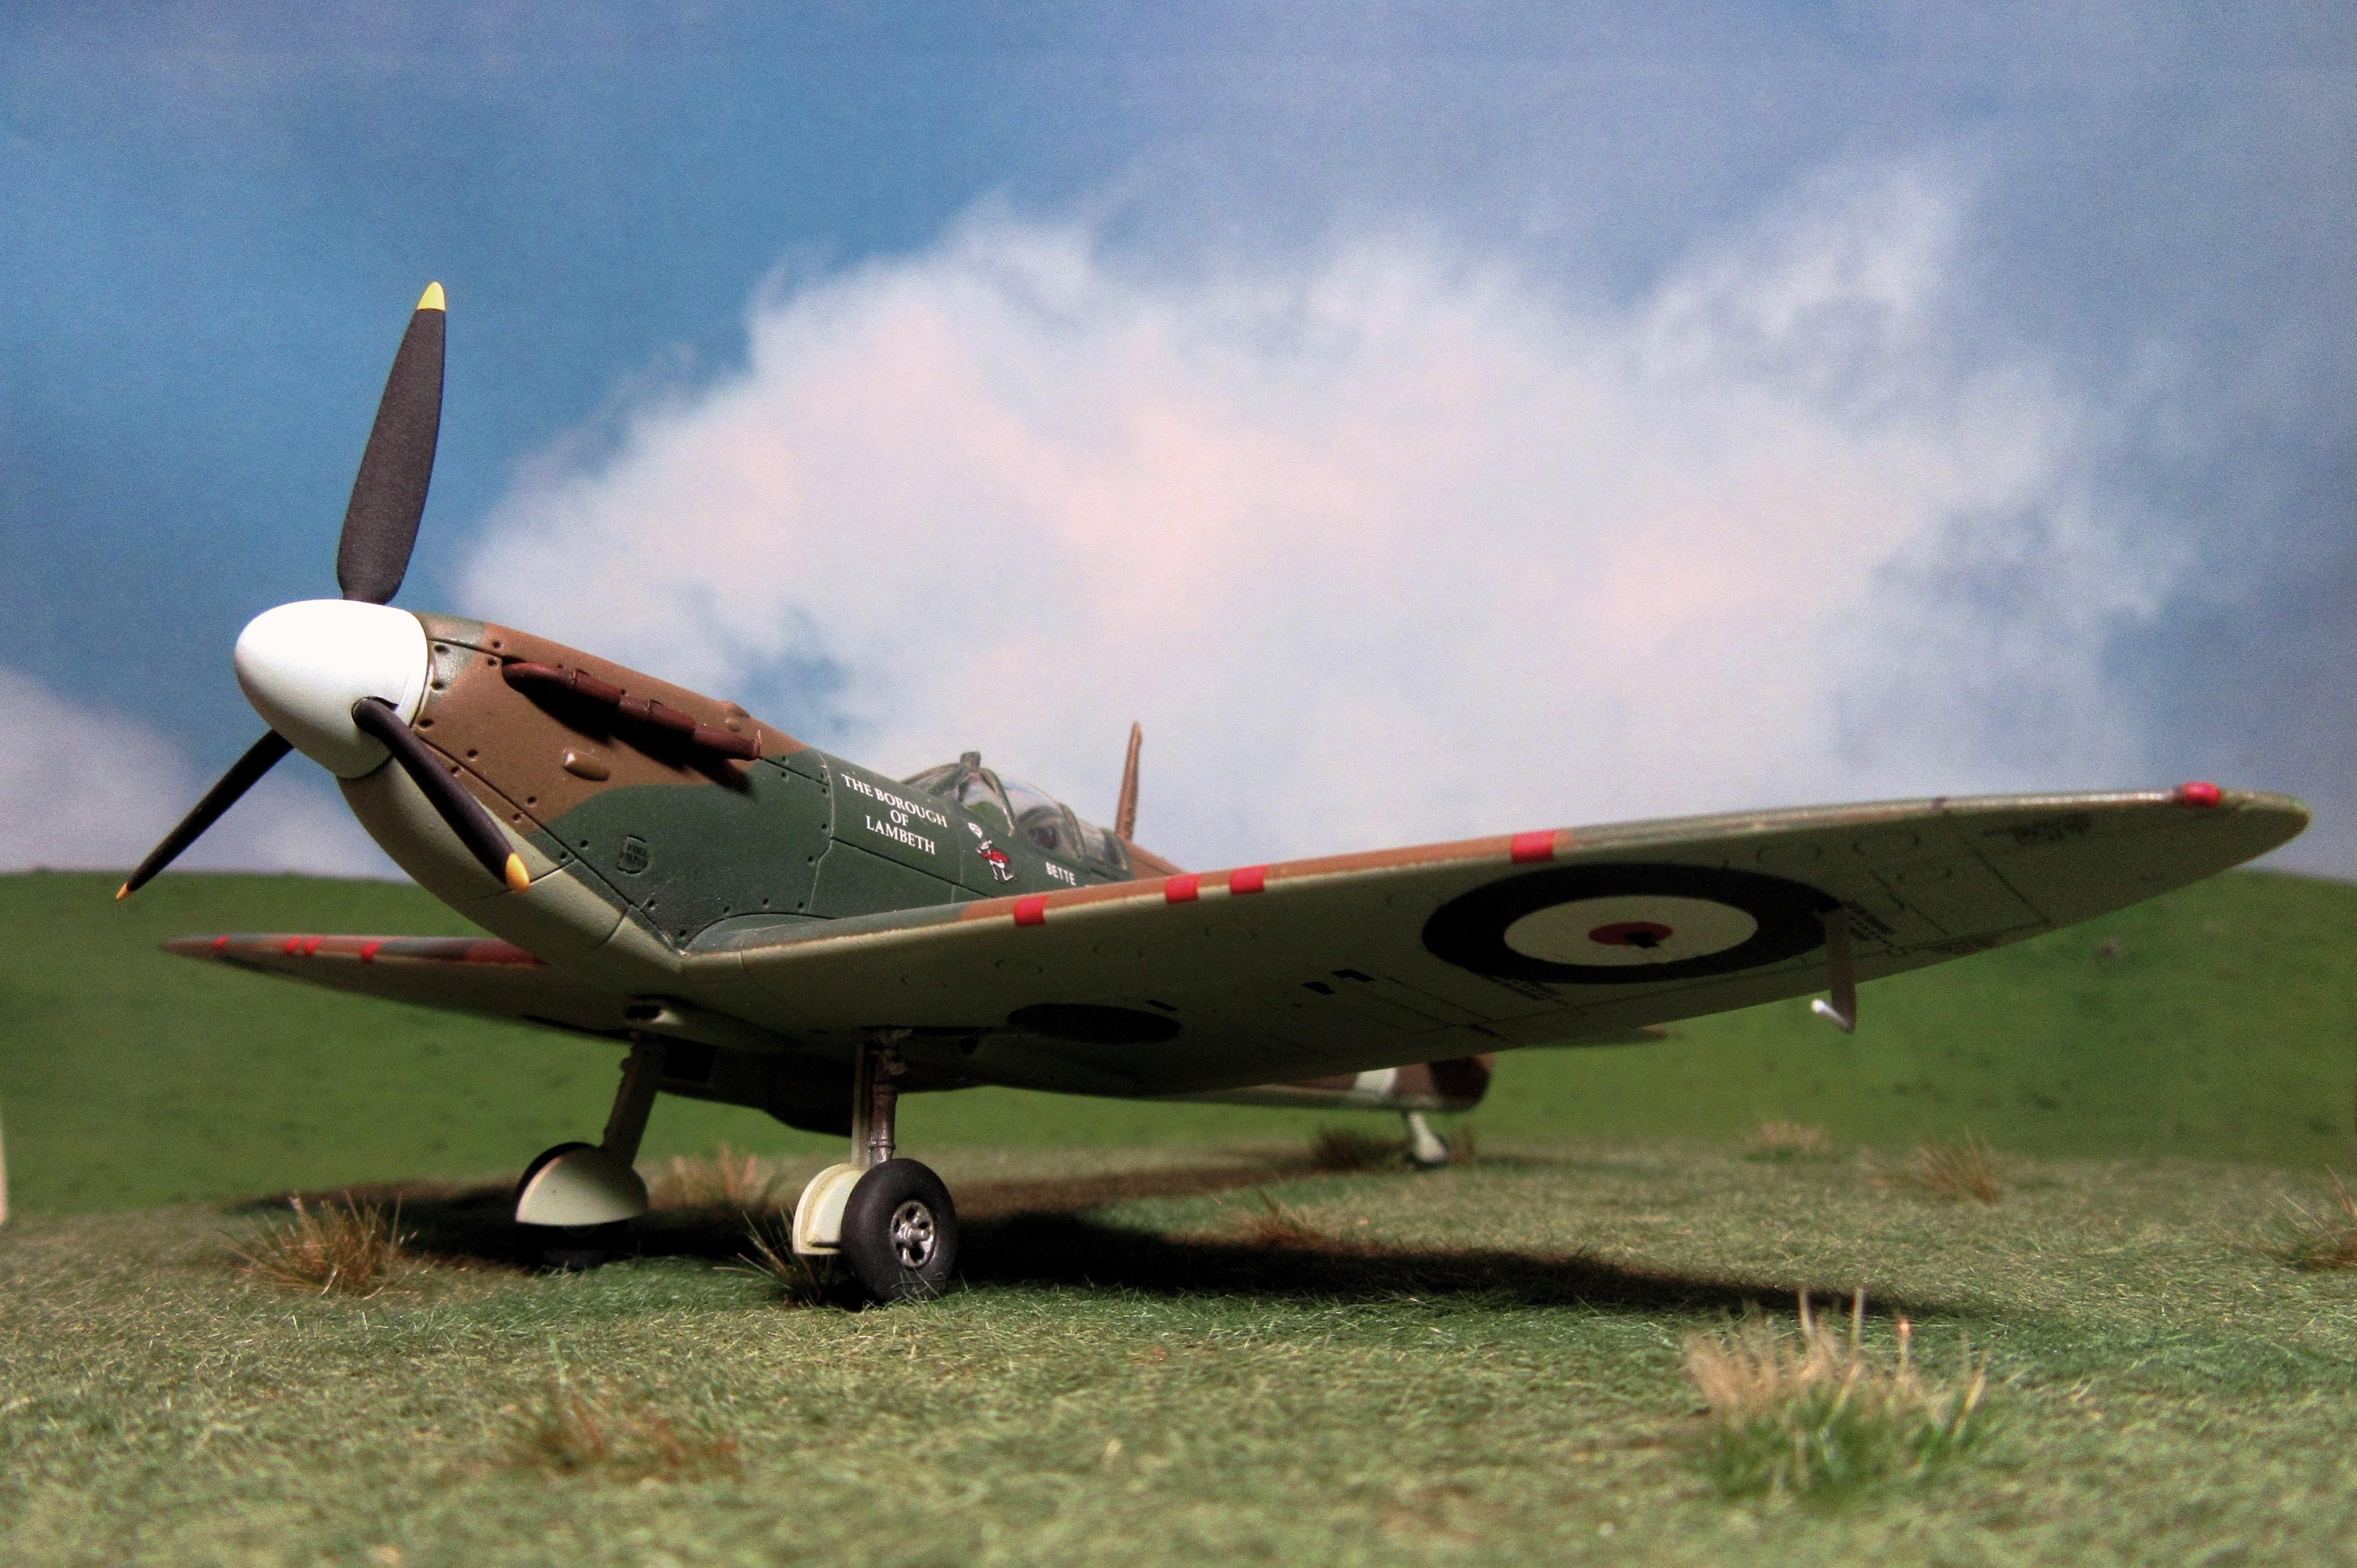
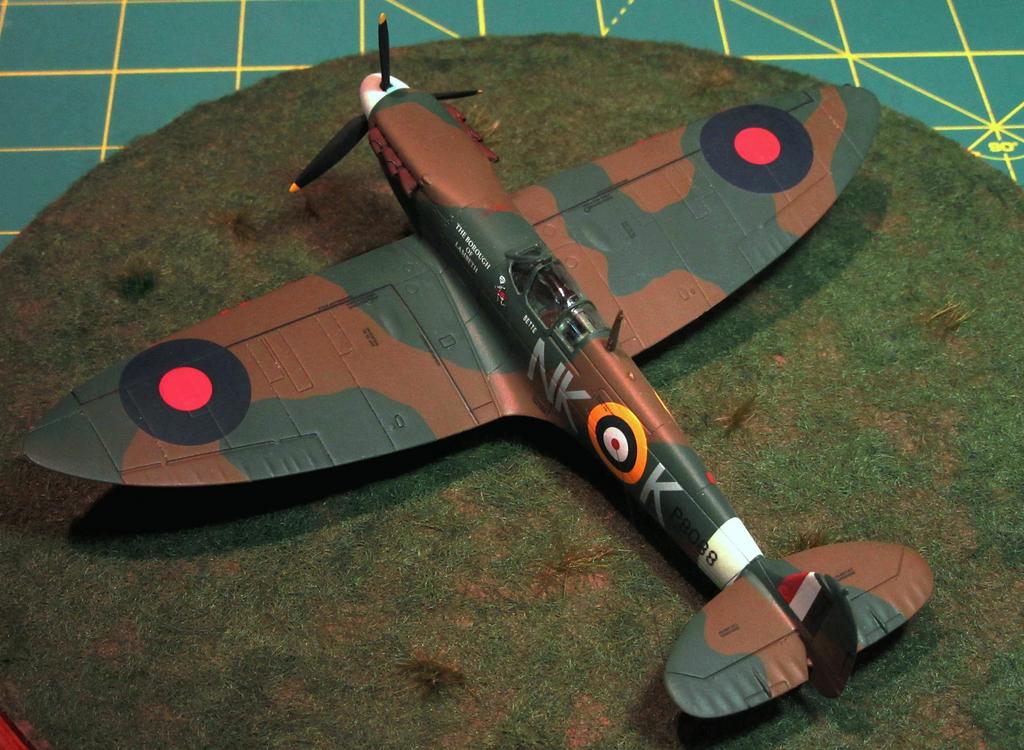
On my own little Spitfire, after decaling I shot the parts with a flat Future overcoat a 3:1 mix of Future acrylic and Tamiya Flat Base to give the aircraft a matte but not quite dead-flat finish. I then attached the mast, propeller, exhausts, pitot, and undercarriage.

The only additional details were the IFF wires between the stabilizers and fuselage sides.

Also, I chose not to use the clear ventral signaling lamp part provided in the kit. Rather, I filled the recess with Glue n Glaze, a sort of clear PVA glue for model windows, which I tinted with Tamiya Clear Orange (X-26).
On my own little Spitfire, after decaling I shot the parts with a flat Future overcoat a 3:1 mix of Future acrylic and Tamiya Flat Base to give the aircraft a matte but not quite dead-flat finish. I then attached the mast, propeller, exhausts, pitot, and undercarriage.
The only additional details were the IFF wires between the stabilizers and fuselage sides.
Also, I chose not to use the clear ventral signaling lamp part provided in the kit. Rather, I filled the recess with Glue n Glaze, a sort of clear PVA glue for model windows, which I tinted with Tamiya Clear Orange (X-26).
nico37
Joined: May 23, 2011
KitMaker: 651 posts
AeroScale: 181 posts
Posted: Wednesday, August 22, 2018 - 06:19 PM UTC
Hi,
Tim Reynaga: wowww, what a good paint job ! Great job !
Tim Reynaga: wowww, what a good paint job ! Great job !
TimReynaga
Joined: May 03, 2006
KitMaker: 2,500 posts
AeroScale: 318 posts
Posted: Friday, August 24, 2018 - 12:17 AM UTC
Quoted Text
Hi,
Tim Reynaga: wowww, what a good paint job ! Great job !
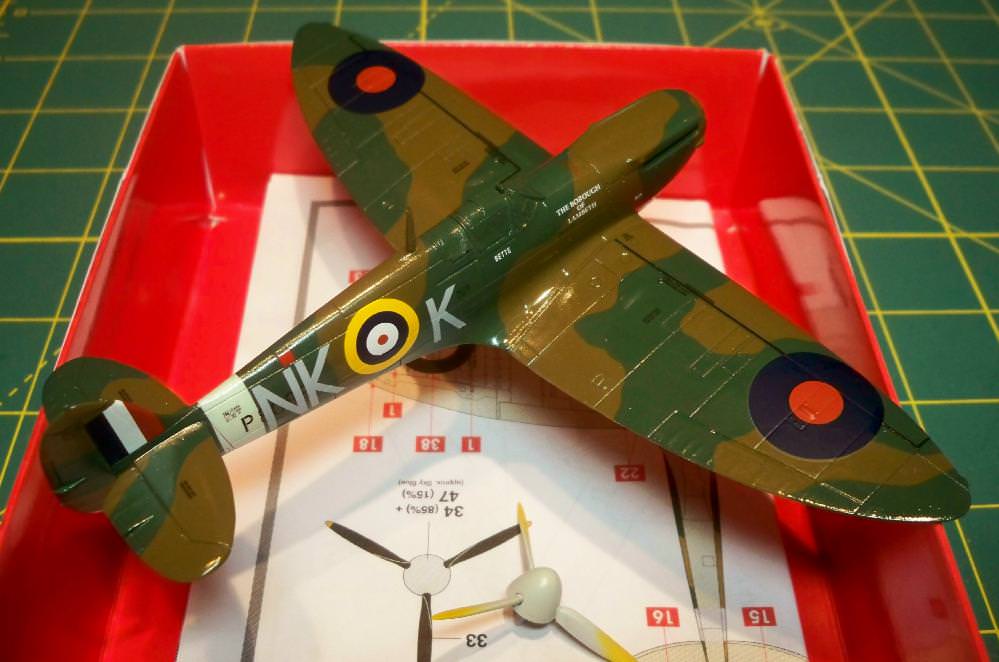
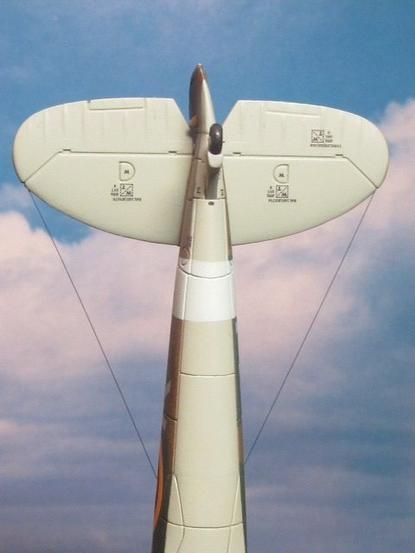
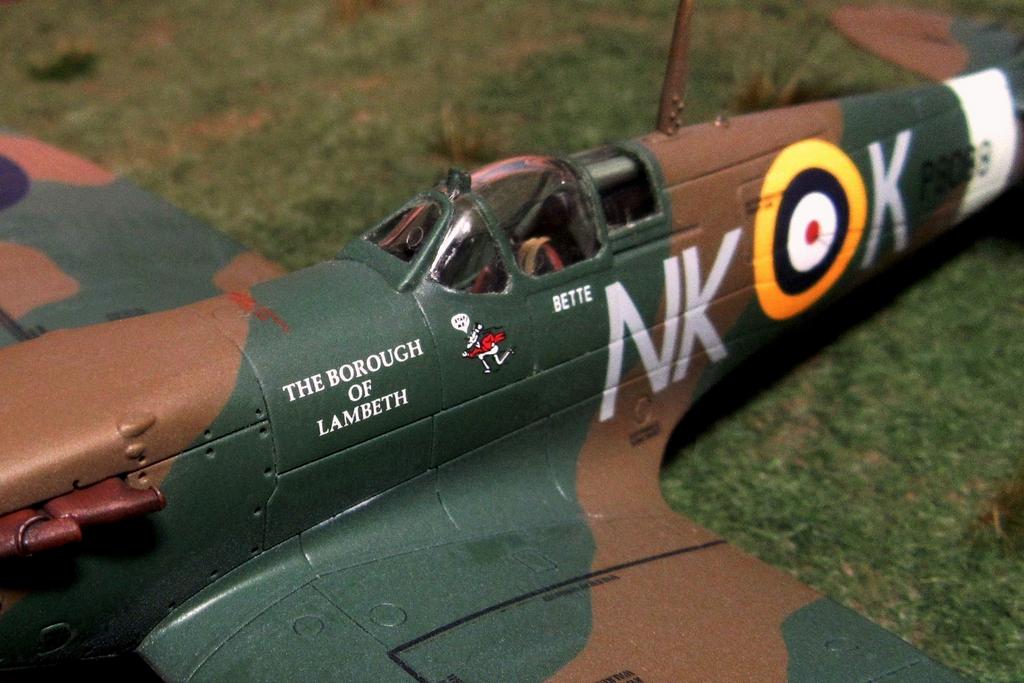
Thanks Nicolas! Here are some additional pics of the finished model:

bomber14
Joined: February 02, 2015
KitMaker: 330 posts
AeroScale: 286 posts
Posted: Friday, August 24, 2018 - 07:27 AM UTC
nice job tim. looks fresh out of the factory,no dirt in the panel lines. i'm going for a more weathered look so i pre shaded the panel lines and a variation of joel willstein's technique. got the dark earth and green done. just need to touch up a few spots where the masks pulled up the brown and i will post some pix.
joe
joe

PasiAhopelto

Joined: October 01, 2016
KitMaker: 514 posts
AeroScale: 239 posts
Posted: Sunday, August 26, 2018 - 04:16 AM UTC
Nice clean Spitfire, Tim. I like it.
Meanwhile, started to paint Lightning:
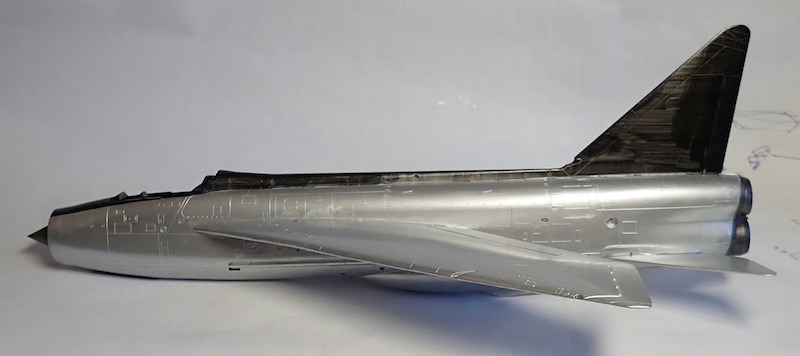
I'm quite impressed by Vallejo's Metal Color paints. They are officially for airbushes, but work fine unthinned with brush.
Meanwhile, started to paint Lightning:
I'm quite impressed by Vallejo's Metal Color paints. They are officially for airbushes, but work fine unthinned with brush.
TimReynaga
Joined: May 03, 2006
KitMaker: 2,500 posts
AeroScale: 318 posts
Posted: Sunday, August 26, 2018 - 03:53 PM UTC
Thanks Joe and Pasi. The Spit is indeed pretty clean, even though it probably should have some weathering - but I figure those panel lines on the new Airfix kits are heavy enough as they are!
By the way, I haven't been able to post pics of the finished model in the campaign gallery - is all well?

By the way, I haven't been able to post pics of the finished model in the campaign gallery - is all well?
MichaelSatin
Joined: January 19, 2008
KitMaker: 3,909 posts
AeroScale: 2,904 posts
Posted: Monday, August 27, 2018 - 12:41 AM UTC
Quoted Text
By the way, I haven't been able to post pics of the finished model in the campaign gallery - is all well?
It is indeed a very nice Spit, Tim. And a perfect first finished entry in the campaign.
I just test posted a photo to the gallery and it worked fine. Are you logged into the gallery when you try? Are your photos too big?
Michael
TimReynaga
Joined: May 03, 2006
KitMaker: 2,500 posts
AeroScale: 318 posts
Posted: Tuesday, August 28, 2018 - 01:20 AM UTC
Quoted Text
It is indeed a very nice Spit, Tim. And a perfect first finished entry in the campaign.
I just test posted a photo to the gallery and it worked fine. Are you logged into the gallery when you try? Are your photos too big?
Michael
Thanks, Michael. I tried it again with reduced-sized pictures, and you were right - the pics were just too big!
Guess I'm an early finisher, but I'll still be following the rest of the RAF builds with interest. Thanks for this great campaign!

bomber14
Joined: February 02, 2015
KitMaker: 330 posts
AeroScale: 286 posts
Posted: Wednesday, August 29, 2018 - 04:06 PM UTC
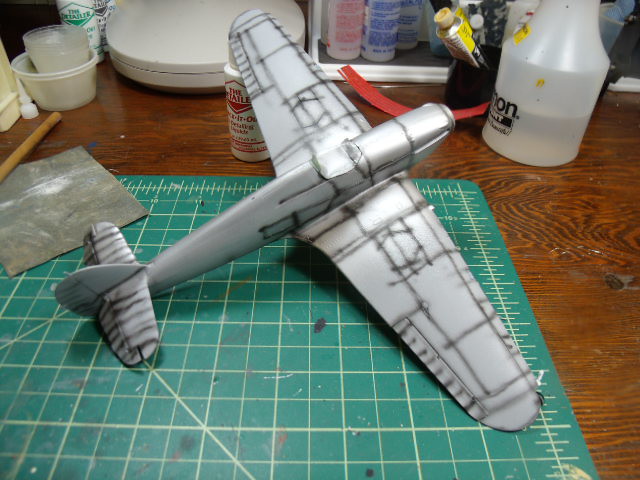
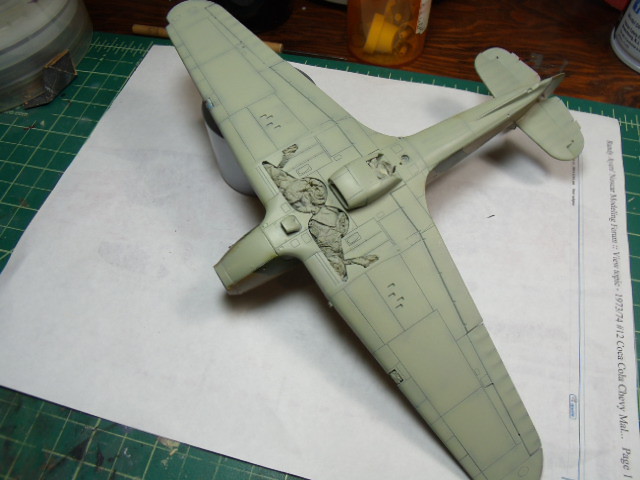
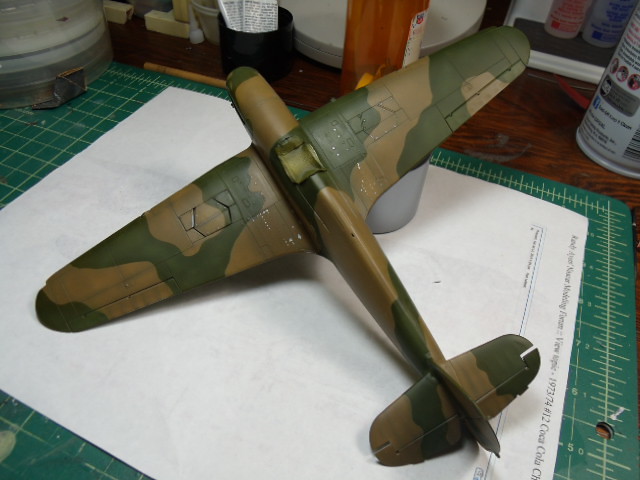
nice work tim. hopefully i will be joining you soon. the hurricane is painted with vallejo air battle of brittian set using pre cut vinyl masks. not that impressed with the paint, it pulled up in spots when i removed the masks which resulted in a lot of touchup. i went light on the weathering and chipping since i figure these craft were fairly new being so early in the war.
 " BORDER="0">
 " BORDER="0">
it is now gloss coated and ready for decals. more photos soon-
joe
" BORDER="0"> " BORDER="0"> it is now gloss coated and ready for decals. more photos soon-
joe
TimReynaga
Joined: May 03, 2006
KitMaker: 2,500 posts
AeroScale: 318 posts
Posted: Wednesday, August 29, 2018 - 04:48 PM UTC
Quoted Text
...not that impressed with the paint, it pulled up in spots when i removed the masks which resulted in a lot of touchup... joe
Joe, I know what you mean! Been trying to make the switch to acrylics, but I've had the same experience with lifting... Still, they are so much easier than those toxic, smelly enamels I just can't seem to stop using.

You are certainly making them work on that Hurricane, though!
 |

WEB HOSTING BY


Copyright ©2021 AeroScale and Kitmaker Network, a subsidiary of Silver Star Enterprises
All Rights Reserved. Please read our Conditions of Use and Privacy Policy.
All Rights Reserved. Please read our Conditions of Use and Privacy Policy.