

 This is the rear vent section on the left side. I opened up the bypass vents and rebuilt with bits of card and then remade the vents and intakes with hollow rod. The vents an the right are the original casting and are getting redone as well.
Air Campaigns
Want to start or join a group build? This is where to start.
Want to start or join a group build? This is where to start.
Hosted by Frederick Boucher, Michael Satin
OFFICIAL: The Lost Art Campaign

lmsharp57

Joined: August 24, 2014
KitMaker: 36 posts
AeroScale: 33 posts
Posted: Monday, September 03, 2018 - 03:47 AM UTC
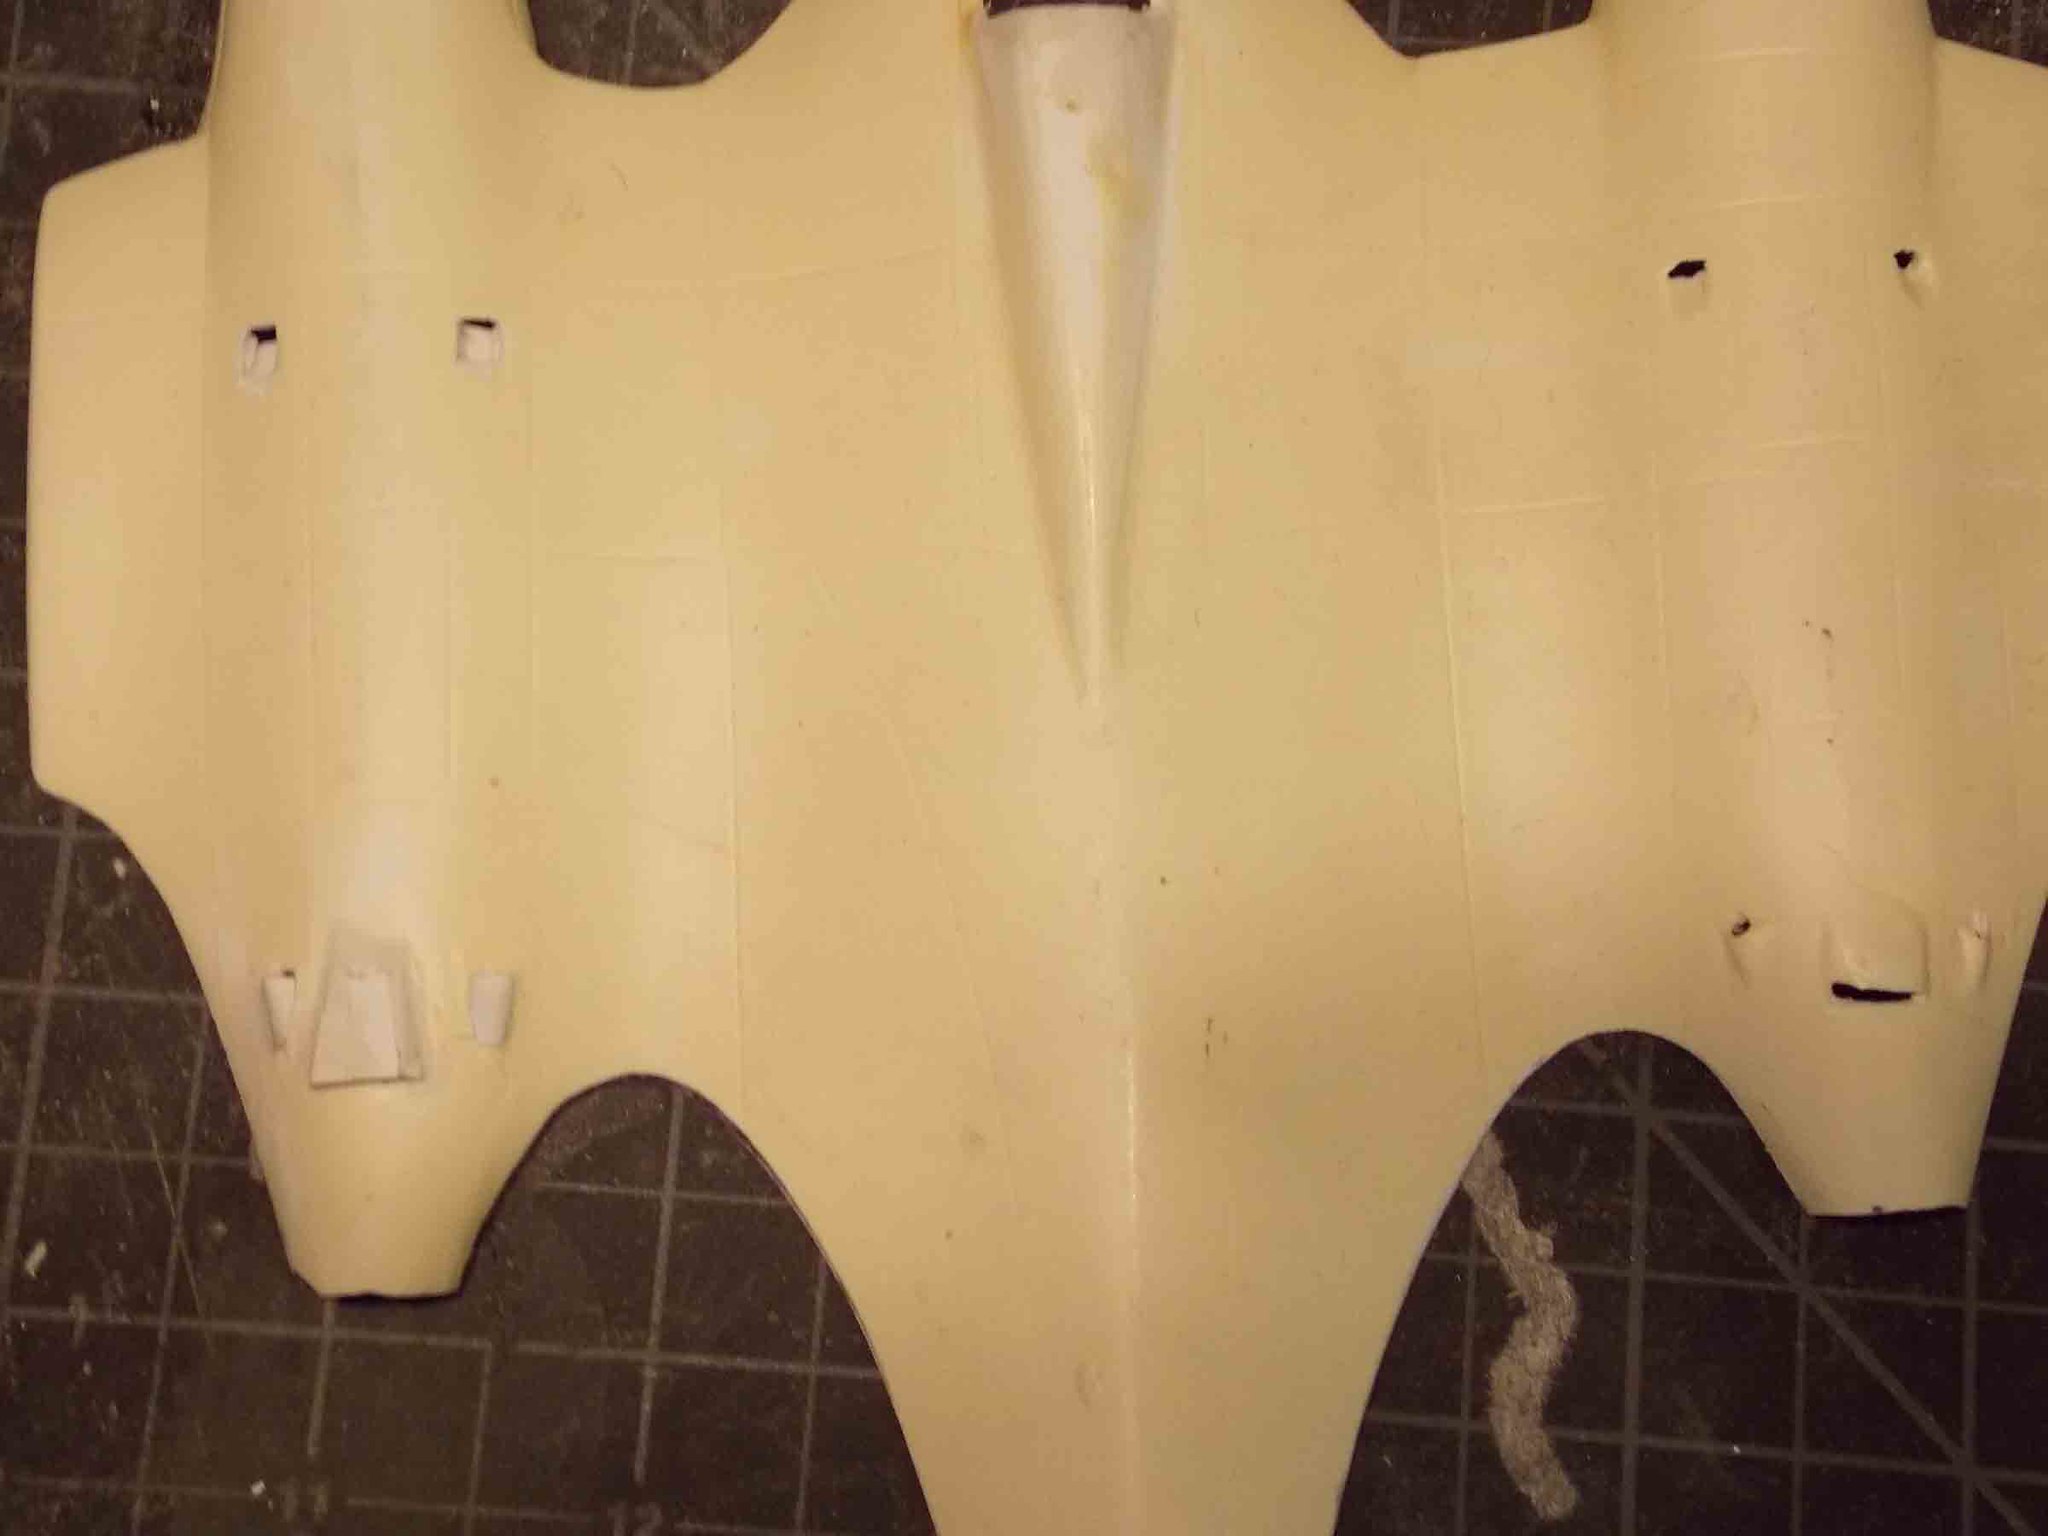
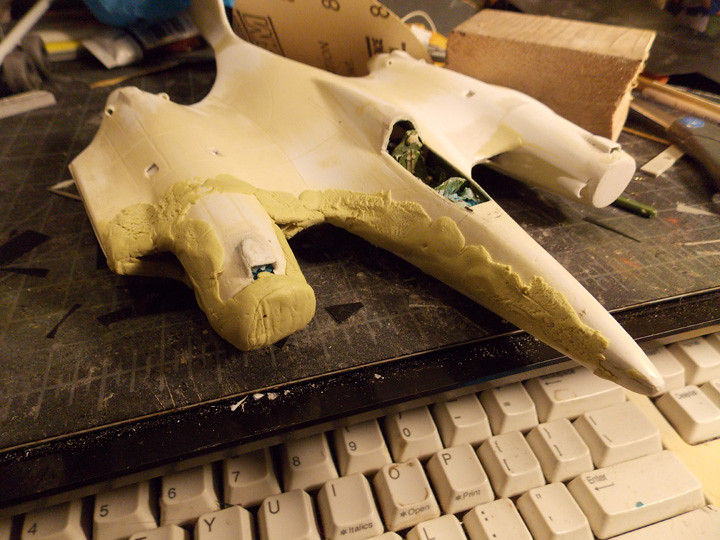
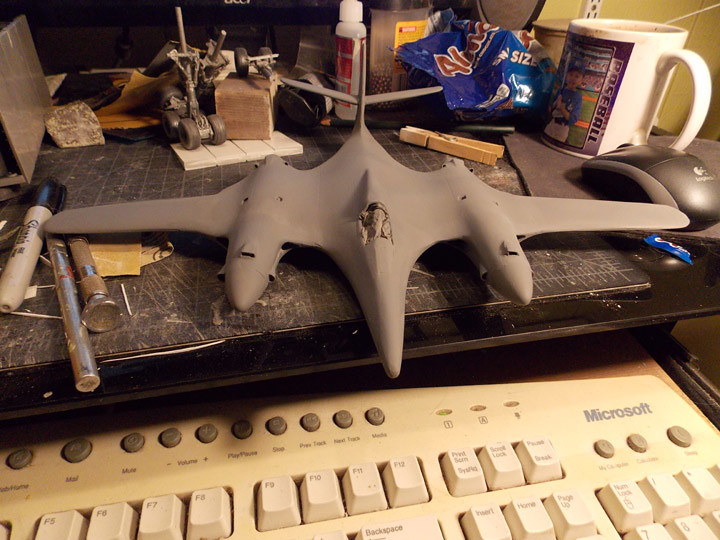
Unfortunately, My camera didn't save the images I took of the strengthening of the cockpit or the crossmembers for the wing/fuselage section. Now all closed up.This is the rear vent section on the left side. I opened up the bypass vents and rebuilt with bits of card and then remade the vents and intakes with hollow rod. The vents an the right are the original casting and are getting redone as well.
This is the rear vent section on the left side. I opened up the bypass vents and rebuilt with bits of card and then remade the vents and intakes with hollow rod. The vents an the right are the original casting and are getting redone as well.lmsharp57
Joined: August 24, 2014
KitMaker: 36 posts
AeroScale: 33 posts
Posted: Monday, September 03, 2018 - 03:59 AM UTC
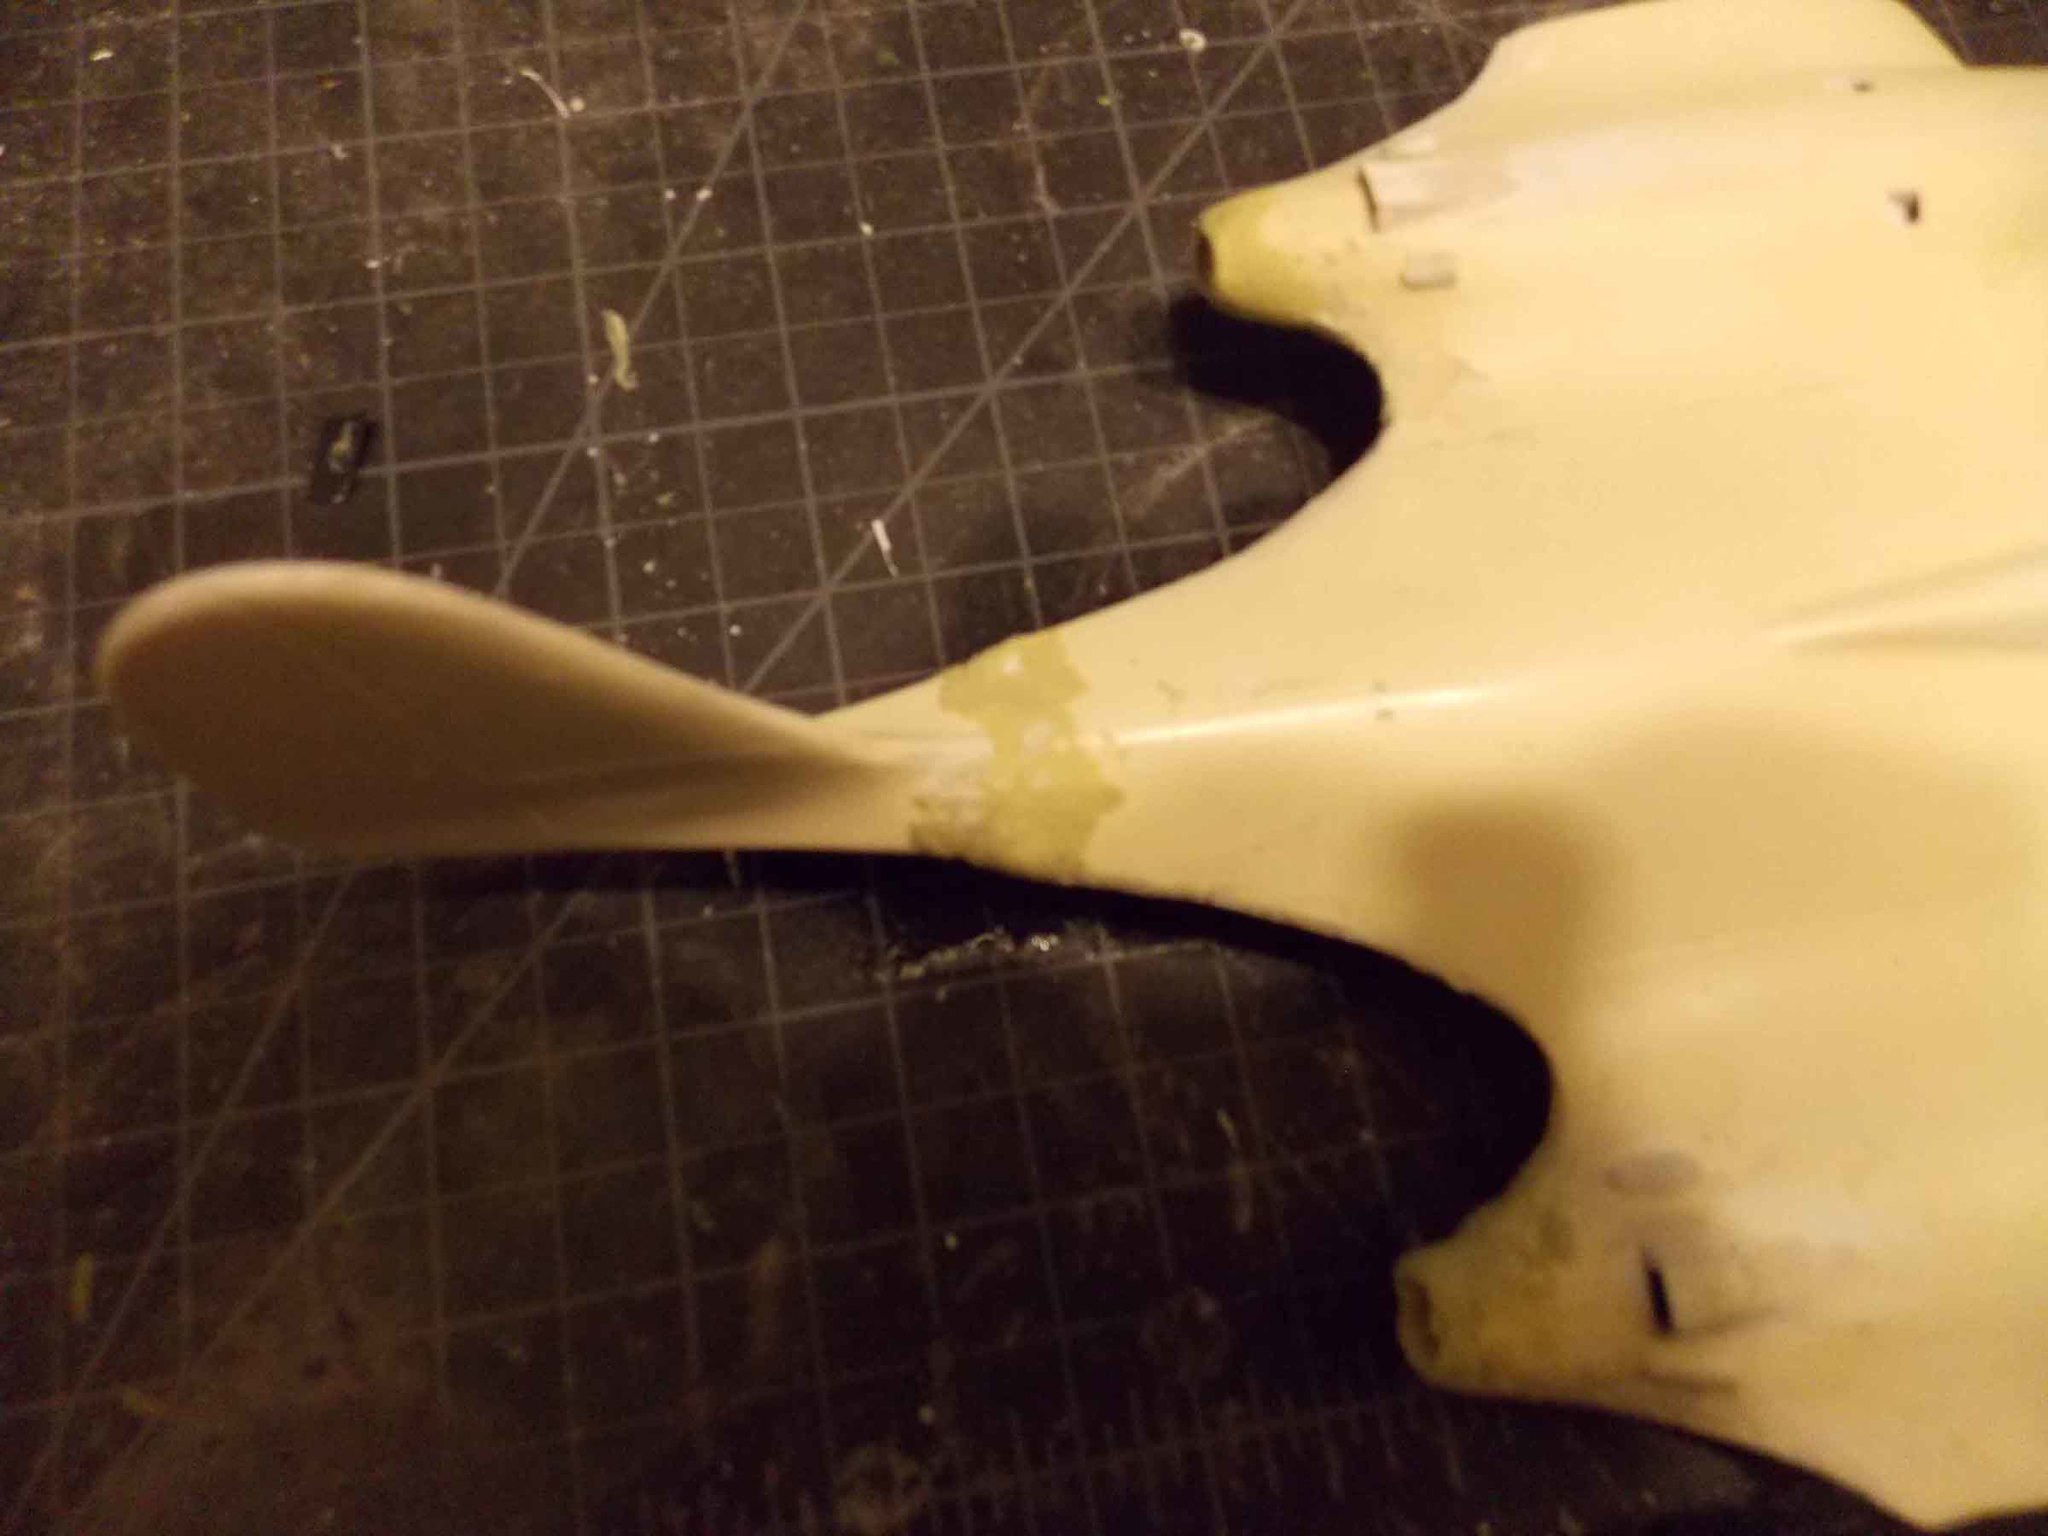
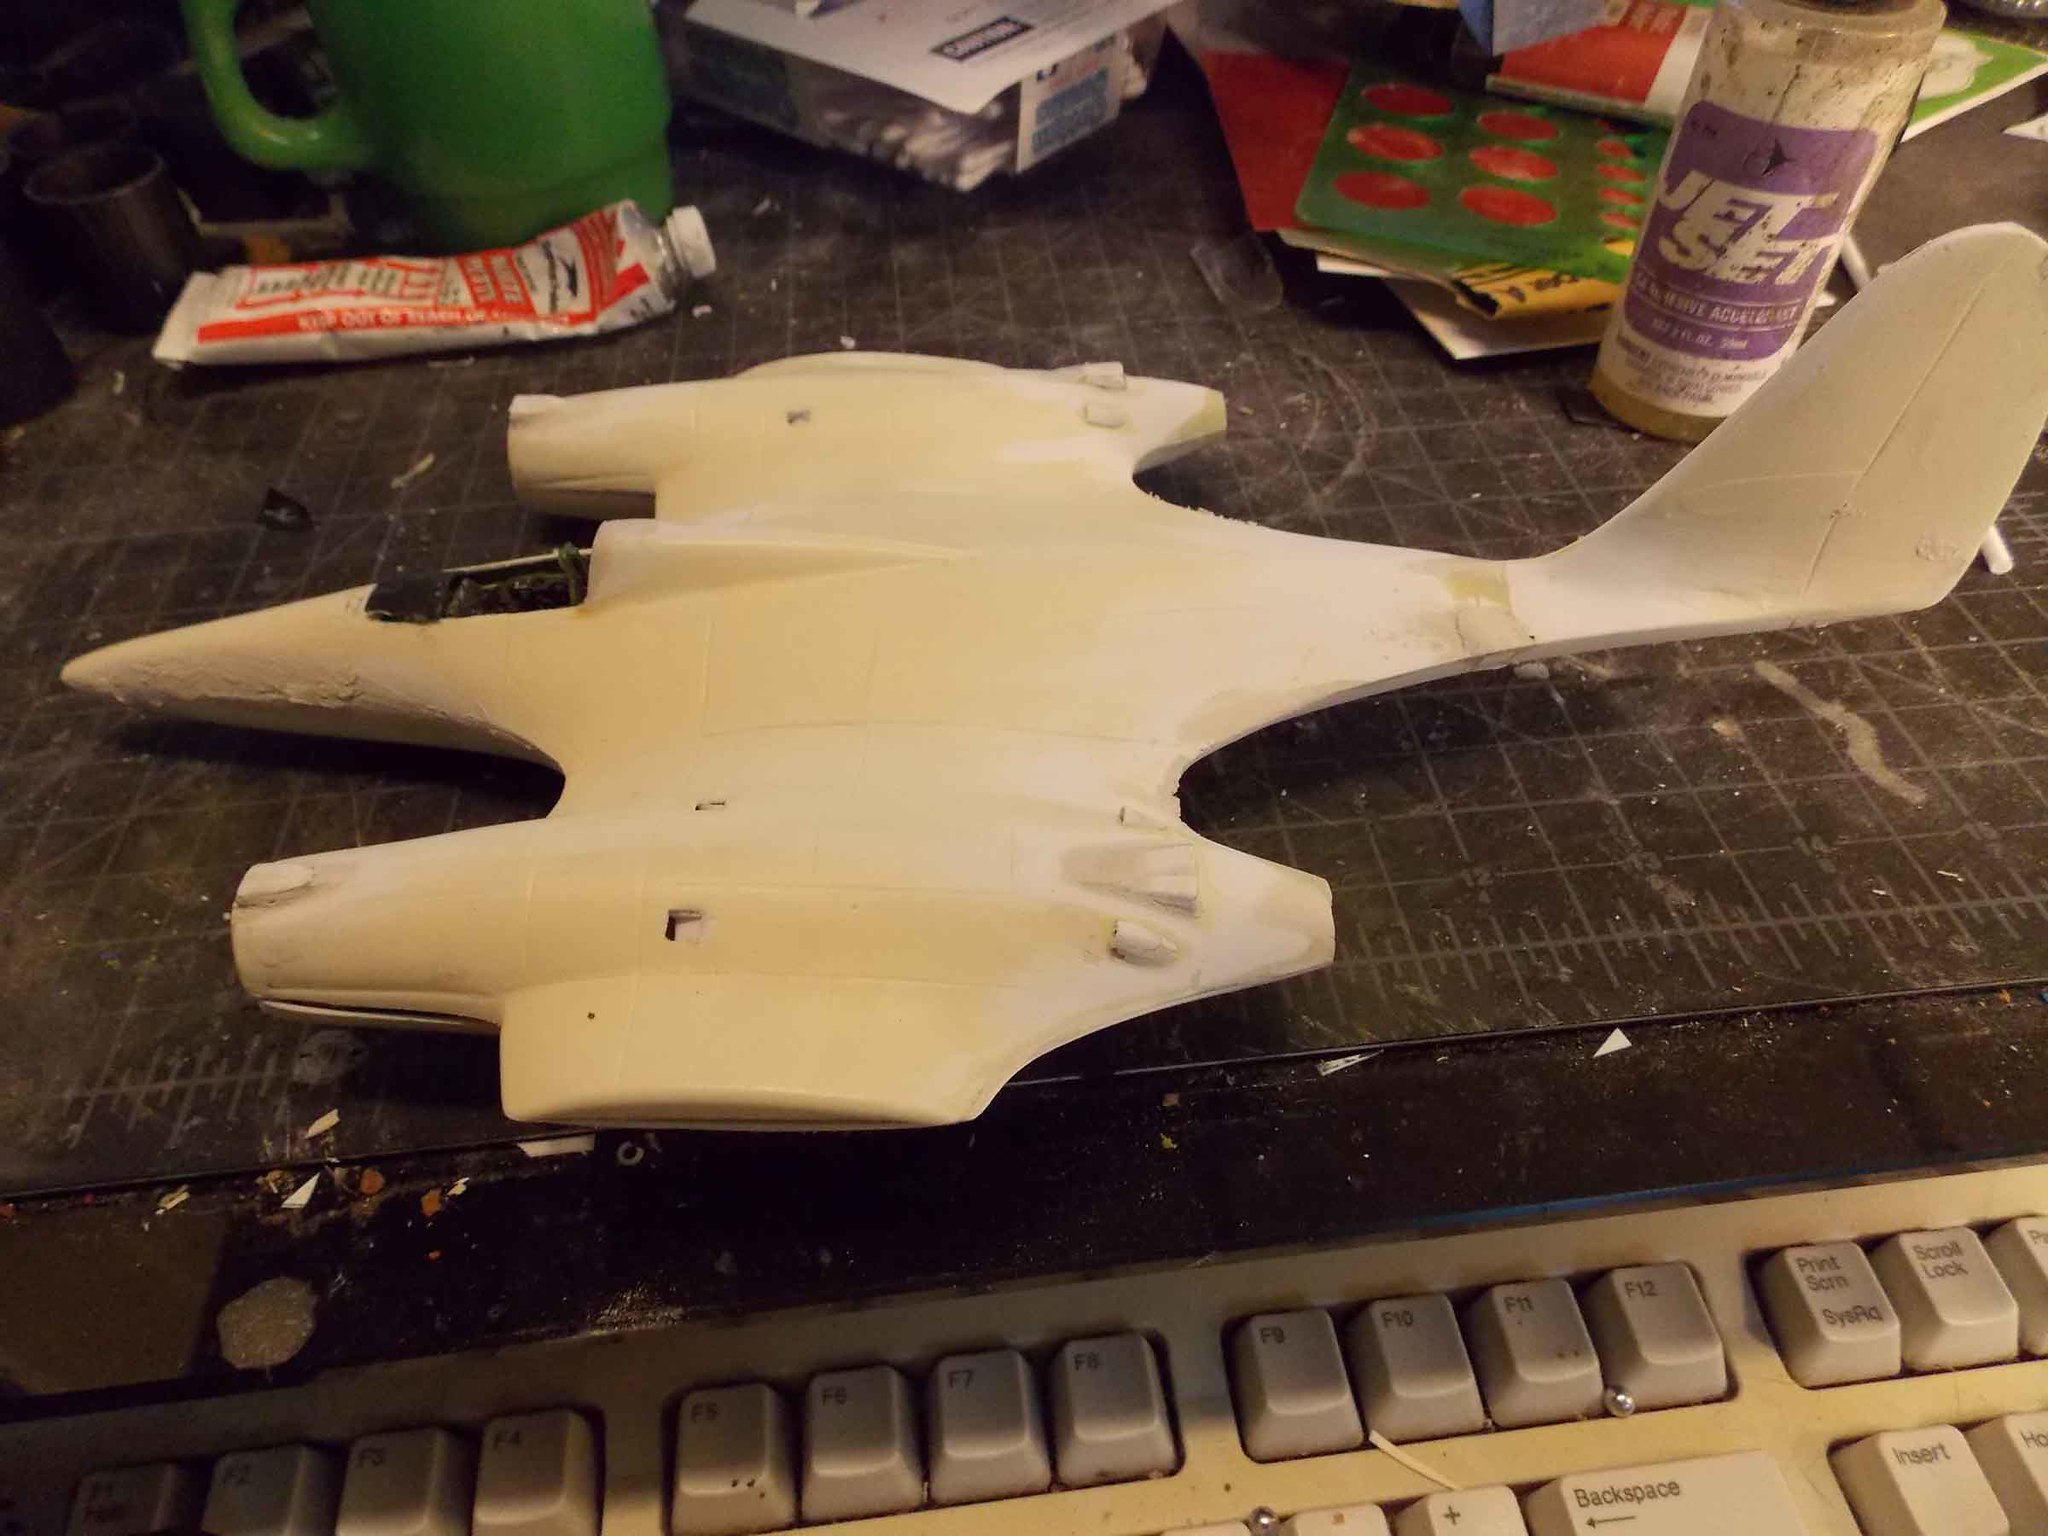
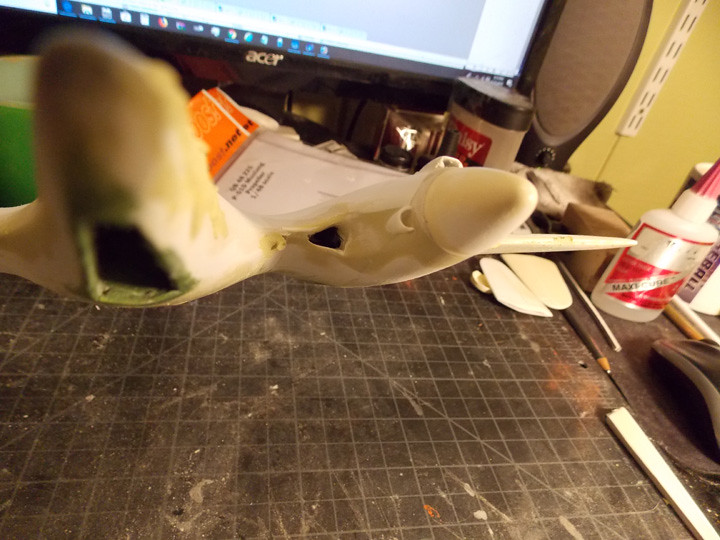
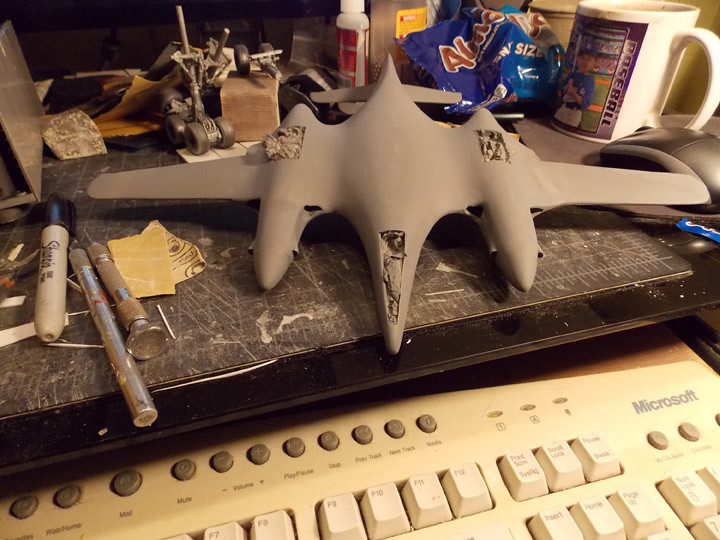
 Since the tail section didn't quite match the fuselage a little surgury was called for. I added some strip for strength then filled in with Milliput and once cured sanded and tidied the fairing with a touch of white putty.Its starting to look like a plane... I think.
lmsharp57
Joined: August 24, 2014
KitMaker: 36 posts
AeroScale: 33 posts
Posted: Monday, September 03, 2018 - 04:34 AM UTC
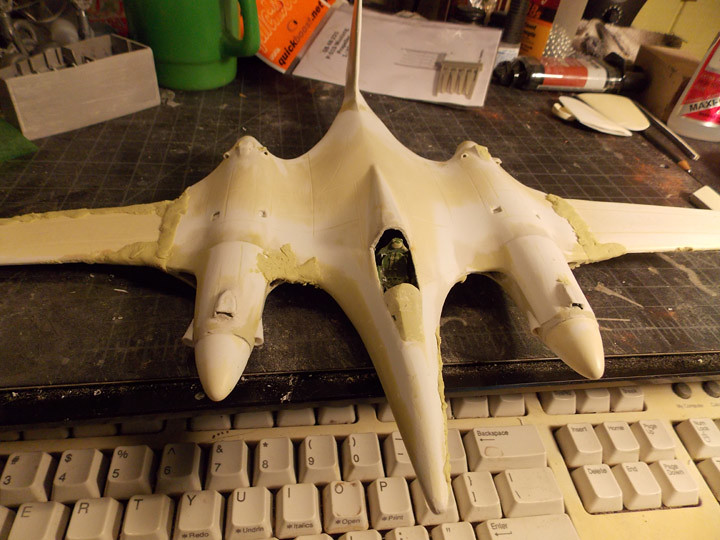
 Trying to make the images a little larger to see.. I used Milliput to correct the exhaust ports In addition to filling in the Tail area. Milliput is the greatest thing since sliced bread.
lmsharp57
Joined: August 24, 2014
KitMaker: 36 posts
AeroScale: 33 posts
Posted: Monday, September 03, 2018 - 04:36 AM UTC
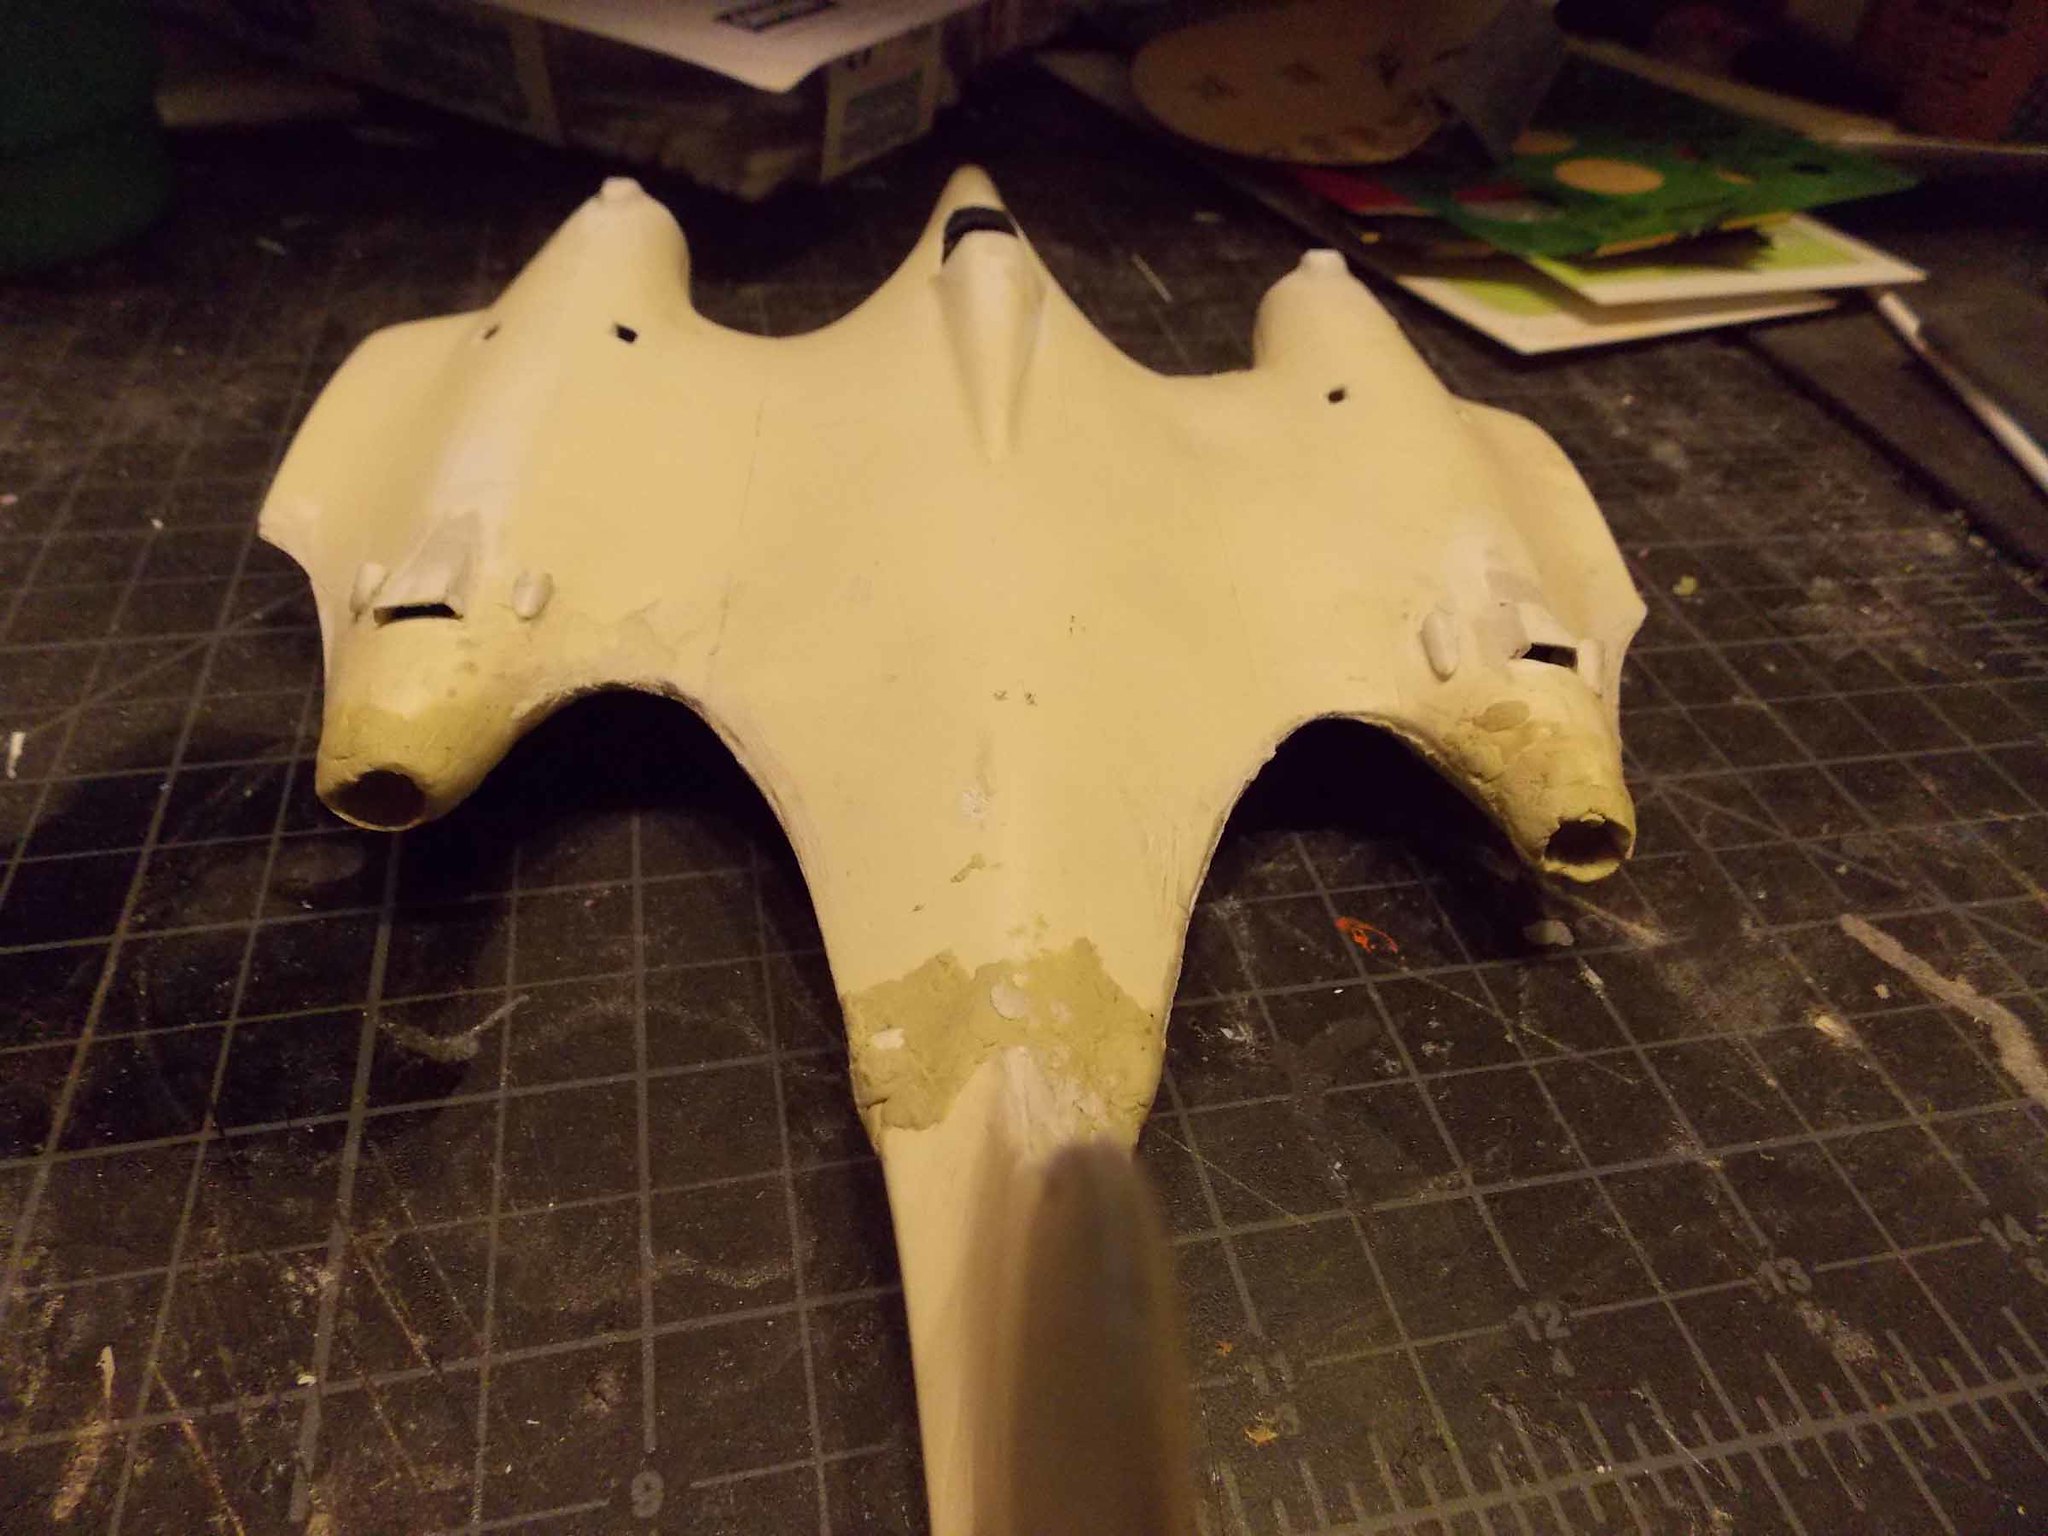 A bit rough at the moment nothing a little sanding, right, won't fix.
lmsharp57
Joined: August 24, 2014
KitMaker: 36 posts
AeroScale: 33 posts
Posted: Monday, September 03, 2018 - 04:39 AM UTC
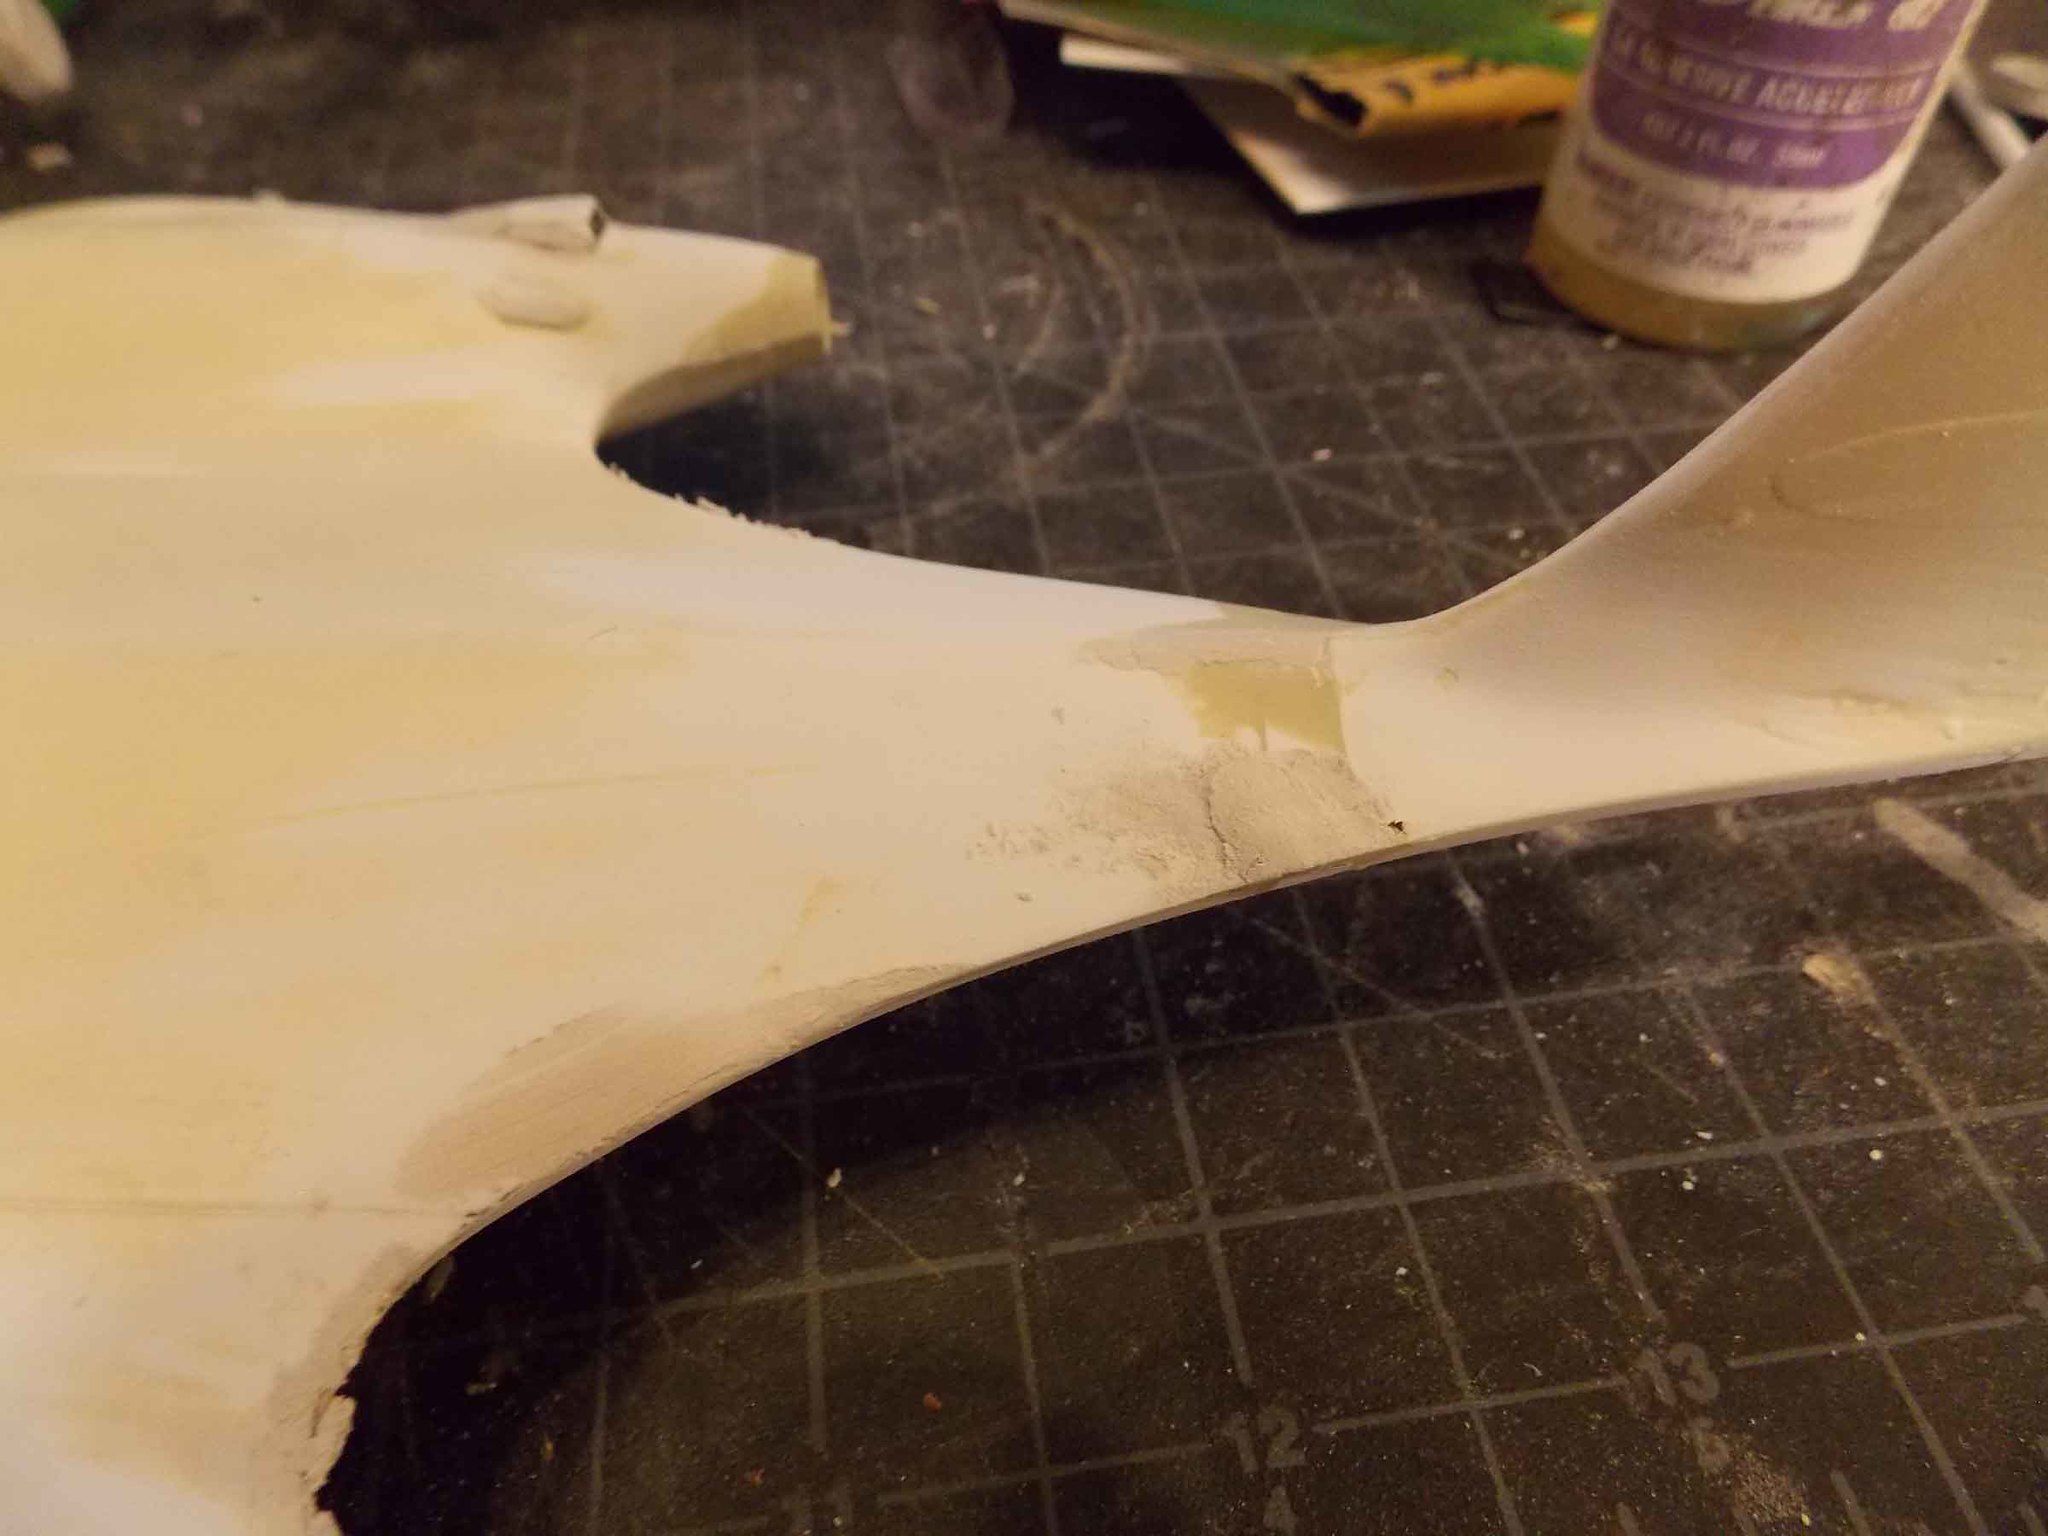 Ok, a lot of sanding, and a tiny bit of putty filler. There are two things I've discovered building vacs. You learn extreme patience and lots of new curse words.
lmsharp57
Joined: August 24, 2014
KitMaker: 36 posts
AeroScale: 33 posts
Posted: Monday, September 03, 2018 - 04:42 AM UTC

Exhaust fairings are just about there.
lmsharp57
Joined: August 24, 2014
KitMaker: 36 posts
AeroScale: 33 posts
Posted: Monday, September 03, 2018 - 04:47 AM UTC
 A little more sanding to smooth out the tail and nose.Next attacking the part that is the biggest problem I've got on this jouurney. The main intakes on both engines.
Bigrip74
Joined: February 22, 2008
KitMaker: 5,026 posts
AeroScale: 2,811 posts

Posted: Friday, September 21, 2018 - 07:26 AM UTC
lmsharp, you have been really working on your XP-67. Nice job plus I cannot wait to see her in paint.
I have not been present of late. A little hospital visit, but I am back to see if I can finish my YAK-3 before the deadline.
Just need to trim and sand the landing gear doors, but I have been trying to figure out the cut on the canopy and how to apply tape then attach.
Bob
I have not been present of late. A little hospital visit, but I am back to see if I can finish my YAK-3 before the deadline.
Just need to trim and sand the landing gear doors, but I have been trying to figure out the cut on the canopy and how to apply tape then attach.
Bob
Bigrip74
Joined: February 22, 2008
KitMaker: 5,026 posts
AeroScale: 2,811 posts
Posted: Saturday, September 22, 2018 - 01:55 PM UTC
Very small progress with the landing gear. I drilled through the top wing on one LG. Not in the photo, I cut out for the exhaust and installed the small bumps in front of the intake on the belly. Sanding those small items took my finger nails also.
lmsharp57
Joined: August 24, 2014
KitMaker: 36 posts
AeroScale: 33 posts
Posted: Tuesday, September 25, 2018 - 06:10 AM UTC
Thanks, I hope to be at that point in the next week. I've re-uploaded the photos of the work so far.Now one can see what I'm doing without the need of a microscope
lmsharp57
Joined: August 24, 2014
KitMaker: 36 posts
AeroScale: 33 posts
Posted: Tuesday, September 25, 2018 - 08:50 AM UTC
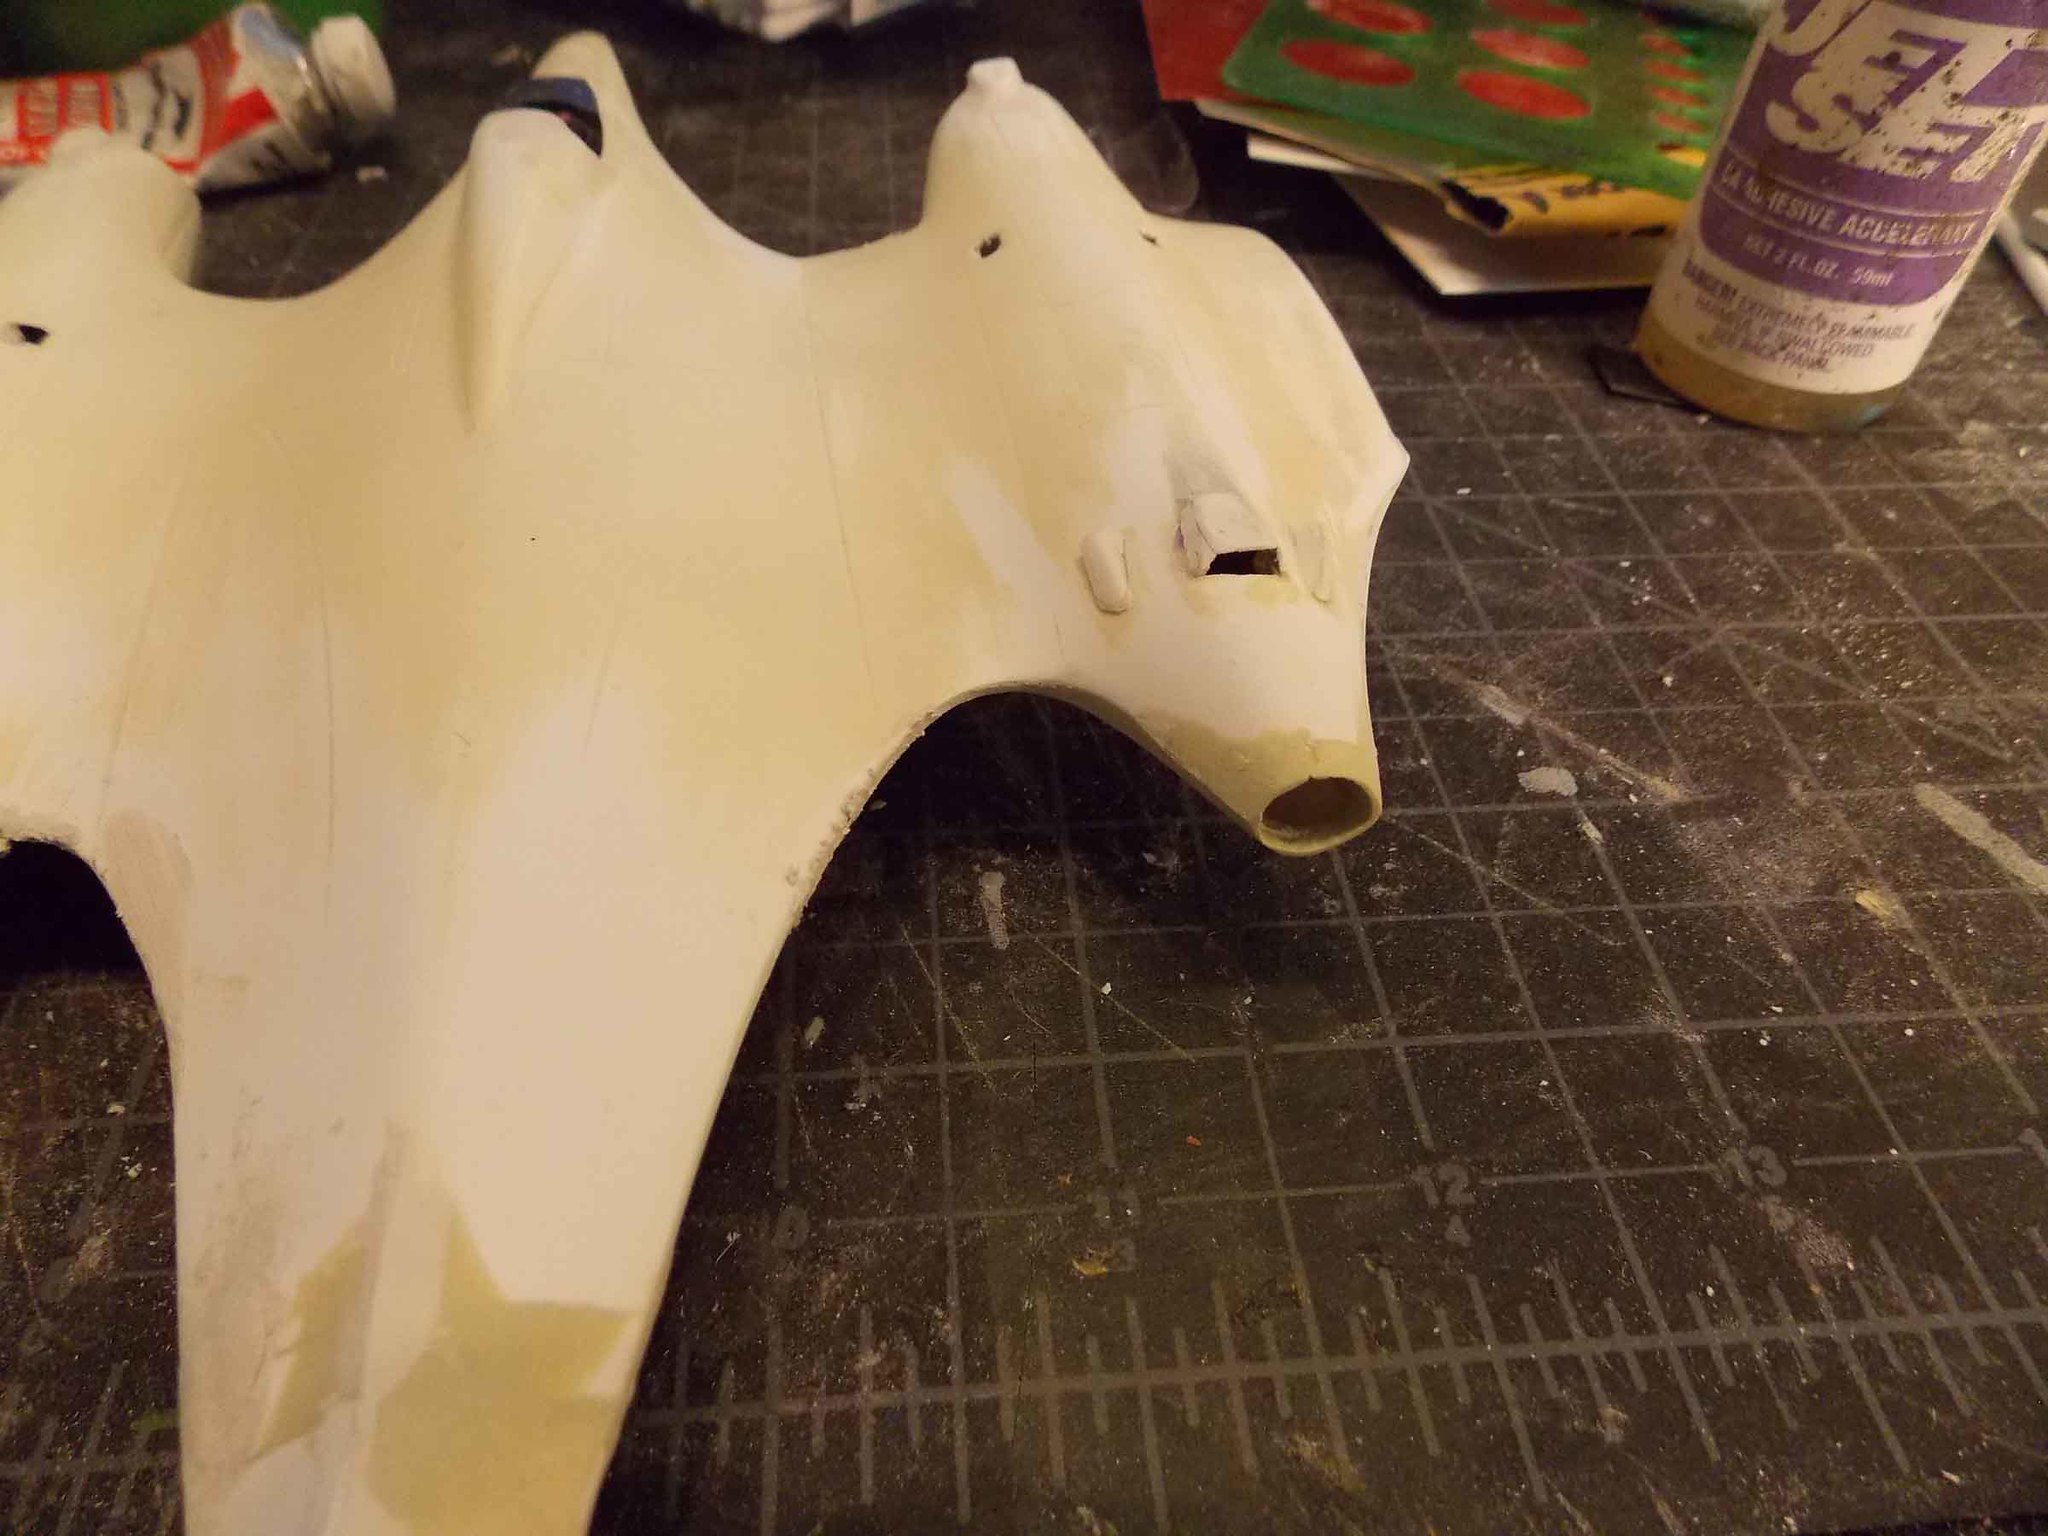
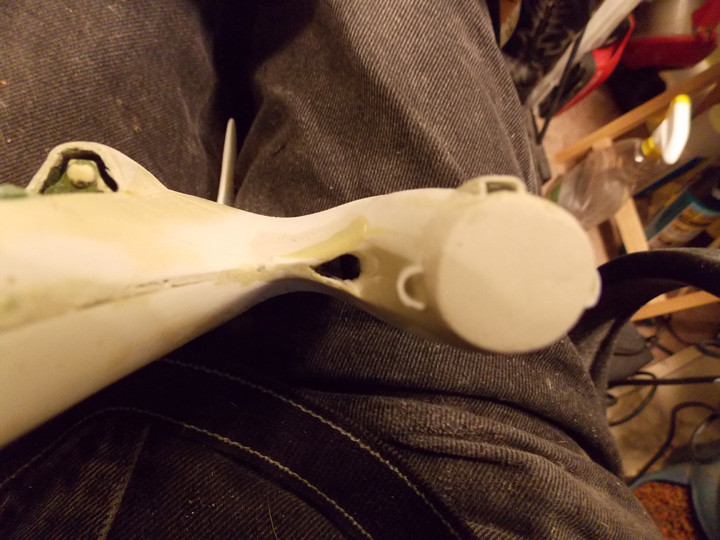
Now to begin the hardest part. Reshaping the engine nacelle intakes.
 During hte Moonbats short career. the intakes were modified multiple times.The engines had a nasty habit of catching fire due to over heating.Especially during the taxi tests. Trying to find the last modification was difficult.I think I found the latest but honestly I'm not sure, but this is what I went with.
During hte Moonbats short career. the intakes were modified multiple times.The engines had a nasty habit of catching fire due to over heating.Especially during the taxi tests. Trying to find the last modification was difficult.I think I found the latest but honestly I'm not sure, but this is what I went with.lmsharp57
Joined: August 24, 2014
KitMaker: 36 posts
AeroScale: 33 posts
Posted: Tuesday, September 25, 2018 - 08:57 AM UTC
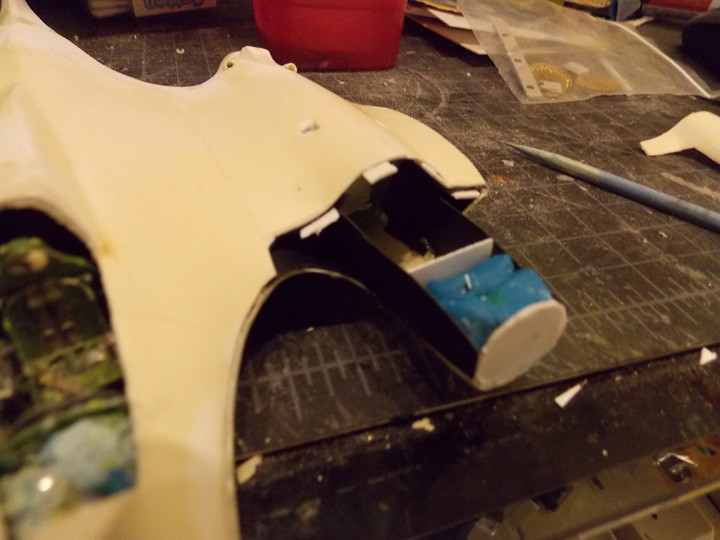
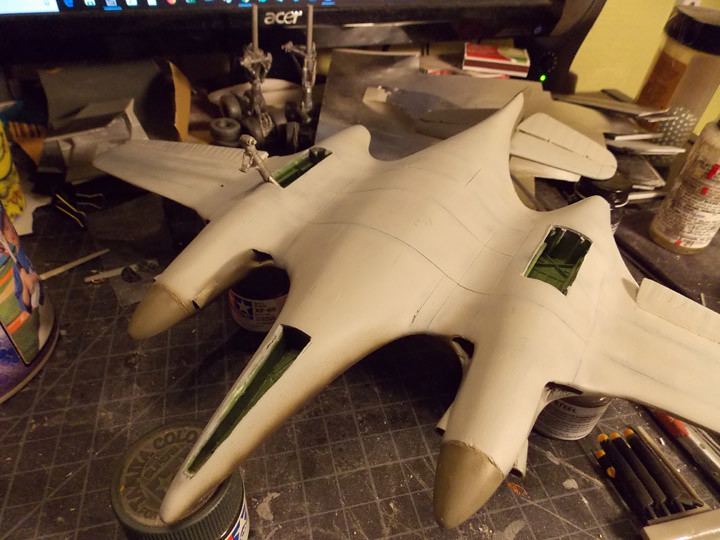
I tried to cut out where the intakes would go but that proved too problematic when using a piece of thin card for the basic shape. So I carefully cut the top of the nacelle off making access easier. It also gave me an opportunity to add a little bit of clay and birdshot to keep the plane from being a tail sitter.I reattached the nacelle tops using small bits of card for strength.
lmsharp57
Joined: August 24, 2014
KitMaker: 36 posts
AeroScale: 33 posts
Posted: Tuesday, September 25, 2018 - 09:02 AM UTC
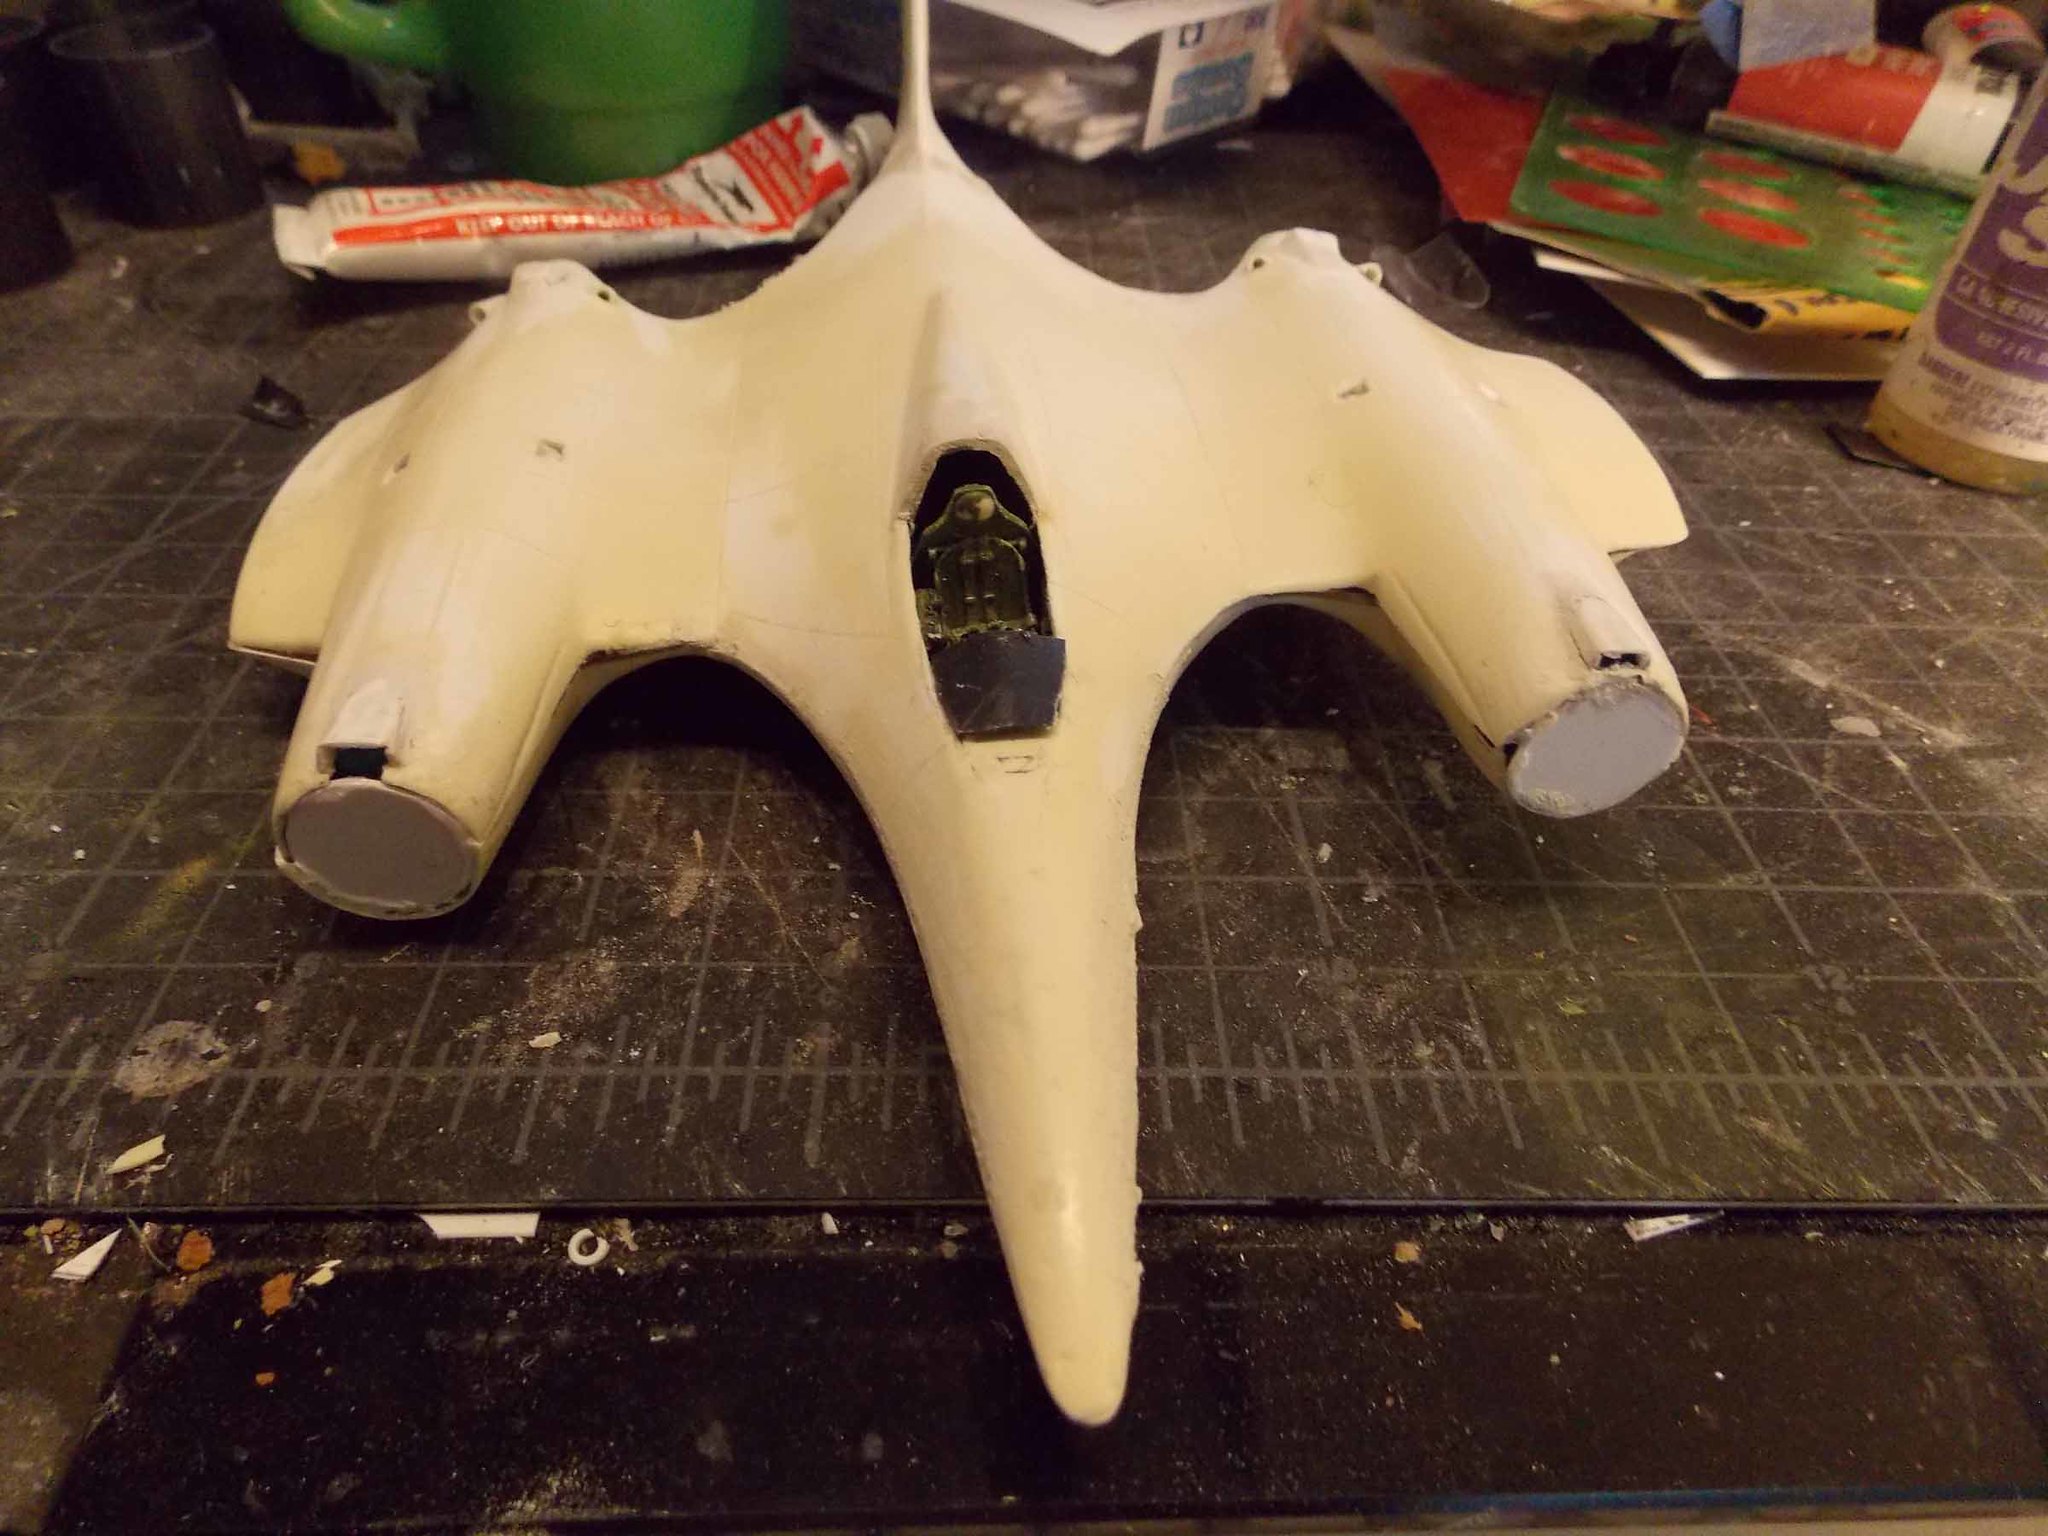
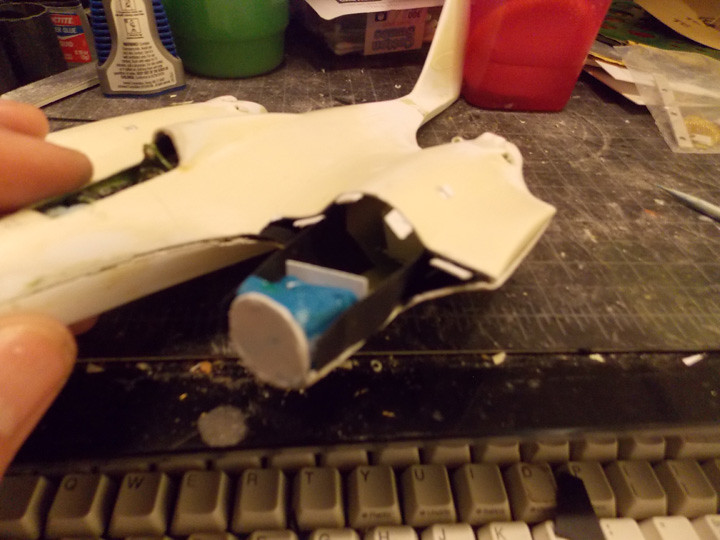
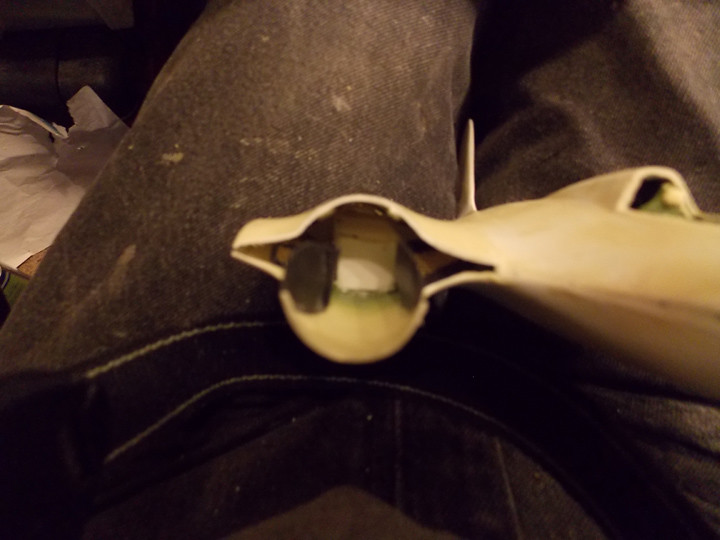
The back side of the intake I used a piece of brass screen from a faucet kit.Then took some Milliput to create the intakes,the openings and extend the nacelles since they were too short.
lmsharp57
Joined: August 24, 2014
KitMaker: 36 posts
AeroScale: 33 posts
Posted: Tuesday, September 25, 2018 - 09:05 AM UTC
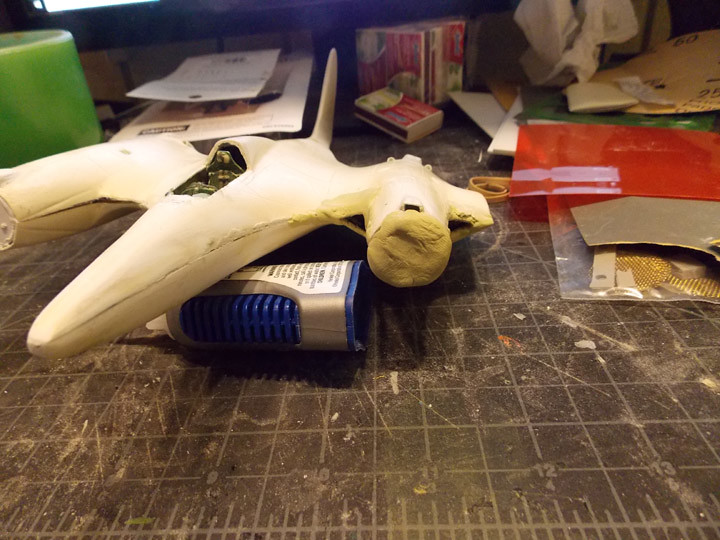
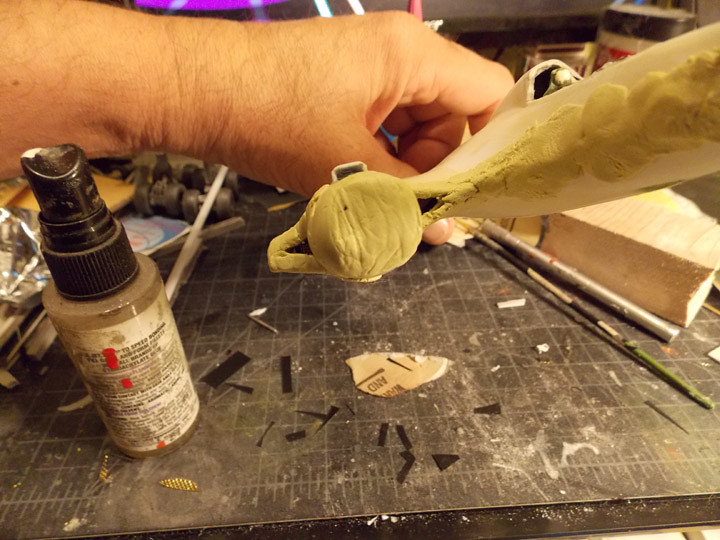
I set it aside for a few days to let the putty dry and harden. The a little bit of carving and a whole lot of sanding to get the shape right
lmsharp57
Joined: August 24, 2014
KitMaker: 36 posts
AeroScale: 33 posts
Posted: Tuesday, September 25, 2018 - 09:13 AM UTC
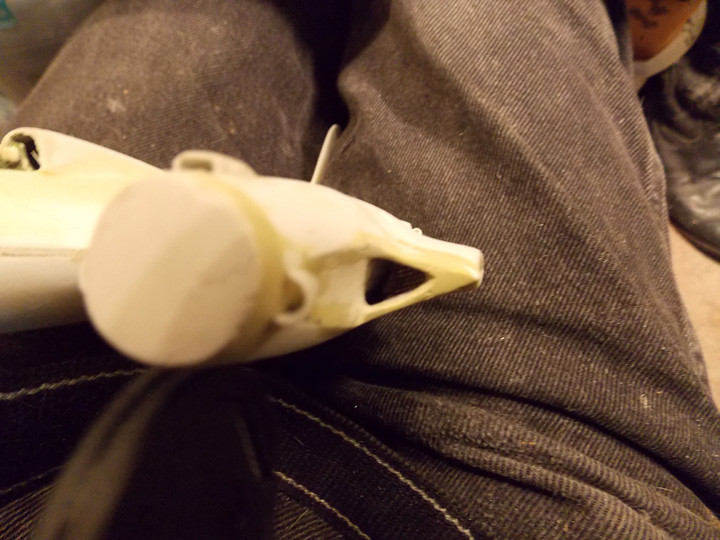
I took some plastic tubing slicing it to make some parabolas for the oil cooler intakes.

lmsharp57
Joined: August 24, 2014
KitMaker: 36 posts
AeroScale: 33 posts
Posted: Tuesday, September 25, 2018 - 09:21 AM UTC
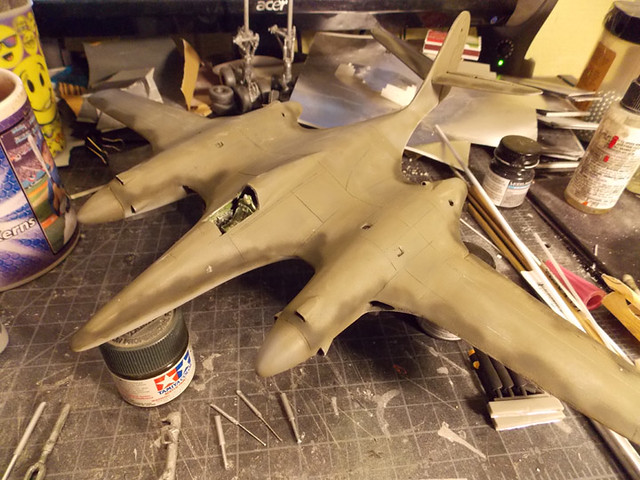
After the starboard nacelle I did the same thing for the port side making it identacal to the first(easier said than done).

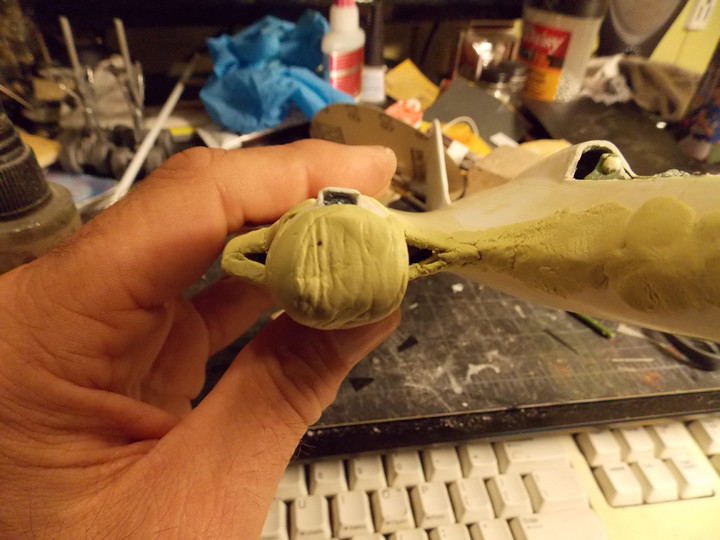
The shape of the nose wasn't symmetrical so I used some more putty to fix its shape.
The shape of the nose wasn't symmetrical so I used some more putty to fix its shape.
lmsharp57
Joined: August 24, 2014
KitMaker: 36 posts
AeroScale: 33 posts
Posted: Tuesday, September 25, 2018 - 09:23 AM UTC
I attached the prop spinners smoothing out the shape to match.
lmsharp57
Joined: August 24, 2014
KitMaker: 36 posts
AeroScale: 33 posts
Posted: Tuesday, September 25, 2018 - 09:30 AM UTC
I attached to outside wingtips with some card to use as tabs to hold in place. Unfortunately, the tips don't match neither the leading edge,thickness, nor the panel lines. Thank God for Milliput. speaking of which, isn't this how "Bondo" Brandt got started and gained his nickname? I let this dry and harden the do some more sanding. I'm almost ready to put this plane in the paint. With luck I hope this weekend.
lmsharp57
Joined: August 24, 2014
KitMaker: 36 posts
AeroScale: 33 posts
Posted: Tuesday, September 25, 2018 - 09:34 AM UTC
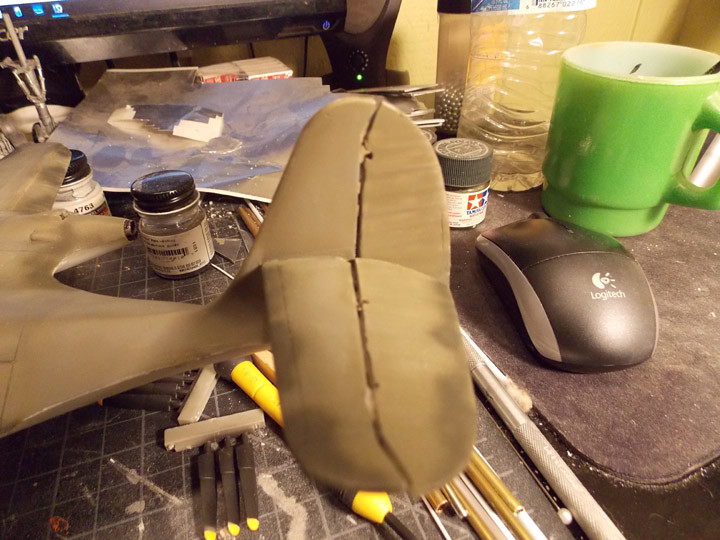
One item I did notice from the previous photo the tail has a decided bend to it. I'll have to see what I can do to straighten it out without cutting and splicing. This is not a model... it's an adventure!
lmsharp57
Joined: August 24, 2014
KitMaker: 36 posts
AeroScale: 33 posts
Posted: Friday, September 28, 2018 - 11:30 AM UTC
Finally my primer coat. there are a few areas to touch up but not as much as I feared.
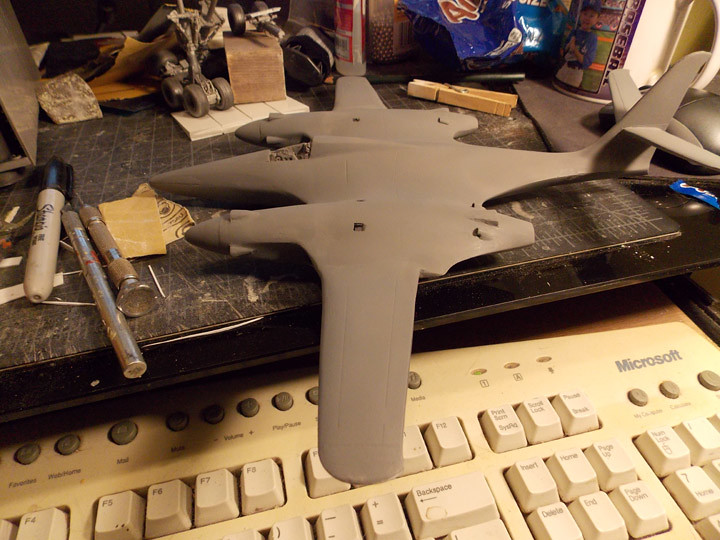
From here the next Item will be to scribe my panel lines back. This is the part I hate with a passion. Never quite seem to get it the way I want. Cross your fingers.
From here the next Item will be to scribe my panel lines back. This is the part I hate with a passion. Never quite seem to get it the way I want. Cross your fingers.
lmsharp57
Joined: August 24, 2014
KitMaker: 36 posts
AeroScale: 33 posts
Posted: Monday, October 08, 2018 - 10:21 AM UTC
Ahh, Coming into the home stretch. Primer coat done. I rescribed(the part I hate the most) Sanded down again with 2000 Grit paper to smooth out.
lmsharp57
Joined: August 24, 2014
KitMaker: 36 posts
AeroScale: 33 posts
Posted: Monday, October 08, 2018 - 10:55 AM UTC
Adding the rudder and ailerons, I scraped out the plastic to give a ribbing covered fabric look.
lmsharp57
Joined: August 24, 2014
KitMaker: 36 posts
AeroScale: 33 posts
Posted: Monday, October 08, 2018 - 10:59 AM UTC
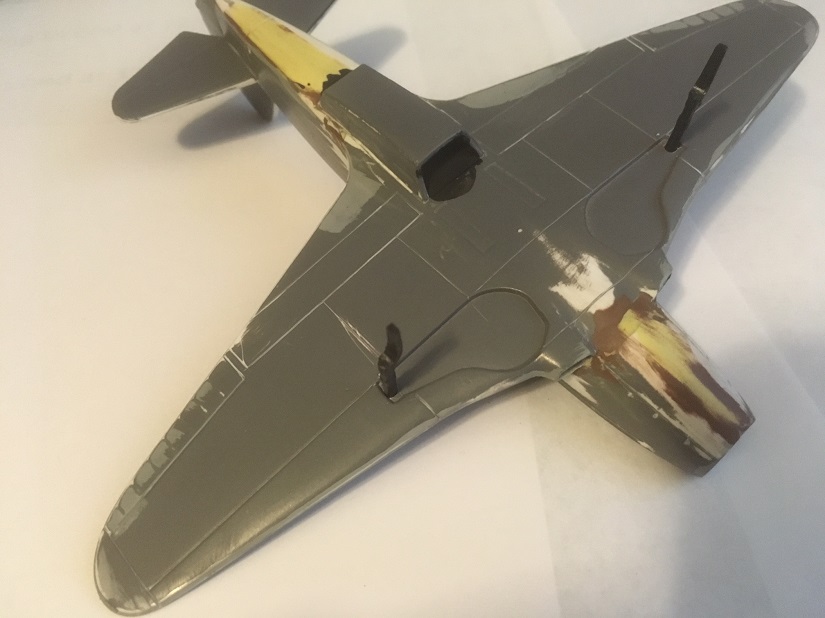
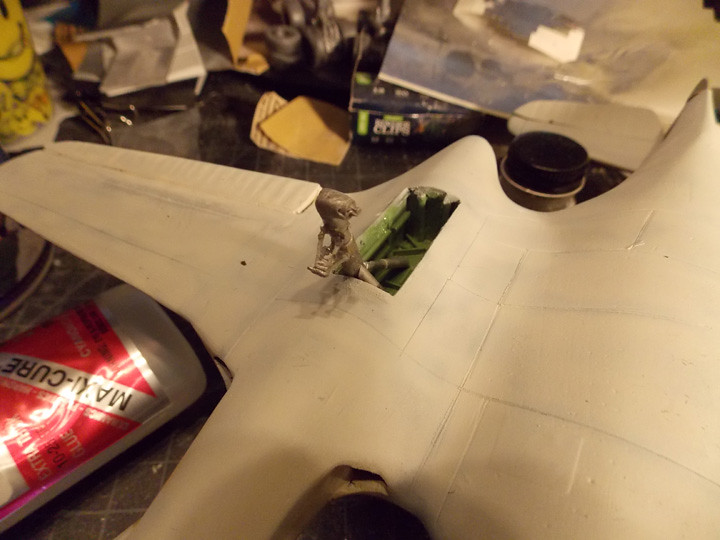
I preshaded the upper and lower fuselage panel lines then sprayed a
light coat of olive drab for the top and Light gull grey for the underneath with a second coat of dark green for the camo effect around the outer edges.
light coat of olive drab for the top and Light gull grey for the underneath with a second coat of dark green for the camo effect around the outer edges.
lmsharp57
Joined: August 24, 2014
KitMaker: 36 posts
AeroScale: 33 posts
Posted: Monday, October 08, 2018 - 11:06 AM UTC
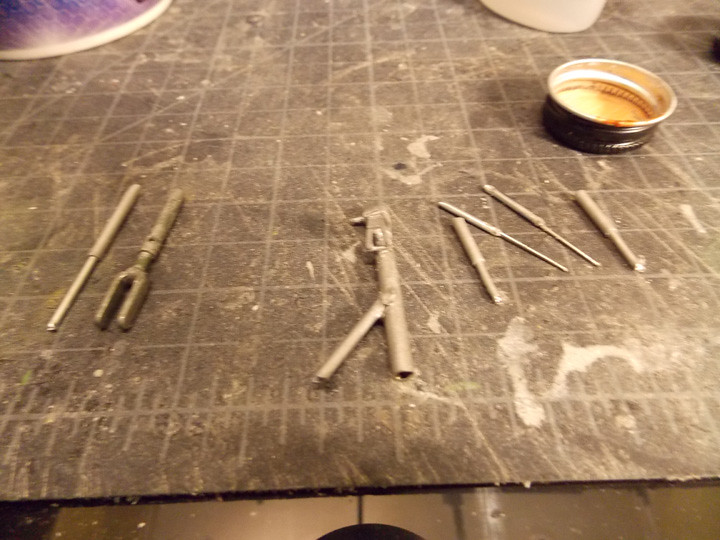
Building the landing gear I used brass rod cut and rounded on the ends soldering the axle on and using a smaller rod for the shock strut.Then plastic card to make the compression scissors and I clipped a bouquet pin to make the scissor rods and part of the shocks for the gear and doors. The larger portion of the shocks I used aluminium rod.
lmsharp57
Joined: August 24, 2014
KitMaker: 36 posts
AeroScale: 33 posts
Posted: Monday, October 08, 2018 - 11:13 AM UTC
From there I added some thin rod that's bendable to the strut
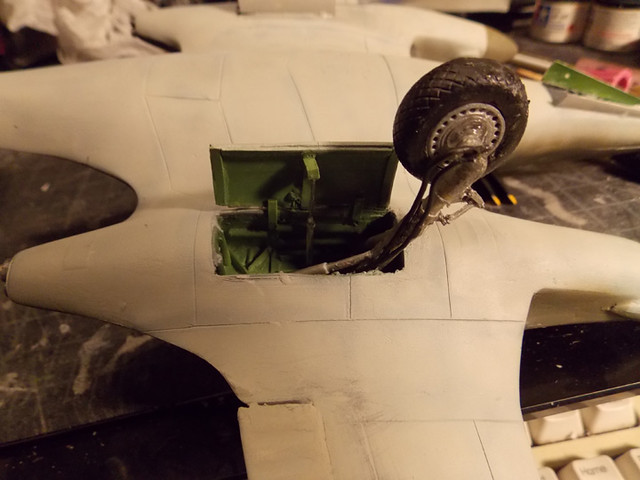
and attached the main wheels,

Nose gear and wheels along with the gear doors.
and attached the main wheels,
Nose gear and wheels along with the gear doors.
 |

WEB HOSTING BY


Copyright ©2021 AeroScale and Kitmaker Network, a subsidiary of Silver Star Enterprises
All Rights Reserved. Please read our Conditions of Use and Privacy Policy.
All Rights Reserved. Please read our Conditions of Use and Privacy Policy.