OFFICIAL: The Lost Art Campaign
Merlin
 Senior Editor
#017
United Kingdom
Joined: June 11, 2003
KitMaker: 17,582 posts
AeroScale: 12,795 posts
Posted: Friday, February 02, 2018 - 03:08 AM UTC
Hi everyone
I've agonised over this decision for the last few days, because this is a build that I've been determined to complete, but I'm going to have to pull out.

I so wanted to build the vacuform Fw 58 - a type of kit that represents my "roots" in the time when I got serious about modelling - but the simple fact is that I'm set to sign up for a publishing deal that's come out of the blue and is an opportunity which I can't afford to turn down. It will mean a 12-15 month stint of solid modelling that, realistically, makes it impossible to have any prospect of continuing with the Fw 58.
So... I'm truly so sorry to back out! But I hope you'll understand why. I really hope we have another vacuform campaign in the future and that I can re-submit my Fw 58 next time around - because it's a kit I dearly want to build.

All the best - and I'll continue to follow all your progress
Rowan

BEWARE OF THE FEW...
As I grow older, I regret to say that a detestable habit of thinking seems to be getting a hold of me. - H. Rider Haggard
#305
Christchurch, New Zealand
Joined: February 01, 2006
KitMaker: 1,673 posts
AeroScale: 1,517 posts
Posted: Friday, February 02, 2018 - 08:05 AM UTC
Sorry to see you go Rowan but kudo's my friend for getting a publishing gig. The kit and our good selves will still be here when you're done and will welcome your return.
Uusimaa, Finland
Joined: October 01, 2016
KitMaker: 514 posts
AeroScale: 239 posts
Posted: Friday, February 02, 2018 - 01:02 PM UTC
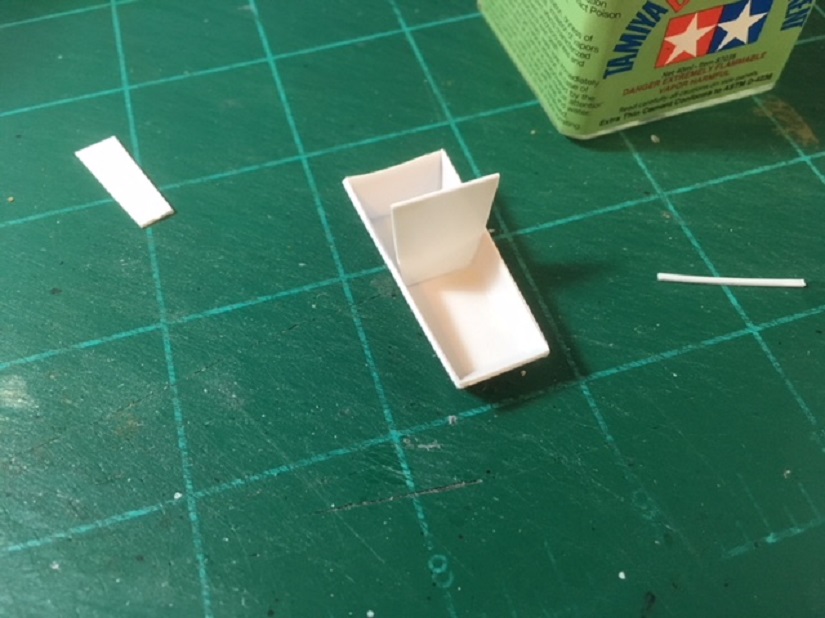
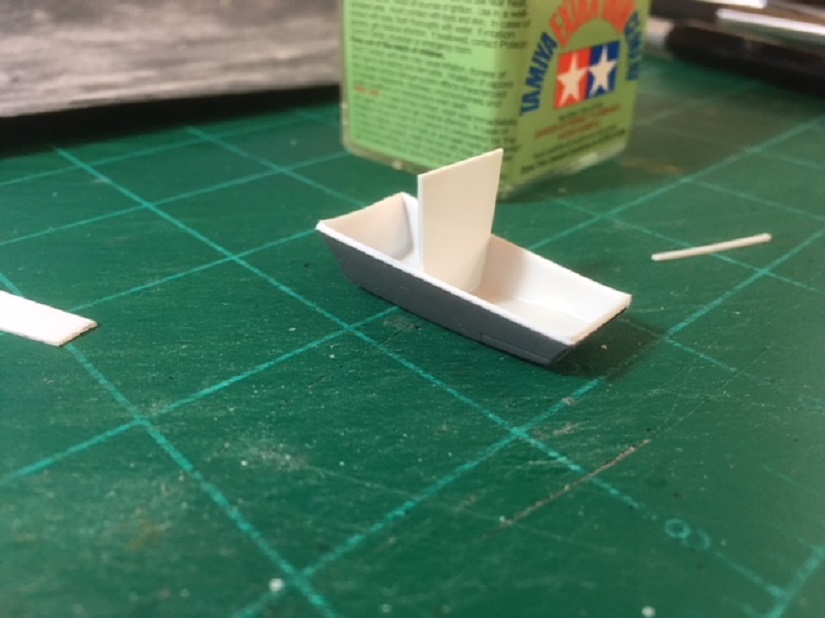
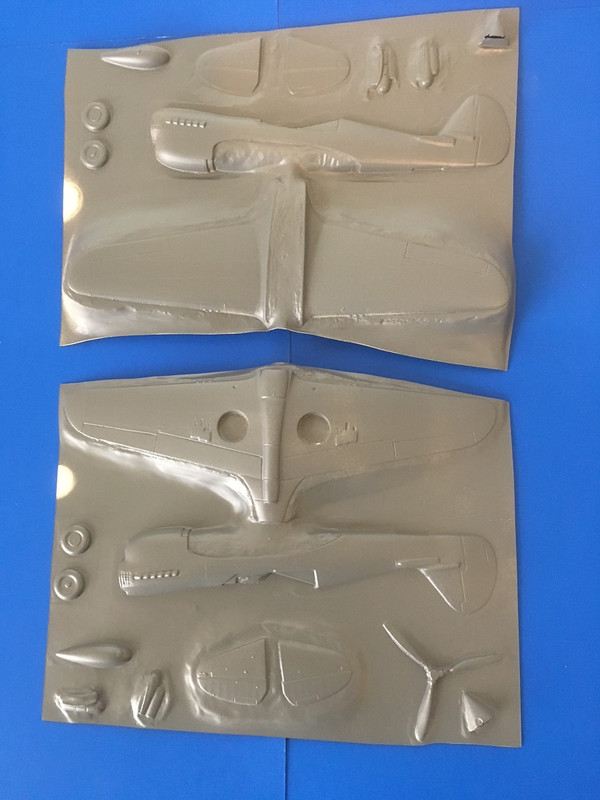
Few steps (and in my opinion the biggest step) ahead with Farman F.190:
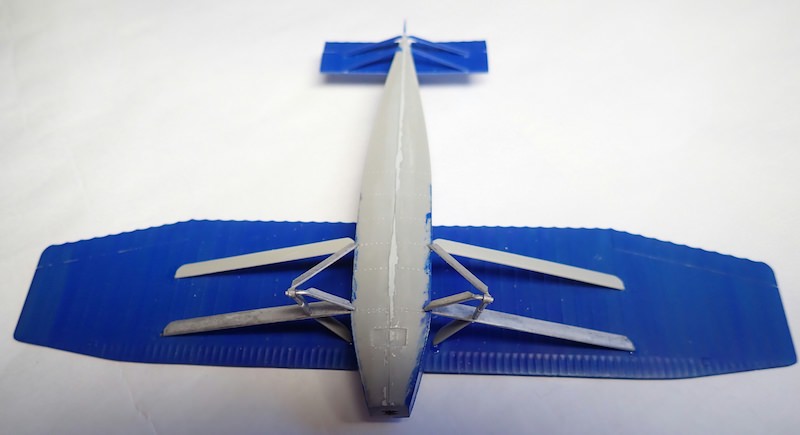
I was most worried about landing gear assembly, but SBS has done pretty good job here. Just took my time, no jigs or anything, and parts lined up quite nicely. Other side is a tad lower than the other, but the difference is small so I can hide it by adjusting wheel mounting point a bit.
Details, decals, painting and control lines remaining and none of them sound daunting.
Texas, United States
Joined: February 22, 2008
KitMaker: 5,026 posts
AeroScale: 2,811 posts
Posted: Sunday, April 22, 2018 - 12:38 AM UTC
Hi guys! I have started some a/c builds and feel that I can sit comfortably. So! I'm back in this campaign.
I see some progress on several builds. Love the Lego jig. I have pulled the Yak 3 off the top shelf and will start sanding the putty on the wing fillets, fuse seems, and nose.
Looks like I need to go back to a previous post re-post some photos.
Bob
If it aint broke dont fix it.
#305
Christchurch, New Zealand
Joined: February 01, 2006
KitMaker: 1,673 posts
AeroScale: 1,517 posts
Posted: Sunday, April 22, 2018 - 01:08 AM UTC
Awesome to see you back Bob! I've finished my Fw190C just need to post some pics and explain what I've done with her.
Texas, United States
Joined: February 22, 2008
KitMaker: 5,026 posts
AeroScale: 2,811 posts
Posted: Sunday, April 22, 2018 - 02:43 AM UTC
Chris, I have viewed your Fw and it looks great. More photos and journal would be interesting also.
Bob
If it aint broke dont fix it.
Texas, United States
Joined: February 22, 2008
KitMaker: 5,026 posts
AeroScale: 2,811 posts
Posted: Sunday, April 22, 2018 - 03:03 AM UTC
If it aint broke dont fix it.
Texas, United States
Joined: February 22, 2008
KitMaker: 5,026 posts
AeroScale: 2,811 posts
Posted: Sunday, April 22, 2018 - 09:15 PM UTC
If it aint broke dont fix it.
#259
Massachusetts, United States
Joined: October 23, 2011
KitMaker: 2,265 posts
AeroScale: 1,715 posts
Posted: Monday, April 23, 2018 - 02:21 AM UTC
Good to see you back in action Bob.
I like the looks of that Warhawk kit.
Texas, United States
Joined: February 22, 2008
KitMaker: 5,026 posts
AeroScale: 2,811 posts
Posted: Monday, April 23, 2018 - 02:54 AM UTC
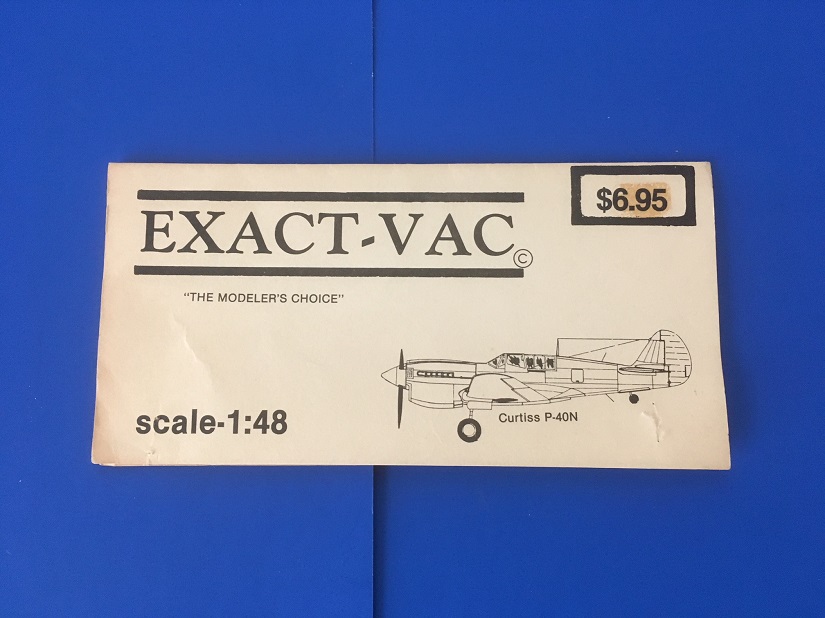
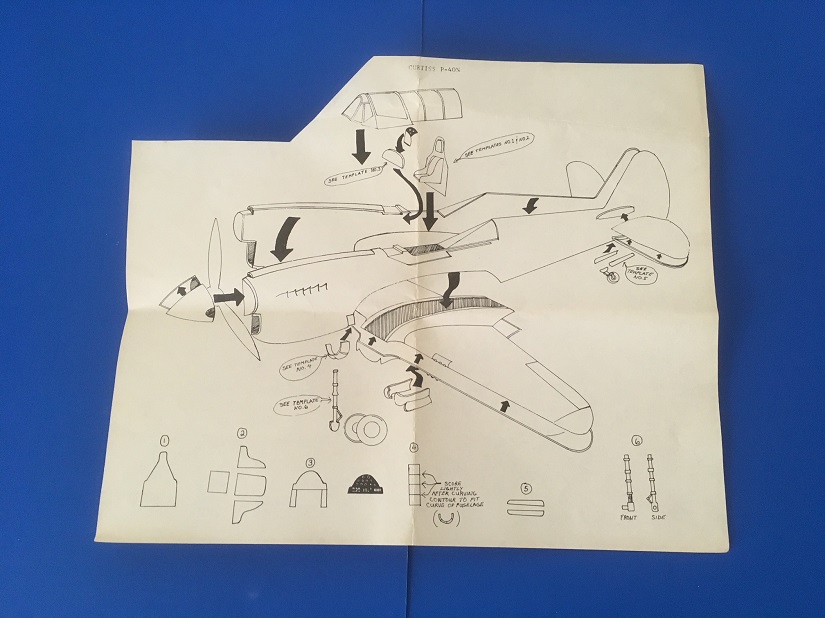
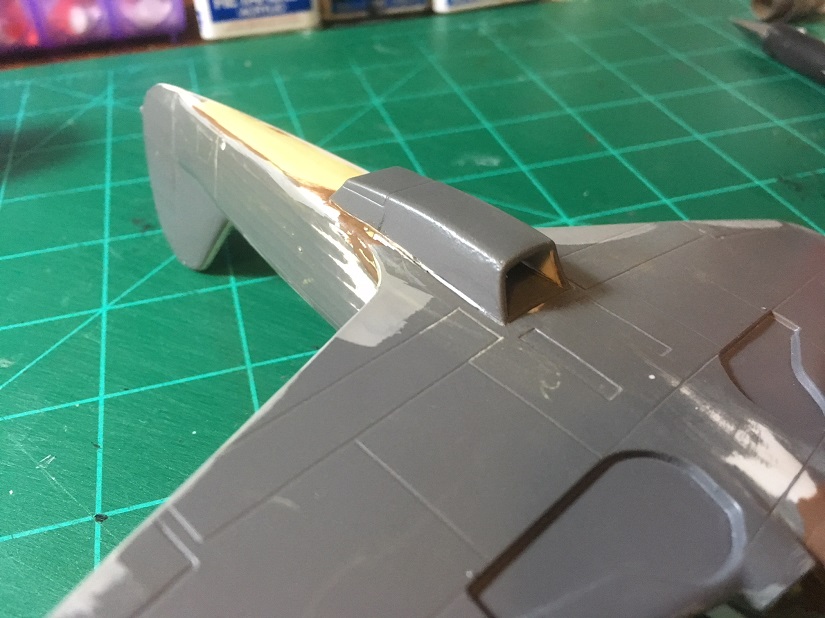
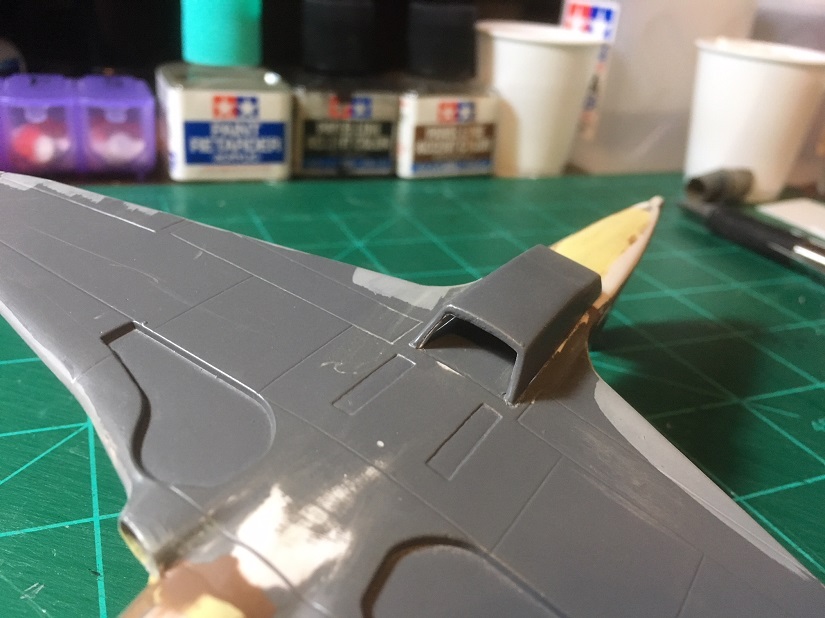
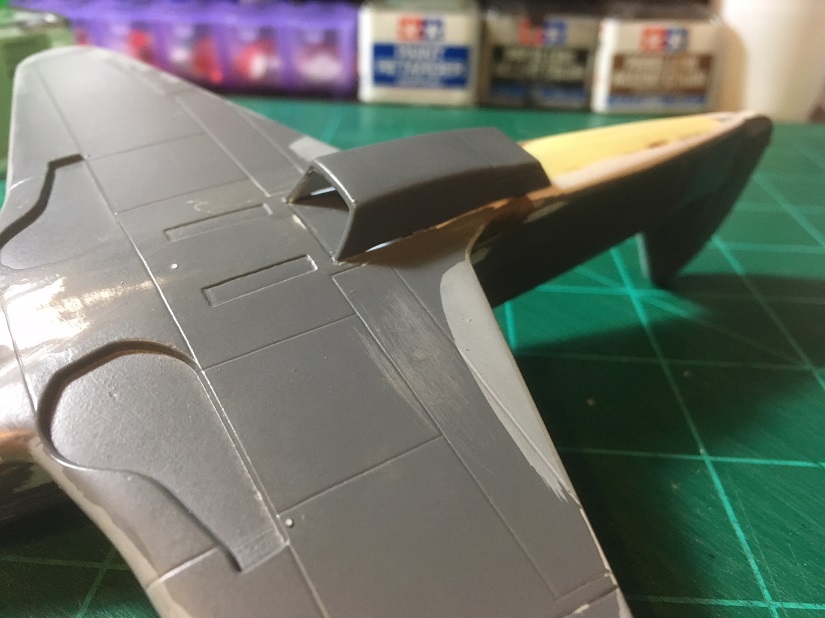
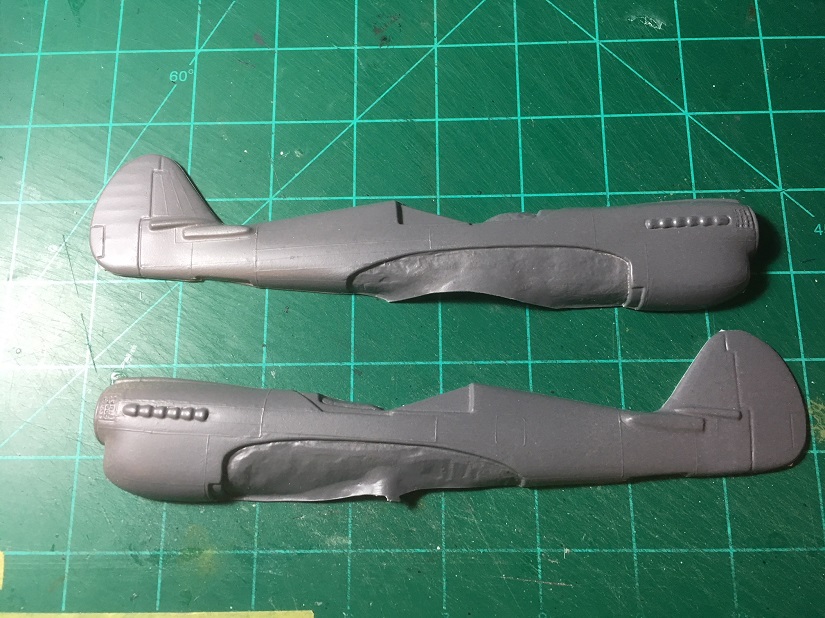
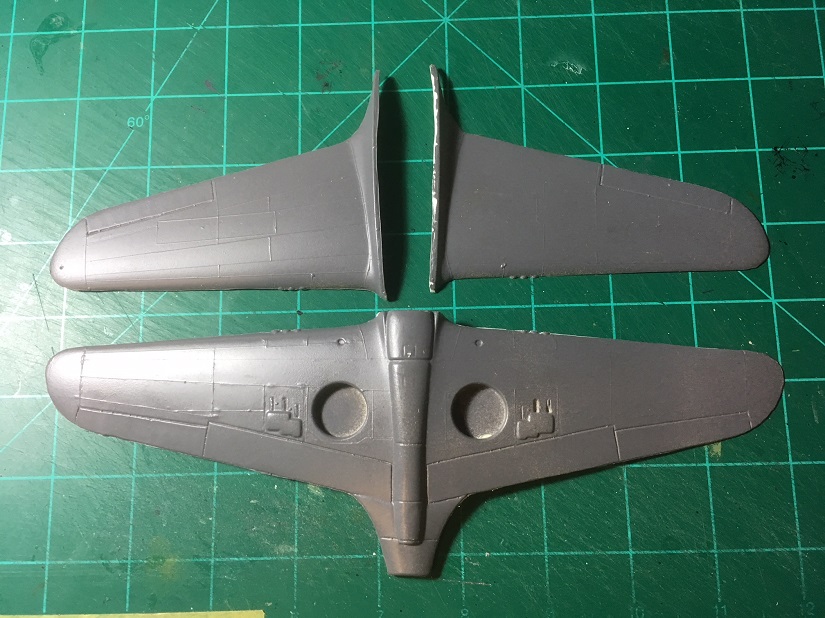
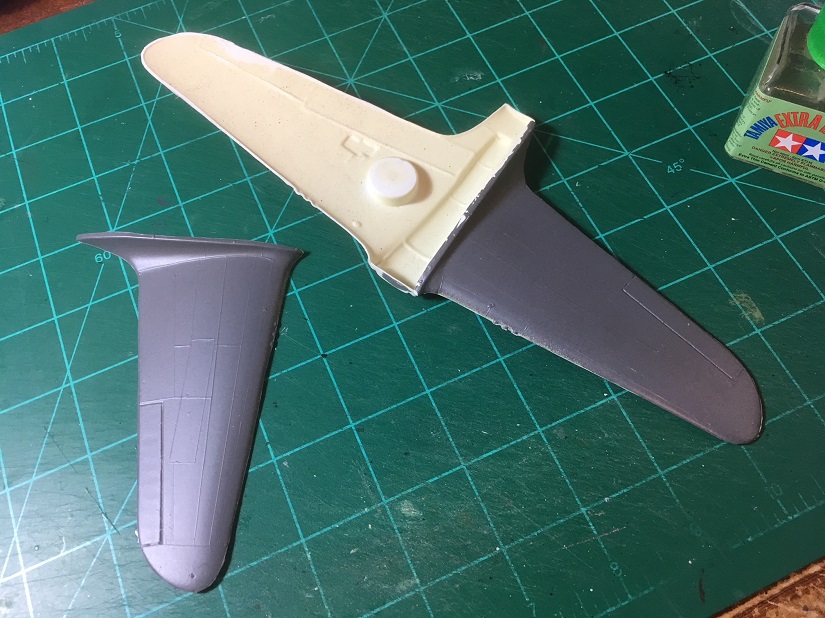
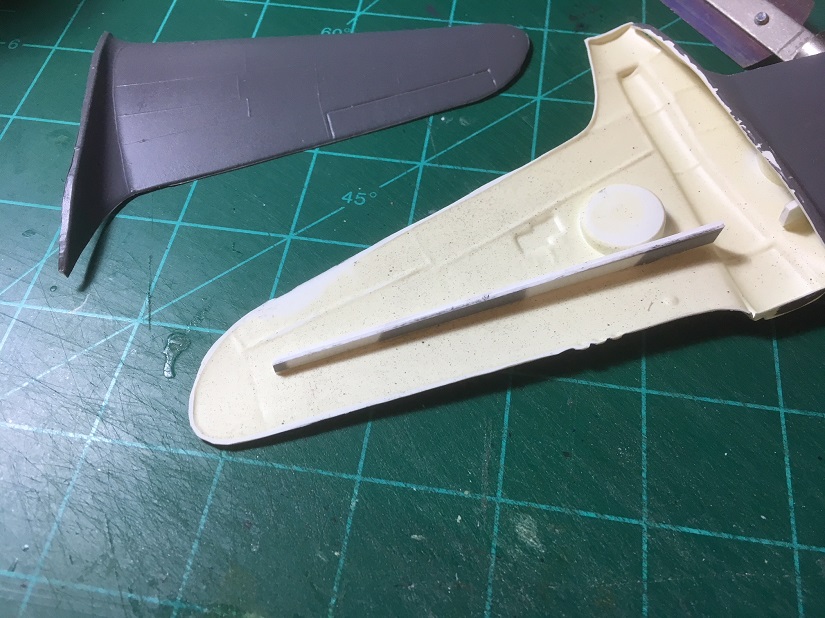
Jonathan,it caught my eye on ebay and for 17.00 I went for the kill. After the kit arrived all sorts of ideas came to mind. The interior kit, prop, landing gear, and wheels all after market.
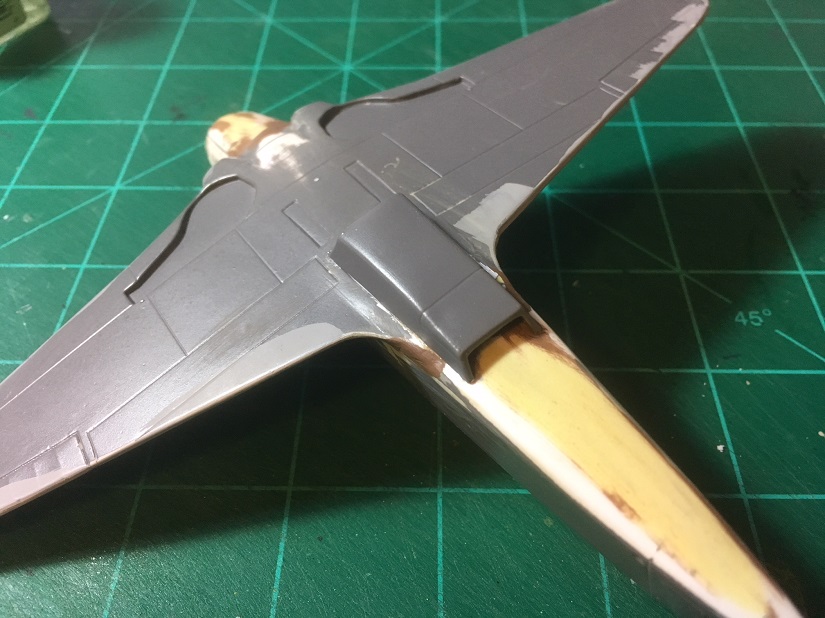
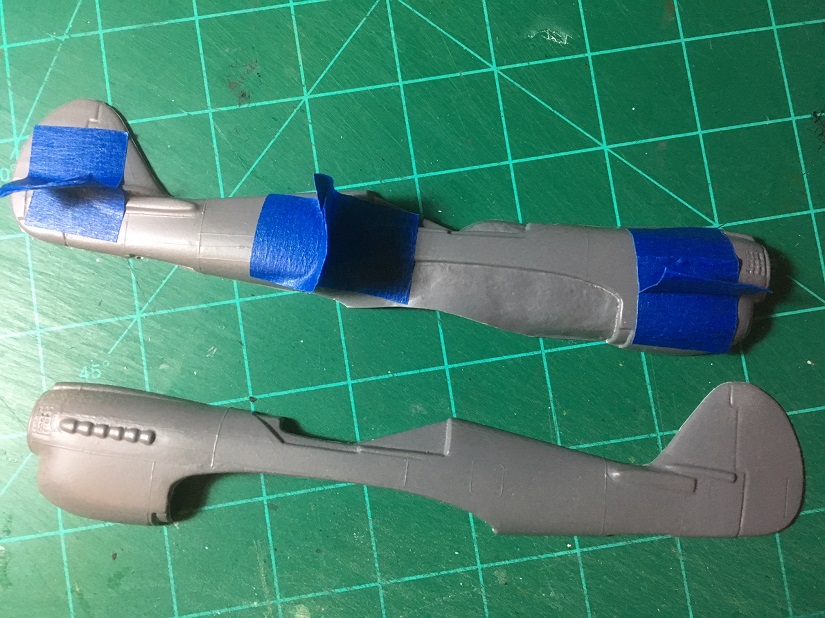
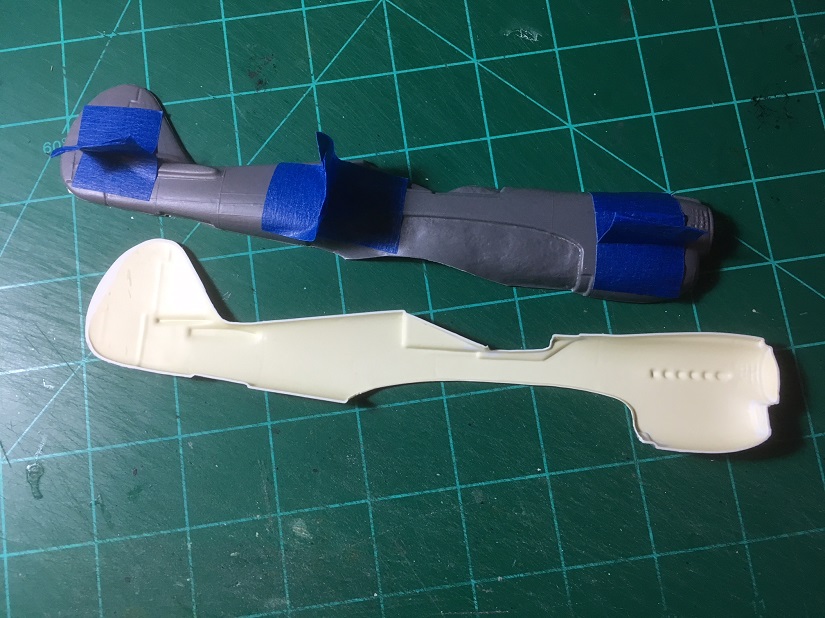
I saw the need to put a spar in the wings so this is my first time to do this.

If it aint broke dont fix it.
Washington, United States
Joined: March 15, 2009
KitMaker: 3,670 posts
AeroScale: 833 posts
Posted: Monday, April 23, 2018 - 04:44 AM UTC
I should really get into this thread with my P2Y Ranger, but I don't think I can post photos-- I still haven't "broken the code" yet, and I'm too cheap to buy into a good site. But I will pass along some wisdom on vac kits if anyone is interested. Big Rip's P-40 wing spar is a good idea for any vac kit, as vacs are prone to warping and splitting over time due to the nature of the thin plastic used, and stresses in the forming process. I've had my share of finished vacs literally "split" apart on the shelf, or develop sunken sections in Wings. That's why a wing spar is always a good idea. But a few years ago I found a great way to prevent splitting or warping-- high density foam insulation. The kind you find at Home Depot or Lowes for filling cracks in walls or for insulation. Just a little "squirt" into a hollow or space in a wing or fuselage insures a solid and lasting model. You need to be careful not to use too much, or it will ooze out all over the place in a gooey, sticky mess. You can clean the application tube with a pipe cleaner and lacquer thinner for re-use too. I've even reduced the diameter of the application tube with K&S aluminum or brass tubing to get into small areas. Just thought I'd pass this along for thought. I'm lurking, but you all are building some wonderful stuff!
VR, Russ
Texas, United States
Joined: February 22, 2008
KitMaker: 5,026 posts
AeroScale: 2,811 posts
Posted: Monday, April 23, 2018 - 05:12 AM UTC
Russ, thanks for the insight and some sounds really good.
PM sent, look for it.
Bob
If it aint broke dont fix it.
Washington, United States
Joined: March 15, 2009
KitMaker: 3,670 posts
AeroScale: 833 posts
Posted: Monday, April 23, 2018 - 07:22 PM UTC
Bob, thanks. But I'm a total Luddite when it comes to electronics. I'm pretty good at rewiring a light switch or nailing two boards together, but as my daughter who's an IT specialist says to me all the time: "PICNIC Dad, Problem In Chair, Not In Computer-- please just wait until I can come over and fix it"! I had to call her just to get my printer to work the other day! I swear I see my computer "cringe" when I sit down in front of it sometimes-- it kind of "flickers" on the screen. We also have a three way love-hate relationship going too, I often just use my IPad for stuff, and I think the two are jealous of each other, Sometimes they both hate me and refuse to speak to each other or me!
VR, Russ
Texas, United States
Joined: February 22, 2008
KitMaker: 5,026 posts
AeroScale: 2,811 posts
Posted: Monday, April 23, 2018 - 07:43 PM UTC
Russ, my brother says it is a short between the chair and the key board

But hey I get it done anyway.
Nice to here your observations and would like to here more on future photo posts.
Bob
If it aint broke dont fix it.
Ontario, Canada
Joined: July 22, 2012
KitMaker: 771 posts
AeroScale: 763 posts
Posted: Monday, April 23, 2018 - 07:52 PM UTC
Quoted Text
Russ, my brother says it is a short between the chair and the key board But hey I get it done anyway.
Bob
PEBKAC
Matt Odom
I've been known to build a few things
Texas, United States
Joined: February 22, 2008
KitMaker: 5,026 posts
AeroScale: 2,811 posts
Posted: Monday, April 23, 2018 - 10:20 PM UTC
Matt, I am not the sharpest knife in the drawer. What does PEBKAC stand for?
Bob
If it aint broke dont fix it.
#439
Washington, United States
Joined: November 05, 2005
KitMaker: 4,950 posts
AeroScale: 3,192 posts
Posted: Tuesday, April 24, 2018 - 12:09 AM UTC
Had to look it up myself. Problem Exists Between Keyboard and Chair. also called Operator Head in Space error...
Hanger Queens in Waiting:
Monogram 1/72 F8F-1
Corsair the Sky Pirate - 1/72 Ace A-7D
Century Series - Airfix 1/72 F-105G
Anti Shipping - Academy 1/72 PBJ-1D
Academy 1/72 F-84E
Texas, United States
Joined: February 22, 2008
KitMaker: 5,026 posts
AeroScale: 2,811 posts
Posted: Tuesday, April 24, 2018 - 01:09 AM UTC
If it aint broke dont fix it.
#305
Christchurch, New Zealand
Joined: February 01, 2006
KitMaker: 1,673 posts
AeroScale: 1,517 posts
Posted: Tuesday, April 24, 2018 - 04:39 AM UTC
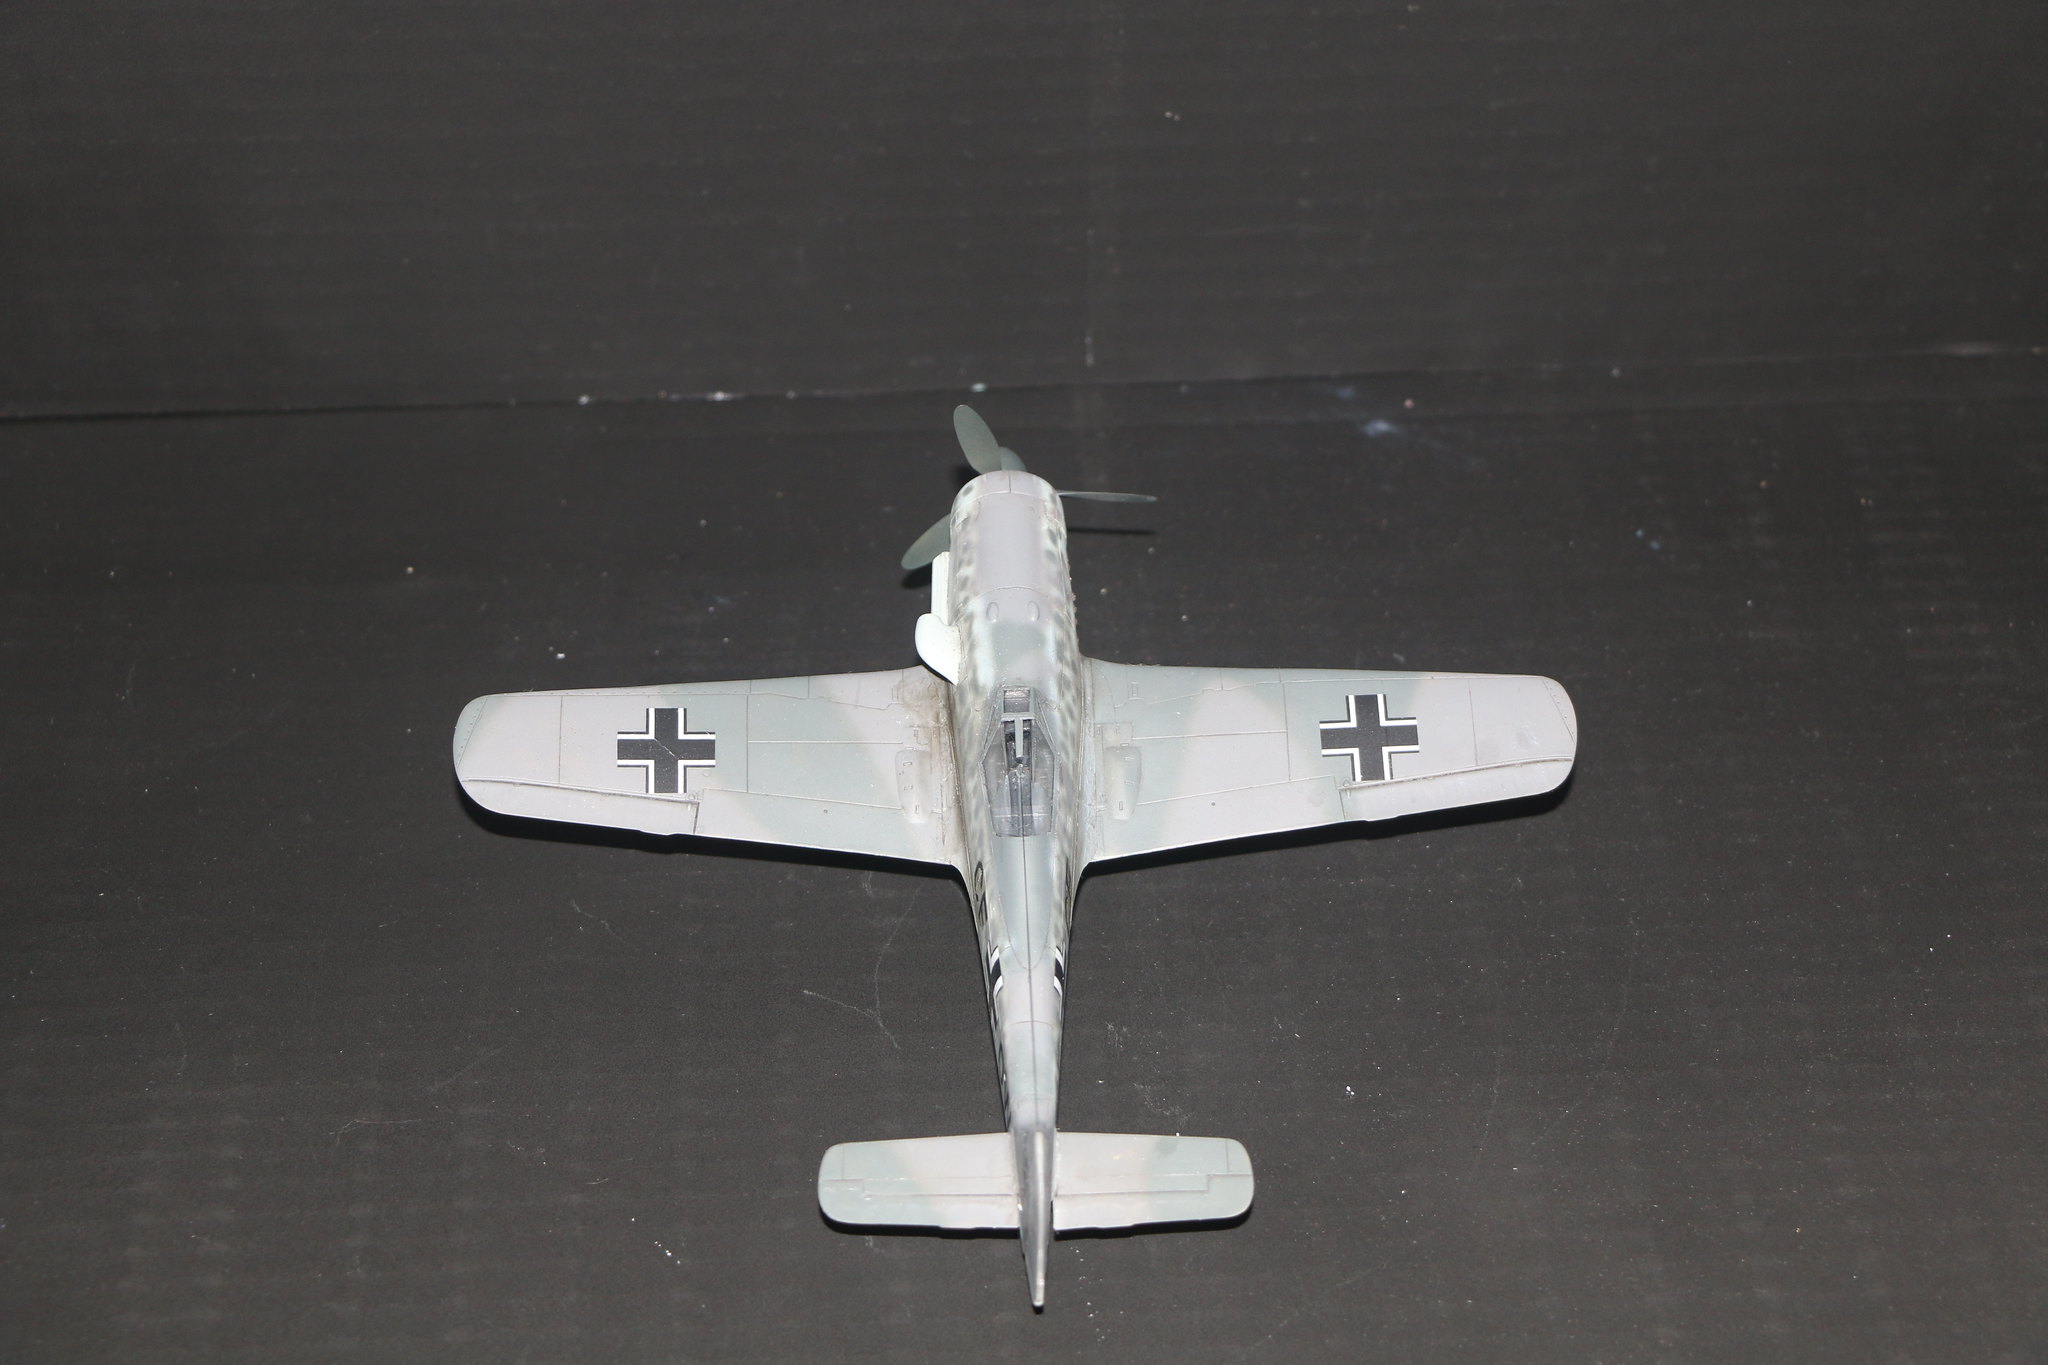
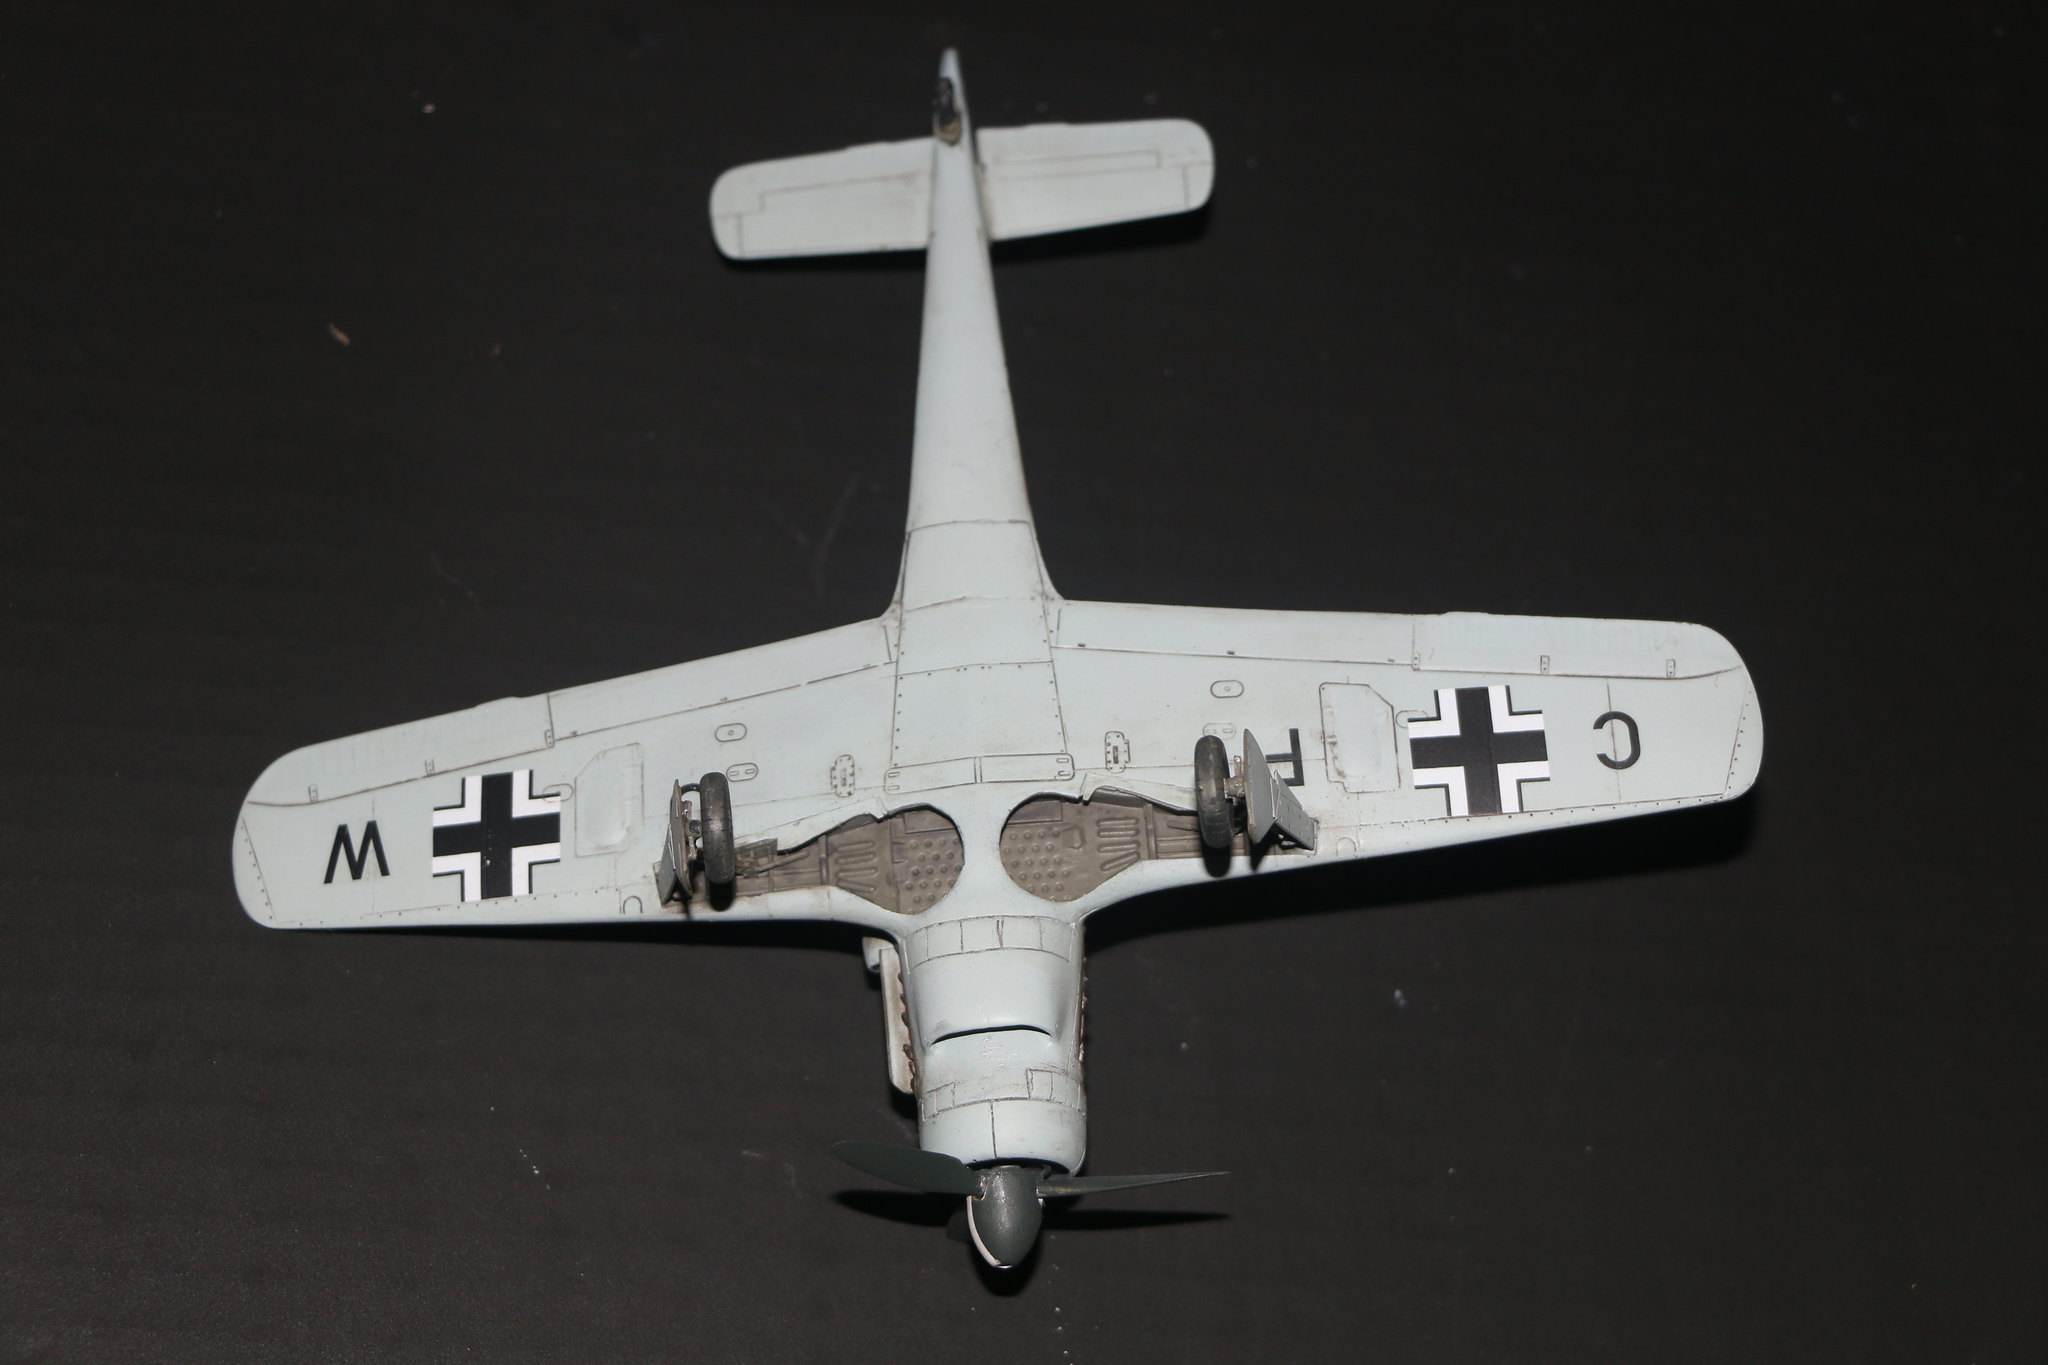
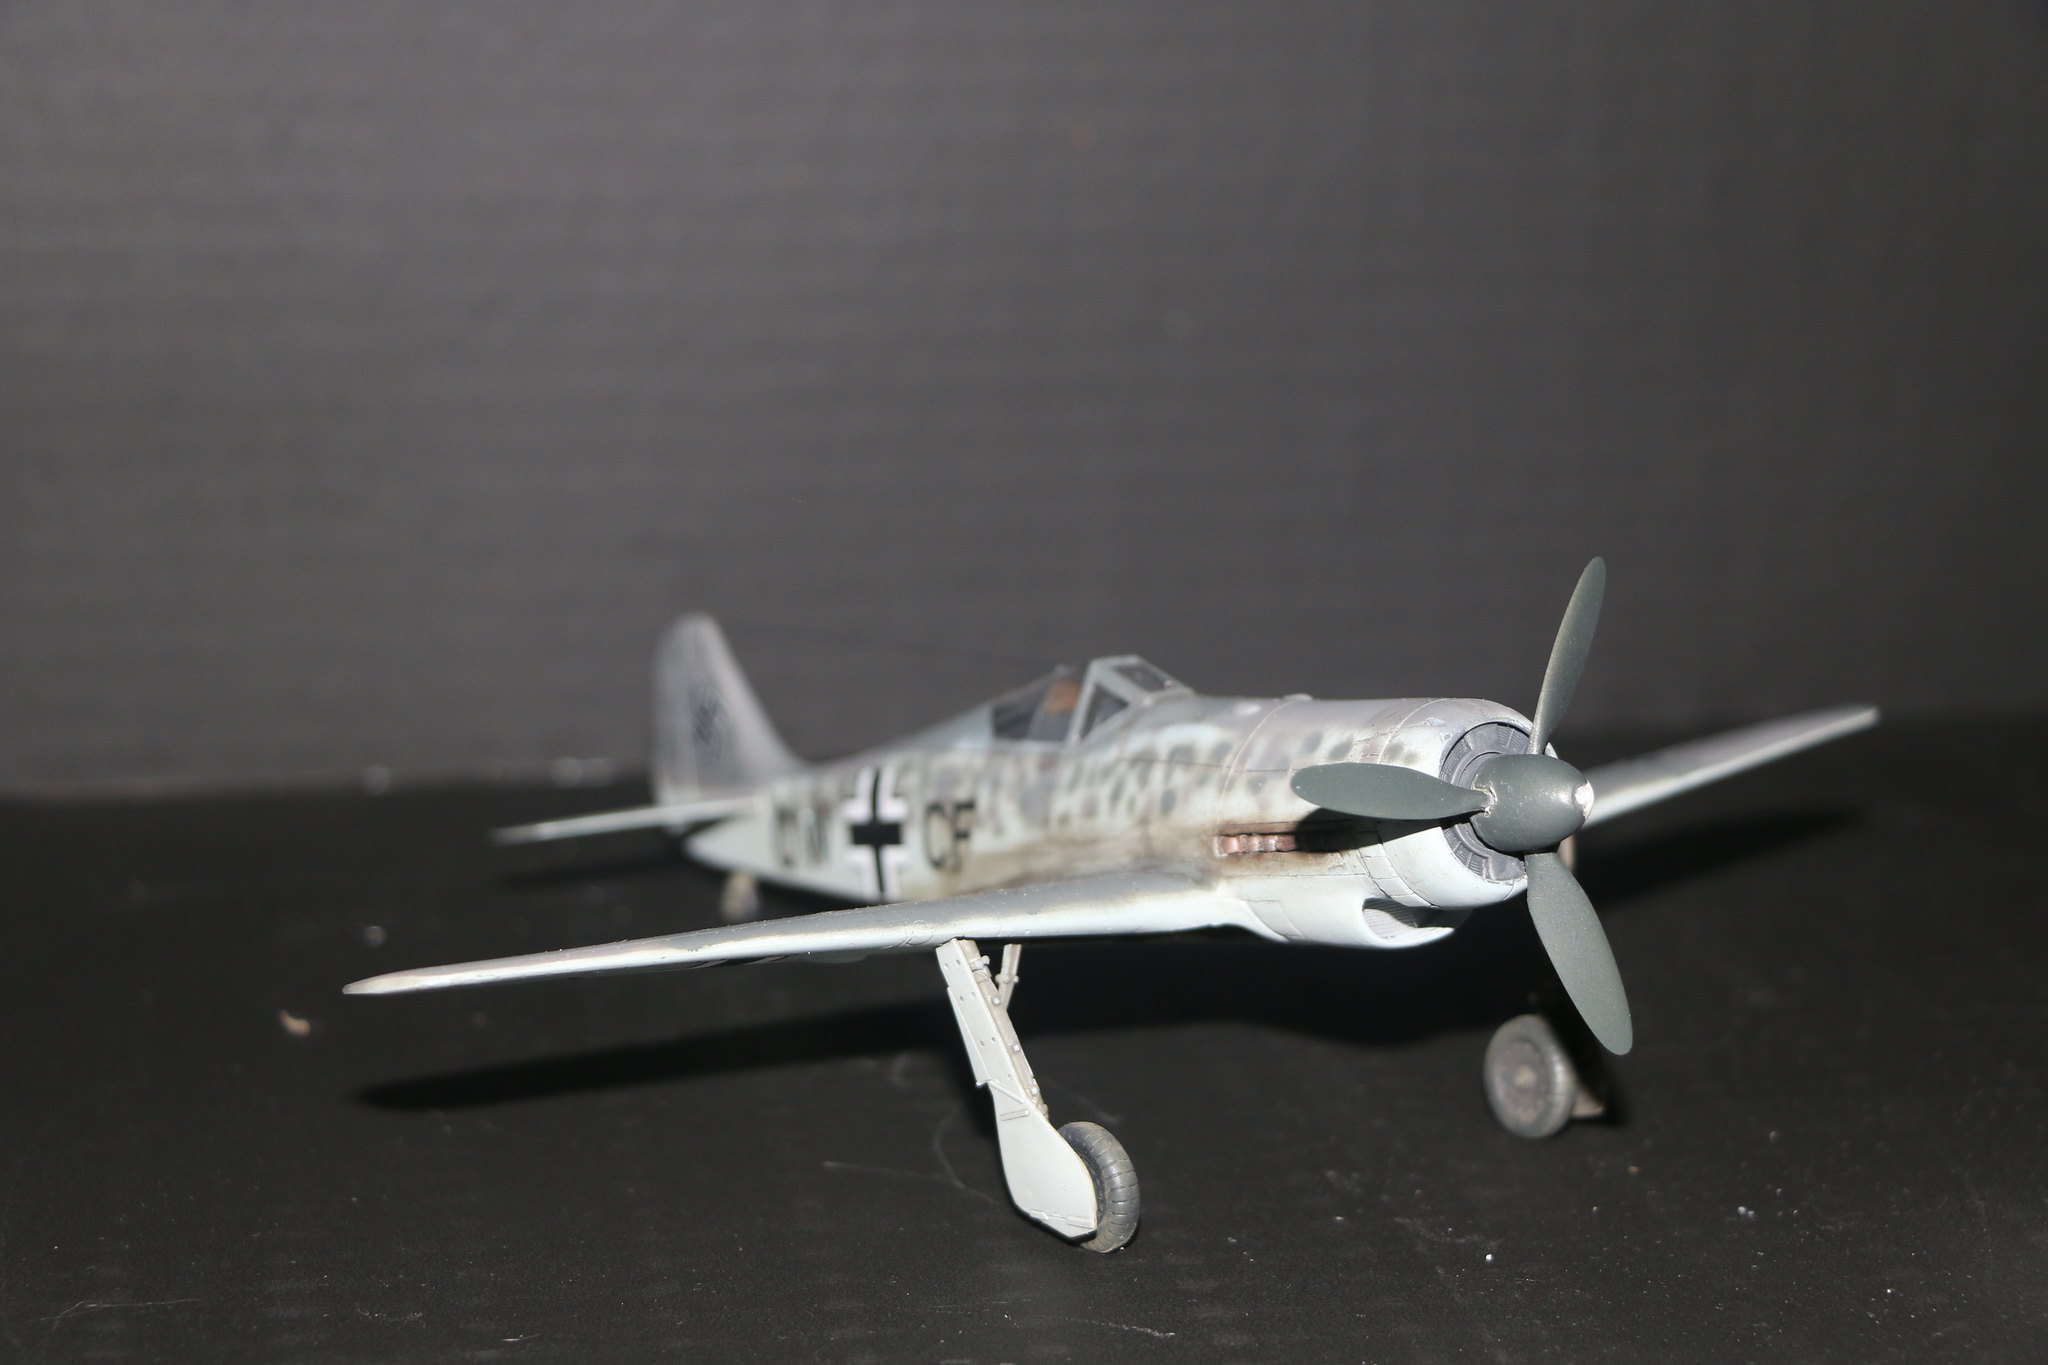
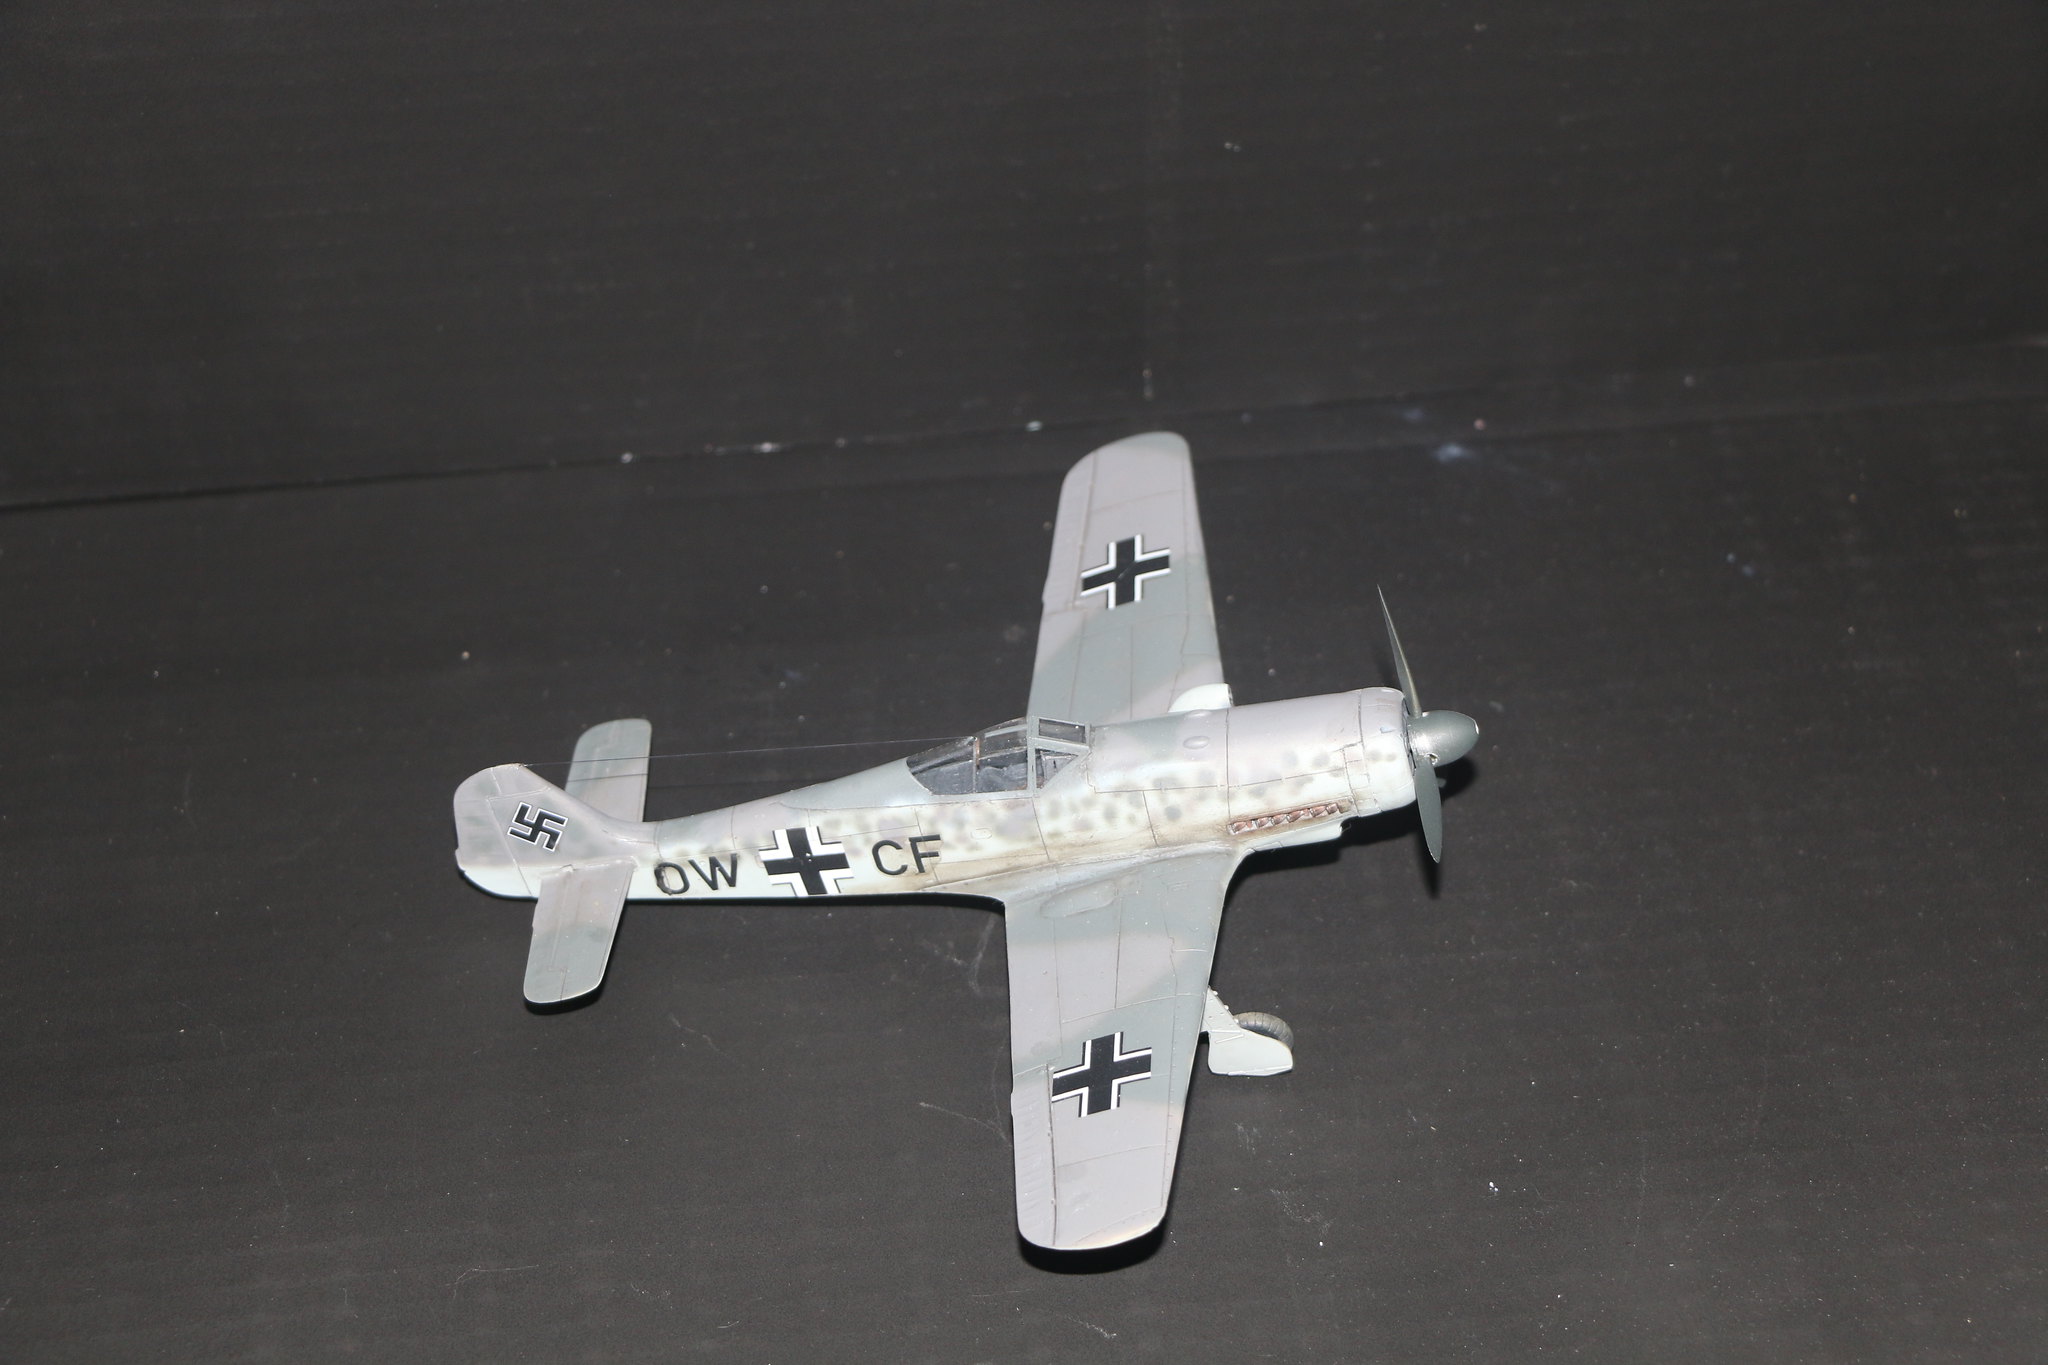
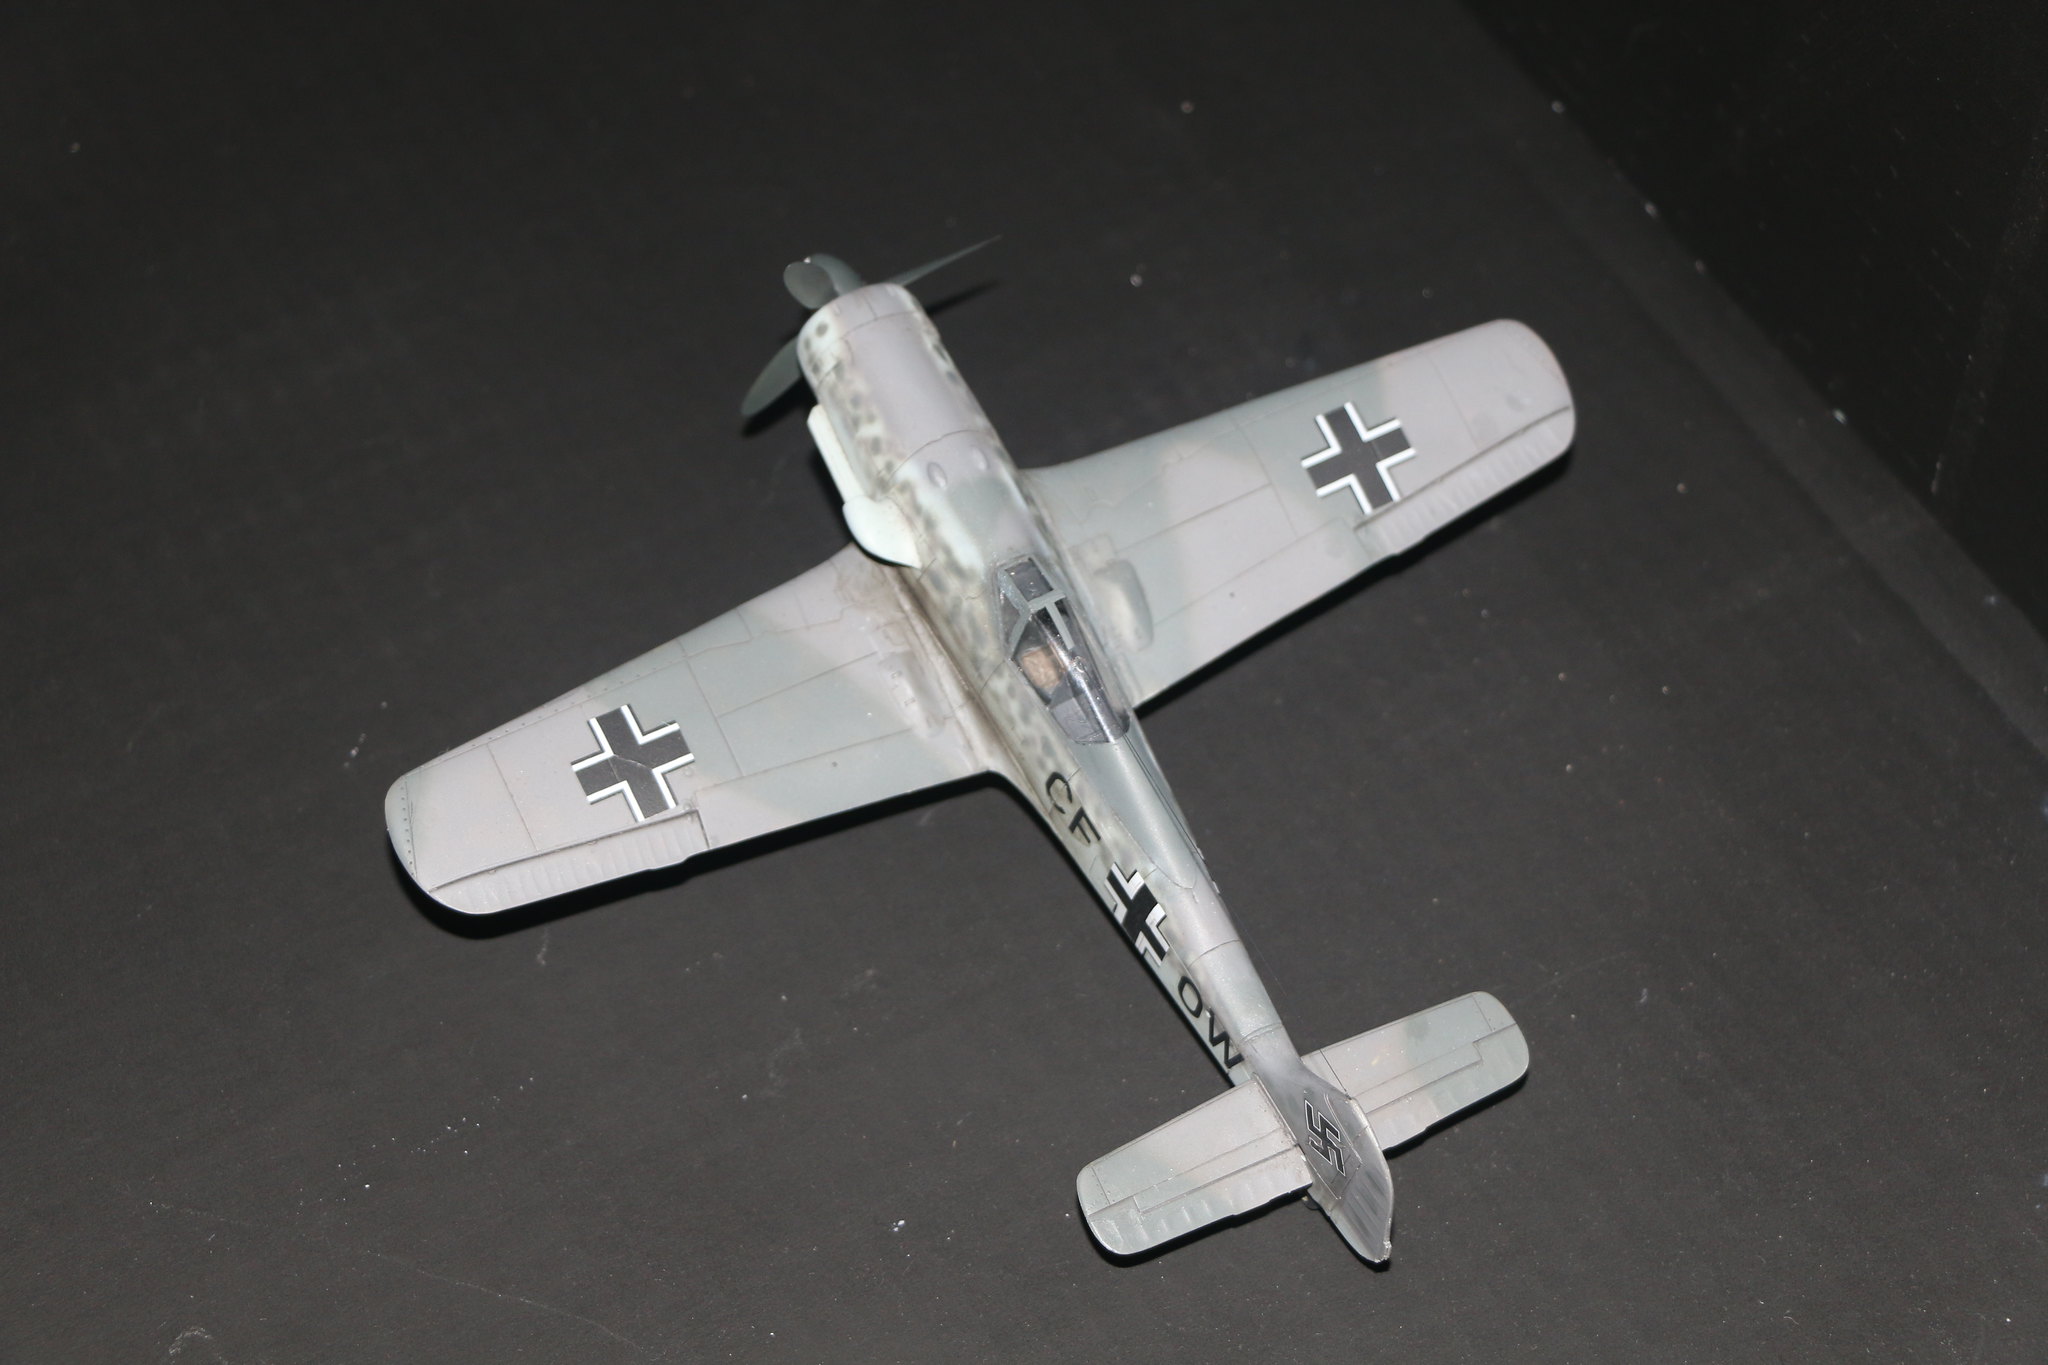
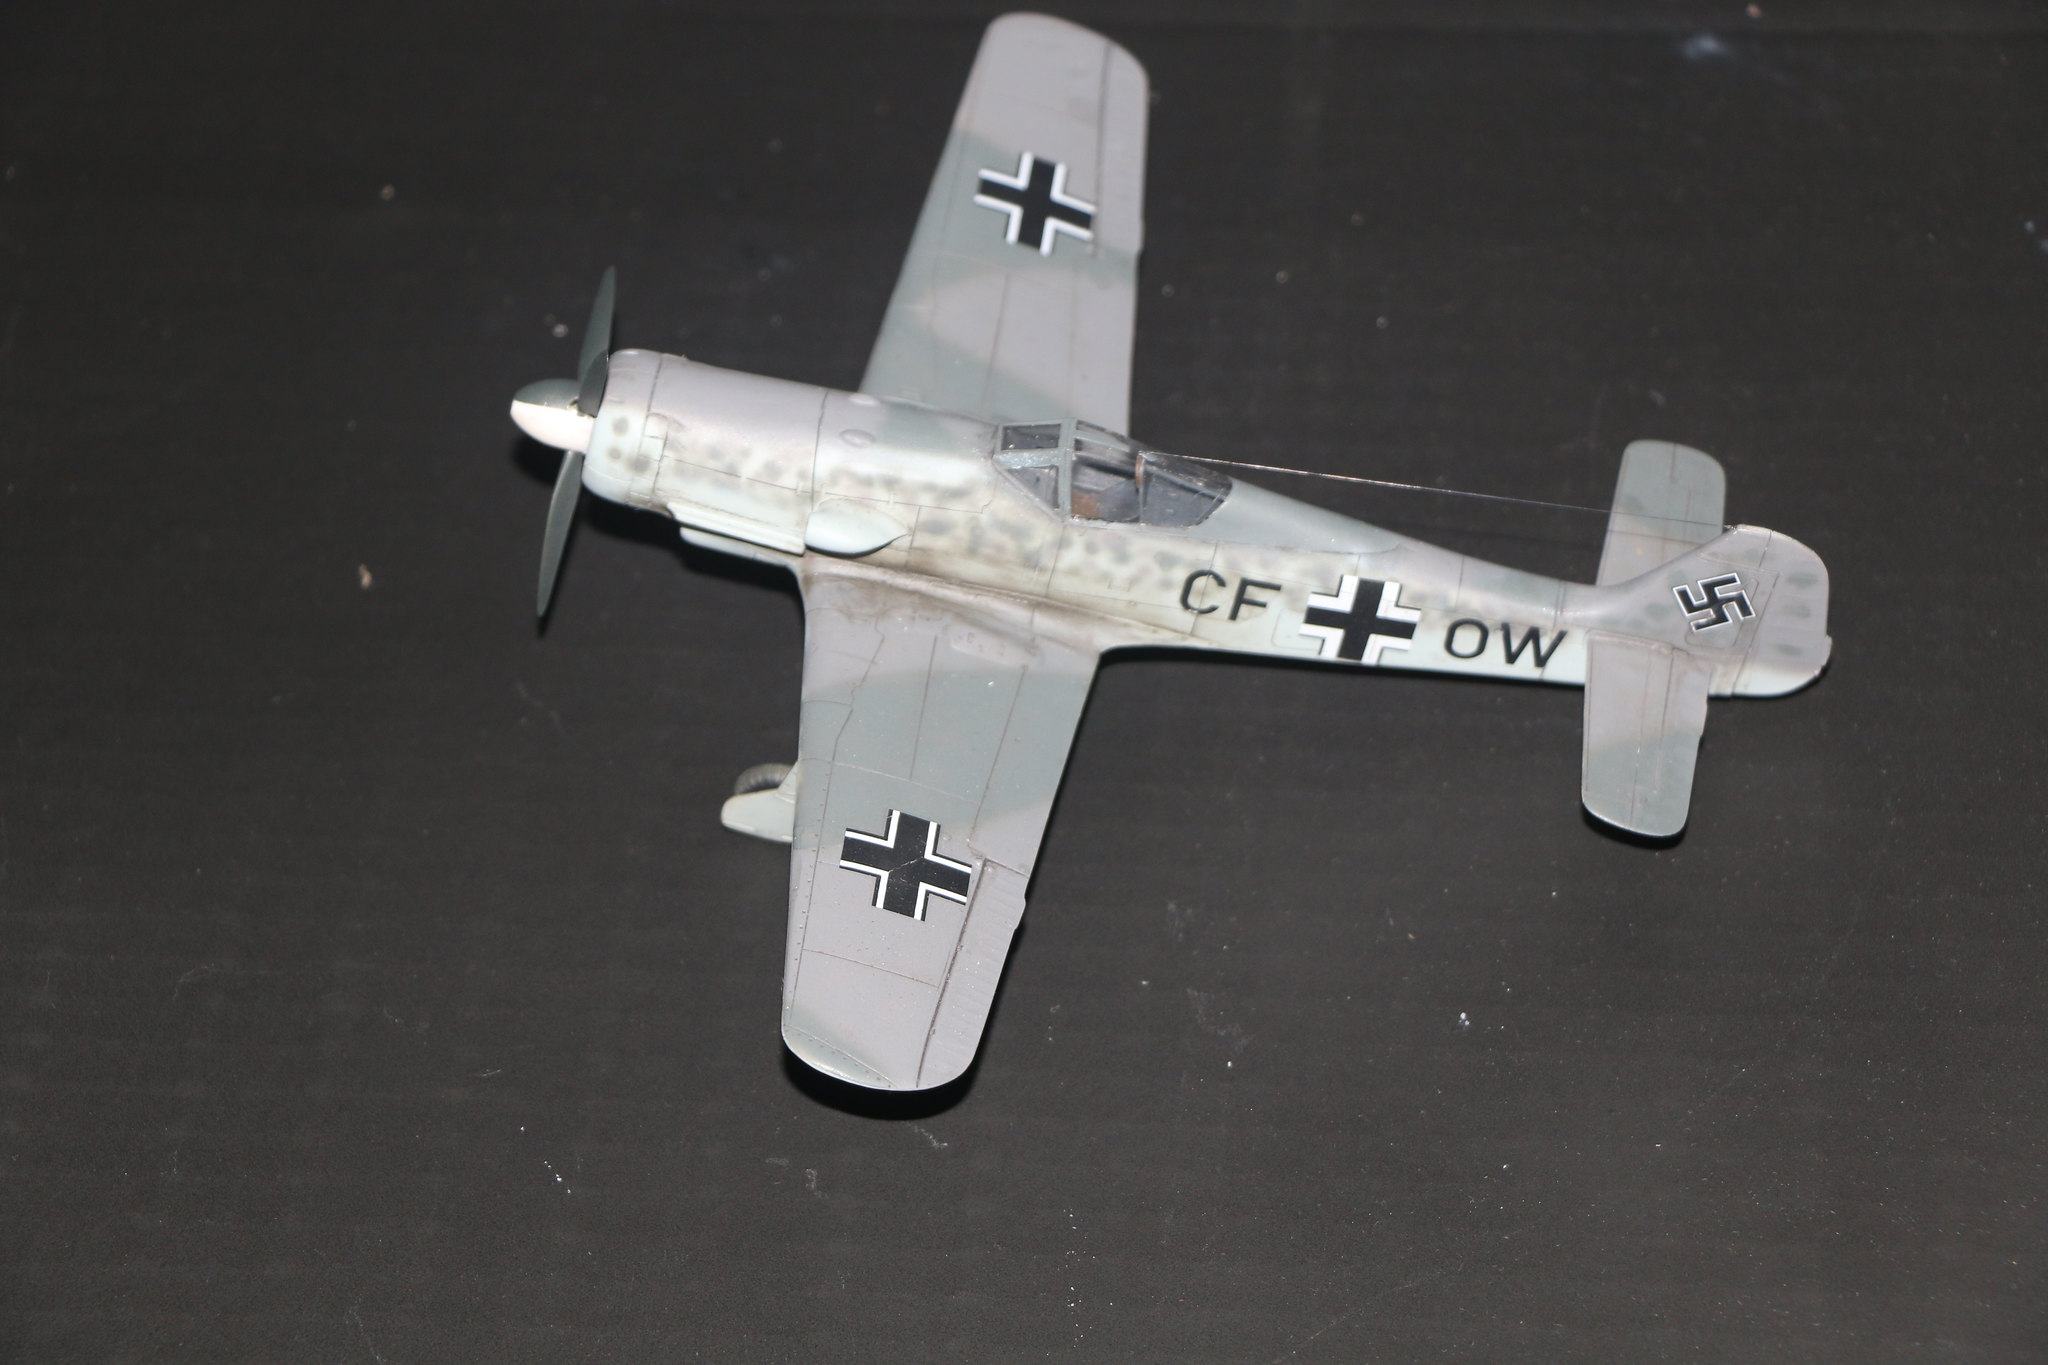
Okay guys I've finished with the Planet Models Fw190C. I had to build the Armoured headrest as it's not supplied in the kit I used the Eduard parts from the old profipak Fw190A-8 kit as a template. The canopy is also from an Eduard kit as I wasn't happy with the vac formed canopy provided, took a little work to get it to fit but it was relatively easy to do. The decals were thin but brittle and had suffered some damage from them getting creased they did pull down nicely over the kit though. Anywho here are some pics of the finished article.
 IMG_2102
 by
Chris WIlson, on Flickr
 IMG_2101
 by
Chris WIlson, on Flickr
 IMG_2100
 by
Chris WIlson, on Flickr
 IMG_2099
 by
Chris WIlson, on Flickr
 IMG_2098
 by
Chris WIlson, on Flickr
 IMG_2097
 by
Chris WIlson, on Flickr
Texas, United States
Joined: February 22, 2008
KitMaker: 5,026 posts
AeroScale: 2,811 posts
Posted: Tuesday, April 24, 2018 - 04:53 AM UTC
Chris, nice job on your Fw190 plus I think you are the first to finish. How do you attach your aerials? They are my weak point.
Bob
If it aint broke dont fix it.
#305
Christchurch, New Zealand
Joined: February 01, 2006
KitMaker: 1,673 posts
AeroScale: 1,517 posts
Posted: Tuesday, April 24, 2018 - 05:21 AM UTC
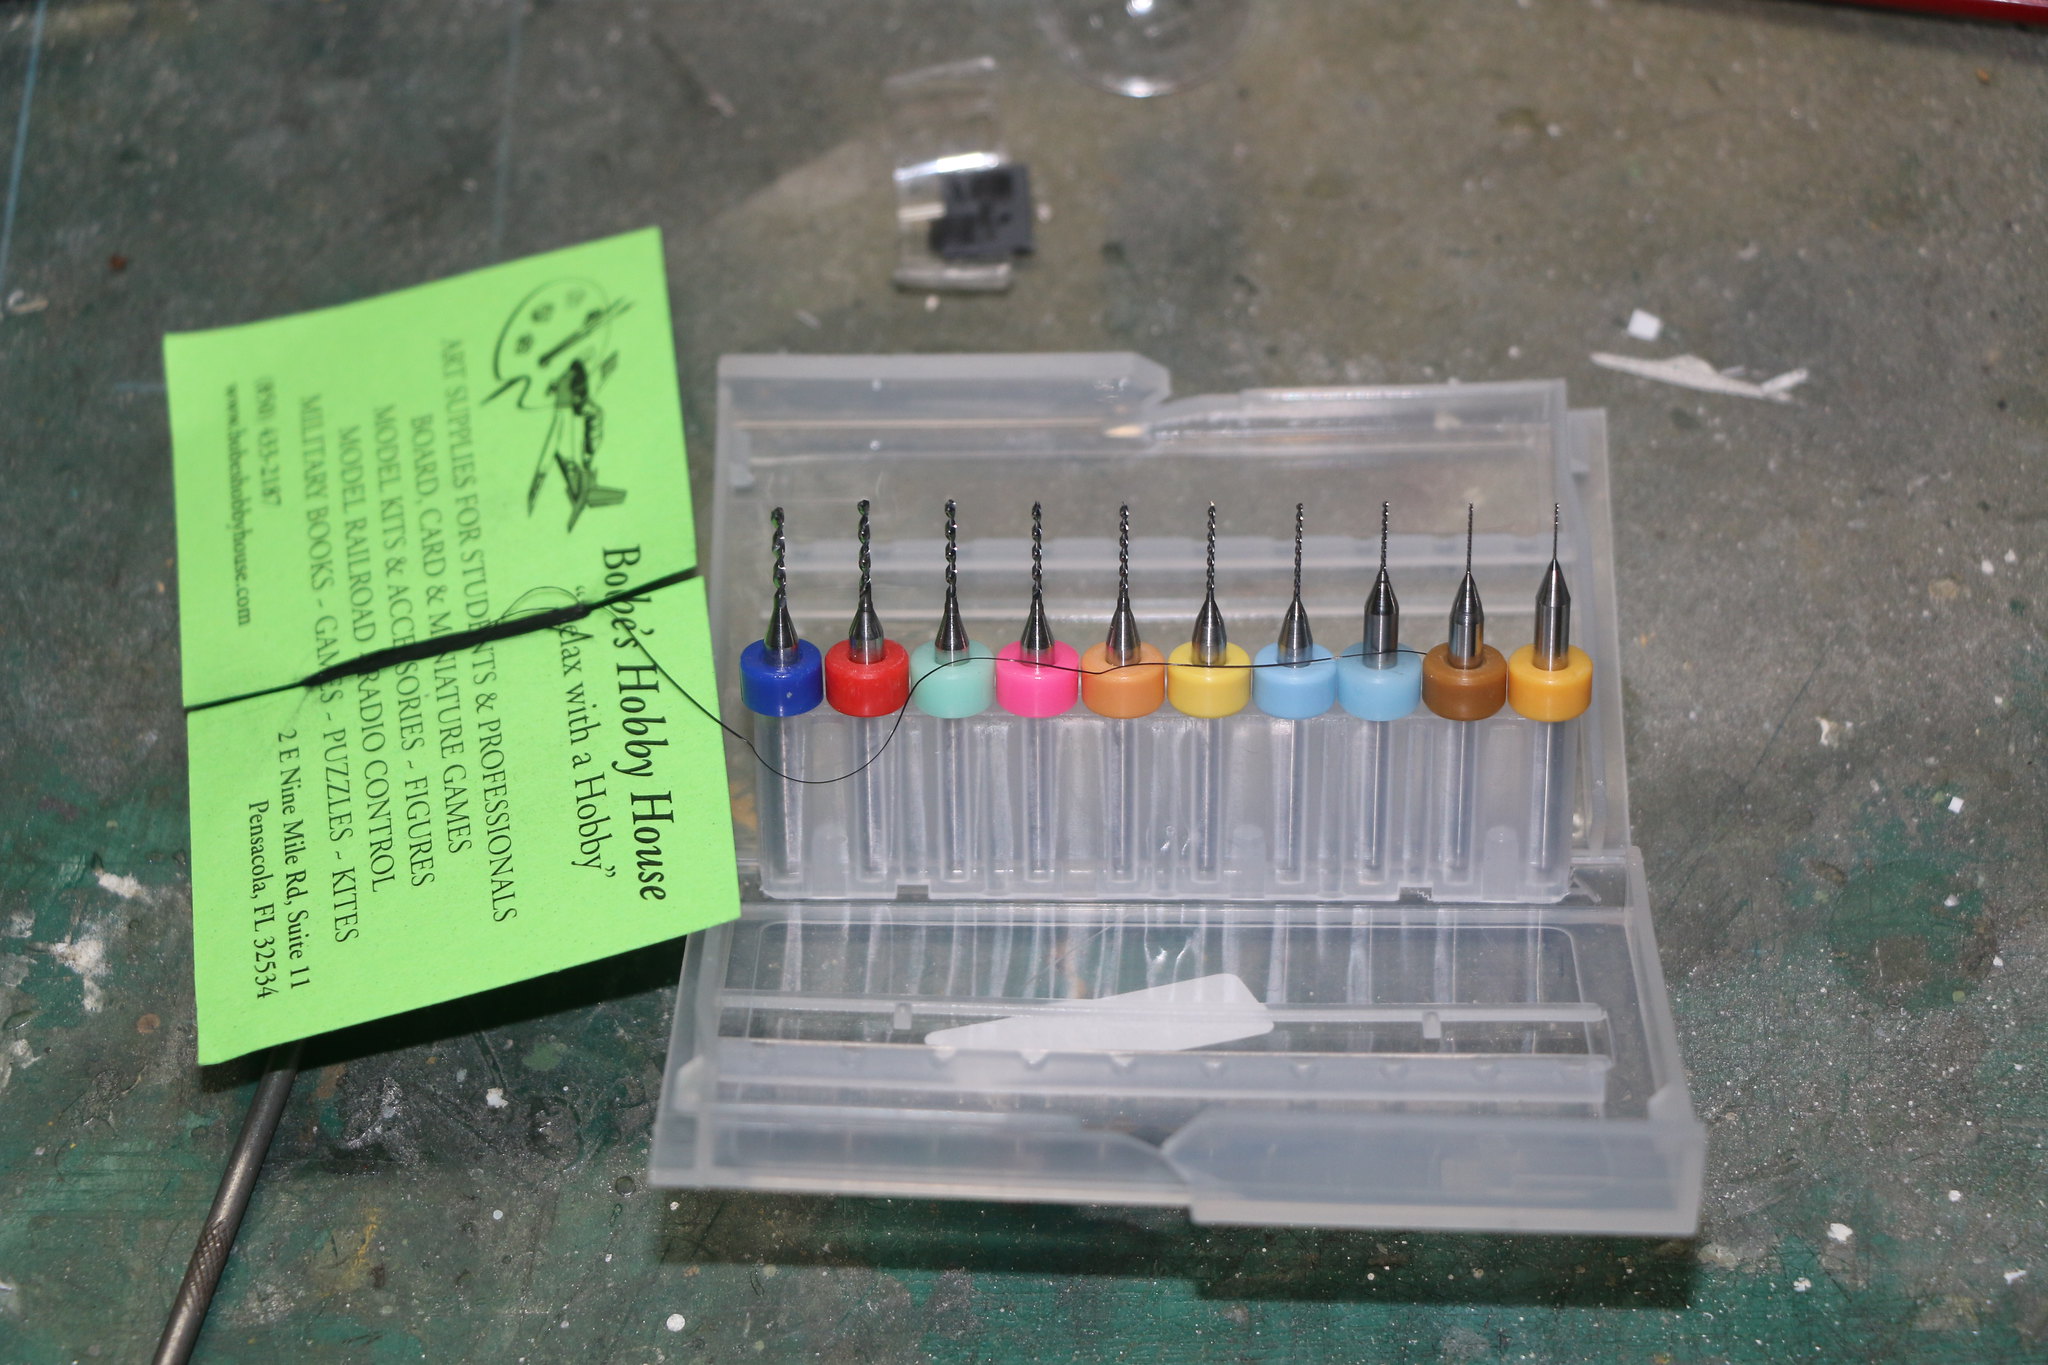
Hi Bob thanks for the praise good buddy! They're not exactly my strength either I am however determinedly working on making it easier. I have some tungsten micro drills that I use to drill pilot holes in the vertical stabiliser and the canopy. I then cut a length of EZ-line about 15 to 20mm shorter than I need and attach it to either the canopy (the Fw190C) or the vertical stabiliser and then stretch and glue it to the remaining hole using super glue. It takes a little patience to get it to set but once attached the EZ-line will happily stretch without breaking if you put your fingers on it. Essential for the likes of me with ham fists and sausage fingers, but it is the last thing I usually do with the model.
 IMG_2103
 by
Chris WIlson, on Flickr
#305
Christchurch, New Zealand
Joined: February 01, 2006
KitMaker: 1,673 posts
AeroScale: 1,517 posts
Posted: Tuesday, April 24, 2018 - 05:31 AM UTC
Okay so the gallery isn't accepting my pics although it tells me I've successfully uploaded them ...... my gallery troubles continue!
Texas, United States
Joined: February 22, 2008
KitMaker: 5,026 posts
AeroScale: 2,811 posts
Posted: Tuesday, April 24, 2018 - 06:06 AM UTC
Chris, thanks for the help on the aerials. I will try it out on the P-40N.
I just snagged an Eduard Yak3 weekend kit for the prop, landing gear, wheels, and canopy. The canopy supplied with my vac kit leaves much to be desired.
Bob
If it aint broke dont fix it.
Texas, United States
Joined: February 22, 2008
KitMaker: 5,026 posts
AeroScale: 2,811 posts
Posted: Tuesday, April 24, 2018 - 10:02 AM UTC
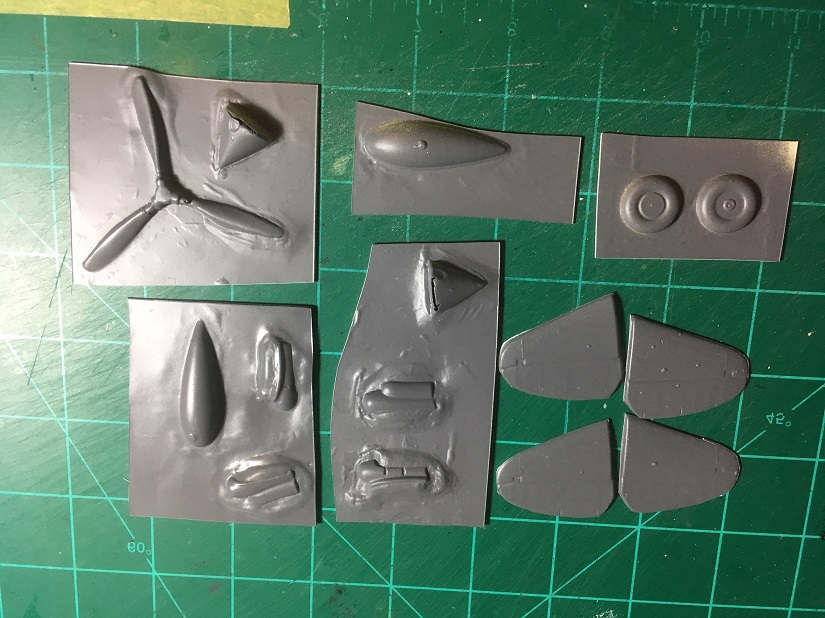
finished sanding the fuselage and was bored so I thought to practice my skills on the P-40N's drop tank and it went good, it looks symmetrical and went together easy.
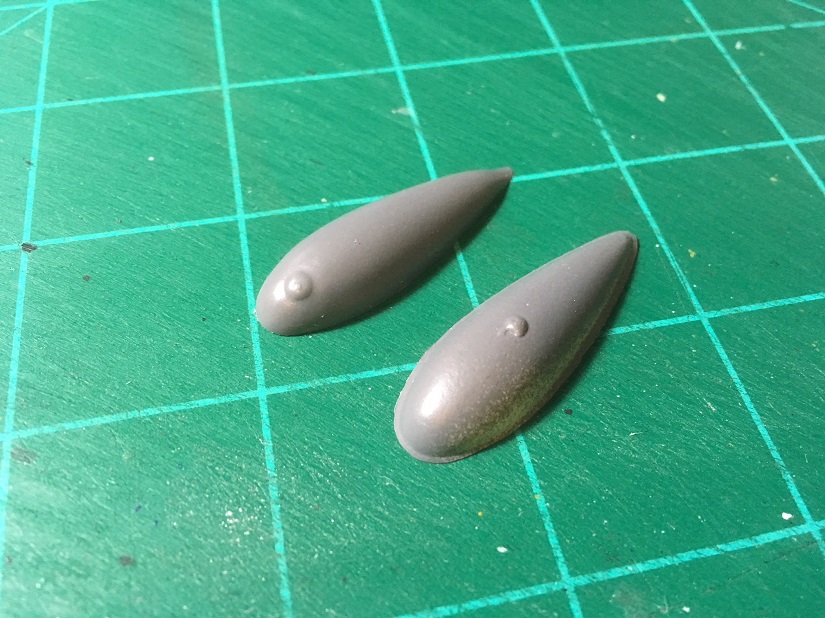
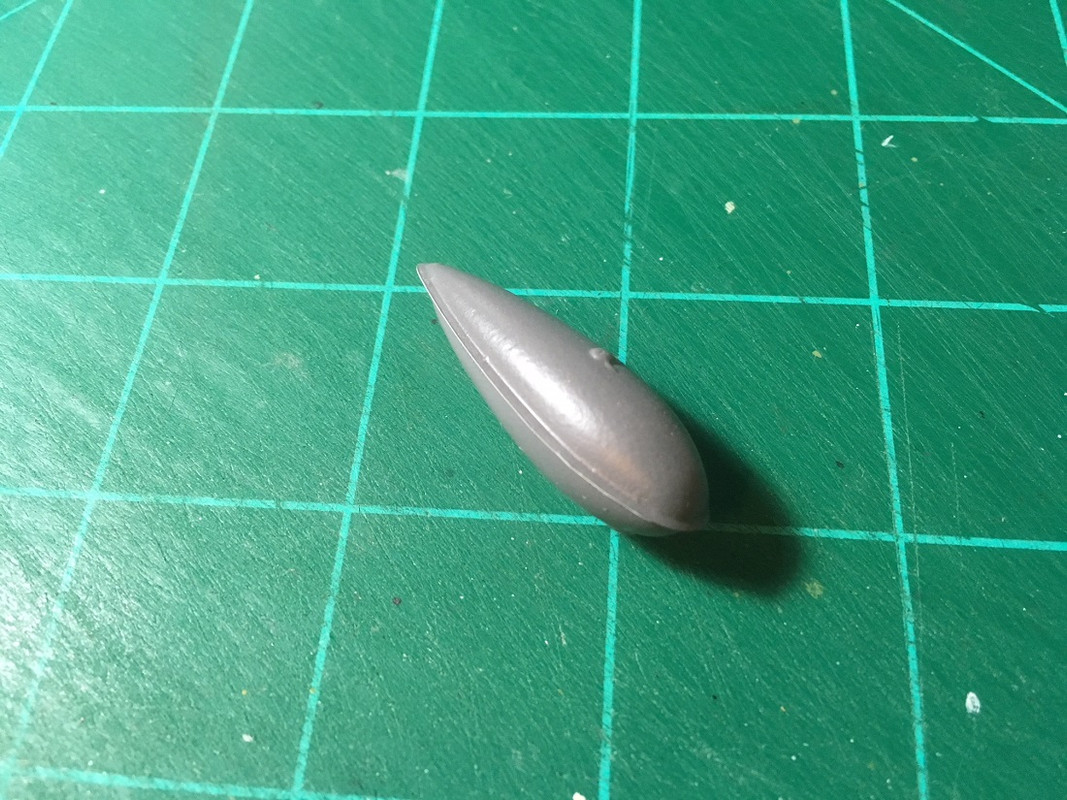
Now for the cockpit kit to arrive so I will be able to give the interior a little help.
Bob
If it aint broke dont fix it.
#305
Christchurch, New Zealand
Joined: February 01, 2006
KitMaker: 1,673 posts
AeroScale: 1,517 posts
Posted: Friday, April 27, 2018 - 03:34 PM UTC
Okay admins a little help if you can I can't seem to upload pics to the gallery, they are below the size limit and I get confirmation that the pic has uploaded successfully but nada in the gallery, any ideas??