I have started another small scale build. This is a well known Airfix release. I've alredy built this model some time ago so I was hoping this time it will be easier as I know the neccessary tricks. I was wrong...

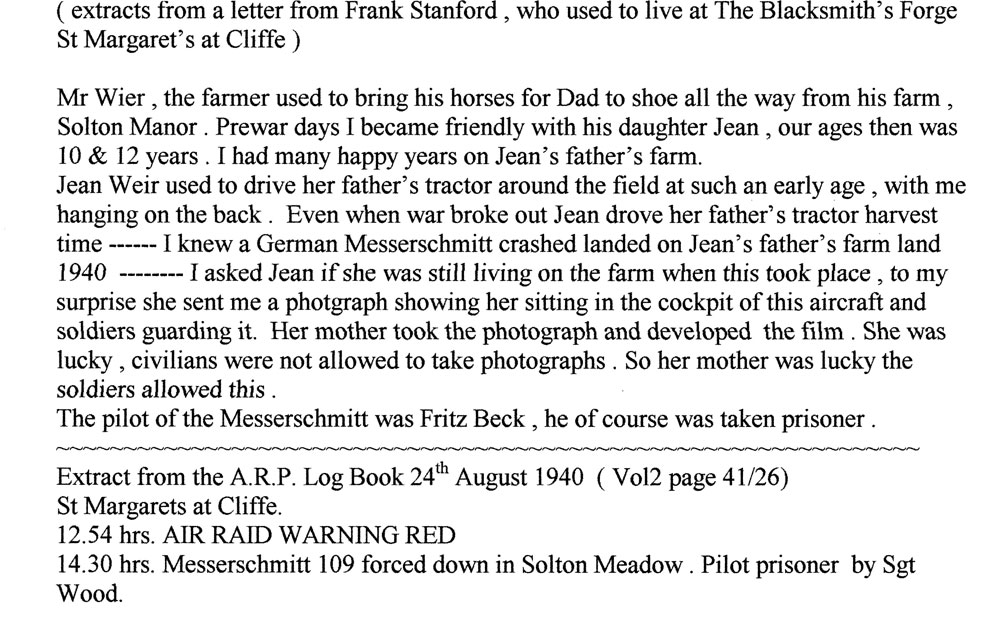
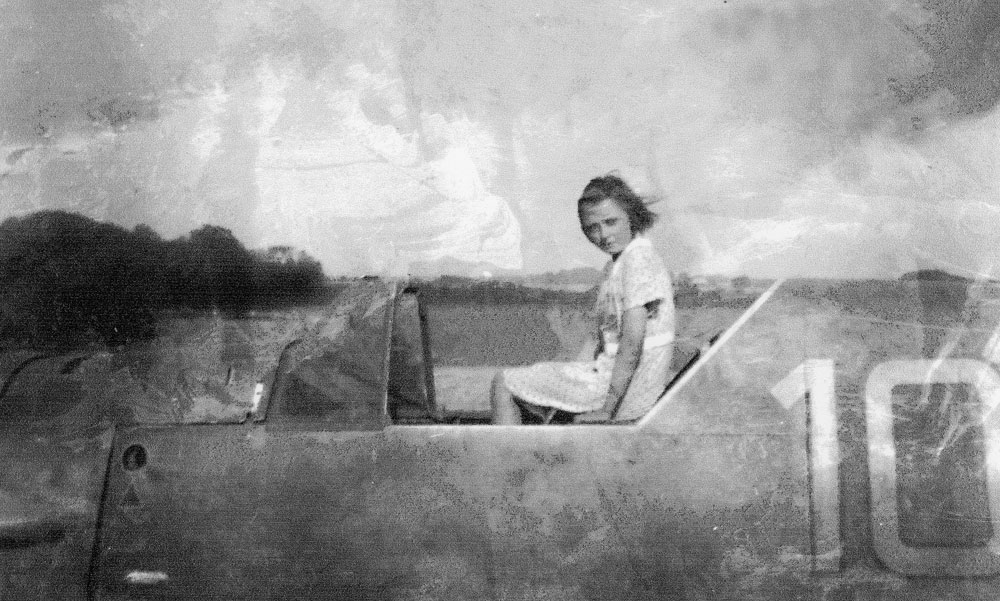
After building Franz von Werra's plane this time I want to depict a plane of another unlucky immigrant who was Ofw. Fritz Beeck of JG 51
This is the scheme from Kagero Publishing.

There are many photos of the plane taken at East Langdon after its belly landing. All photos were found in the net, I don't remember now on which sites.


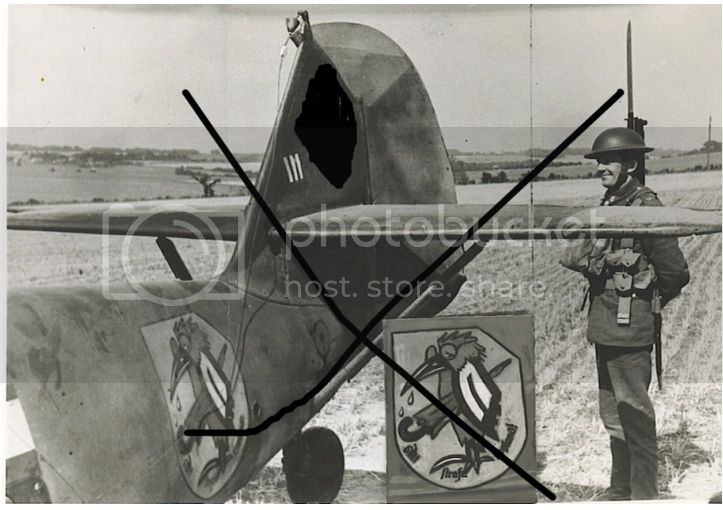

Here are few pics found at Asisbiz and Falkeeins which depicts the "5587".


And here are few excerpts from the 1980' press about the landing at East Langdon field.
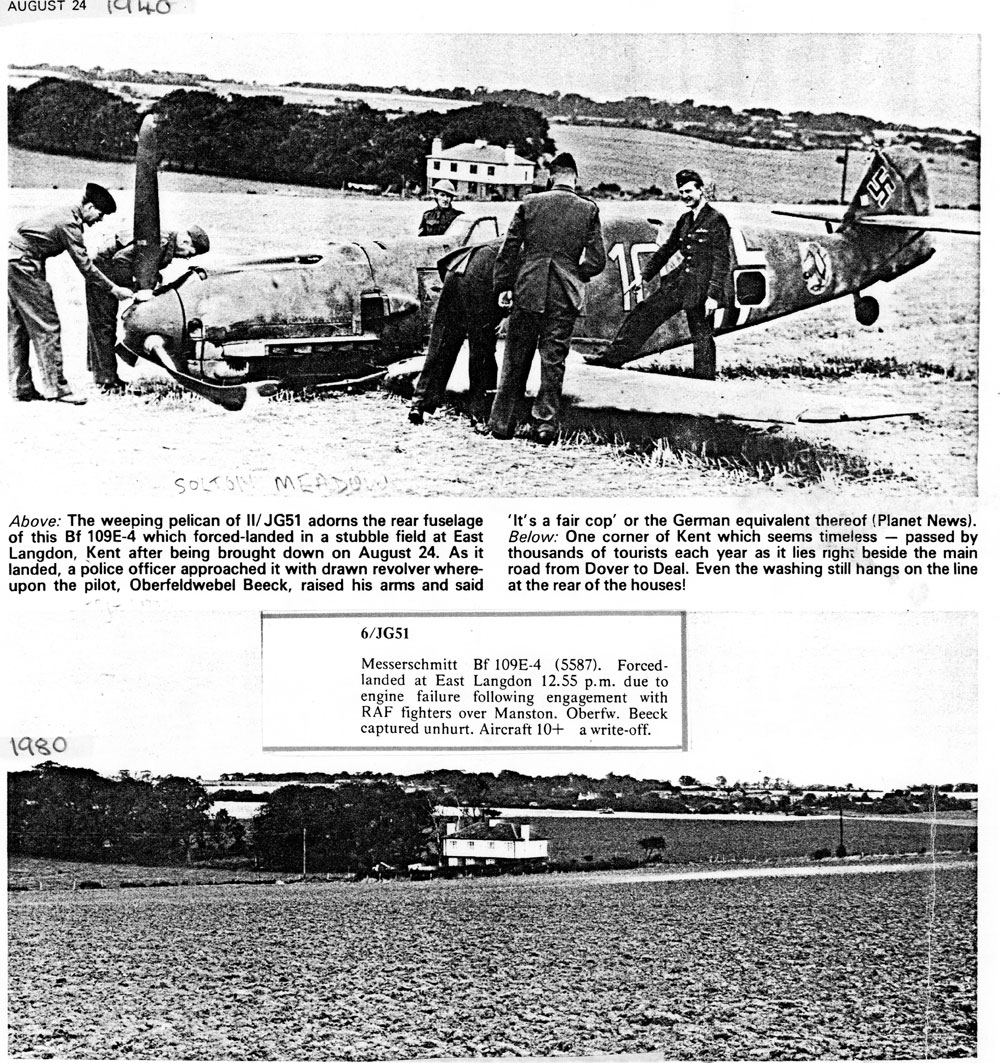
During a breake at work I made a short trip to East Langdon, Kent. In the description of the photo taken in 1980 author said that the time has stopped in this corner of Kent and even the laundry is drying in the same place. Well, after another 35 years not much have changed. Here's the field where Beeck has landed. With the X I have marked the place where I think he landed (of course more less).
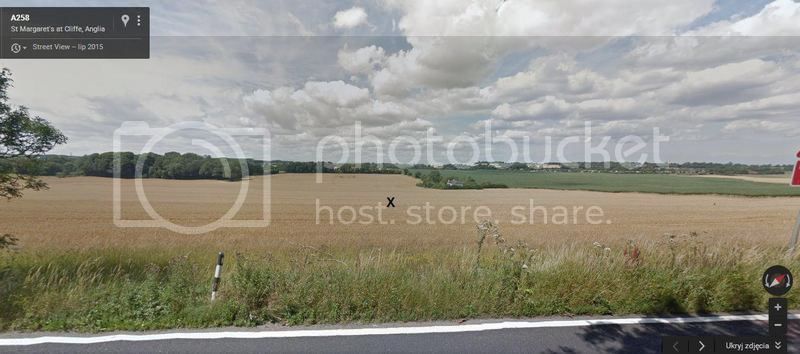
And this is a place from my spying satelite depicting the area around Solton Manor.

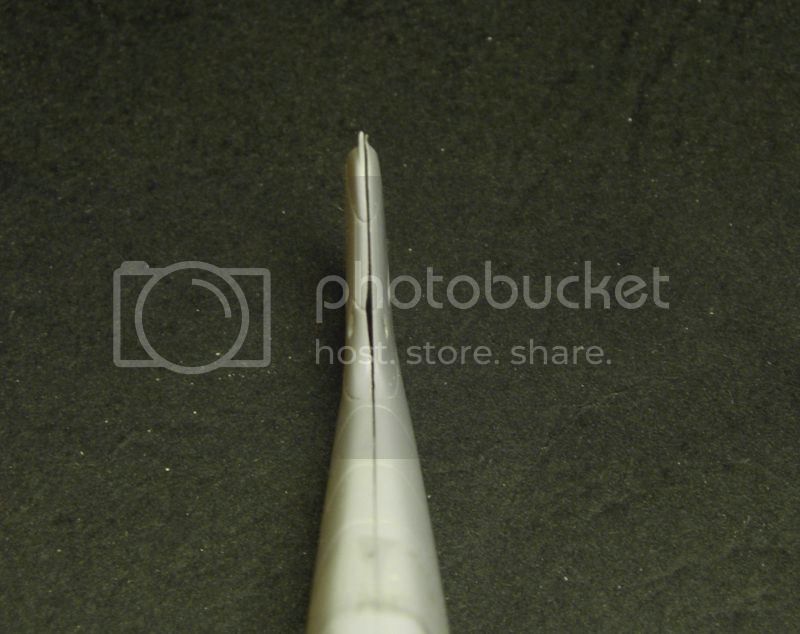
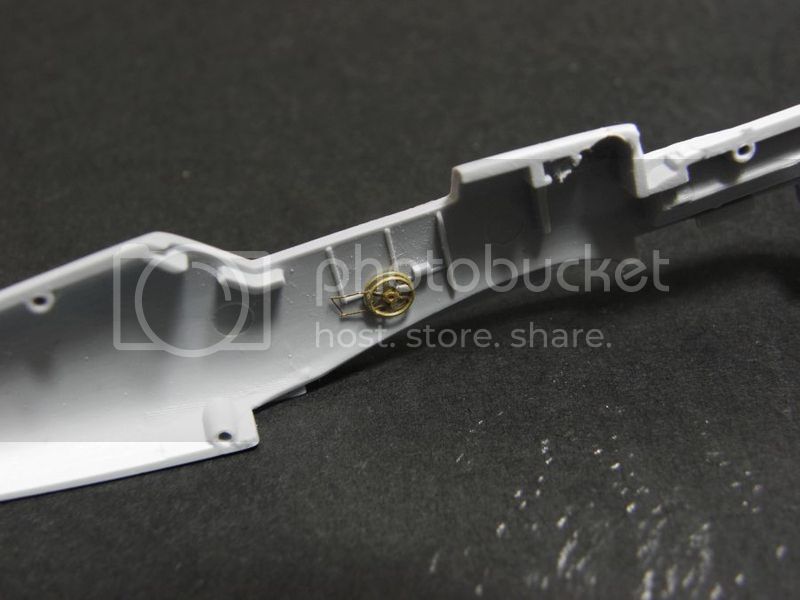
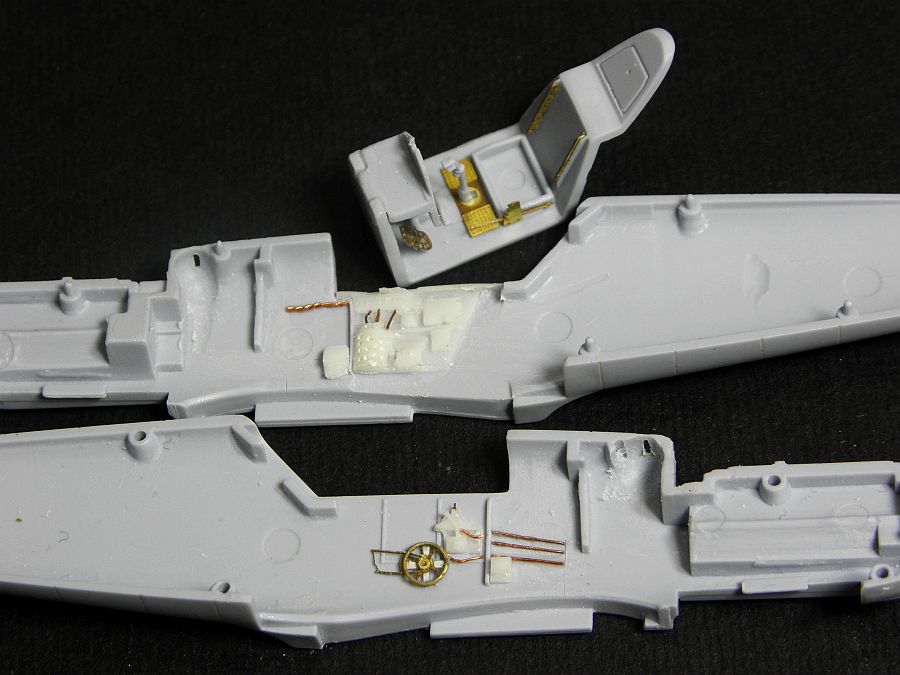
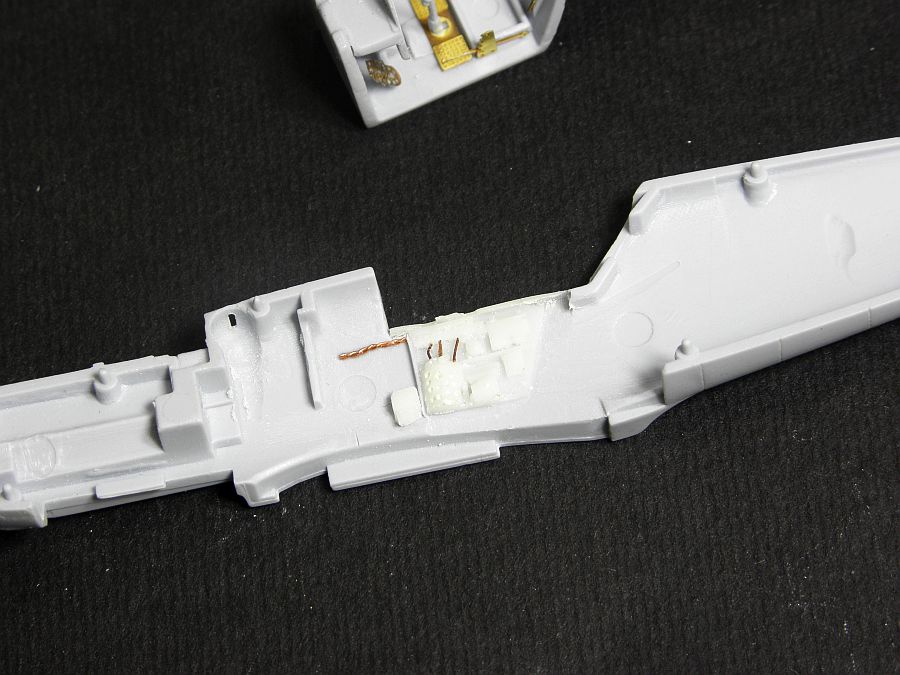
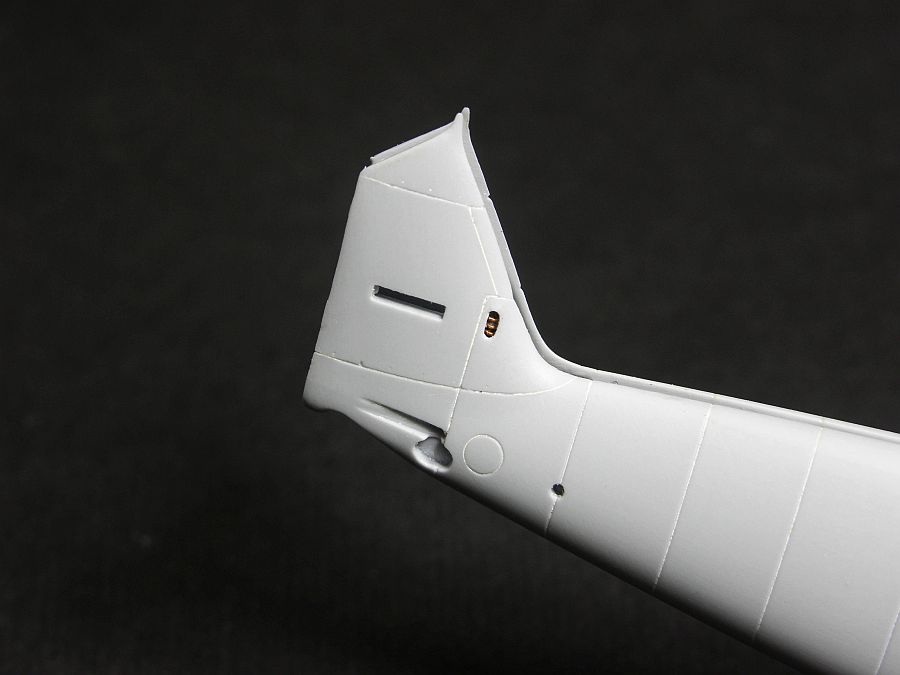
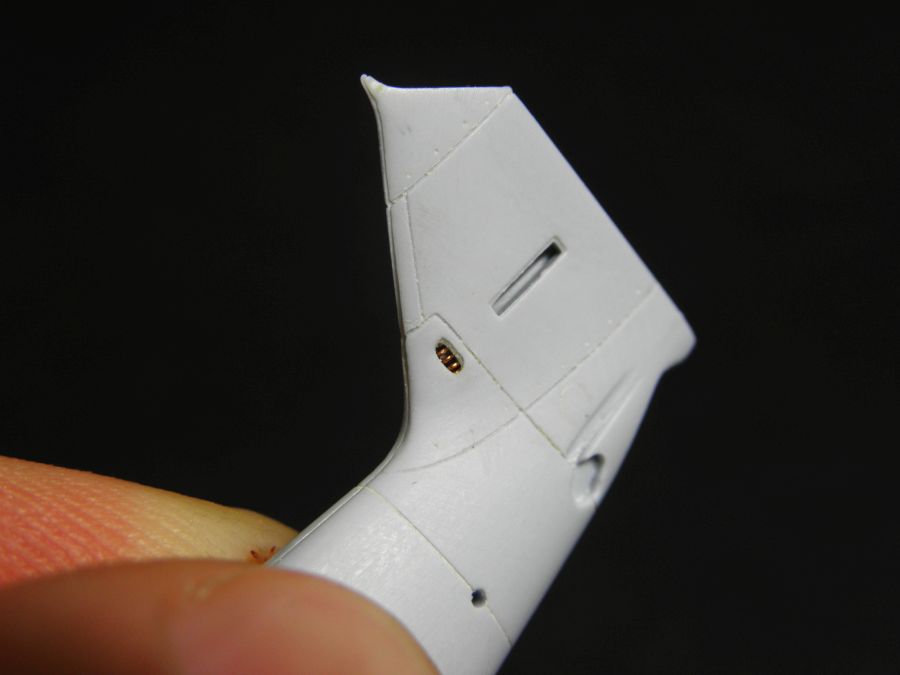
Let's go to the model. After few of intense production the parts look much worse than I remember. The panel line on fuselage seems to disappear on top and bottom, but this is very easy to fix.
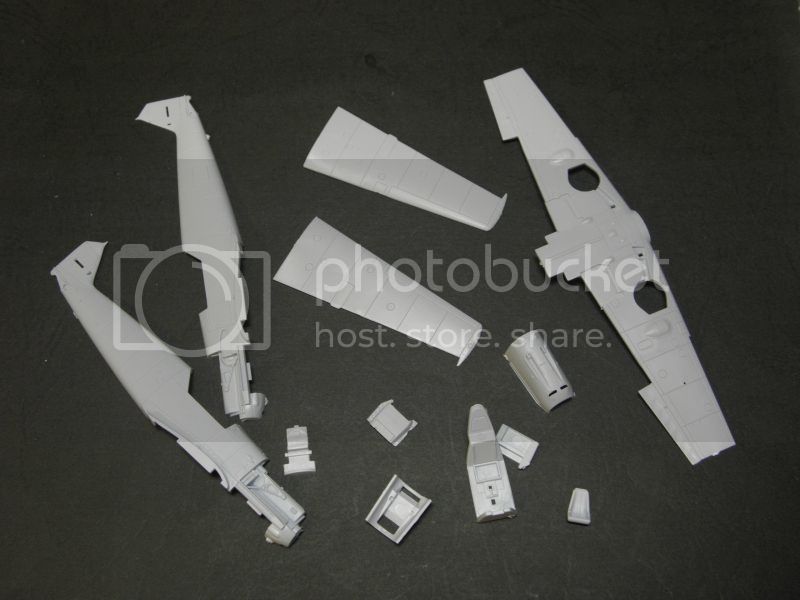


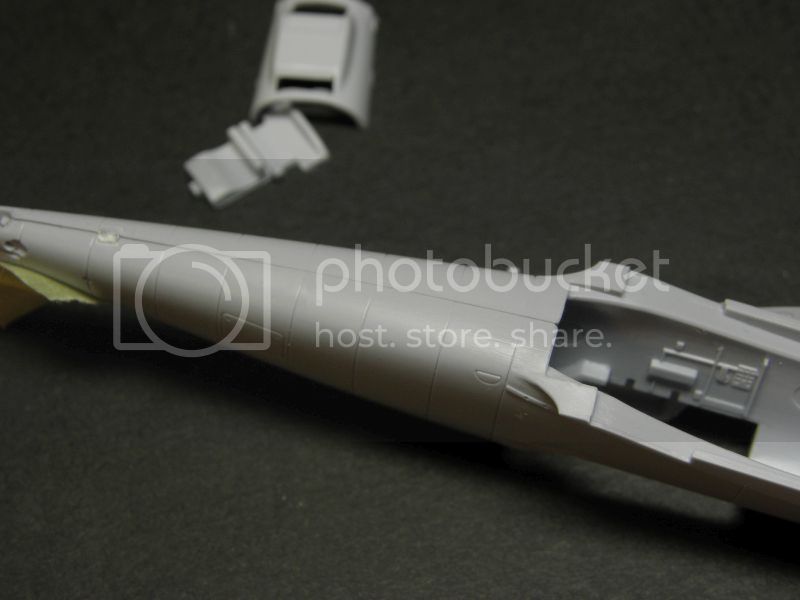
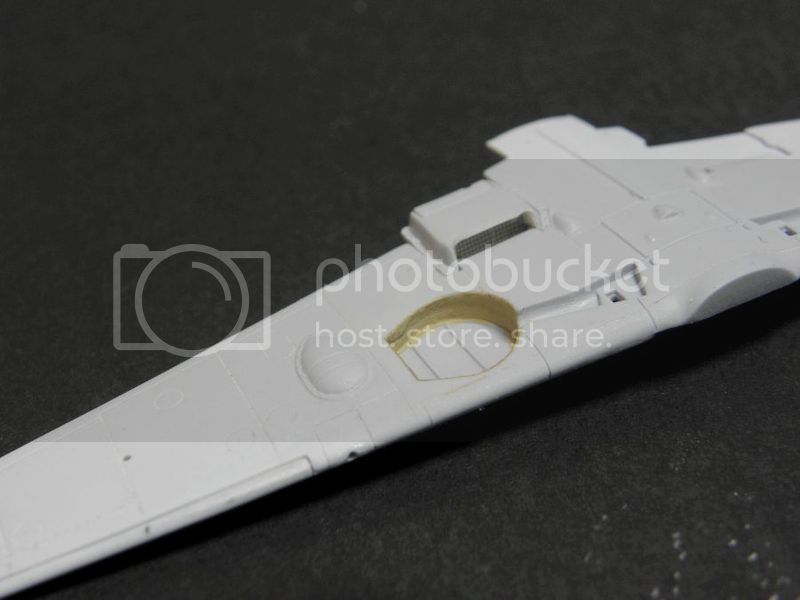
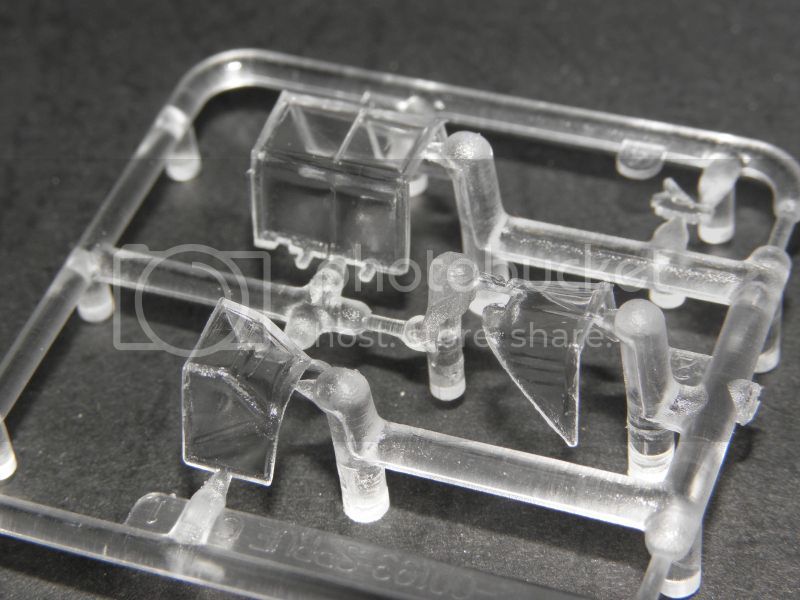
The glazing is a bigger problem as I will have to find replacement. It's blured and distortions, edges are not sharp and there are few flaws in the "glass". Thankfully I have the Rob-Taurus vacu.
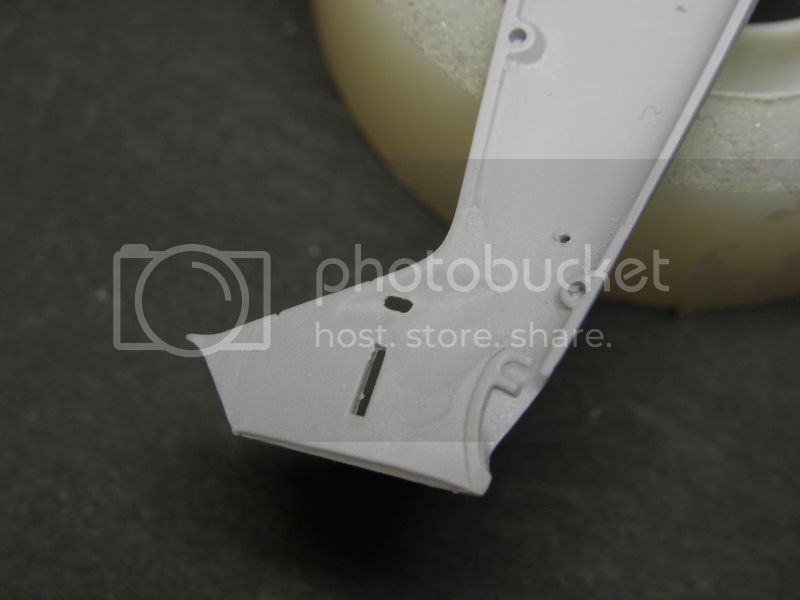
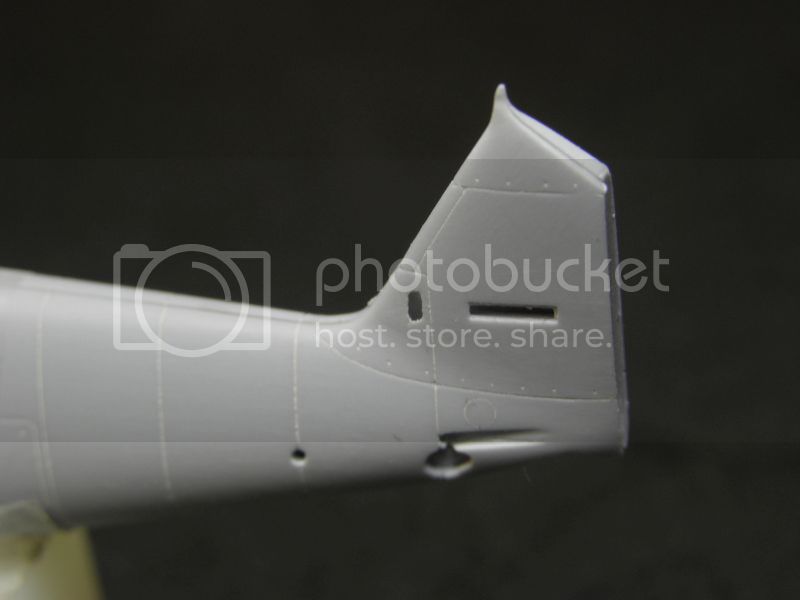
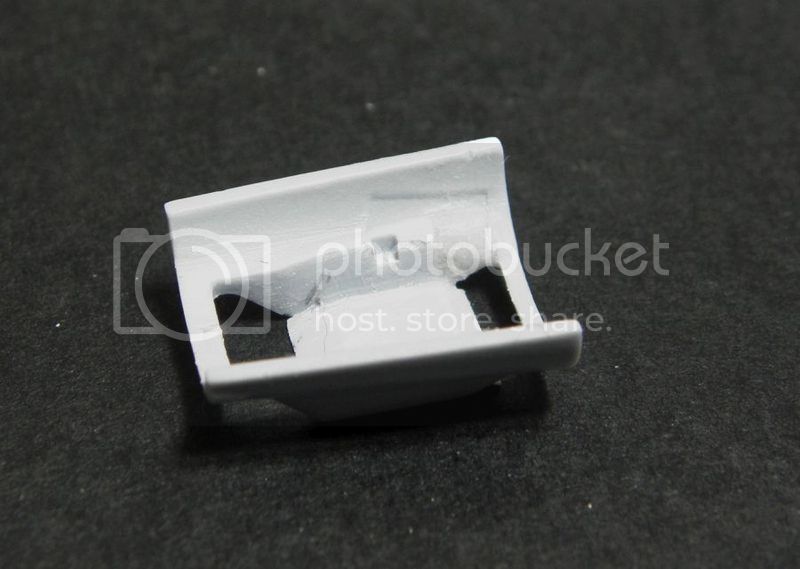
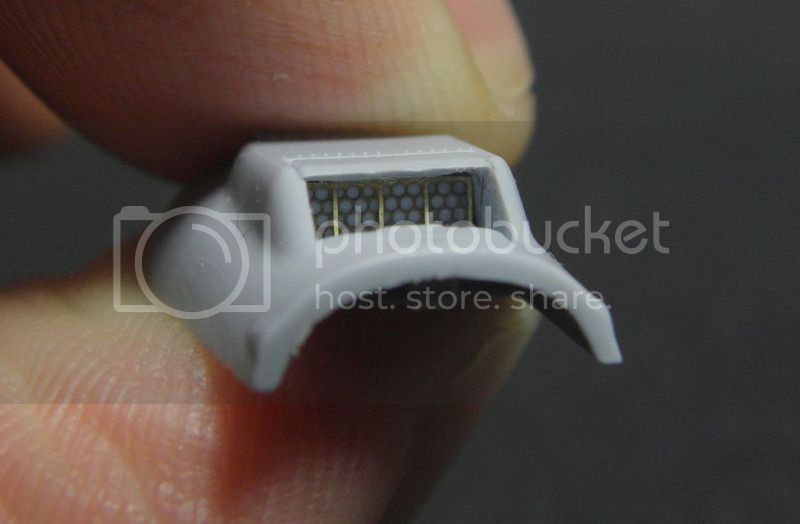
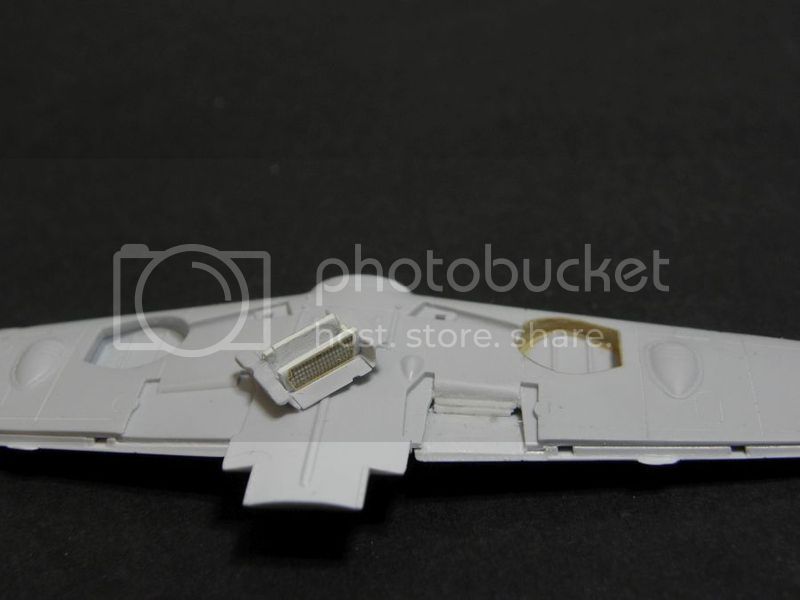
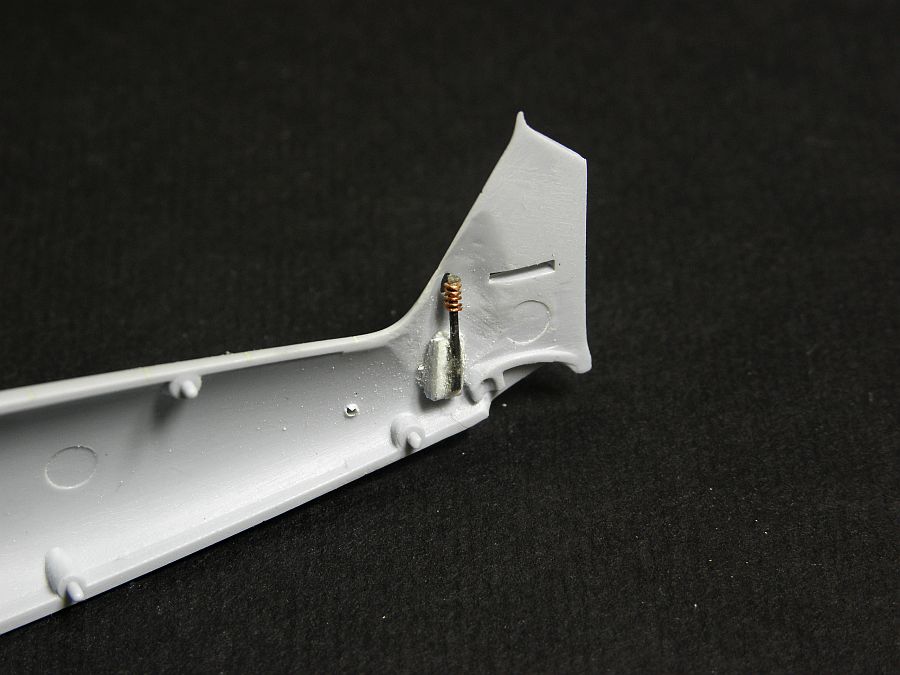
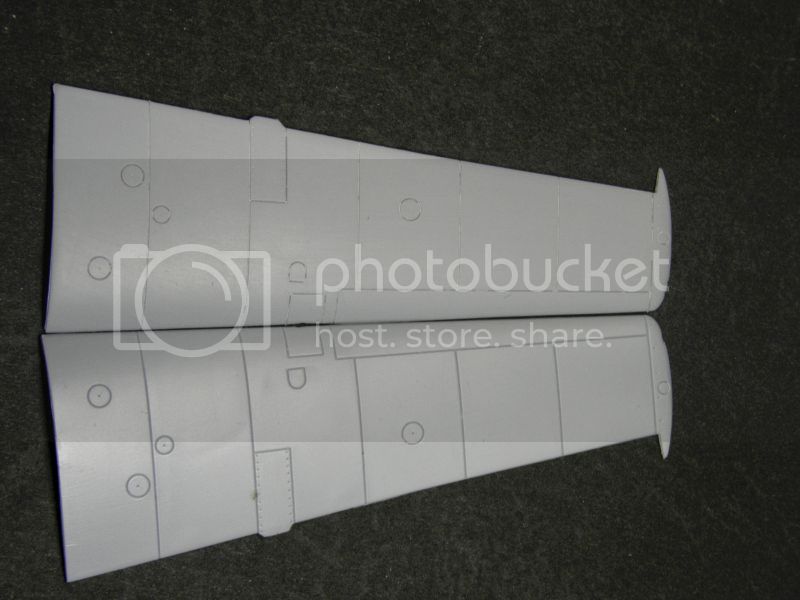
Most of the time I spend of sanding. The panel lines are quite deep and have the shape of a "funnel". When you sand down the surface they are getting much more subtle and delicate. I have also scribed missing panels.
Here's a comparison of the kit and upgraded wing halve.
I hope to show you some more progress soon, but there's still some sanding and polishing to be done first...
Thanks for dropping in.