Air Campaigns
Want to start or join a group build? This is where to start.
OFFICIAL: Canvas Falcons III: 1916-17
MichaelSatin
Staff MemberCampaigns Administrator
AEROSCALE
_VISITCOMMUNITY
Colorado, United States
Joined: January 19, 2008
KitMaker: 3,909 posts
AeroScale: 2,904 posts
Posted: Wednesday, August 23, 2017 - 04:30 PM UTC
Very nice, Stu!

Work on the Camel has been slow but I have a fair amount of prepainting done so I'm hoping to really make some progress this weekend.

Michael
pylwagl
_VISITCOMMUNITY
United Kingdom
Joined: January 04, 2015
KitMaker: 32 posts
AeroScale: 29 posts
Posted: Wednesday, August 30, 2017 - 07:56 PM UTC
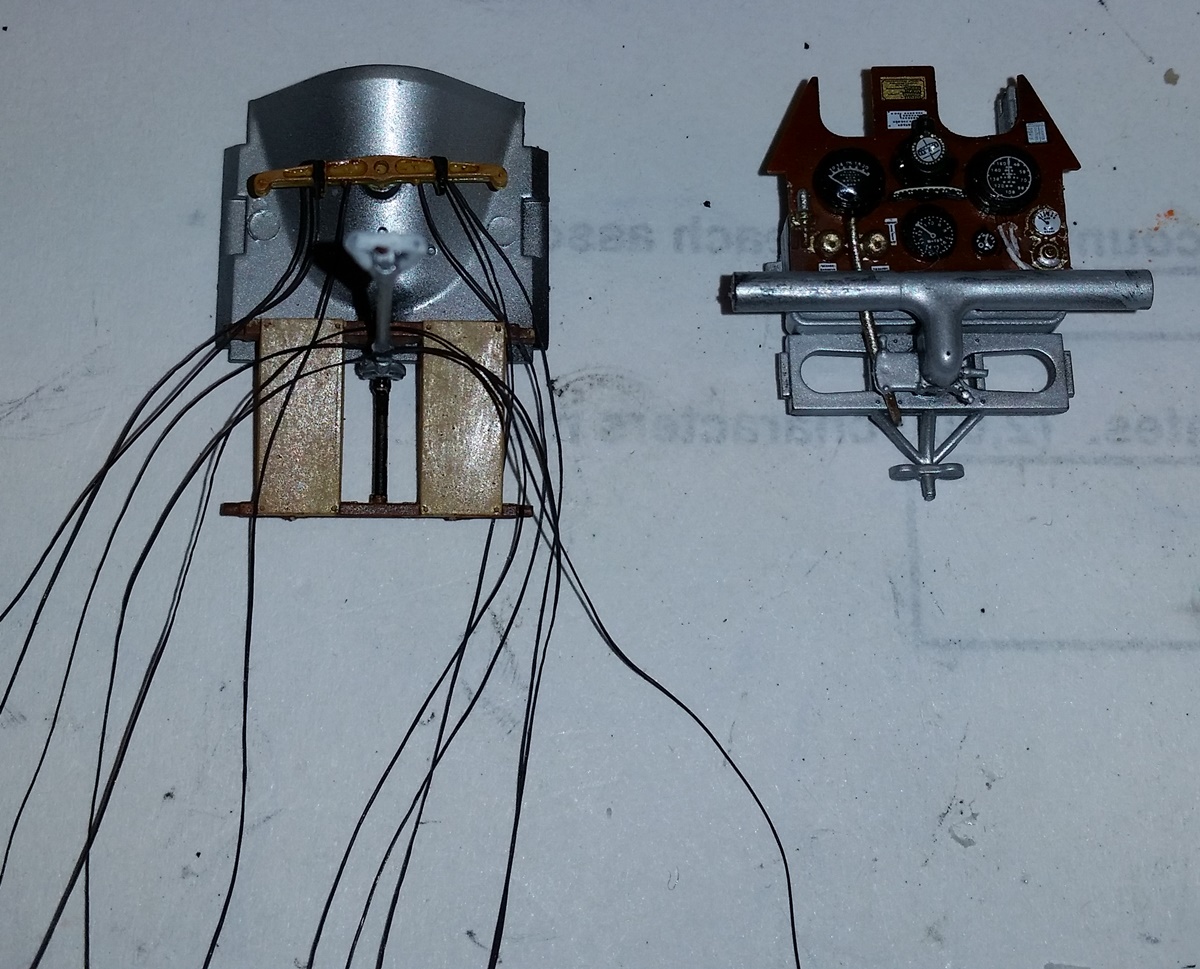
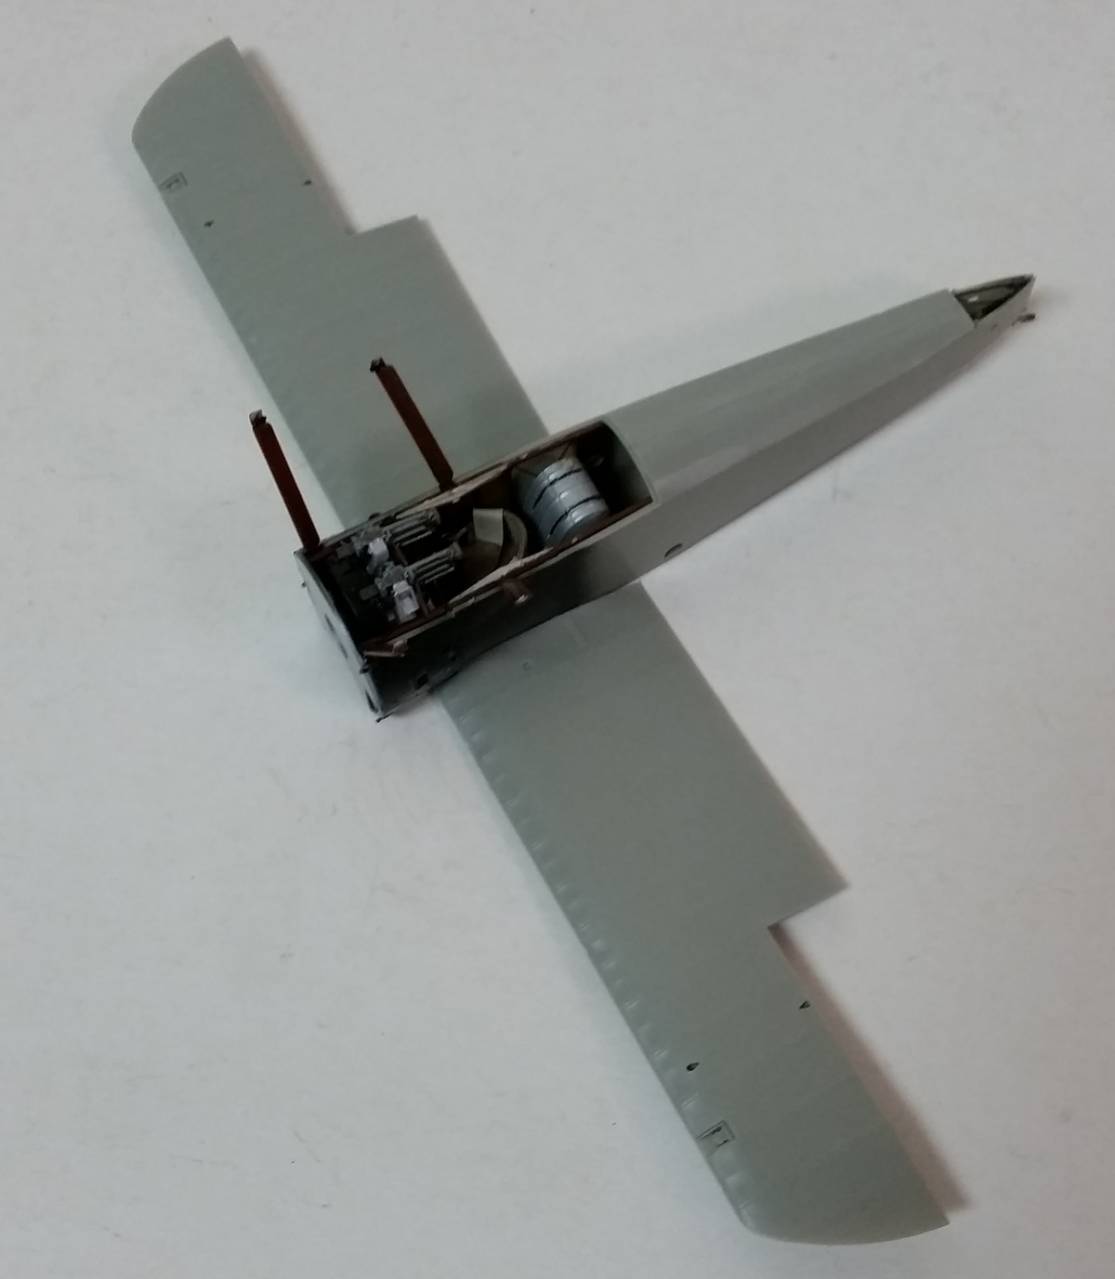
Its been a productive week. the interior is now done, and the halves ready to close.


mocked up with tape, it is a surprisingly large aircraft.


cheers
stu
pylwagl
_VISITCOMMUNITY
United Kingdom
Joined: January 04, 2015
KitMaker: 32 posts
AeroScale: 29 posts
Posted: Friday, September 08, 2017 - 08:13 PM UTC
So, the fuselage is joined. It took a bit of work to eliminate the join around the rear seat opening but it now looks ok under a coat of primer.


This is the weekend edition , providing markings for a black and white sharkmouth and single (black) fuselage band. The premium edition shows a further red fuselage band (and red detailing on the shark's teeth). I've opted for the red band as well to brighten things up a bit.


cheers
stu
Bigrip74
_VISITCOMMUNITY
Texas, United States
Joined: February 22, 2008
KitMaker: 5,026 posts
AeroScale: 2,811 posts
Posted: Friday, September 08, 2017 - 10:23 PM UTC
I have been silently watching these builds of delicate a/c and just shake my head every time a new post arrives. I cannot believe the craftsmanship that everyone displays, it makes me want to shed my fear of WWI a/c and those scary rigging's and the step painting which I have not figured out in my head yet even after several years.

Kudos to all here and their fantastic skills.

Bob
pylwagl
_VISITCOMMUNITY
United Kingdom
Joined: January 04, 2015
KitMaker: 32 posts
AeroScale: 29 posts
Posted: Friday, September 15, 2017 - 03:08 PM UTC
So, been getting stuff done. Top and bottom paint is on and glossed, decals on too.


That sharkmouth was a trial, not least because I had a rigging wire emerging from the centre of it. much slitting and cursing ensued, with gaps filled with spare bits of black decal. all good now.

Bob - have a go at WW1, it is tricky, but not as bad as it looks. most of the stuff is just plain fiddly. if you chose a Dr1 or a DV11 there would be very little rigging to do. good luck!

cheers
Stu
Bigrip74
_VISITCOMMUNITY
Texas, United States
Joined: February 22, 2008
KitMaker: 5,026 posts
AeroScale: 2,811 posts
Posted: Friday, September 15, 2017 - 06:59 PM UTC
Stu, thanks for the push I just picked up a WINGNUT WINGS SNIPE. The Fokker DVII was a little out of my reach, but at least Ill have a kit for the next Canvas Falcon campaign.

Bob
MichaelSatin
Staff MemberCampaigns Administrator
AEROSCALE
_VISITCOMMUNITY
Colorado, United States
Joined: January 19, 2008
KitMaker: 3,909 posts
AeroScale: 2,904 posts
Posted: Friday, September 15, 2017 - 08:39 PM UTC
Looking good Stu! You'll be glad you got a Wingnut kit Bob, except for the addictive factor.

The fun begins on the WNW Camel:


Michael
Bigrip74
_VISITCOMMUNITY
Texas, United States
Joined: February 22, 2008
KitMaker: 5,026 posts
AeroScale: 2,811 posts
Posted: Saturday, September 16, 2017 - 06:20 AM UTC
I found a video showing the build and rigging of the WNW Snipe. So Ill be ready for the next Canvas Falcons.

Bob
MichaelSatin
Staff MemberCampaigns Administrator
AEROSCALE
_VISITCOMMUNITY
Colorado, United States
Joined: January 19, 2008
KitMaker: 3,909 posts
AeroScale: 2,904 posts
Posted: Sunday, September 17, 2017 - 04:06 AM UTC
Excellent, Bob, welcome to it!

Meanwhile, I think I need a break now:


I tightened up that errant one on the right. Time for a rest now (and maybe new glasses.)

Michael
Bigrip74
_VISITCOMMUNITY
Texas, United States
Joined: February 22, 2008
KitMaker: 5,026 posts
AeroScale: 2,811 posts
Posted: Sunday, September 17, 2017 - 11:51 PM UTC
Michael, new glasses helped me much. Now for some glaucoma remedies . BTW when will the next CANVAS FALCONS campaign begin? My WNW Snipe is on its way plus I have been reading and rereading articles on rigging and viewing YouTube videos.

MichaelSatin
Staff MemberCampaigns Administrator
AEROSCALE
_VISITCOMMUNITY
Colorado, United States
Joined: January 19, 2008
KitMaker: 3,909 posts
AeroScale: 2,904 posts
Posted: Monday, September 18, 2017 - 12:16 AM UTC

Quoted Text

Michael, new glasses helped me much. Now for some glaucoma remedies . BTW when will the next CANVAS FALCONS campaign begin? My WNW Snipe is on its way plus I have been reading and rereading articles on rigging and viewing YouTube videos.


Bob,

The campaigns end on November 11 and start on November 12, so you'll be just in time.

Michael
Bigrip74
_VISITCOMMUNITY
Texas, United States
Joined: February 22, 2008
KitMaker: 5,026 posts
AeroScale: 2,811 posts
Posted: Thursday, September 21, 2017 - 11:44 PM UTC
I have been experimenting on making rigging eyelets with a home made hook and pin-vise. I have not obtained and brass tubing yet to add to the eyelets to make into turnbuckles. What size do I look for in 1/48 and 1/32?

Bob
pylwagl
_VISITCOMMUNITY
United Kingdom
Joined: January 04, 2015
KitMaker: 32 posts
AeroScale: 29 posts
Posted: Friday, September 22, 2017 - 03:15 PM UTC
Michael - the Camel is looking good, that's a serious amount of detail going on.
Bob - bravo for making your own turnbuckles. I have contemplated it but never quite had the nerve. if I were to do it I would give serious consideration to Bob's Buckles. He produces ready made items which look pretty good (and convenient:) ).
The level of detail required of 1/32 is one factor that has kept me in 1/48 tbh.

So... its been rigging time on the CII. This is my way of doing it based on several trawls of the internet over time. It works for me in most cases, although wing-to-wing lines need a different approach if the wings themselves are not 'split'.

To start, I glue the fuselage ends of wires before closing the fuselage. I generally use 0.1mm fishing line which I colour with a sharpie.

Strut location holes are drilled through the lower wing and the lines threaded through, tensioned and glued.


The strut is then fixed to secure the lines, the joint run with superglue, filled, painted in, etc.


The upper wing is attached at the fuselage only and upper lines threaded around fixing stubs. these are then tensioned, superglued etc


When completely dry, all is carefully trimmed to length.


HTH
cheers
stu

phantom_phanatic309
#372
_VISITCOMMUNITY
United Kingdom
Joined: March 10, 2010
KitMaker: 2,568 posts
AeroScale: 1,619 posts
Posted: Friday, September 22, 2017 - 09:44 PM UTC
Michael - your Camel cockpit looks really good. What colour did you use for the wood?

Stu - the Roland looks fantastic. And thanks for sharing the rigging technique. Rigging terrifies me more than any other aspect of biplane modelling. I have a few cheap kits that I need to practice on though.

I plan on continuing with Rumpler but doubt I will finish in time.
Bigrip74
_VISITCOMMUNITY
Texas, United States
Joined: February 22, 2008
KitMaker: 5,026 posts
AeroScale: 2,811 posts
Posted: Sunday, September 24, 2017 - 11:24 PM UTC
Everyone here have really inspired me to finally build a WWI a/c in the next Canvas Falcons campaign. My Wingnut Wings 1:32 Sopwith Snipe just arrived and in the mean time I have been following yall's builds and using the photos as I practice on an Eduard Albatros D.III.

Bob
MichaelSatin
Staff MemberCampaigns Administrator
AEROSCALE
_VISITCOMMUNITY
Colorado, United States
Joined: January 19, 2008
KitMaker: 3,909 posts
AeroScale: 2,904 posts
Posted: Monday, September 25, 2017 - 09:57 PM UTC
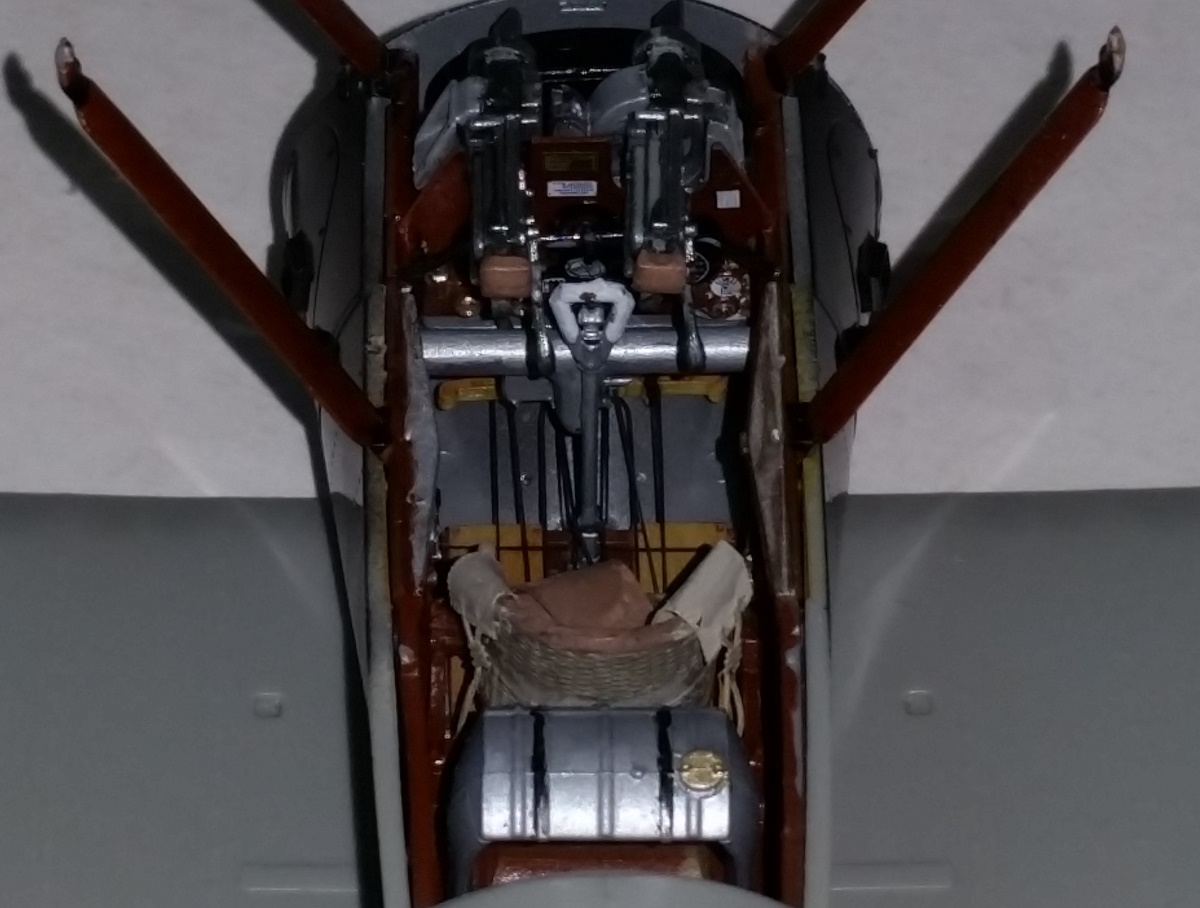
Well, fuselage and bottom wing together on the WNW Camel:


I know this is heresy, but this one feels a bit rushed on WNW's part. The gun to cockpit fit isn't clear, nor is the tail skid to fuselage join. That tail skid has come loose several times. But it's sure the best 1/32 Camel out there!

Michael
TotemWolf
_VISITCOMMUNITY
Oklahoma, United States
Joined: February 11, 2013
KitMaker: 294 posts
AeroScale: 74 posts
Posted: Monday, September 25, 2017 - 11:18 PM UTC
I've been watching some videos on YouTube and following this campaign. Seeing all the great work makes me want to try a WWI plane. What would good first kit for a fairly experienced modeler.

Great work here.
Bigrip74
_VISITCOMMUNITY
Texas, United States
Joined: February 22, 2008
KitMaker: 5,026 posts
AeroScale: 2,811 posts
Posted: Tuesday, September 26, 2017 - 12:10 AM UTC
Robert, I'm in the same boat! I've been told that the Fokker DVII idoes not have any rigging on the wings, only the landing struts.

Bob
pylwagl
_VISITCOMMUNITY
United Kingdom
Joined: January 04, 2015
KitMaker: 32 posts
AeroScale: 29 posts
Posted: Tuesday, September 26, 2017 - 01:44 AM UTC
Michael - that 'pit is looking great!
Robert - Bob R is right, a Fokker DVII would be a good place to start owing to its (very) minimal rigging. There is also a multitude of fantastic colour schemes for it. The same is true of the Dr1 - undercarriage and a couple of (fiddly) wires in front of the cockpit. Personally, i'd be wary of anything from the RAF due to the British passion for rigging - often with twin wires.
DVII would get my vote, the Eduard 1/48 is lovely.

meanwhile, in other news....
I managed to open up a seam while messing with the CII - curses!


cheers
stu
Bigrip74
_VISITCOMMUNITY
Texas, United States
Joined: February 22, 2008
KitMaker: 5,026 posts
AeroScale: 2,811 posts
Posted: Tuesday, September 26, 2017 - 02:11 AM UTC
Michael, the interior is looking really good. What color are the seat belts?

Stu, Ive been watching your rigging photos and have learned some.

Bob
MichaelSatin
Staff MemberCampaigns Administrator
AEROSCALE
_VISITCOMMUNITY
Colorado, United States
Joined: January 19, 2008
KitMaker: 3,909 posts
AeroScale: 2,904 posts
Posted: Tuesday, September 26, 2017 - 05:48 AM UTC

Quoted Text

Michael, the interior is looking really good. What color are the seat belts?

Stu, Ive been watching your rigging photos and have learned some.

Bob


Bob, Seat belts are Tamiya XF-55 and 52, as recommended by WNW.

Stephen, The light wood is XF-78 with a clear yellow overcoat and the dark wood is XF-68 with a clear orange overcoat.

Robert, The D.VII is probably your best bet (less wings than the DR.I). I haven't built the Eduard 1/48 kit but hear it's very good. I HAVE built the WNW 1/32 kit and it's excellent, if you can find/afford one.

Michael
doubtingthomas
_VISITCOMMUNITY
Wisconsin, United States
Joined: March 17, 2009
KitMaker: 156 posts
AeroScale: 153 posts
Posted: Friday, September 29, 2017 - 07:21 PM UTC
Hello all! Long time, no drop by.

Stu - Your Roland interior, rigging, and exterior paint look fantastic!
Michael - Great job on the Camel interior. Those seat belts make all the difference!
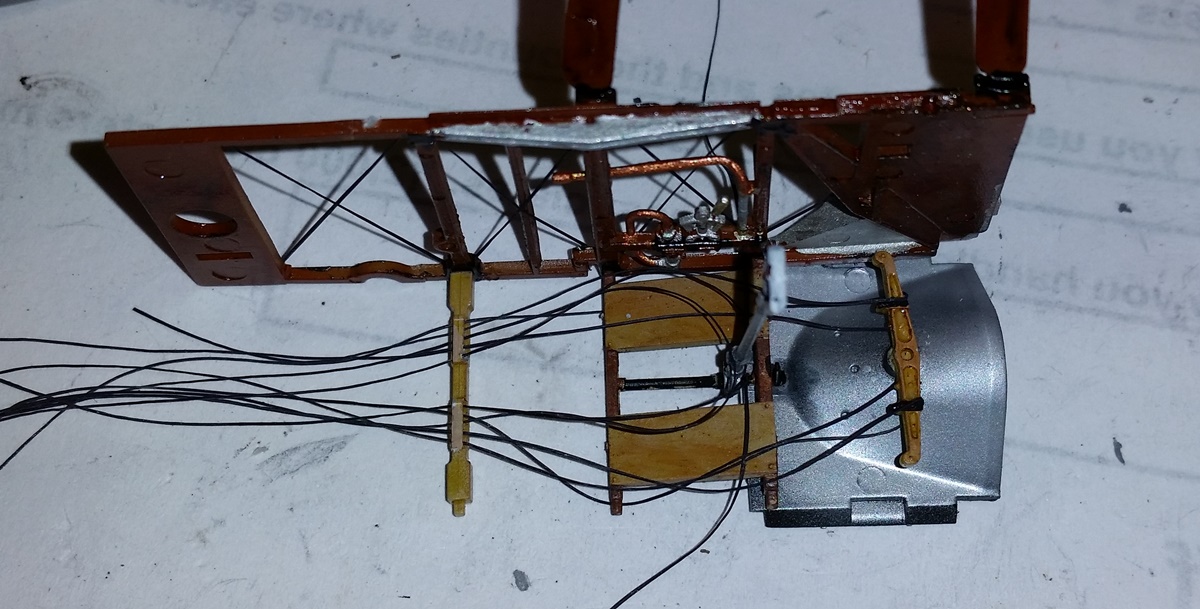
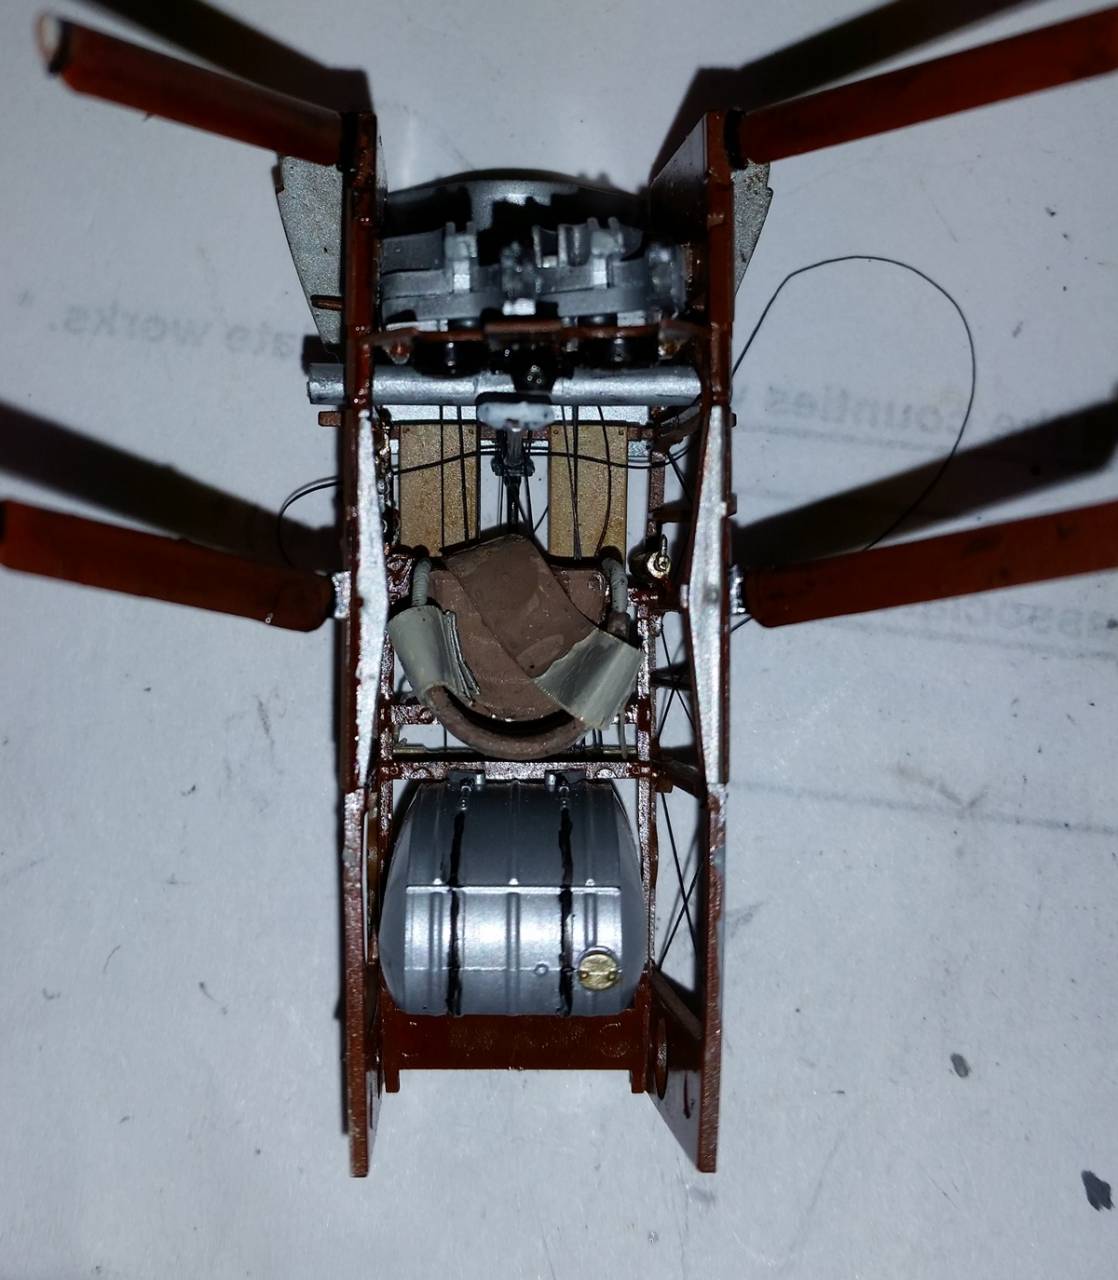
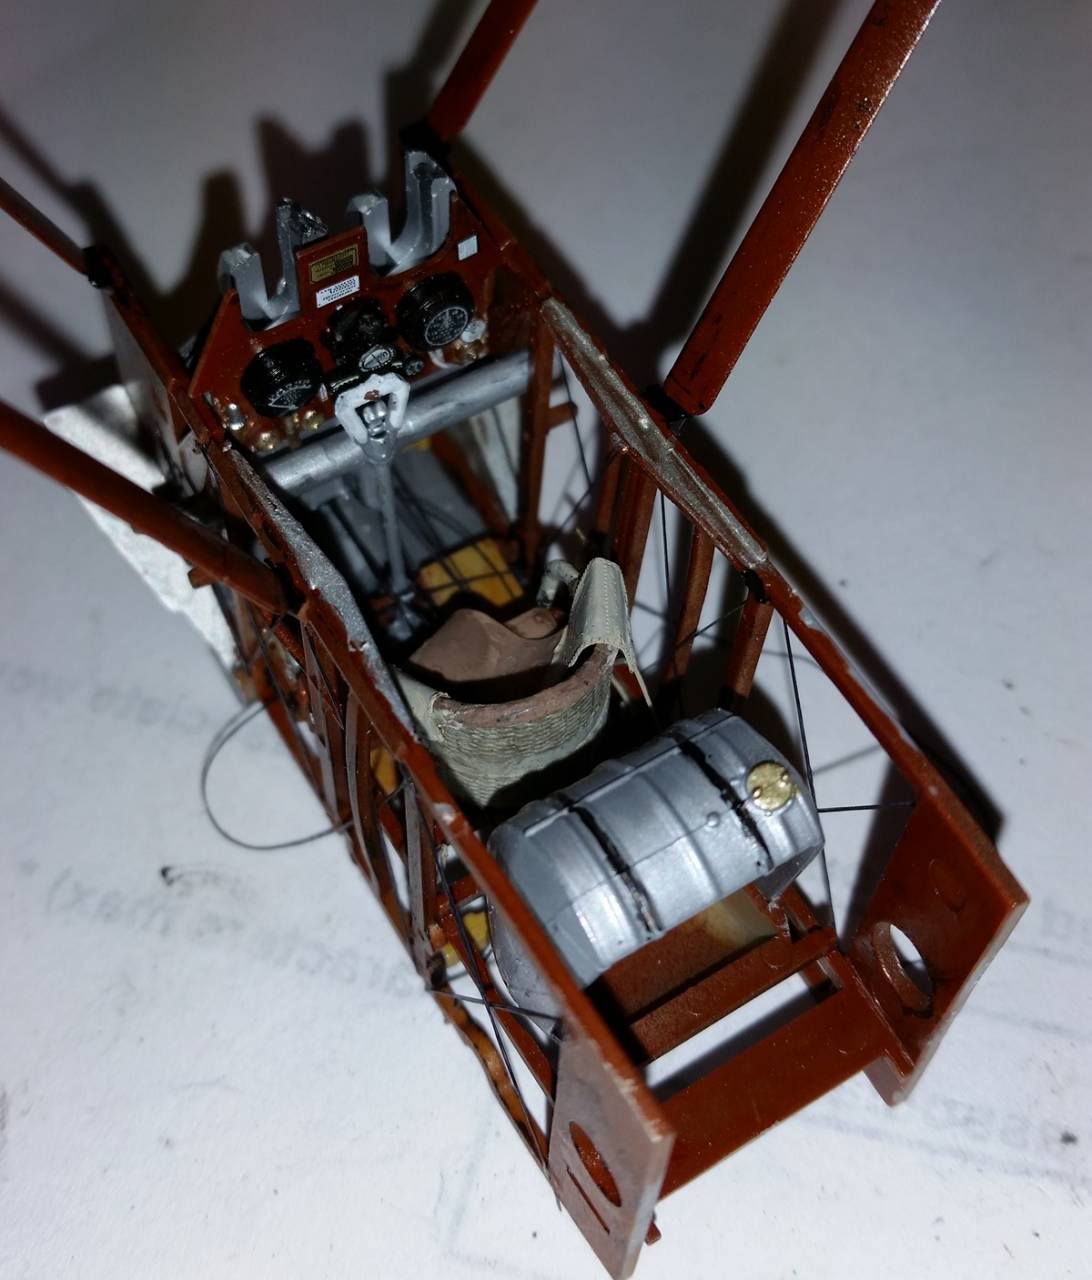
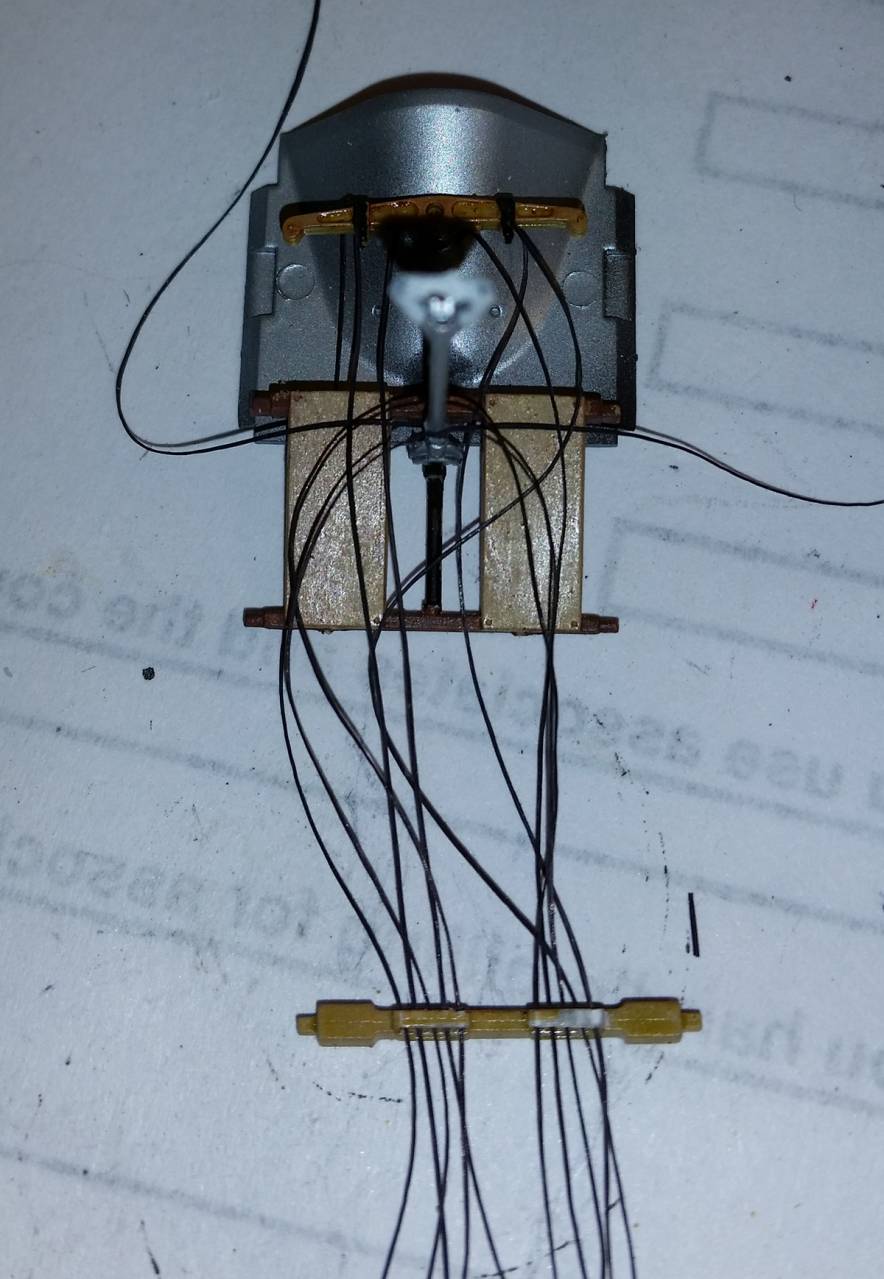
Though I rarely have time to post, I have been making progress on my WNW Fokker E.II. I'm at the point of putting together the pre-painted, pre-decayed assemblies.
I tried to replicate the cowling pattern using Vallejo Metal Air Aluminum with brush-painted Dull Aluminum squiggles. I'm OK with it as a first effort, but would love to know if there was a better way.


And the rest of the bits:


Overall, it's been a great kit with the exception of the usual WNW super-tight tolerances. When you pre-paint, it can make fitting some parts together quite difficult.

Enjoy!
Tom
pylwagl
_VISITCOMMUNITY
United Kingdom
Joined: January 04, 2015
KitMaker: 32 posts
AeroScale: 29 posts
Posted: Saturday, October 07, 2017 - 03:26 PM UTC
Great work all! Tom, that EII cowling looks lovely.
So... have reached the part of a build where it all slows down with all the less exciting fiddly bits.
Continued to deal with the opened joint, it took some doing but I think I now have it beaten.


The undercarriage is located to the fuselage with tiny locating pimples that don't locate very well. I removed them, enlarged the locating holes and used plastic rod and superglue to force them to fit. The whole assembly is really fragile (ask how I know) so eventually I left off the cross brace bit and simply fixed the two side members. I intend to fix the cross member later with wire to simulate the bungee cords that were used. (Not sure how that will pan out).


The roll bar thing on top of the wing was a pain to fit since it was wonky. bending and superglue helped there, but I now need to smooth out the area a bit - work continues.


got some fiddly bits done too for a break.


getting there!

cheers

stu
pylwagl
_VISITCOMMUNITY
United Kingdom
Joined: January 04, 2015
KitMaker: 32 posts
AeroScale: 29 posts
Posted: Tuesday, October 17, 2017 - 10:47 PM UTC
So... still plugging away
The seam is done & glossed.


The undercarriage is now complete too. I had used superglue to fix the crossbar thing but it blistered the Xtracolor enamel. I was going to bind it to simulate the original structure but got lazy instead. I simply scraped off the paint in strategic spots, glued and will touch up next.


Now just a matt coat and add all the bits that usually get snapped off
cheers
Stu
pylwagl
_VISITCOMMUNITY
United Kingdom
Joined: January 04, 2015
KitMaker: 32 posts
AeroScale: 29 posts
Posted: Friday, October 20, 2017 - 02:48 PM UTC
so...
Matted and with all the snappy-off bits in place, I'm calling this done before I break it.


Now pondering what next
cheers
Stu