

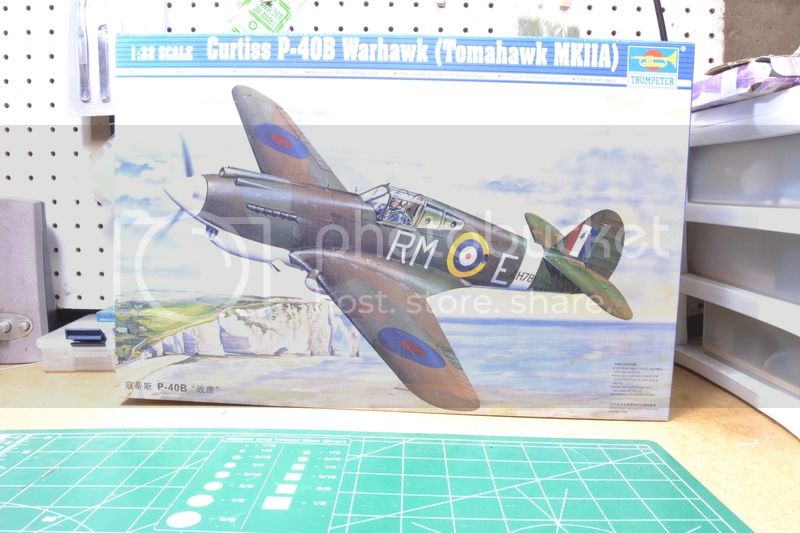
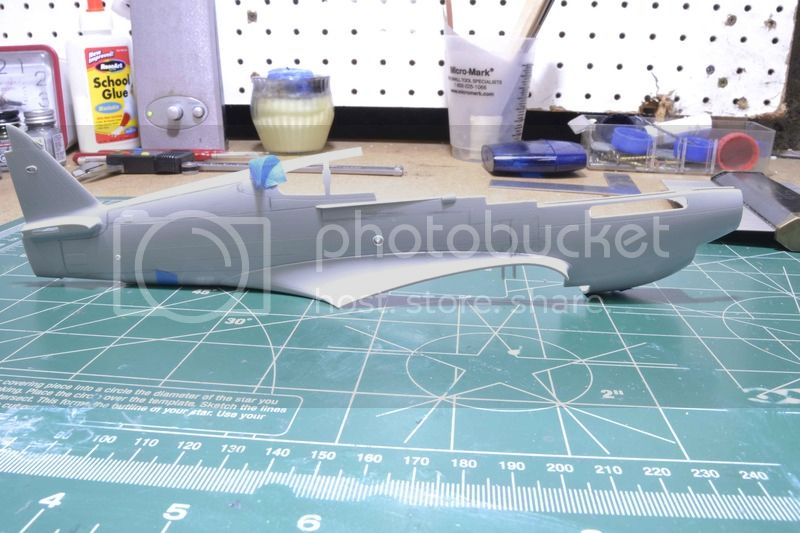
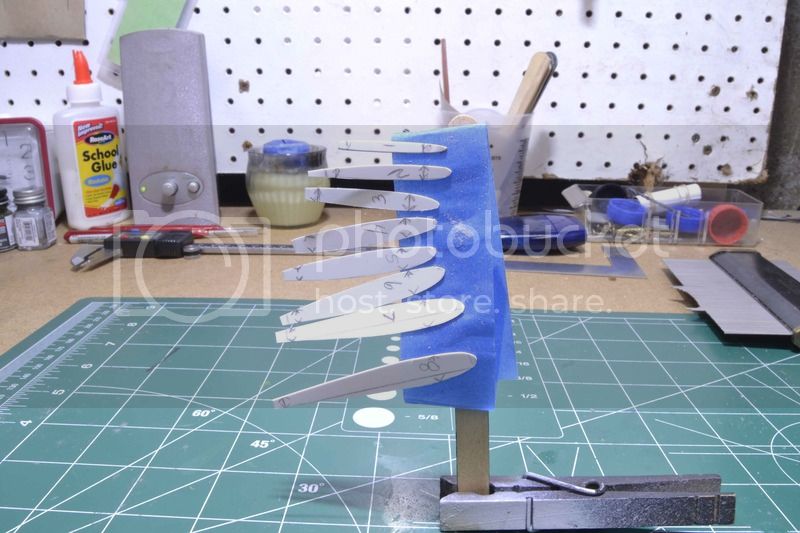
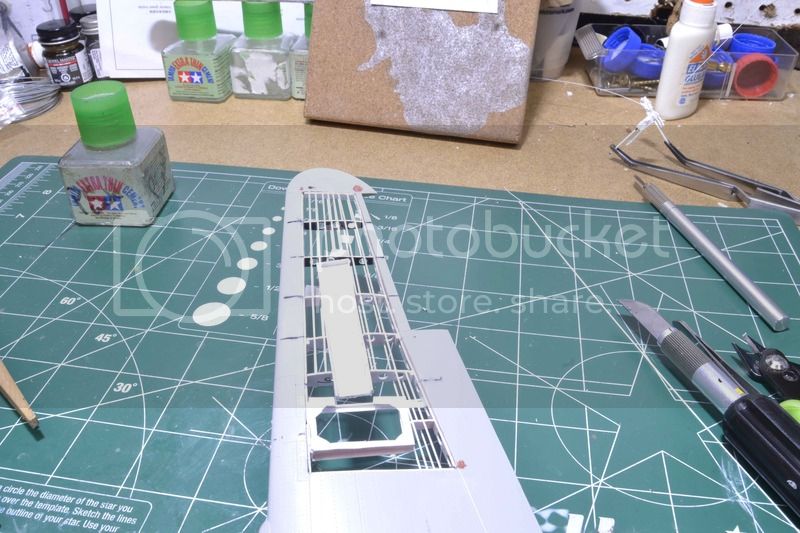
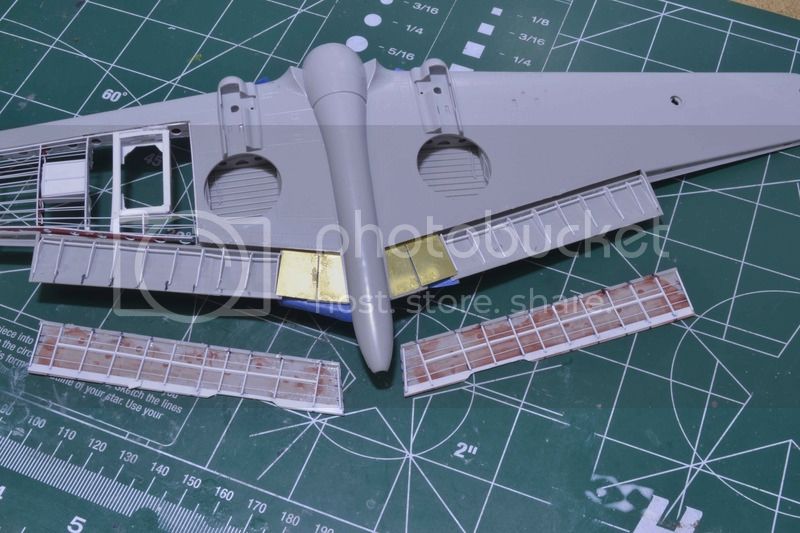
This subject is another attempt at my first cut away. The 1/32 Trumpeter P-40B.
I will be trying to improve.
More to come.
Joe


Joe,
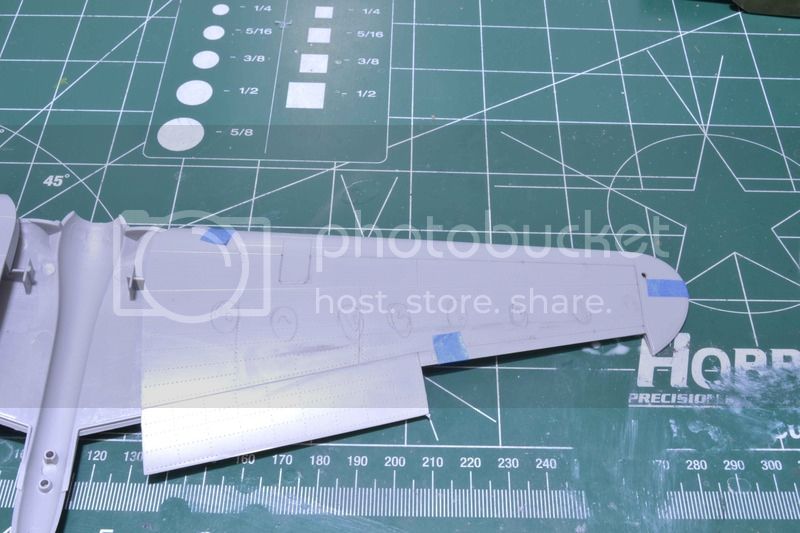
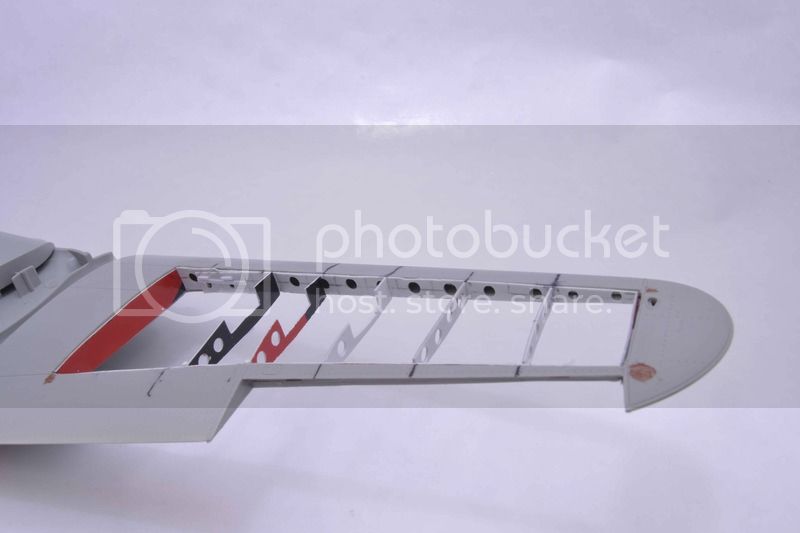
After your first cutaway of this kit (which was excellent by the way), you must be a "glutton for punishment"! As a reminder, the kit wing has the later style gun access hatches on the top of the wing, which is incorrect for the early P81 (P40B) with the access hatches through the bottom of the wing. Eduard makes a very nice cockpit and engine detail set for the kit, which might ease some of your "pain". I built mine several years ago as R. T. Smith's Flying Tiger in 1941 using the very nice EagleCals Flying Tiger set. I'm not as ambitious as you are-- after correcting the cockpit floor, adding detail to the main and tail wheels, detailing the inside the cowl flaps, and correcting the wings I was done. It's one of the better early Trumpeter Kits though, and was also released under the Hobby Craft label. Good luck-- I'll be following along mostly for nostalgia! VR, Russ
Very cool idea and you are certainly braver than I am. I have to admit that I have been considering doing the HPH cutaway of the He111P; but the total cost is a bit daunting and I keep putting off pulling the trigger. I am just not sure my skills are up to doing justice to a project that will cost circa $300.00 at this point.
Hi Joe,
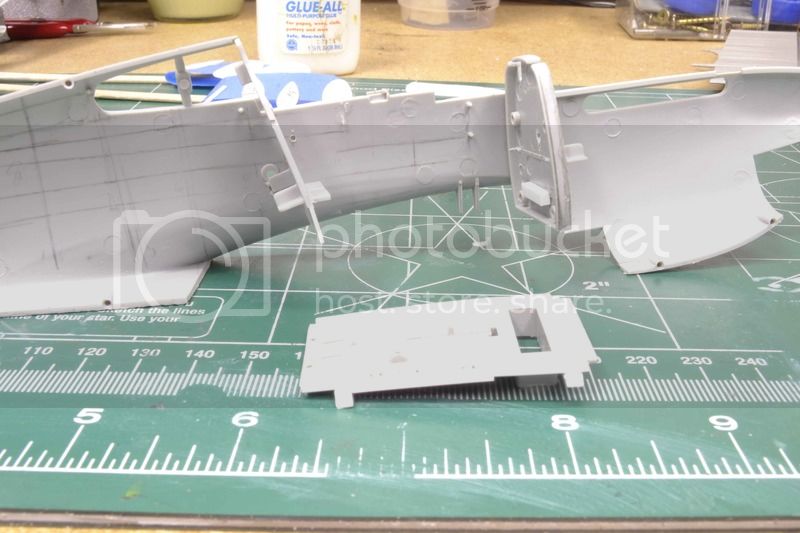
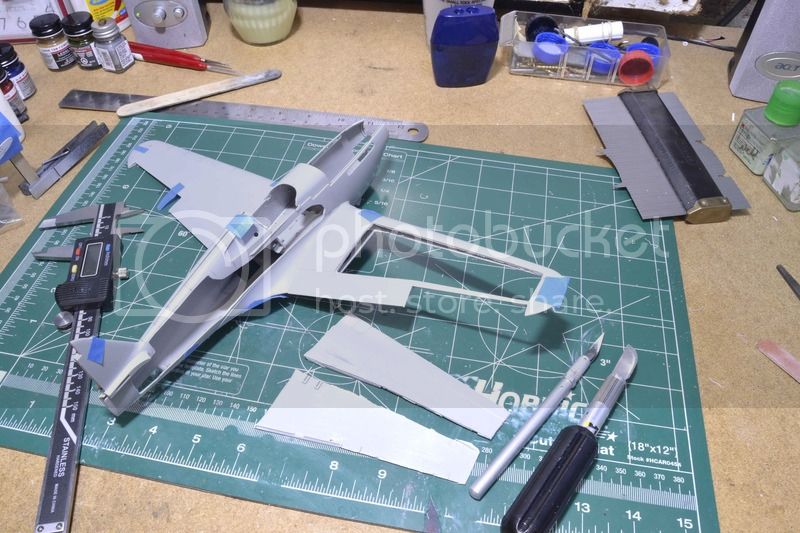
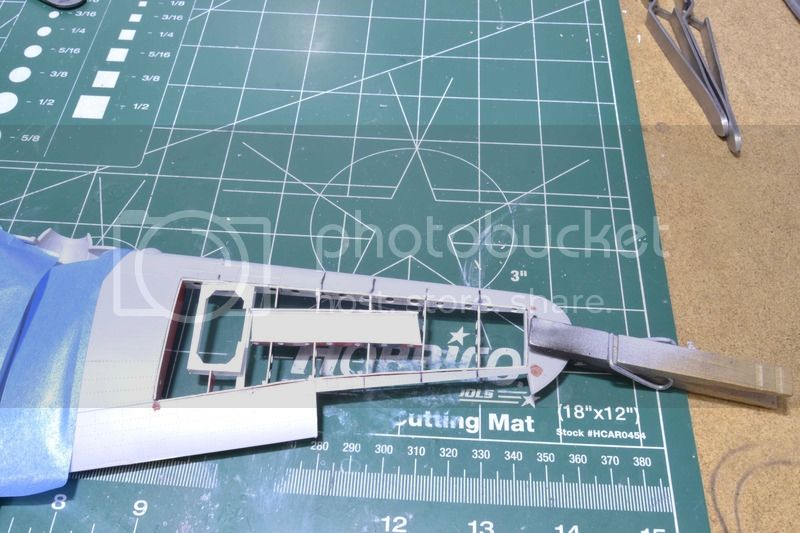
One thing to consider before you install those beautifully constructed bulkheads - around the cockpit, the bulkheads didn't have "feet" projecting into the wing fairings. The cockpit was concave above the wing's top surface; the fairings were added externally only.
What you're doing will still look good, but you should have the chance to consider those internal shapes before you get too far into construction.
Cheers,
Dana


Joe,
Remarkable. I so respect modelers who scratch cutaways, something I have never had the guts or confidence to try.
And a P-40 no less - you da'man!

 |


