Normally I am a AFV modeler but. how it happens, I was commissioned with an aircraft! The kit provided: Revell / Monogram 1/48 B17G Flying Fortress.
Requirements: OOB with slight improvements, olive drab / grey color scheme (Chow Hound, as opposite to El Lobo II), flaps up, minimal weathering. Perhaps for many of you it sounds laughably simple, but for me it is quite a challenge: I never used chromate green, for instance! I will relay on your help, please, for getting this done. Thank you in advance.
Perhaps the kit is all to known in modeler's community, with its ups and downs. From what I understood reading a couple of reviews, the molds are quite good, except some soft interior detail and some flash. I can confirm that. Raised "old school" detail seems to be also a problem for some.
Well, I started working on it:
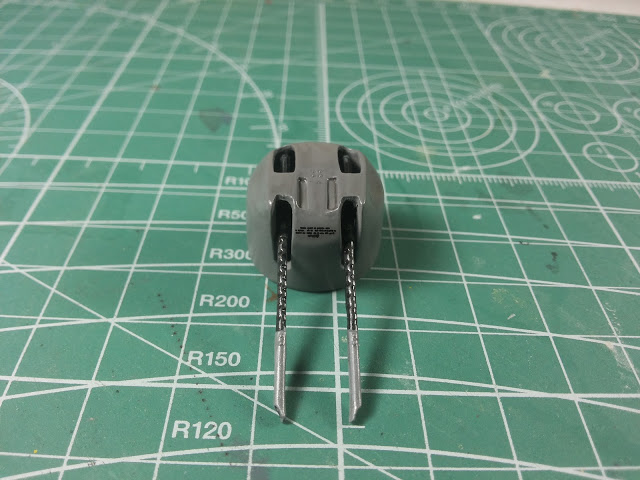
First, I deepened the engine air slats on the top of the wings:
Before:
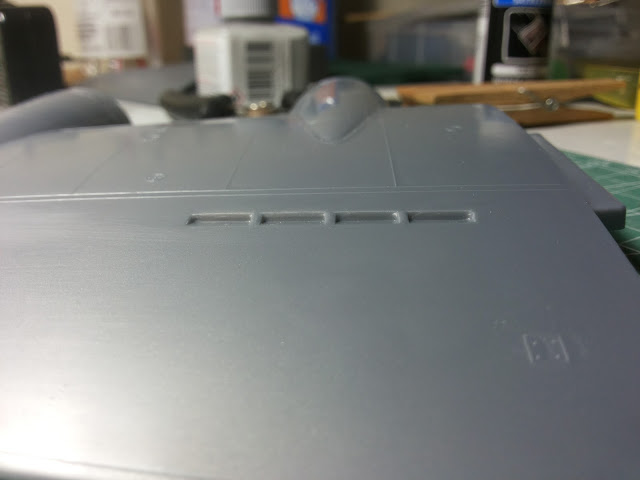
After:
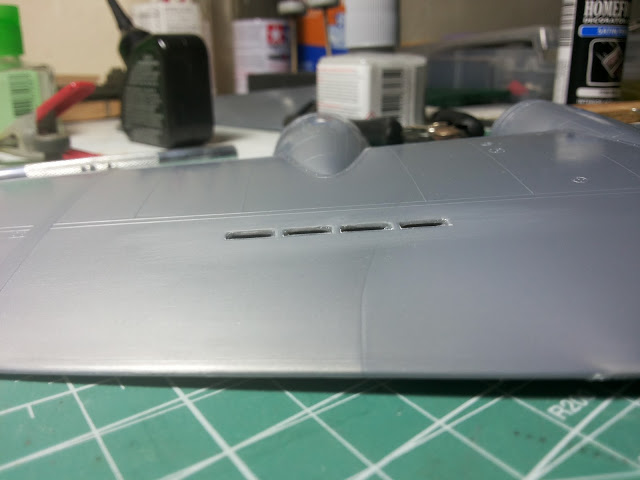
That is one of the "small improvements" I was talking about.
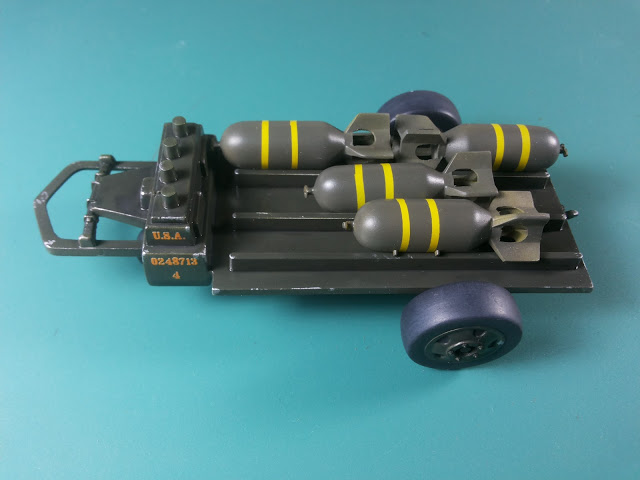
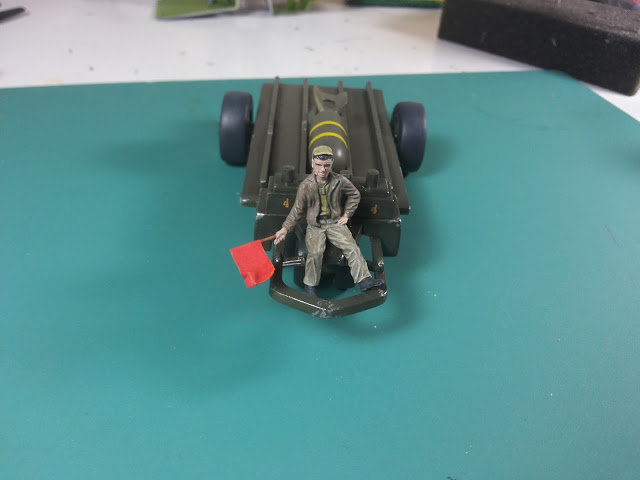
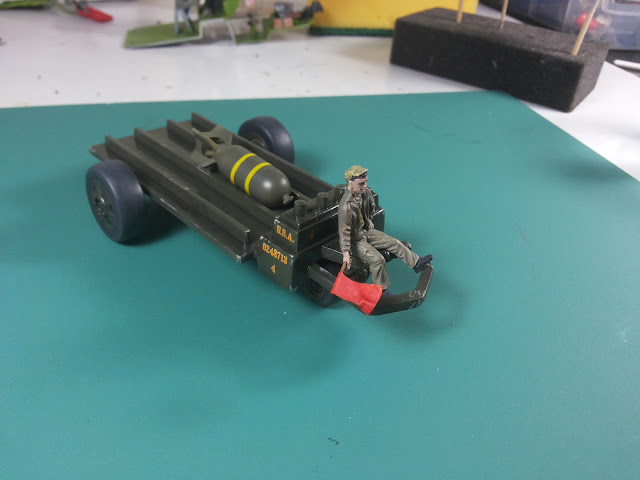
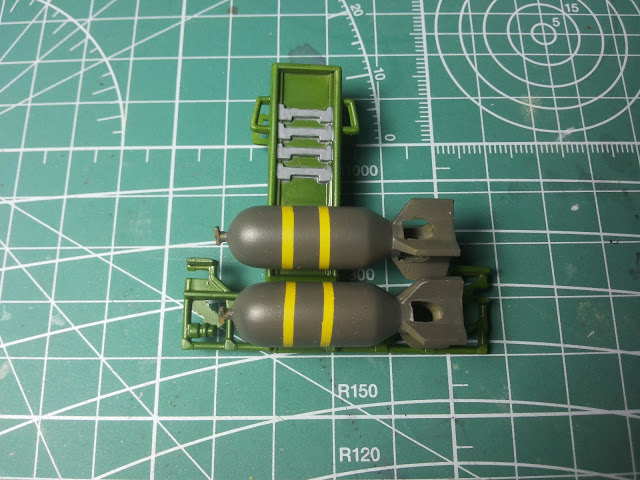
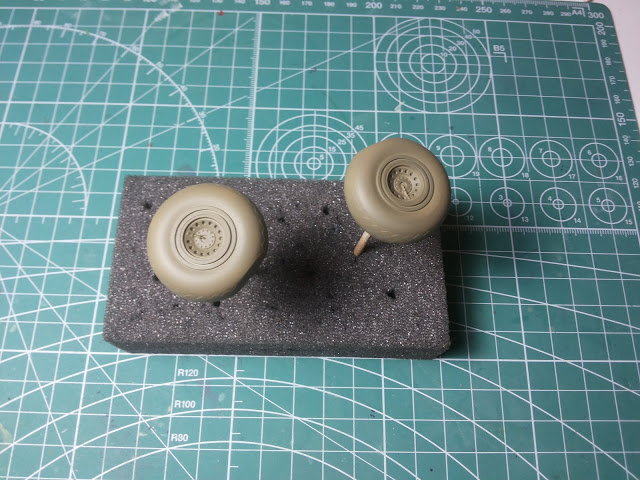
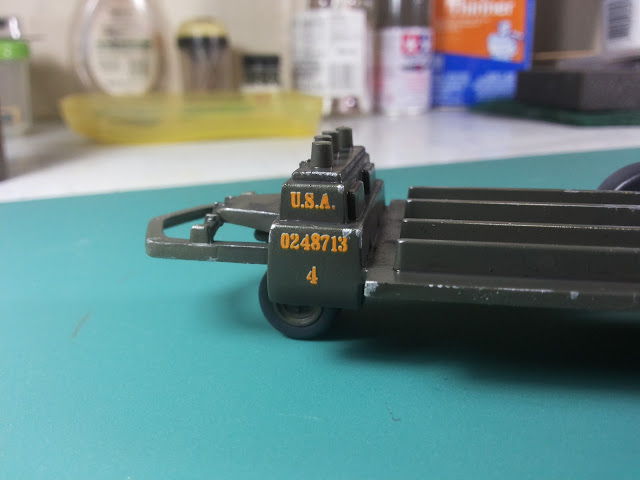
I needed to test first the plastic (a little soft to my taste), the primer / paints adhesion and the decals. I found ideally to experiment on the bomb cart, an extra feature provided with the kit but not required by customer. Besides, I felt more in my comfort zone in doing so.
The assembly is very simple, and it was an afternoon affair, excluding decaling and chipping:
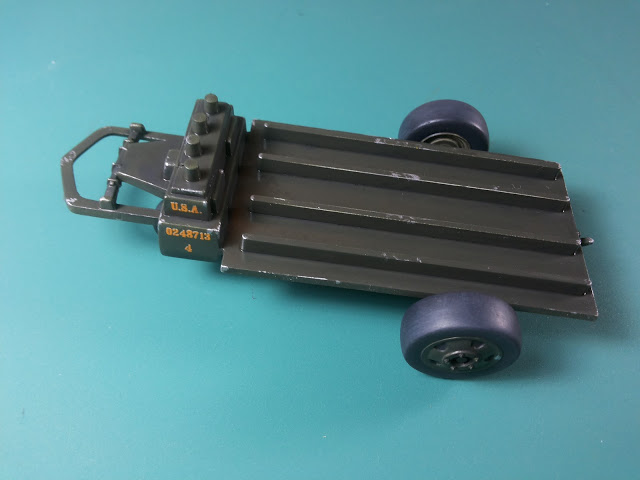
Flawless clear decals:
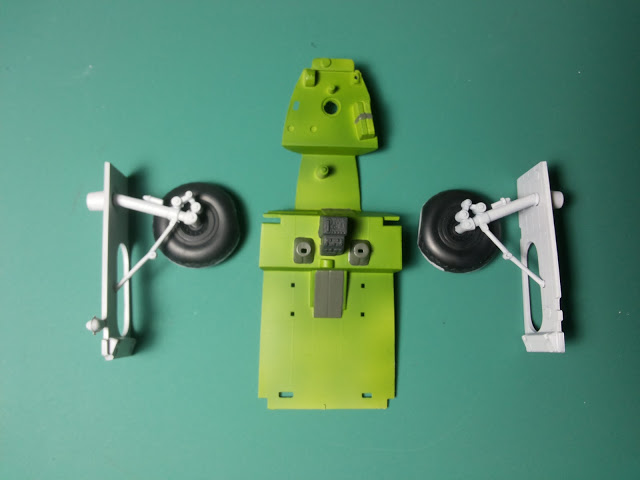
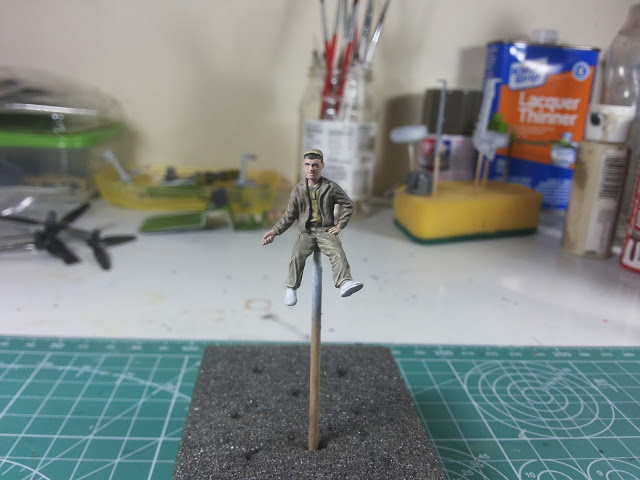
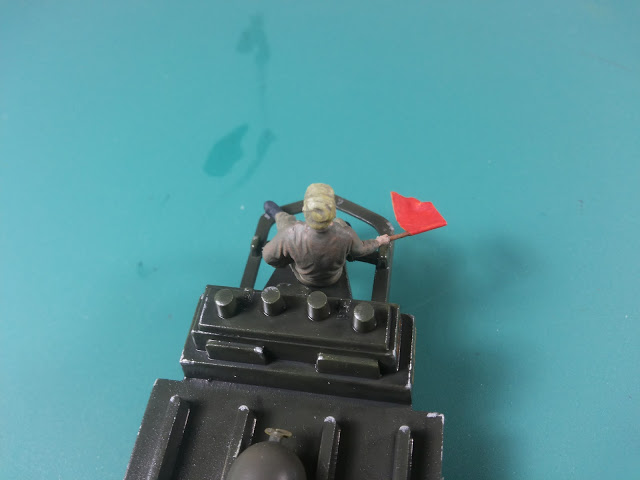
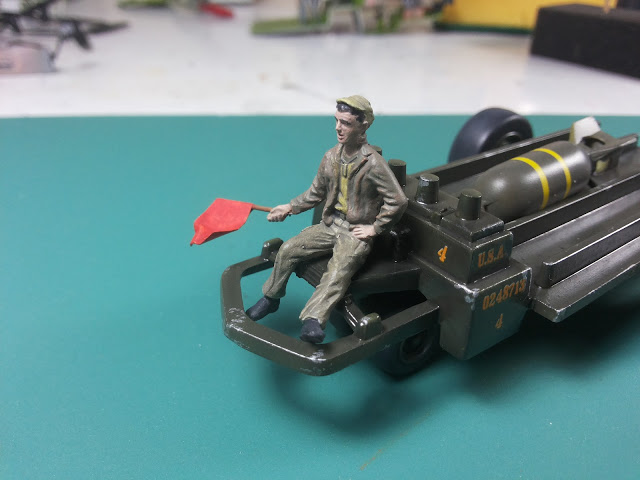
Overall view with a figure added for scale reference (figures also not required, but I guess I will give it a go, if time allows)

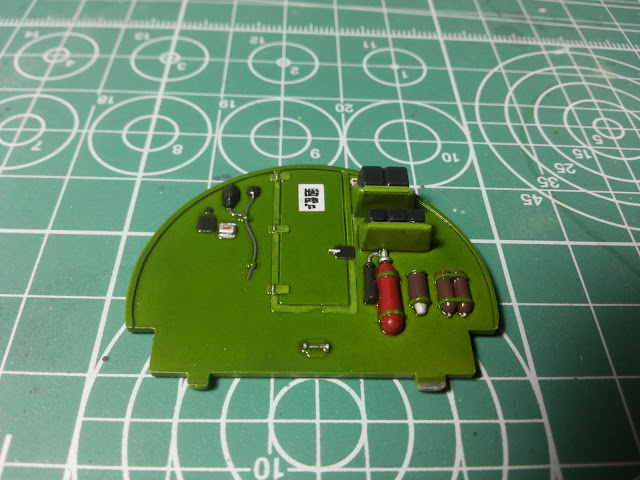
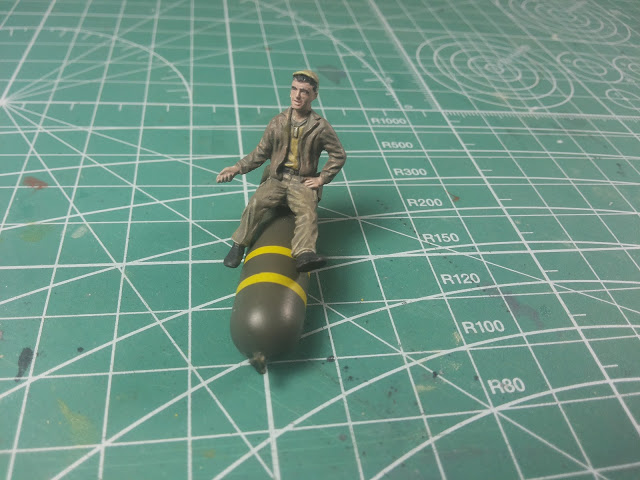
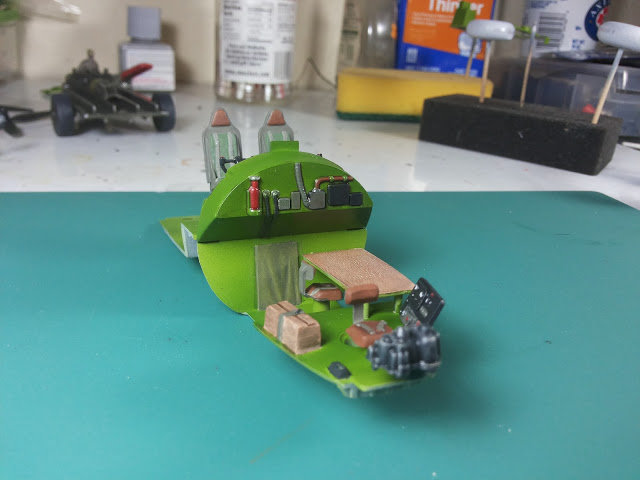
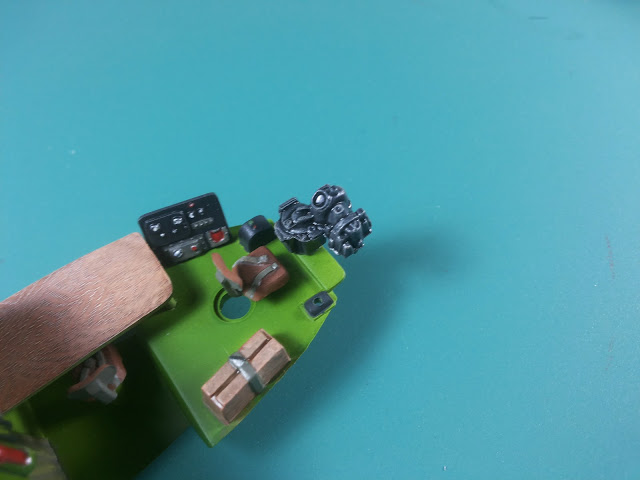
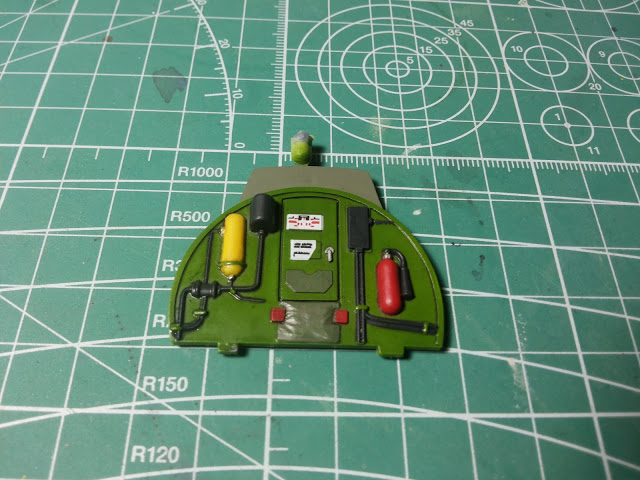
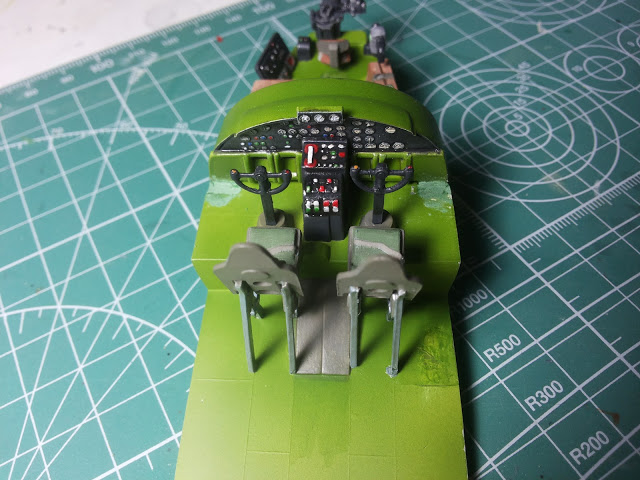
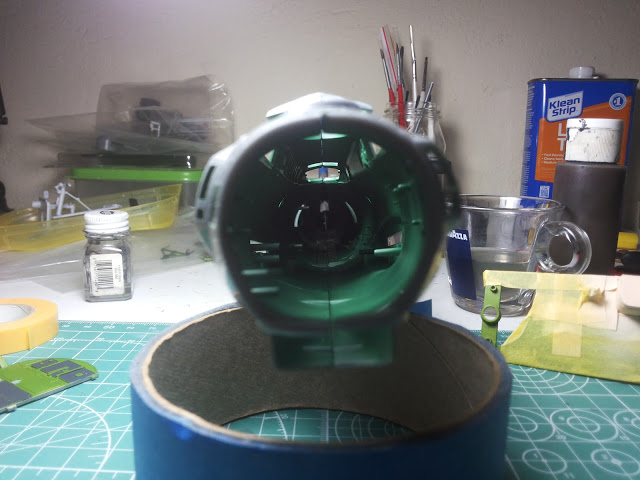
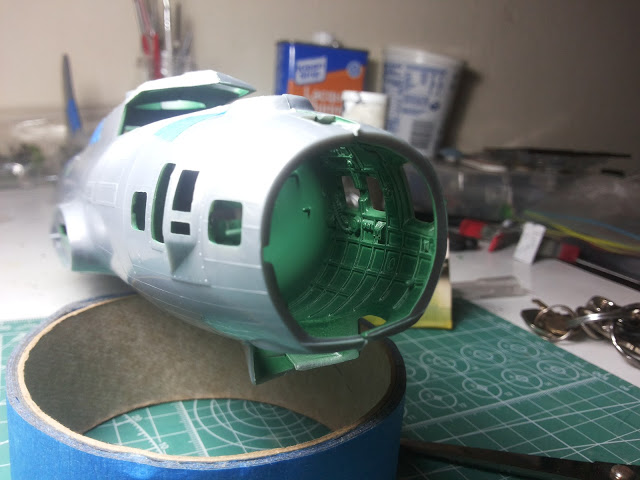
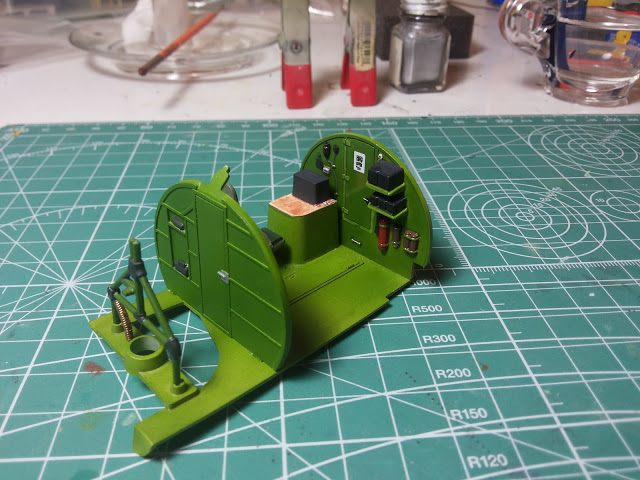
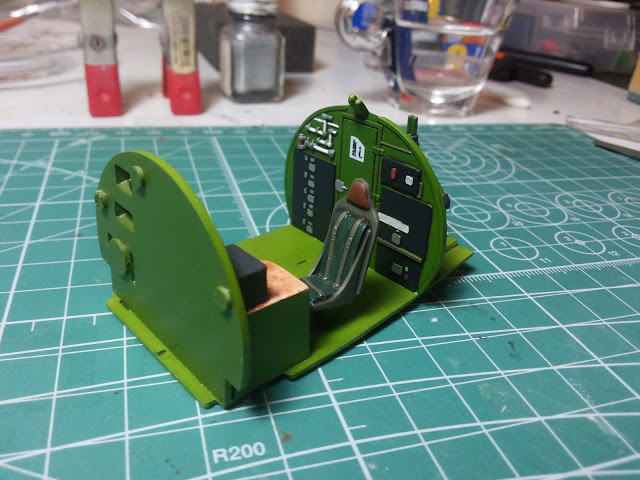
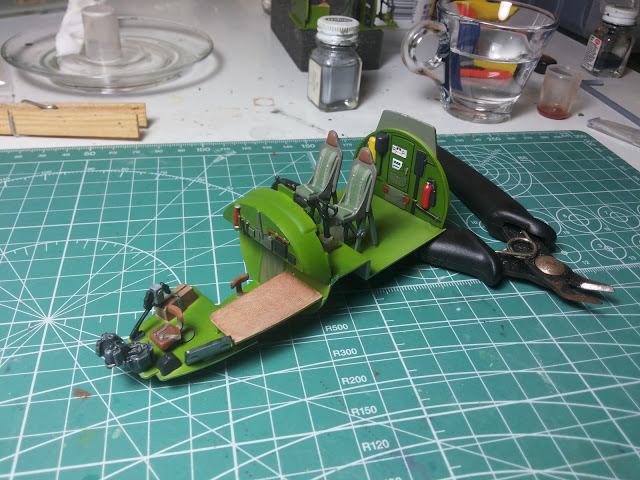
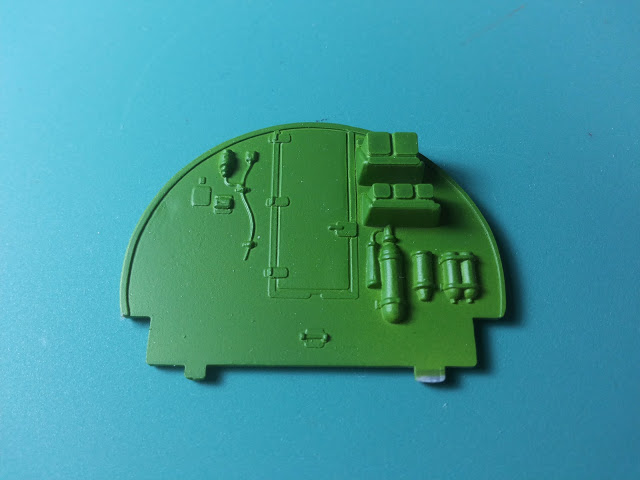
A first taste of chromate green:
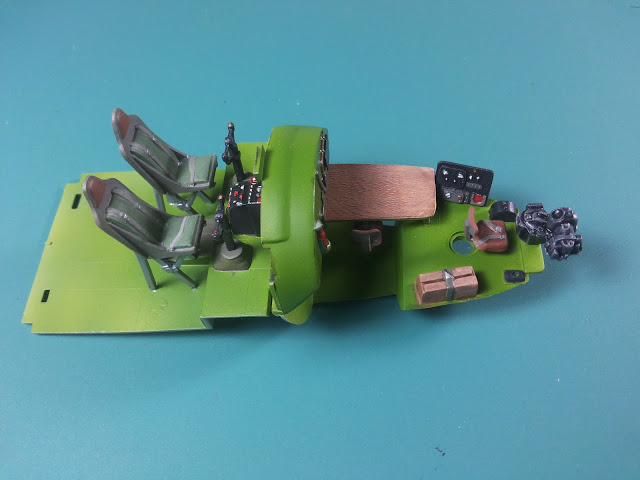
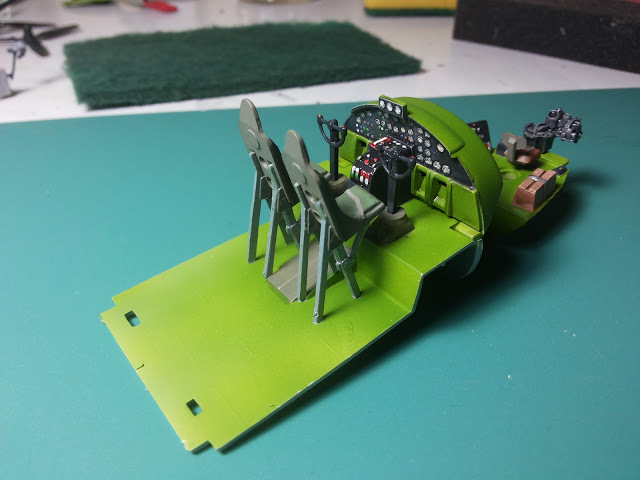
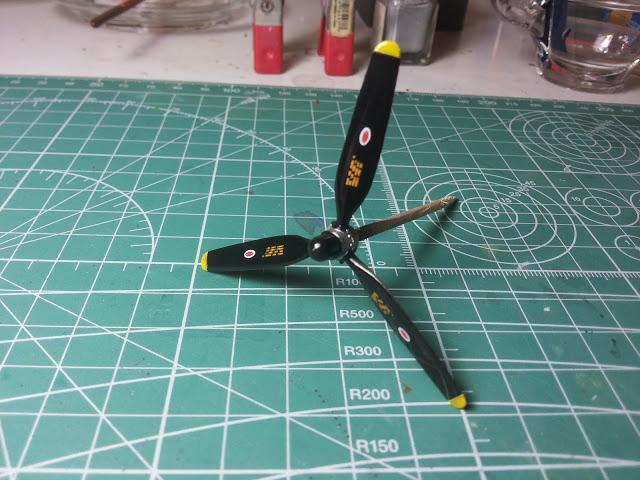
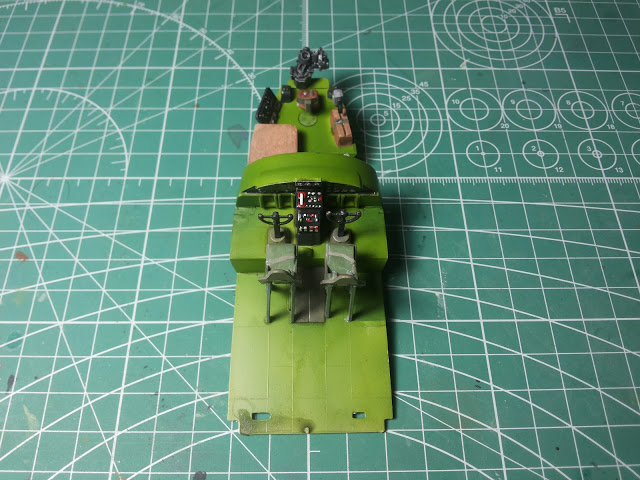
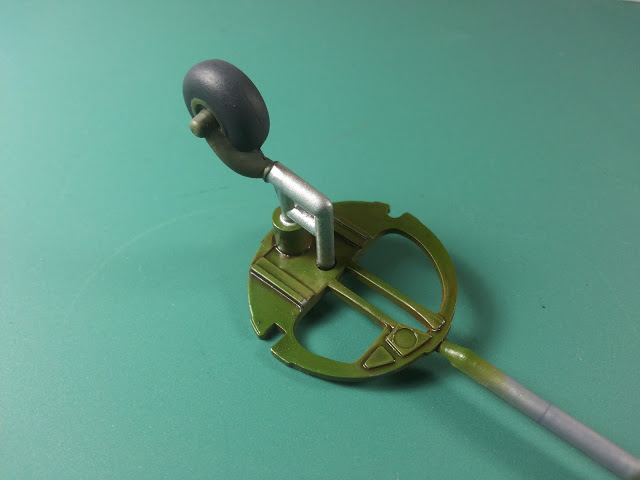
And first finished sub-assembly:
Thank you for commenting. Any help / suggestion will be very much appreciated.
Cheers,
Gabriel