

Welcome to the Official Double Trouble WWII Twins Campaign! It is 16:30 on November 30 here in the Great Southern Land, and since the idea for this Campaign sprouted hereabouts, that's near enough for me!
Trainers, Fighters, Bombers, Recce, Seaplanes and Flying Boats, Transports, Prototypes and Experimentals, the scope here is huge ! We want to explore the twin-engine aircraft that flew during World War 2.
The Campaign Sign-up page showing all of the rules and regs can be found HERE.
The Campaign Gallery for pics of completed builds is HERE.
I will be keeping a running list in this first post as we go, updated as regularly as possible, showing all participants names, kit details and build status. This will provide a convenient quick reference for us all to see what is being built and where everybody is at.
Please feel free to create a dedicated build log thread for your build if you wish, and post updates in this thread whenever you can.
Finally, many thanks to PrickleHead (Stephen) for raising this Campaign idea, good luck to everybody with your builds and many thanks for joining in!
ROLL CALL/BUILD STATUS
amegan (Andrew) 1/72 Airfix HP Hampden COMPLETED
Antilles (Oliver) 1/72 Revell Do 335 A-1a COMPLETED
Aussiereg (Damian) Unlikely to build, just directing traffic
b17-peter (Peter) 1/72 Italeri A-26B with Resin Extras Sprue Shots
c4willy (Chris) 1/72 Airfix D0217E Mistel with Encore Me 328A "Twin Twins" COMPLETED
camogirl (Sam)
dcandal (Daniel)
EHAM0624 (Jan) 1/72 Revell He 111 H-6 COMPLETED
eMan (Lap Man) 1/48 Hasegawa Hs-129 B-3 COMPLETED
GazzaS (Gary) 1/72 ICM Do 215 B-4 COMPLETED Build Log Here
goodn8 (Thomas) 1/72 Revell Hudson COMPLETED
iflytb20 (Raj) 1/48 Academy P-38J COMPLETED
Joel_W (Joel) 1/48 Academy B-25B COMPLETED Build Log Here
kapoybana (George)
LinusB (Linus) 1/48 Meng Me410 Interior completed, major assembly pending
macotra4 (Tom) 1/48 Revell Hs 129 B-2 COMPLETED
md72 (Mark) 1/72 Minicraft Ventura Interior Painted, Fuselage assembled and puttied. Radials painted
MichaelSatin (Michael) 1/32 Tamiya Mosquito COMPLETED
Mrockhill (Mike) 1/72 Hasegawa Ki-45
nico37 (Nicolas) 1/48 Revell B-25J
North4003 (Brett)
oldtimer (Martin) 1/48 Revell Ju-88
PeeJay74 (Paul) 1/48 Accurate Miniatures B-25D conversion to PBJ-1D
phantom_phanatic309 (Stephen) 1/72 Airfix Whitley COMPLETED (weathering and on-base images pending)
phumbles (Phil)
PrickleHead (Steven) 1/48 Special Hobby Maryland Interior paint and sub assemblies
RadekZ (Radek) 1/72 Airfix Do17z COMPLETED
SGTJKJ (Jesper)
SHAKY962 (Jose) 1/72 Hasegawa G4M Betty with Ohka COMPLETED
skclarey (Scott)
SuperSandaas (Eirik)
tinbanger (Richard) 1/32 Revell Beaufighter Mk IF COMPLETED
Tomcat31 (Allen) 1/48 Eduard (Academy) P-38J
windysean (Sean) 1/48 Monogram B-25J Plus extras Interior Sub Assemblies, Fuselage Cutaways
Cheers, D
Air Campaigns
Want to start or join a group build? This is where to start.
Want to start or join a group build? This is where to start.
Hosted by Frederick Boucher, Michael Satin
OFFICIAL: WWII Twins Campaign

AussieReg

#007

Joined: June 09, 2009
KitMaker: 8,156 posts
AeroScale: 3,756 posts
Posted: Sunday, November 29, 2015 - 10:38 AM UTC


phantom_phanatic309

#372

Joined: March 10, 2010
KitMaker: 2,568 posts
AeroScale: 1,619 posts

Posted: Monday, November 30, 2015 - 03:49 AM UTC
Here's my build.
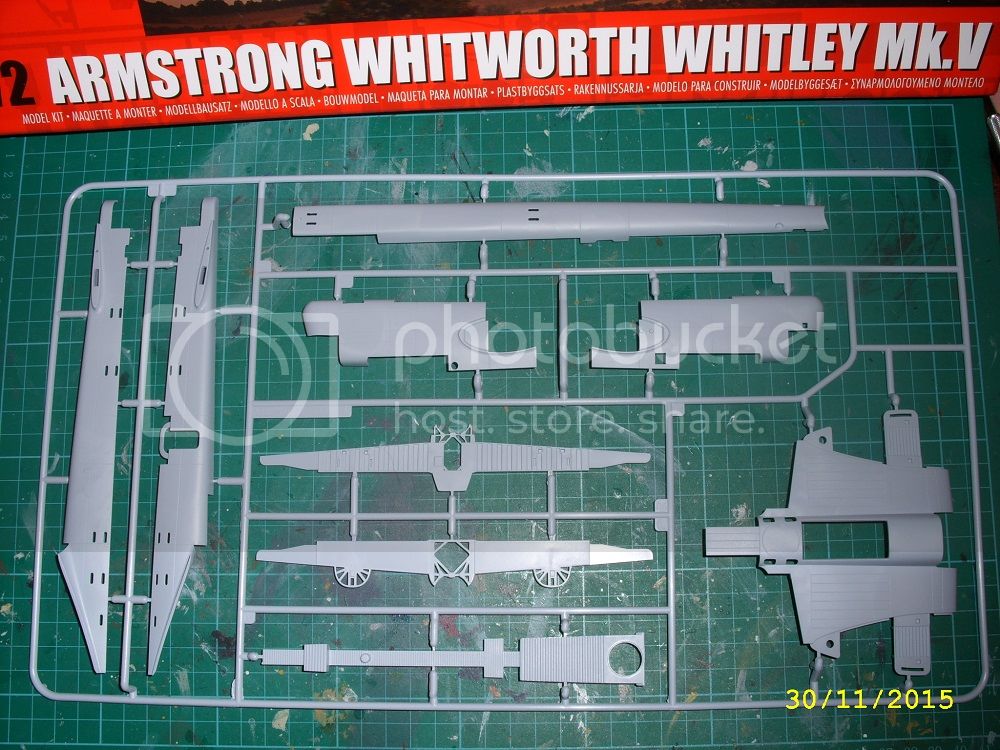
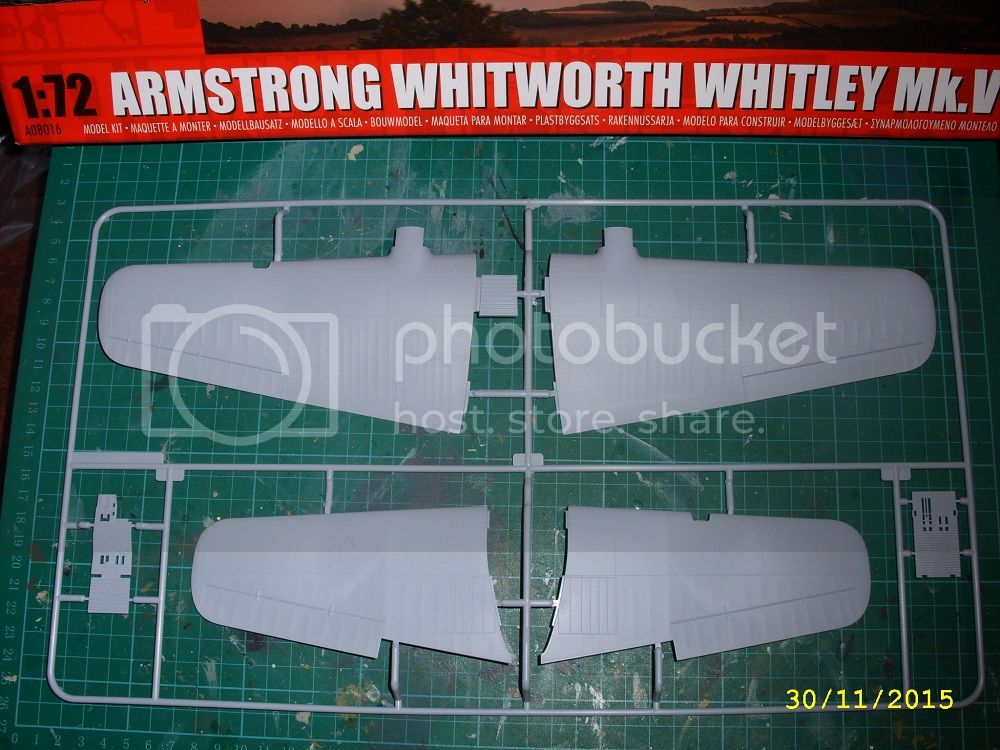
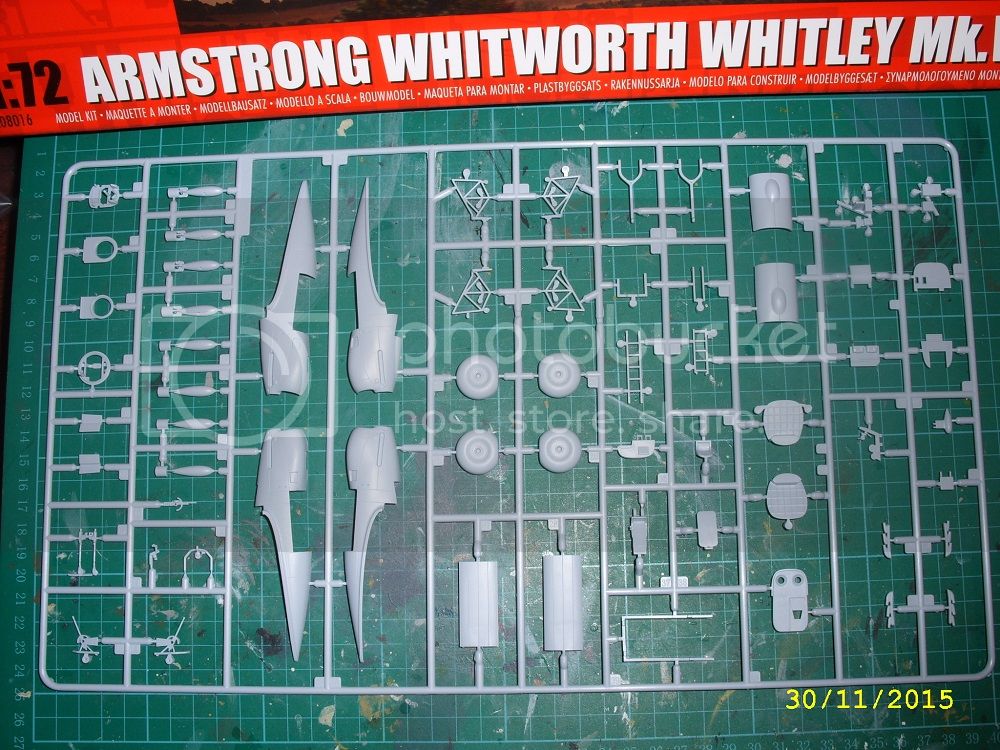
Obligatory sprue shots.

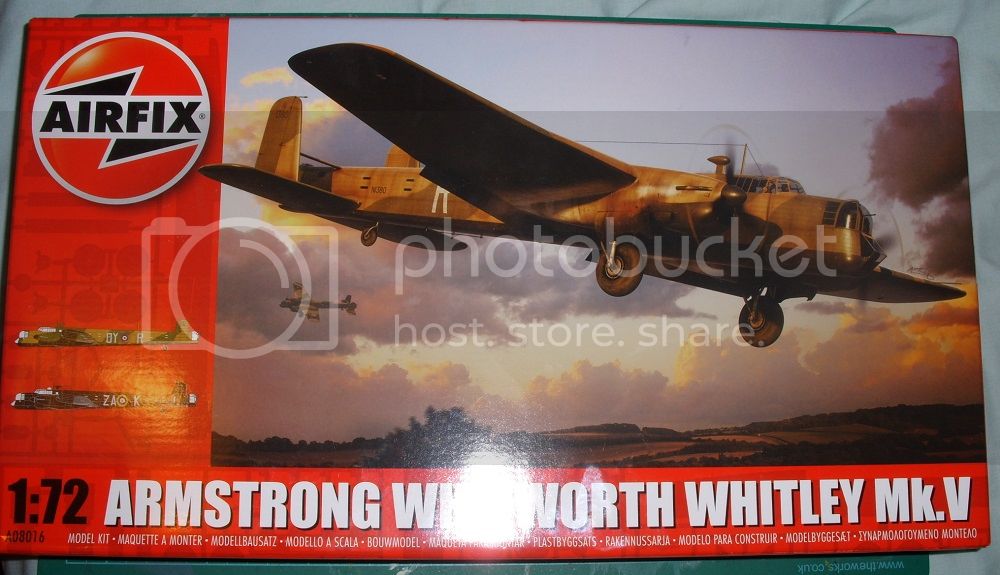
And my choice of markings are of course the all black 10 Sqn Whitley.
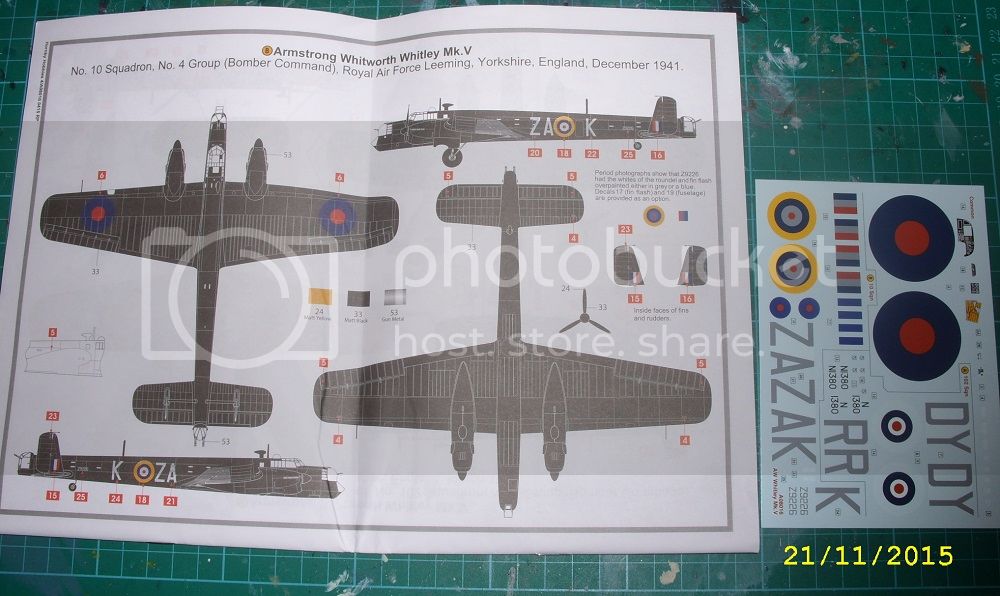
It's a surprisingly large model and should be an interesting build. I'm not sure if anyone has yet to do a build review of the Whitley on here, so I hope this will be of help and interest to anyone thinking of getting one.
Thanks for looking.


windysean

Joined: September 11, 2009
KitMaker: 1,917 posts
AeroScale: 563 posts
Posted: Monday, November 30, 2015 - 08:13 AM UTC
That IS a big one. Is the grid on the cutting mat in centimeters?
Joel_W
Joined: December 04, 2010
KitMaker: 11,666 posts
AeroScale: 7,410 posts
Posted: Tuesday, December 01, 2015 - 12:55 AM UTC
Damian,
I'm just finishing up my PV-1 Ventura in the next few weeks, then it's going to be the Academy 1/48 scale B-25B, formerly the Accurate Miniatures original molds for this campaign. I'll be doing my usual build blog, but since it's going to be almost a pure OOB build, there just won't be as many updates.
Joel

phantom_phanatic309
#372
Joined: March 10, 2010
KitMaker: 2,568 posts
AeroScale: 1,619 posts
Posted: Tuesday, December 01, 2015 - 01:23 AM UTC
Quoted Text
That IS a big one. Is the grid on the cutting mat in centimeters?
Yes, 10mm squares. The wing is also very thick, especially at the root. I suppose aerodynamics was not a priority when Armstrong Whitworth designed the thing!
Started work on the cockpit tonight so I should have an update for later.
AussieReg
#007
Joined: June 09, 2009
KitMaker: 8,156 posts
AeroScale: 3,756 posts
Posted: Tuesday, December 01, 2015 - 02:01 AM UTC
Joel, thanks for the confirmation, I'm looking forward to following your build log.
Stephen, that does look like a big beast for seventy-tooth scale, thanks for getting us under way!
Roll Call/Build Status duly updated.
Cheers, D
Stephen, that does look like a big beast for seventy-tooth scale, thanks for getting us under way!
Roll Call/Build Status duly updated.
Cheers, D

RussellE
#306
Joined: June 27, 2010
KitMaker: 3,959 posts
AeroScale: 598 posts
Posted: Tuesday, December 01, 2015 - 02:03 AM UTC
This looks like a fun campaign to watch 
Stephen I just added the Whitley to the stash, so will be following along with interest!
Stephen I just added the Whitley to the stash, so will be following along with interest!

phantom_phanatic309
#372
Joined: March 10, 2010
KitMaker: 2,568 posts
AeroScale: 1,619 posts
Posted: Tuesday, December 01, 2015 - 03:44 AM UTC
Quoted Text
This looks like a fun campaign to watch
Stephen I just added the Whitley to the stash, so will be following along with interest!
Thanks, I hope you like how it goes together.
Started by cutting out and cleaning up the main parts for cockpit and assembling a couple of the bulkheads. Detail is very nice in places, non-existent in others and flash is minimal unlike the Dornier which I found a little flashy. A few ejector pin marks but hopefully they will be hidden. I'll start to some paint on these parts tomorrow.

One thing I do like is the option of building the navigators table up or folded away. If you choose to use the folded table, it has a couple of stowed parachutes on the underside! A nice little detail.

Airfix give you decals for the instrument panel, which is helpful as the panel is blank with no raised dials or switches. Would have been nice to have some molded on detail on it though. You also get some cockpit placards and a map for the table. Oddly, we don't have seatbelt decals which were included in the Blenheims. While not as good as PE belts, they are better than nothing and look ok under heavy framed bomber canopies. A strange ommision. I'm going to make up a set from painted paper as I'm staying OOB on this project.

md72
#439
Joined: November 05, 2005
KitMaker: 4,950 posts
AeroScale: 3,192 posts

Posted: Tuesday, December 01, 2015 - 12:00 PM UTC
oh, now I gotta dig mine out and get a photo to start.
Joel, I've got the AM B-25B in the stash, I'd love to see how it turns out.
Joel, I've got the AM B-25B in the stash, I'd love to see how it turns out.


GazzaS
#424
Joined: April 23, 2015
KitMaker: 4,648 posts
AeroScale: 1,938 posts

Posted: Saturday, December 05, 2015 - 06:53 AM UTC
Hello Fellow Campaigners,
Just a small note, I am one half of a pair of twins, myself.
My Build is the Dornier Do-215 in 1/72 scale. If you want to follow my blog, the thread is here:
http://aeroscale.kitmaker.net/forums/241978&page=1#2041298
Here is the Sprue and box shot:

I tackled the cockpit first.

And then the rest of the fuselage.

That black, gooey looking mess is Damian's aka Aussiereg's miracle putty. ON this model, I'm experimenting with it to join some of the larger pieces.
Happy Modelling!
Gary
Just a small note, I am one half of a pair of twins, myself.
My Build is the Dornier Do-215 in 1/72 scale. If you want to follow my blog, the thread is here:
http://aeroscale.kitmaker.net/forums/241978&page=1#2041298
Here is the Sprue and box shot:
I tackled the cockpit first.
And then the rest of the fuselage.
That black, gooey looking mess is Damian's aka Aussiereg's miracle putty. ON this model, I'm experimenting with it to join some of the larger pieces.
Happy Modelling!
Gary
phantom_phanatic309
#372
Joined: March 10, 2010
KitMaker: 2,568 posts
AeroScale: 1,619 posts
Posted: Monday, December 07, 2015 - 02:15 AM UTC
You must explain the miracle putty, I think I missed that one.
I'm busy trying to get some paint on the Whitley's interior but not having much luck. For speed I'm using Tamiya IJN cockpit green, which is identical to RAF interior green. It's needed 2 coats and I've ran into the old problem of Tamiya paint stripping off the base layer. And that's after leaving the first coat all weekend to harden. I'm now starting to wish I had stuck with the trusty old humbrol enamel. I'll see how it looks when it has dried. If it's a bit tatty I'll strip it and start again.
Do Vallejo make an RAF interior green? I'm starting to become a fan of their paints and if they do it will be a big help.
Some researching has also turned up a few grainy pics of Whitley ZA-K which seem to show that the small windows along the fuselage and belly were painted over in black. I'm guessing it was either to reduce glare from searchlights, flak etc or because the groundcrews couldn't be bothered with masking them out. Either way it will make my life easier when it comes to painting.
Joel_W
Joined: December 04, 2010
KitMaker: 11,666 posts
AeroScale: 7,410 posts
Posted: Monday, December 07, 2015 - 08:43 AM UTC
Stephen,
I've never had any issues with Tamiya acrylics sticking to primer. I do prime everything 1st with either AMMO gray acrylic primer or Tamiya Gray lacquer primer.
For RAF interior Green I've been using Model Master enamel RAF Interior Green as I bought a bottle for my Spitfire build. It also adheres to either primer very well.
Joel
GazzaS
#424
Joined: April 23, 2015
KitMaker: 4,648 posts
AeroScale: 1,938 posts
Posted: Monday, December 07, 2015 - 02:02 PM UTC
Quoted Text
You must explain the miracle putty, I think I missed that one.
:D
It's just sprue dissolved in liquid model cement. You can contol it's thickness and it seems to make a stronger bond than just liquid cement or any other putty. It dries hard because it's styrene. It sands smooth since it isn't granular.
AussieReg
#007
Joined: June 09, 2009
KitMaker: 8,156 posts
AeroScale: 3,756 posts
Posted: Monday, December 07, 2015 - 06:36 PM UTC
Update time folks, already some good progress being shown!
The "Miracle Putty" can in no way be attributed to me! I have read about people using this product on various forums and gave it a try a while back, and it works well for me. As Joel and Rowan have mentioned, it can take a while to fully cure and if applied into a sealed space the solvent fumes can soften the surrounding plastic. I mainly use it for filling seams and ejector pin marks and other surface blemishes. I did a mini-pictorial-tutorial on page 11 of the recent Me262 Campaign HERE , just over half way down the page.
Cheers, D
Joel_W
Joined: December 04, 2010
KitMaker: 11,666 posts
AeroScale: 7,410 posts
Posted: Tuesday, December 08, 2015 - 02:55 AM UTC
Ok, I took off enough time after the PV-1 build, and my 1/43 scale Mclaren's haven't arrived as yet, so I've cracked open the Academy B-25B box and have started cleaning up the cockpit. Will be posting a mini update once I get a little more done.
Joel
Joel
phantom_phanatic309
#372
Joined: March 10, 2010
KitMaker: 2,568 posts
AeroScale: 1,619 posts
Posted: Tuesday, December 08, 2015 - 04:12 AM UTC
Quoted Text
Stephen,
I've never had any issues with Tamiya acrylics sticking to primer. I do prime everything 1st with either AMMO gray acrylic primer or Tamiya Gray lacquer primer.
For RAF interior Green I've been using Model Master enamel RAF Interior Green as I bought a bottle for my Spitfire build. It also adheres to either primer very well.
Joel
I probably should have primed, but as it was the interior I painted straight on to bare plastic with a brush. Brush painting a second coat always attacks away the base layer. I should have known better really and just reached for Humbrol. Lesson learned. As it is, it's dried ok. Haven't found a source yet for Model Master although I do hear good things about them. I'm fast moving away from Tamiya and onto Vallejo for acrylics, a model shop near me stocks the full range.
I'll give the melted plastic putty a try. It sounds like it will be harder wearing and less likely to crumble than regular modelling putty.
Joel_W
Joined: December 04, 2010
KitMaker: 11,666 posts
AeroScale: 7,410 posts
Posted: Tuesday, December 08, 2015 - 05:27 AM UTC
Quoted Text
Quoted TextStephen,
I've never had any issues with Tamiya acrylics sticking to primer. I do prime everything 1st with either AMMO gray acrylic primer or Tamiya Gray lacquer primer.
For RAF interior Green I've been using Model Master enamel RAF Interior Green as I bought a bottle for my Spitfire build. It also adheres to either primer very well.
Joel
I probably should have primed, but as it was the interior I painted straight on to bare plastic with a brush. Brush painting a second coat always attacks away the base layer. I should have known better really and just reached for Humbrol. Lesson learned. As it is, it's dried ok. Haven't found a source yet for Model Master although I do hear good things about them. I'm fast moving away from Tamiya and onto Vallejo for acrylics, a model shop near me stocks the full range.
I'll give the melted plastic putty a try. It sounds like it will be harder wearing and less likely to crumble than regular modelling putty.
Stephen,
If you're hand painting, then try priming with a rattle can 1st. It will solve most of your issues. Tamiya doesn't hand brush very well, but I almost never hand brush these days.
Joel
AussieReg
#007
Joined: June 09, 2009
KitMaker: 8,156 posts
AeroScale: 3,756 posts
Posted: Wednesday, December 09, 2015 - 07:06 AM UTC
Update and bump time.
Joel, great to see you underway. Looking forward to some progress pics.
Cheers, D
Joel, great to see you underway. Looking forward to some progress pics.
Cheers, D

mrockhill
Joined: June 17, 2009
KitMaker: 566 posts
AeroScale: 507 posts

Posted: Thursday, December 10, 2015 - 09:51 AM UTC
I'll join in with a hasegawa ki-45 in 1/72. I really wanted to build this in the 1945 campaign but when my chosen decals arrived I found out my kit was the wrong version. Being that Im quite okay with the kit decals and Id got all excited to pull this flea market find out of the stash and build it, I might as well harness the enthusiasm! 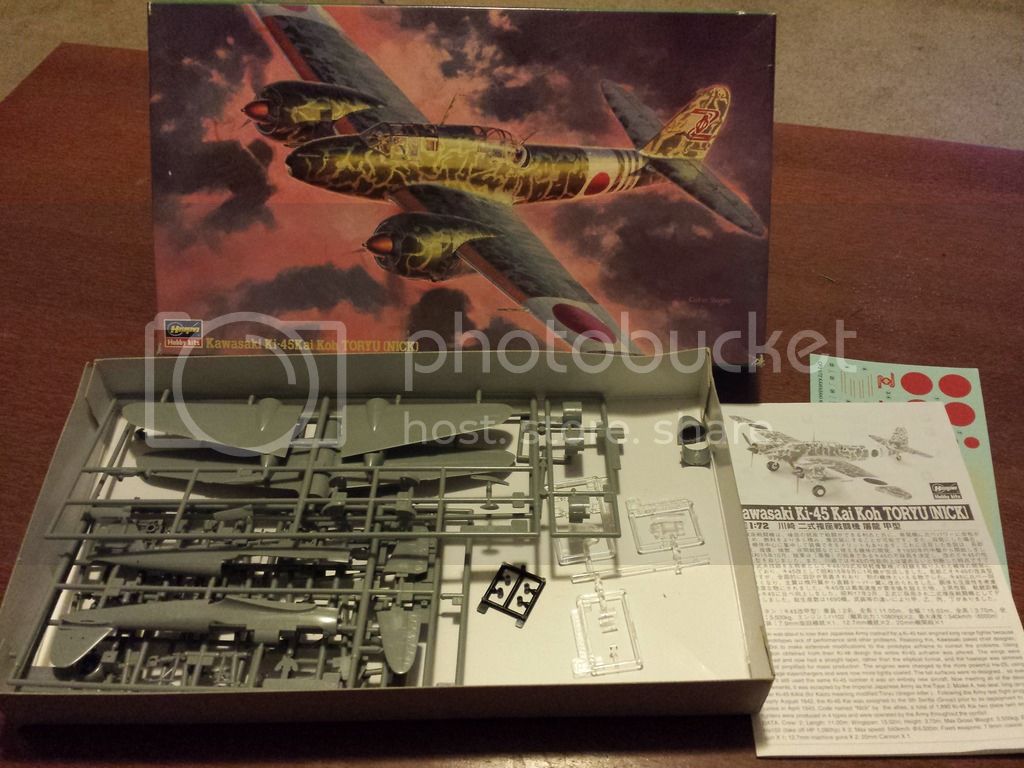
I intend to use the kit markings for ace and noted B-29 killer Isamu Kashiide. Ive been eyeing up some cockpit etch or resin but I want to do some dry fitting first and see if I can be happy with some scratch built details.
As for my erstwhile aeromaster ki-45 decals, Into the stash with em'! Ill come across the proper kit another time
GazzaS
#424
Joined: April 23, 2015
KitMaker: 4,648 posts
AeroScale: 1,938 posts
Posted: Thursday, December 10, 2015 - 10:54 AM UTC
Awesome choice, Mike! I know little about Japanese heavy fighters, so I'll be glad to see what you make of it.
Gary
Gary
AussieReg
#007
Joined: June 09, 2009
KitMaker: 8,156 posts
AeroScale: 3,756 posts
Posted: Thursday, December 10, 2015 - 01:44 PM UTC
Welcome aboard Mike, and thanks for joining in. I like the look of the Japanese heavy fighters, it will be good to follow your progress on this build.
Cheers, D
Cheers, D
AussieReg
#007
Joined: June 09, 2009
KitMaker: 8,156 posts
AeroScale: 3,756 posts
Posted: Wednesday, December 16, 2015 - 06:47 AM UTC

 , D
, DGazzaS
#424
Joined: April 23, 2015
KitMaker: 4,648 posts
AeroScale: 1,938 posts
Posted: Monday, December 21, 2015 - 11:29 AM UTC
Damian,
You must have a PC full of images!
Anyway, here are a few from me:


NOw I can let all of that lovely enamel paint cure for a couple of days then I can start decals and weathering.
Merry Christmas to all of you!
Gary
You must have a PC full of images!
Anyway, here are a few from me:
NOw I can let all of that lovely enamel paint cure for a couple of days then I can start decals and weathering.
Merry Christmas to all of you!
Gary

nico37

Joined: May 23, 2011
KitMaker: 651 posts
AeroScale: 181 posts

Posted: Monday, December 21, 2015 - 12:01 PM UTC
Hi all,
very interesting models around there !
Gary: yours would obviously be finished before i even started !
Mine will wait a little for my DH-88 to be more advanced, not before mid-january i guess...
So, hope to you all to have nice Christmas parties
cheers
nico
very interesting models around there !
Gary: yours would obviously be finished before i even started !
Mine will wait a little for my DH-88 to be more advanced, not before mid-january i guess...
So, hope to you all to have nice Christmas parties
cheers
nico
AussieReg
#007
Joined: June 09, 2009
KitMaker: 8,156 posts
AeroScale: 3,756 posts
Posted: Tuesday, December 22, 2015 - 03:53 AM UTC
Quoted Text
Damian, You must have a PC full of images!
Many years of browsing the interwebs and grabbing images that interest me! The hardest part is organising them so that I can actually find them when I need to
Great progress on the Dornier Gazza, looking good.
Nico, I am following your Comet build over on the Civil Campaign, very nice scratchbuilding work!
Cheers, D
 |

WEB HOSTING BY


Copyright ©2021 AeroScale and Kitmaker Network, a subsidiary of Silver Star Enterprises
All Rights Reserved. Please read our Conditions of Use and Privacy Policy.
All Rights Reserved. Please read our Conditions of Use and Privacy Policy.