OFFICIAL: A Very Civil Campaign
Ontario, Canada
Joined: February 04, 2008
KitMaker: 2,507 posts
AeroScale: 1,814 posts
Posted: Tuesday, December 29, 2015 - 09:14 PM UTC
Hi Mike.
After filling you may want to re-scribe panels if you want to land again!

Happy new year!
" The Die Hards"
43rd MIDDLESEX REGIMENT
MACHINE GUN CORPS
XXX CORP
The most effective way to do it, is to do it.
- Amelia Earhart
United States
Joined: December 26, 2008
KitMaker: 288 posts
AeroScale: 195 posts
Posted: Wednesday, December 30, 2015 - 08:22 PM UTC
Richard
What a great photo!!!! I had not come across this one in my searches for references. I was not planning on landing as it is so much fun flying, but maybe I should reconsider!
That is a great catch, BTW. I am planning to lightly scribe in the wing line as you can barely see the flying wing line in real life much less in 1/144. There was something more like a canyon when I first put the wing on top of the fuselage.
I ended up damaging the thin trailing edge where the wing meets the fuselage so I'll need to take a step back and fix this before I make forward progress.
Have a great New Year's Eve!
Mike
Quoted Text
Hi Mike.
After filling you may want to re-scribe panels if you want to land again!
Happy new year!

Istanbul, Turkey / Türkçe
Joined: December 22, 2004
KitMaker: 1,241 posts
AeroScale: 616 posts
Posted: Sunday, January 03, 2016 - 04:12 PM UTC
Hi everyone. As my usual custom I arrive late. I went through the regulations and the forum quickly but couldn't find anything for my question so I am asking. No what-if ok buuuut... how about comic books? I have an evil plan about the yellow Ar.196 in Tintin

Would that be appropiate for the campaigne? It is a military aircraft used in civilian use but it is in a comic book. If it is ok I will run for it. I have the "cutting edge"Airfix kit waiting for orders.
PS.Did I see an Ed Force One? Cooool! Happy new years everyone!
NVNC ID VIDES NVNC NE VIDES

">
Ontario, Canada
Joined: February 04, 2008
KitMaker: 2,507 posts
AeroScale: 1,814 posts
Posted: Tuesday, January 05, 2016 - 03:17 AM UTC
Quoted Text
Hi everyone. As my usual custom I arrive late. I went through the regulations and the forum quickly but couldn't find anything for my question so I am asking. No what-if ok buuuut... how about comic books? I have an evil plan about the yellow Ar.196 in Tintin
Would that be appropiate for the campaigne? It is a military aircraft used in civilian use but it is in a comic book. If it is ok I will run for it.
Hi Yalým
I am sorry but your build would suite the "Wat If "campaign.
This campaign is for "real"civil equipment.
Try to find another subject.
Thank you.
Richard.

" The Die Hards"
43rd MIDDLESEX REGIMENT
MACHINE GUN CORPS
XXX CORP
The most effective way to do it, is to do it.
- Amelia Earhart
Buenos Aires, Argentina
Joined: September 07, 2006
KitMaker: 918 posts
AeroScale: 688 posts
Posted: Tuesday, January 05, 2016 - 07:30 PM UTC
Istanbul, Turkey / Türkçe
Joined: December 22, 2004
KitMaker: 1,241 posts
AeroScale: 616 posts
Posted: Tuesday, January 05, 2016 - 09:30 PM UTC
Fair enough. I'll dig in my stash for other options then. Thanks for the answer.
NVNC ID VIDES NVNC NE VIDES
">
Indre-et-Loire, France
Joined: May 23, 2011
KitMaker: 651 posts
AeroScale: 181 posts
Posted: Wednesday, January 06, 2016 - 04:21 PM UTC
Hi and Happy New year to you all !
Very good work on the weathering Daniel !
Here are the pics of my last work.
The front instrument panel scratch :


The throttles scratch:

Here i call the cockpit scratchbuilt done, but for the seat belts which i'll do later after the paint work, so i put the primer (Light Grey Tamiya bomb) :


And then, i began the paint work with "LifeColor" acrylics:

Cheers
nico
United States
Joined: February 01, 2009
KitMaker: 1,233 posts
AeroScale: 663 posts
Posted: Thursday, January 07, 2016 - 06:20 AM UTC
Daniel----That is really a nice weathering job thus far. Very realistic indeed.
Nico----Great scratchbuilding on the cockpit. Quite an improvement over the original kit cockpit (or lack of one).
Mike---F-8 is shaping up nicely. Love the sleek lines of the Crusader.
Best wishes,
Ian
It is a fact that under equal conditions, large-scale battles and whole wars are won by troops which have a strong will for victory, clear goals before them, high moral standards, and devotion to the banner under which they go into battle.
-Georgy Zhukov
Indre-et-Loire, France
Joined: May 23, 2011
KitMaker: 651 posts
AeroScale: 181 posts
Posted: Thursday, January 14, 2016 - 06:09 PM UTC
United States
Joined: December 26, 2008
KitMaker: 288 posts
AeroScale: 195 posts
Posted: Thursday, January 14, 2016 - 09:25 PM UTC
Well, I think I have been stuck in the proverbial modeler's Twilight Zone for these past few weeks! I have been working on filling small seams and rescribing lost panel lines followed by repainting the primer. At that point I find another flaw that bugs me and the process repeats itself. I have ben especially bugged about a small nick that occurred in one of the wings trailing edges and I trying to fix it only to find that the fix fails or I need to rescribe more panels that ere lost in the previous fix. Arghhh!!! Hopefully I am near done with this step and I can show a photo or two of the primed fuselage soon.
In the mean time, the actual aircraft has a large nose probe. After measuring this in a few side view photos, I added one using a straight pin inserted in a drilled hole in the nose. Here is what it looks like before I add it to the fuselage:

Hopefully, I'll have some more interesting progress to show soon!
Have fun modeling
Mike
Buenos Aires, Argentina
Joined: September 07, 2006
KitMaker: 918 posts
AeroScale: 688 posts
Posted: Thursday, January 14, 2016 - 11:45 PM UTC
Ontario, Canada
Joined: February 04, 2008
KitMaker: 2,507 posts
AeroScale: 1,814 posts
Posted: Friday, January 15, 2016 - 04:52 AM UTC
"Here I´m continuing with the Ford. Some photos,"
Keep up the great work!
" The Die Hards"
43rd MIDDLESEX REGIMENT
MACHINE GUN CORPS
XXX CORP
The most effective way to do it, is to do it.
- Amelia Earhart
United States
Joined: February 01, 2009
KitMaker: 1,233 posts
AeroScale: 663 posts
Posted: Friday, January 15, 2016 - 07:48 PM UTC
Daniel----That's really a fantastic weathering job thus far. It looks so realistic.
Mike---Tiny radome indeed!!! Looking forward to the rest of the build.
Best wishes,
Ian
It is a fact that under equal conditions, large-scale battles and whole wars are won by troops which have a strong will for victory, clear goals before them, high moral standards, and devotion to the banner under which they go into battle.
-Georgy Zhukov
United States
Joined: December 26, 2008
KitMaker: 288 posts
AeroScale: 195 posts
Posted: Friday, January 15, 2016 - 09:12 PM UTC
Daniel
Your weathering is a real inspiration, it looks perfect!!!
Ian
Thanks! I hope to have photos of the full primed fuselage posted here in the near future. You are right, though, the radome is tiny!
Have fun modeling
Mike

#501
Kerala, India / भारत
Joined: August 25, 2009
KitMaker: 292 posts
AeroScale: 194 posts
Posted: Saturday, January 16, 2016 - 09:01 PM UTC
I just realised I didn't post any updates here. My bad. I got carried away with the build

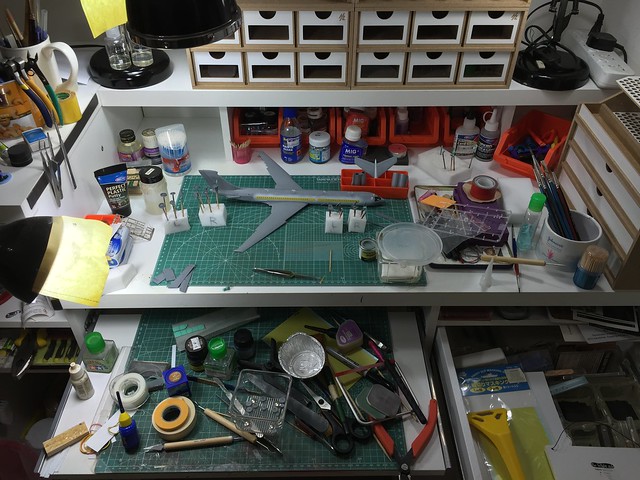
Fuselage all glued up. Also note the mess I call my workbench
Paint is on
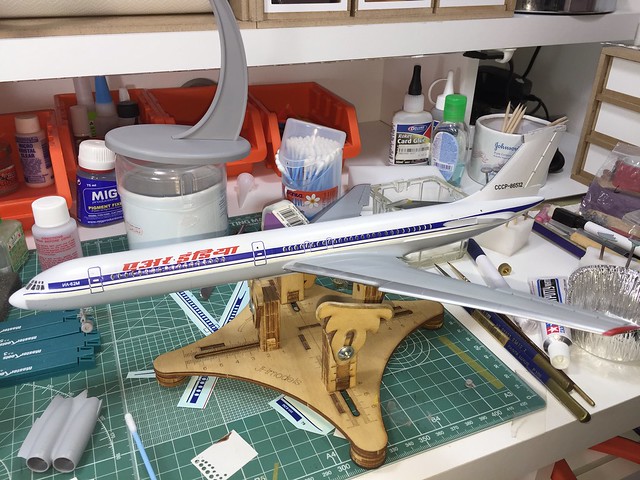
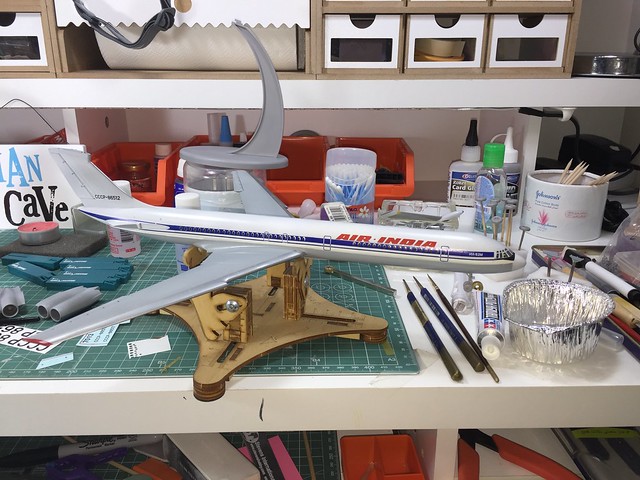
Decaling in preogress
tatbaqui
 News Reporter
#040
Metro Manila, Philippines
Joined: May 06, 2007
KitMaker: 2,713 posts
AeroScale: 65 posts
Posted: Friday, January 22, 2016 - 08:43 AM UTC
Hello,
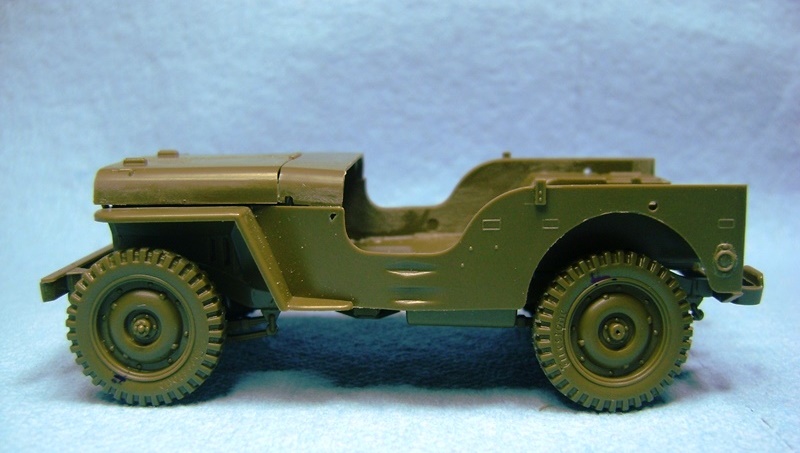
Finally got to really start on this build.
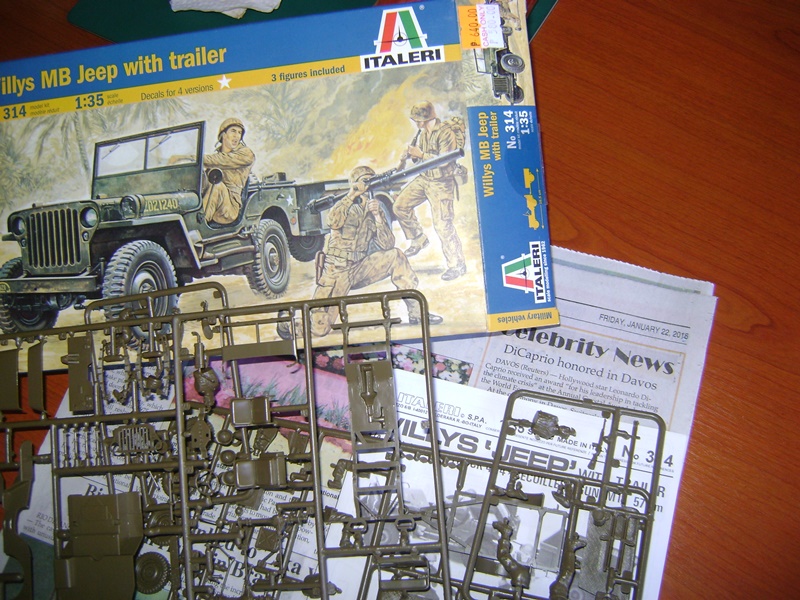
Plan to do something like this:
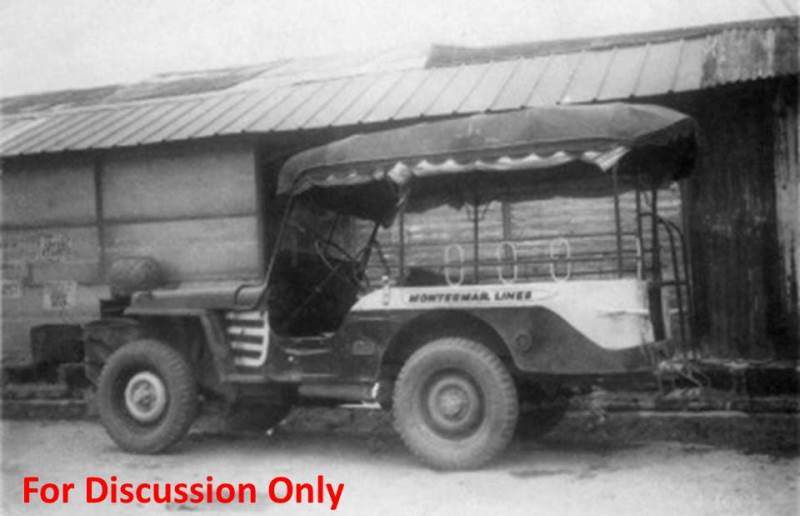
Need to extend the rear end as per above.

Good thing the tail gate is a separate part, making the cut much easier.
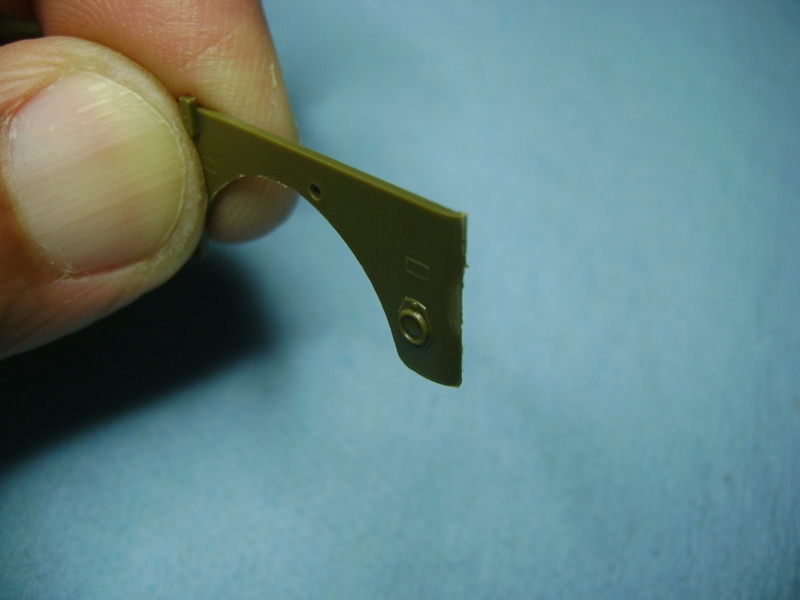
Till next update.
Cheers,
Tat
England - West Midlands, United Kingdom
Joined: August 01, 2012
KitMaker: 960 posts
AeroScale: 391 posts
Posted: Sunday, January 24, 2016 - 04:13 AM UTC
Here is my latest update on the E&B Valley Passenger Car build. I posted a photo of the B&A lettered Osgood Bradley E&B Valley kit as my initial campaign photo.
However, this project has sort of morphed into a complete Penn Central Commuter train build with locomotive. This project has been on my back burner for some time. I have the kits, paint and decals to do a complete commuter train from the Metro NY area in the early 1970's.
The passenger cars are from the E&B Valley kits and the locomotive is an older Model Die Casting kit of the (American Locomotive Company) ALCO RS3. The RS3 was a popular road switcher from the early 1950's that was in use up through the late 1970's on North American Class One Railroads.

The PC Passenger Train Kit Pile

Close up of the ALCO RS3

Some work completed on the Streamline Combine Car

Comparison of de-skirted yellow OB Coach and fully skirted SP OB Coach. Prototype New Haven and PC coaches by the late 1960's early 1970's had partial or no skirts. They were nearing the end of their use in commuter train service.
tatbaqui
News Reporter #040
Metro Manila, Philippines
Joined: May 06, 2007
KitMaker: 2,713 posts
AeroScale: 65 posts
Posted: Sunday, January 24, 2016 - 07:22 AM UTC
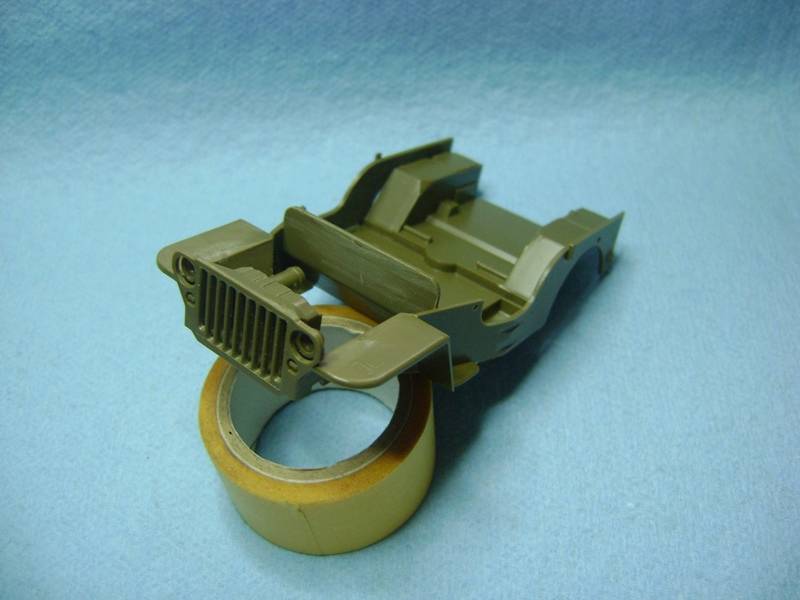
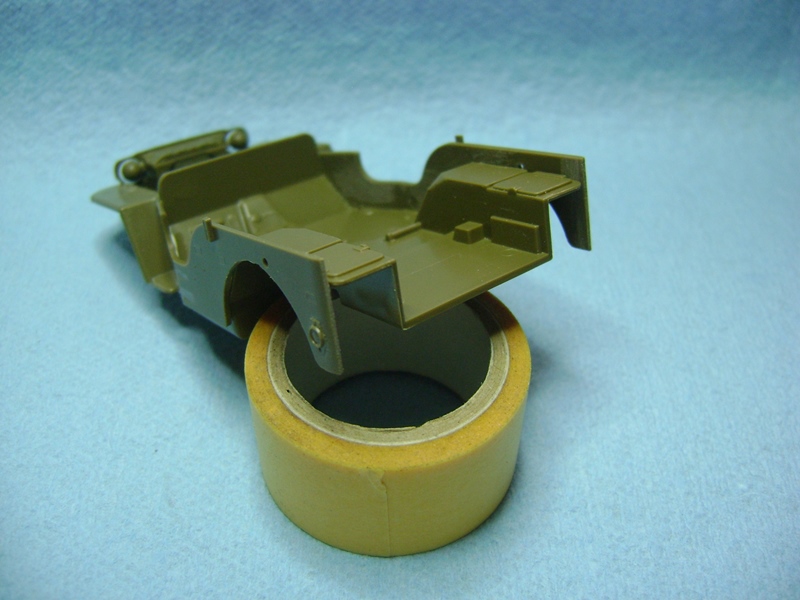
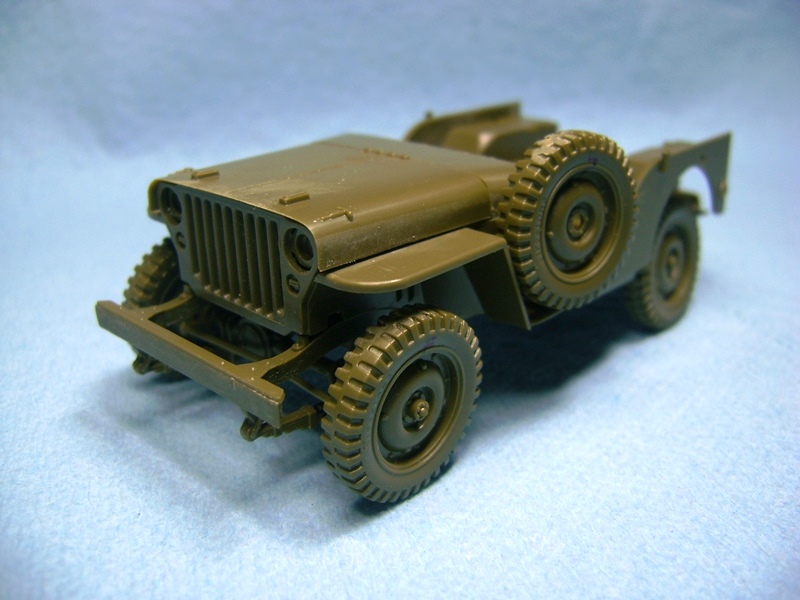
Hello,
More progress pics:

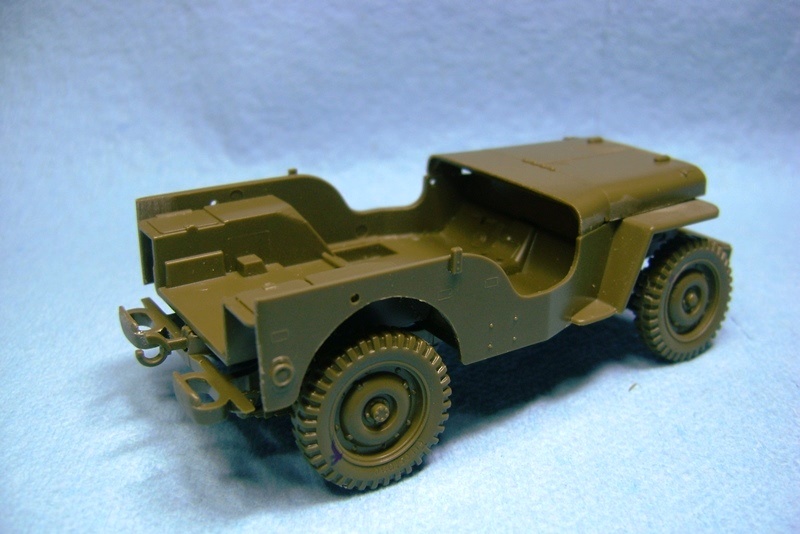
The jeepneys I grew up with had their spare tires mounted on the driver's side. Still thinking whether to do such here.
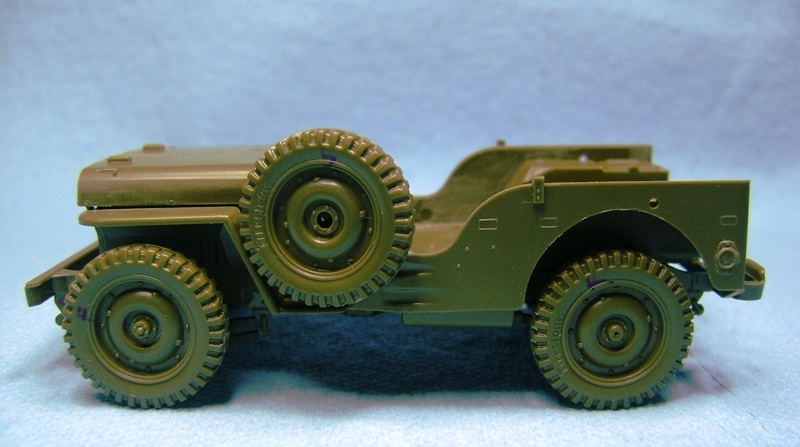
My guess is that it serves the dual purpose of easy access in case of need and, as a safety feature for the driver. Oh, also as an arm rest for the driver as he beckons folks to hop on.

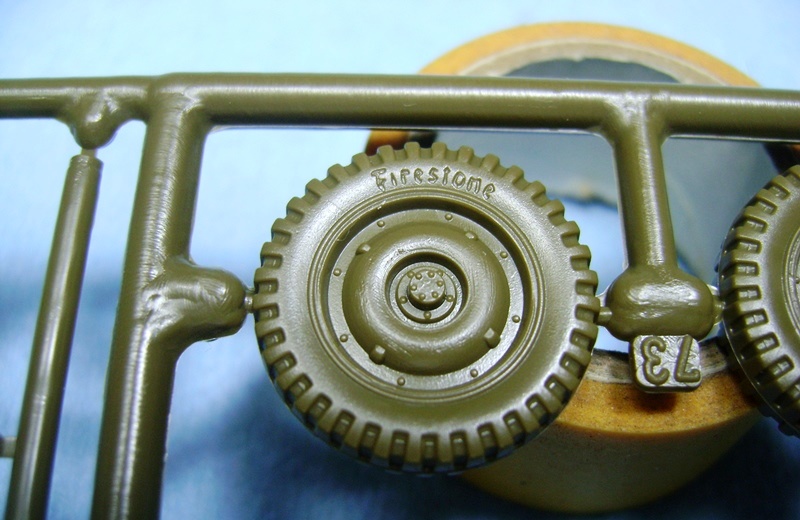
I read that this Italeri kit was released in 1979. As expected, the plastic is on the soft side -- but am happy to note that flash was almost non-existent. For a 30+ year old kit, I didn't expect the detail of having the manufacturers name on the tires! All the while I thought this was more a recent thing from the likes of DML.
Cheers,
Tat
United States
Joined: December 26, 2008
KitMaker: 288 posts
AeroScale: 195 posts
Posted: Monday, January 25, 2016 - 09:08 PM UTC
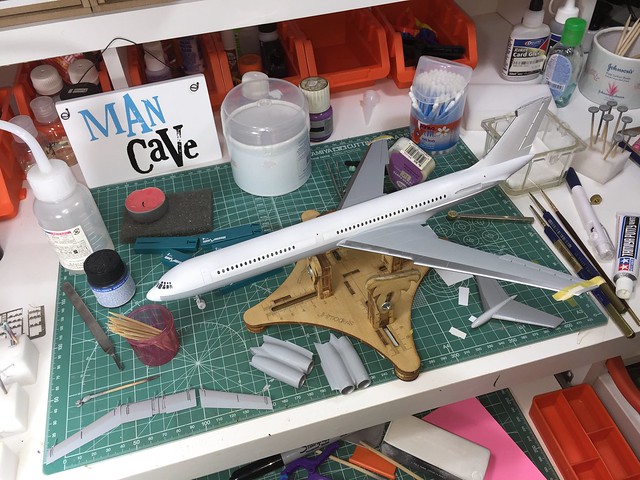
My build is now looking like a real airplane! I finished my numerous sessions of filling and rescribing, and the model now is wearing a coat of white primer (MR White Primer). Here is how it now looks:


You can see a large drop of water sitting on a ventral fin in one of the photos as I just washed the model right before I shot these photos. I am now ready to move on to painting the gloss white fuselage color followed by the other detail colors such as the bare metal aft fuselage and antiglare panel on the nose.
Have fun modeling
Mike
United States
Joined: February 01, 2009
KitMaker: 1,233 posts
AeroScale: 663 posts
Posted: Tuesday, January 26, 2016 - 06:56 AM UTC
Nice progress everybody. A great variety of models!
Mike----What kind of NASA decals are you going to use?
Best wishes everybody!
Ian
It is a fact that under equal conditions, large-scale battles and whole wars are won by troops which have a strong will for victory, clear goals before them, high moral standards, and devotion to the banner under which they go into battle.
-Georgy Zhukov
Indre-et-Loire, France
Joined: May 23, 2011
KitMaker: 651 posts
AeroScale: 181 posts
Posted: Tuesday, January 26, 2016 - 02:58 PM UTC
United States
Joined: December 26, 2008
KitMaker: 288 posts
AeroScale: 195 posts
Posted: Friday, January 29, 2016 - 09:20 PM UTC
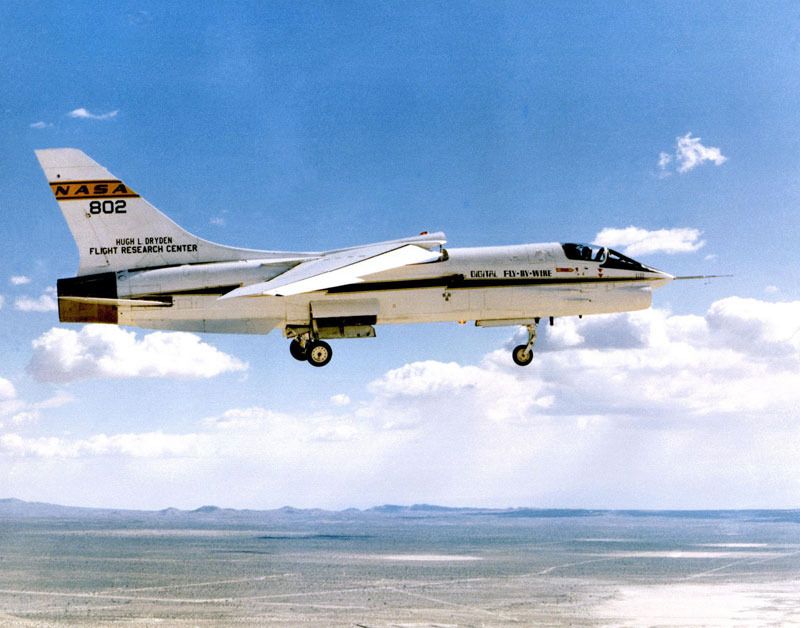
Hi Ian
I lucked out when it came to decals for the NASA F-8C in 1/144. One of the options in the box is the NASA Digital Fly-By-Wire scheme. You can see this in the photo at the top of this page. So if the Platz decal quality holds up, I'll be in good shape. I now have the first coat of gloss white on the model and I am letting it cure for several more days. I'll likely follow this up with a second coat and then it is on to the other external colors such as bare metal.
Have fun modeling
Mike
Quoted Text
Nice progress everybody. A great variety of models!
Mike----What kind of NASA decals are you going to use?
Best wishes everybody!
Ian
United States
Joined: December 26, 2008
KitMaker: 288 posts
AeroScale: 195 posts
Posted: Friday, January 29, 2016 - 09:22 PM UTC
Nico
That is outstanding work on the DH-88. I especially like your replacement of the solid nose for a clear nose section. Well done!
Have fun modeling
Mike
Ontario, Canada
Joined: February 04, 2008
KitMaker: 2,507 posts
AeroScale: 1,814 posts
Posted: Saturday, January 30, 2016 - 02:15 AM UTC
Great work every one!
I hope to get back to my entry soon.
" The Die Hards"
43rd MIDDLESEX REGIMENT
MACHINE GUN CORPS
XXX CORP
The most effective way to do it, is to do it.
- Amelia Earhart
United States
Joined: February 01, 2009
KitMaker: 1,233 posts
AeroScale: 663 posts
Posted: Saturday, January 30, 2016 - 03:49 AM UTC
Nico----the DH-88 is forming up really well. Great work.
Mike---Looking forward to the rest of your Crusader.
Best wishes,
Ian
It is a fact that under equal conditions, large-scale battles and whole wars are won by troops which have a strong will for victory, clear goals before them, high moral standards, and devotion to the banner under which they go into battle.
-Georgy Zhukov