Early Aviation
Discuss World War I and the early years of aviation thru 1934.
1/48 Voisin 10 Ca2 Hi-Tech kit
Louis
_VISITCOMMUNITY
Bas-Rhin, France
Joined: May 21, 2006
KitMaker: 472 posts
AeroScale: 471 posts
Posted: Thursday, April 21, 2016 - 11:34 PM UTC
Hello!


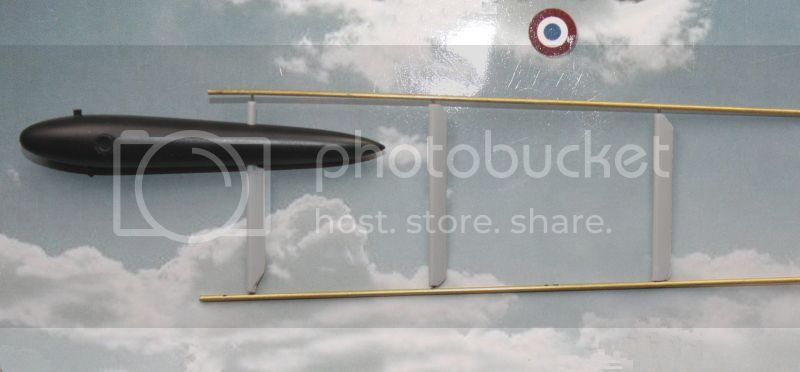
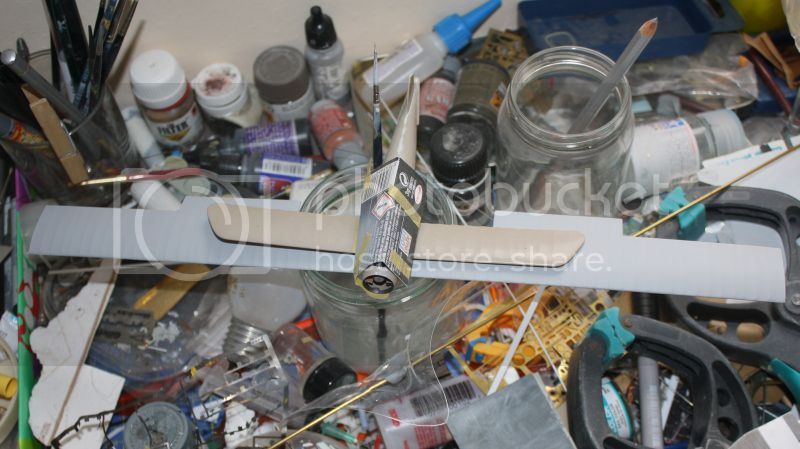
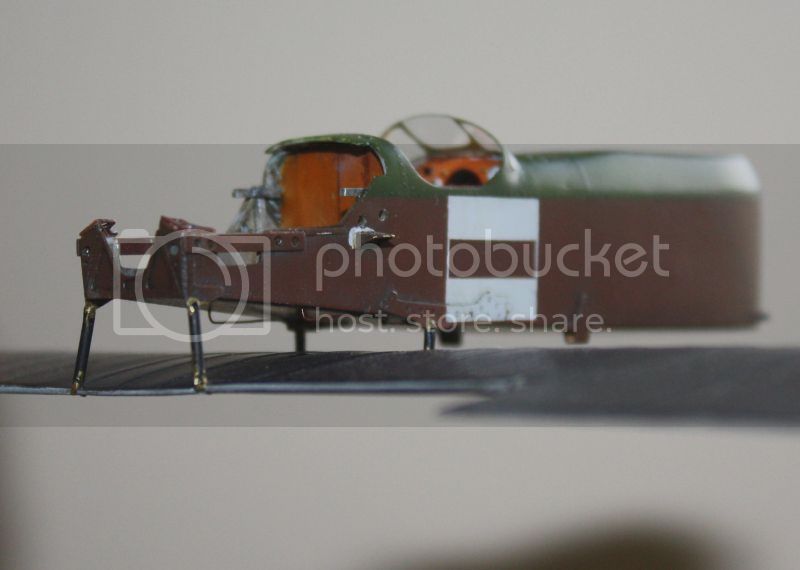
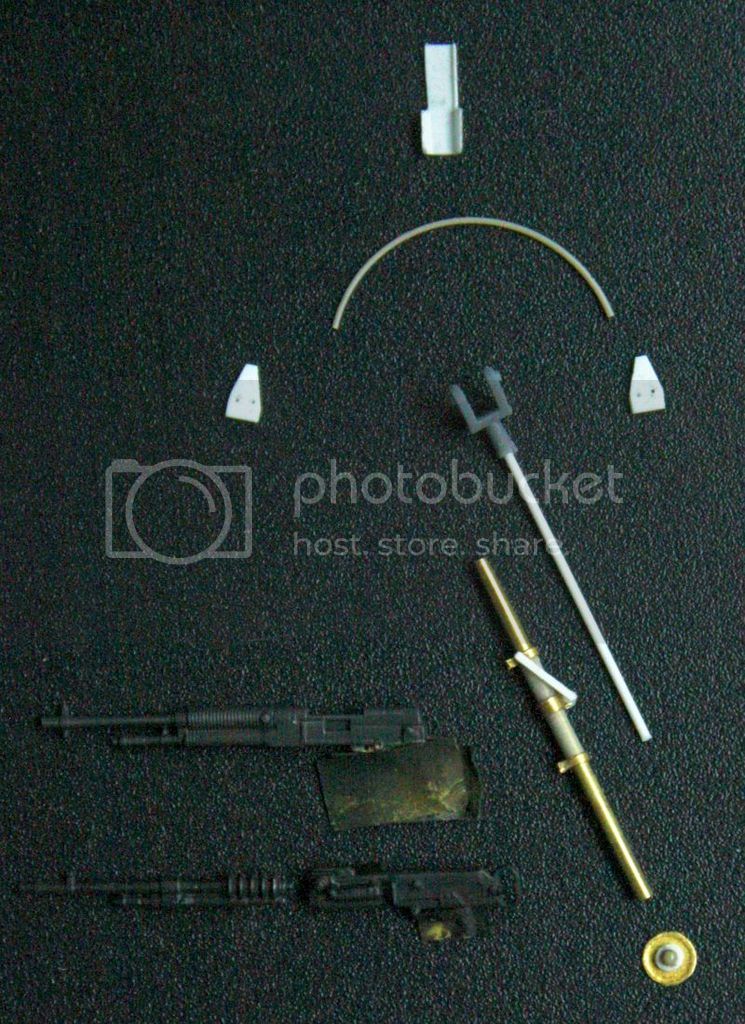
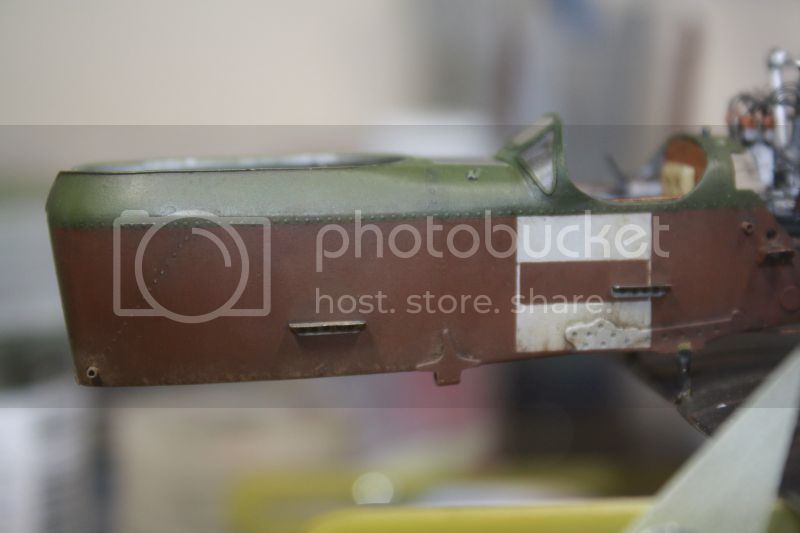
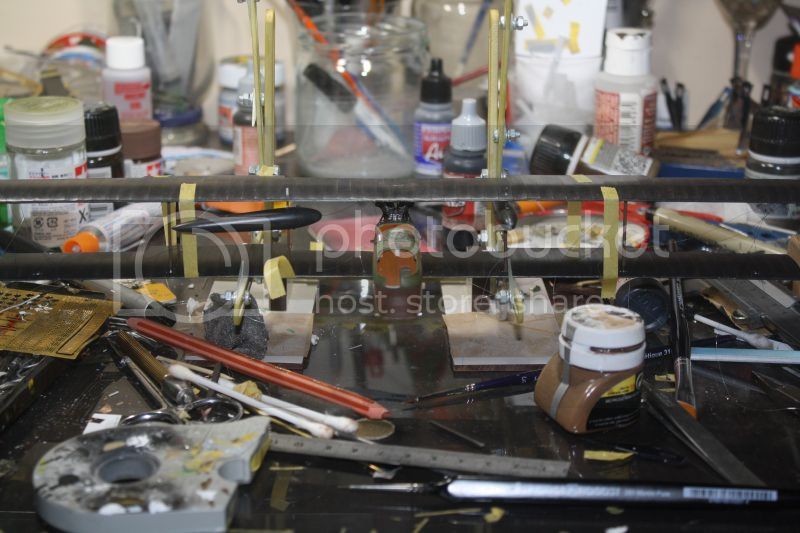
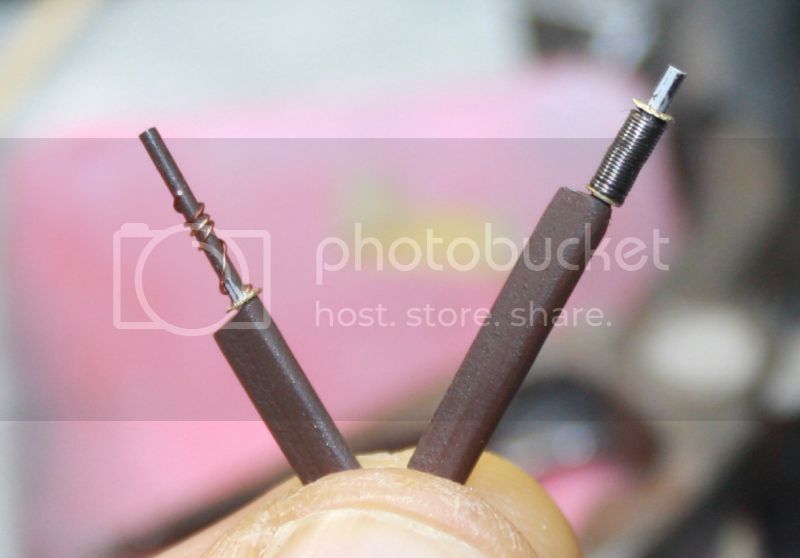
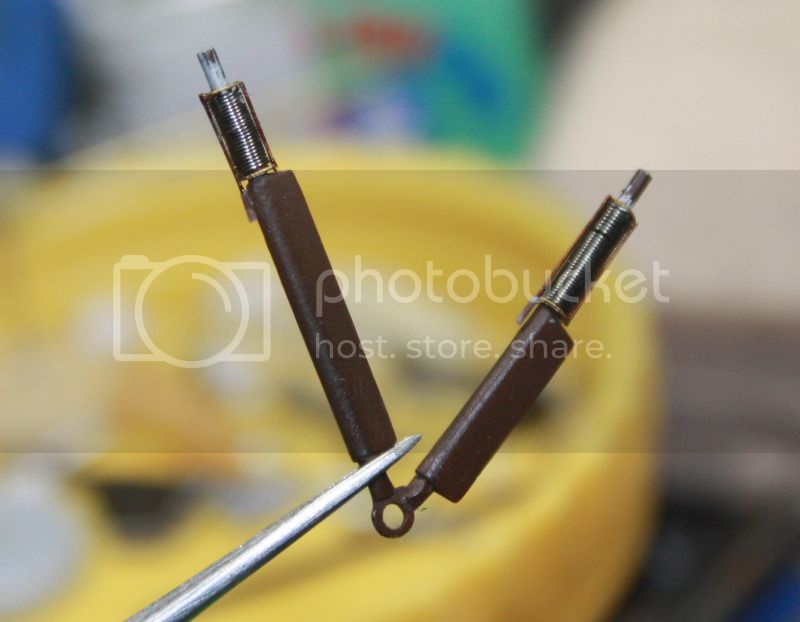
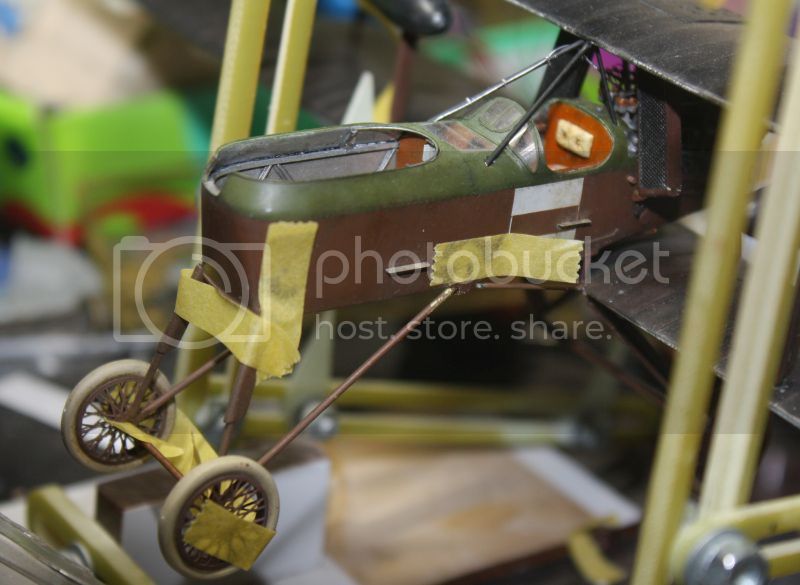
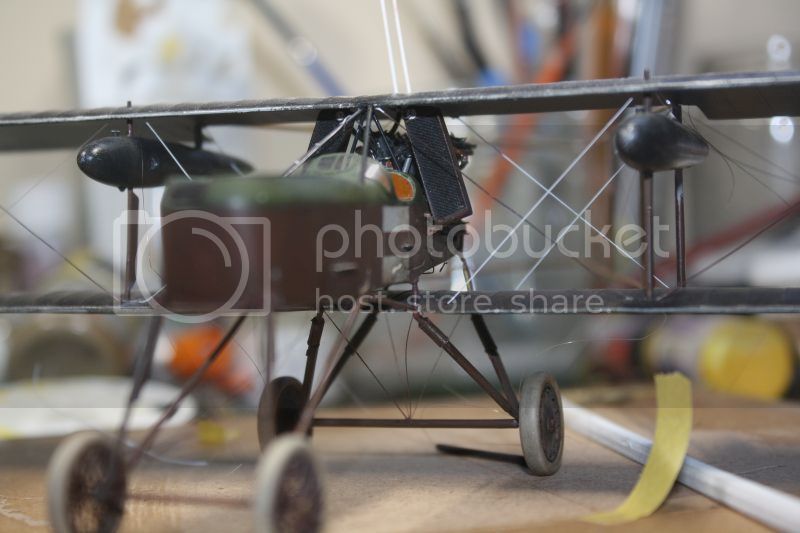
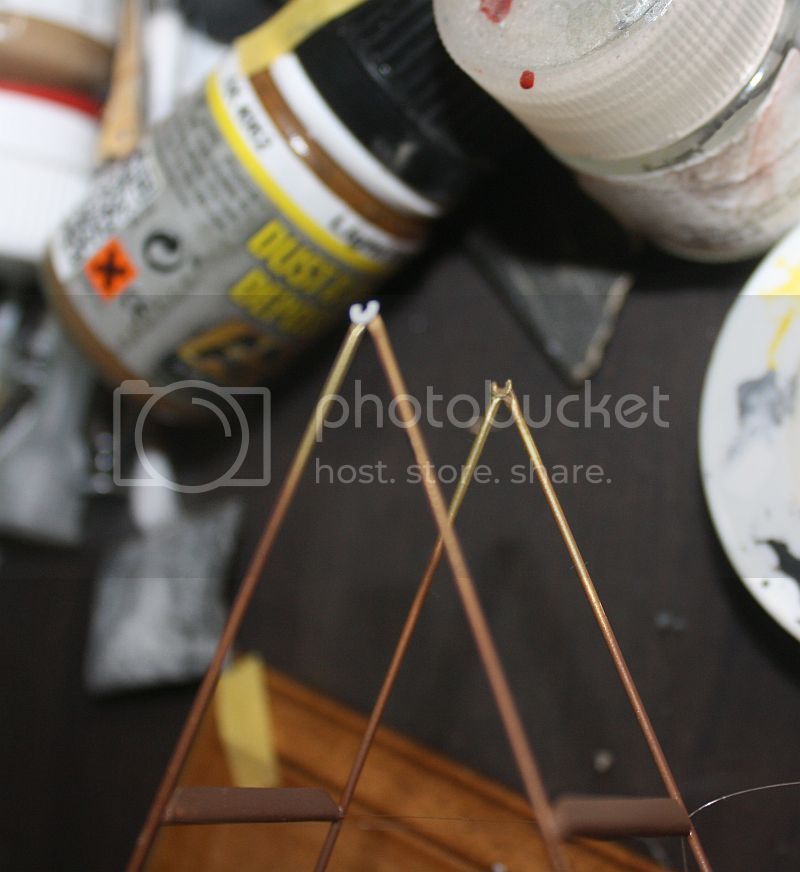
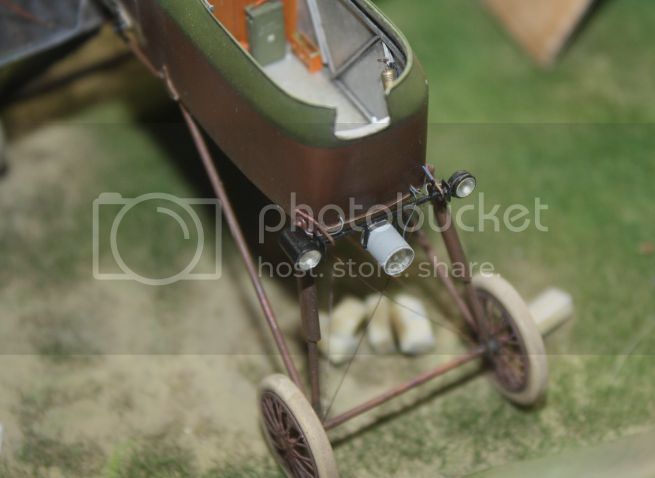
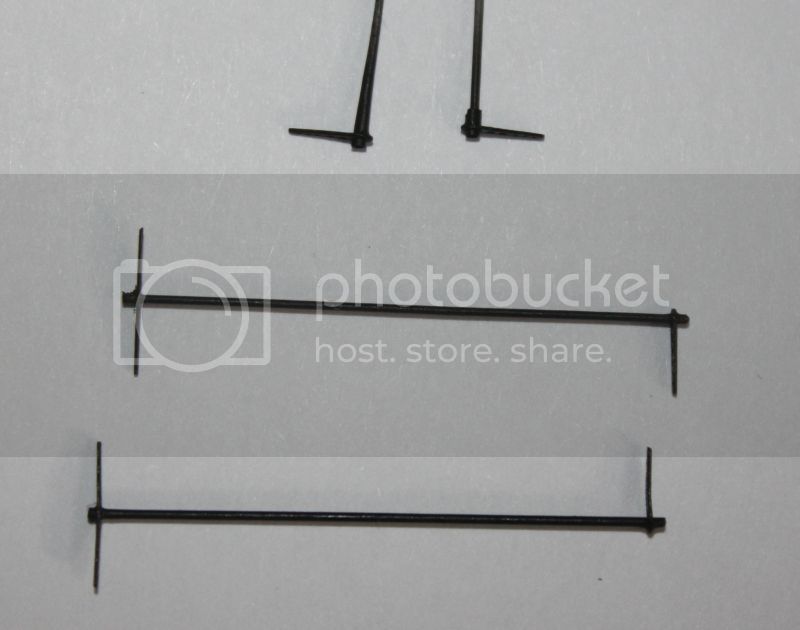
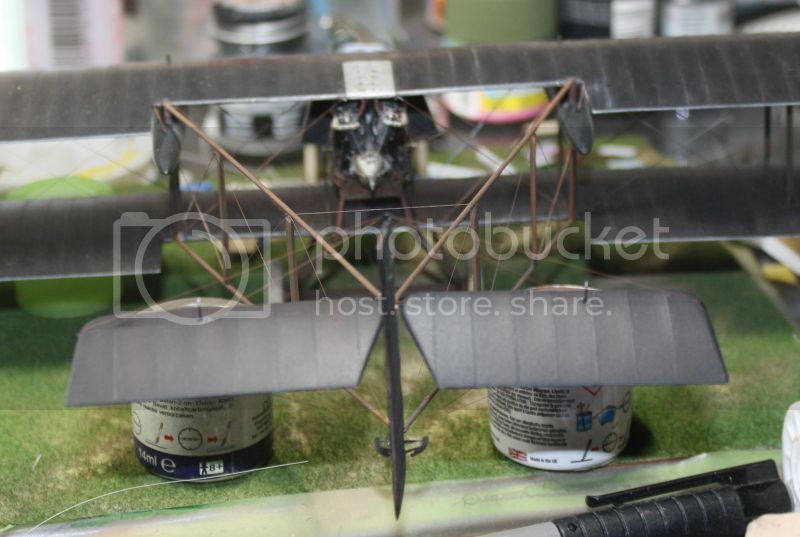
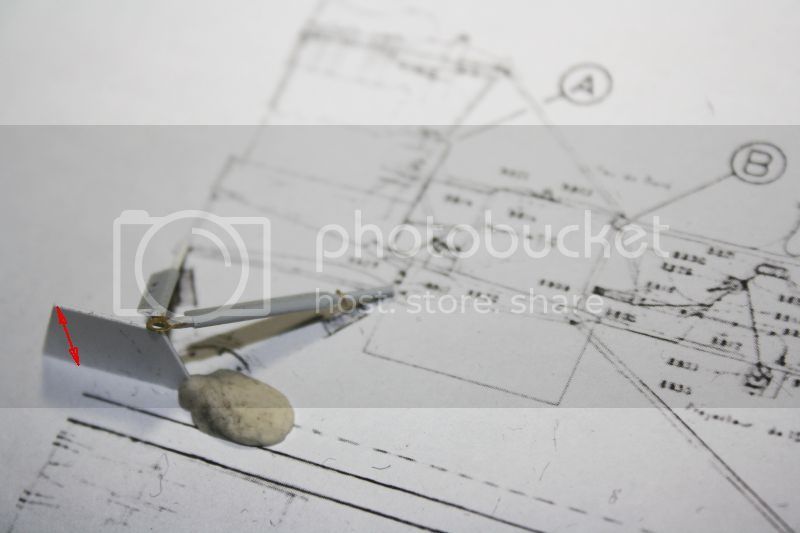
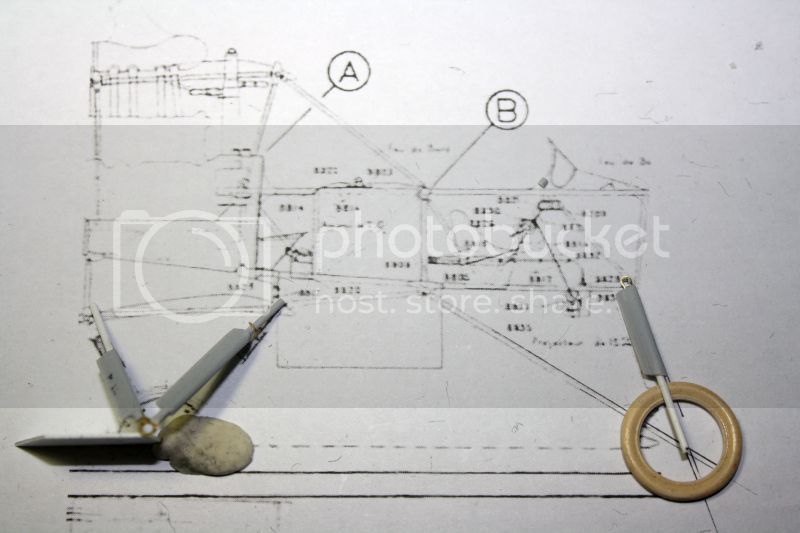
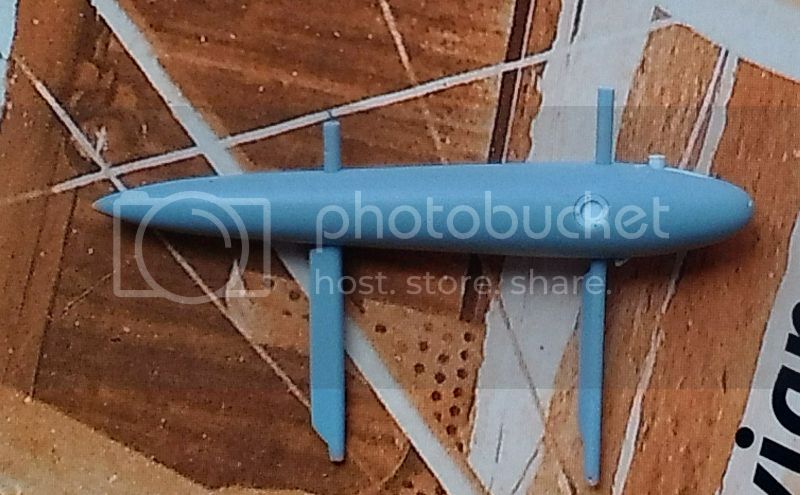
The landing gear are re-cut to size (I hope):

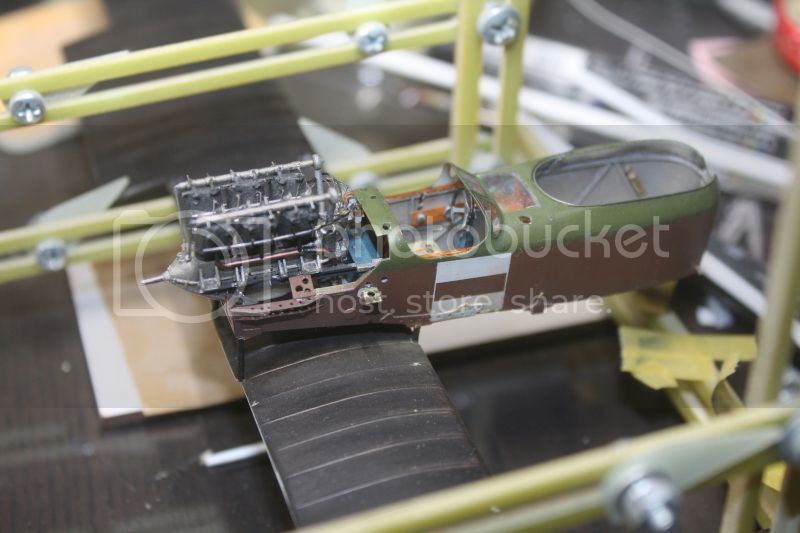
I used the plane of the kit I expanded to the length of the fuselage match that of the kit.


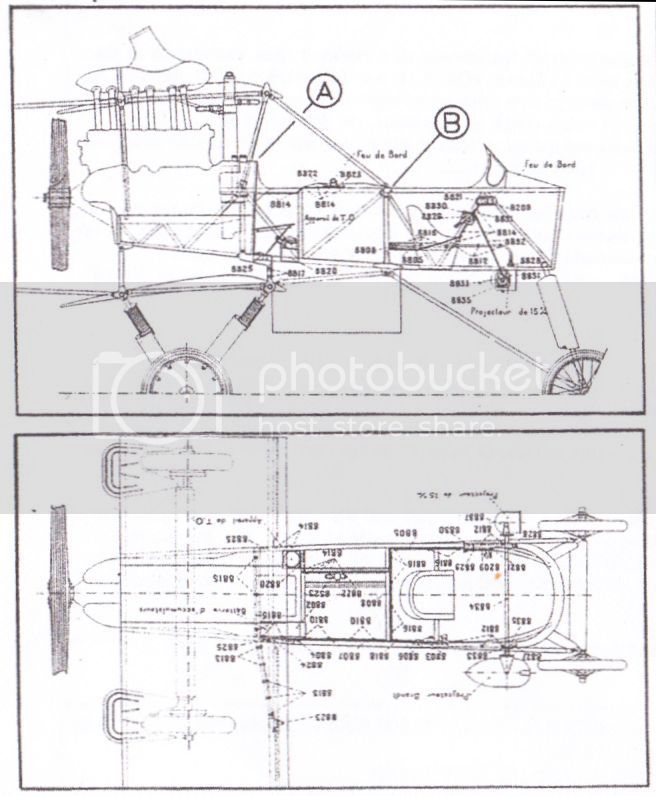
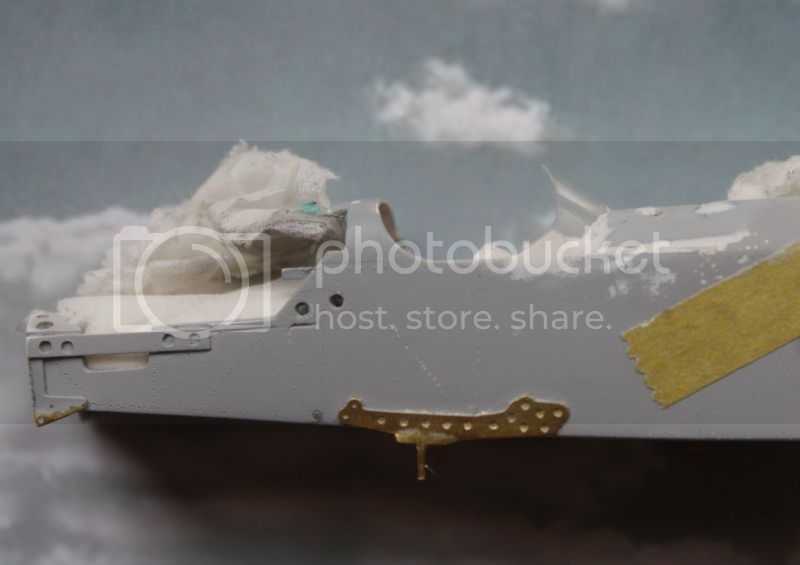
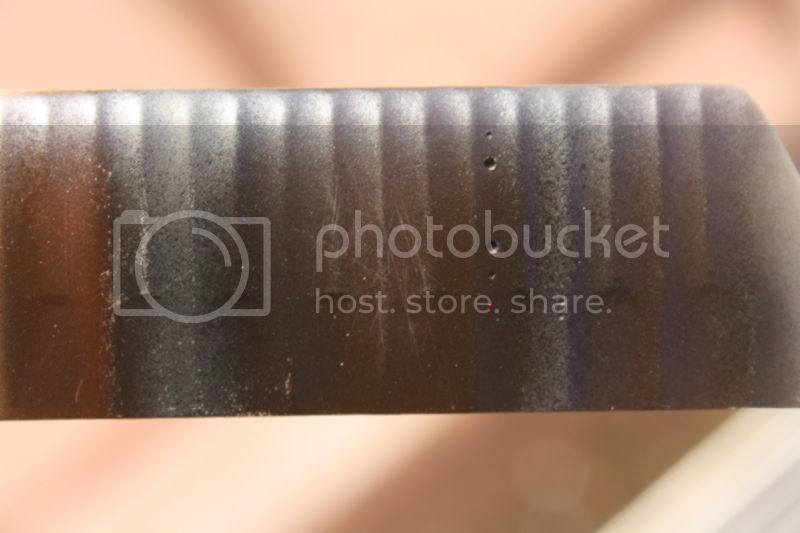
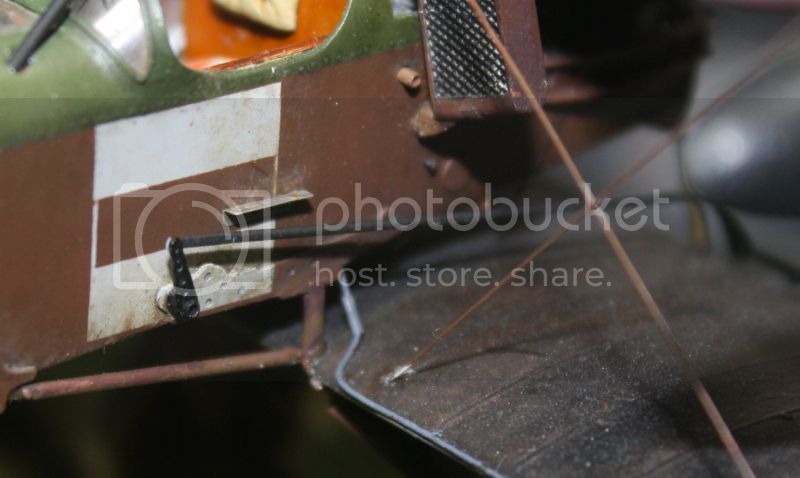
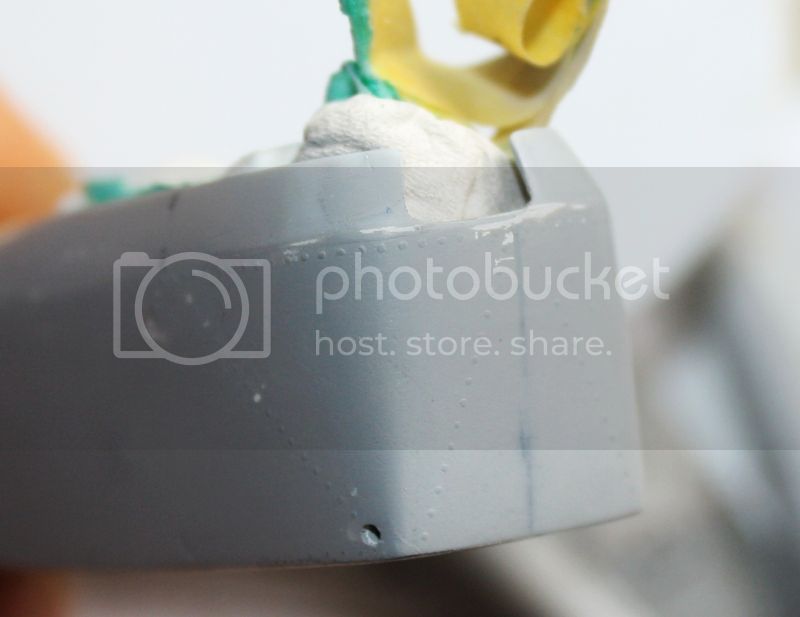
The hole for attaching the front landing gear ...


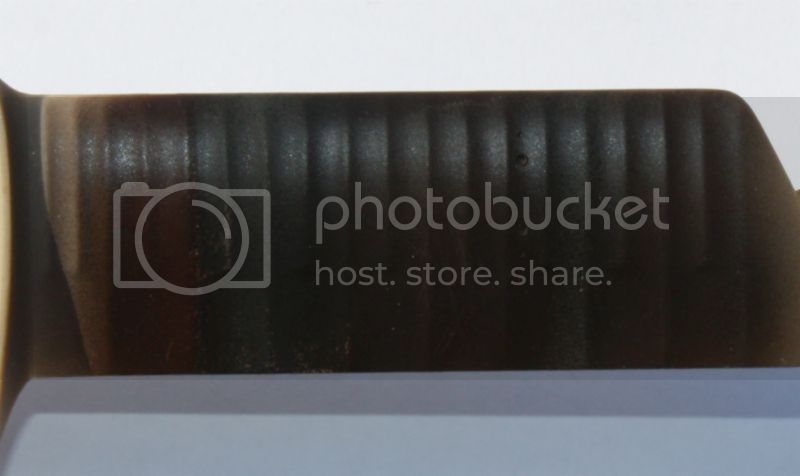
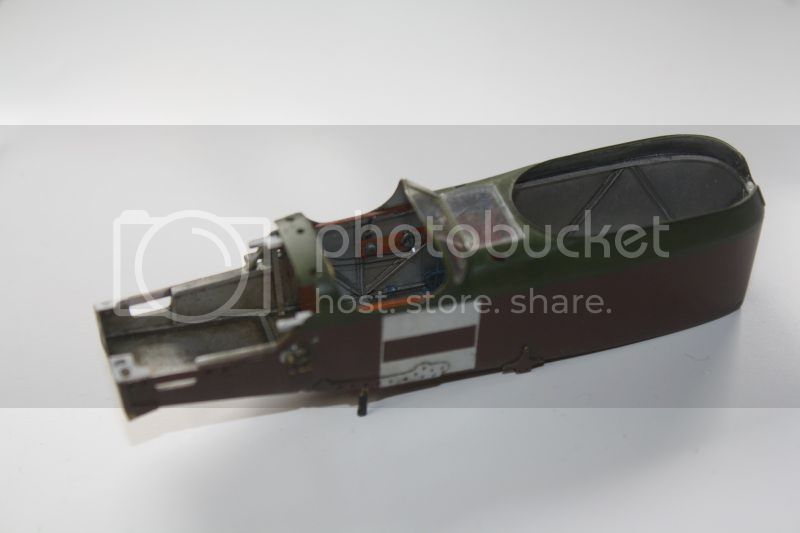
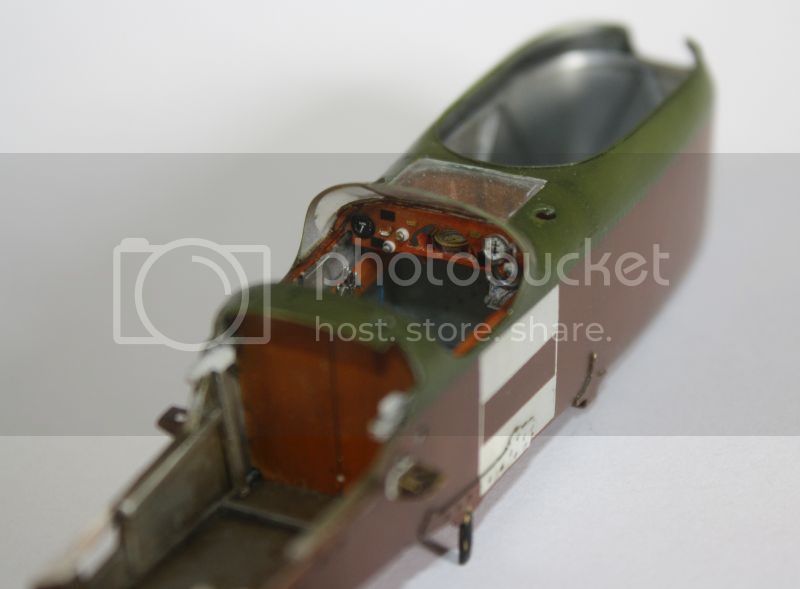
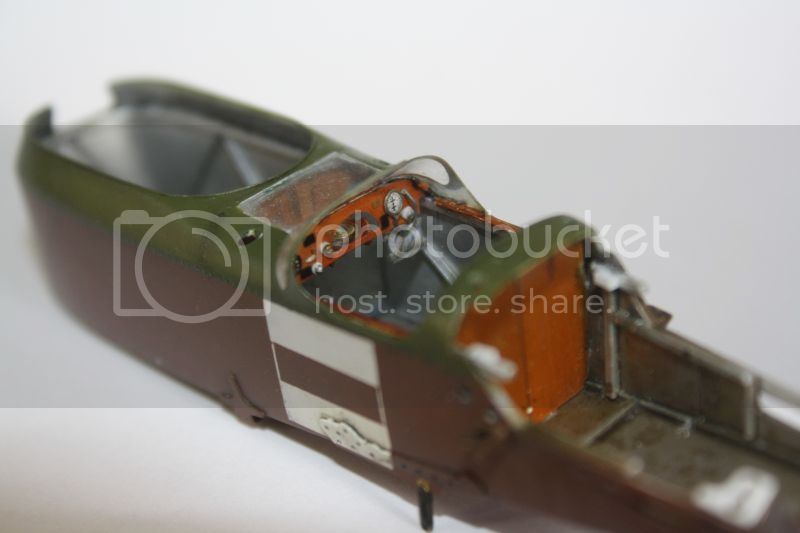
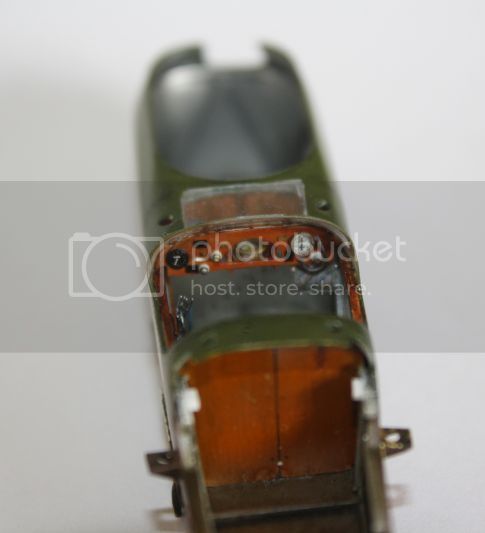
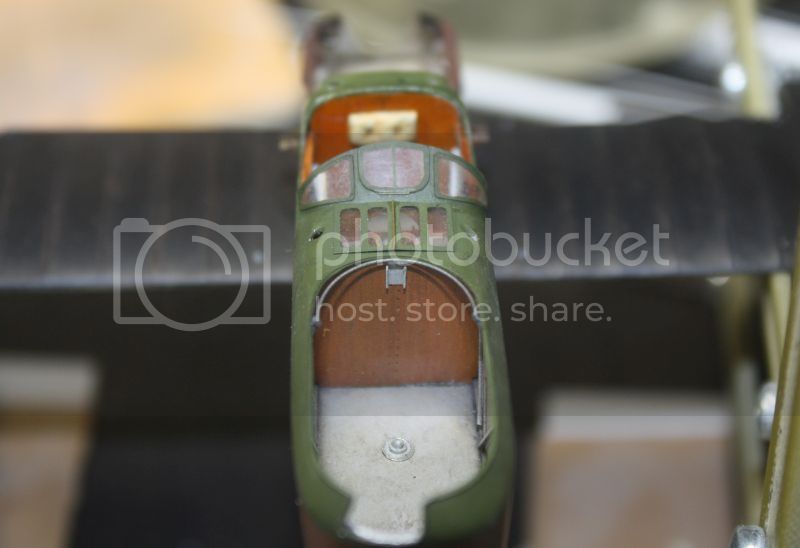
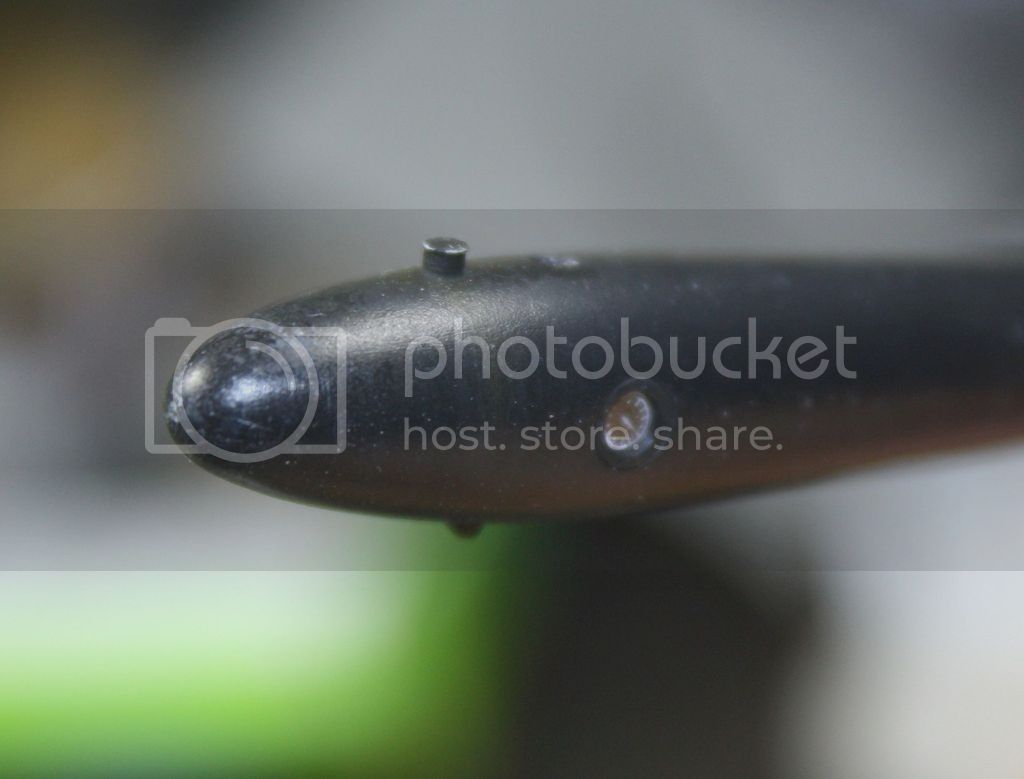
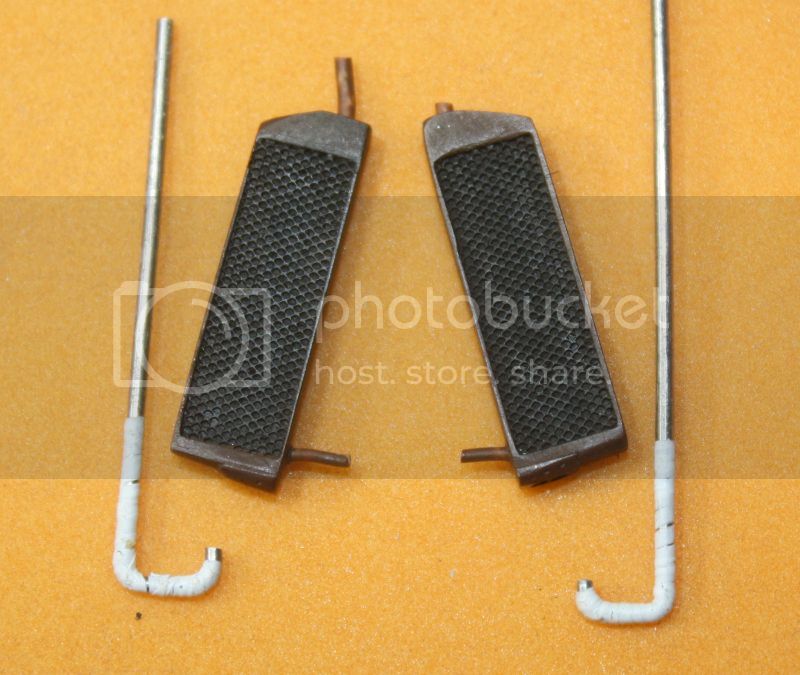
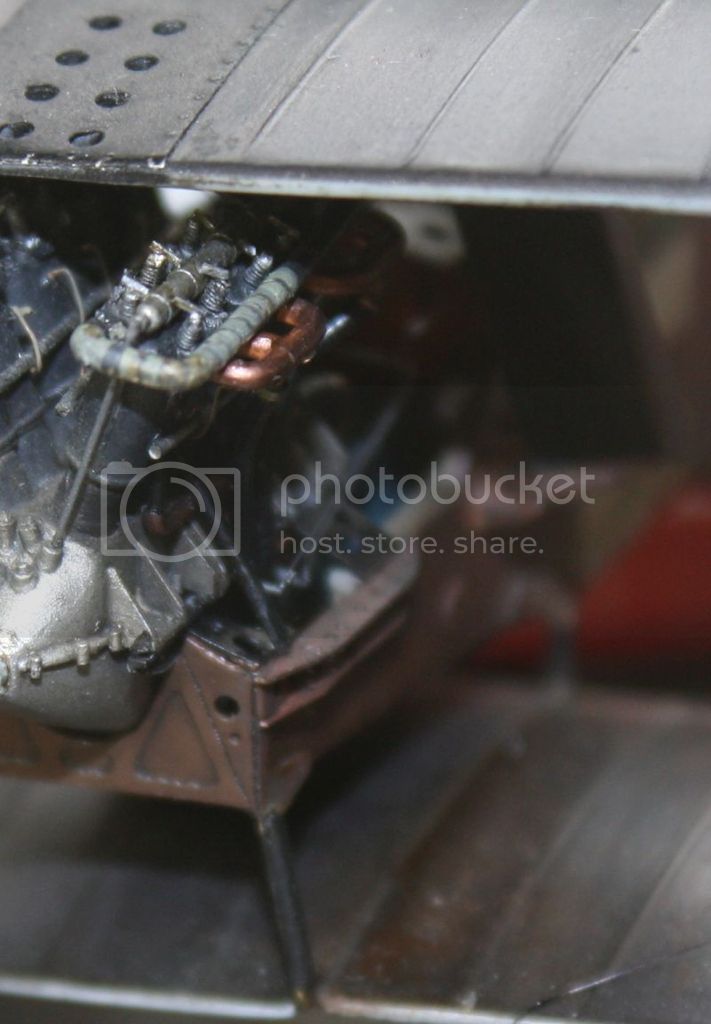
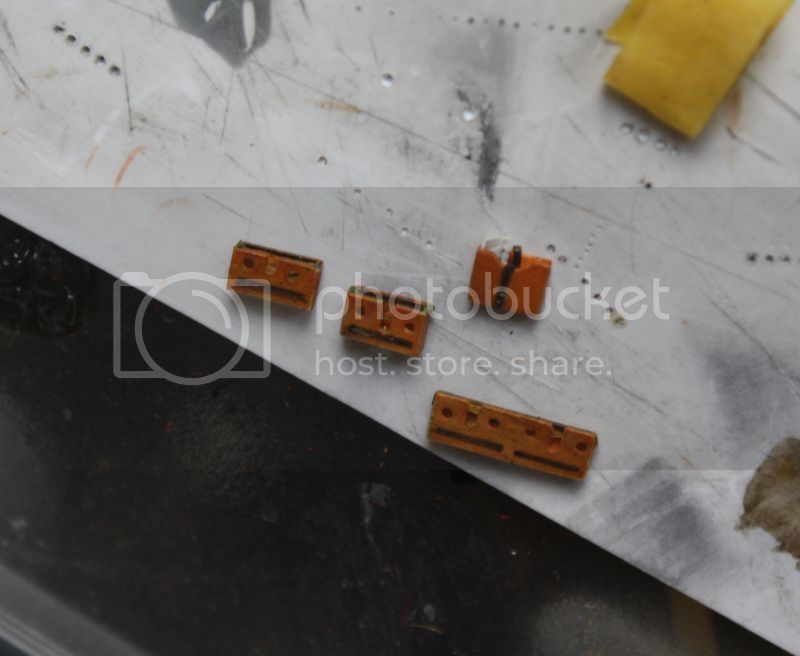
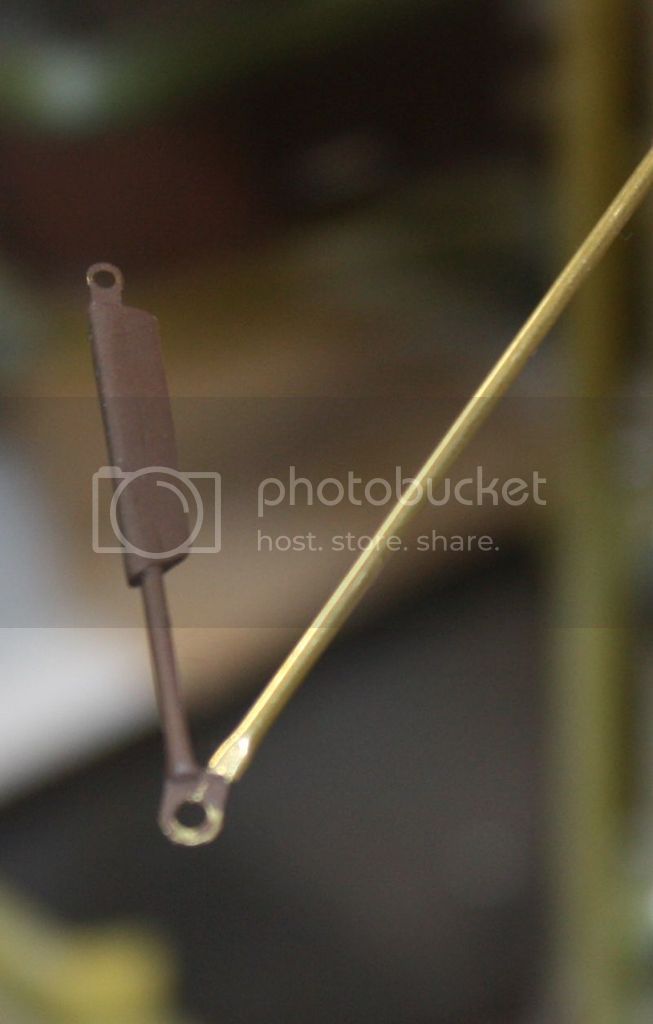
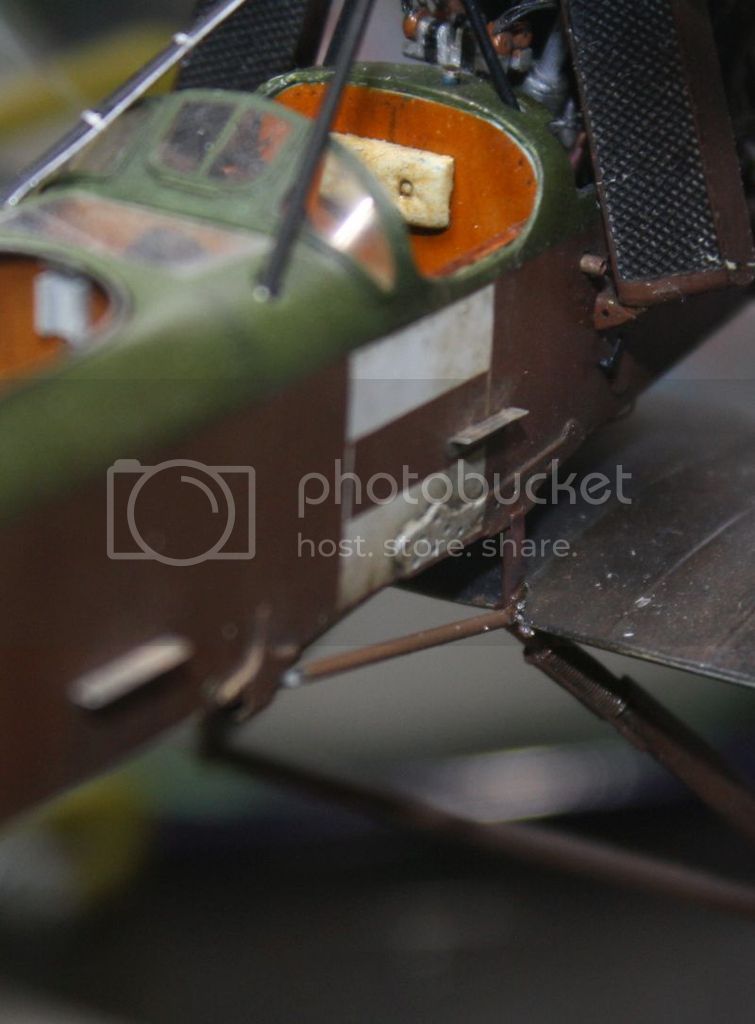
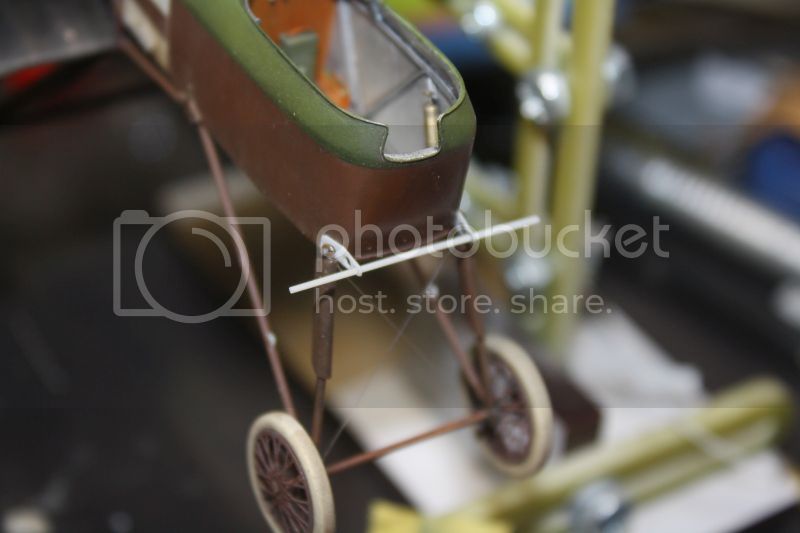
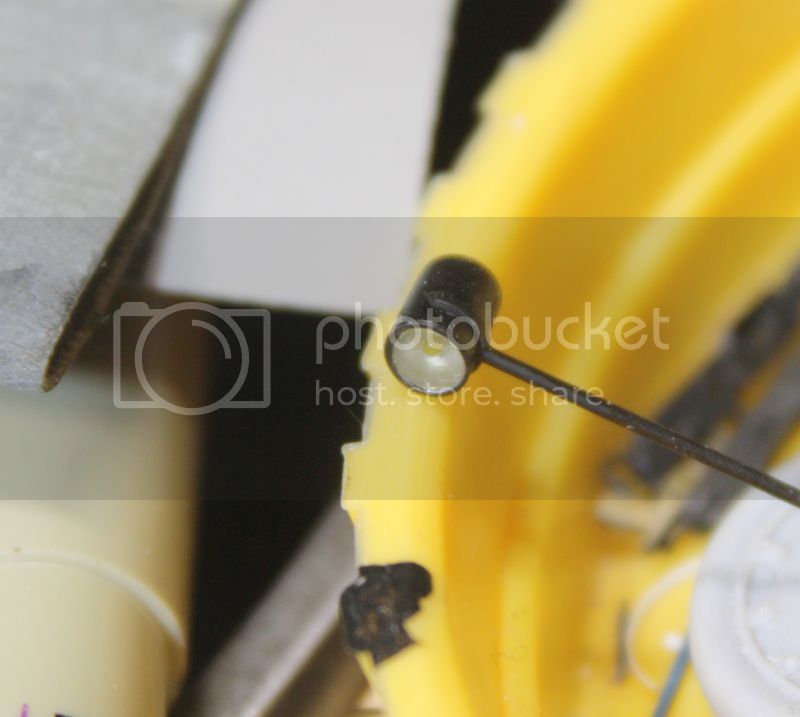
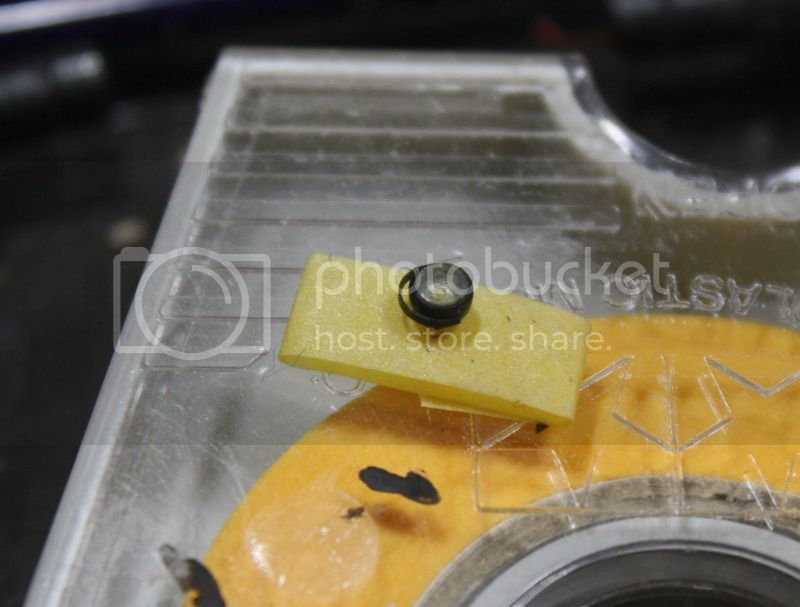
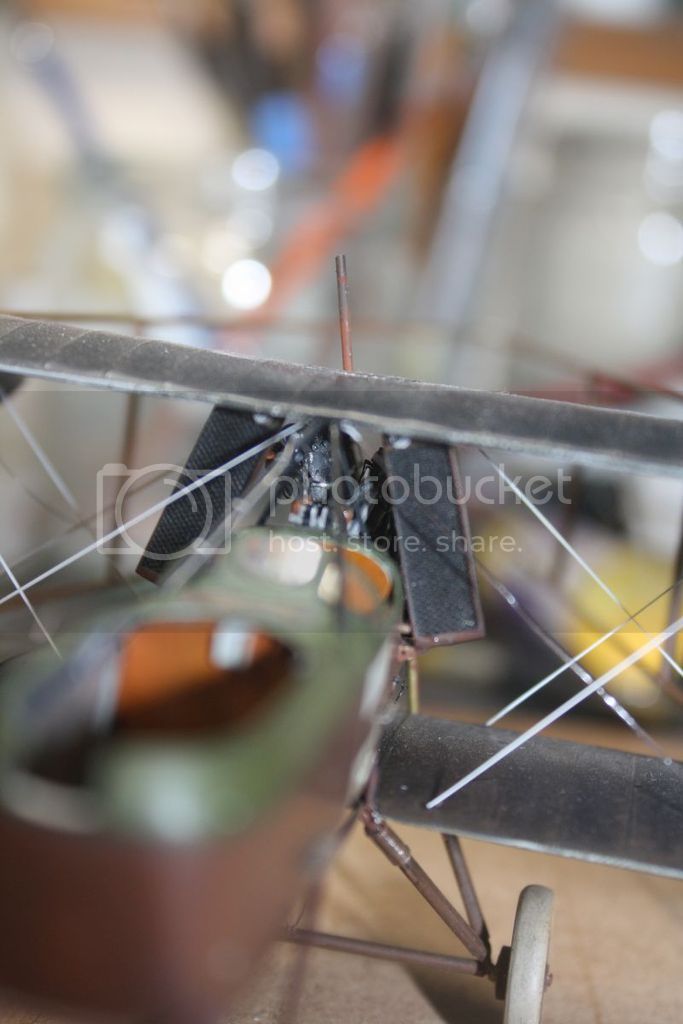
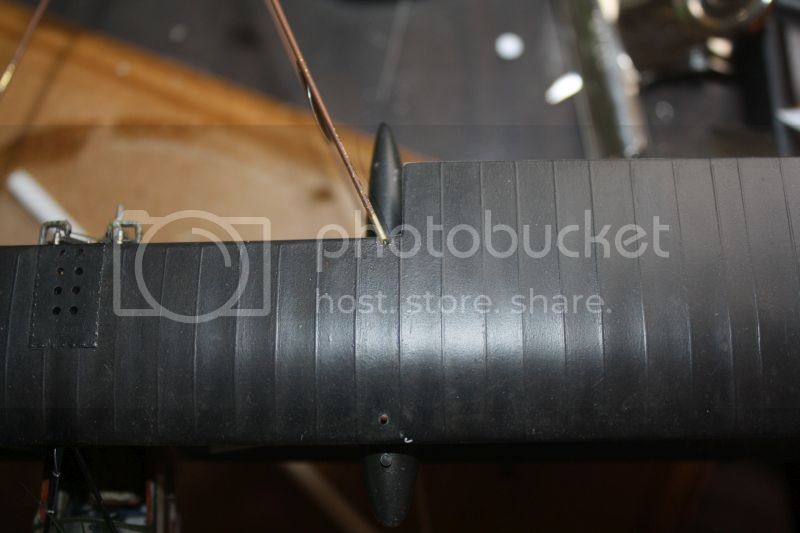
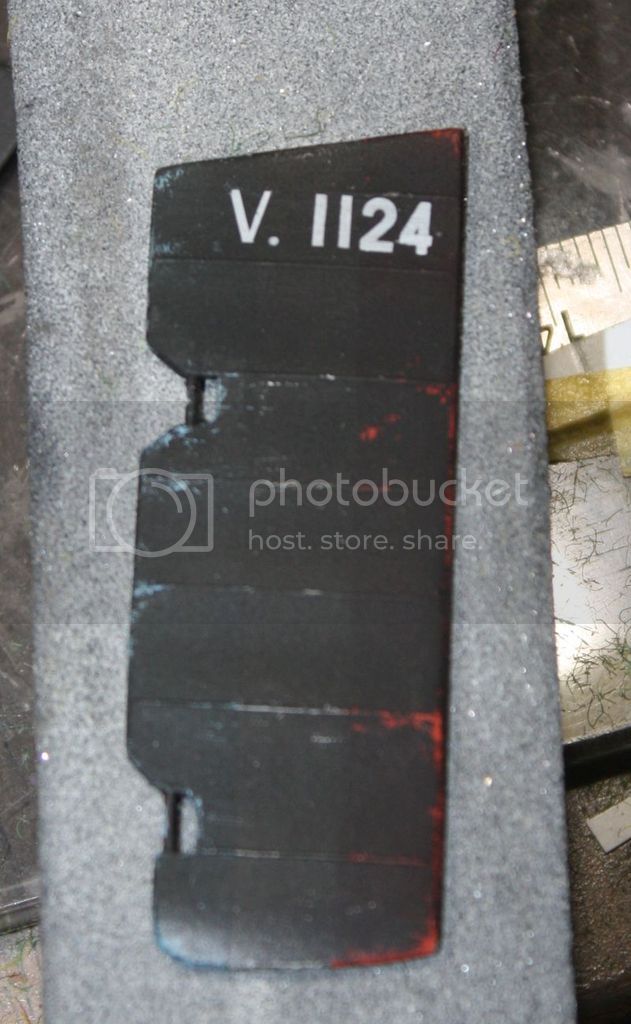
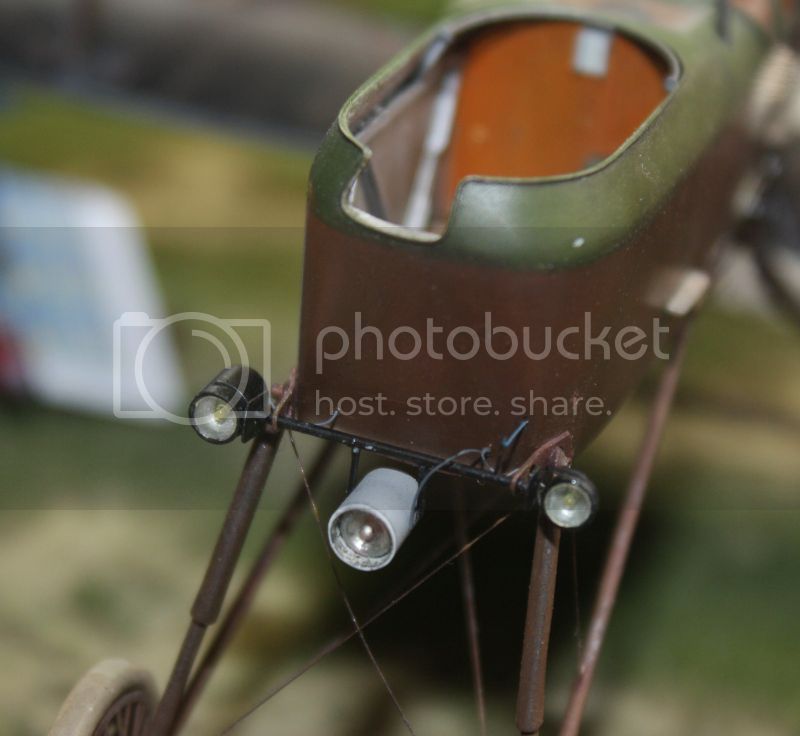
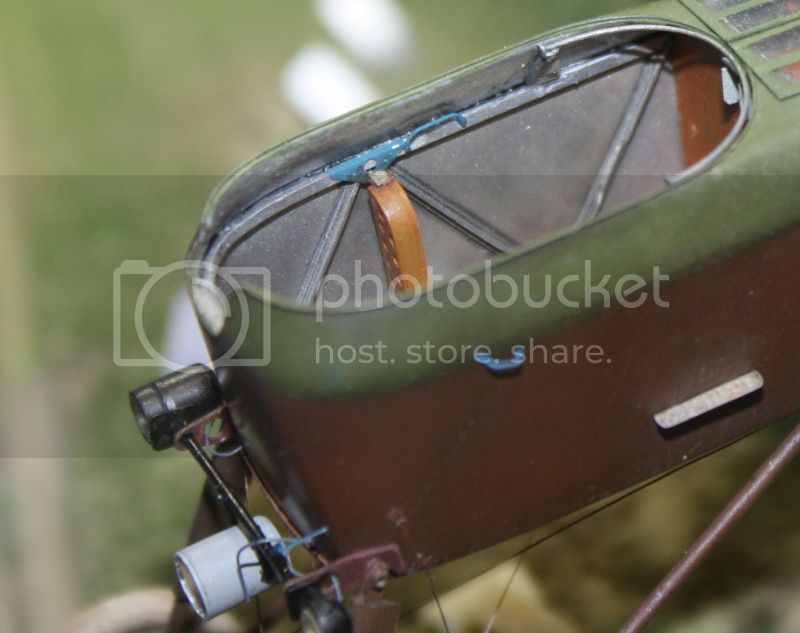
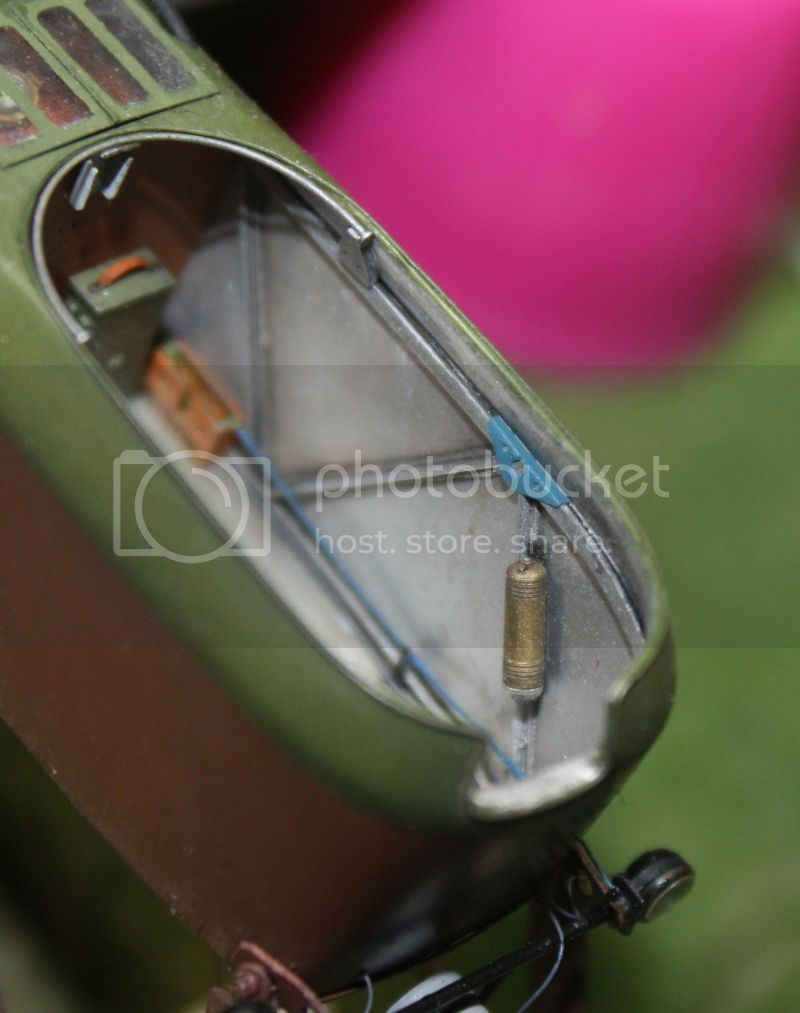
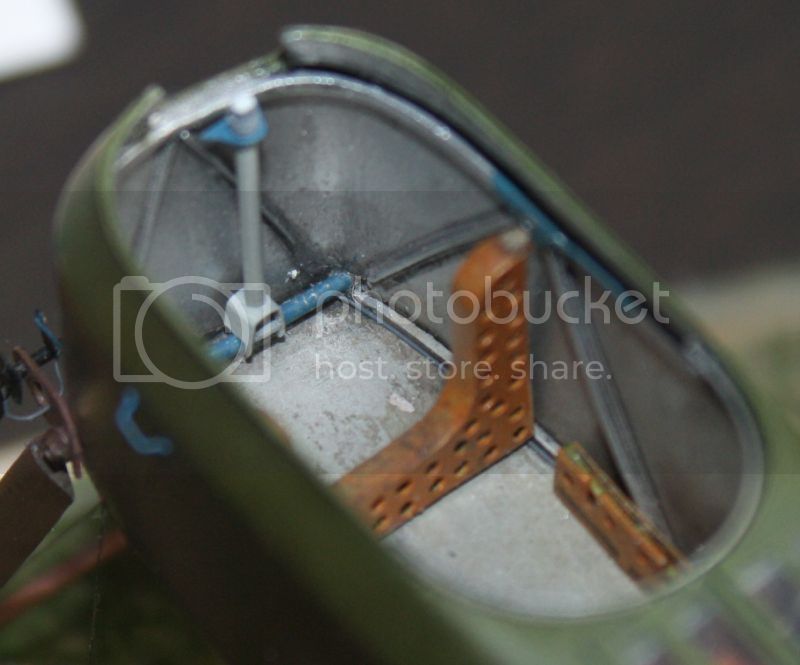
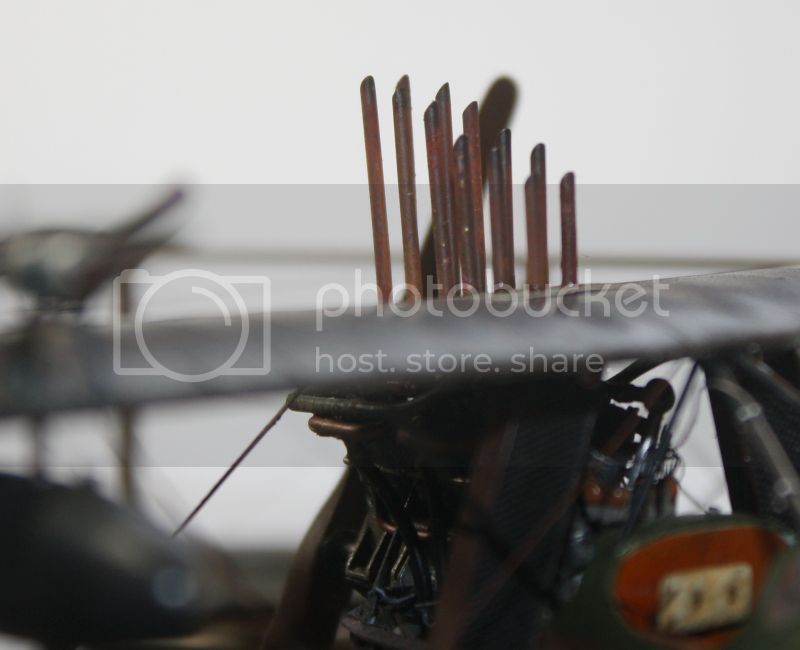
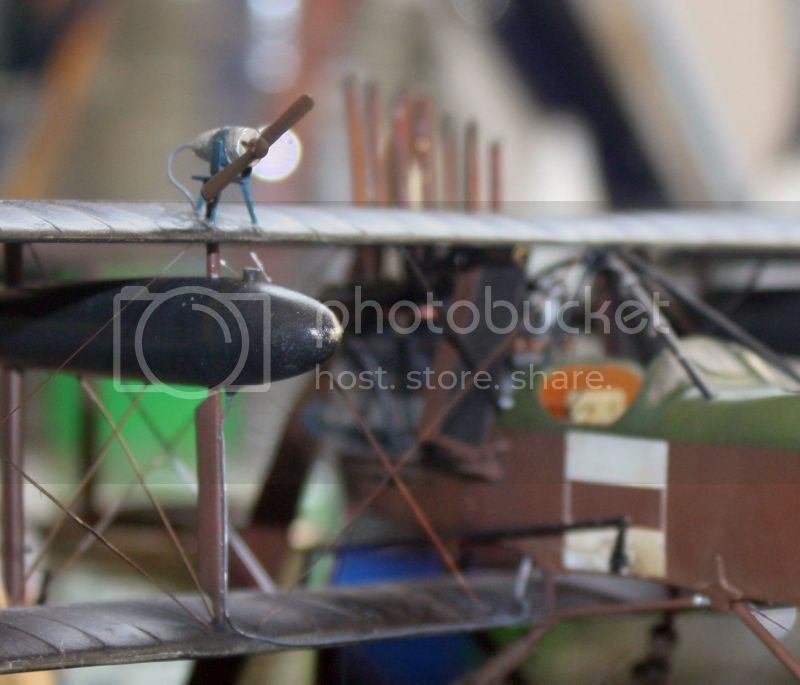
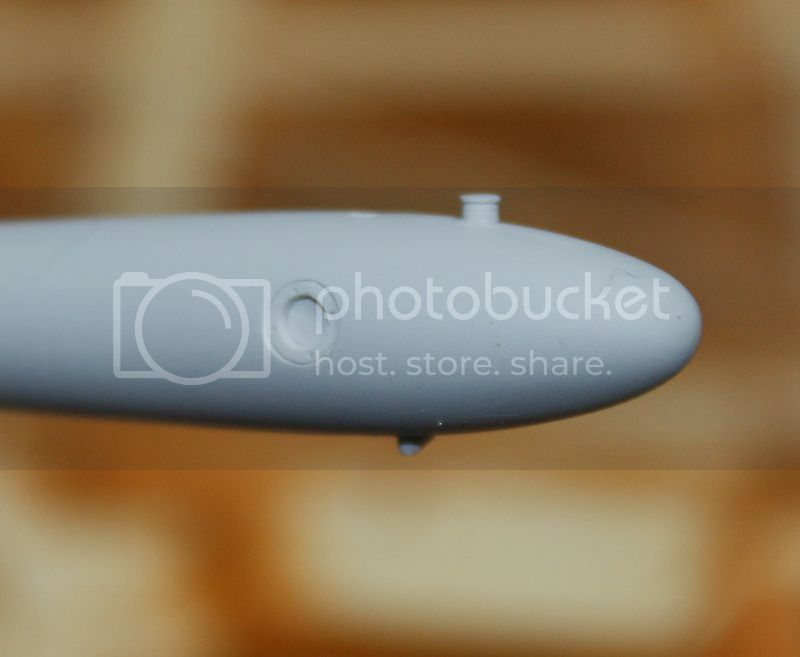
The tanks are detailed. Above the cap. Below, the mouthpiece through which released a pipe, on the side that I think is the gauge. I made a little too large.
Too bad, we will see better.

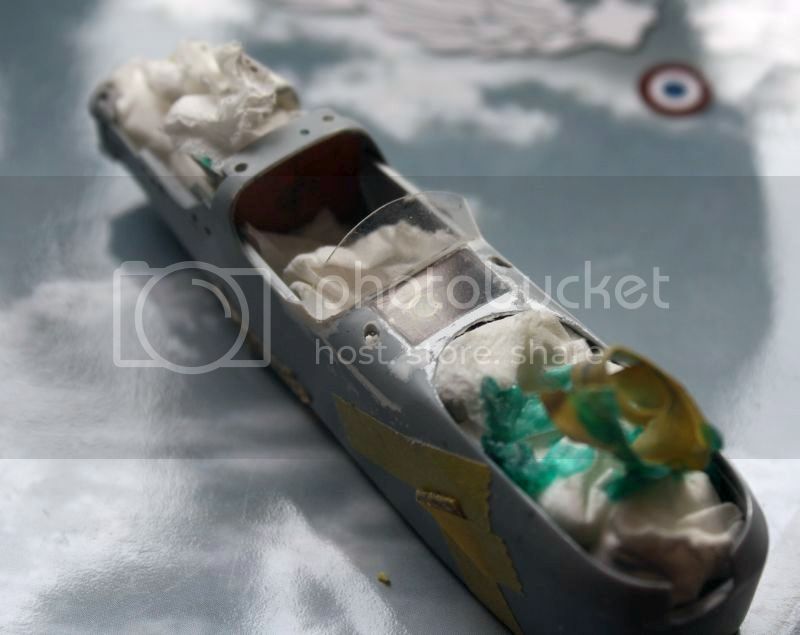
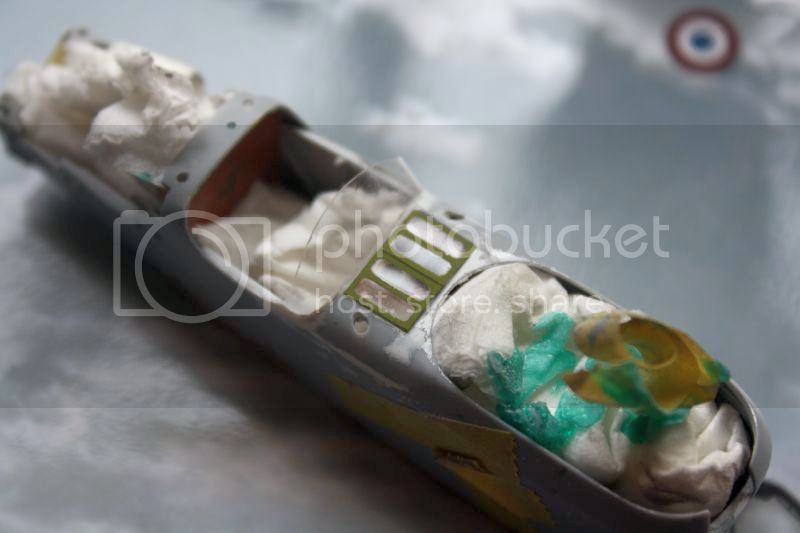
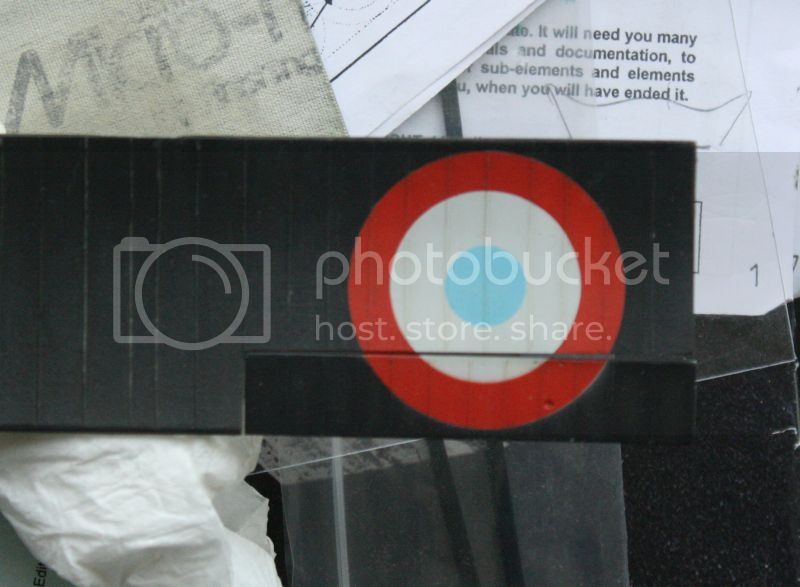
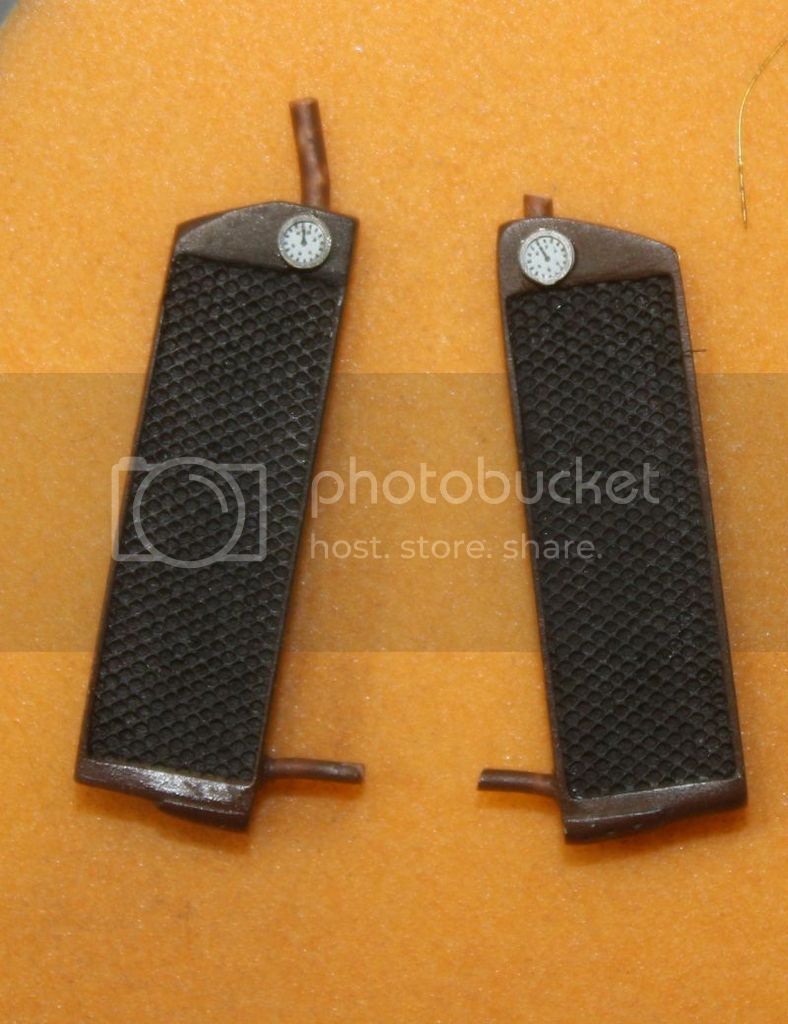
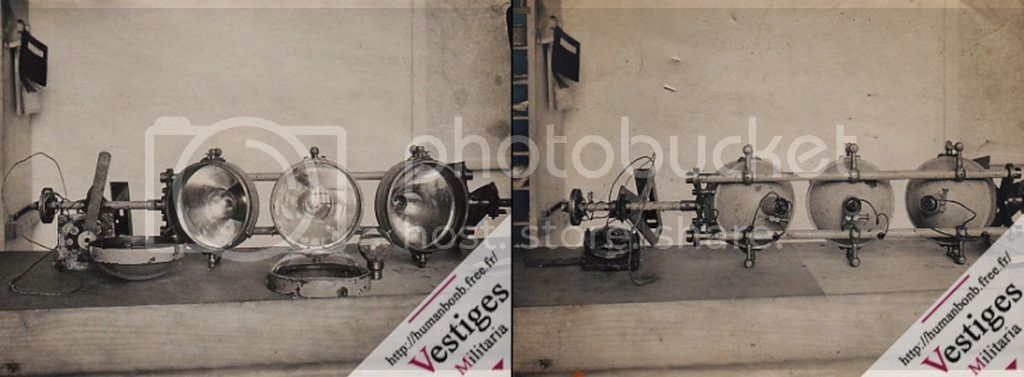
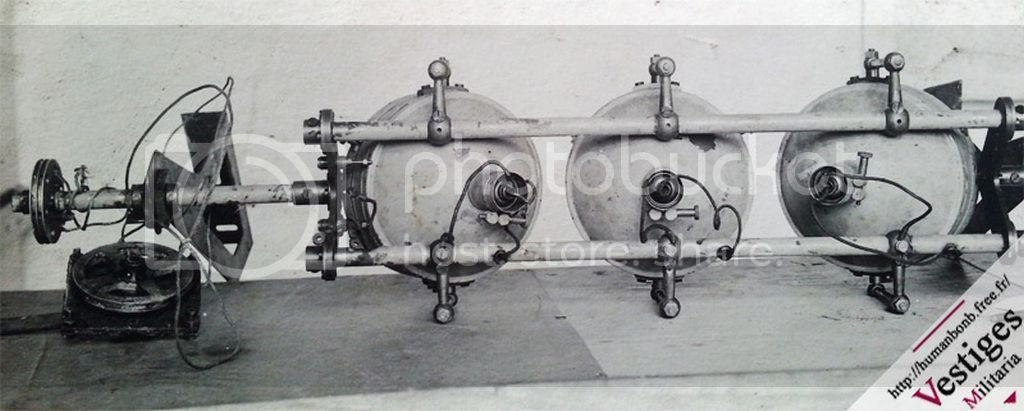
So there will be in the central disk with a black dial needle and graduations. I just hope to have interpreted the pictures correctly.
If anyone knows more about this ...


I found this painting dated 1918:


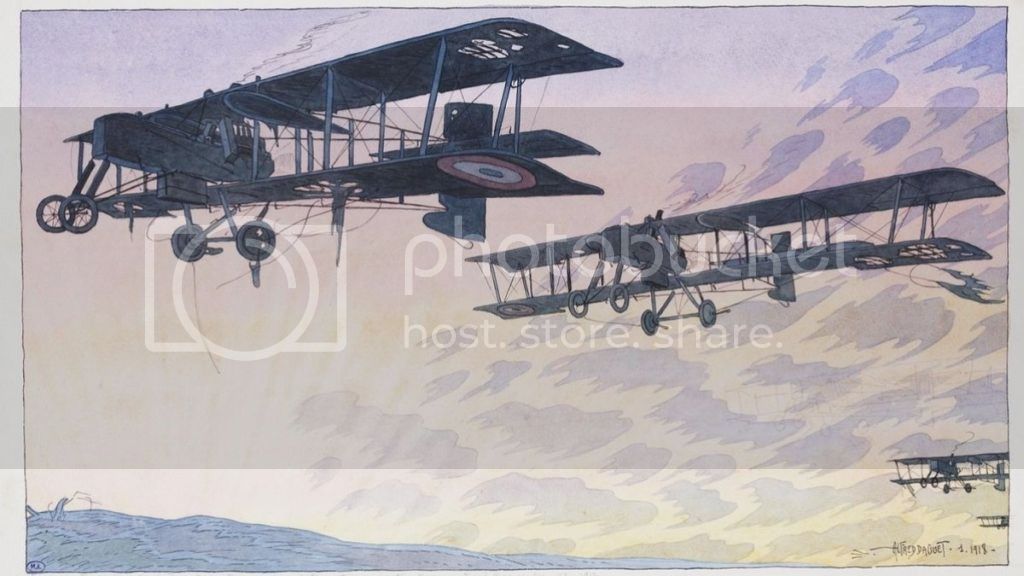
http://pierrebayle.typepad.com/pensees_sur_la_planete/2014/10/aviateurs-et-guerriers.html

A short video sequence (at the end) of a neighbor X or VIII ground:

[Url = https: //www.youtube.com/watch? V = dM3bs-SEARG] https://www.youtube.com/watch?v=dM3bs-searg [/ url]

There were videos with (among others) from the same period:

https://www.youtube.com/user/footagefarm/search?query=ww1+plane&nohtml5=False

And there the instruments of edges of the first world war.

http://www.aviation-14-18.fr/aviation-fran%C3%A7aise/instruments-de-bord/

A +
Google Traduction pour
Louis
_VISITCOMMUNITY
Bas-Rhin, France
Joined: May 21, 2006
KitMaker: 472 posts
AeroScale: 471 posts
Posted: Friday, April 22, 2016 - 02:19 PM UTC
The new strut of the tail (1 mm diameter):


Vertical upright must all be sanded (a lot) and sometimes recut.


The new windshield is glued.


The transparent plate used to assemble the windshield with the rest of the pod to form a pretty solid set.


On the transparent plate I plan to add the trap made of plastic sheet. That of the photo is a test.


A +
Louis
_VISITCOMMUNITY
Bas-Rhin, France
Joined: May 21, 2006
KitMaker: 472 posts
AeroScale: 471 posts
Posted: Saturday, April 30, 2016 - 09:33 PM UTC
Thank you very much!


- The "setting and operating instructions" for Voisin X with a description of the paints applied on aluminum Voisin.

http://www.avialogs.com/index.php/aircraft/france/avions-voisin/type-x/notice-de-reglage-de-demontage-et-d-entretien-d-un-avion-voisin-type-x.html


- A description of the manual describing the camouflage of the Voisin:

http://www.theaerodrome.com/forum/showthread.php?t=19444

Anyone know what a black optical dope and optical red dope (Acellos brand)? A black varnish and a red varnish???

And, since it will rain all the weekend:

An article (in pdf) speaking about cellulose acetate varnish used in aviation ( Acellos brand, Nauton and brothers. Marsac). In french...

https://www.google.fr/url?sa=t&rct=j&q=&esrc=s&source=web&cd=9&ved=0ahUKEwi_3L7qrLfMAhWMI8AKHezeBrgQFgg4MAg&url=http%3A%2F%2Fwww.societechimiquedefrance.fr%2FIMG%2Fpdf%2Fa_3_600_000.vfx2_sav.pdf&usg=AFQjCNHSTUmk6fs_kf5s95mLOTBLFUIlwA&sig2=bTiwBmh6XCyZe4f3yYCReQ&cad=rja

Regards
Louis
_VISITCOMMUNITY
Bas-Rhin, France
Joined: May 21, 2006
KitMaker: 472 posts
AeroScale: 471 posts
Posted: Monday, May 02, 2016 - 01:51 AM UTC
Thank you.

The upper wing, so long that it bends.


It was passed to the steel wool and surfacing.

The top of the wings will be painted as specified in the manual.

" [size=12pt]The wings:

under surfaces: 1 coat of clear dope (No. 1), 2 coats of optical black dope and 1 finishing coat of clear dope (No. 3); The roundels are painted with paint Ripolin under the lower wing.
Upper surfaces: 1 coat of clear dope (No. 1), 1 coat of optical black dope, 1 coat of red optical dope (a semi translucent color) and 1 finishing coat of clear dope.
No roundels on upper wing, flat tail and rudder, at least on the manual.
Since we do not-have wings for the Voisin 10, I can not tell you what color the upper shoulds looks like, goal It Would be interesting to try it a panel, I'll think about it!"

[/size]

So:

- A clear coat on the canvas.
- An "optical black" layer (translucent black) so black ...
- An "optical red" layer (translucent red), varnish mixed with red.


This gives a chocolate hue ... which obviously changes depending on the proportion of red (on the test picture below: red 1/3 or 1 red varnish / varnish 1). The lighter shade is due to the varnish which "laundered". Darkest are black.


regards
Louis
_VISITCOMMUNITY
Bas-Rhin, France
Joined: May 21, 2006
KitMaker: 472 posts
AeroScale: 471 posts
Posted: Friday, May 06, 2016 - 08:33 PM UTC


Black paint:


Mr Hobby HO77 black tire + sail H085 (10%, 30 %, 0%)


The same but other light:


The underside of the wing will look like this.


Regards
Redhand
#522
_VISITCOMMUNITY
New Jersey, United States
Joined: January 20, 2013
KitMaker: 1,460 posts
AeroScale: 1,443 posts
Posted: Saturday, May 07, 2016 - 12:20 AM UTC
This kit looks like an absolute monster to build. I commend you on it. As for the work table, I love it!!
Merlin
Staff MemberSenior Editor
AEROSCALE
#017
_VISITCOMMUNITY
United Kingdom
Joined: June 11, 2003
KitMaker: 17,582 posts
AeroScale: 12,795 posts
Posted: Saturday, May 07, 2016 - 11:57 AM UTC
Hi again Louis

This is really an inspirational build. Thank you for the way you explain the techniques you're using in such detail.

All the best

Rowan
Louis
_VISITCOMMUNITY
Bas-Rhin, France
Joined: May 21, 2006
KitMaker: 472 posts
AeroScale: 471 posts
Posted: Wednesday, May 18, 2016 - 09:24 PM UTC
Thank you!

Hello,

The top of the wing:

1 X red+ 3 X clear + 12 x thinner

. At least 5 or 6 layers on the black


The surface is not terrible. the varnish does not help. I will put satin varnish, may be.

Before:


The cocardes are made with stencilled. Blue is too clear. The red a bit dark too.


Regards
Louis
_VISITCOMMUNITY
Bas-Rhin, France
Joined: May 21, 2006
KitMaker: 472 posts
AeroScale: 471 posts
Posted: Tuesday, October 18, 2016 - 02:29 AM UTC
Hello!


Paints:

I used the colors offered by Wingnutwings in their kit: Tamiya XF58 and 68 without adding color.


http://i358.photobucket.com/albums/oo21/louisetcie/voisin%20X/IMG_0907_zpszeinc73i.jpg" BORDER="0">

The interior is almost finished. Dials come from Eduard and some pieces are homemade (switches, door card):


The support is tinkered with brass tubes. The gun comes from "Gaspatch"


The slide of the gun is stuck.
The amounts of the windshield are painted. The two glass traps are placed in clear plastic window on the first (the one below). They are almost finished.


The tanks are also almost finished. The dials have received their little glass ... although the dust is seen in black paint. The wing is worse.


The engine is stuck.

The highest hole in the fuselage wall was to receive an axis through the two black brackets that support the motor. I have forgot to put it. He was ready yet. Pity. Now it will be more complicated and less solid.


The reservoir (oil I think) received his leads (blue pipe that comes out behind the pilot's head) and leads his cap.


Regards.
xmald11
_VISITCOMMUNITY
Wojewodztwo Wielkopolskie, Poland
Joined: March 18, 2012
KitMaker: 135 posts
AeroScale: 135 posts
Posted: Saturday, October 22, 2016 - 07:27 PM UTC
This is what I call simply stunning modelling! The quality of your work is absolutely superb!
I`ve been following this build from the very start and I`m sure it`ll result in a jaw-dropping model.
Keep up the good work!
Redhand
#522
_VISITCOMMUNITY
New Jersey, United States
Joined: January 20, 2013
KitMaker: 1,460 posts
AeroScale: 1,443 posts
Posted: Saturday, October 22, 2016 - 07:33 PM UTC

Quoted Text

This is what I call simply stunning modelling! The quality of your work is absolutely superb!
I`ve been following this build from the very start and I`m sure it`ll result in a jaw-dropping model.
Keep up the good work!


It really is like the kit is just a framework around which he works his magic. This is awe-inspiring work.
CaptnTommy
_VISITCOMMUNITY
Connecticut, United States
Joined: October 26, 2009
KitMaker: 424 posts
AeroScale: 389 posts
Posted: Sunday, October 23, 2016 - 07:53 PM UTC
The 1918 Painting is quite impressive. It is interesting as it shows actual damage from Flak. I pity the pilots who are controlling the aircraft with those holed wings (note the dangling Bomb on number one). 98 years on I hope the crews landed safely... Bon chance, My Friends!

Captn Tommy
Removed by original poster on 11/14/16 - 22:07:56 (GMT).
Louis
_VISITCOMMUNITY
Bas-Rhin, France
Joined: May 21, 2006
KitMaker: 472 posts
AeroScale: 471 posts
Posted: Monday, November 14, 2016 - 03:09 AM UTC
thank you very much,

Hello!

Oil painting and pigments mig.


More levers:


Step made with aluminum tray:

Normally the walking surface is pierced with plenty of holes. I opted for simpler A non-slip plate made by rubbing with a toothpick a plate of aluminum placed on a grid (taken in the faucet):


Radiators and their piping:


And a wing not very straight ...


A +
Louis
_VISITCOMMUNITY
Bas-Rhin, France
Joined: May 21, 2006
KitMaker: 472 posts
AeroScale: 471 posts
Posted: Tuesday, November 15, 2016 - 07:40 PM UTC
Thank you!

The pipes of the radiators are glued:

.. the photos of this time are few and often very dark at this place. The pipes and their positions depend on the type of engine installed...of course.


Regards.
xmald11
_VISITCOMMUNITY
Wojewodztwo Wielkopolskie, Poland
Joined: March 18, 2012
KitMaker: 135 posts
AeroScale: 135 posts
Posted: Monday, November 21, 2016 - 02:14 AM UTC
Your updates never stop to amaze me! One of my favourite builds ever!!! I wish I had your skills Louis...
simonn
_VISITCOMMUNITY
Australia
Joined: October 15, 2016
KitMaker: 62 posts
AeroScale: 36 posts
Posted: Monday, November 21, 2016 - 03:44 AM UTC
Louis

As others have said, this is very impressive. The highest standard of modelling. An interesting looking aircraft too. I like the radiators supporting the wing and the exposed engine showing off the detailing you did.

Simon
Louis
_VISITCOMMUNITY
Bas-Rhin, France
Joined: May 21, 2006
KitMaker: 472 posts
AeroScale: 471 posts
Posted: Thursday, December 01, 2016 - 03:19 AM UTC
Hello,

thank you !

Thank you !

The bottom slot is made with pen :


Steel rod front, plastic rear:


And full of dust on the black paint...

Regards.
Louis
_VISITCOMMUNITY
Bas-Rhin, France
Joined: May 21, 2006
KitMaker: 472 posts
AeroScale: 471 posts
Posted: Friday, December 23, 2016 - 02:43 PM UTC

Hello,

The wheels are painted. They are not very beautiful, the rays in photodecoups are a little thick and especially irregular (as on all my photo etched board, no straight lines only "steps of stairs" ...).


The springs of the undercarriages are supplied and usable. To center them I wind a piece of copper wire around the rods of the train (redone because thick).


The front axle arms are metal tube (1mm) flattened at the ends to the clamp. The pierced photo etched piece (bottom) is slid in and glued.


Sticking the undercarriages is a real probleme. No plan, only picures by ensuring that the fuselage remains horizontal.

I stuck a part to the epoxie and the superglue ... I'm not sure that it holds. When I put it on the wheels the wire of the front train relax ...


The projector ramp is made. Two evenings just to cut and glue the three panes ...


The bulbs are made of transparent plastic stretched then heated by the flame (it makes a small ball when it does not catch fire...). Painted yellow mixed with varnish.


A +

And Merry Christmas!
EmilyHolmes
_VISITCOMMUNITY
United States
Joined: January 13, 2017
KitMaker: 1 posts
AeroScale: 1 posts
Posted: Thursday, January 12, 2017 - 01:29 PM UTC
I propose everybody to read some biographical facts about Amelia Earhart and her life! you may fond them here http://bigpaperwriter.com/blog/amelia-earhart-essay
Louis
_VISITCOMMUNITY
Bas-Rhin, France
Joined: May 21, 2006
KitMaker: 472 posts
AeroScale: 471 posts
Posted: Monday, February 06, 2017 - 02:24 AM UTC
Hello,


I have finished all the rigging (almost). There remain the flight control cables, brakes and other stuff to stick.

The flat rigging are in "evergreen" as thin as possible and stretched with an embers (match). The hardest part is to stick them securely.
The rigging between the wings are made of fishing line as well as those on the tail


The tail is fixed with a small piece of steel wire that fits into the brass rod and into the pierced wing. To my surprise it's pretty solid. I have not broken it yet despite the many manipulations.
Only worries is the size of the wings, they distort when I turn the plane and the rigging take off. The wings tend to make the swing around the attachment of the undercarriage under the fuselage.

Normally there must be 6 holes in the wing not 8 ...


The big cockroach on the back:

It is for gluing flat shrouds ...

The empennage will be glued at the end, fixed on two half-washers from the kit:


The rudder I had painted, with love and the greatest care, is ... black on all the pictures I've seen. So I covered with black and I took the opportunity to let appear the colors of the undercoat. The serial is fictitious and the font too "modern". The decals come from Corsair Heller.


The pipes supplying the engine with fuel made of lead wire glued.


Regards

Huberlu
xmald11
_VISITCOMMUNITY
Wojewodztwo Wielkopolskie, Poland
Joined: March 18, 2012
KitMaker: 135 posts
AeroScale: 135 posts
Posted: Wednesday, February 08, 2017 - 03:51 PM UTC
Another splendid update on my favourite thread.
I really like the weathering on the rudder. What can I say - you`re the master Louis!
Kevlar06
_VISITCOMMUNITY
Washington, United States
Joined: March 15, 2009
KitMaker: 3,670 posts
AeroScale: 833 posts
Posted: Thursday, February 09, 2017 - 12:07 AM UTC
Wow...simply Wow. Truly magnificent.
VR, Russ
Louis
_VISITCOMMUNITY
Bas-Rhin, France
Joined: May 21, 2006
KitMaker: 472 posts
AeroScale: 471 posts
Posted: Friday, March 24, 2017 - 05:57 PM UTC
Thank you !


The projectors are installed. The blue stem that enters to the right in the photo passes through the entire passenger compartment to reach the lever fixed to the ground, to the left of the pilot.


The wooden reinforcement pierced on all sides:


After a lot of testing (really full ...), I decided to make a drawing on the computer, print it and then paste it. No way to do a good thing without it.
The piece is in three parts.


The blue reinforcements are in aluminum of a food tray. The copper handles.


At the front the support of the barrel is glued. It should normally be tilted backwards.


The linkage is made of plastic and photodecouple (that of the kit).


[img1]http://i358.photobucket.com/albums/oo21/louisetcie/IMG_0911_zpsp9lcd2r6.jpg[/img]


Cables will have to reach the elevators, which are not well aligned.


These cables must be crossed.


I will continue the laying of the cables.

One fixed ... two broken.
Louis
_VISITCOMMUNITY
Bas-Rhin, France
Joined: May 21, 2006
KitMaker: 472 posts
AeroScale: 471 posts
Posted: Friday, March 24, 2017 - 08:42 PM UTC
Thank you.

The exhaust pipes (probably a bit too long here) are made of brass diameter 1mm. It is a little thin but 1.5 mm is too big ..
Painted in brown with mig pigments.


The plastic generator:


Regards