I want to make this Voisin since long time ... in fact since I saw the magnificent Voisin from "Cage à poules" here:
http://fighters.forumactif.com/t34885-voisin-10-lar-hi-tech-au-48eme?highlight=voisin
http://www.theaerodrome.com/forum/showthread.php?t=19848
I searched a long time on the internet, but they are not a lot of information regarding the "Voisin X lar"
So I decided to make a Voisin 10 Ca2 armed with a gun. Now I no longer need to look for photos, they are there:
http://memorial.flight.free.fr/Voisin10uk.html
As the manual said, the Hi-Tech kit is not ACCUTAMYGAWA ...
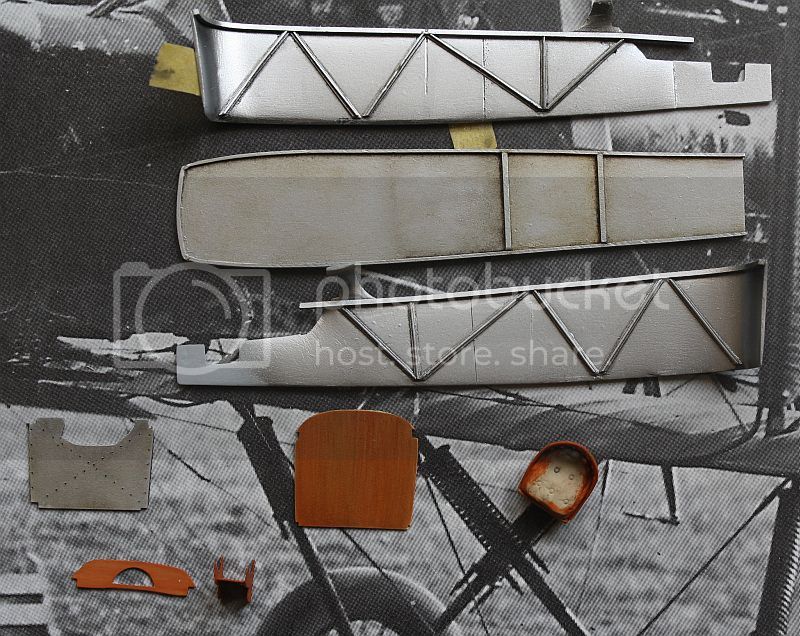
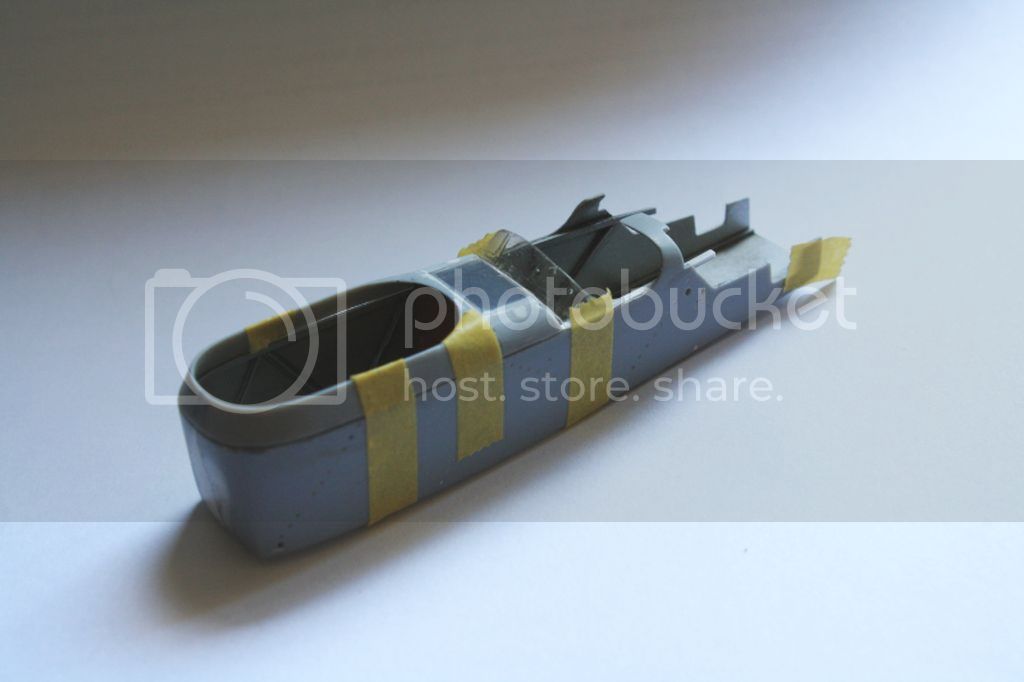
The cockpit must be done:
I deleted the floor to have a flat on and to have well flat walls.
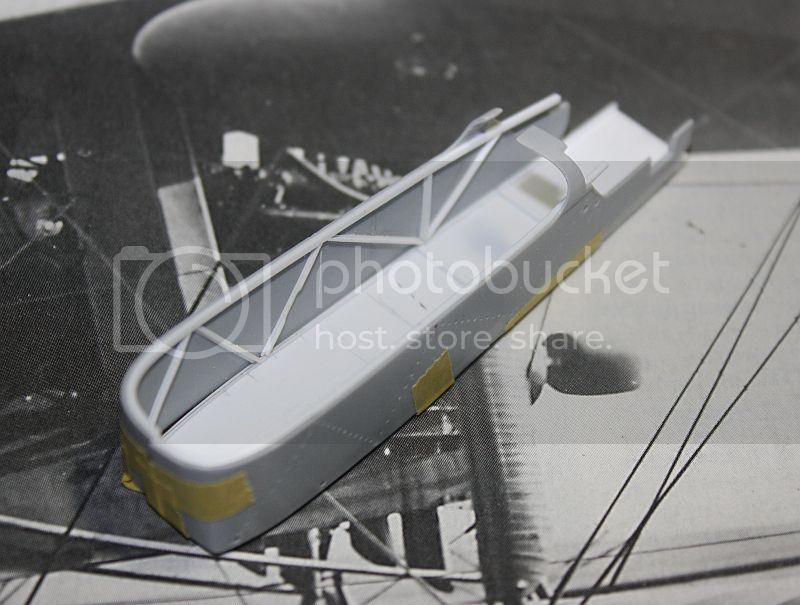
Hi-Tech has had the good idea to provide "opening" of the cockpit for a version other than that of the box (the bottom part of the picture).
Amounts are cut into sections "evergreen" 0.25 X 0.75 and glued to the stems T
The edge of the cabin and floor profiles are 0.5 X 0.5. and 1x1.
Everything is painted in aluminum and will be skated. I started but I did not used to work the aluminum. I grope ...
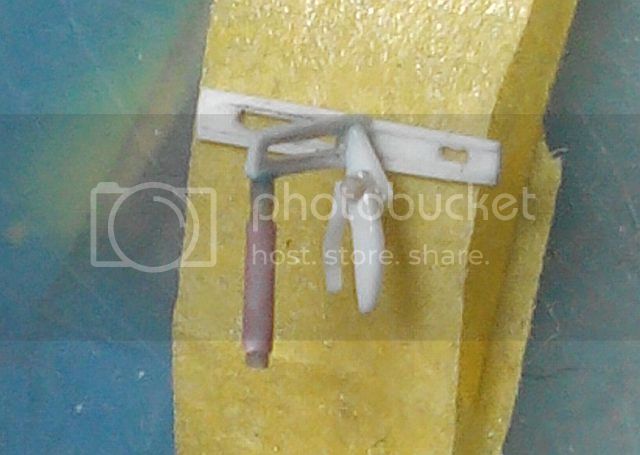
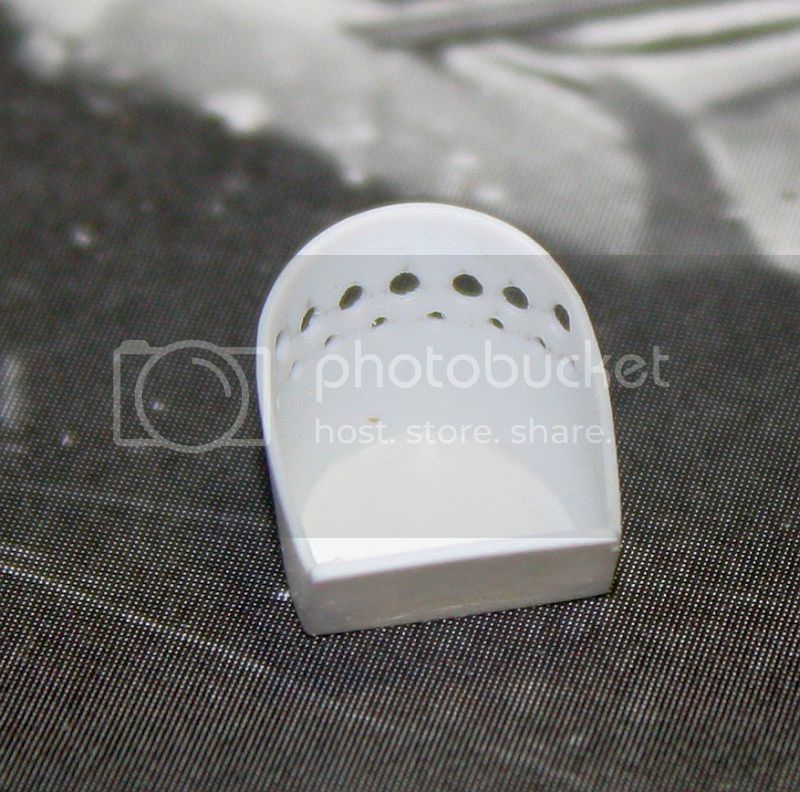
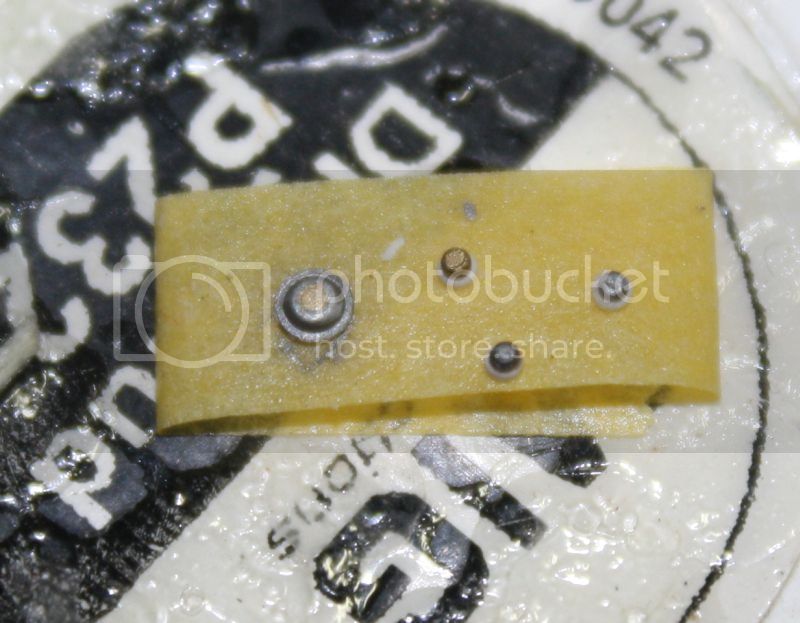
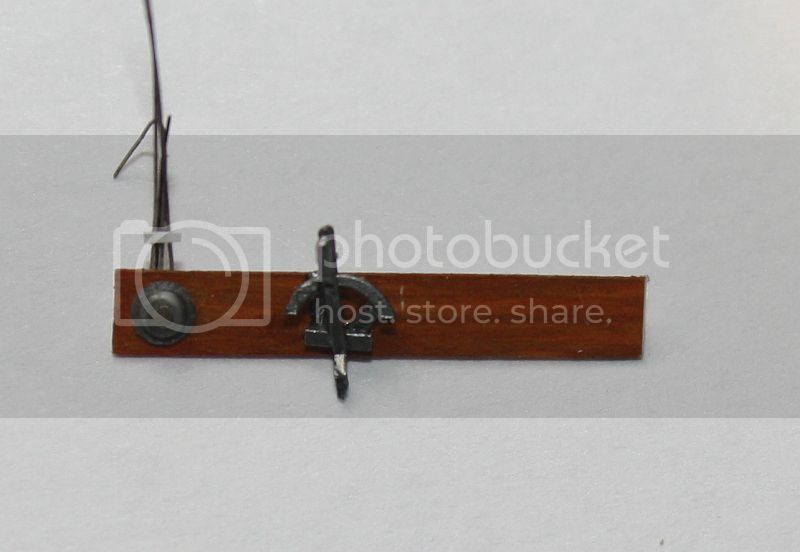
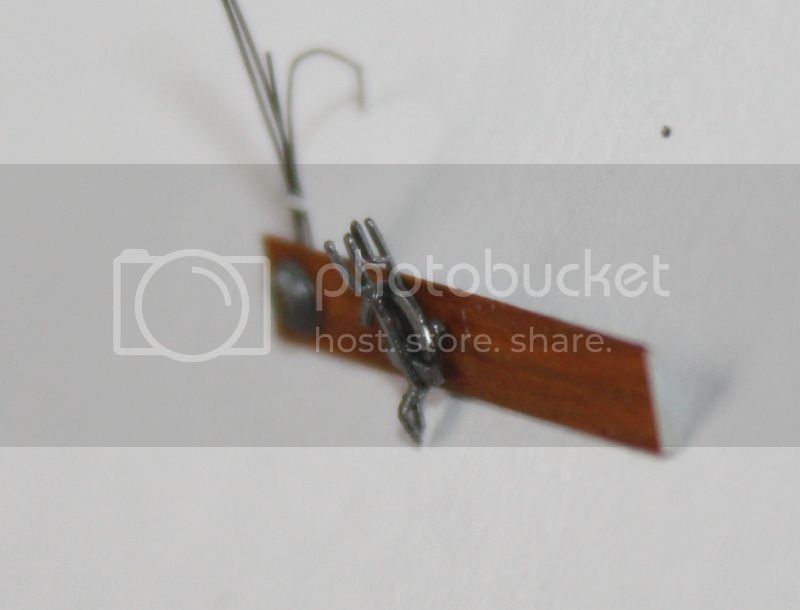
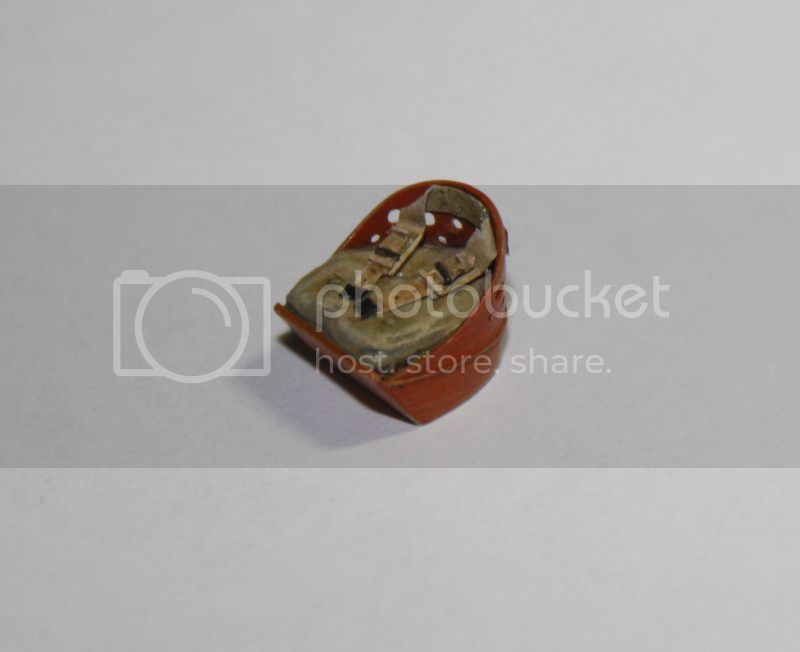
The seat is photoetched part but does not suit me. It is redesigned to resemble that seen in "memorial flight", not forgetting the big cushion. it will add the belts.
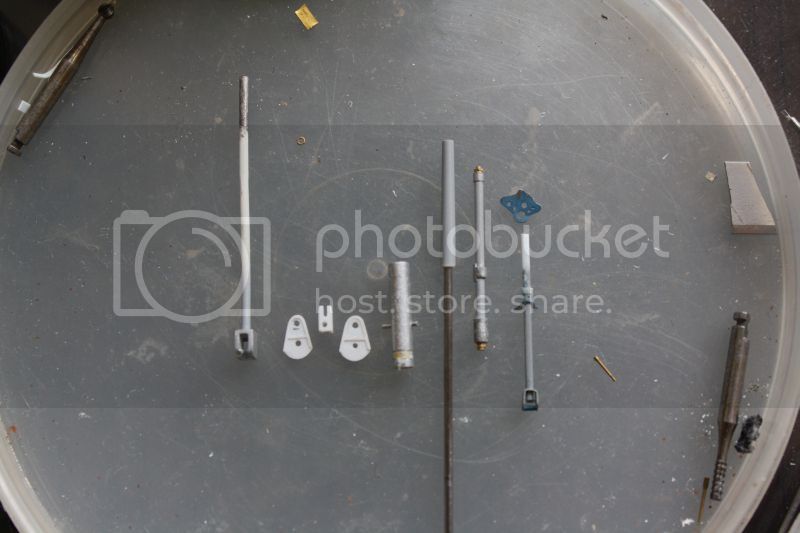
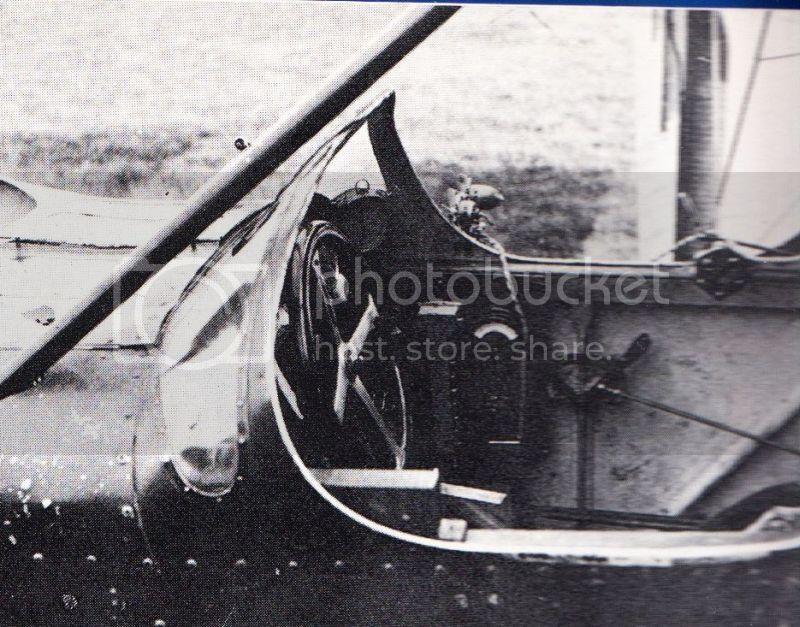
The dashboard will host the big compass. It will be placed in the hole in "half circle" on the shelf made for the occasion.
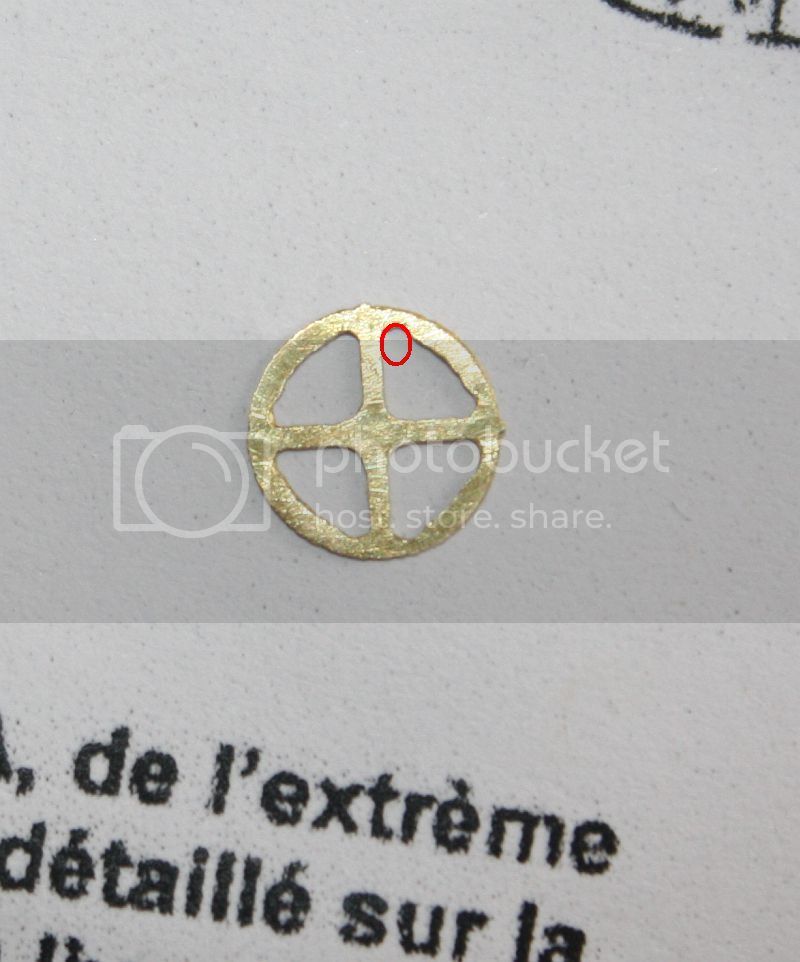
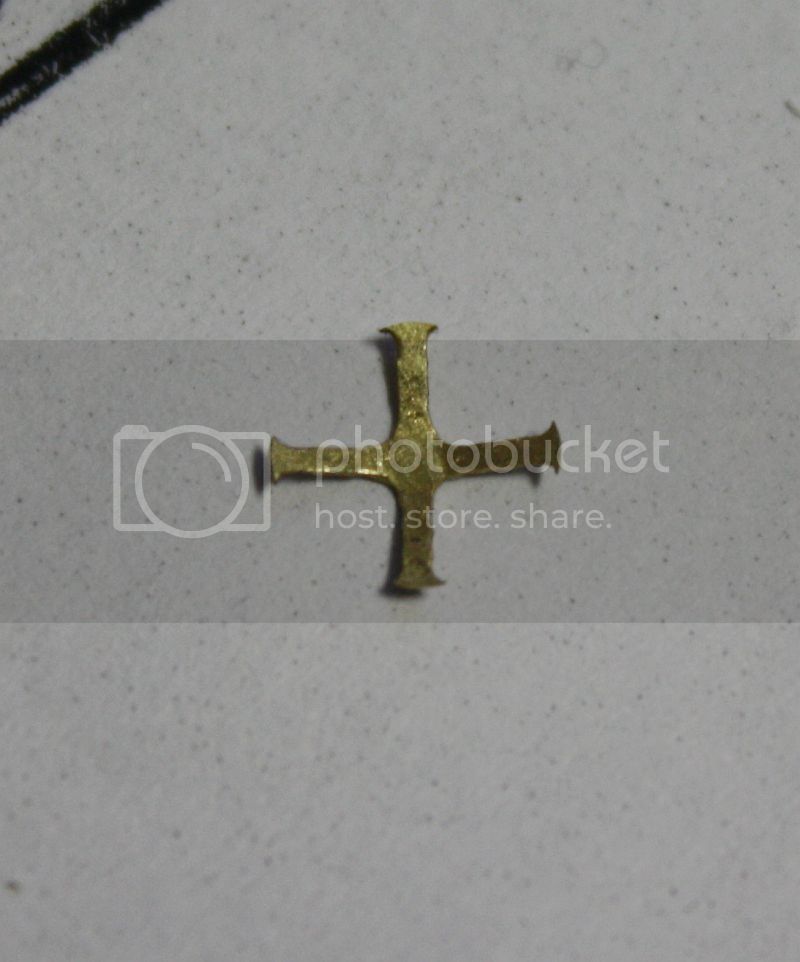
The steering wheel is redone from the kit by rounding the corners with a round file (in red). It's a bit long to do ...
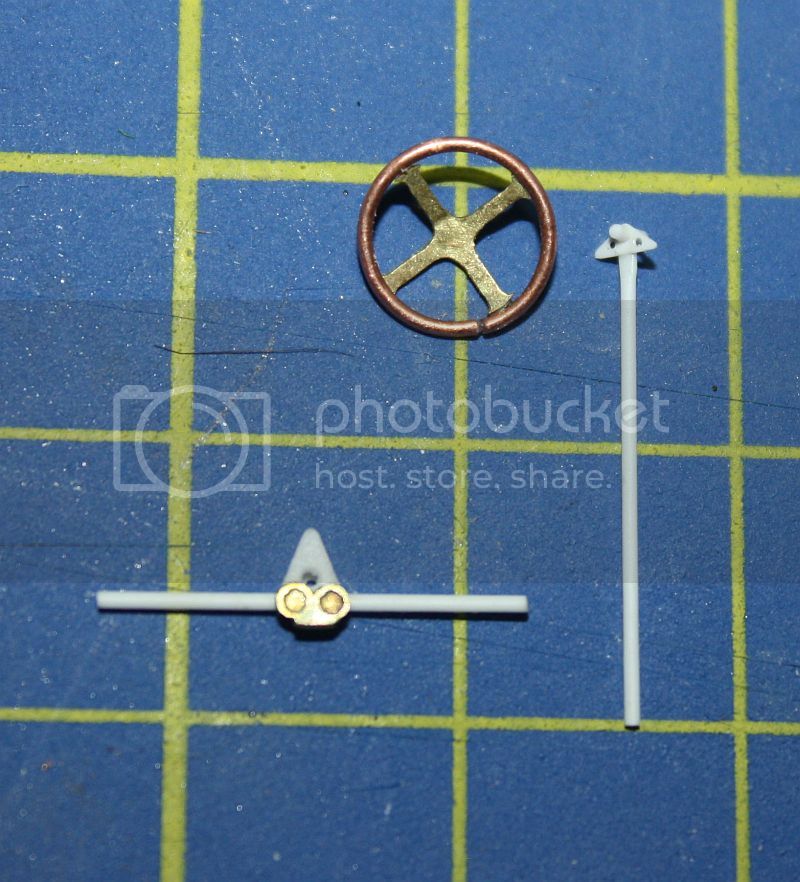
The two blocks down the handle are those of the kit, the top of the handle toothed wheel is made from a "trap" photoeched of the board of DV eduard (I have no punch to make records so small ..).

It lacks the chain and cables.
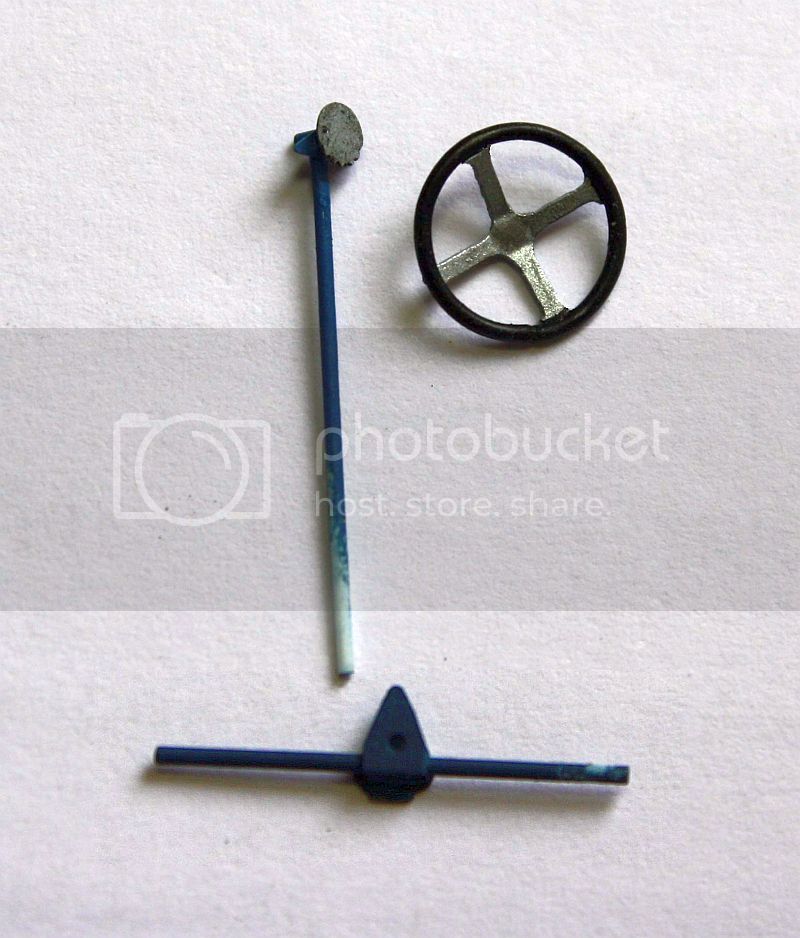
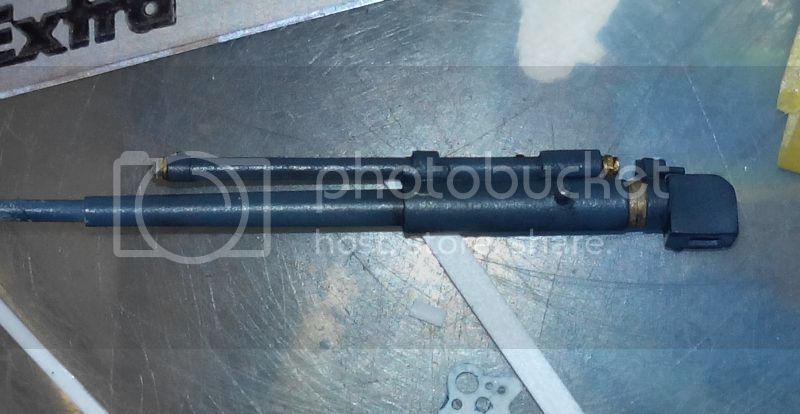
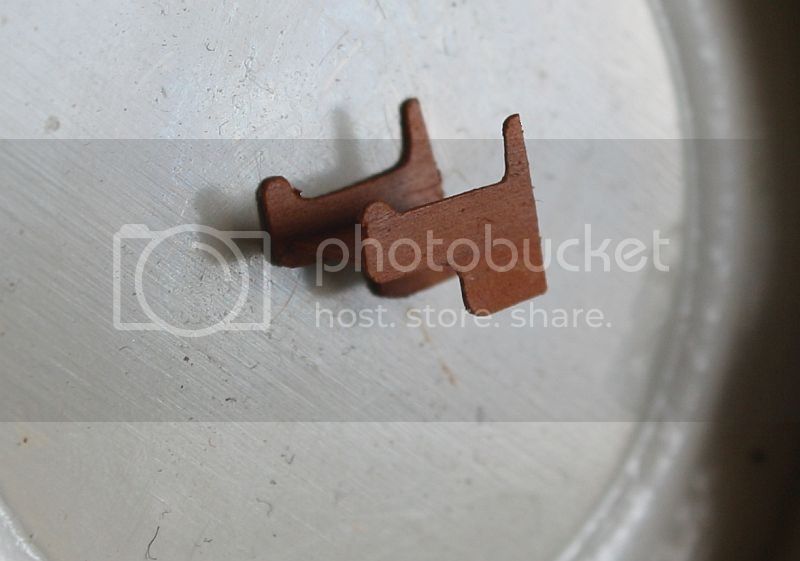
The rudder and the handle close to the seat:
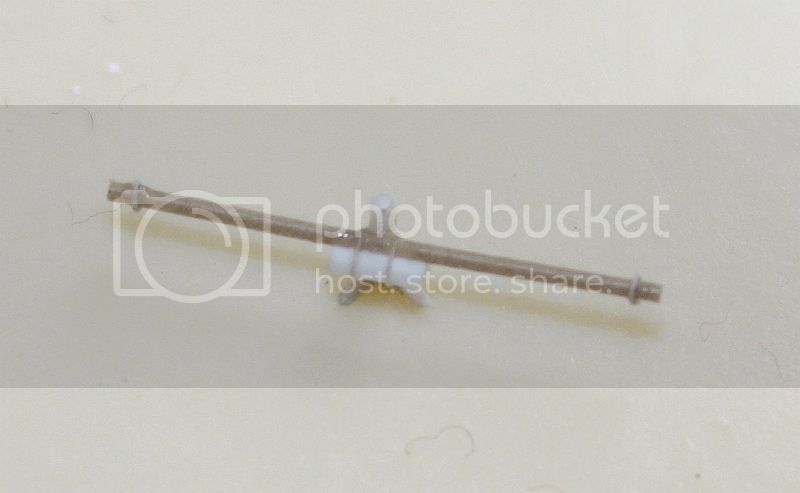
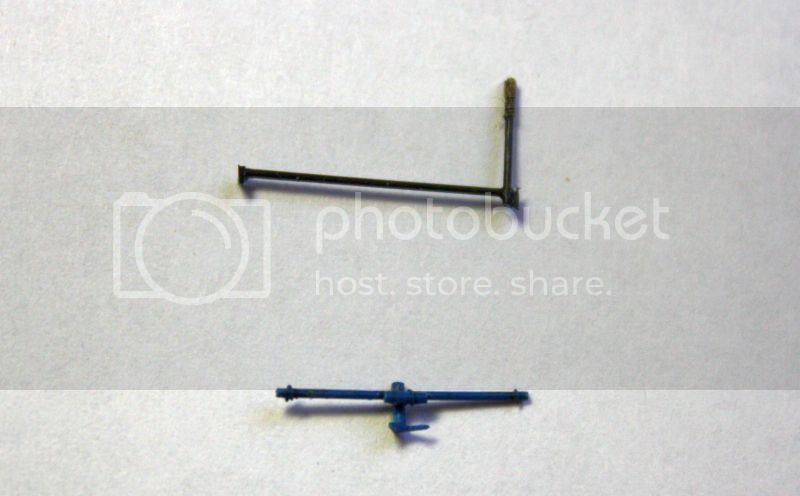
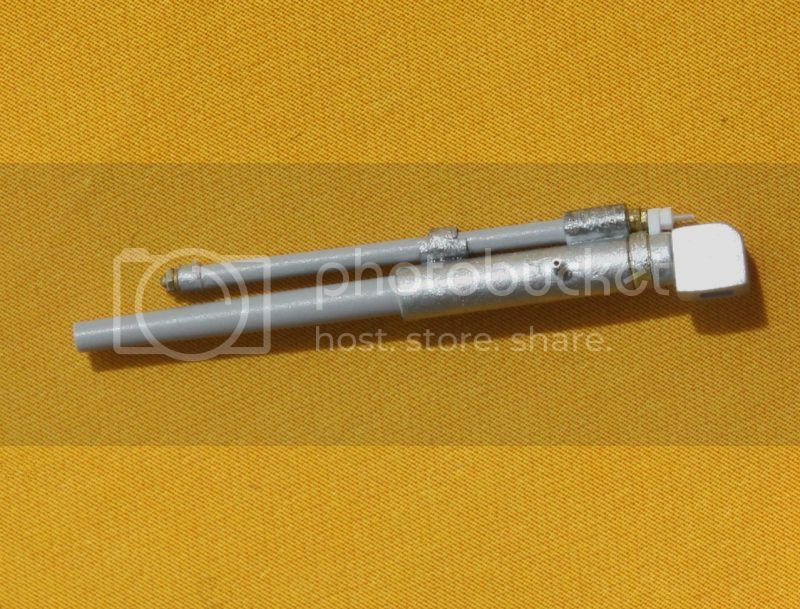
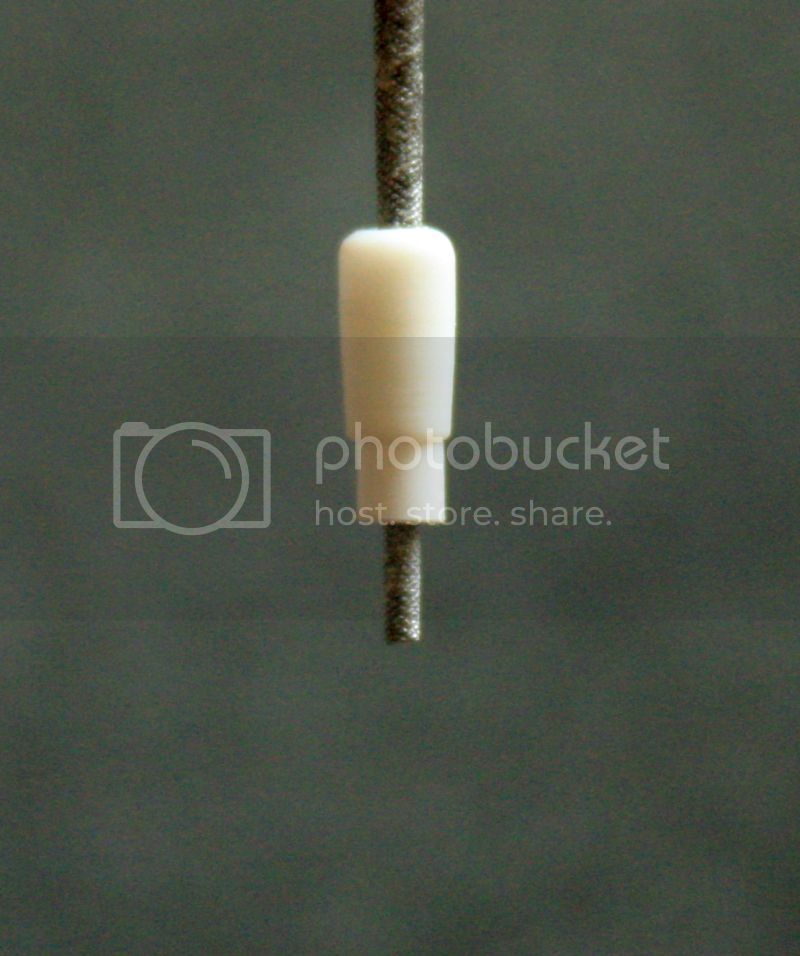
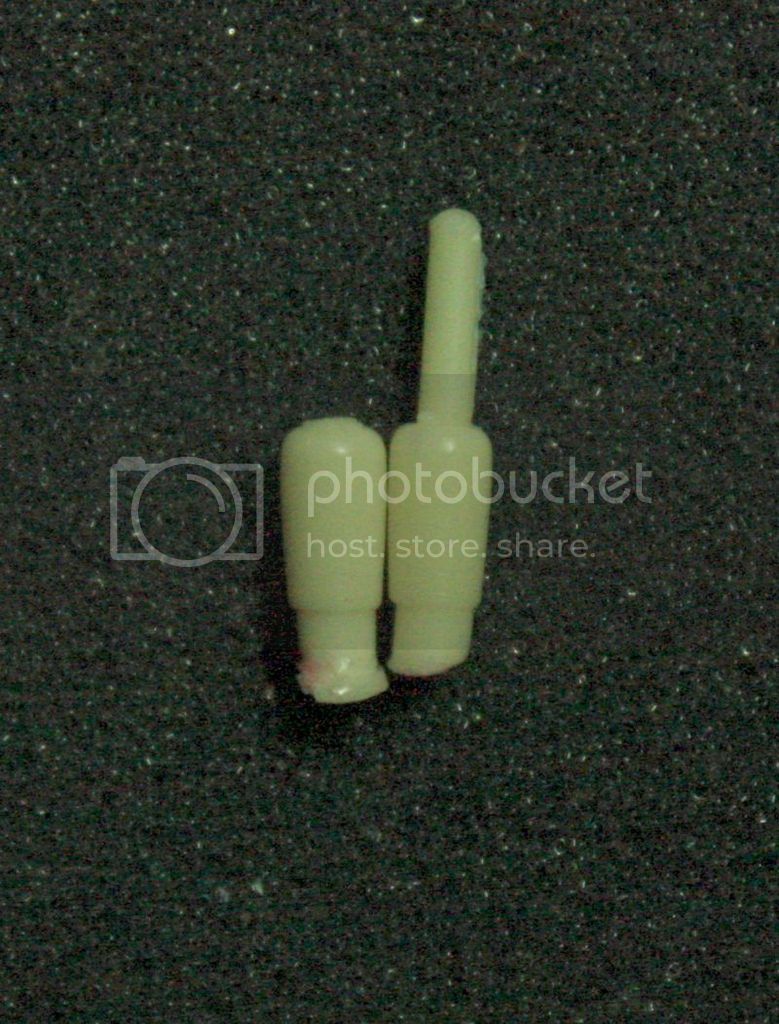
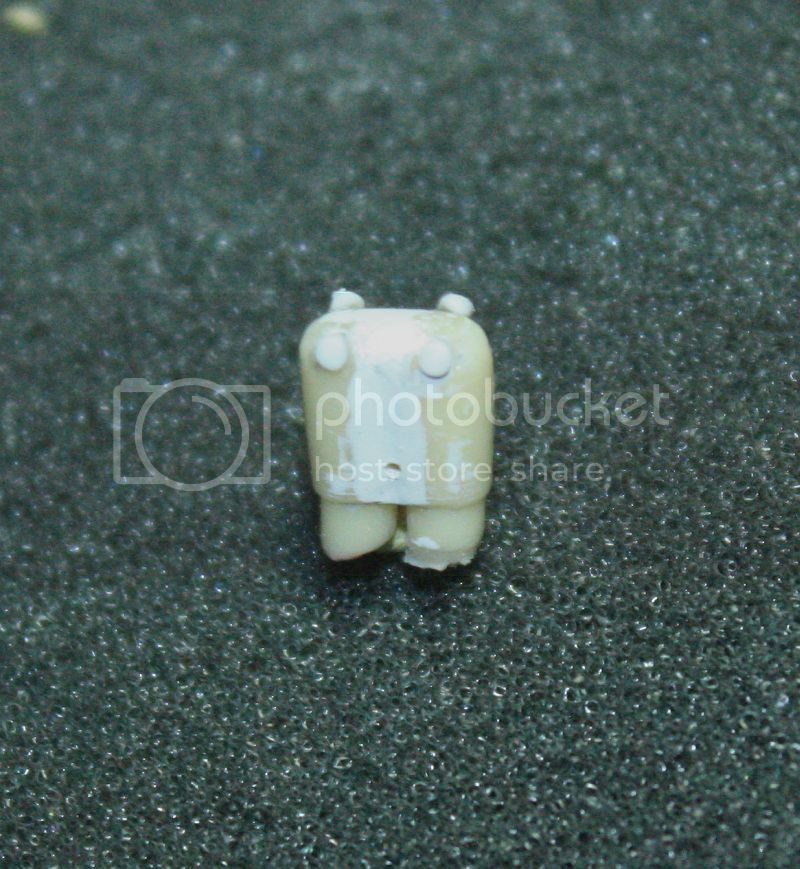
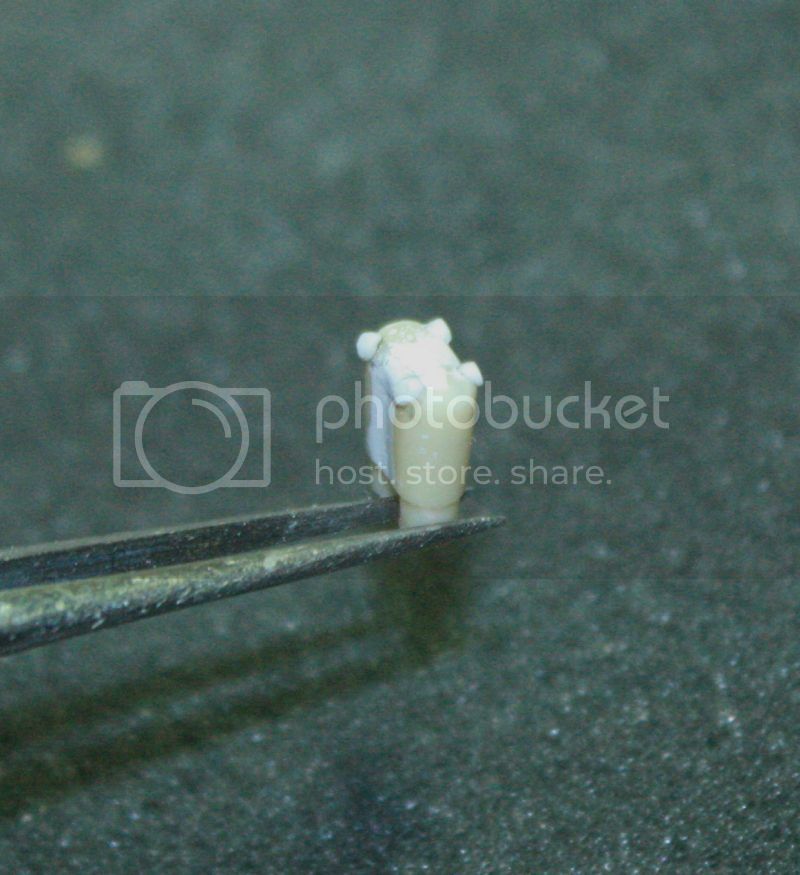
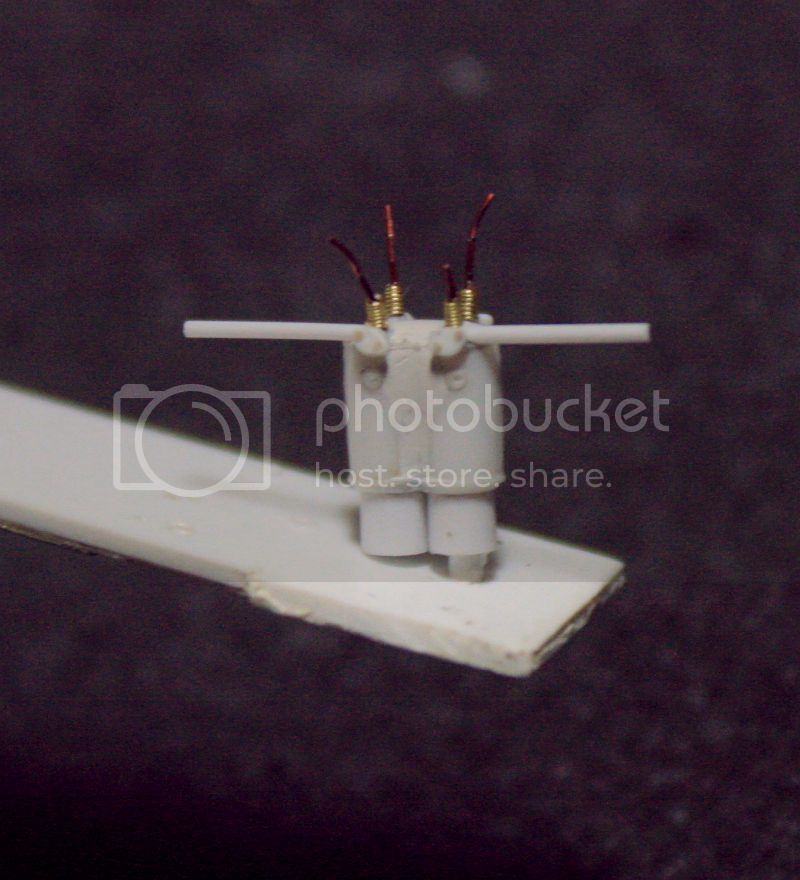
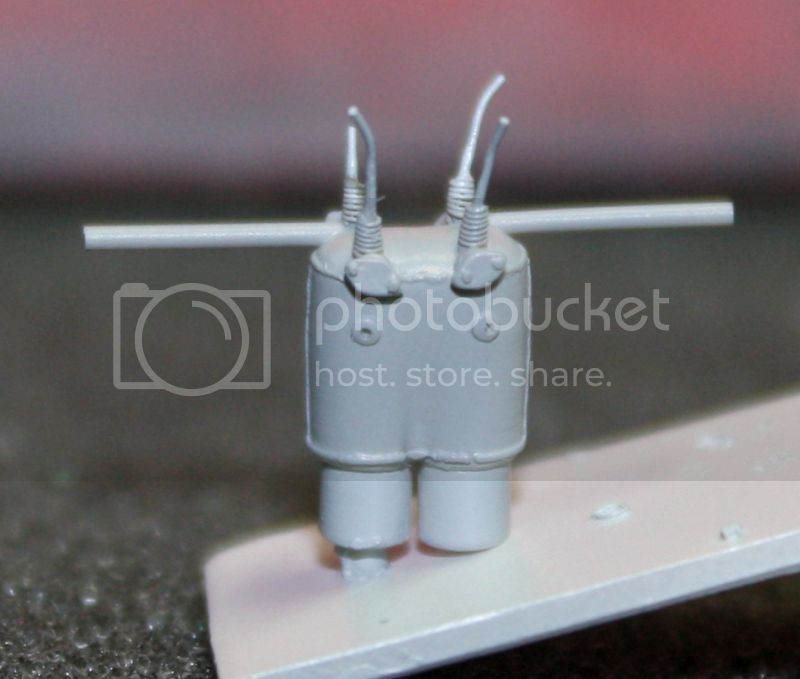
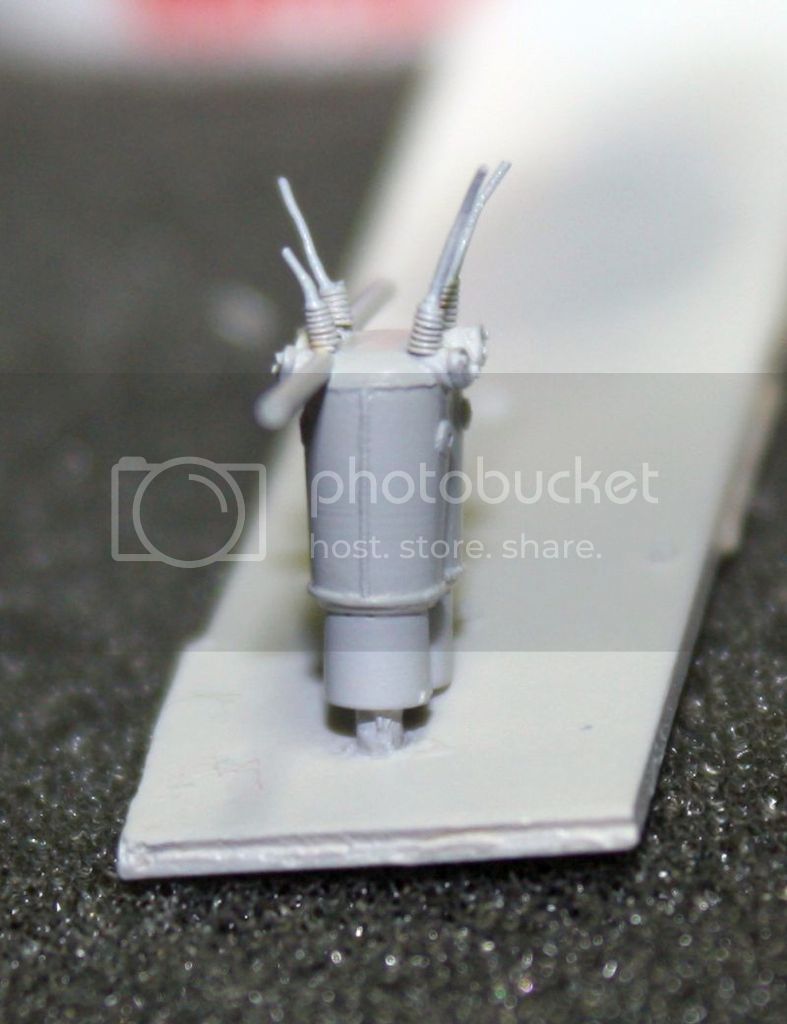
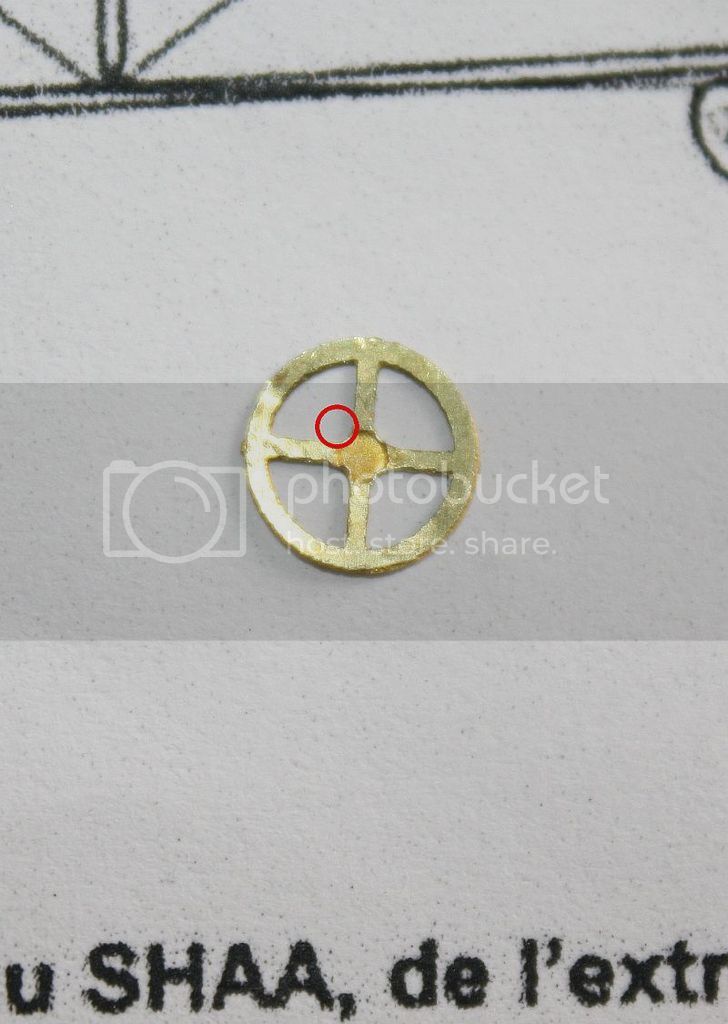
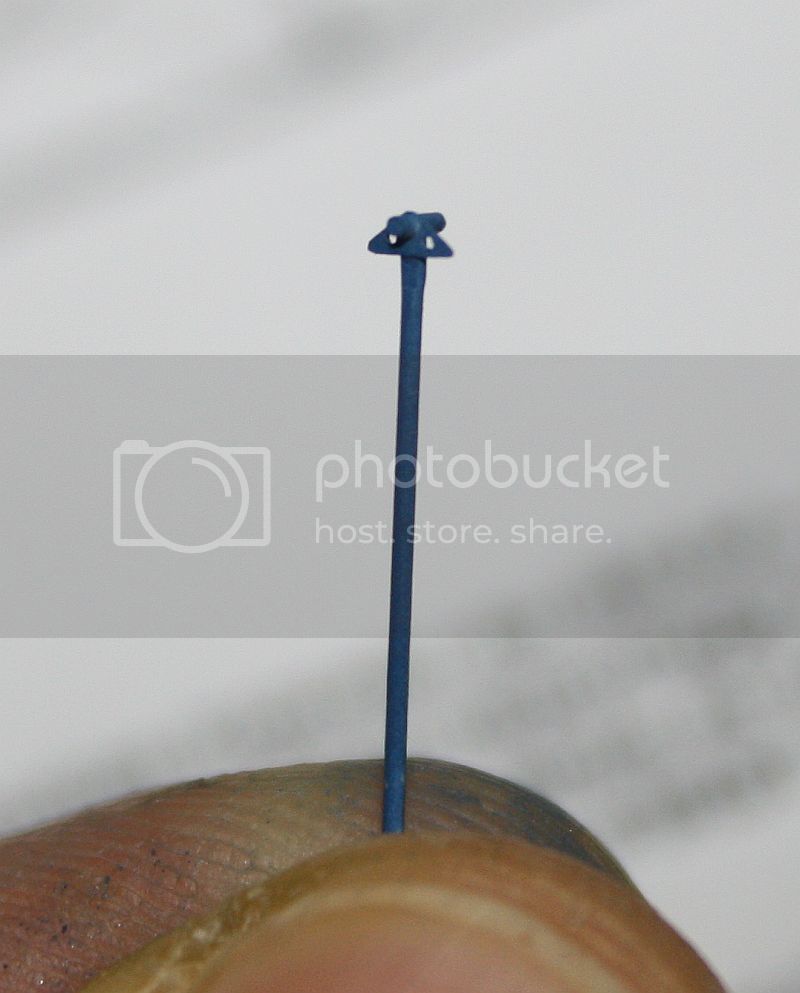
3 switches on the dashboard, turned on a lathe with one plastic rod (diameter 1mm) and a selector (?) on the left side.
The dual throttle. The circular arc is a piece of lead wire crushed with a ruler on a glass plate.
The handles are made of plastic.
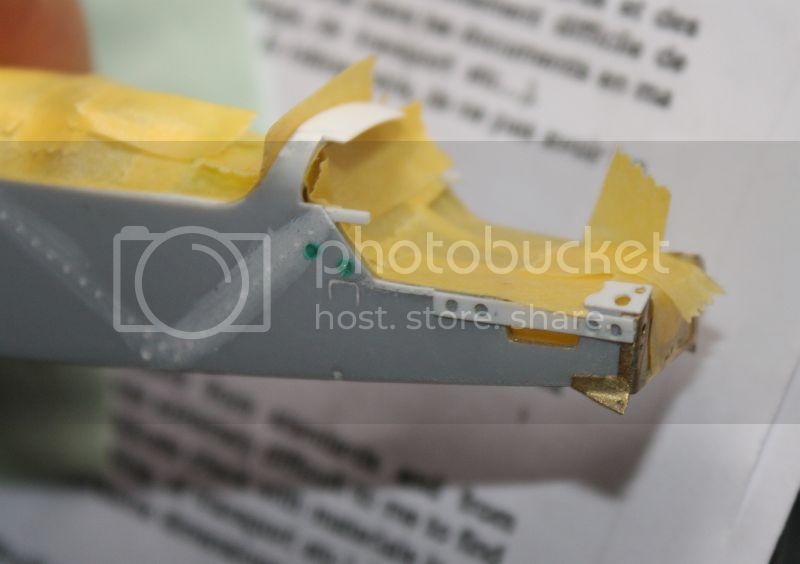
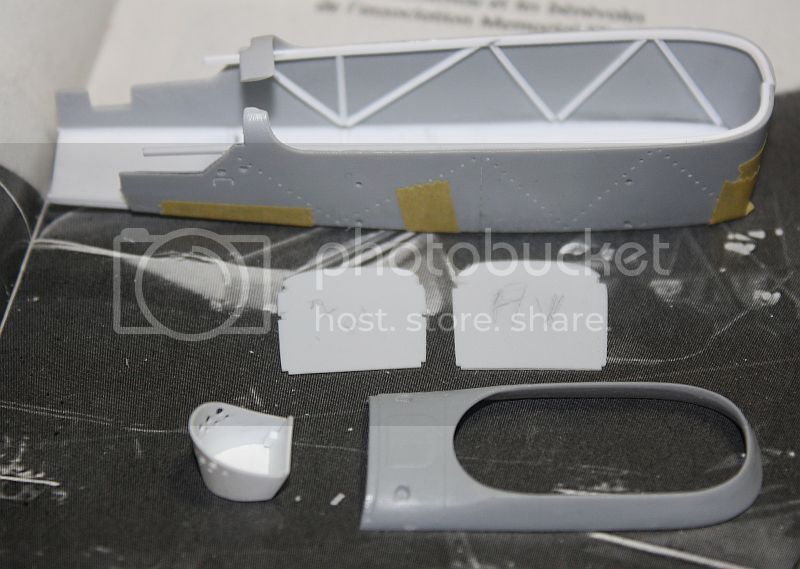
Both sides of the cab are glued and must be abraded copiously...
[img width=600 height=466]http://i358.photobucket.com/albums/oo21/louisetcie/voisin%20X/IMG_0729_zpsxewo4xff.jpg[/img]
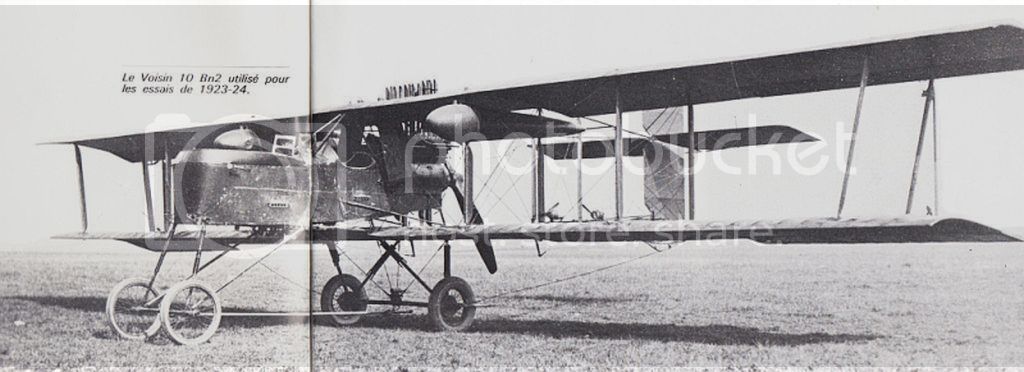
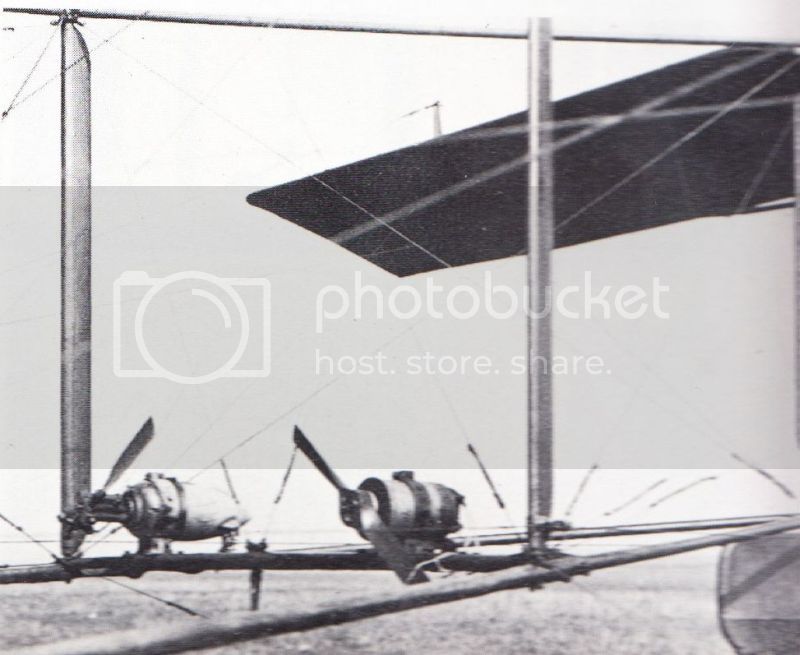
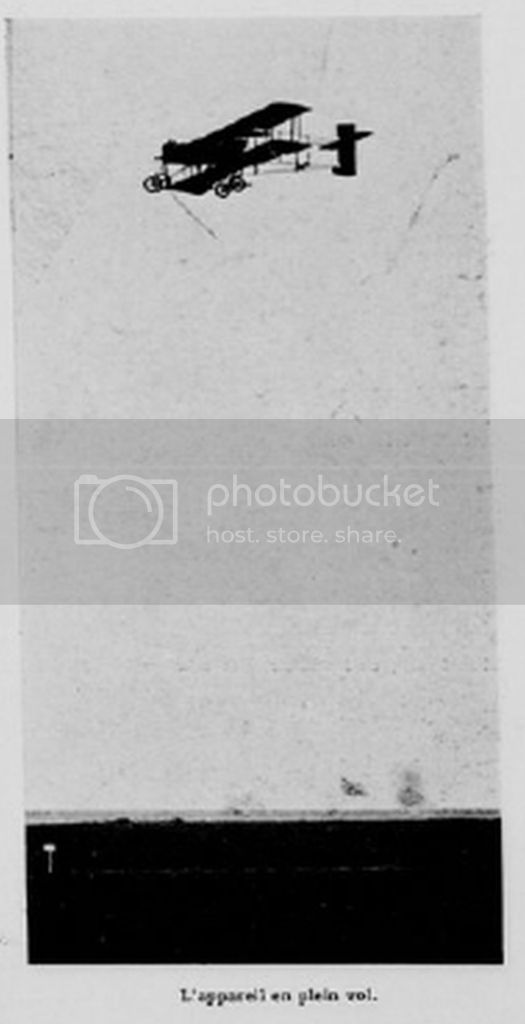
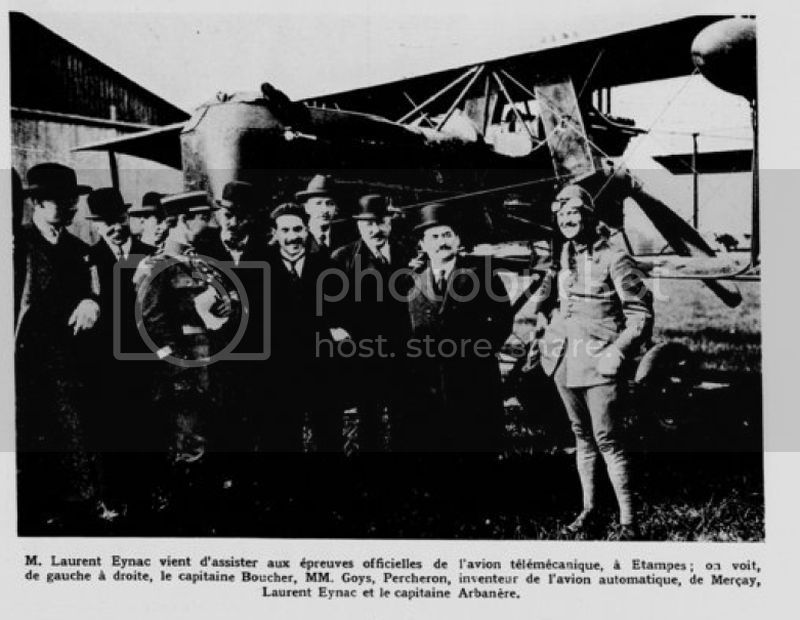
Some pictures showing the airplane Voisin Ca2 before restoration ( Musée de l'Air et de l'Espace / Memorial Flight).
The aircraft had been modified to fly without the pilot.
1923-1924
And drawings ....
http://www.techno-science.net/?onglet=news&news=3957
"Le monde illustré avril 1923"
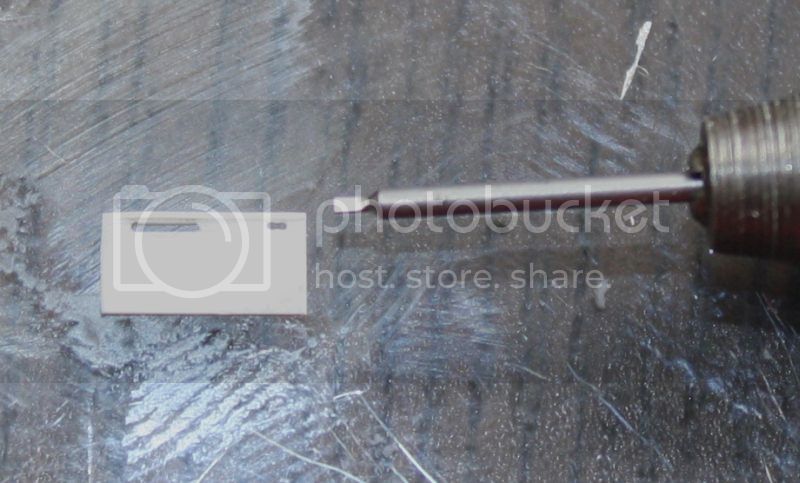
The windshield is not beautiful, it is full of bubbles and not transparent at all. Its central part is too short and I think I'll have to cut it to enlarge a little.
In addition I split ... misery.
In front of the windscreen there are two components that can (for real) open and which are partly transparent. So I just removed to replace with a piece of transparent plastic. It's a little too flat now ... I'll stick can be above the two components to put a little thick.
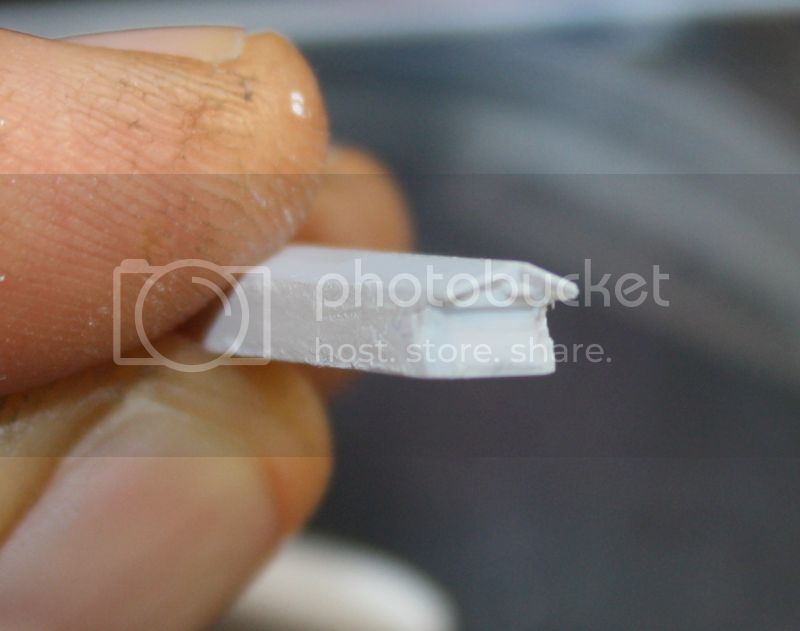
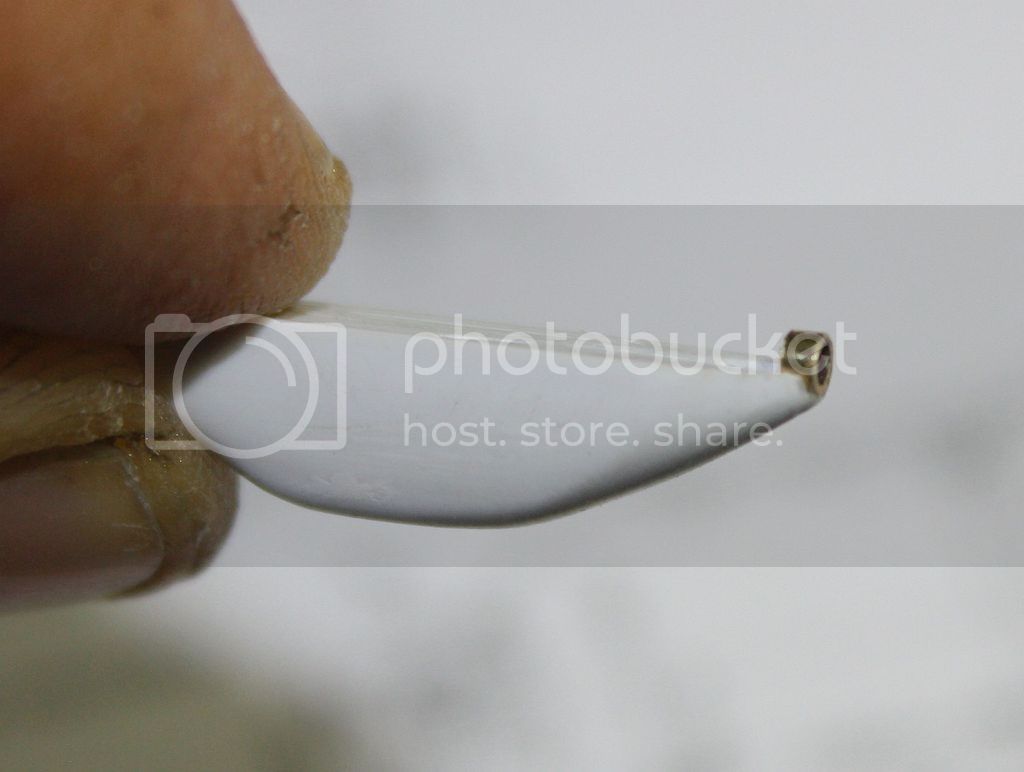
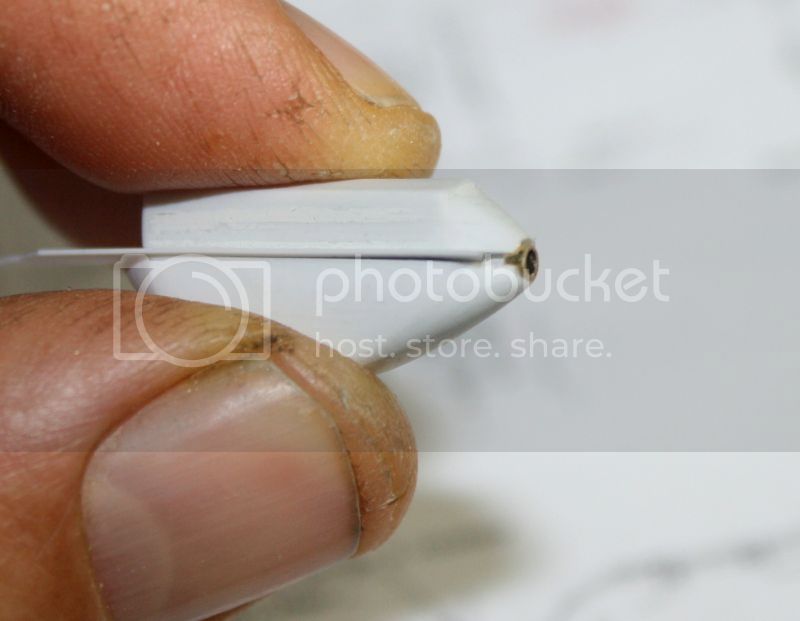
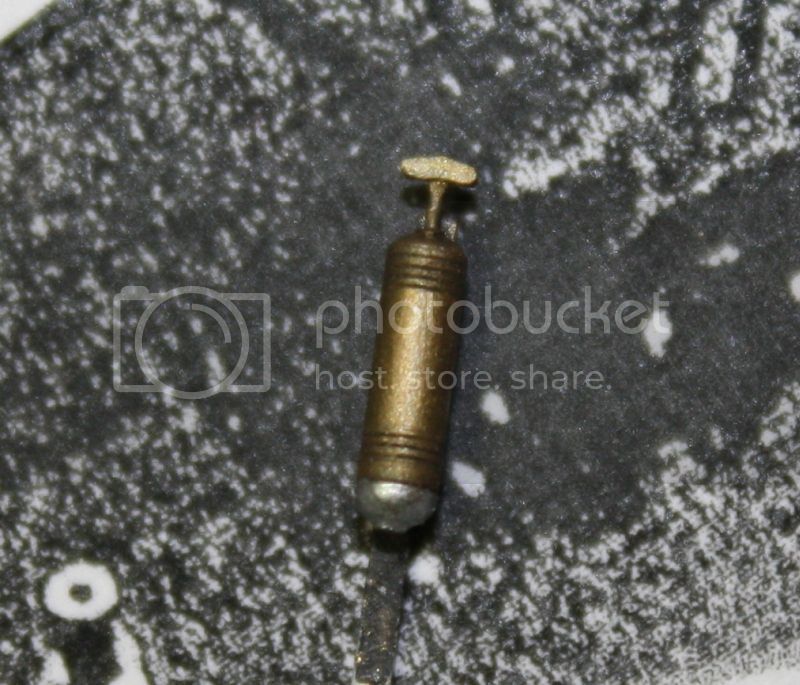
I made a fire extinguisher to put next to the cannon (shot plastic).
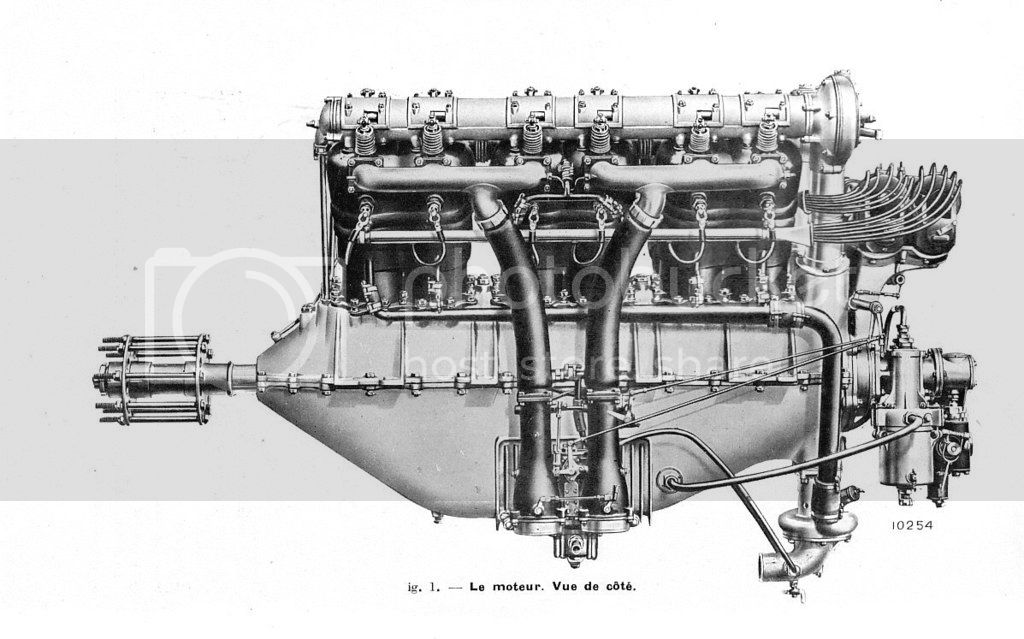
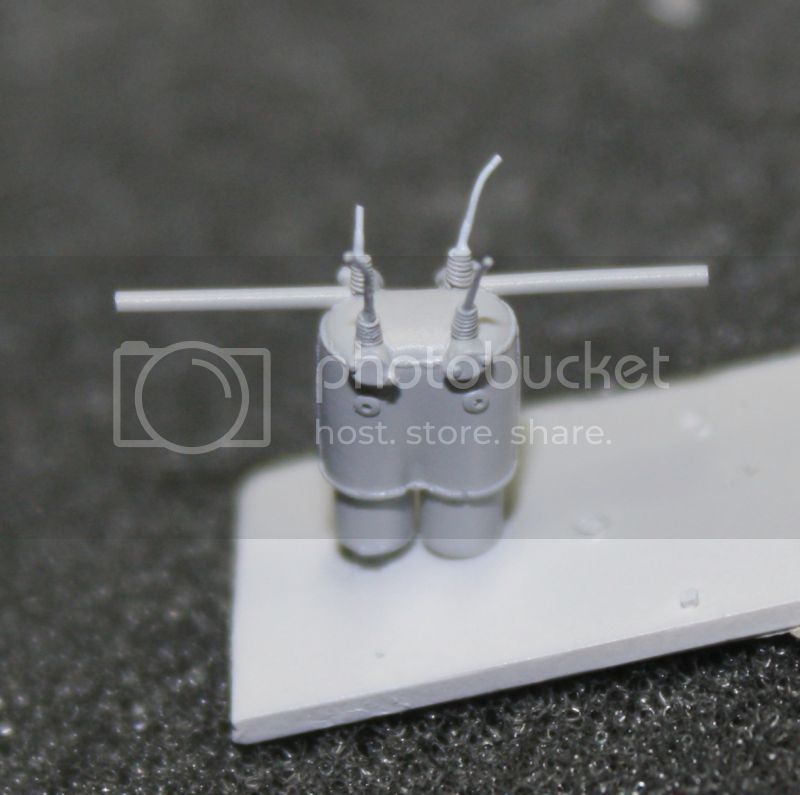
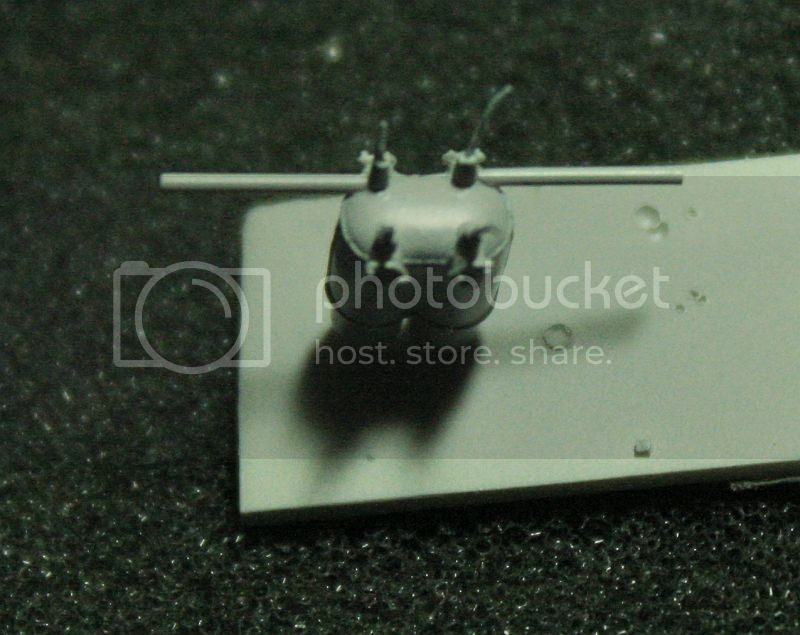
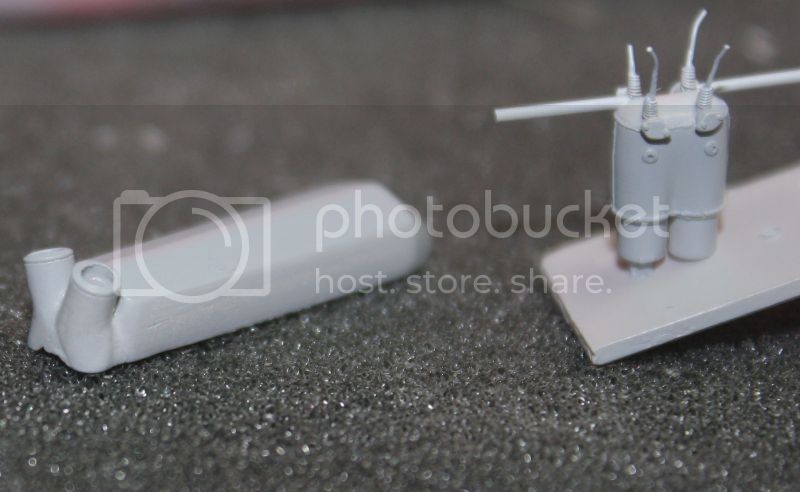
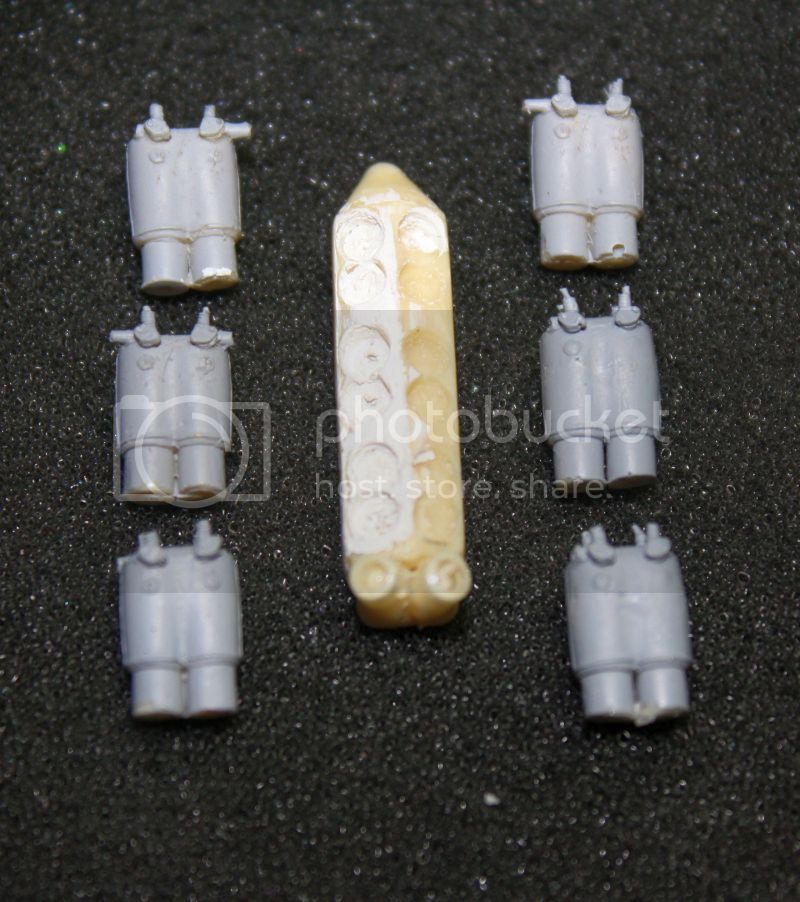
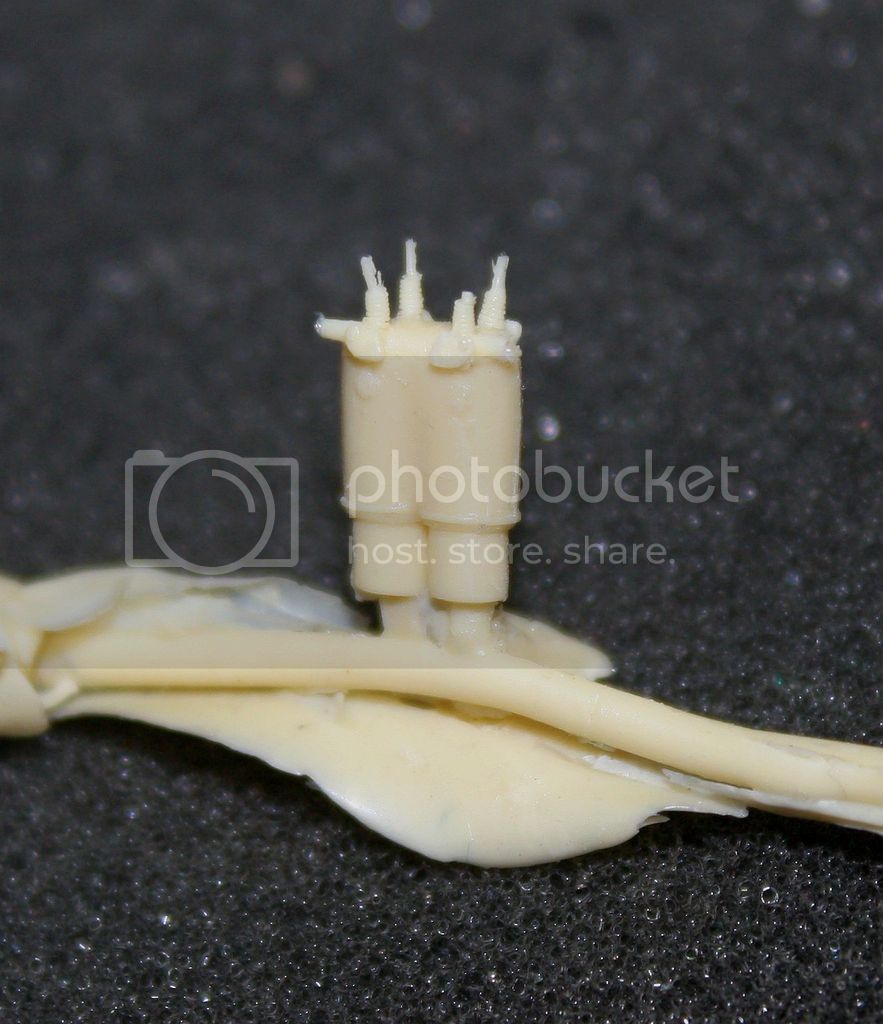
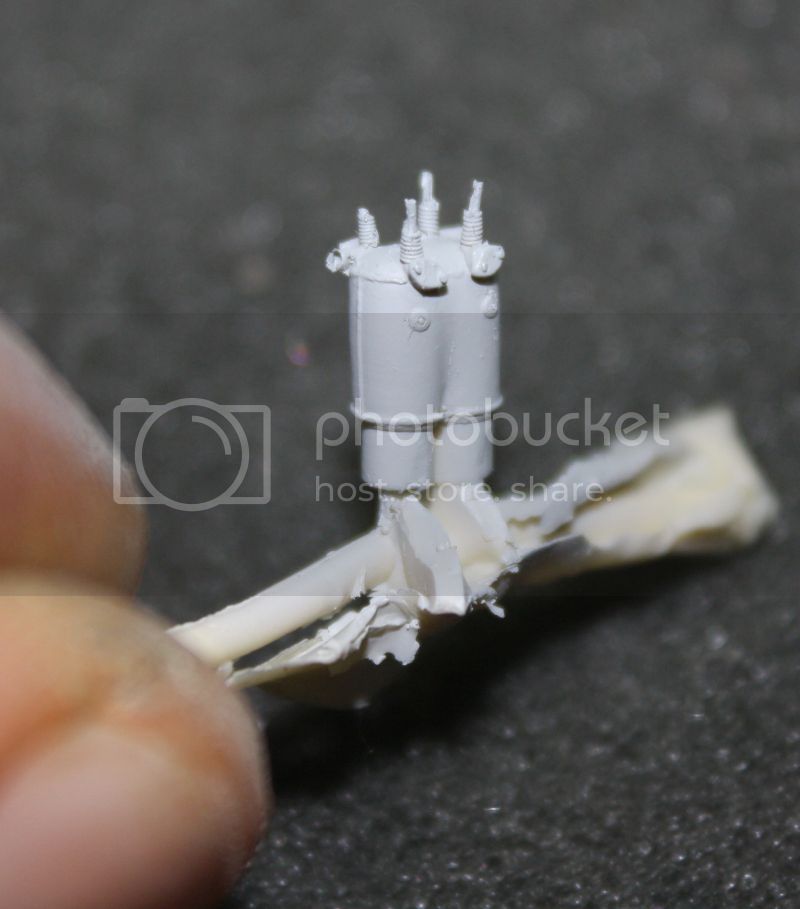
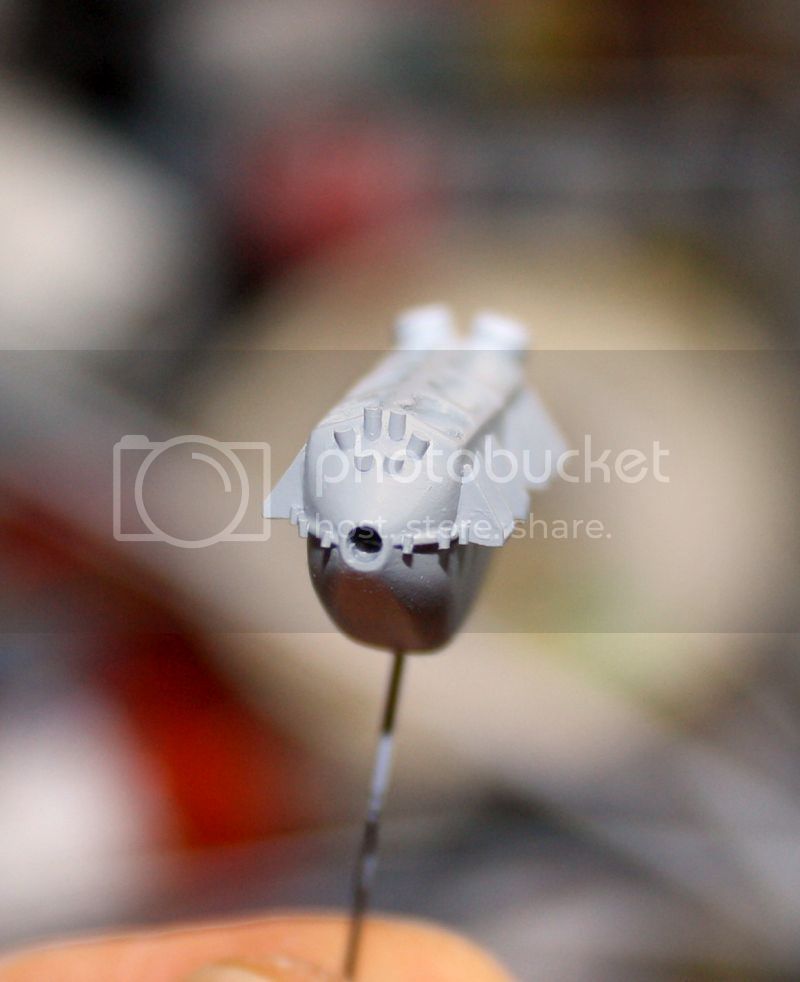
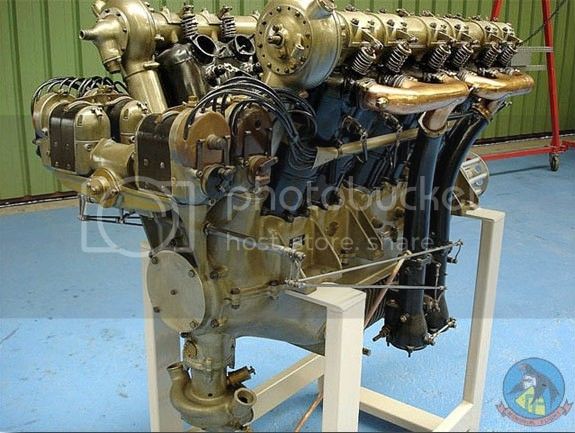
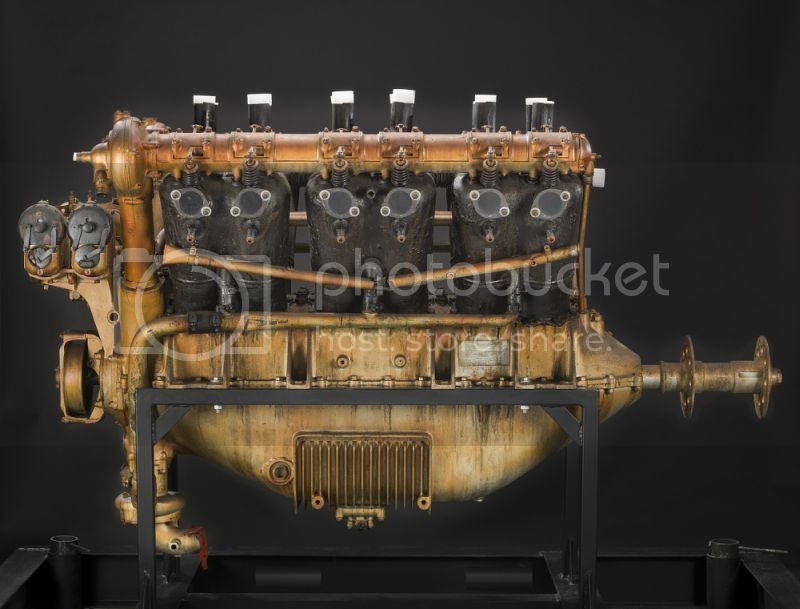
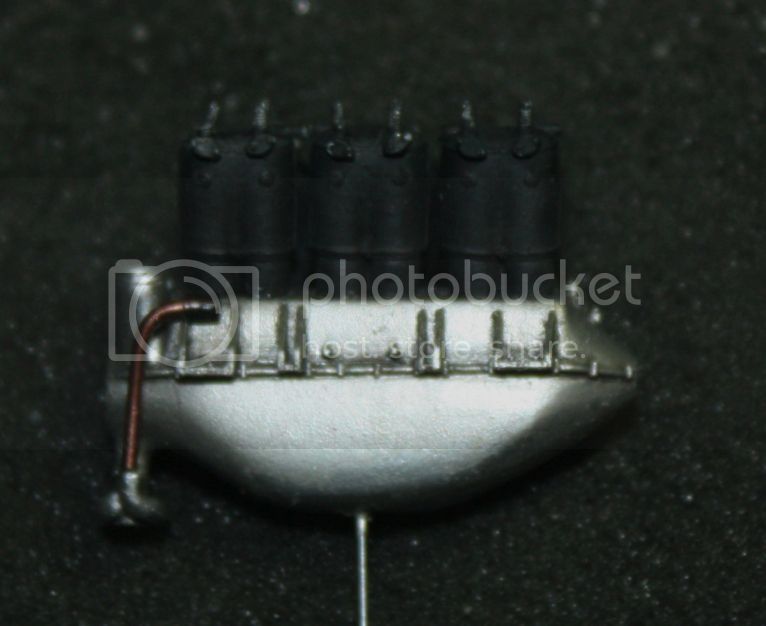
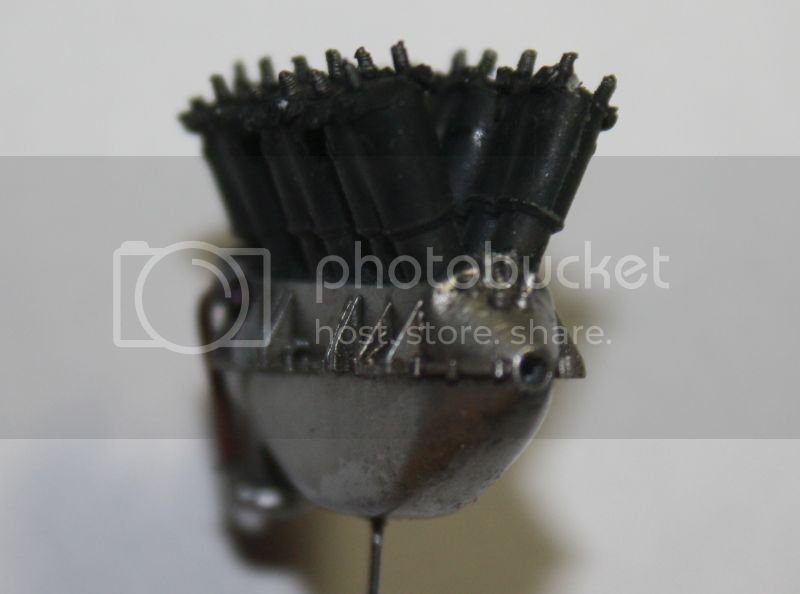
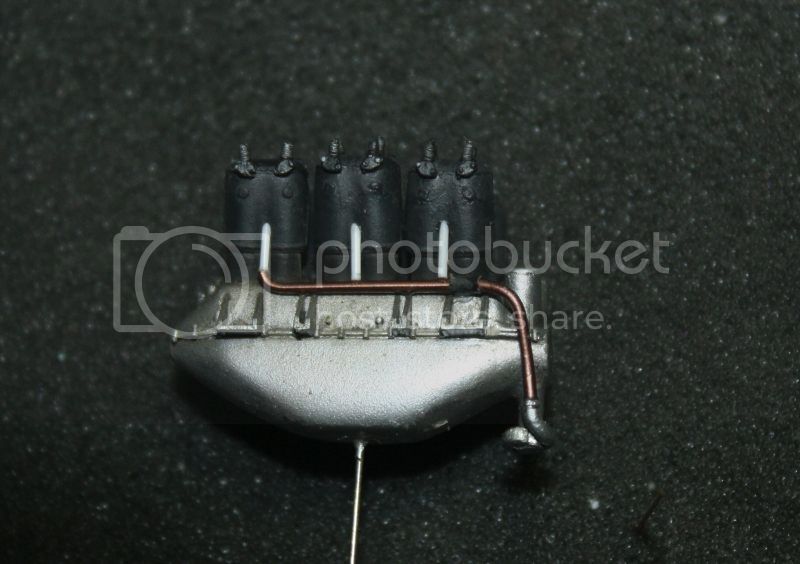
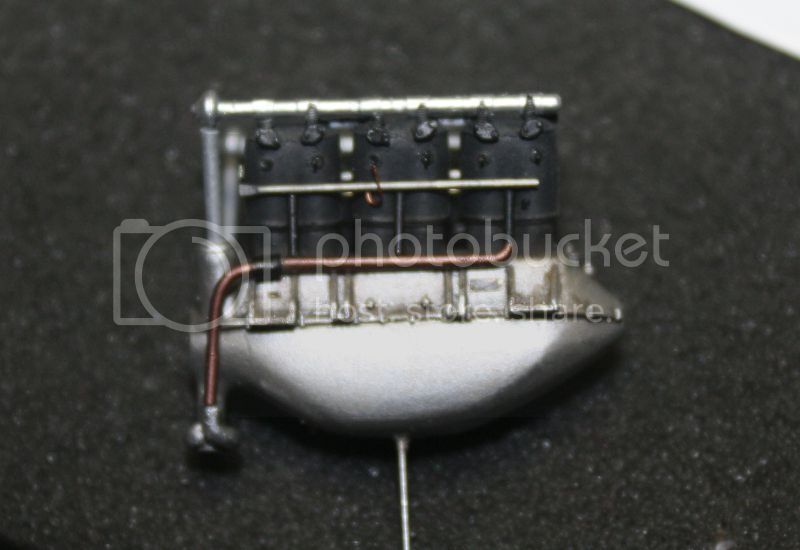
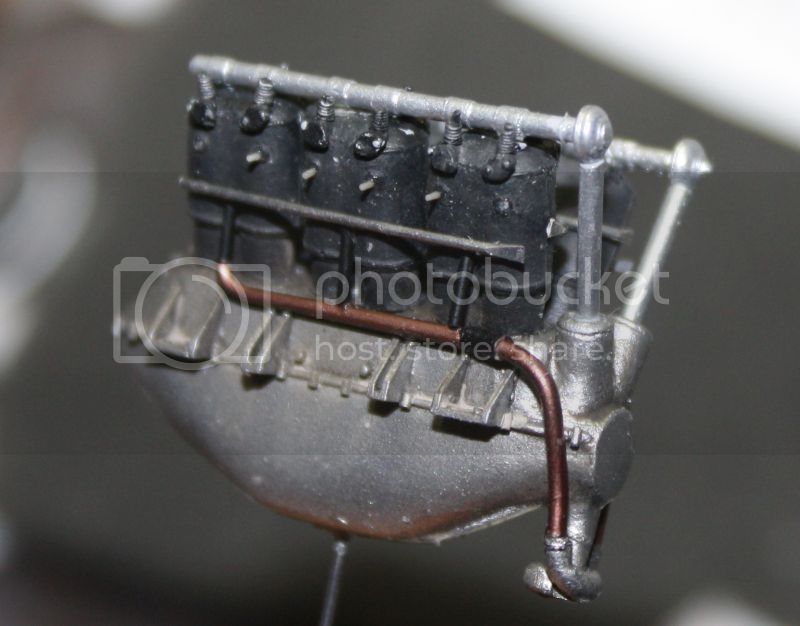
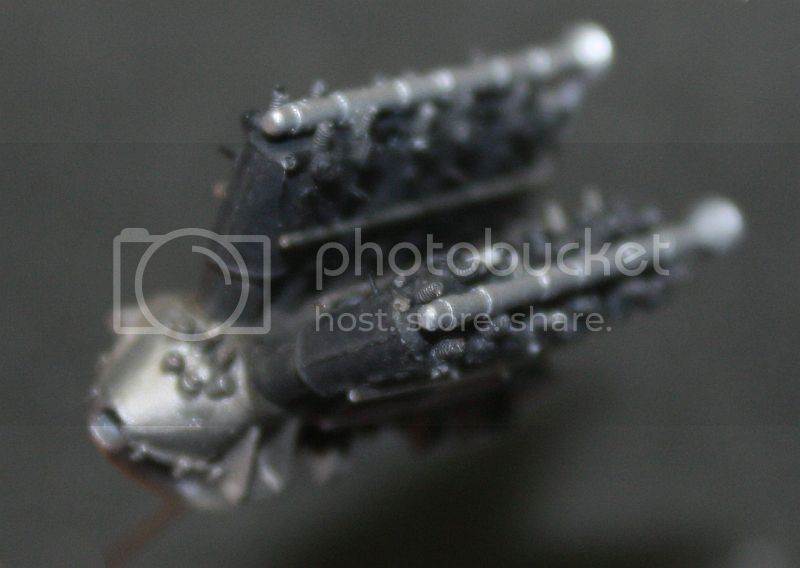
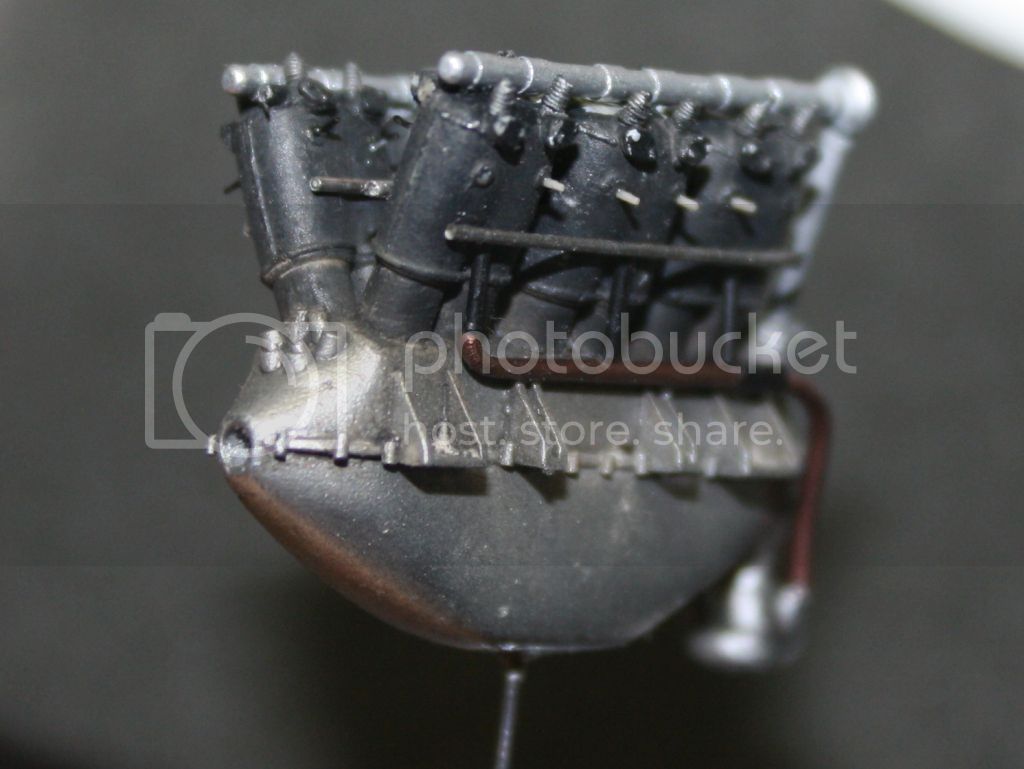
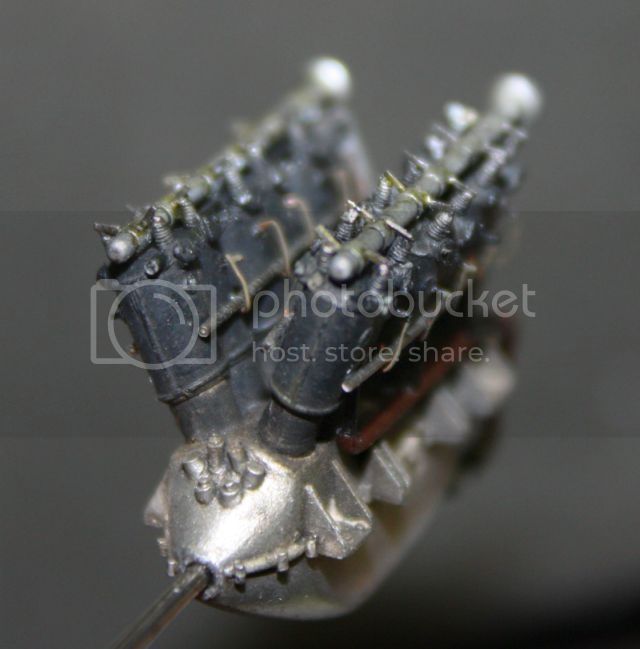
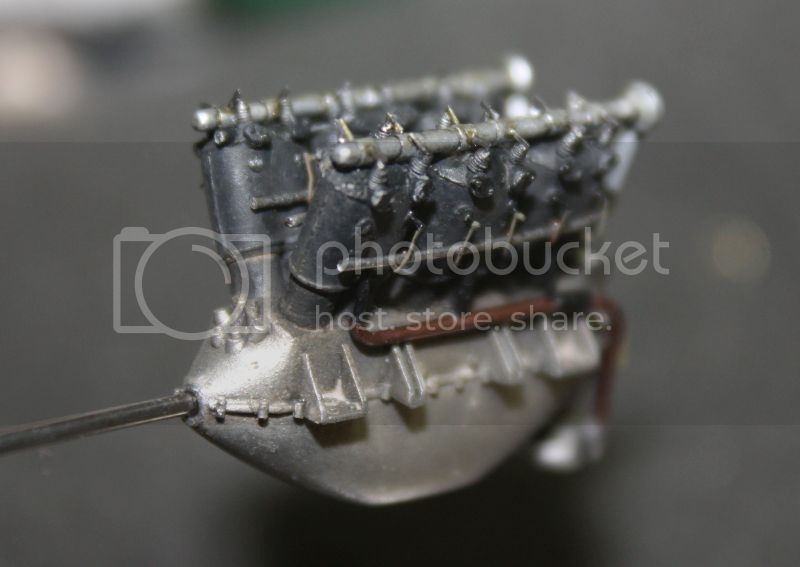
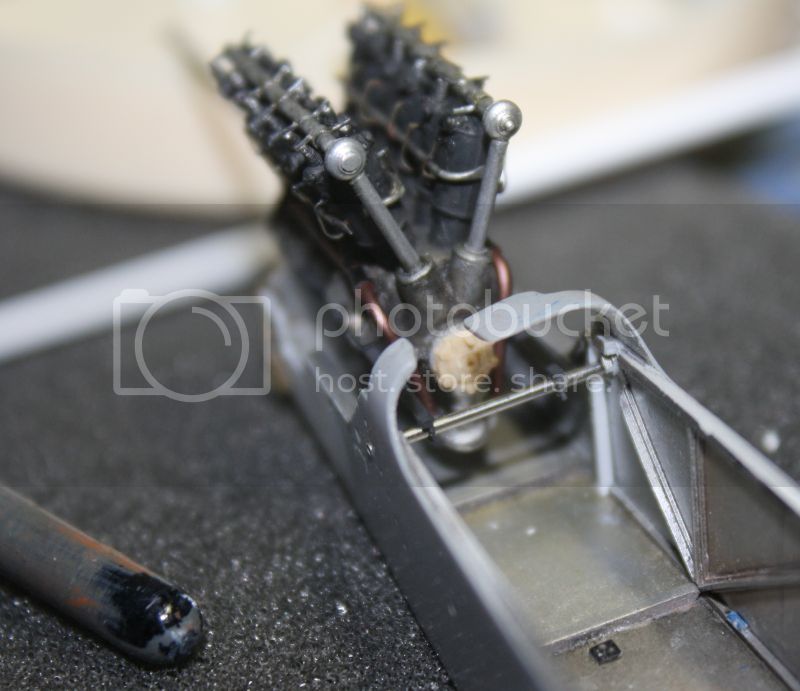
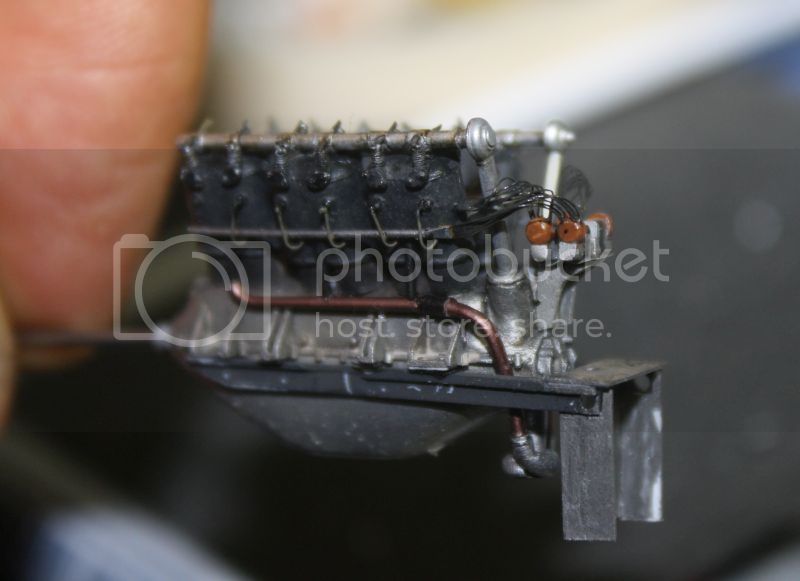
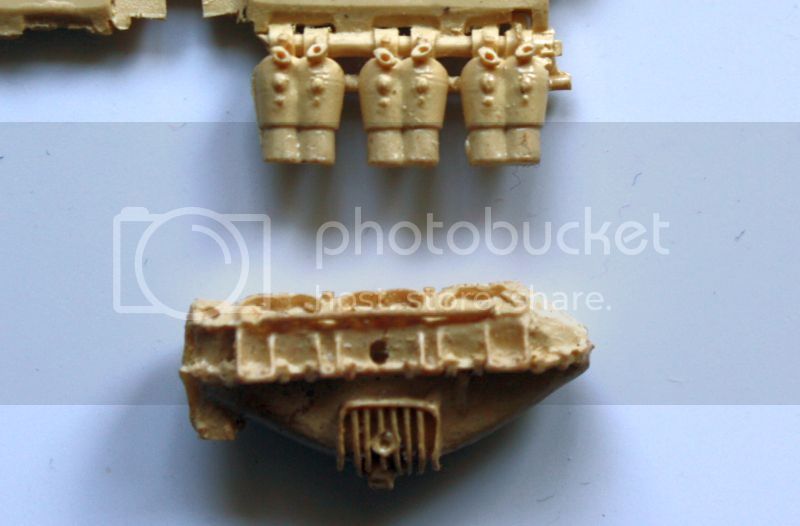
The engine does not please me. It's a shame it's all there but everything is crooked.
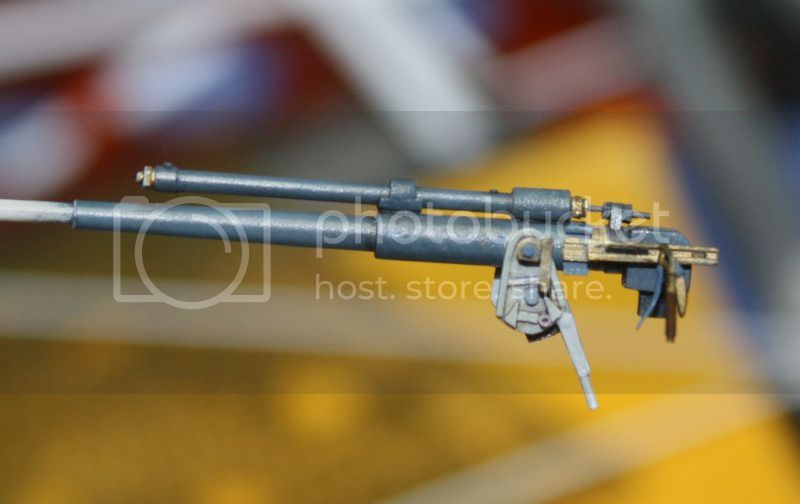
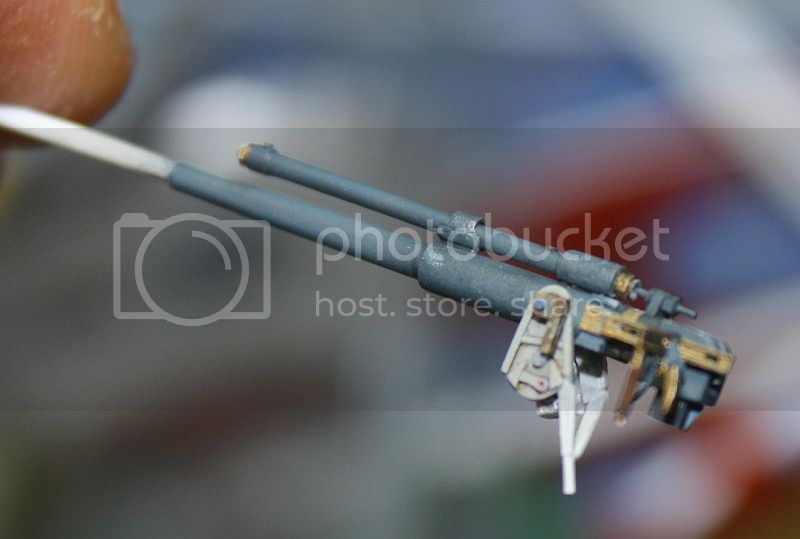
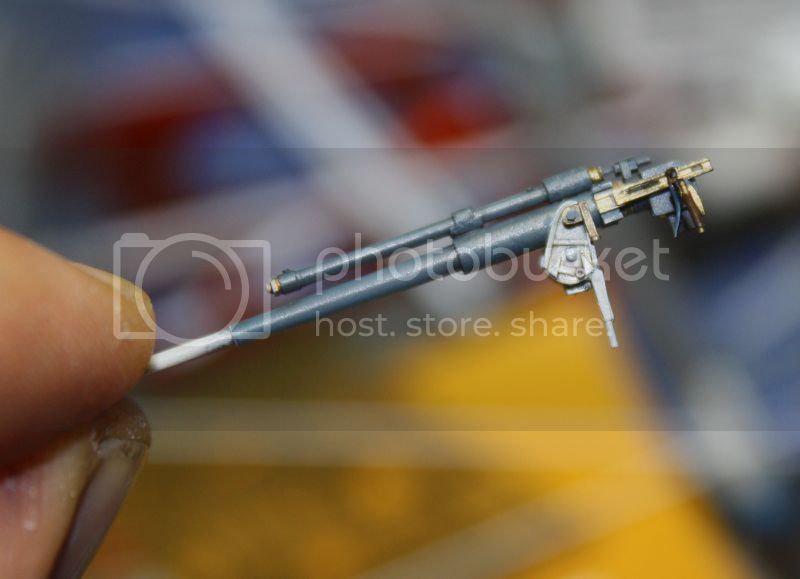
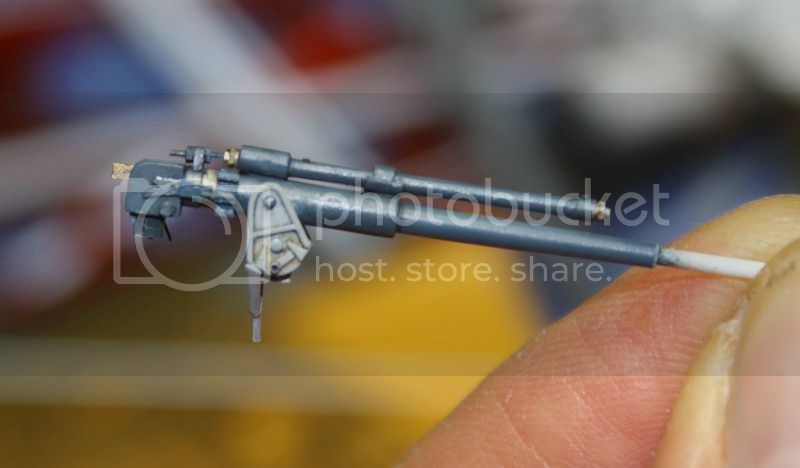
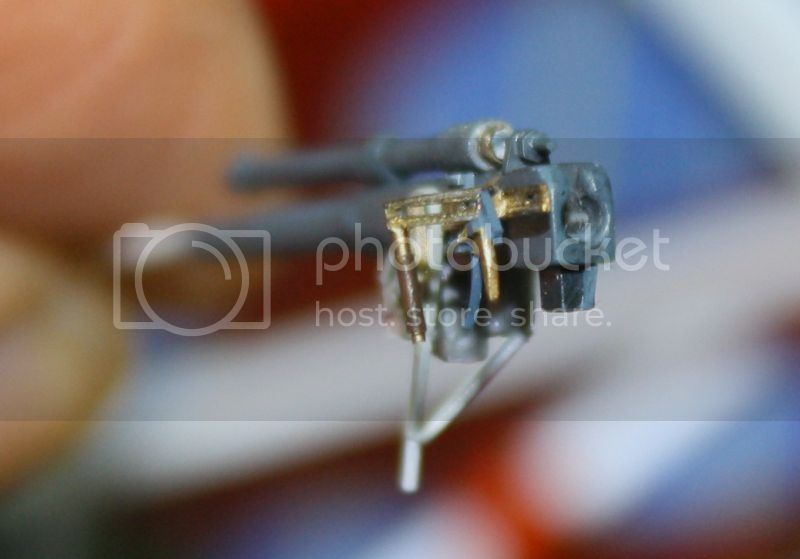
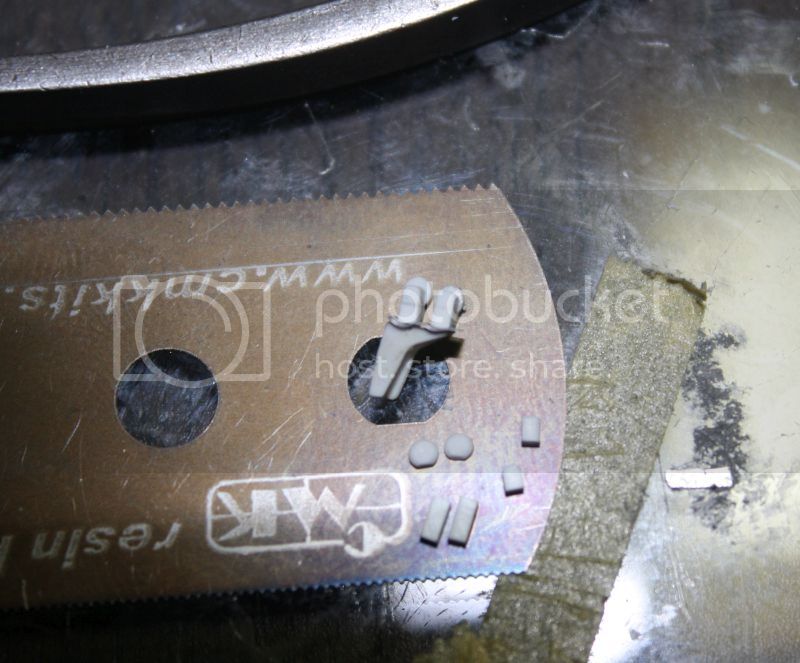
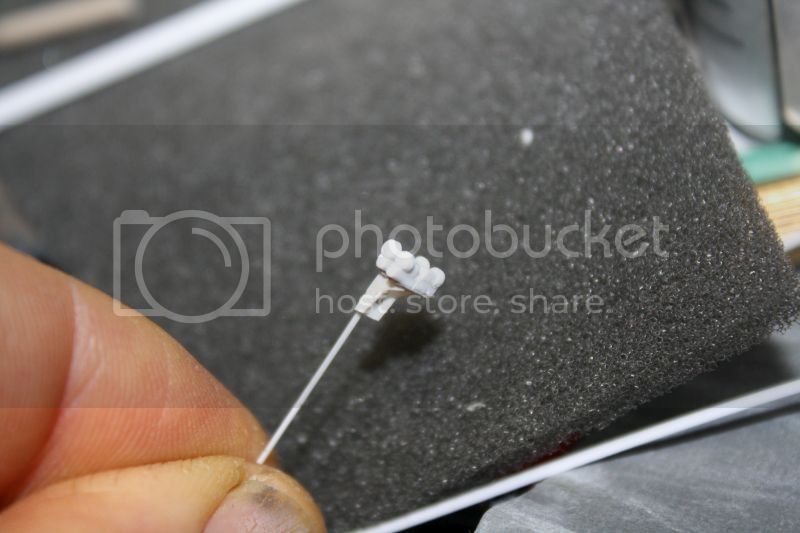
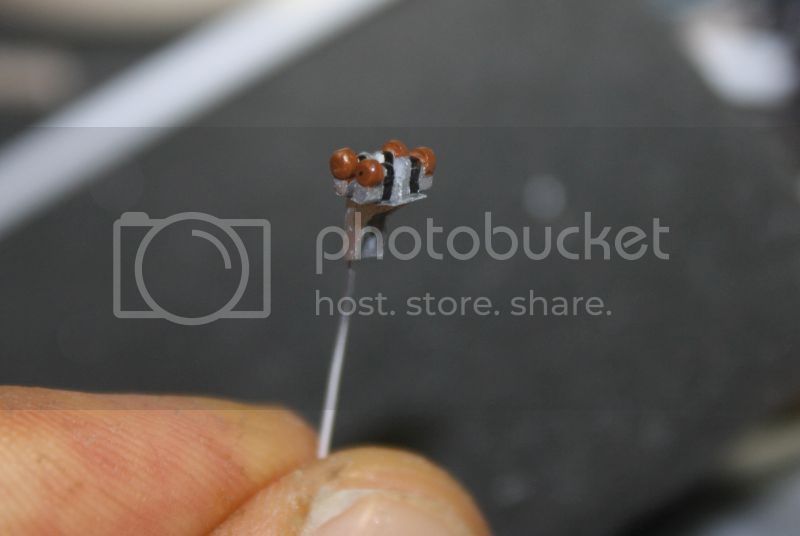
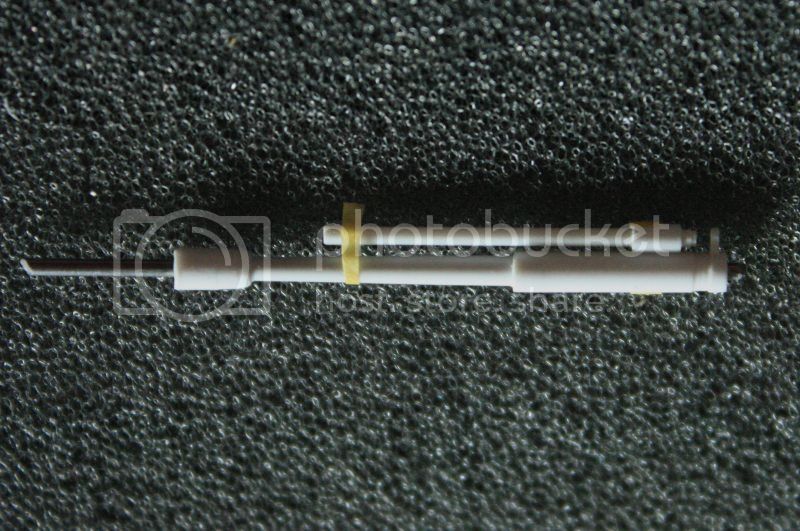
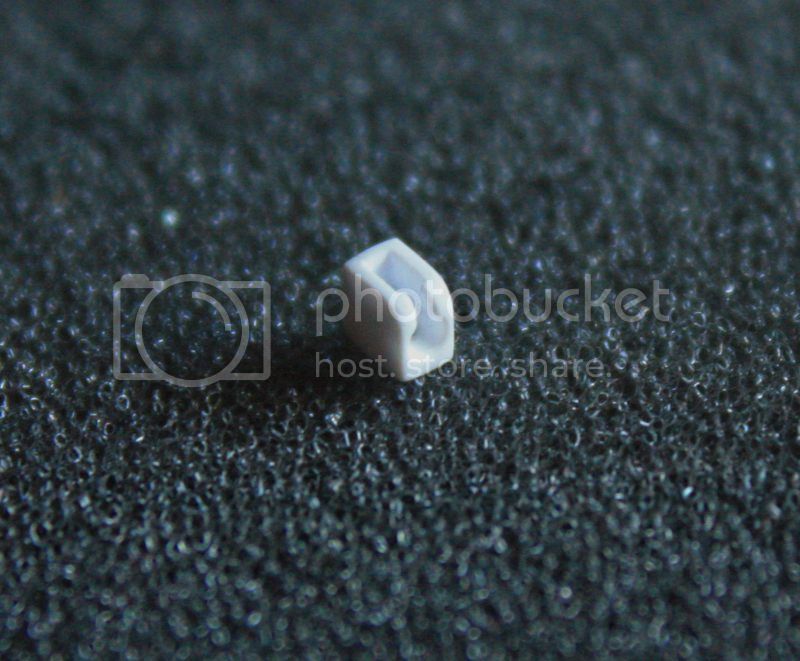
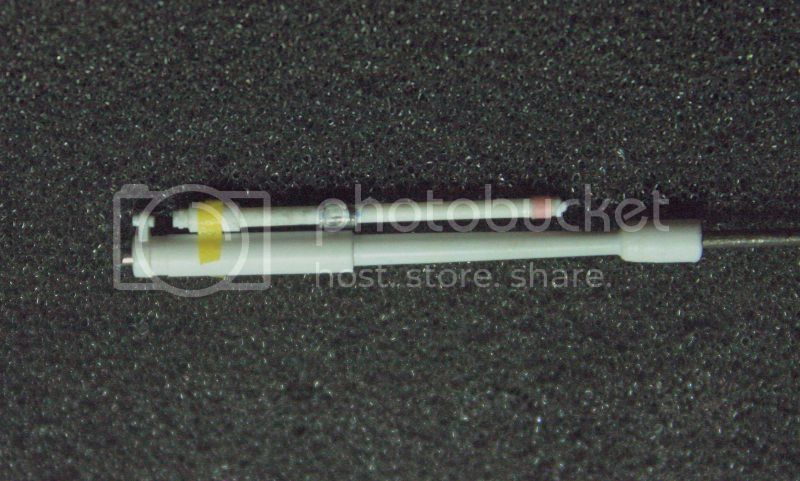
I bought a machine gun Hotchkiss M 1914 models directly from GasPatch, delivered in 4 days. I let you judge the pictures the quality of their work:
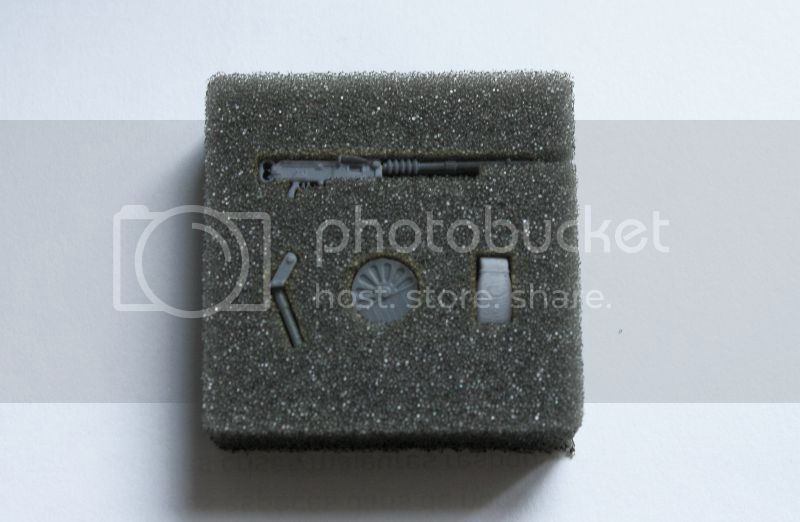
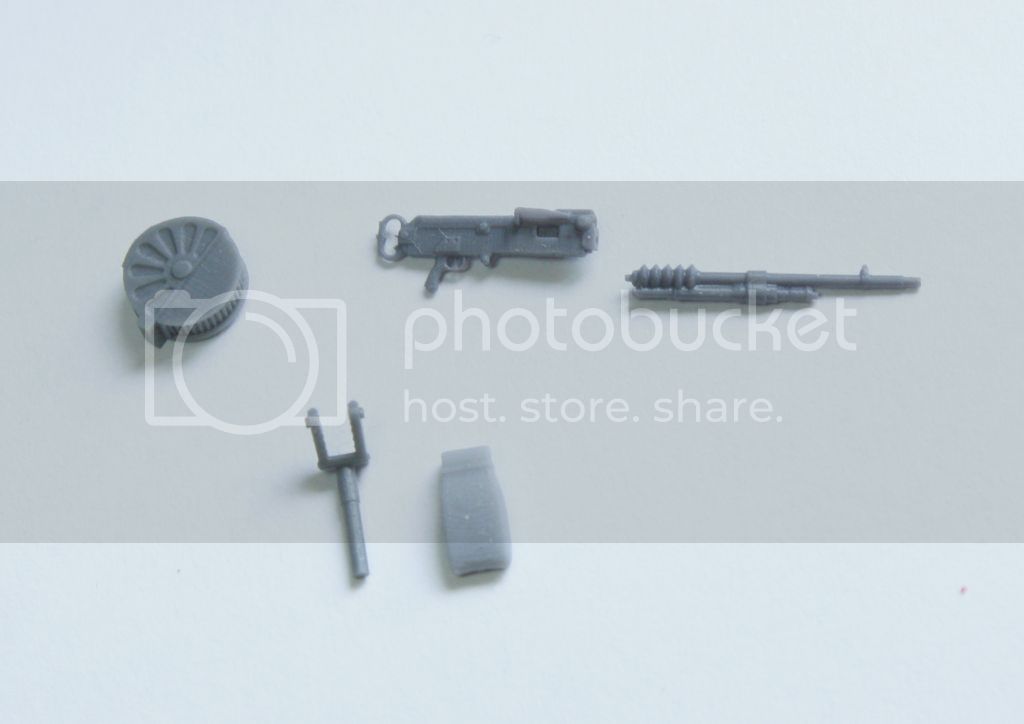
http://www.gaspatchmodels.com/accessories/
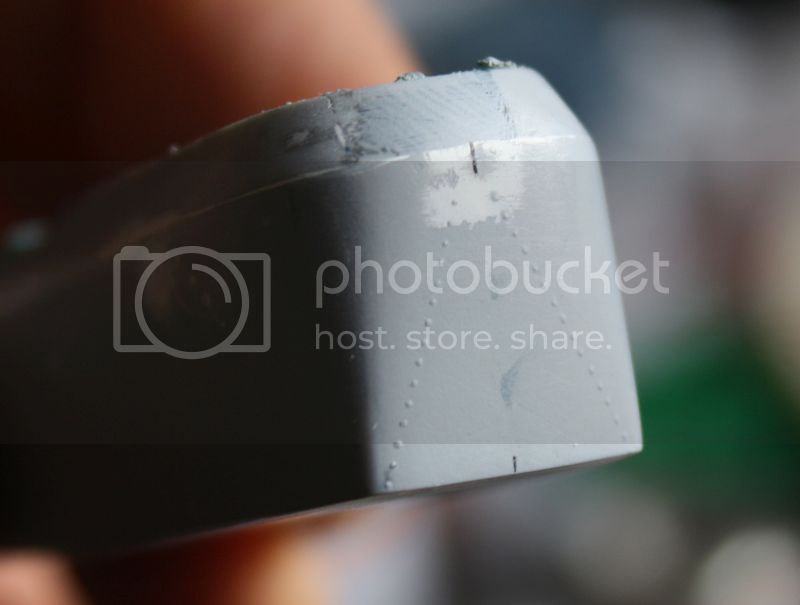
- The seat is finished.
evergreen 2.4mm tube.
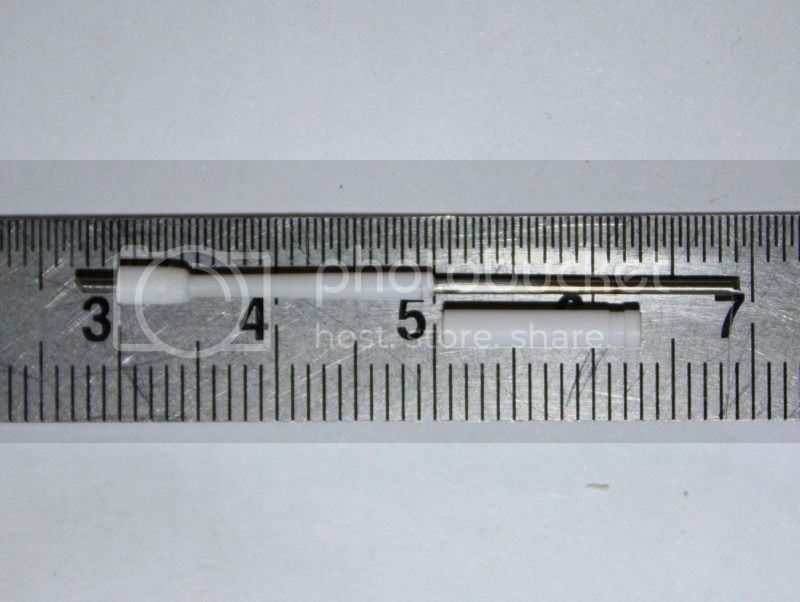
Evergreen 1mm:
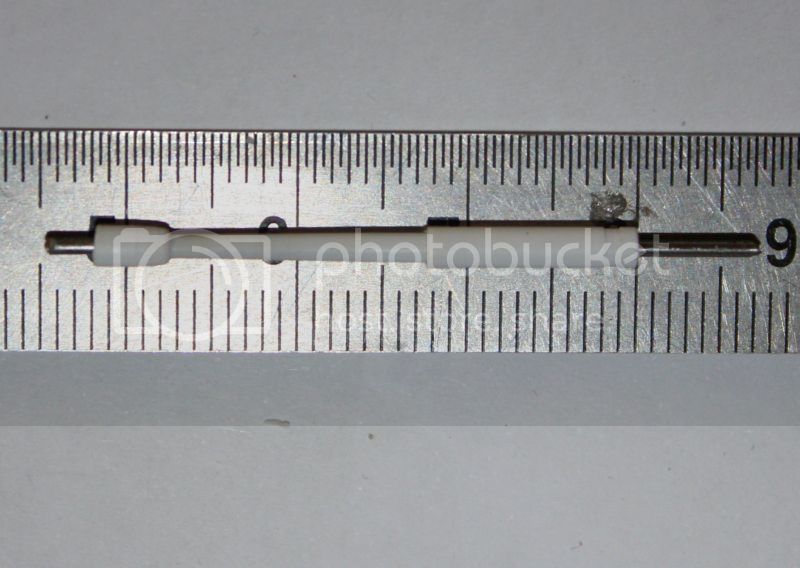
The breech:
Regards