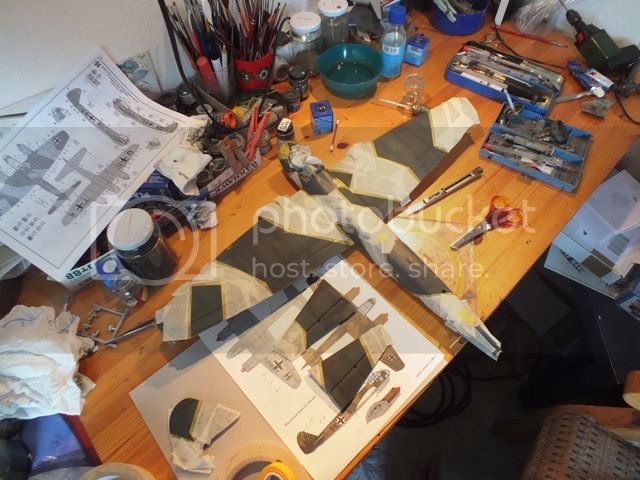
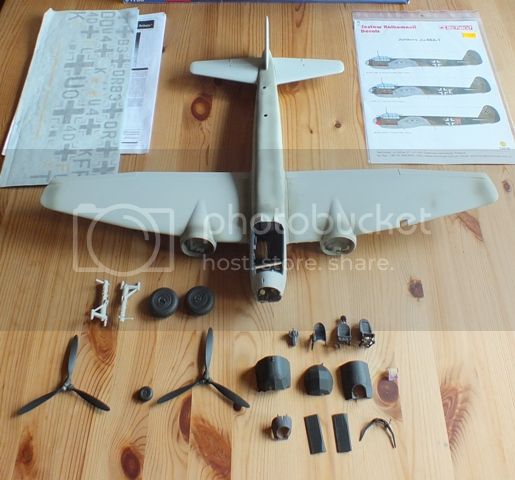
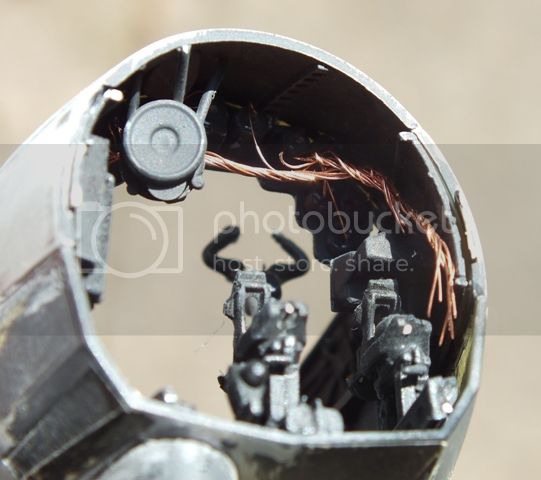
is a good candidate, i started this one last year and this was well before i intended to share my hobby with others, so there are no pics of the main build, but there are no real problems.
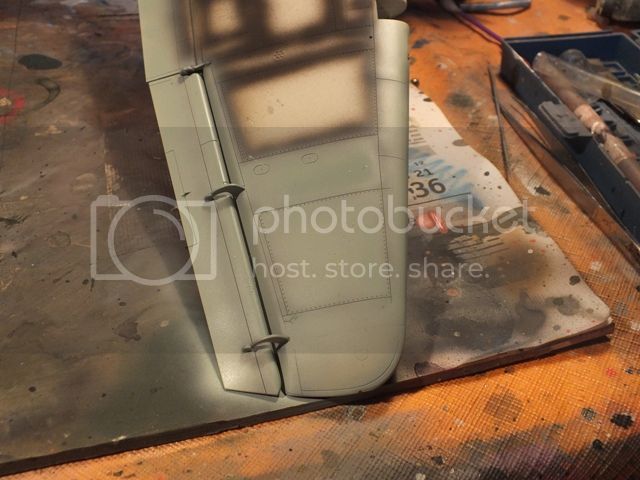
The assembly is pretty foreward, i had some fit issues on the
foreward fuselage/cockpit area and the landing gear struts
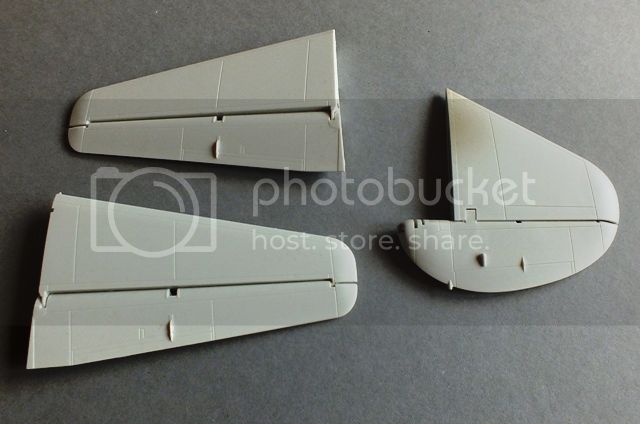
have assembled a nasty seam.
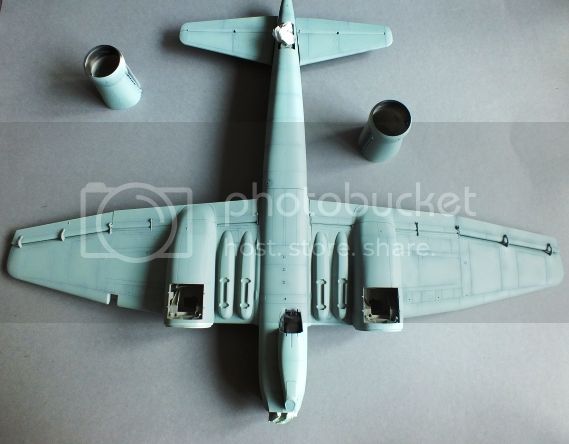
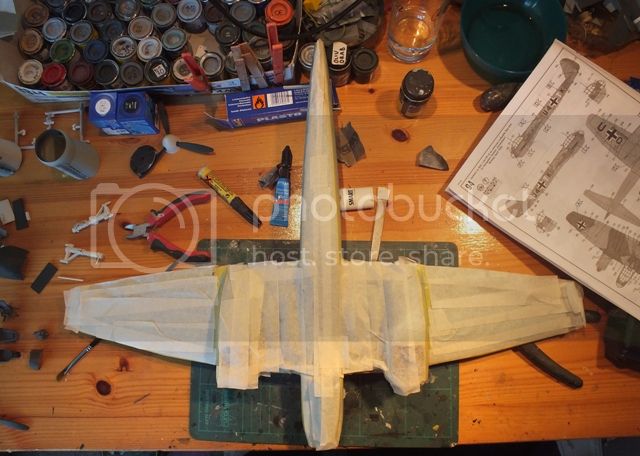
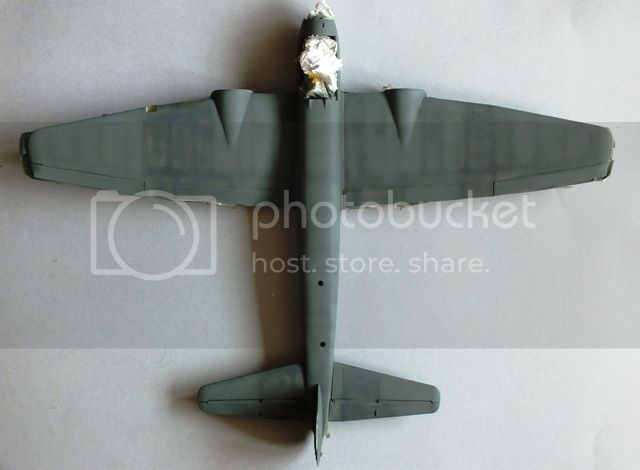
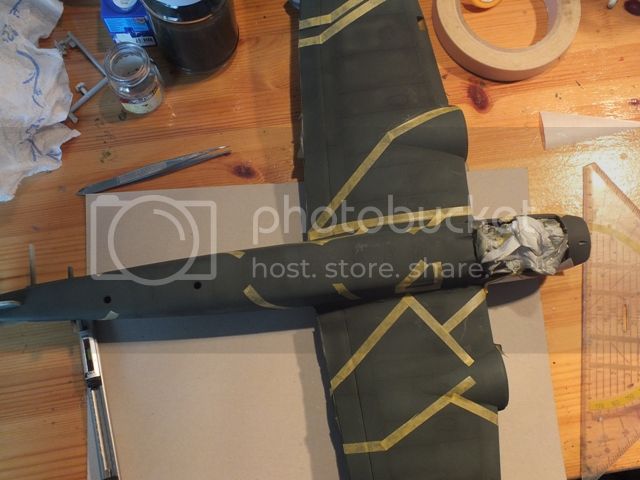
Here are some pictures :
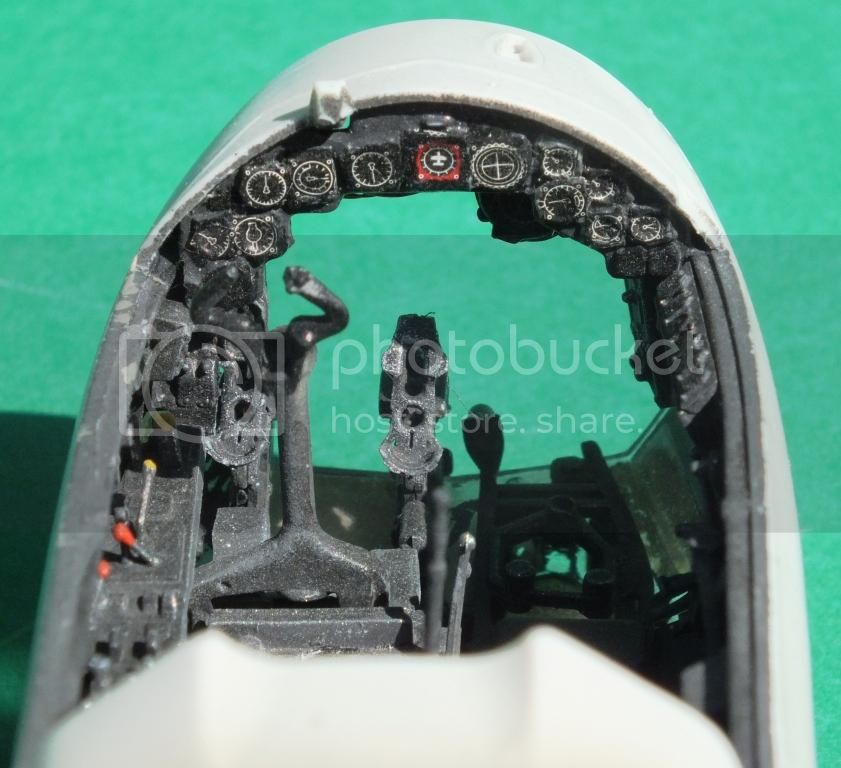
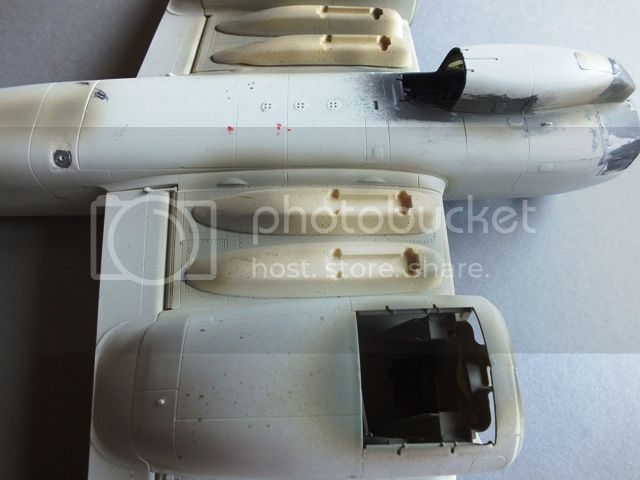
Note the cut to fit toothpick, used to wide this part of the
cockpit
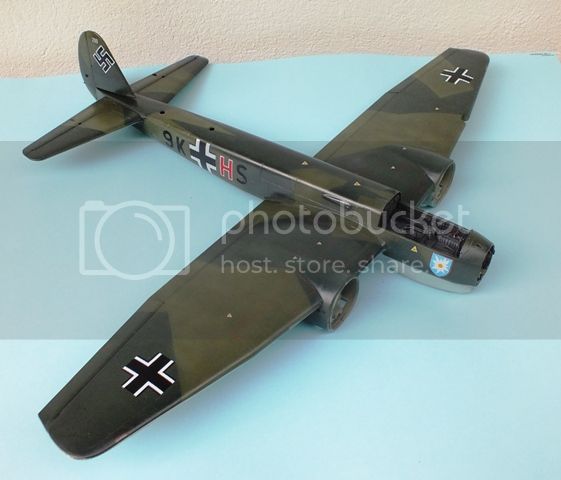
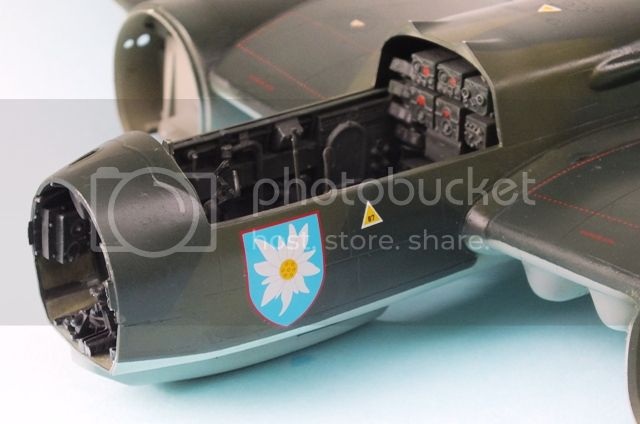
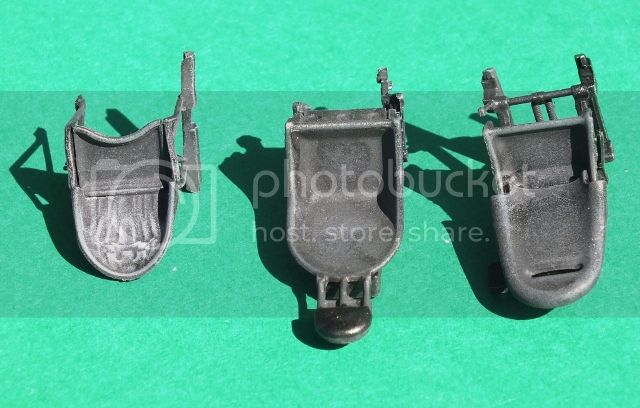
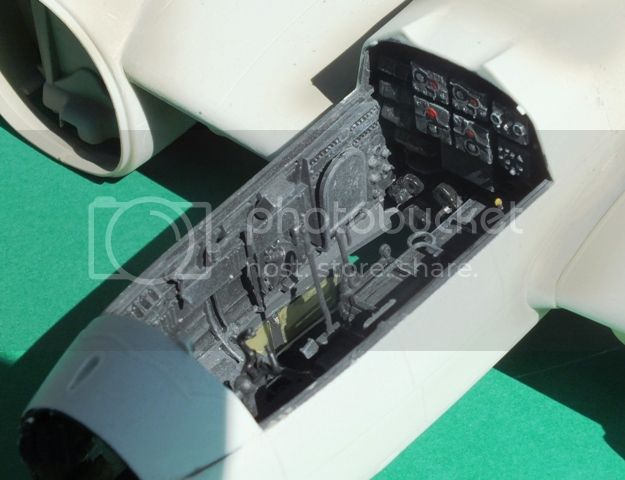
Here are some pics of the cockpit and seats, painted in RLM 66 dark gray. It seems the Ju 88 production have this colour from begin, you can see it on photos and the one from the fjord have this colour too.
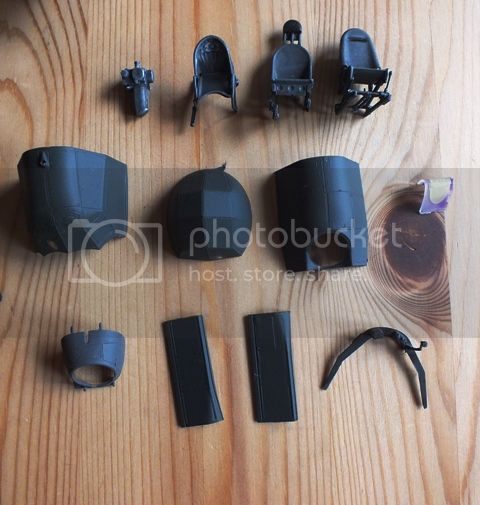
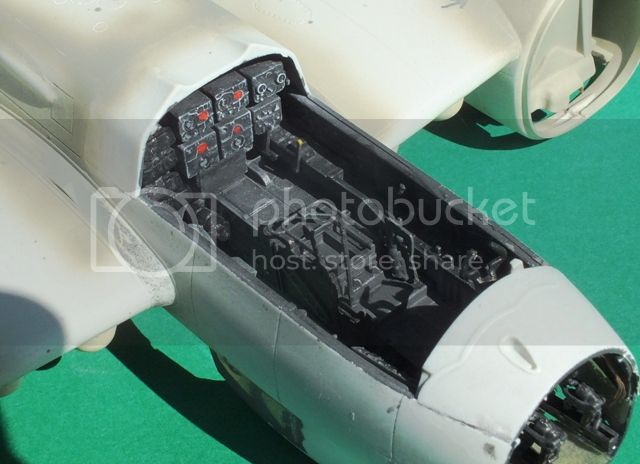
The instrument panel is not on the same quality level then the rest of this nice cockpit, i used some dials, stolen from
other LW kits in this scale
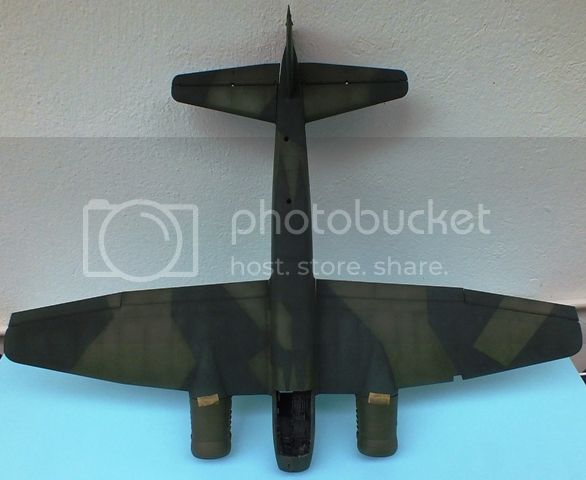
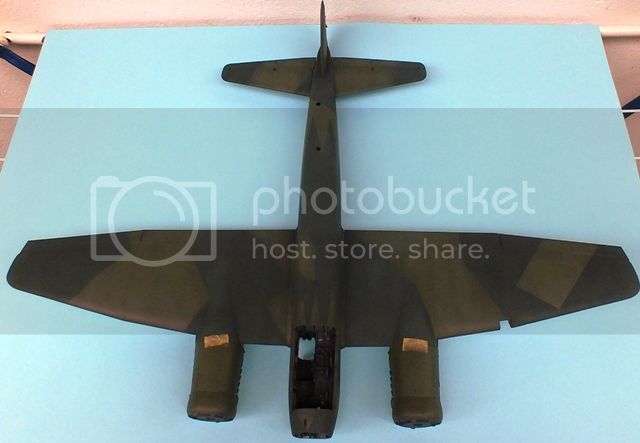
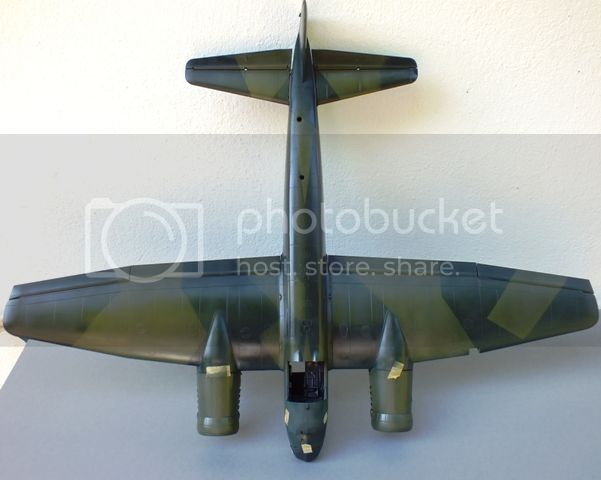
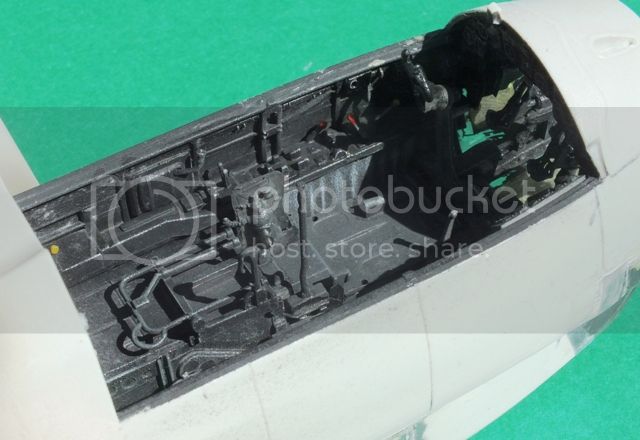
....some added details:
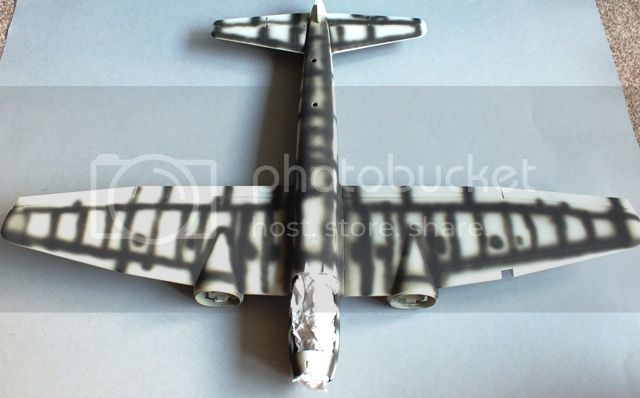
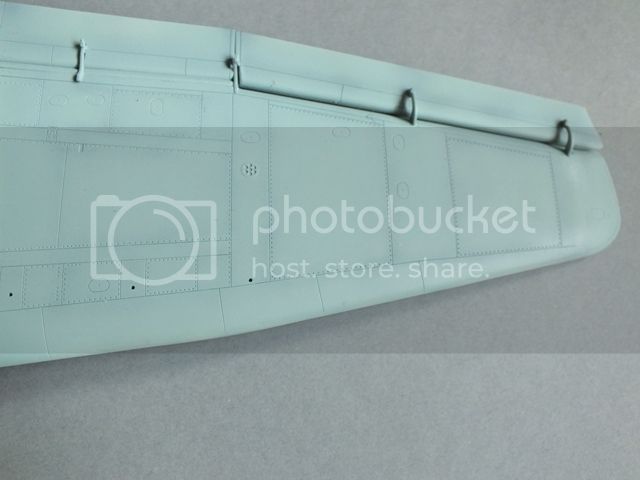
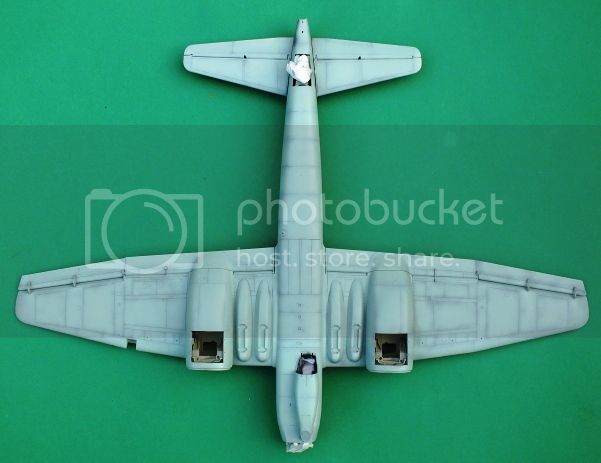
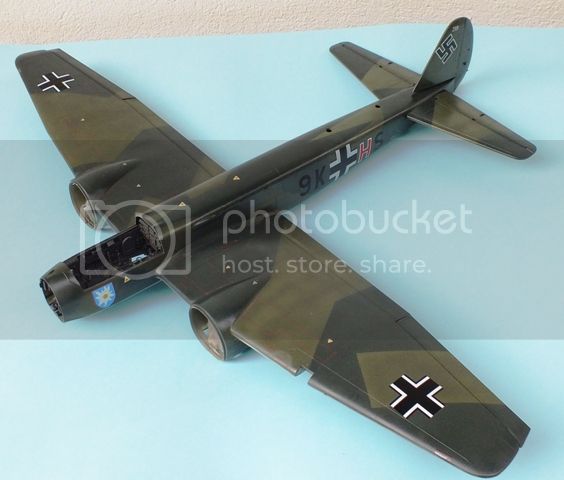
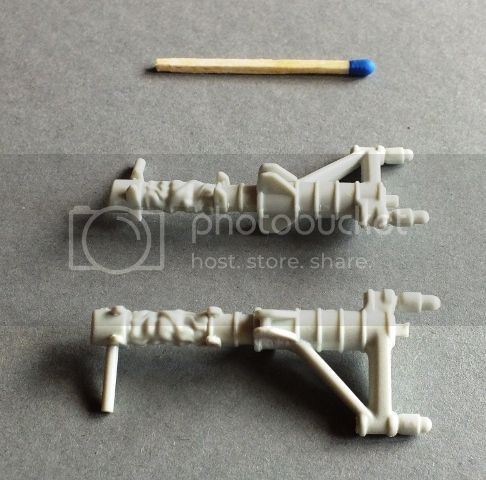
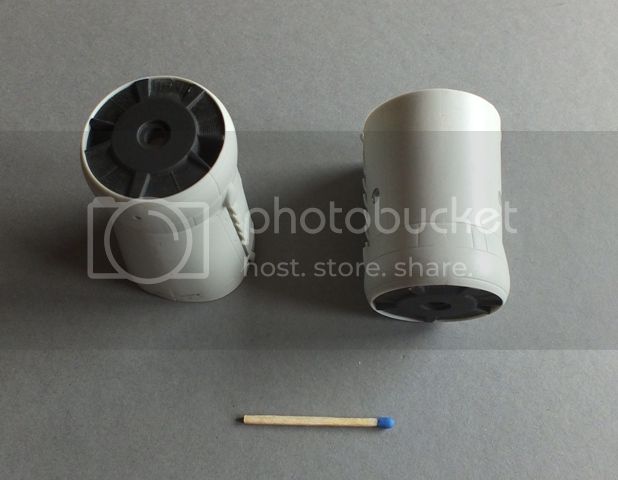
The seams are very visible, more of the landing gear is coming later on..
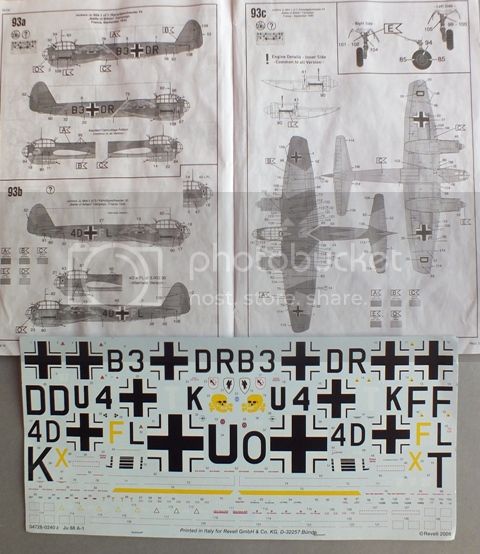
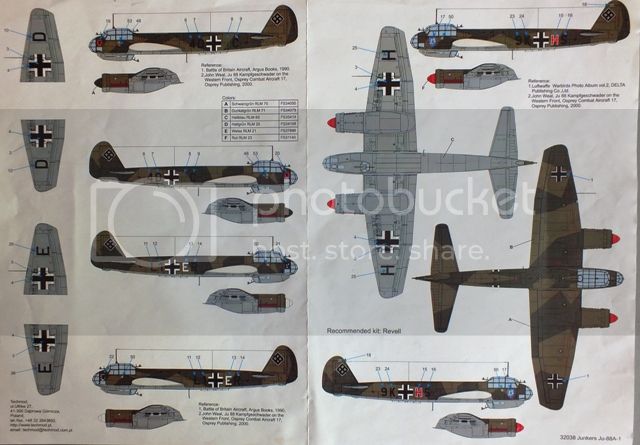
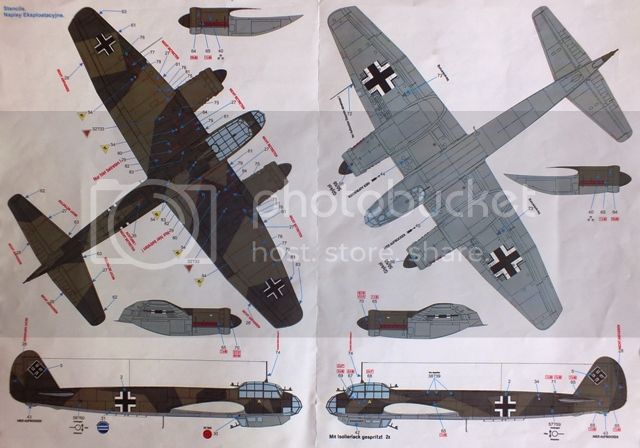
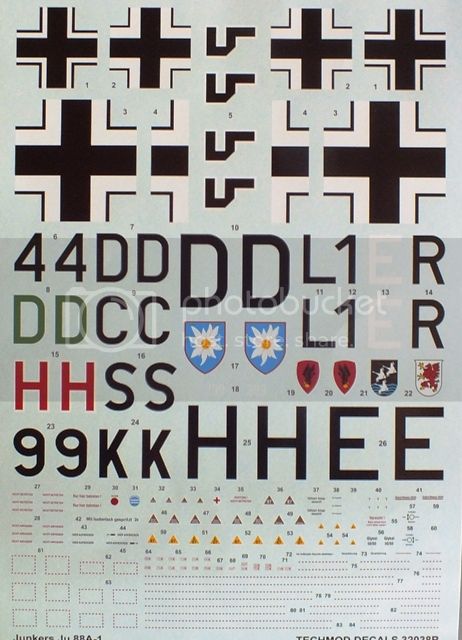
This kit came without bomb racks, my came from le Arsenal, the complete aftermarket stuff, used on this kit are from a very good hobby shop, called "Aero Spezial"
As it came out it was a must have, because i am highly interested in this type of aircraft and it is the only maintream kit of the A-1.
The dimensions are enormous and it will take much of my precious space.
I hope you like it
Bernd