Early Aviation
Discuss World War I and the early years of aviation thru 1934.
JGMT 1:48 Caudron C460
Jessie_C
_VISITCOMMUNITY
British Columbia, Canada
Joined: September 03, 2009
KitMaker: 6,965 posts
AeroScale: 6,247 posts
Posted: Monday, July 22, 2013 - 06:46 AM UTC

Quoted Text

The new Caudron from Williams Brothers ?


It's not so new. I built it as the Thompson Trophy aircraft in 1996 or thereabouts because I liked the wraparound tricolour ribbon. It's small enough in 1/32! It's nice to see this kit back on the shelves.
Louis
_VISITCOMMUNITY
Bas-Rhin, France
Joined: May 21, 2006
KitMaker: 472 posts
AeroScale: 471 posts
Posted: Monday, July 22, 2013 - 10:09 AM UTC

Quoted Text


Quoted Text

The new Caudron from Williams Brothers ?


It's not so new. I built it as the Thompson Trophy aircraft in 1996 or thereabouts because I liked the wraparound tricolour ribbon. It's small enough in 1/32! It's nice to see this kit back on the shelves.


This is true. This is the old molds with new decorations including that of Hélène Boucher ...

Regards.
Louis
_VISITCOMMUNITY
Bas-Rhin, France
Joined: May 21, 2006
KitMaker: 472 posts
AeroScale: 471 posts
Posted: Monday, July 22, 2013 - 10:17 AM UTC
C460 wrote:

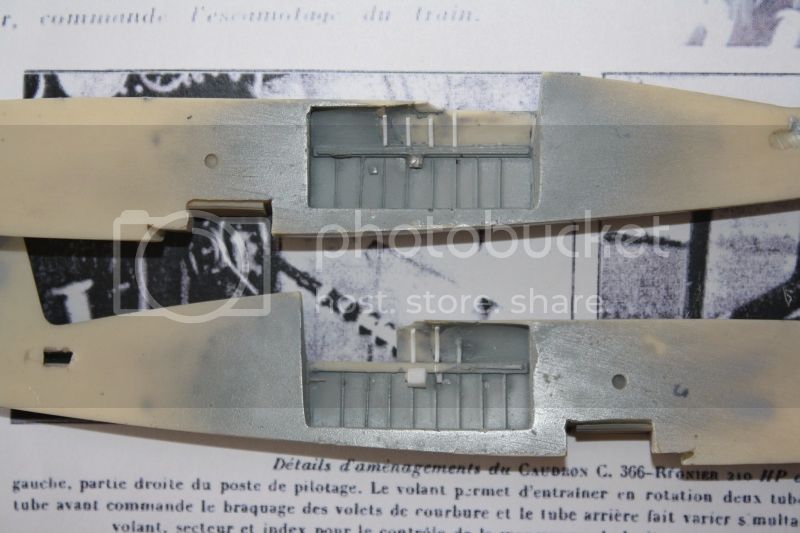
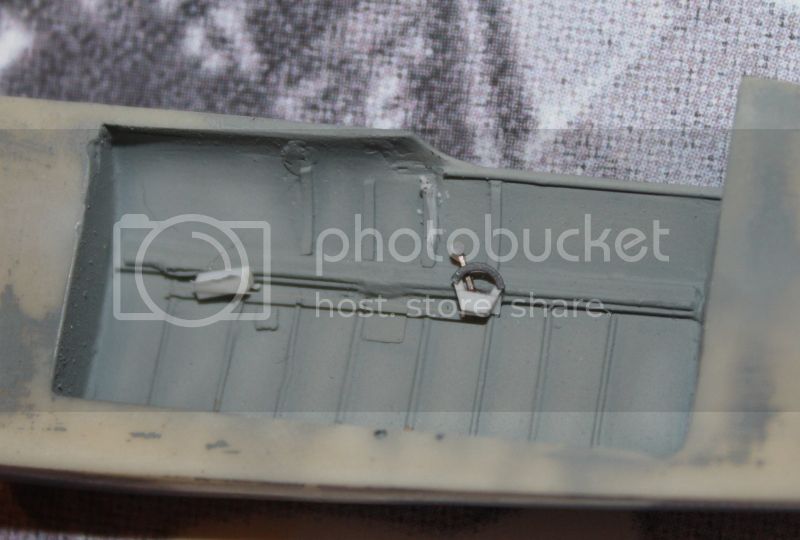
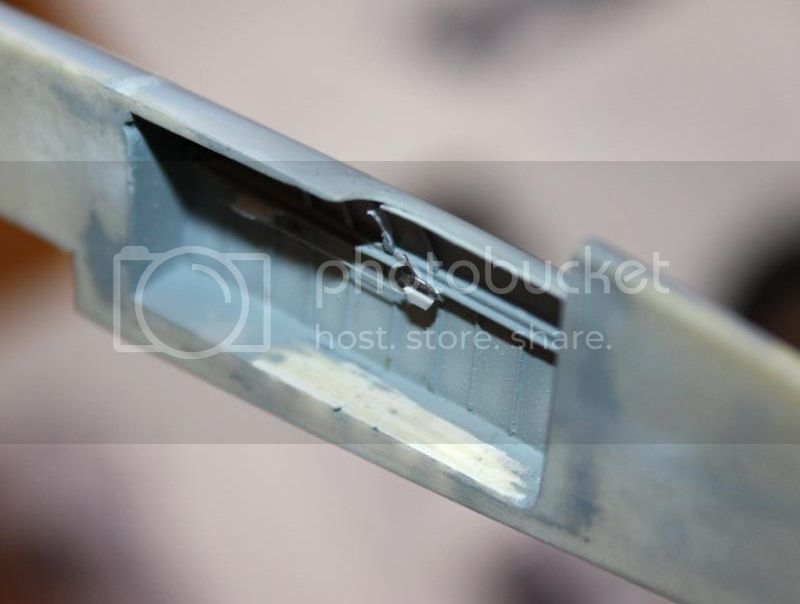
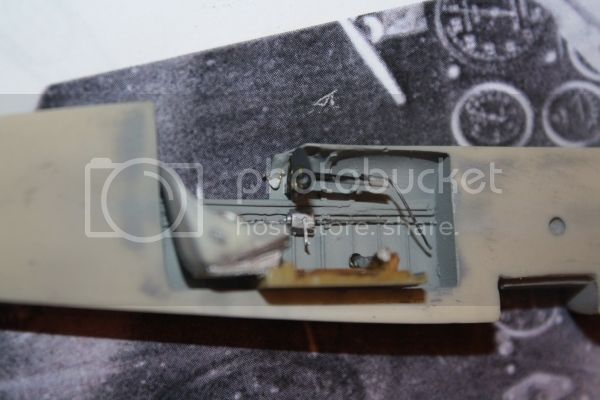
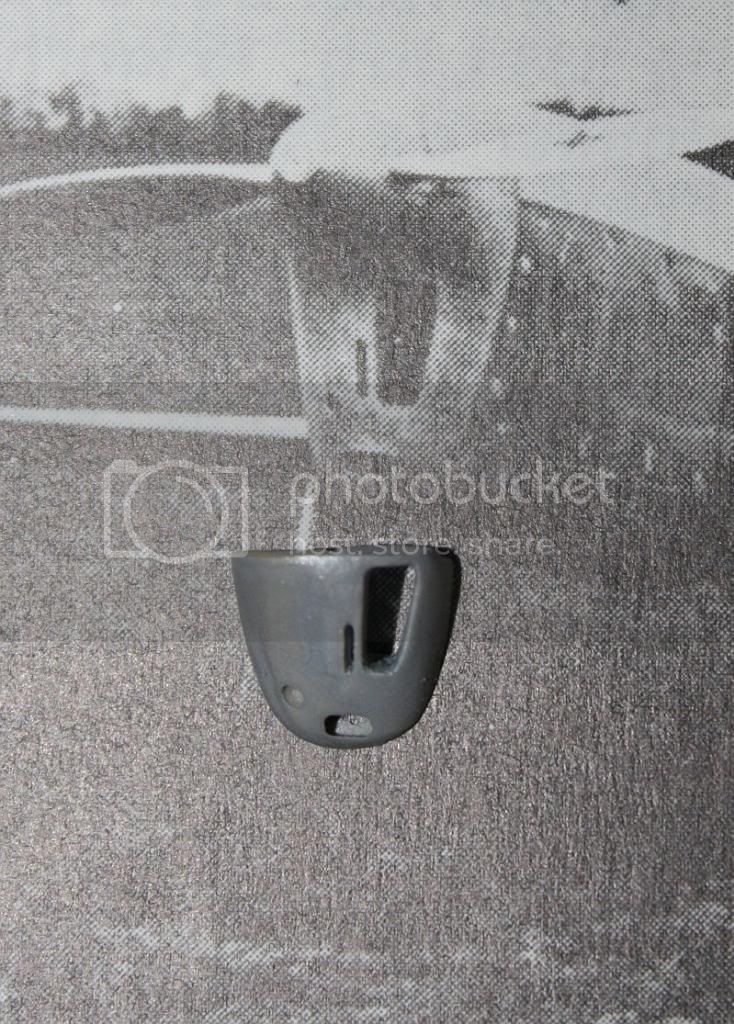
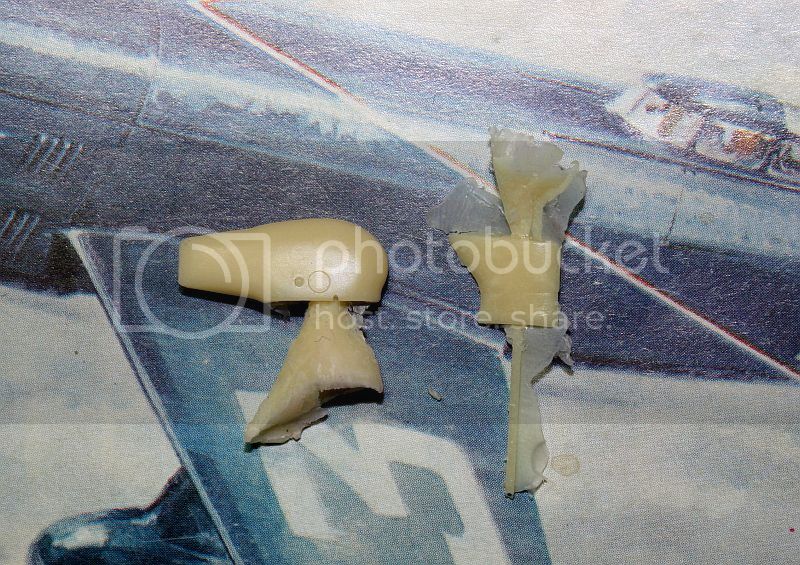
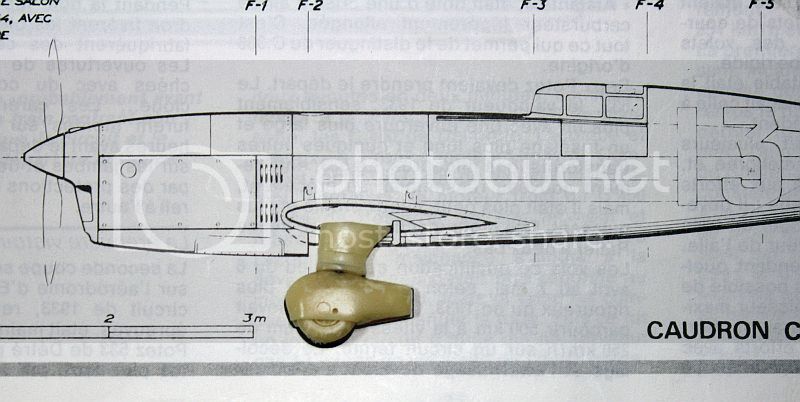
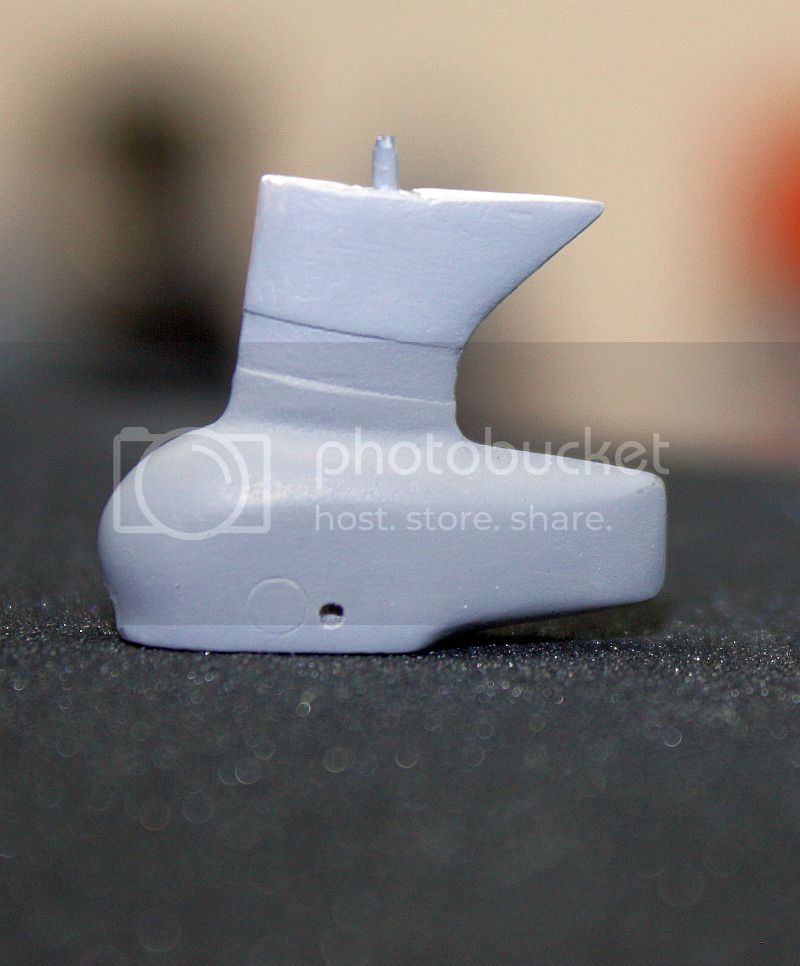
"The vertical cylinder under the dash is the oleo pneumatic accumulator mechanism of the landing gear when it came Charlestop. It was unreliable and was replaced in 1934 by Messier system"


Waroff wrote:

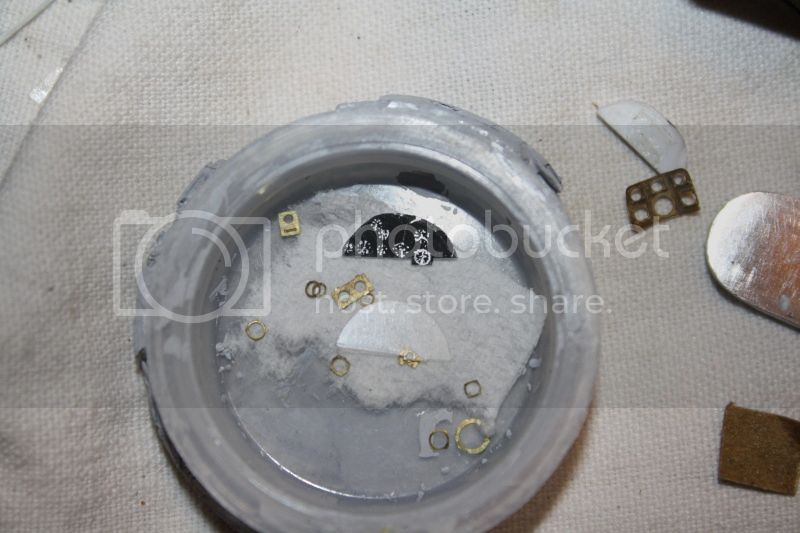
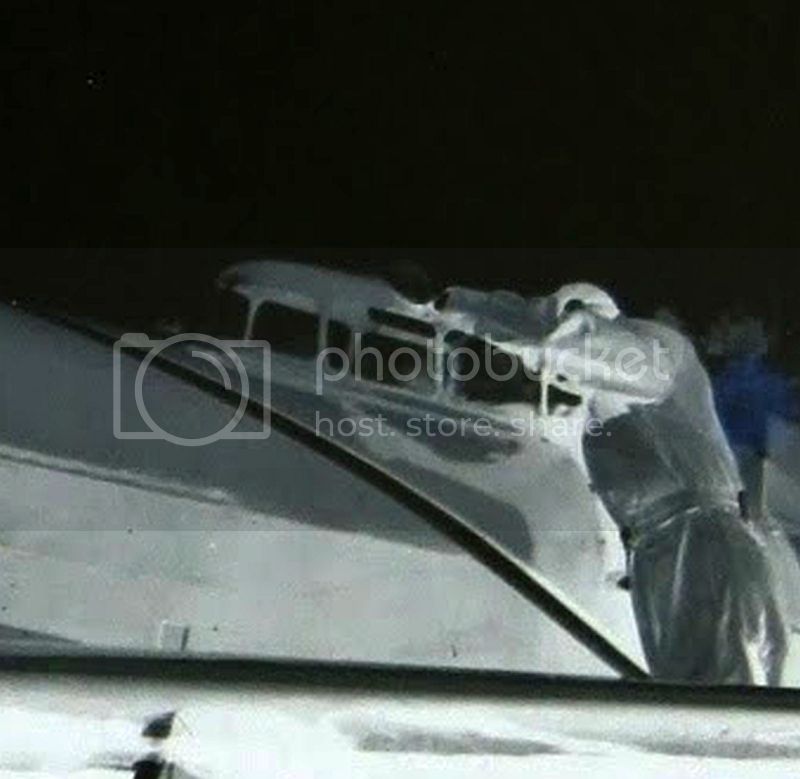
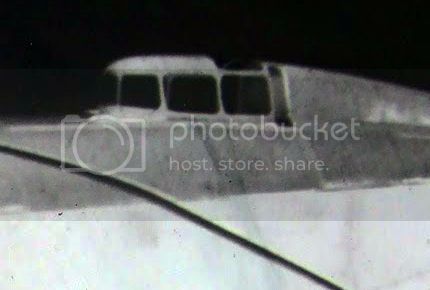
"Charlestop imagined a position indicator signal by train .... on the floor:

two color squares, two by half train, were placed on the panels near the finish line
The square had 1 m square and coding was:

- White / white: train down
- Red / red: train identified
- Green / green: the two half train half out
- White / Red: half being dropped on the green side, and raised red side - and vice versa"


C460 wrote:

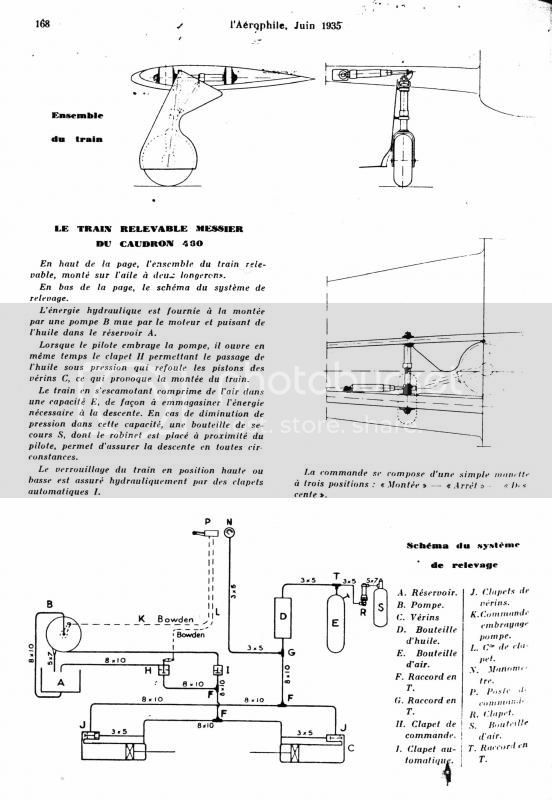
"The diagram shown in NACA Report 765.

From "Loadmaster":

Report 765.
http://digital.library.unt.edu/ark:/67531/metadc63460/m1/

Report 724.
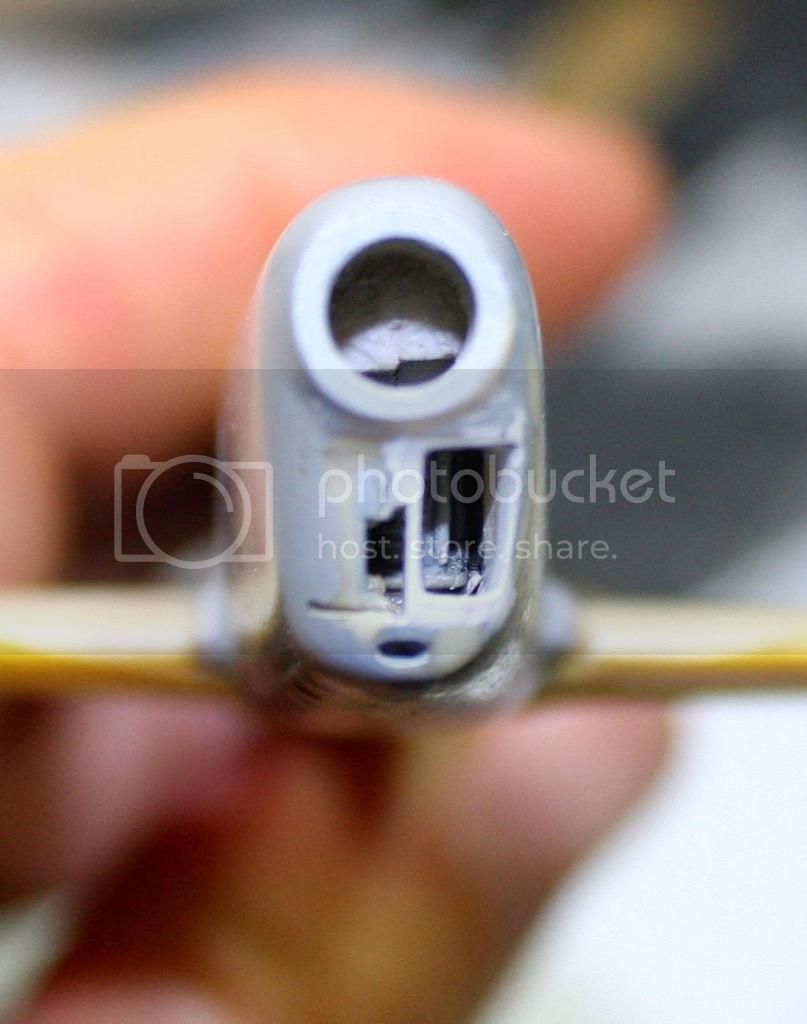
http://digital.library.unt.edu/ark:/67531/metadc63516/m1/


The cylinder can not be displayed more clearly with its function.
If it is a part of the train Charleston, I ask myself: this cylinder he was removed with the installation of the train Messier?

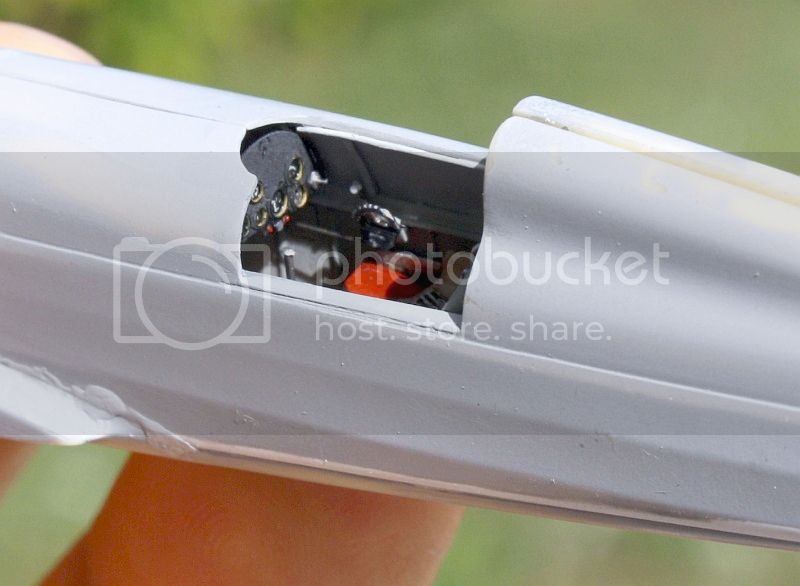
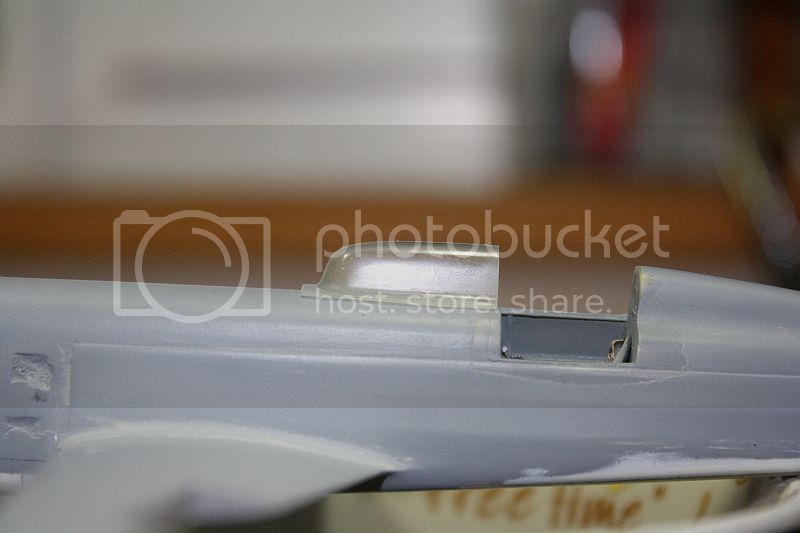
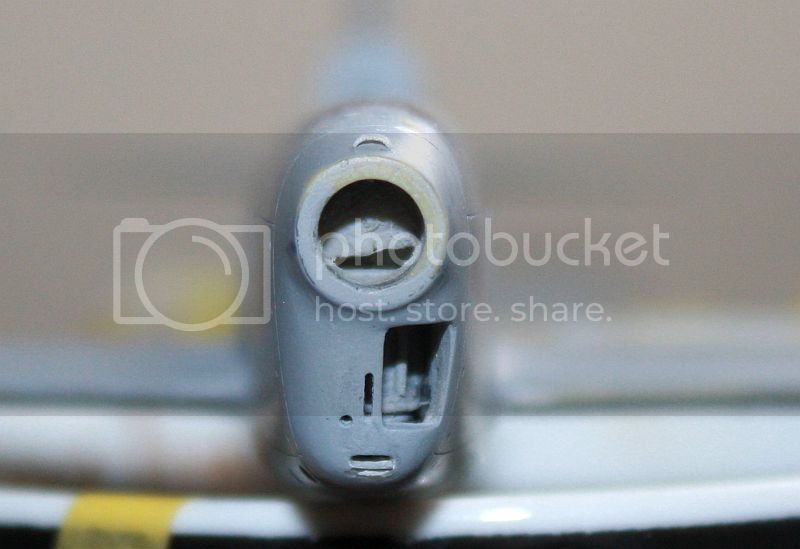
On the other forum, Fasm just posted a scan that contains another photo of the cockpit that I would like to put here:

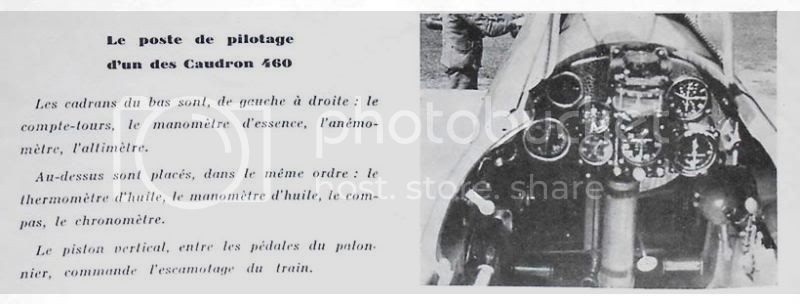
Handles are seen on both sides, and the center cylinder. The review date of June 1935, but the picture may be older and it is not known if the plane had Charlestop Messier or train."


Waroff:

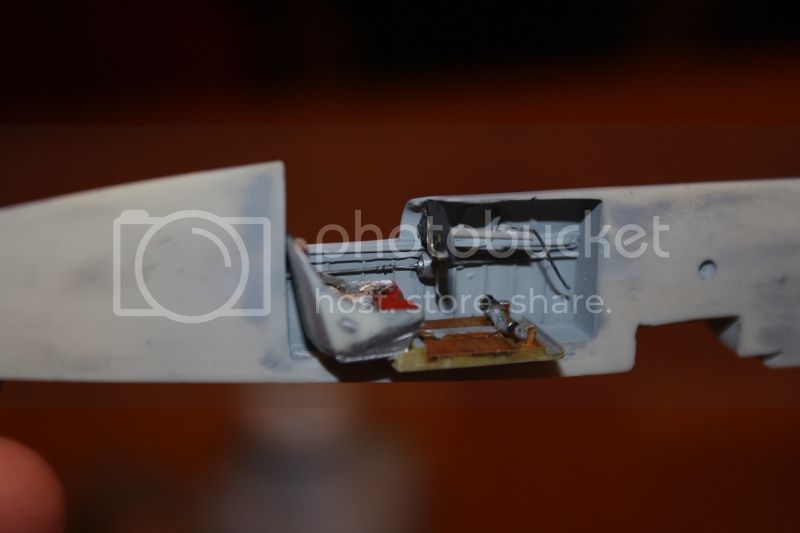
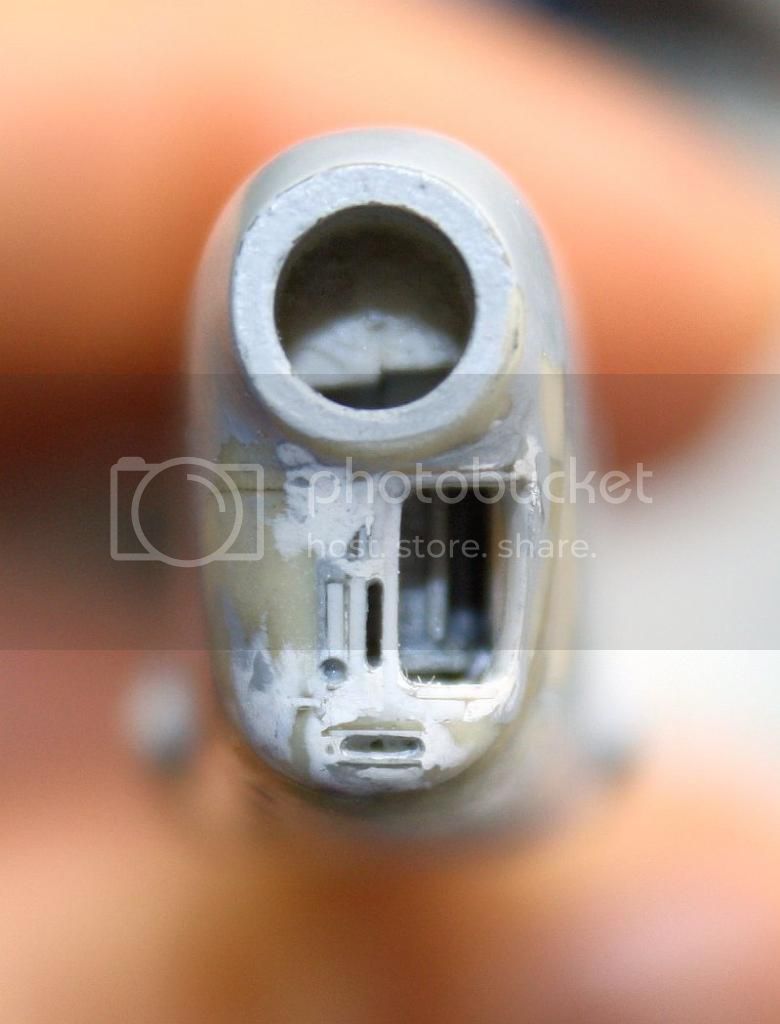
"the presence of the cylinder indicates that the Charlestop train was in place, so a photo taken before 1934.

In an aircraft, any excess weight is banned because consumer power. This is especially true for a racing plane.
The replacement train Charlestop by Messier had had to lead the full removal of items Charlestop.
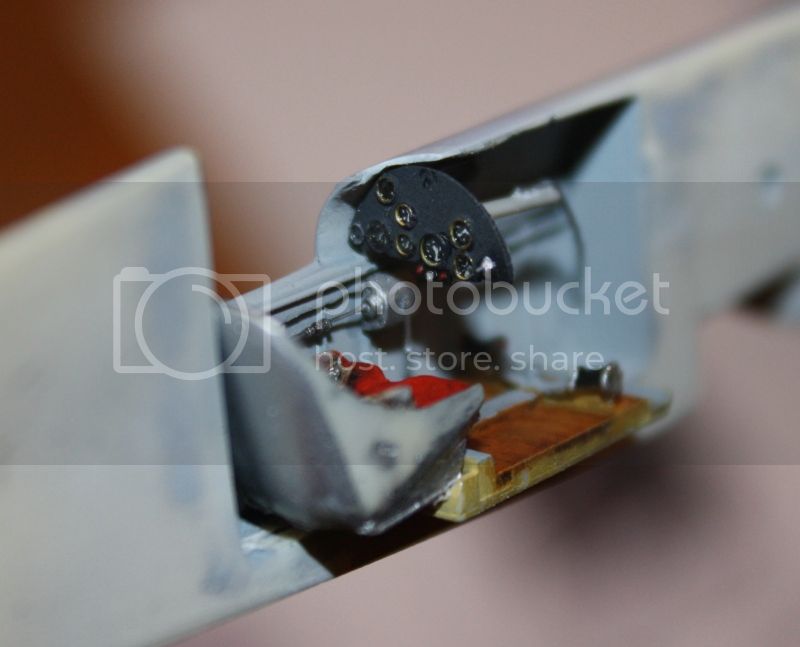
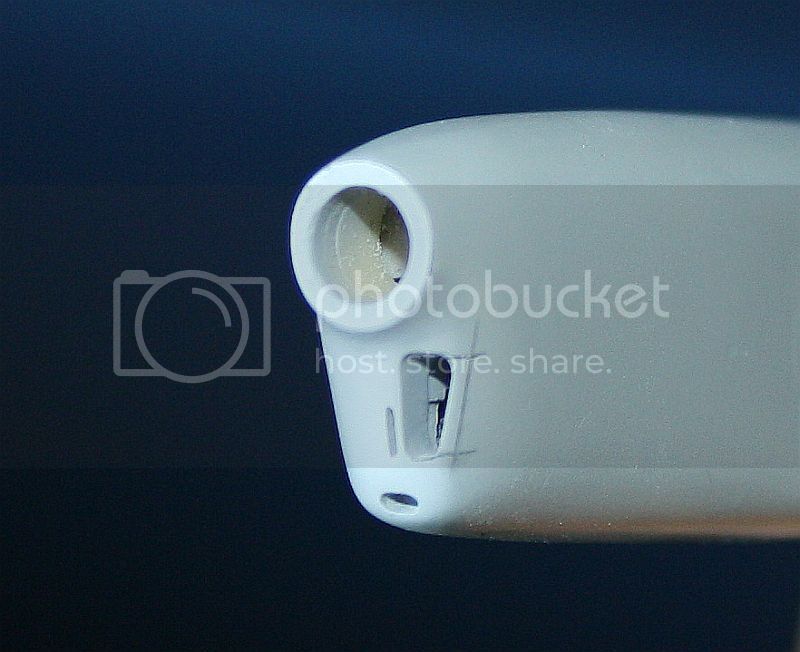
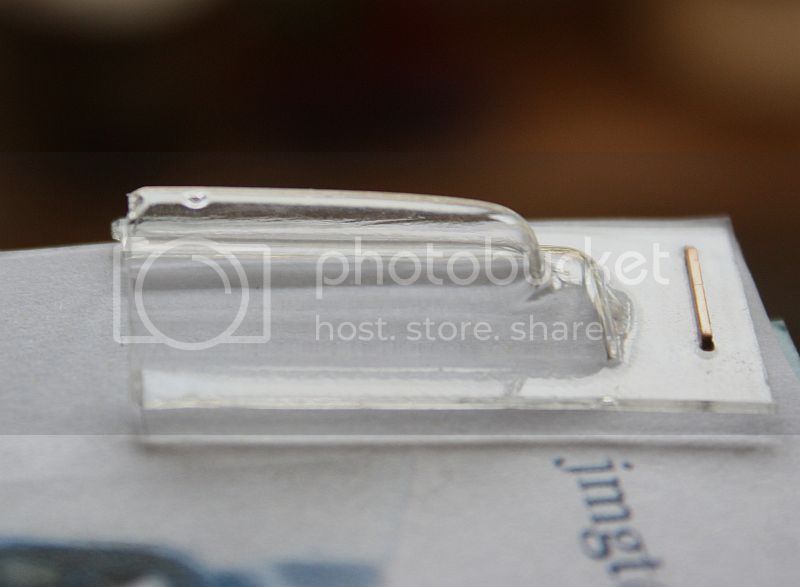
A bottle of 8l steel tested to 70 bar weighed about 5kg. Here the cylinder also included a piston, a sealed chamber, and pressure was 100 bar.

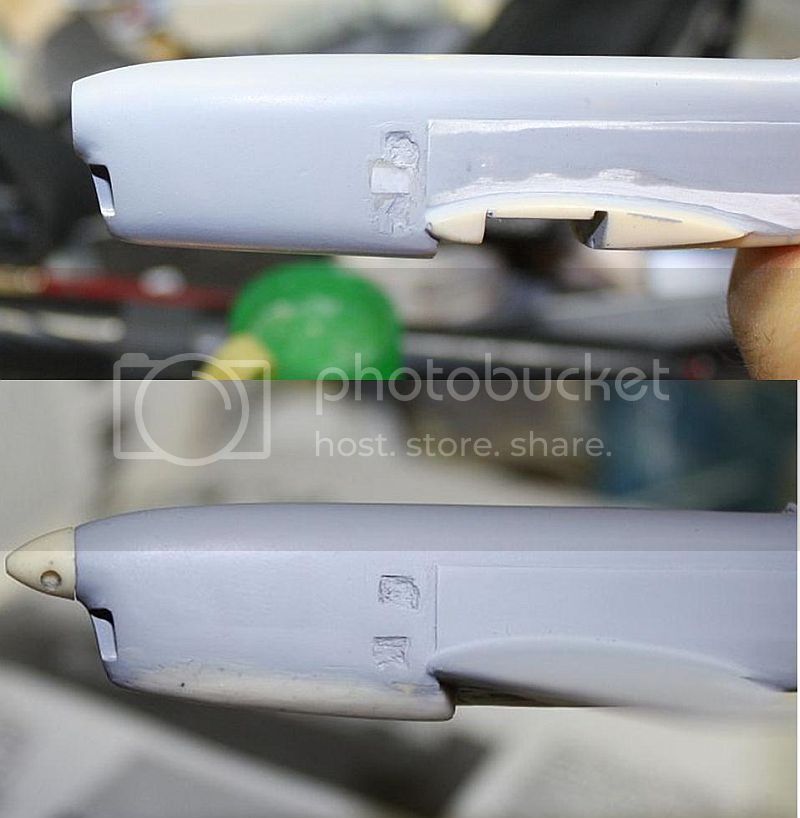
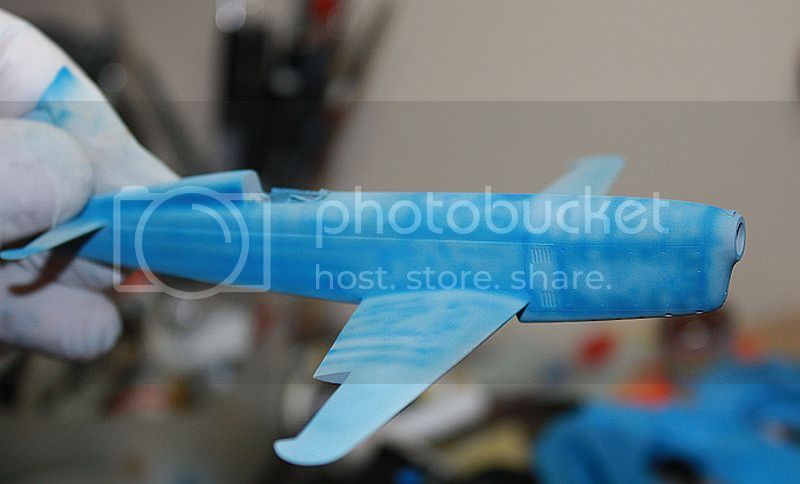
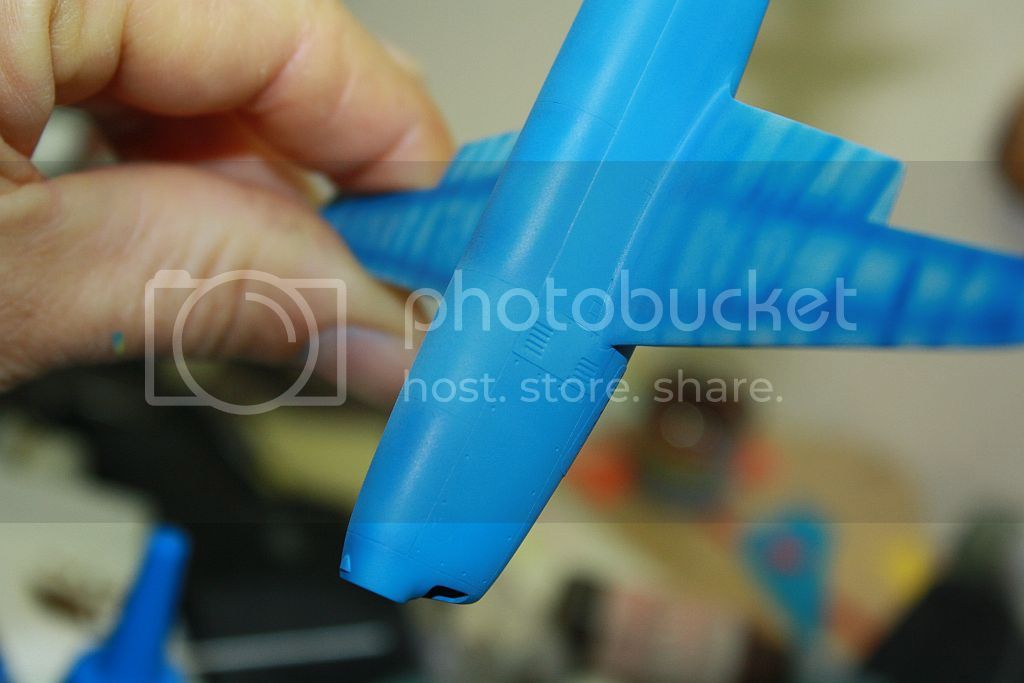
On the model 450, you represent the fixed gear, it should not be the battery or the bottle right (Edit: unless it is the fire extinguisher).
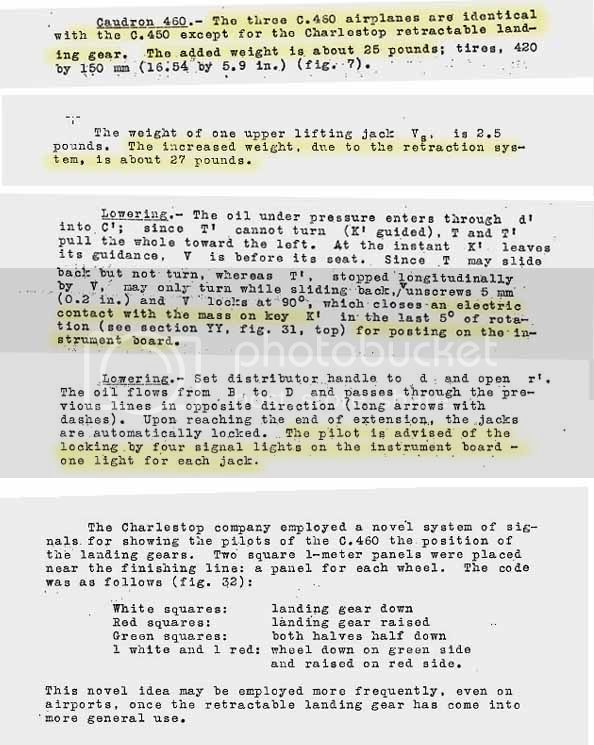
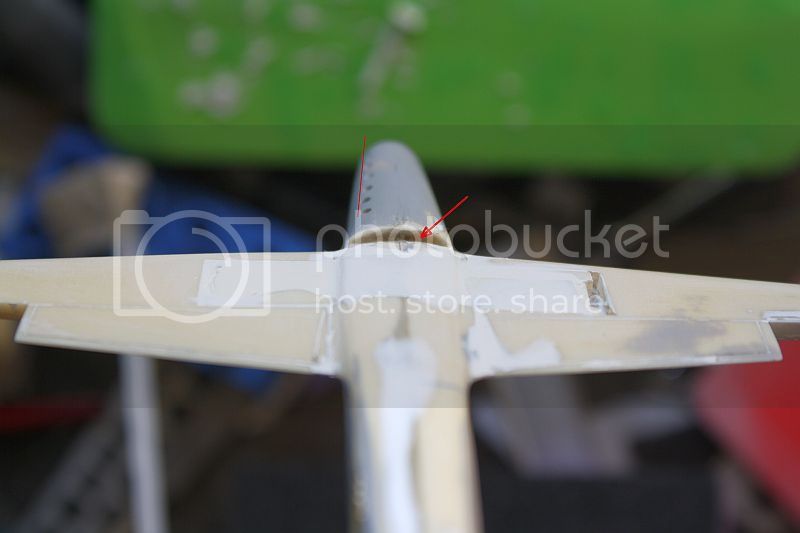
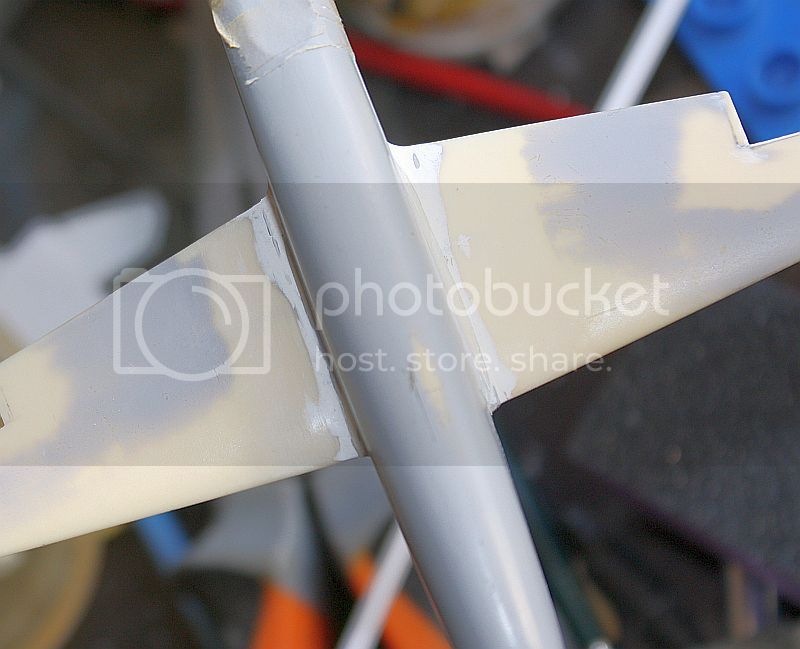
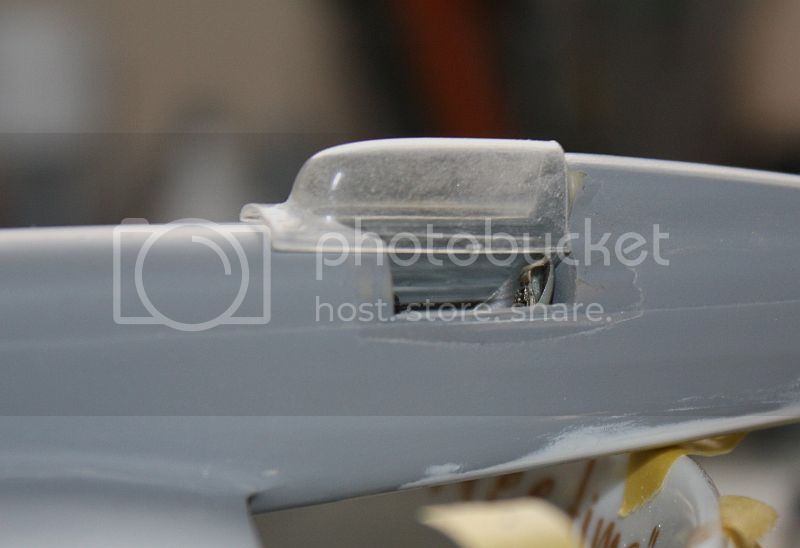
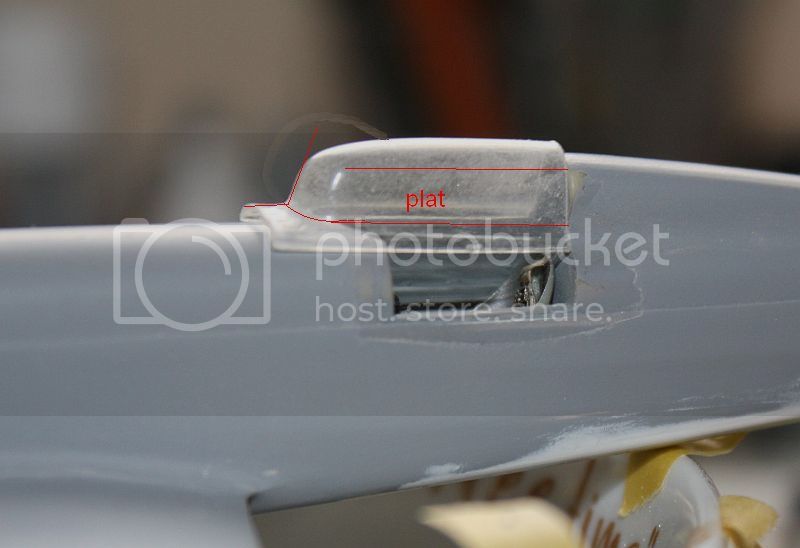
C460: The gear actuators Charlestop were hastily replaced by struts (The messier trains will be installed later)"
Louis
_VISITCOMMUNITY
Bas-Rhin, France
Joined: May 21, 2006
KitMaker: 472 posts
AeroScale: 471 posts
Posted: Monday, July 22, 2013 - 10:36 AM UTC
Waroff wrotte:

"the big bottle (right) could well be the extinguisher. The C 450 and 460 was equipped with the Levy model, automatic and manual trigger."


"For the 450, for sure, no cylinder in the middle, since only 460 were equipped with retractable gear Charlestop early.

For information, the difference in mass between 450 and 460, because of the equipment train Retractable is 12.5 kg in total."


EDIT: in the third minute, passing 460 C flight:

http://www.britishpathe.com/video/news-in-a-nutshell-96/query/national+air+race


I grouped the interesting snippets taken from several scattered dealing train Charlestop of C 460 paragraphs.


The indication LED on the dashboard informs only lock down the train. The other positions are not shown, where road markings"


Regards.

Louis
Louis
_VISITCOMMUNITY
Bas-Rhin, France
Joined: May 21, 2006
KitMaker: 472 posts
AeroScale: 471 posts
Posted: Friday, August 23, 2013 - 07:46 AM UTC
Hi,

I chose to replicate the dashboard and part of the cockpit.


-The vertical cylinder ("periscope" or part of the system gear retraction) is useless in an aircraft with fixed landing gear and is therefore deleted.

-The canister ("gas tank" for gear retraction or extinguisher) is deleted as well.


The walls of the cabin are sanded again. The system adjusts the flaps is made. Note that it is probably a little big and the handle prevents the driver to sit in the seat properly ...


[U] The throttle as the picture [/ u]:


Lead wire arcuate and crushed.


[U] The dashboard [/ u]:

It is a little too rounded and too large


black paint on white plastic engraving dials. A transparent plastic glued on. The amounts of the dials are stuck to the varnish. Liquid mask is placed in the dials. Everything is painted with a very dark gray paint. A drop of gloss varnish for glass dials.


Still lacks some handles on the levers.


The two small handles on the long wall of the passenger compartment.


The compass is completed and will be glued to the end.

Regards
Louis
_VISITCOMMUNITY
Bas-Rhin, France
Joined: May 21, 2006
KitMaker: 472 posts
AeroScale: 471 posts
Posted: Thursday, August 14, 2014 - 09:26 AM UTC
Hello,

I cut all the moving parts because I could not rewrite them correctly.


I took the opportunity to redo the air vents which pleased me more ...


I changed my method after at least 30 misses testing ... it's much easier that way.


The metal is stamped with toothpicks. The aluminum plate follows the plastic guide. It allows you to have separated from each other regularly and properly align slots.

Regards
Redhand
#522
_VISITCOMMUNITY
New Jersey, United States
Joined: January 20, 2013
KitMaker: 1,460 posts
AeroScale: 1,443 posts
Posted: Thursday, August 14, 2014 - 11:55 AM UTC
Your skill at modeling is simply AMAZING. I could not believe my eyes as the female pilot figure came together. And the model itself. Fabulous. Really enjoyed looking at this build.
Louis
_VISITCOMMUNITY
Bas-Rhin, France
Joined: May 21, 2006
KitMaker: 472 posts
AeroScale: 471 posts
Posted: Sunday, August 17, 2014 - 10:15 AM UTC
Thank you!

and the tail....

The top of the drift was slightly retouched.


A+
Louis
_VISITCOMMUNITY
Bas-Rhin, France
Joined: May 21, 2006
KitMaker: 472 posts
AeroScale: 471 posts
Posted: Sunday, August 17, 2014 - 10:21 AM UTC
I finished the nose, it is glued, adjusted and even sanded.

I only have these pictures of the air intake.

"waroff" wright me :

"450 and 460 are identical in every respect except for the train.
The photo shows a small opening 450 was taken before races 1934.
If you plan to represent the airplane in August 34, so it would be with the large air intake.
the small slot would be lower and in the axis of the aircraft, thereby shifting frankly the main opening to the right.
The sides are straight "


The fuselage section JMGT seems too wide ...

Note that you have the correct cut from its initial position section (as indicated by "roadrunner"


I have only to modify the air intake ????
Pffff !!!

The vertical slot is in line with the plane (and therefore below the axis of the helix and not shifted as in the kit) ???? Or?


More pictures here:

http://www.master194.com/forum/viewtopic.php?f=4&t=75635&start=50

Regards.
Louis
_VISITCOMMUNITY
Bas-Rhin, France
Joined: May 21, 2006
KitMaker: 472 posts
AeroScale: 471 posts
Posted: Saturday, August 23, 2014 - 09:52 AM UTC
Hello,

First test molds, first prototype of the undercarriage:


Regards
Louis
_VISITCOMMUNITY
Bas-Rhin, France
Joined: May 21, 2006
KitMaker: 472 posts
AeroScale: 471 posts
Posted: Wednesday, August 27, 2014 - 07:35 AM UTC
The nose of the plane was modified.


The rounded edges of the slits are made in the putty with an airbrush needle


The red line is the axis of the fuselage.


A little sanding and it will be good.

Regards.
Louis
_VISITCOMMUNITY
Bas-Rhin, France
Joined: May 21, 2006
KitMaker: 472 posts
AeroScale: 471 posts
Posted: Monday, September 08, 2014 - 08:17 AM UTC
The nose is finished:


The landing gear are finished (except sanding) fitted with a steel rod to hold up, at least I hope.


The wings are attached. The system designed by JMGT is a very good idea but all seriously lacking precision

Note the strange alignment of holes for the exhaust pipes. They should be aligned better than that, right?


The location of trains is filled with miliput and then with putty. The white portion at the body is a plastic plate of 0.5 mm thick. No way to properly adjust the wings to the fuselage.
I forgot to clean the notch in "below" the engine cover (red arrow) before gluing the two halves of the fuselage ...


Mastic is also useful above .... many mastic.

Regards
drabslab
_VISITCOMMUNITY
European Union
Joined: September 28, 2004
KitMaker: 2,186 posts
AeroScale: 1,587 posts
Posted: Monday, September 08, 2014 - 09:56 AM UTC

Quoted Text


The nose is too wide and it does not look like Helen Boucher, but I can not do better.


Youi must be joking, I can't understand how you can make something so detailed and beautiful from scratch in that scale

waaaawwww!!!
Louis
_VISITCOMMUNITY
Bas-Rhin, France
Joined: May 21, 2006
KitMaker: 472 posts
AeroScale: 471 posts
Posted: Friday, September 12, 2014 - 08:41 AM UTC
Thank you!

The nose of the aircraft is not suitable. It does not go down enough.

To see if the transformation is possible without destroying the nose of the plane, I redid the underside of the hood with plasticine.

I also lowered a bit the bottom of the fuselage just after the release of air from the engine.


So I got the plastic card and milliput:

First, the fuselage:


Then the cover. Plates of 0.5mm.


I sand to give the shape of the hood.

Perpendicular to the first I glued a thin plate that will make the trailing edge of the hood:


Still Milliput and sanded ...


A +
Louis
_VISITCOMMUNITY
Bas-Rhin, France
Joined: May 21, 2006
KitMaker: 472 posts
AeroScale: 471 posts
Posted: Friday, September 19, 2014 - 09:29 AM UTC
Hi

The canopy comes in two copies, both have irregularities on their surface. Note the small bump at the top that marks the limit of my cutting. It is present in both copies.


We can improve the transparency of the piece by sanding and polishing it.

The shape of the front seems suspicious. Too round? Not quite steep on top? I can not find photos to help me.


The sides and front of the canopy should be flat (plans?) Without rounding.

So I sanded ...


If you think you can close the canopy, it'll be difficult. The rear of the canopy is not the same shape as the rear fuselage. Can be deformed in the hot water and with glue ???


For its length ... it's at random (JMGT offers 2cm but it's too long); 1.6 mm looks good.


I do not think I can do much better.


It remains to paint the amounts:


Regards.
Roxter
_VISITCOMMUNITY
Rigas, Latvia
Joined: July 04, 2007
KitMaker: 268 posts
AeroScale: 245 posts
Posted: Saturday, September 20, 2014 - 05:59 AM UTC
Amazing, simply amazing build! Thank you very much Louis for sharing this build. Very inspirational (especially for someone like me that don't have a chance for the hobby)
Louis
_VISITCOMMUNITY
Bas-Rhin, France
Joined: May 21, 2006
KitMaker: 472 posts
AeroScale: 471 posts
Posted: Sunday, September 21, 2014 - 05:42 AM UTC
Thank you Roxter!


And nose ....

The propeller is changed to what extend the fuselage with "elegance".


I remain convinced that the axis of the propeller should be higher.

As I could not find the center of the propeller to attach a metal shaft and turn to sand it properly, I did it turn directly placed on the plane. It's not so bad after all.


Regards
Louis
_VISITCOMMUNITY
Bas-Rhin, France
Joined: May 21, 2006
KitMaker: 472 posts
AeroScale: 471 posts
Posted: Thursday, September 25, 2014 - 06:38 AM UTC
Hi,

The propeller blades are made of metal (lead) and are much too long (on your right ...). Their shapes are wrong.


So I tried to resize to give them as a "prop". It's hard ... they will be finer


After much sanding and scraping blade cuter I get that. It is still not correct. I think they are too wide and thick.


Regards
Louis
_VISITCOMMUNITY
Bas-Rhin, France
Joined: May 21, 2006
KitMaker: 472 posts
AeroScale: 471 posts
Posted: Thursday, October 23, 2014 - 12:48 AM UTC
hi,

Well ... I tried to rewrite everything I had cleared with a micro saw, scribing tip, Dymo tape, reglets, bits of plastic profile.


The hood with the "slots" are glued and coated with surfacer. They have a little wavy.


The holes for the exhausts are drilled, nearly in line ...


The oil cooler:

1st try with aluminum tape. I sanded on a glass plate to remove any marks and flatten. The circular marks are made with a syringe needle cut (0.5mm). The holes are spaced 1.5mm. I do not know anything about their numbers ...


The corners are rounded with a template.


The framework was not right. I tried to make a better one ...

I made an aluminum food container. It is easier to do but you have to glued it properly and obviously the putty was left with the tape, again...


if I were to do it again I would start by making the kind of "internal" frame, then the holes. To finish the cut and rounded corners with sandpaper.

Finally, the first was better ....

Regards.
Louis
_VISITCOMMUNITY
Bas-Rhin, France
Joined: May 21, 2006
KitMaker: 472 posts
AeroScale: 471 posts
Posted: Tuesday, October 28, 2014 - 06:07 AM UTC
Hello,


New blades:


A small air intake:


Do you have any advice to paint the blue satin / bright, so that the plane does not look like a toy and the colour is not too "uniform"? The wing is smooth, no hood. Nothing to change the colour of the wing.

It would also require that the painting look like an airplane racing...

A +

Roxter
_VISITCOMMUNITY
Rigas, Latvia
Joined: July 04, 2007
KitMaker: 268 posts
AeroScale: 245 posts
Posted: Thursday, October 30, 2014 - 02:27 AM UTC
In order to brake to colour monotony on the wing you can use "oil colour dots" technique. I would recommend reading Jamie Haggo's blog - you'll find many articles about weathering.

By the way, what technology did you use to make air take?
Louis
_VISITCOMMUNITY
Bas-Rhin, France
Joined: May 21, 2006
KitMaker: 472 posts
AeroScale: 471 posts
Posted: Thursday, October 30, 2014 - 11:19 AM UTC

Quoted Text

In order to brake to colour monotony on the wing you can use "oil colour dots" technique. I would recommend reading Jamie Haggo's blog - you'll find many articles about weathering.

By the way, what technology did you use to make air take?


Thank you very much I will read that.

The air take is thermoformed with a piece of plastic and a candle. The master is cut larger (it's easier). Then the base of the themoformed part is sanded.


Regards
GhostHawk
_VISITCOMMUNITY
Cordoba, Argentina
Joined: January 27, 2011
KitMaker: 268 posts
AeroScale: 264 posts
Posted: Thursday, October 30, 2014 - 11:30 AM UTC
Hello,

Like always, It's an impressive Job...!!! Really nice...

Congrats & BTW

Diego
Louis
_VISITCOMMUNITY
Bas-Rhin, France
Joined: May 21, 2006
KitMaker: 472 posts
AeroScale: 471 posts
Posted: Sunday, November 02, 2014 - 09:28 AM UTC
Thank you.


Nothing new in the method. Bright areas, dark areas, and after... everything with the same blue paint:

White + 1 drop 1 drop blue dark blue X14 + X4 1 drop while tamiya


Difficult to see nuances in these photos, the image "pixelated" when I change the format .... I will try to make them better.


The landing gear fairing is almost done. The black area must be changed. I thought I will use steel color... but without conviction.


Regards
Louis
_VISITCOMMUNITY
Bas-Rhin, France
Joined: May 21, 2006
KitMaker: 472 posts
AeroScale: 471 posts
Posted: Tuesday, November 04, 2014 - 11:46 PM UTC

Ready to be glued...