The Good:
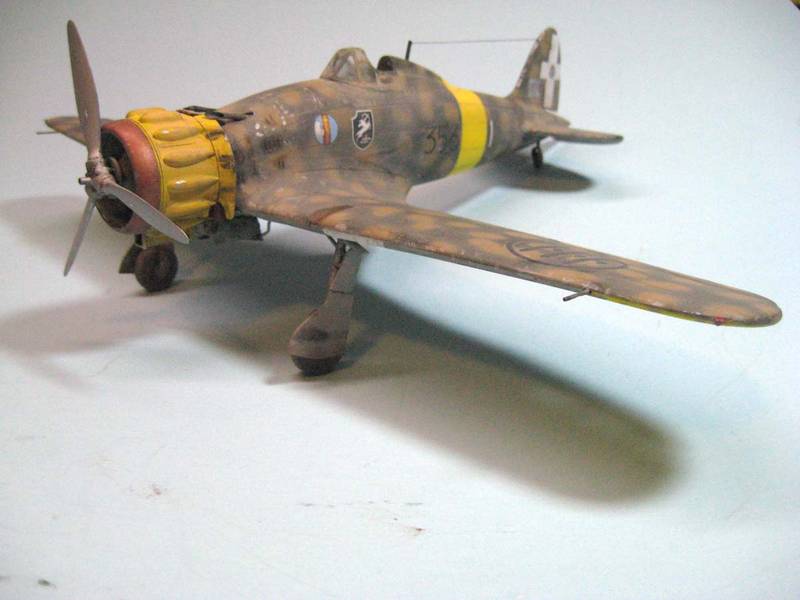
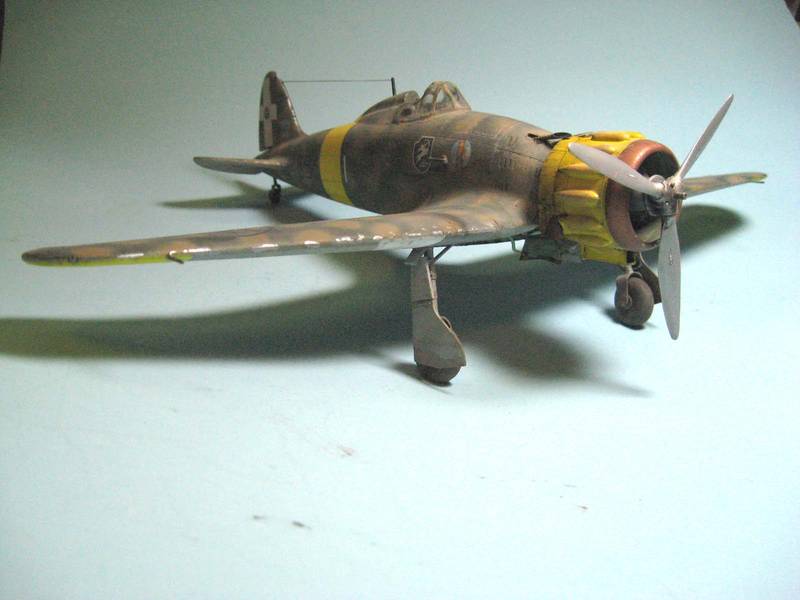
1.) It's the only kit in this size for the Macchi 200, a workhorse of the Regia Aeronautica.
2.) It builds up very nicely and looks good in this size
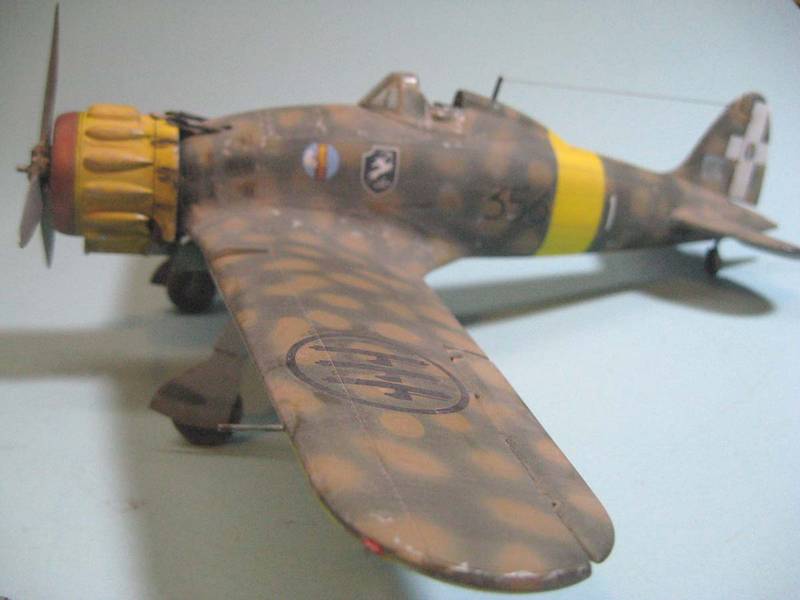
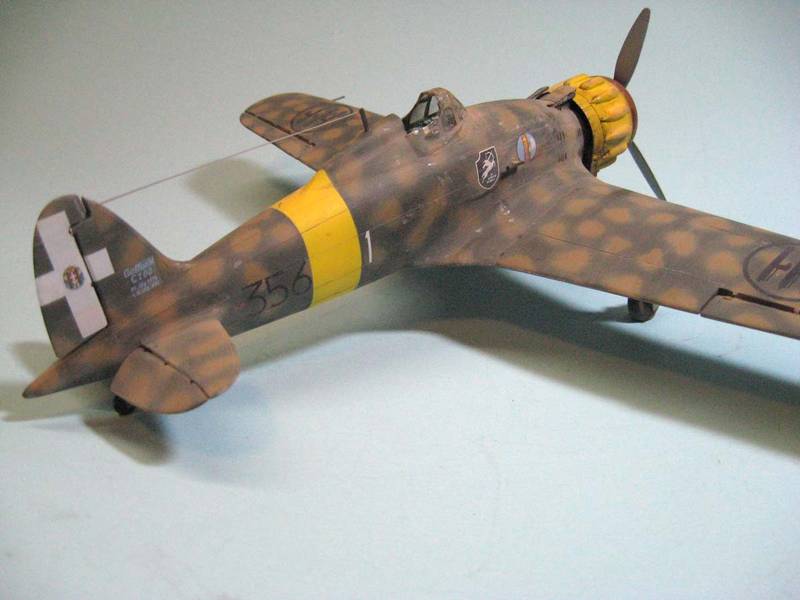
3.) There are numerous opportunities for a wide variety of camo and marking options, unlike many kits that give you 2-3
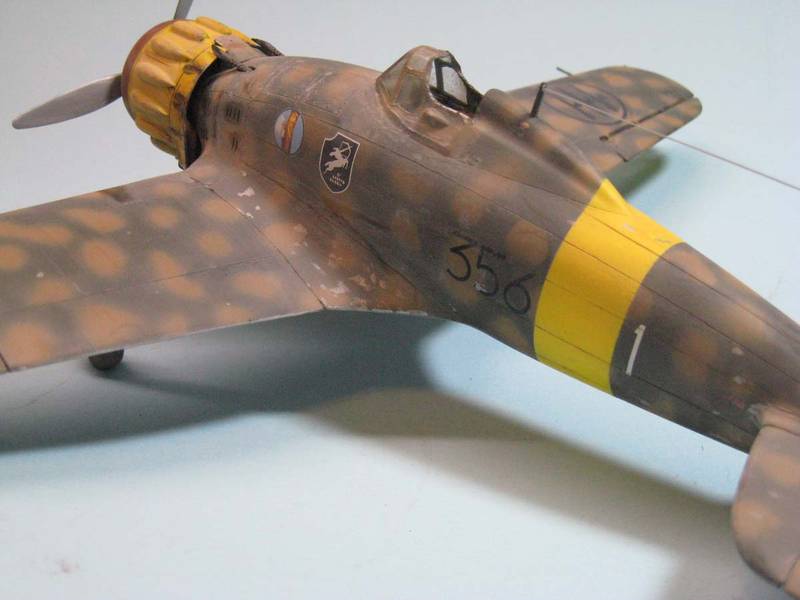
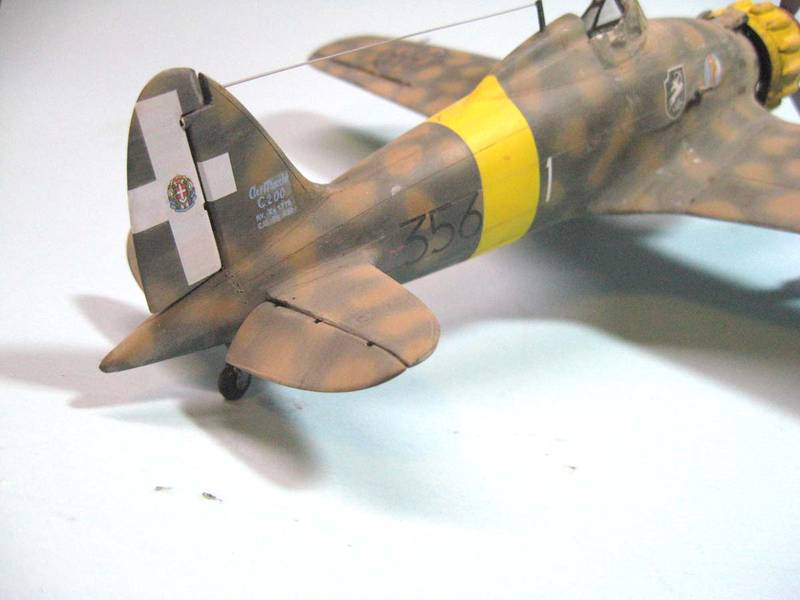
4.) The decals from Cartograf are superb
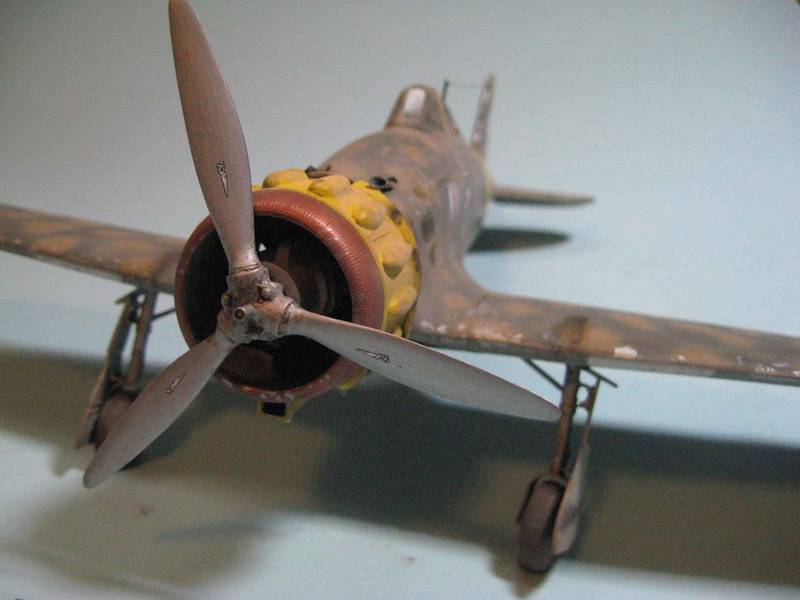
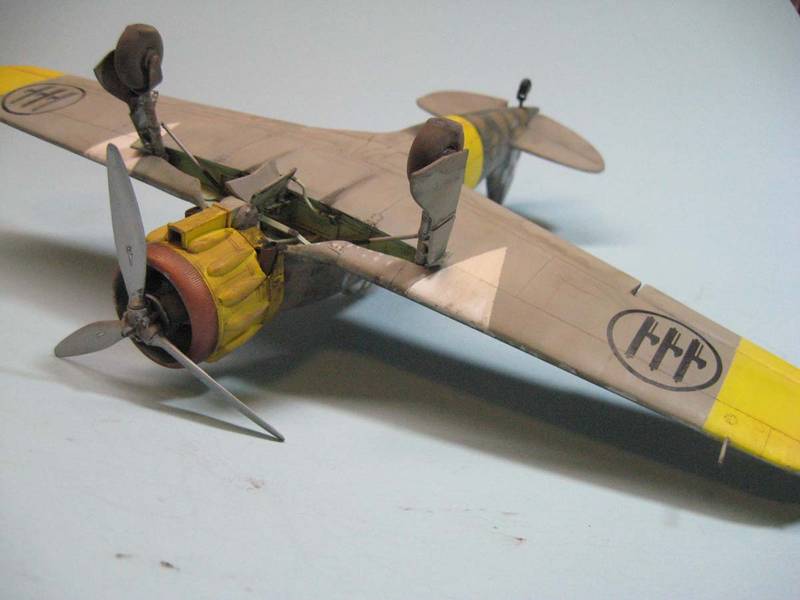
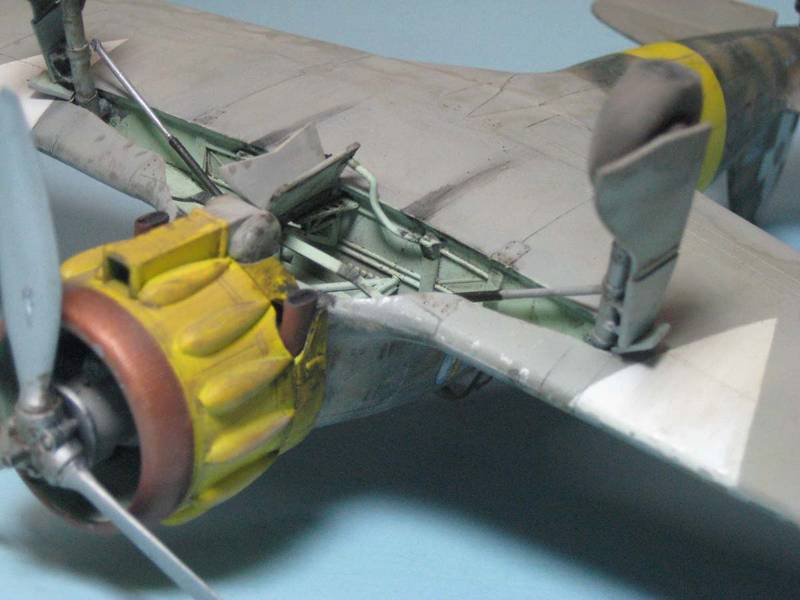
5.) The resin parts are generally excellent, especially the engine and the cowl (one of the chief reasons I love the lines of this plane).
The Bad:
1.) The fit. LOTS of filling and sanding
2.) The upgrade kit is mediocre; numerous parts were broken and so far PCM hasn't been able to provide replacements. So the aircraft (which served in a fighter-bomber role on the Eastern front) doesn't sport its bomb pods and bombs. The resin control surfaces aren't always a good fit match with the styrene after the kit surfaces have been cut away. I'm not sure it was worth the $20 extra except for the weighted tires
3.) the vacuform canopy: thin and hard to work with. Probably it alone will keep this kit out of competition, and I'd never get past the detail nerds.
4.) Did I mention the fit? It's a limited-run kit, so don't expect the kind of quality you'll get from a Hasegawa or Dragon or even Trumpeter. Think Revell in the 90s.
Some Cautions for Builders:
1.) Be careful when re-scribing any panel lines after filling & sanding-- the plastic is VERY soft and it's easy to slip outside the channels.
2.) Be sure to put down a good coat of future or the decals will silver on the dark camo patterns called for.
3.) The instructions are good, but you'll need some outside references, including photos. Some parts just don't connect, and things like the radio mast aren't included. Many 200s didn't have radios, but many did, so it's up to you if you want to include them.
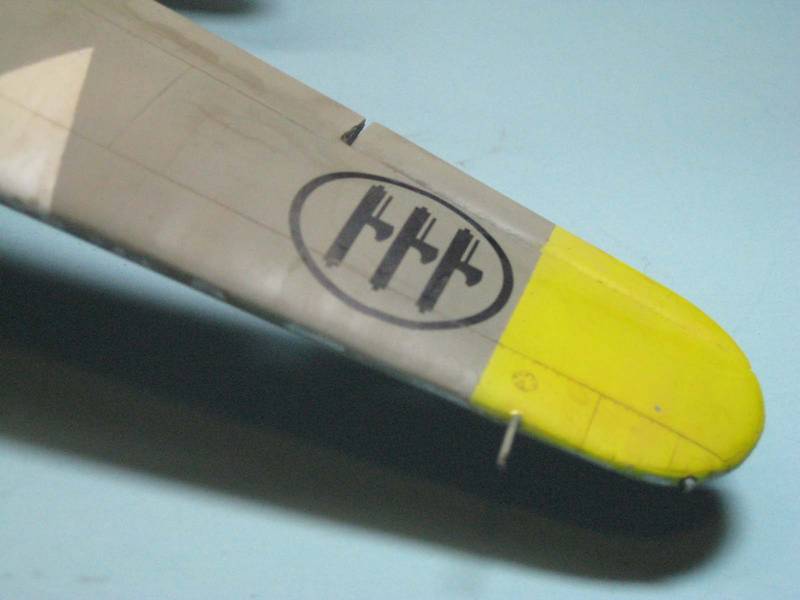
4.) The painting guide leaves some things out, such as which national insignia are used (white, black or clear background) and where to place them on the top of the wing. Also, in the case of the 356th, for example, the numerals on the right side of the fuselage "bled" over into the yellow belly band. That's not indicated on the painting guide, and I didn't find that out until after I'd put on my decals.