Wisconsin, United States
Joined: September 20, 2006
KitMaker: 319 posts
AeroScale: 129 posts
Posted: Tuesday, April 28, 2009 - 02:46 AM UTC
As I illustrated previously, you want to inspect the seams before committing to painting. I use a thin light mist of a suitable light flat color applied to the seams. Paint acts as a magnifier exposing any imperfections. If you find a goober, you can repair it.
If you've sprayed down the model and then discovered the seams are ugly, you have but two choices. Remove the paint and repair the damage/mistakes or use the hulk as a paint test mule for future painting and technique tests. Try to salvage the model first!

Post pictures of your F-105 especially the seams you're talking about.
Gerald 'Hawkeye' Voigt
Neenah, WI
Host Of The Plastic Scale Modeling Hour-Talk Radio For Scale Modelers!
England - South East, United Kingdom
Joined: September 11, 2002
KitMaker: 1,933 posts
AeroScale: 89 posts
Posted: Tuesday, April 28, 2009 - 05:27 AM UTC
thanks for the reply and info,i may finish the kit and give it to my friends son.I will try and choose smaller aircraft till I get the hang of the seams.cheers

Joined: September 13, 2007
KitMaker: 69 posts
AeroScale: 60 posts
Posted: Wednesday, May 06, 2009 - 12:27 AM UTC
To Frederick
This response is a month late to your question so you may already have the answer.
I thin mr surfacer to the consistancy I would paint ie skimmed milk. You can use a lacquer thinner although I use their own levelling thinner.
I must admit I don't have much joy using Mr surfacer to fill small defects but as a primer its the dogs danglies
England - East Anglia, United Kingdom
Joined: May 06, 2009
KitMaker: 32 posts
AeroScale: 31 posts
Posted: Friday, May 08, 2009 - 01:34 AM UTC
This is the best thread ever! So much to learn here. I can't wait to break open a new kit and try some of this.
One question. I couldn't see it covered anywhere else - if I missed it I'm sorry - but what is the U.K. modelers equivalent of Tenax 7R? as I certainly don't seem to be able to buy that stuff.

Current builds:
Airfix Spitfire PR XIX in 1/72nd
Airfix Douglas TBD-1 Devastator in 1/72nd
Airfix RAF Refuelling Set
Wisconsin, United States
Joined: September 20, 2006
KitMaker: 319 posts
AeroScale: 129 posts
Posted: Friday, May 08, 2009 - 01:47 AM UTC
Quoted Text
This is the best thread ever! So much to learn here. I can't wait to break open a new kit and try some of this.
One question. I couldn't see it covered anywhere else - if I missed it I'm sorry - but what is the U.K. modelers equivalent of Tenax 7R? as I certainly don't seem to be able to buy that stuff.
Try any of the manufacturers solvent type liquid cements. Tamiya makes a good one from what I am told.
Gerald 'Hawkeye' Voigt
Neenah, WI
Host Of The Plastic Scale Modeling Hour-Talk Radio For Scale Modelers!
Wisconsin, United States
Joined: April 18, 2005
KitMaker: 281 posts
AeroScale: 61 posts
Posted: Friday, May 08, 2009 - 05:17 AM UTC
Quoted Text
Mr Surfacer is going to get harder to find. It doesn't meet the US labeling requirements so it's importation has been halted. You'd have to order from an overseas retailer.
You can thin putty usually with either alcohol or lacquer thinner.
Of course, the fact that Mr Surfacer can be obtained from some Hong Kong sources at prices that, even with shipping, are highly competitive with typical US prices, is always a good thing :-)
Another alternative for thinned putty is another little bottle from the Mr Surfacer family, Mr Dissolved Putty. Really. Like almost all Gunze Sangyo products, it's exactly what the name implies it is. It's just like working with a thicker Mr Surfacer although it's definitely brush application only, while Mr Surfacer can be thinned and sprayed (when not being used to fill seams).
Wisconsin, United States
Joined: September 20, 2006
KitMaker: 319 posts
AeroScale: 129 posts
Posted: Wednesday, May 13, 2009 - 01:25 AM UTC
To double check your wing seams PINCH IT.

Don't forget to visit my blog and my website!
http://hawkeyes-squawkbox.com/http://www.hawkeyeshobbies.com/Gerald 'Hawkeye' Voigt
Neenah, WI
Host Of The Plastic Scale Modeling Hour-Talk Radio For Scale Modelers!
Idaho, United States
Joined: February 01, 2008
KitMaker: 52 posts
AeroScale: 49 posts
Posted: Tuesday, January 19, 2010 - 09:47 AM UTC
This is very informative. I have a couple of questions though.
1. When do you use the putty vs sprue? Just depends on the gap?
2. Do you only use the Mr. Surfacer to touch up the seams once you've used the sprue/putty to fill in a gap?
Live each day for what it is.
For, yesterday is gone.
And, tomorrow may never come.
AiwaSoundSystem
Wisconsin, United States
Joined: September 20, 2006
KitMaker: 319 posts
AeroScale: 129 posts
Posted: Thursday, January 28, 2010 - 05:18 AM UTC
Quoted Text
This is very informative. I have a couple of questions though.
1. When do you use the putty vs sprue? Just depends on the gap?
That is a judgement call. Which ever is going to provide the best results. If the area is structural in nature or subject to any loads, then sprue is my first choice. If it is very small and cosmetic only then glazing putty.
2. Do you only use the Mr. Surfacer to touch up the seams once you've used the sprue/putty to fill in a gap?
Mr Surfacer serves both as a fine filler and a method to check the seam before painting. It also helps to color neutralize the area. That is to say if you use a dark colored filler it helps cancel the stark contrast between the surrounding plastic and the filler. The decision to use Mr Surfacer again is one of experience at Reading The Seam. Over time you'll know if you need it or not. But in the meantime the attage: When in doubt...use some Mr Surfacer.

If you have questions you can also contact me via email, my addy is in my profile. Be sure to sign up for my blog feeds
http://hawkeyes-squawkbox.com/Gerald 'Hawkeye' Voigt
Neenah, WI
Host Of The Plastic Scale Modeling Hour-Talk Radio For Scale Modelers!
AussieReg
 Associate Editor
#007
Victoria, Australia
Joined: June 09, 2009
KitMaker: 8,156 posts
AeroScale: 3,756 posts
Posted: Thursday, January 28, 2010 - 10:32 AM UTC
G'day Gerald, just wanted to say that I must have read this thread 20 times from start to finish and every time I get another little gem technique. Probably the most useful and informative single thread I've found yet. Also thanks to all of the other contributors here, you guys all ROCK.
Cheers, D
ON the bench
Revell 1/24 '53 Corvette (building as '54)
Revell 1/24 BMW 507 Coupe and Cabrio
Italeri 1/48 Me262 B-1a/U1 Nightfighter
Monogram 1/24 '57 Chevy Nomad
Dragon 1/350 USS Frank Knox DD-742
Wisconsin, United States
Joined: September 20, 2006
KitMaker: 319 posts
AeroScale: 129 posts
Posted: Thursday, March 04, 2010 - 02:10 AM UTC
Like welding, you match the two pieces to be bonded together, then apply the rod to the two to melt them into one. Fit the pieces together, then using the liquid cement of your choice apply it along the seam. The solvent will wick along and into the seam. A little pressure to the compress the two pieces together will create the bond as each melts slightly forming the weld.
Typically liquid solvents evaporate fast, so by the time you apply it to the separate pieces then try to put them together the "Heat" is gone and no solid or lasting bond is created.
I think the Tamiya product is your better option.
Gerald 'Hawkeye' Voigt
Neenah, WI
Host Of The Plastic Scale Modeling Hour-Talk Radio For Scale Modelers!
England - East Anglia, United Kingdom
Joined: January 12, 2011
KitMaker: 53 posts
AeroScale: 50 posts
Posted: Monday, January 17, 2011 - 06:04 AM UTC
Quoted Text
If you have a few minutes take a little side junket over to my blog to check out how I do flush mounted nav lights. This too is a key to having a clean seamless finish.
http://hawkeyeshobbies.com/squawkbox/?p=77

Since it is a very cold and windy weekend, I may have time to add another
chapter to 'Reading the Seams thread.
Deadlink in this update, and thanks for a great article
Pennsylvania, United States
Joined: April 18, 2011
KitMaker: 55 posts
AeroScale: 6 posts
Posted: Saturday, May 14, 2011 - 04:21 PM UTC
Gerald.
Bookmarked your site for future reference. Great information and photos
Lisboa, Portugal
Joined: August 27, 2010
KitMaker: 679 posts
AeroScale: 669 posts
Posted: Sunday, May 15, 2011 - 12:21 AM UTC
Hey Gerald,
your thread proves that sharing knowledge improves everyone! I've read stuff here that even after 15 years modelling never crossed my mind, ears or eyes before.
Thanks for sharing and also to everyone that added further tips
Cheers
England - East Anglia, United Kingdom
Joined: February 14, 2012
KitMaker: 15 posts
AeroScale: 2 posts
Posted: Tuesday, March 13, 2012 - 09:26 AM UTC
love this thread, very informative and an essential read for any dedicated model maker, newie or veteran, great stuff
On the (messy) Bench
Airfix hawker Typhoon
Italeri KC-130F
Banana skin, ash tray and empty coffee mug....
Alaska, United States
Joined: January 06, 2006
KitMaker: 530 posts
AeroScale: 4 posts
Posted: Friday, January 25, 2013 - 06:40 AM UTC
Followed a link to this thread from a post on Armorama. Absolutely fantastic work and great techniques that really come to life the way you explain them. I bookmarked this thread and will absolutely direct others here as well because there is something here for everyone, regardless of experience. Thank you so much for sharing!
Jim
Large Scale Armory
Why is the rum....always gone? --Capt. Jack Sparrow
South Australia, Australia
Joined: August 14, 2007
KitMaker: 5,926 posts
AeroScale: 2,201 posts
Posted: Friday, January 25, 2013 - 08:06 AM UTC
I think I may have found the perfect putty. It is from a place called deluxe Materials and is called Perfect Plastic Putty. Water to clean up and dries very fast. All you do once it is dry is put some water on a cotton bud and rub gently. All you are left with is a filled seam. Brilliant!!
You may be right, I may be crazy.
#372
United Kingdom
Joined: March 10, 2010
KitMaker: 2,568 posts
AeroScale: 1,619 posts
Posted: Sunday, January 27, 2013 - 09:41 AM UTC
Watching with interest and I'll be trying out these techniques on my next build.
Just one question, what is Mr Surfacer? And do you sand it back after applying? I've never come across that product in any model shop here in the uk.
On the bench: 1/72 Mosquito, Lightning F.6, DH.2,
AMT Vulcan Shuttle Surak.
Cyber-Hobby 1:35 Sherman Firefly IC - still stalled.
South Australia, Australia
Joined: August 14, 2007
KitMaker: 5,926 posts
AeroScale: 2,201 posts
Posted: Sunday, January 27, 2013 - 05:52 PM UTC
Quoted Text
Watching with interest and I'll be trying out these techniques on my next build.
Just one question, what is Mr Surfacer? And do you sand it back after applying? I've never come across that product in any model shop here in the uk.
Yes Stephen you need to sand back the excess. It is basically liquid putty. Sometimes you can remove the excess using cotton buds soaked in methylated spirits or alcohol.
Cheers
Warren
You may be right, I may be crazy.
Wisconsin, United States
Joined: September 20, 2006
KitMaker: 319 posts
AeroScale: 129 posts
Posted: Saturday, February 16, 2013 - 03:09 AM UTC
Actually Mr Surfacer is a heavy surface primer with filling properties.
Gerald 'Hawkeye' Voigt
Neenah, WI
Host Of The Plastic Scale Modeling Hour-Talk Radio For Scale Modelers!
South Australia, Australia
Joined: August 14, 2007
KitMaker: 5,926 posts
AeroScale: 2,201 posts
Posted: Saturday, February 16, 2013 - 11:59 AM UTC
Quoted Text
Actually Mr Surfacer is a heavy surface primer with filling properties.
Depends which grade you are using..
You may be right, I may be crazy.
New Jersey, United States
Joined: May 01, 2013
KitMaker: 60 posts
AeroScale: 56 posts
Posted: Wednesday, November 13, 2013 - 01:38 PM UTC
I've run into a little problem on my La-7.
Here is what the seams look like before sanding:
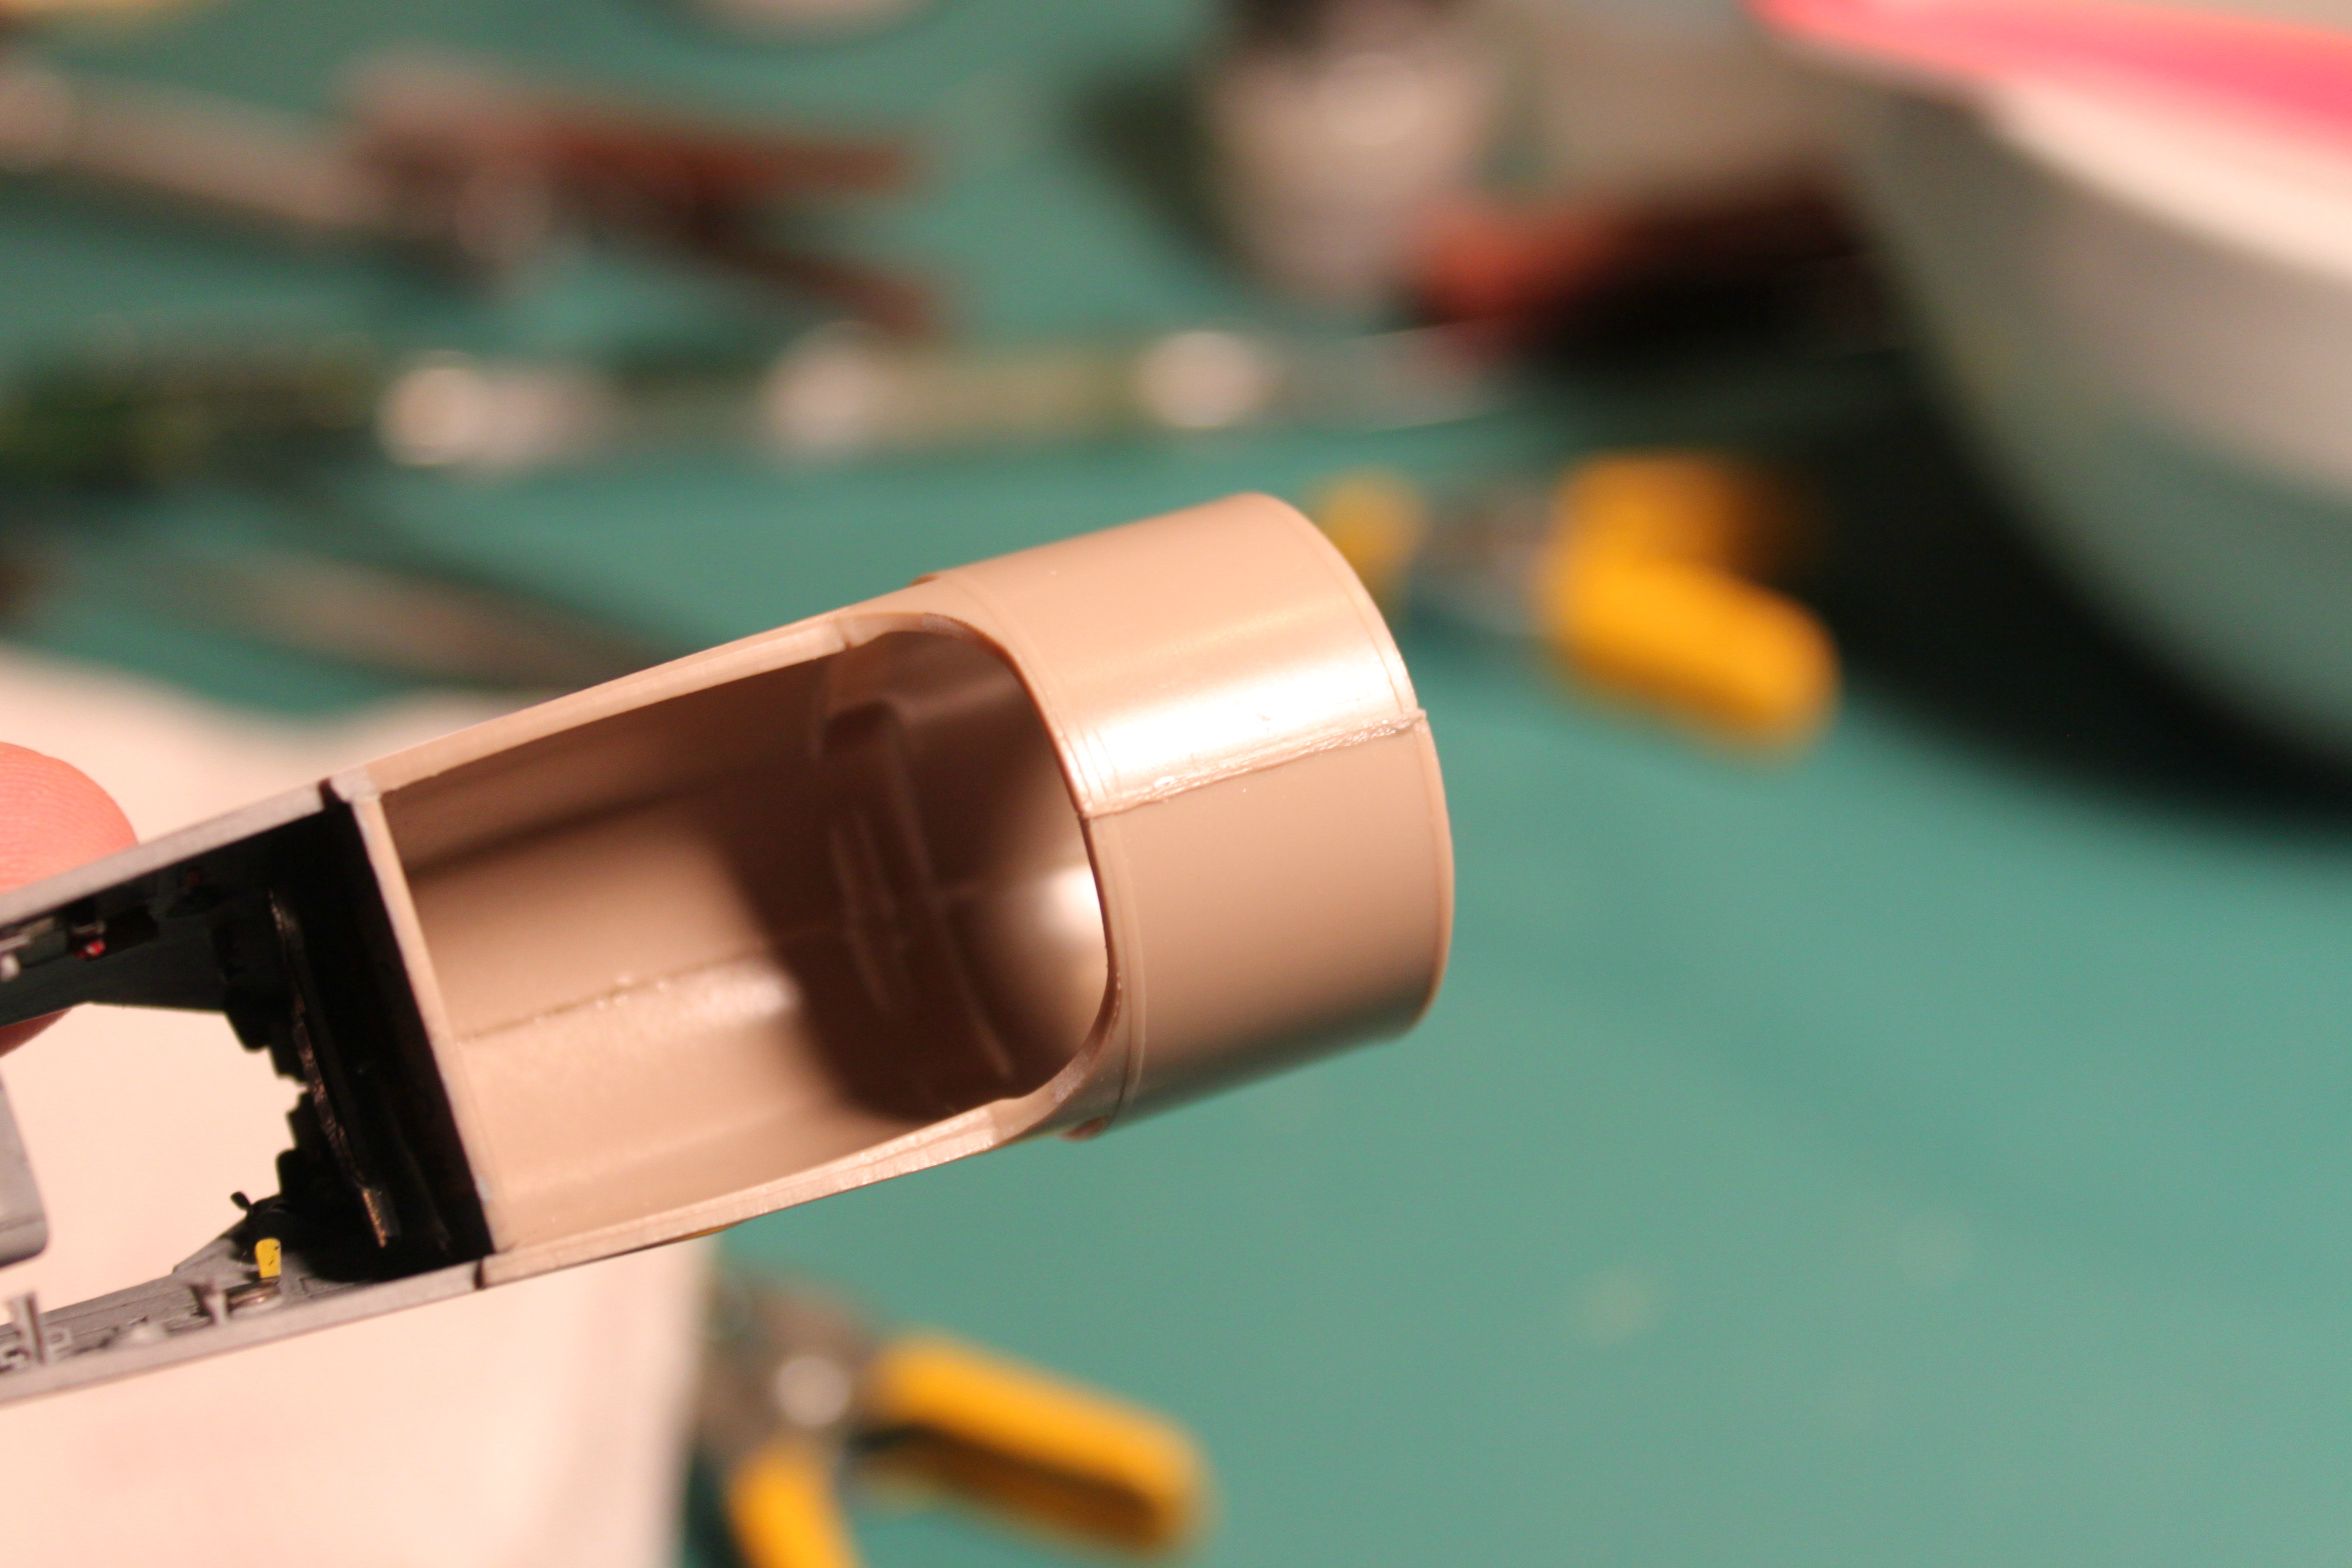
Here's what they look like afterward:
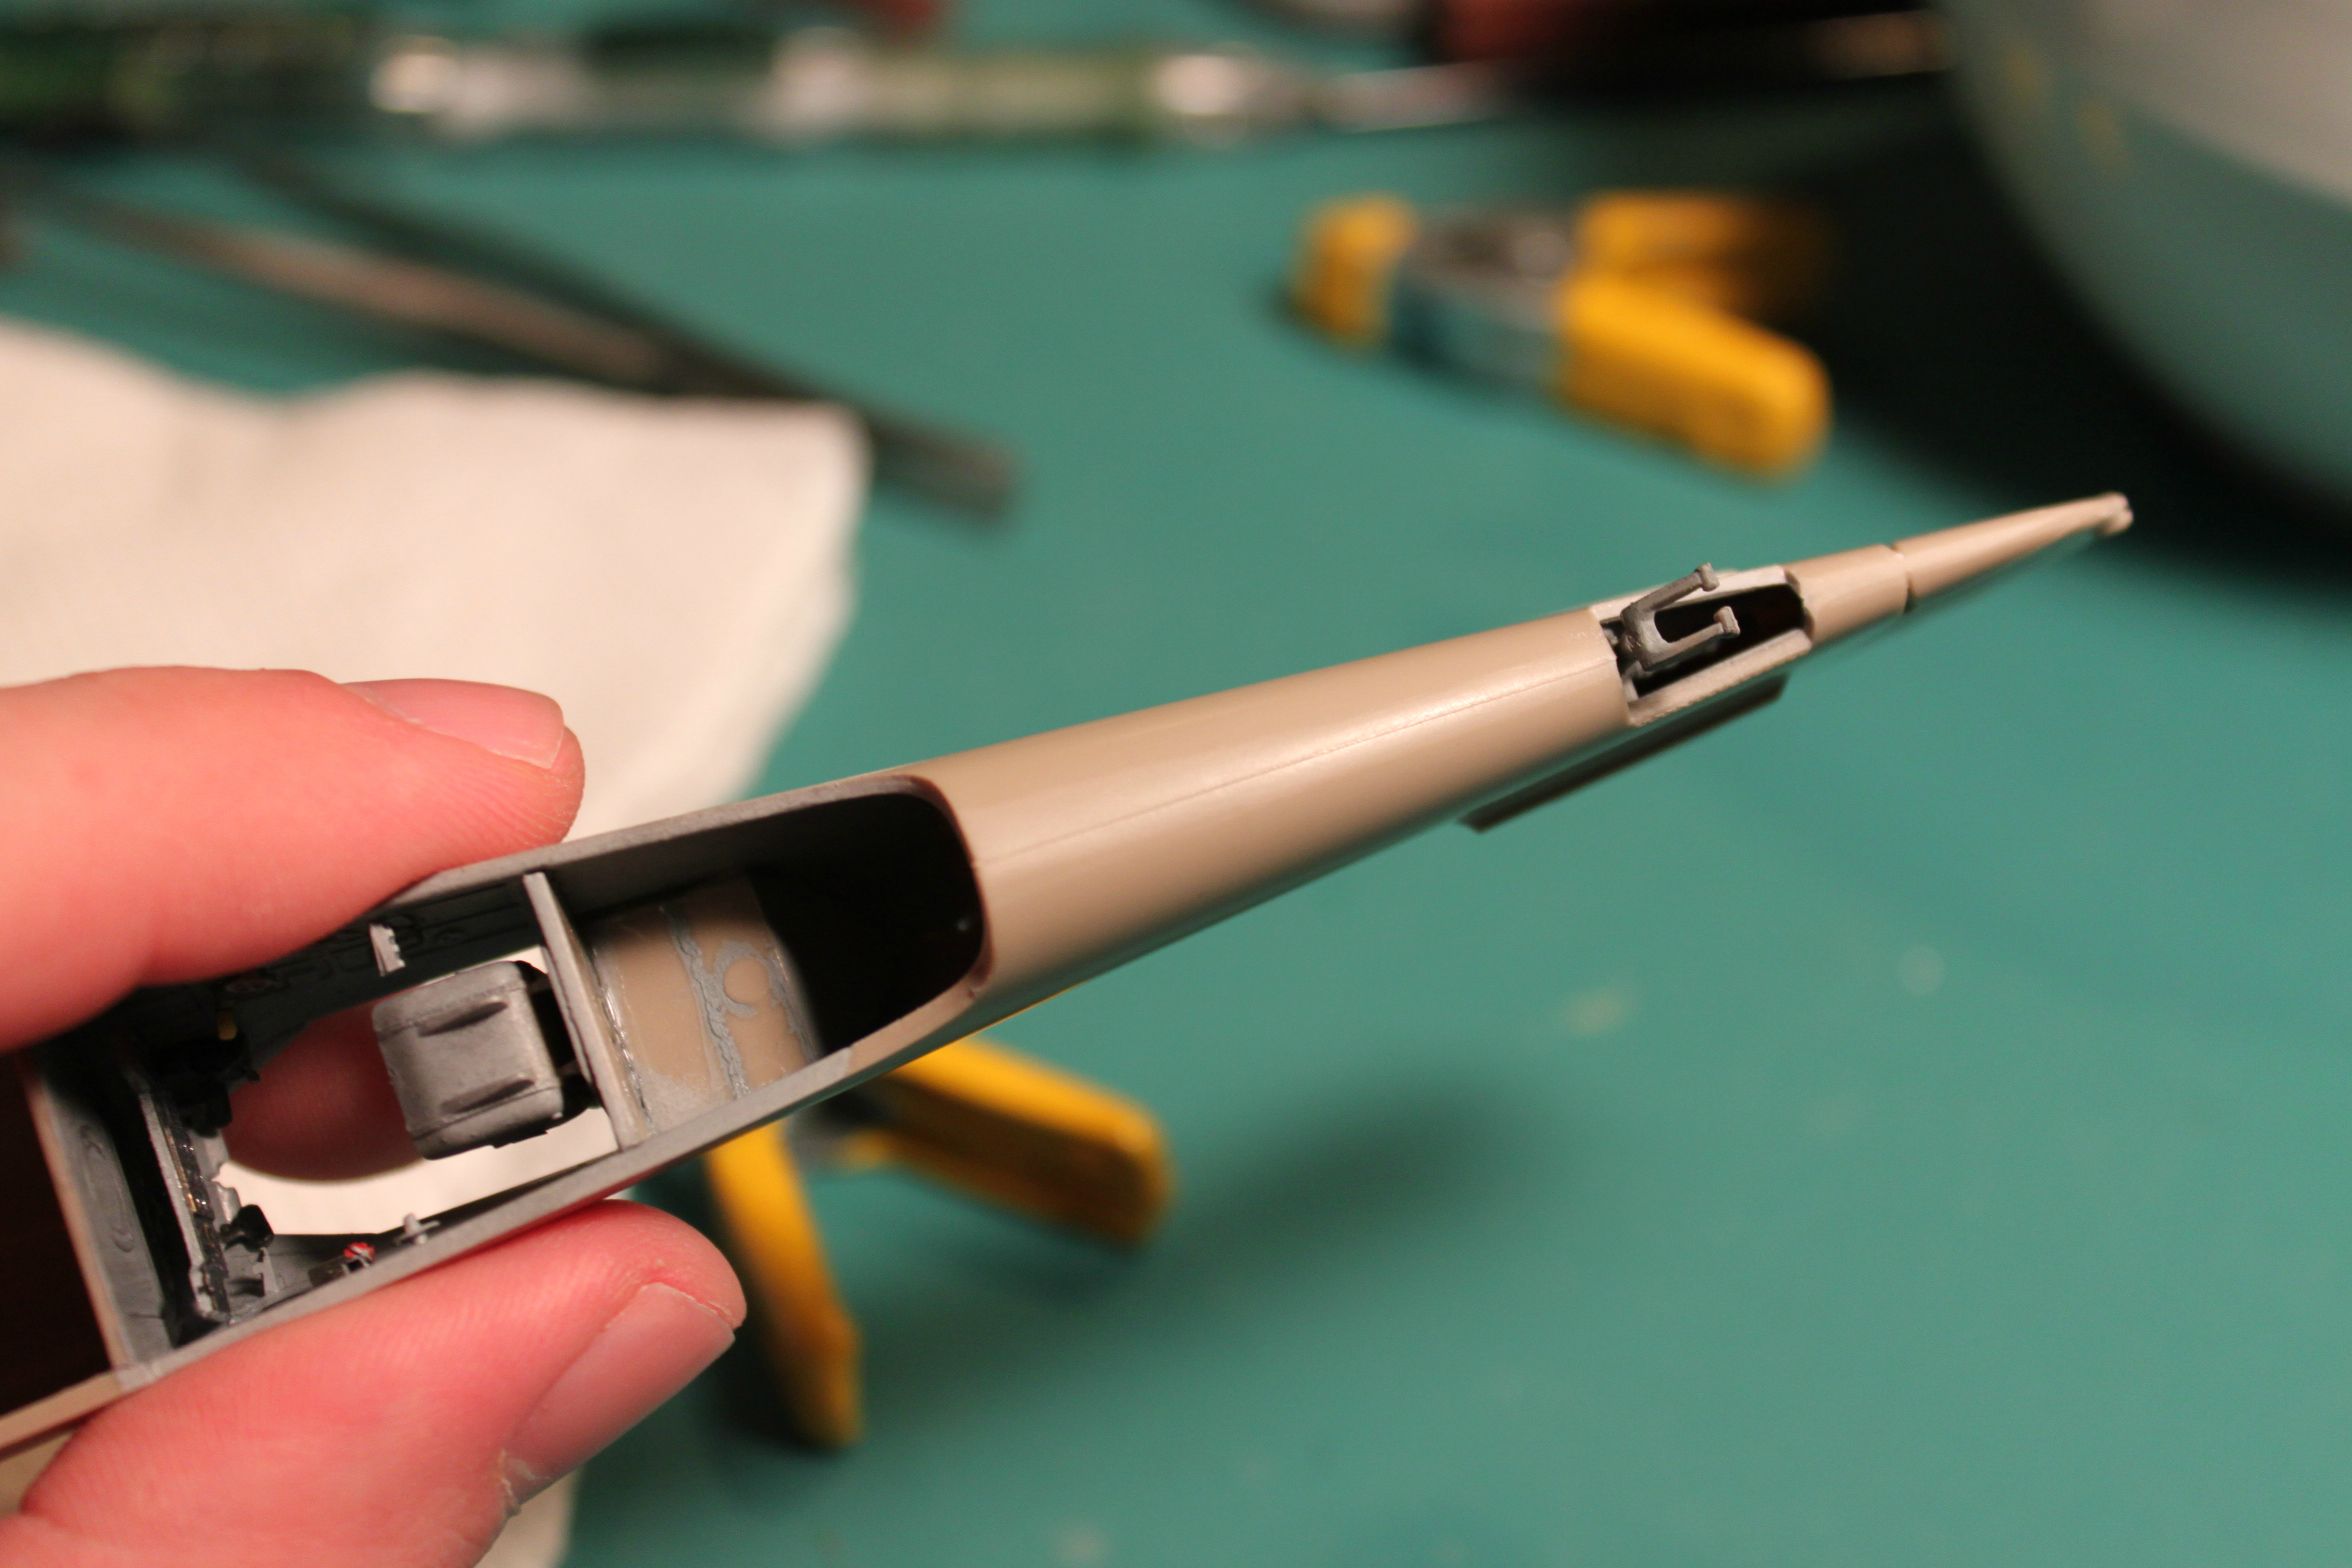
There's still a noticeable indentation where the parts meet. It's a bit difficult to see in the picture, but I can feel it when I run my finger over it. Is there something I'm doing wrong? And what's the best way to fix this? Thank you!
On the Bench:
Eduard 1/48 F6F-5 Hellcat
Tamiya 1/48 A6M3 Zero
British Columbia, Canada
Joined: September 03, 2009
KitMaker: 6,965 posts
AeroScale: 6,247 posts
Posted: Wednesday, November 13, 2013 - 02:42 PM UTC
Sometimes the plastic is just like that, regardless what you've done or not done. Try gluing a piece of stretched sprue along the seam line in the indentation and sanding it flush after it's dry.
When once you have tasted flight you will walk the Earth with your eyes turned skyward.
For there you have been, and there you will always long to return.
-Leonardo Da Vinci
New Jersey, United States
Joined: May 01, 2013
KitMaker: 60 posts
AeroScale: 56 posts
Posted: Friday, November 15, 2013 - 06:50 AM UTC
Ok, I tried that last night, now the seams on the bottom of the fuselage are slightly less noticeable, but still visible enough to bother me. Should I try to use Mr. Surfacer to fill in the gaps?
On the Bench:
Eduard 1/48 F6F-5 Hellcat
Tamiya 1/48 A6M3 Zero