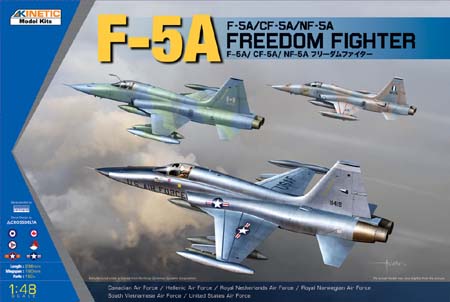
The F-5A is a small, lightweight, low cost, easy-to-maintain supersonic fighter that was well suited to the needs of friendly foreign countries that didnt need, couldnt afford, or couldnt maintain the bigger, more complex fighters in the U.S. inventory. Northrop began development in the mid-1950s but for a time the effort took a back seat to the development of its related trainer, the T-38. A prototype of this fighter was began in 1958 and was designated the N-156F. There were two prototypes that were built and flown, with a third being partially constructed. A firm market for this airplane didnt develop until May of 1962 when the U.S. Department of Defense selected the N-156F under the Military Assistance Program (MAP) as the basis to modernize the air forces of selected countries. The airplane was designated the F-5A, with first flight of the prototype (a modified N-156F) taking place on July 31, 1963.
Countries receiving the F-5A under MAP included South Korea, the Philippines, Iran,Turkey, Greece, and the Republic of China. Canada, Norway, and Spain made direct purchases of the airplane. A modified version was flown by the U.S. Air Force and evaluated in Vietnam those airplanes being dubbed Skoshi Tigers.
After more than eight years of production, the last F-5A was delivered in June, 1972.
First dilemmas
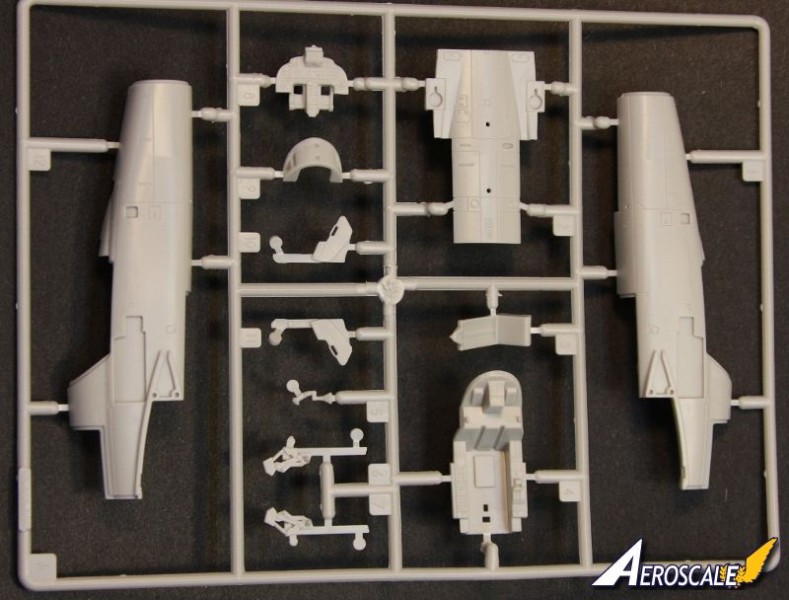
To say I was excited when this kit was announced is an understatement. Having built a couple of the AFV Club F-5s I was thrilled to hear that somebody was doing an A version. I had to wait for the kit to arrive which was several months, but it did arrive and I wasted no time in getting started. However, my enthusiasm waned as I progressed more into the build. Now, Im not saying it is a bad kit. However, it does have some features that caused me to shelve it at one point; namely the complex fuselage assembly. Why Kinetic chose to mold the kit like this is unknown to me. Assembly takes place over 12 steps beginning with the cockpit. The instructions provide call outs noting the differences between the CF/NF-5A and the standard F-5A. I went through the markings and chose the plane I wanted to build early on, then went into the instructions and lined out anything that didnt pertain to that particular build as I didnt want to screw this one up been there, done that. In doing so I effectively eliminated using the small fret of photo etch brass that is included with the kit for the CF/NF versions.
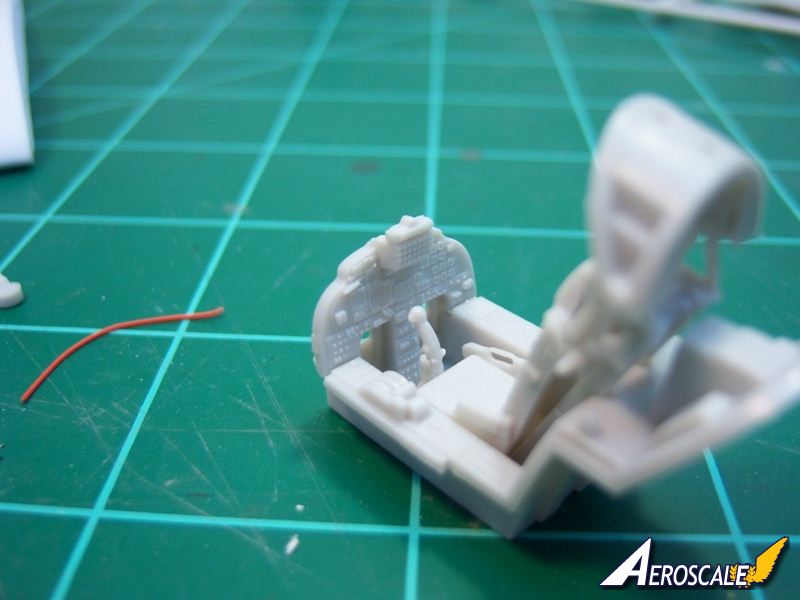
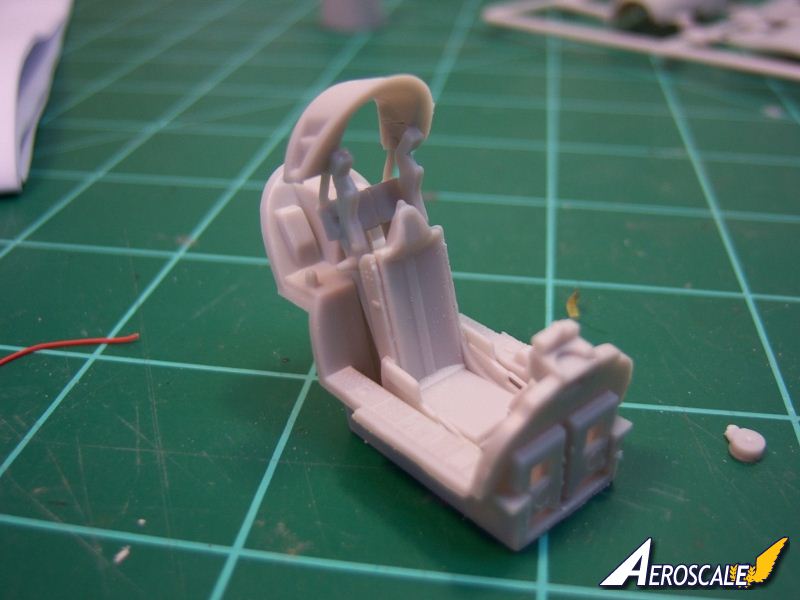
Cockpit
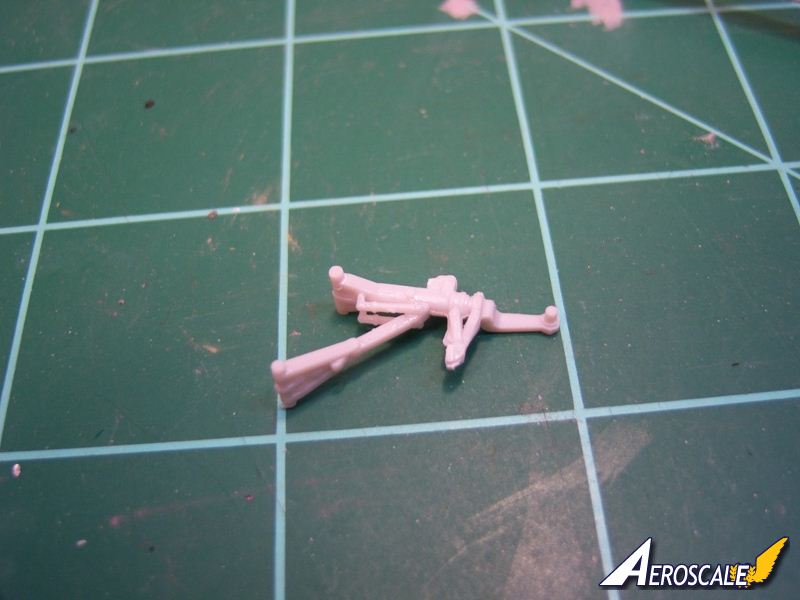
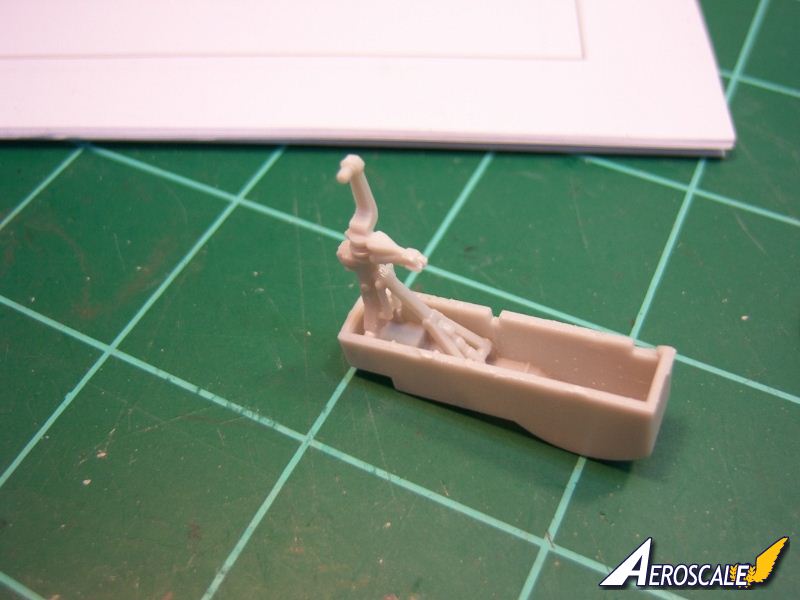
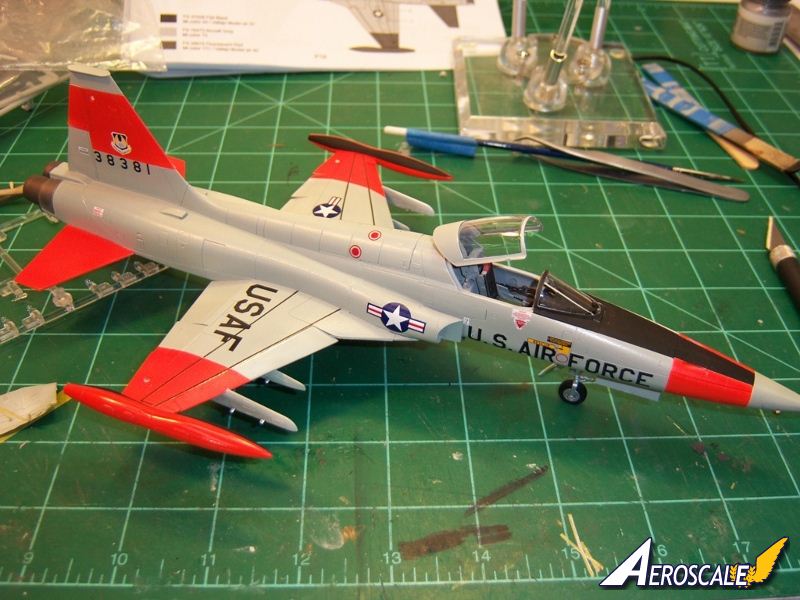
The cockpit is well detailed and features the very prominent lifting mechanism of the canopy. About the only drawback here that I could find was the lack of belts for the seat, but that is an easy fix. One thing I did different from the instructions was to leave the canopy raising/lowering mechanism off only final assembly; especially if you plan on posing it open. It will get snagged on stuff if you install it when directed to. As it is, you can install it once final assembly is complete and save yourself some headache and inventing new cuss words. The cockpit is fitted into the fuselage sides in steps 4/ 4a depending on the variant youre building and fits very well. 4a also calls for the installation of the nose gear in this step along with two panels on either side of the fuselage. I installed the bay, but not the gear; again leaving it out until final assembly for the same reasons as the canopy actuator. The panels drop into recesses and fit ok but I still had some gaps to fill around their perimeter of them. Again, Mr. Surfacer500 to the rescue.
Fuselage
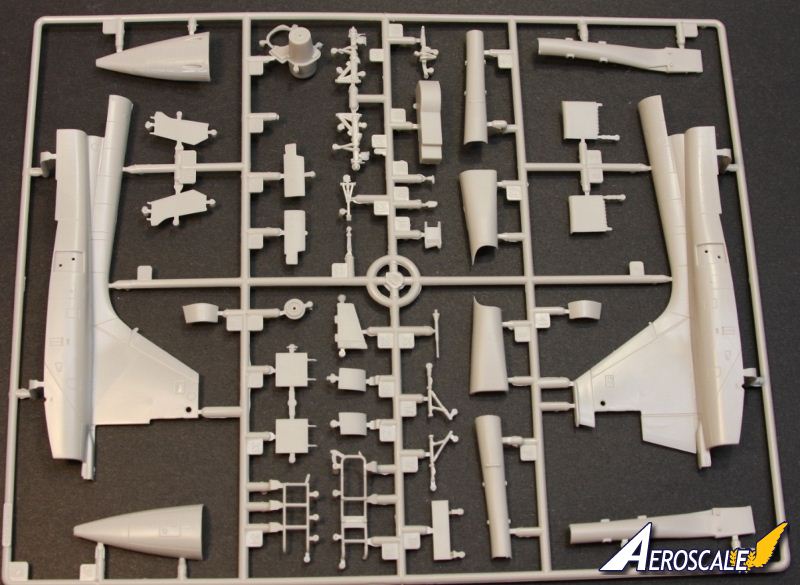
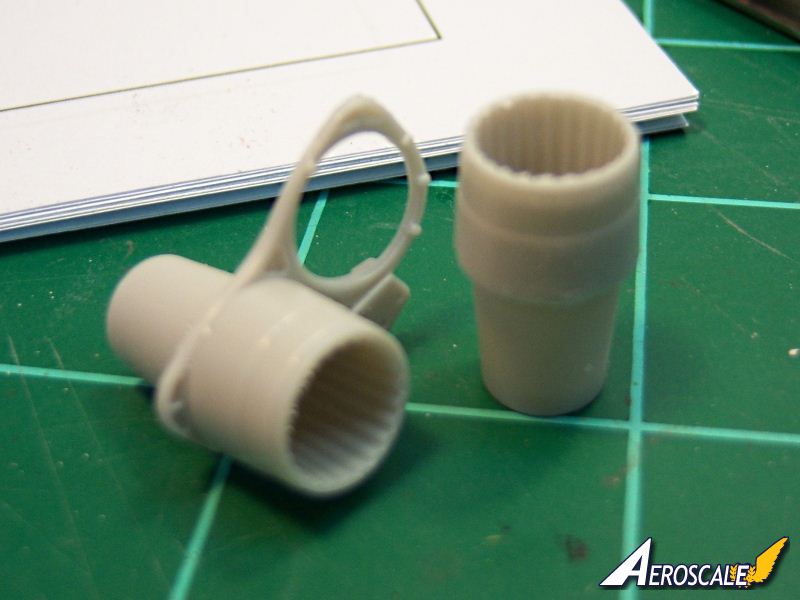
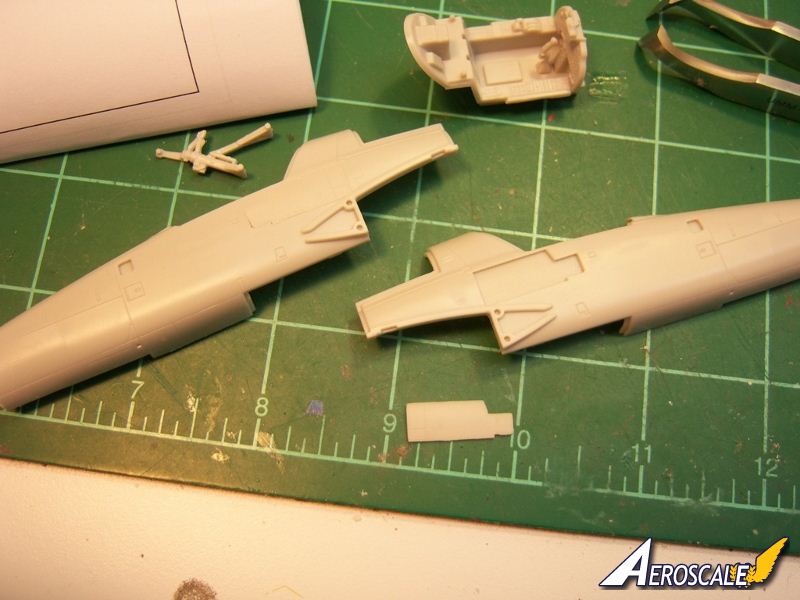
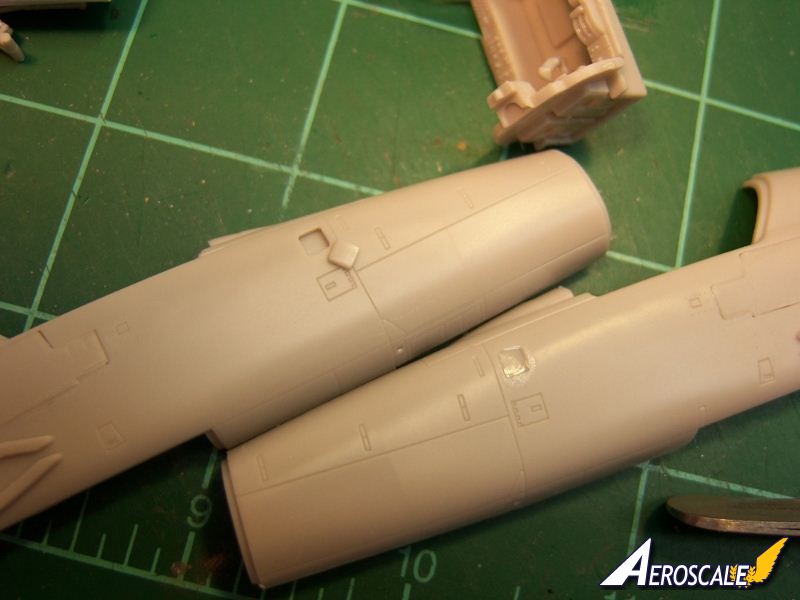
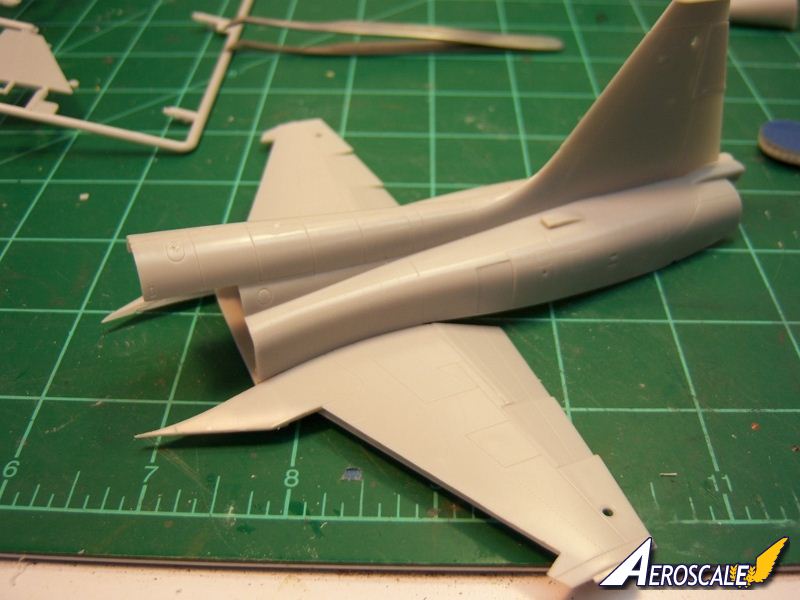
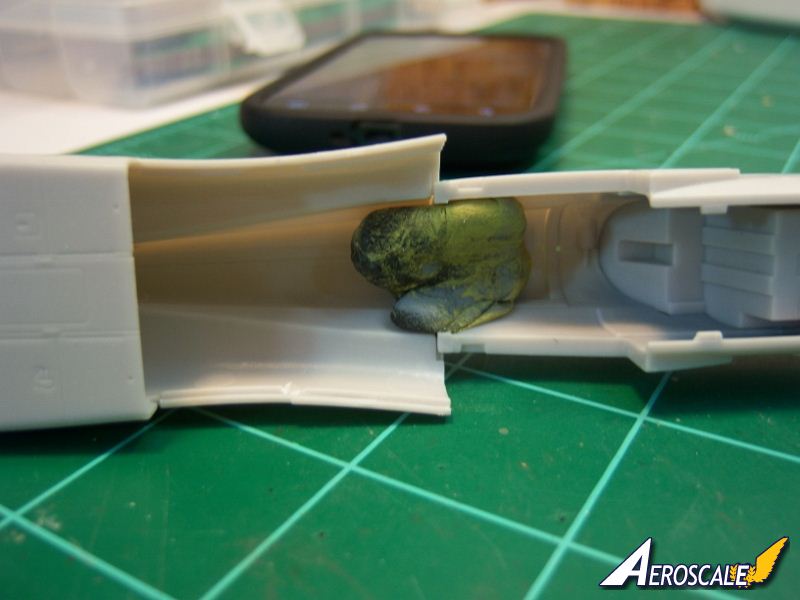
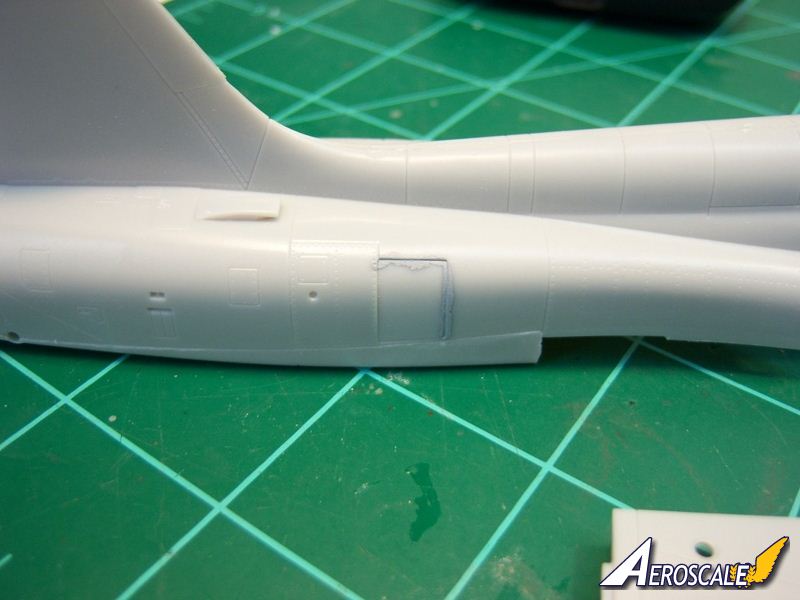
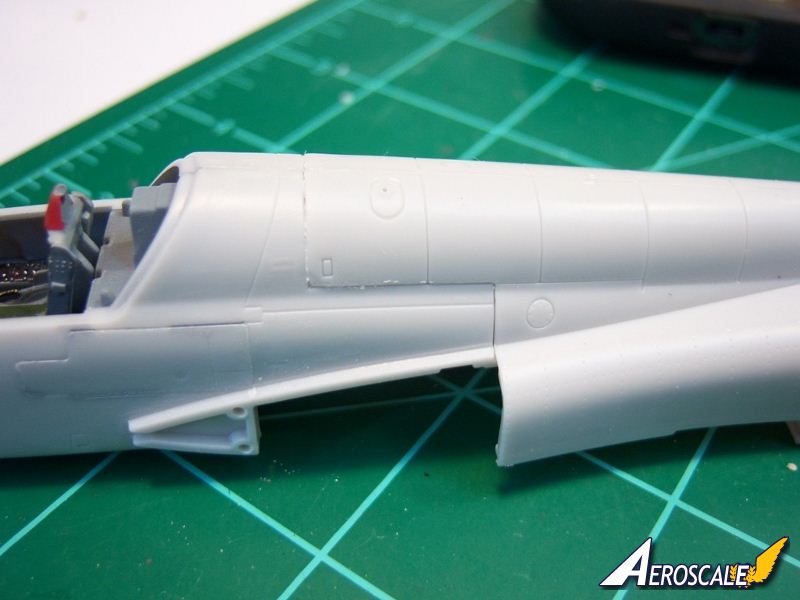
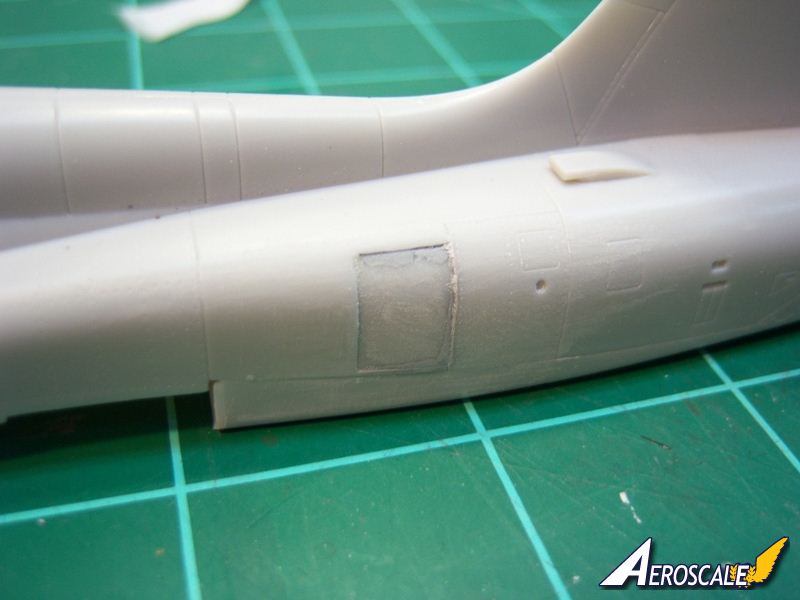
Now onto the sequence that caused me to shelve the kit for a long time before getting back to it; the fuselage assembly. The fuselage is comprised of a left and right forward section housing the cockpit and a left and right rear section. However, theres more to it than that. There is also a lower section for the rear of the fuselage and a lower section for the forward section along with the wing section. Aligning all these parts was no walk in the park. Despite my best efforts I ended up with some steps, miss aligned areas and gaps. I didnt rush anything so I dont think it was entirely my doing. Had the kit been designed say in the same manner that the AFV Club kit was laid out, I might not have had these issues. Even with the setbacks, I soldiered on. The kit provides full intakes and compressor blades which look excellent when completed and installed. Sadly, the compressor blades are all but invisible tucked inside. Part D23, the rudder is installed during this sequence too. It was noticeably too thick at the forward edge of the piece creating a severe step between it and the tail surfaces. I used a sanding pad to thin it down, but lost a lot of detail in doing so. Parts D24/25 are installed here as well. The recesses that they fit into are too deep so they effectively sit too deep when they should fit flush with the fuselage sides. I tried to correct this with some Mister Surfacer, but was only marginally successful. I should have added some filler strips. Ill know better if there is next time.
wings
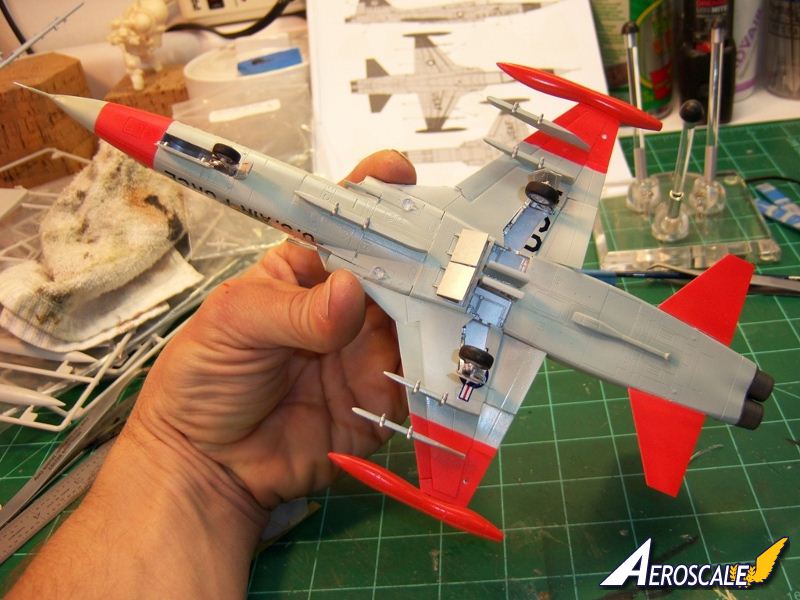
The wings are assembled in step seven. I had no issues here, but be careful when cutting the locating tabs for either raised or lowered flaps/slats. Cutting the wrong ones is easy to do no I didnt, just saying. :o)Step has you install the intakes. I had some minor issues getting the bottoms of mine to set flush, but some coaxing and CA helped make it happen. Jumping forward to step 10 the landing gear and associated doors etc are installed. The landing gear legs are well detailed and fit well as do the doors and actuators. My only complaint about this area is the way the tires go together. They consist of two halves that trap the wheel in between. I cleaned/prepped the mating surface of both halves, but still had a prominent gap along the middle of the tire that I had to deal with. It also necessitated having to paint the tires twice as I had to clean the offending seam line twice. Not a big deal, but one you should be aware of. If I had to do it over again I would opt for a set of resin wheels over the kits.
add-ons
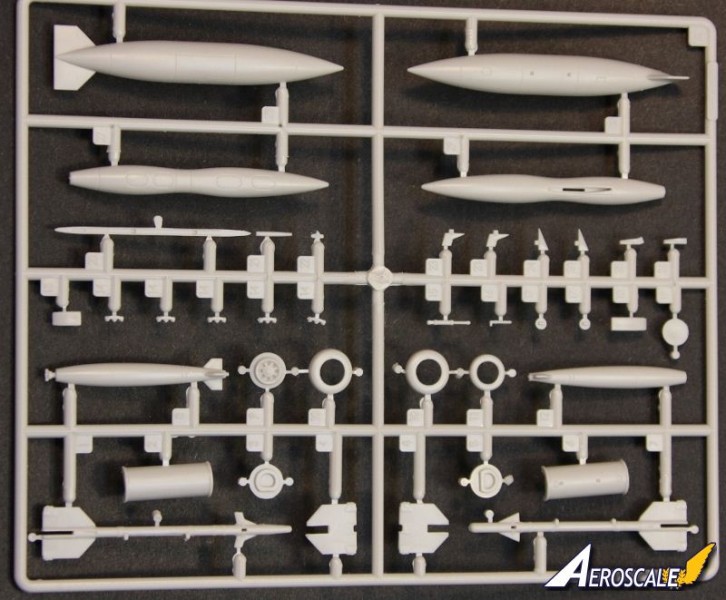
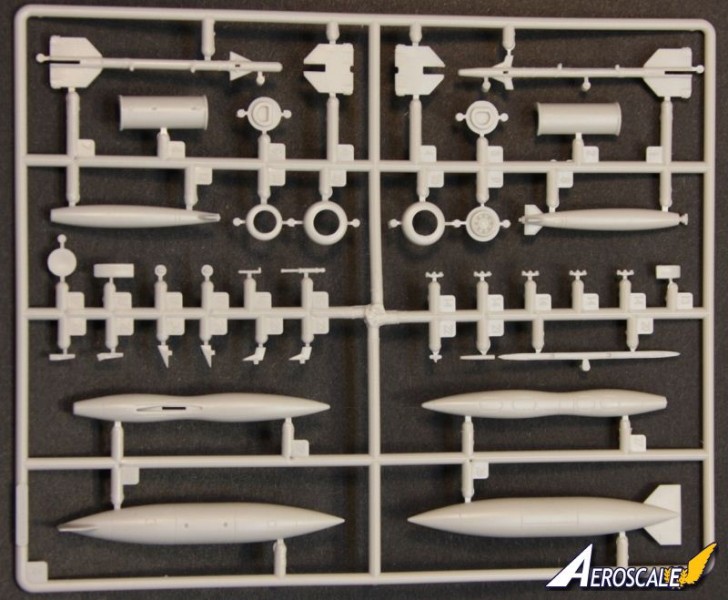
Speed brakes, slats and flaps are all provided separately and can be posed either open or closed. I chose to pose mine in the open position. Other items included are a healthy store of weapons and drop tanks to choose from. A small problem I encountered with my wing pylons was they fouled on the dropped slats. I looked closely at the pylons and there was a small area that looked like if it was removed, it would correct the problem which is what I did. Im not sure if this was the correct solution or to move the pylon aft a millimeter or so, but it worked. Once this little problem was solved
Painting and markings
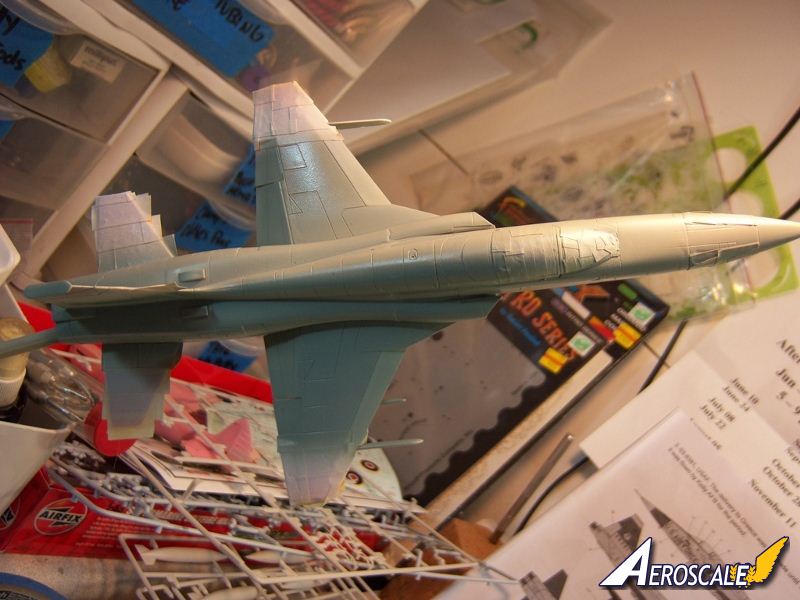
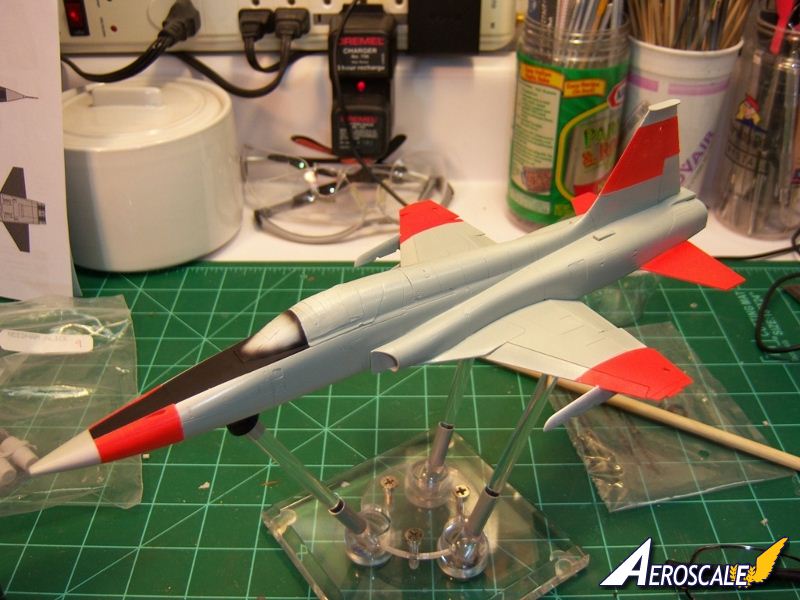
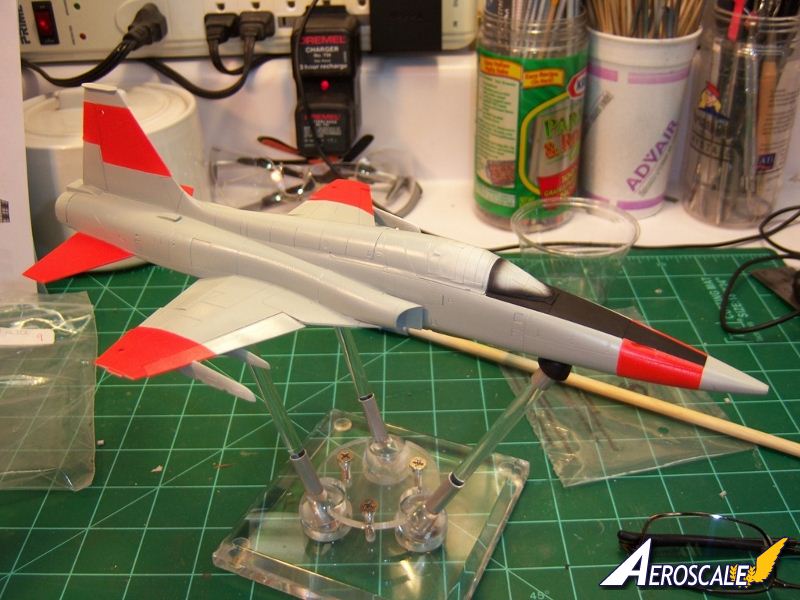
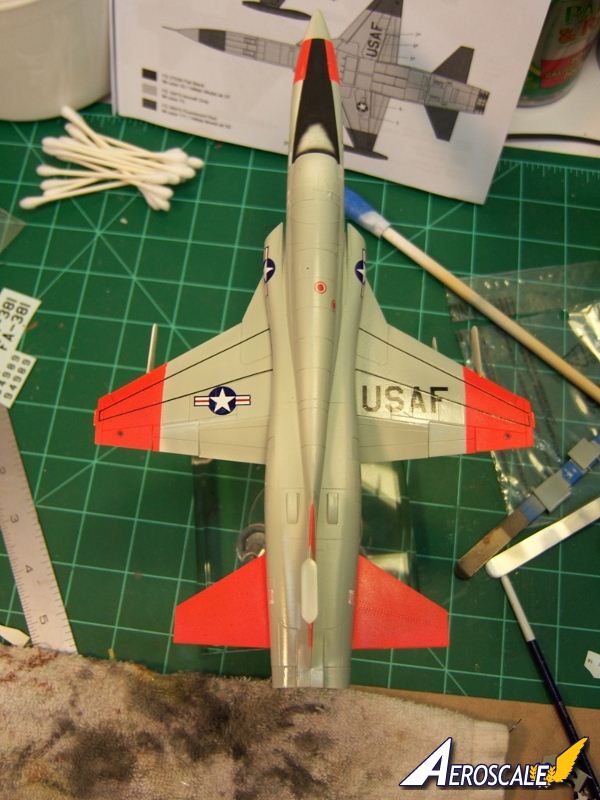
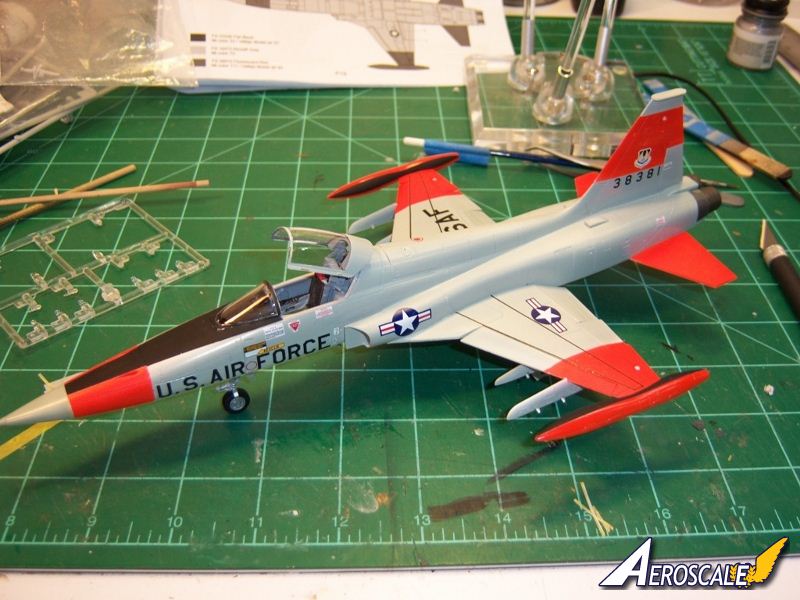
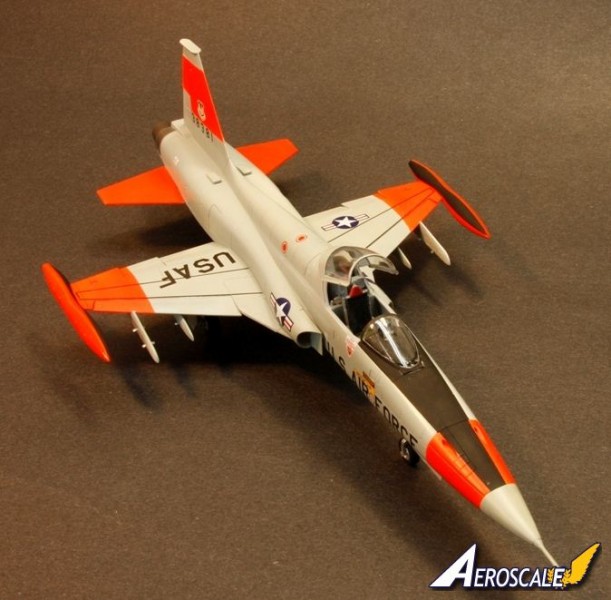
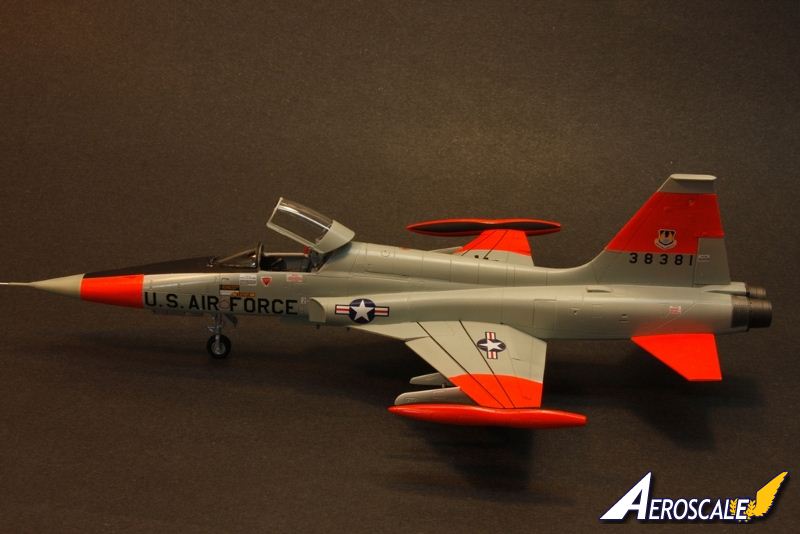
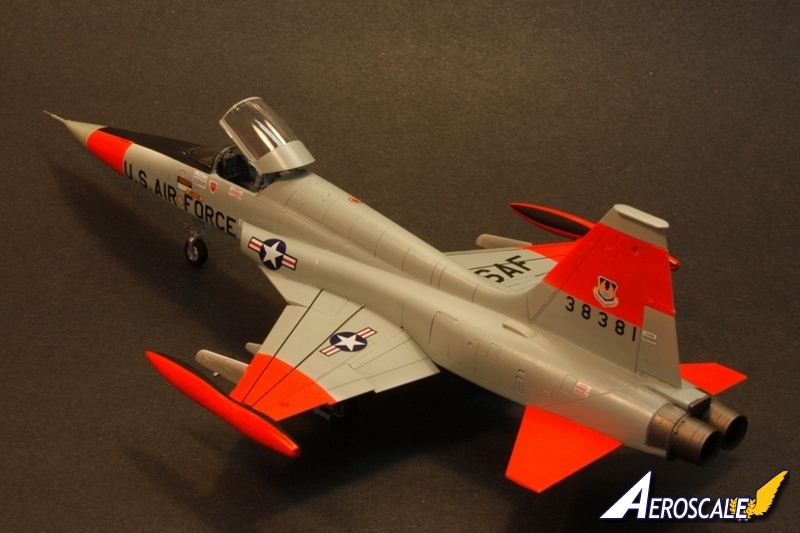
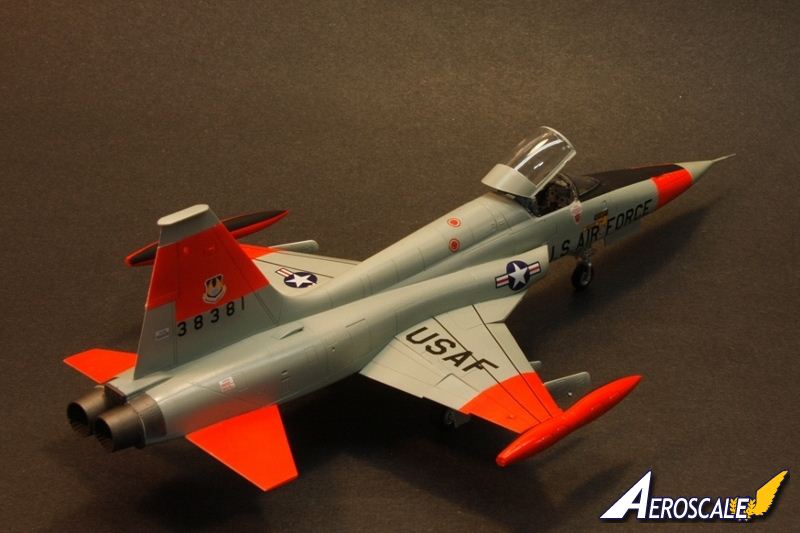
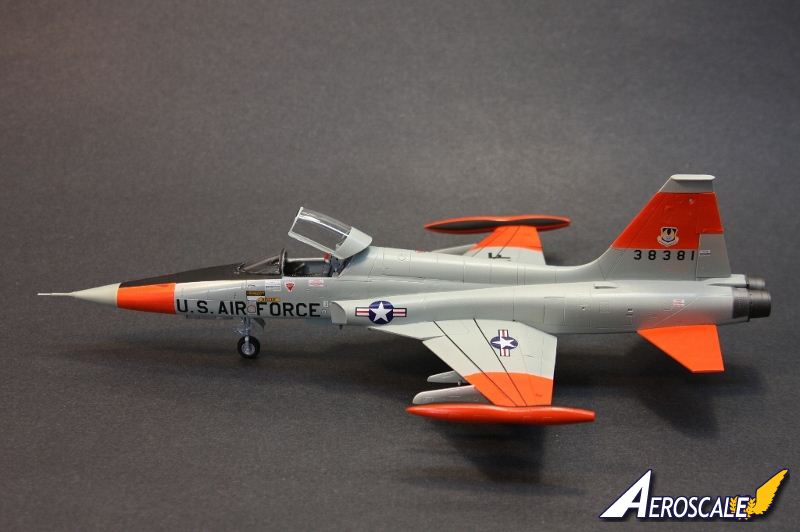
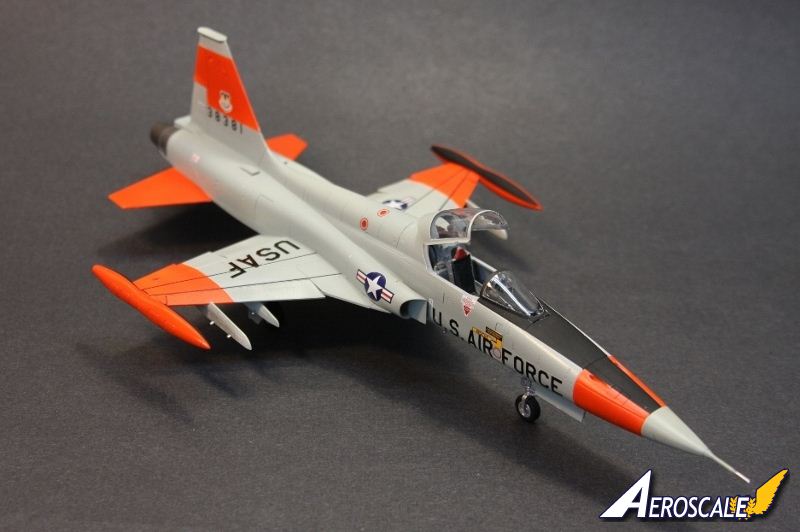
I got my entire plane together and prepped it for paint. I chose to do option number 3 in the markings guide which was a high viz plane from Kelley AFB circa 1988. I installed the canopy in the closed position and held it in place with white glue to effectively mask off the entire cockpit. I could pop it off once painting was complete and install it in the open position. With the clear portions masked, I painted the entire plane with Tamiya white primer and allowed it to completely dry. The hi-viz areas were then shot in their respective colors fluorescent red. Now, a funny thing about this color is that it looks good in person, but is hard as hell to photograph well. Once the red was dry this too was masked off and the aircraft gray FS16473 was shot and allowed to dry for 2 full days. Once all paint had dried the masked off areas were removed with the exception of the canopy areas and shot with a high gloss finish in preparation for the decals.
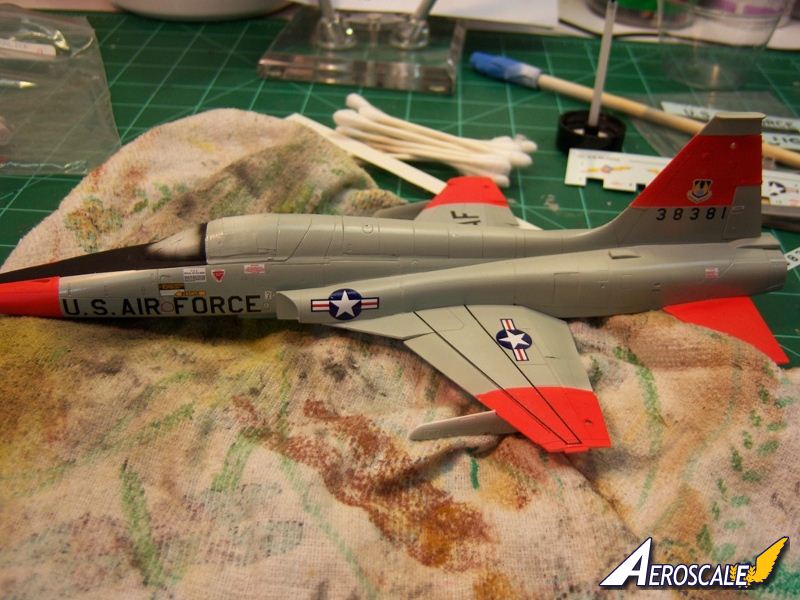
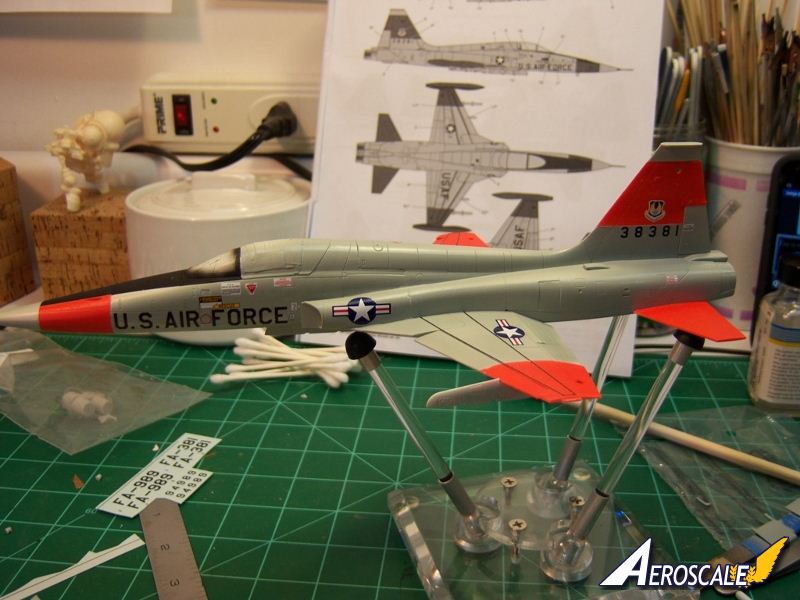
In my opinion this is the highlight of this kit. Kinetic provides no less than sixteen marking options for the builder to choose from. The decals are printed by Cartograph and are absolutely the best I have dealt with. They left the backing paper easily after just a few seconds in the water, went down with no problems and had no silvering what so ever. The national insignia and USAF marking on the bottom that fall on the gear doors are already pre-cut and fit perfectly. I had to do no trimming to get them to fit. I merely slid them into position and allowed them to dry. There are three US marking options, three Canadian, Two Netherland options, two Royal Norwegian options, four Greek options and one South Vietnamese. Each country is provided its own area on the decal sheet and is clearly marked as to what it is. To say there is a wealth of left over decals is an understatement. I plan on putting these to good use on my other F-5 kits I have on hand.
Brief summary
I did have some setbacks with this build/kit, but it is nothing that cannot be overcame. A little forward thinking and planning will help immensely. The highlights for me in this kit was the inclusion of the ordinance, choice of raised or lowered slats/flaps, high number of marking options, full intakes and detailed canopy mechanism. Some of the short comings I noted, tricky fuselage assembly, too deep recesses for panels, wheel assembly and lack of belts for the seat. All in all a pretty short list on the minus category. While this one wont win any contests for me, it looks the part sitting in my case.
Please remember, when contacting retailers or manufacturers, to mention that you saw their products highlighted here - on AEROSCALE.
SUMMARY
Highs: Subject, cost, nicely detailed instrument panel, easy to follow instructions, plethora of marking options, full length intake trunks. Lows: Complex fuselage assembly that could be greatly simplified, separate panels don't fit as well as they should. Assembly sequence of the canopy actuator and front landing gear could be left until final steps. Assembly of tires. No belts for ejector seat.Verdict: Nice kit for the price. The fuselage assembly will try your patience. I dinged it the 10 points based on the ill fitting separate panel inserts and the complex fuselage assembly.
Our Thanks to Kinetic Model Kits! This item was provided by them for the purpose of having it reviewed on this KitMaker Network site. If you would like your kit, book, or product reviewed, please contact us.


Comments