The Dr.1 was one of a number of German designs produced in response to the urgent need to find an answer to the Sopwith Triplane, which was causing great alarm during the Summer of 1917. Although it was inspired by the Sopwith, the Dr.1 was in no way a copy; it introduced a welded steel tube fuselage and an immensely strong wooden wing structure which was a pure cantilever in its original form. Later, struts were added to prevent flexing along with a number of other changes before production aircraft reached the Front..
The Dr.1 was never particularly fast, but it was extremely manoeuvrable and the thick wings gave it the ability to "climb like a lift". By all accounts, it wasn't an easy aircraft to fly, being extremely unstable about all axes - to the point where some pilots were scared to fly it - but, in the hands of a master it was a dogfighter par excellence.
The manufacturing quality of early production Dr.1s was low and a number of aircraft crashed due to structural failure, resulting in the type being grounded. However, once the defects were corrected, the Triplane proved very robust and could withstand very heavy treatment. Considering its lasting reputation, it's somewhat surprising that only 320 Dr.1s were built.
The kit
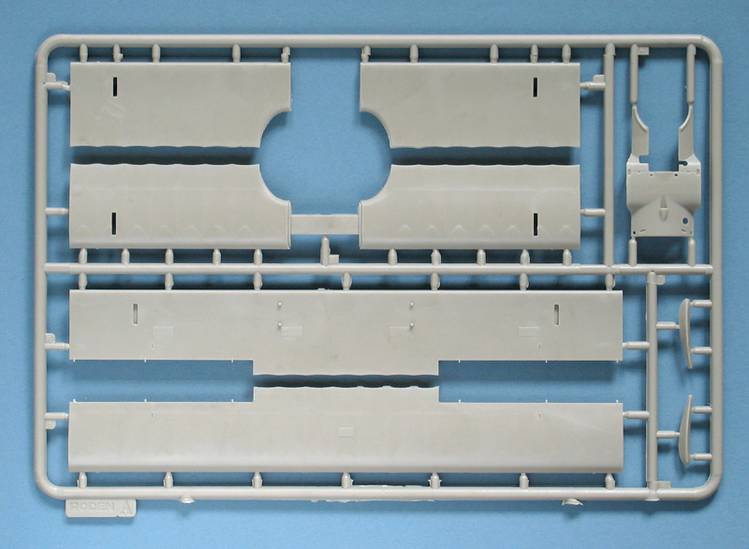
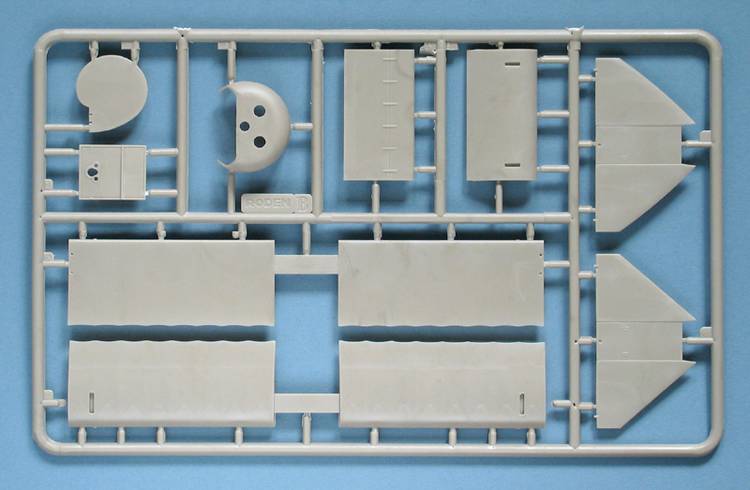
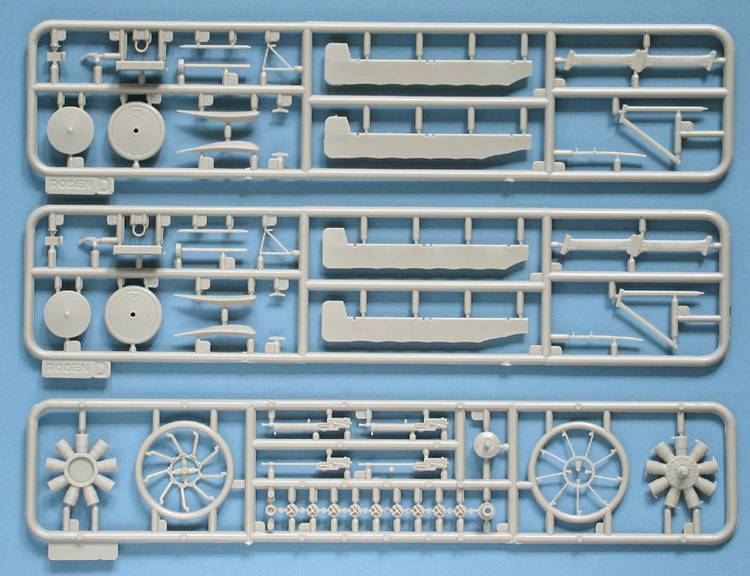
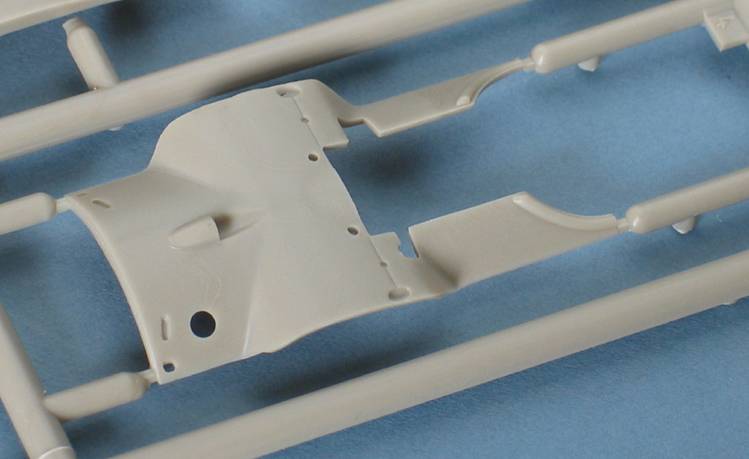
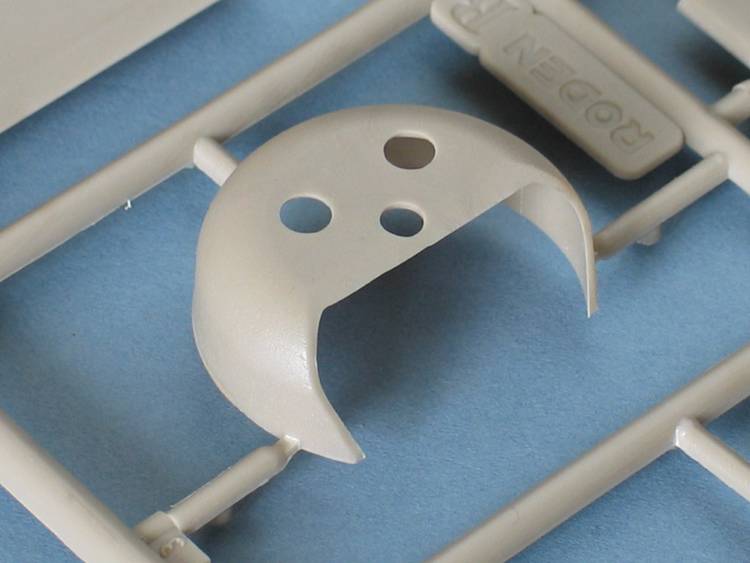
The Fokker Dr.1 has always been a favourite with modellers, so it was a logical subject when Roden took the bold step of producing their first 1/32 scale WW1 fighter. The kit consists of 82 parts moulded in Roden's now familiar beige plastic, which is good quality and cuts and sands easily. Overall, the parts have a smooth finish, but one or two (the cowling, for instance) have a rather textured finish which will need polishing. I found a couple of sink marks on the machine guns and where locator pins are moulded on the fuselage. There is a little flash here and there - but nothing serious, so cleaning it up should be quick and painless. There are one or two large ejector pin marks inside the fuselage - and two of them are slap, bang in the cockpit where they'll be most visible. It's only a few minutes work to sand them off, but they are irritatingly placed. The surface detail is pretty good, with crisp detail on the smaller parts.
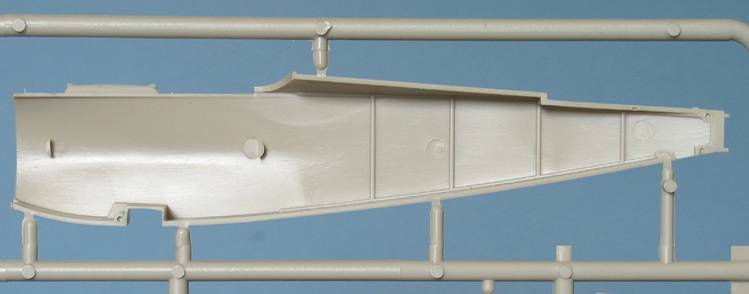
A test fit of the major parts is encouraging. The fuselage halves have just two locating pins, so they don't actually contribute much, but the halves line up well and the bottom wing slots in neatly to provide a firm foundation for the rest of the model. The centre wing it trapped under a separate fuselage front-decking. The top and bottom wings are moulded with full-span upper and lower surfaces, while the centre wing has separate lower panels. All three have separate wingtips, while the trailing edges are impressively thin. The air-foil looks good and the fabric-effect is subtly done. All the control surfaces are separate.
I compared the main parts with scanned enlargements of Windsock plans. I'm always a little wary of scanning in case distortions creep in, but the parts seem to match the drawings very well and should provide a sound basis for an accurate model.
Construction Breakdown
The instructions are clearly drawn and the assembly is broken down into 15 stages. The assembly order isn't always particularly logical. I've begun a full-build of the kit, but I'll give a brief overview of the sequence here:
Stages 1-5 cover the cockpit and engine assembly. The cockpit parts are pretty well detailed, with rudder pedals, compass etc. all neatly done. It's a shame a decal isn't provided for the compass, but c'est la vie... Reference pics of restored aircraft show one or two other instruments - like most WW1 aircraft, instrumentation in the Dr.1 was very rudimentary - but the basis is here for a nice cockpit. The seat is quite thin and sits on mounting brackets. It doesn't include a cushion - which I've seen in some refs - but that shouldn't hard to add, if you so choose. Sadly, no seat harness is provided.
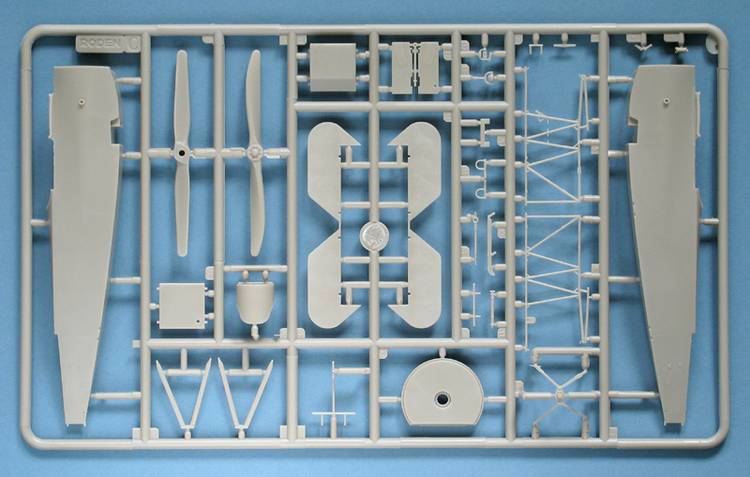
The engine is made up of 16 parts, with separate cylinder heads. The engine is split into front and rear halves, so there is a join running through the cylinders, but they have really delicate cooling fins and the whole thing should look very good when painted.
Stages 6-8 cover the landing gear, upper wing and tailplane. The instructions show the wheels fitted at this point, which is probably not a good idea.
Stages 9 &10 show the internal structure of the fuselage. The tubular framework is delicately moulded and fits inside the fuselage very well. Items like the throttle are moulded integrally. The original structure was cross braced and this should really be added as it will show on a model in this scale.
Stages 10 & 12 cover the mid and lower wings and the fuselage front-decking, complete with machine guns. Interestingly, Roden provide spare guns without cooling jackets, all ready for photo-etched items. The kit doesn't include an etched fret, so maybe one will be released later. The guns are very crisply moulded, but do have a sink mark on one side. I think most modellers will leave the guns off until after major painting.
Stage 13 shows the cockpit interior assemblies added to the fuselage and the lower wing fitted. As stated above, I've done a test fit of this stage (jumping ahead as always...) and it's very encouraging.
Stage 14 covers fitting the mid and upper wings, plus the engine and tailplane.
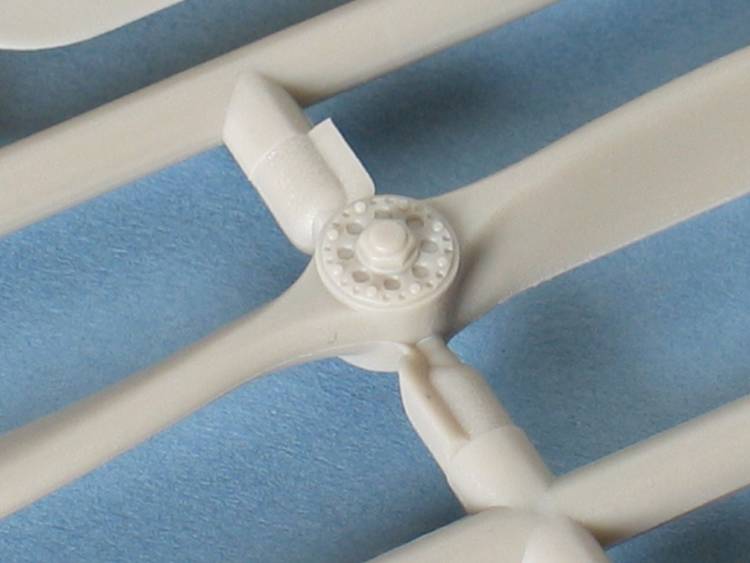
Finally, Stage 15 adds the undercarriage and propeller plus small details. The kit includes both Axial and Garuda propellers, but only the former is mentioned in the instructions. Both propellers show nice hub detail.
The Fokker Dr.1 didn't have much rigging to speak of - but there are one or two cables to add, along with the exposed control cables. None of these are indicated in the instructions, but are clearly shown in the boxtop painting. The openings for the control cables are neatly moulded and should look good if carefully opened up. One point which Roden have omitted is the row of stitching along the centre line under the rear fuselage although, to be fair, this would have been extremely difficult to mould in that position on conventional fuselage halves.
Reference URls:
This site shows some interesting
cockpit shots of a museum exhibit., while here are some great pics of
Oberursel engines.
Painting and Decals
The instructions include Humbrol paint numbers keyed to the assembly throughout, but they are fairly basic. It'll definitely be worth tracking down extra references for the interior - the instructions call for bare metal framework, but pics of a restored aircraft show it painted grey, in common with some other German WW1 aircraft.
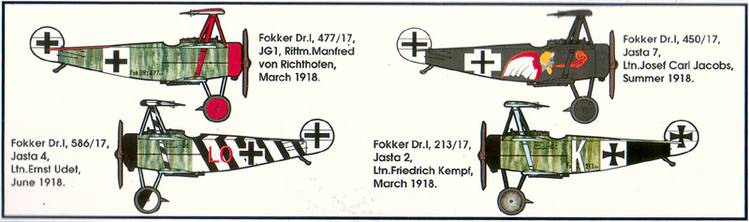
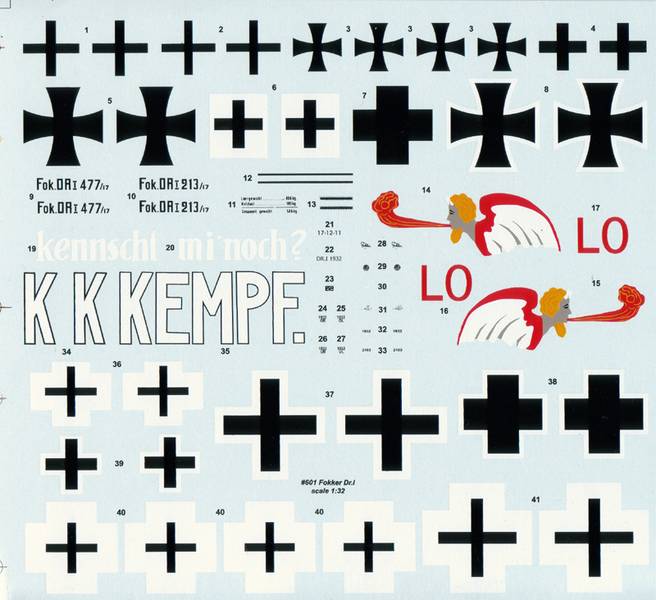
Roden supply an enormous sheet of decals with markings for 4 spectacular aircraft along with some stencilling:
Fokker Dr.1, 213/17, Jasta 2, Ltn. Friedrich Kempf, March 1918. Streaked camouflage with black and white tail, plus the pilot's name on the upper wing and "Kennscht mi noch?" (Still remember me?) on the mid-wings.
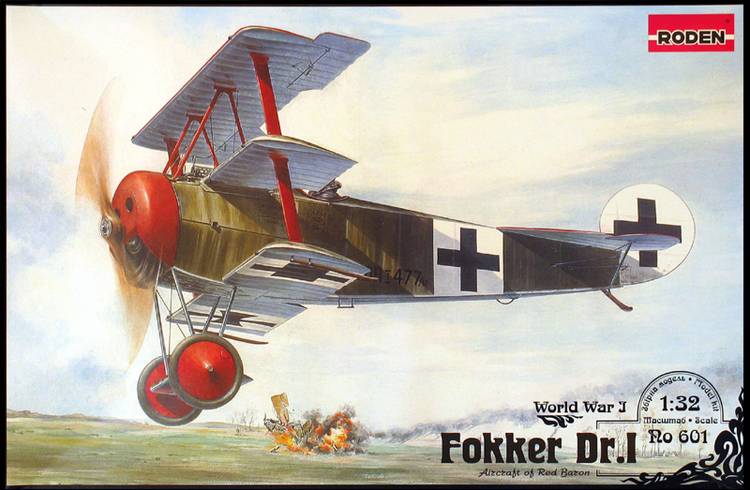
Fokker Dr.1, 477/17, JG, Rttm. Manfred von Richthofen, March 1918. Streaky camouflage with red upper wing, cowling and wheel hubs.
Fokker Dr.1, 450/17, Jasta 7, Ltn. Joseph Carl Jacobs, Summer 1918. All black with an extraordinary "horned angel" on the fuselage sides.
Fokker Dr.1, 586/17 , Jasta 4, Ltn. Ernst Udet, June 1918. Streaky camouflage plus black and white candy striping on the top wing, rear fuselage and tail.
The decals in the review sample are thin, glossy and printed in perfect register. Roden's decals have a reputation for being a little tricky to apply, so this is something I'll watch out for when the time comes.
Conclusion
This is a very impressive kit and Roden are to be applauded for moving into 1/32 scale. The overall construction looks reasonably straightforward and this should make a good kit for most modellers of average abilities, while in the hands of the real WW1 experts, the results should be incredible. I hope this is the first of a series - the prospect of more 1/32 scale WW1 aircraft of this quality is really something to look forward to.
Thank you to MMD-Squadron for kindly supplying the review sample.
Please remember, when contacting retailers or manufacturers, to mention that you saw their products highlighted here - on
ARMORAMA