Instead of foreword
A long, long time, it not so far galaxy, I've been given a chance to try and review one of the latest Badger airbrushes, the Sotar 20/20. Up till now I have never used nor even been familiar with Badger products so I first had to browse few websites and read something about this type of airbrush. That was what I've been looking for a precise airbrush which will enable me to paint even the smallest details of my model kits. Without any hesitation I volunteered for this task.
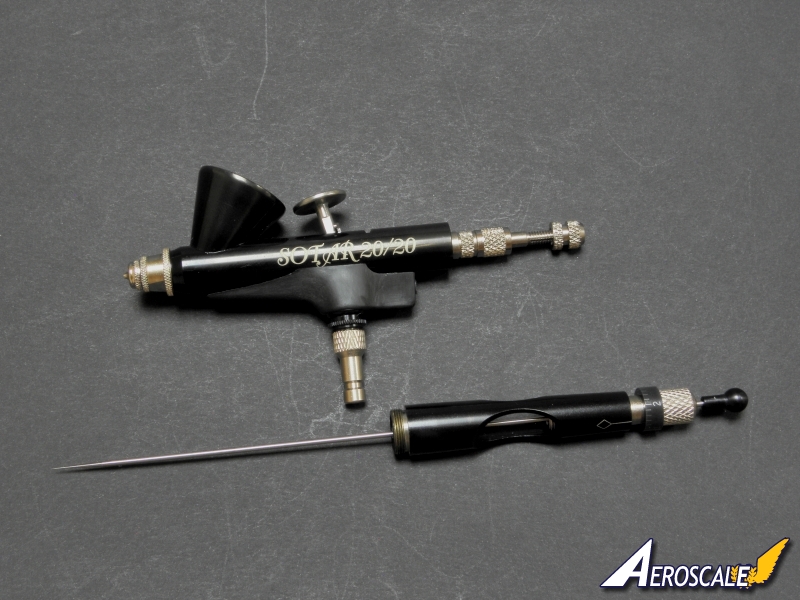
There are two types of Sotar 20/20 available for sale. Type 20/20-1 has a small paint cup for just few drops of colour. My sample is 20/20-2 airbrush with large 1/12oz paint cup with fine nozzle (black - "Hair" line to 3/4" (19mm) spray pattern). There's also medium nozzle in white colour of fuselage (pen line to 1" (25mm) spray pattern) and large nozzle in clear colour (pencil line to 1-1/4" (31mm) spray pattern). The sizes of spray pattern were taken from the Badger Airbrushes website.
Design
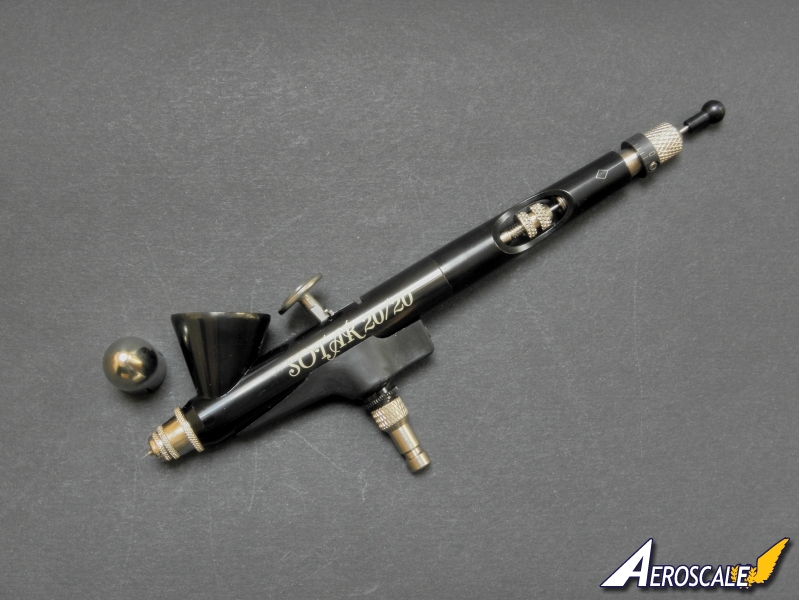
So, let's take a look at this tool. My very first impression after opening the box was a cheerful smile caused by the cool design of this tool black, shining and slim-waisted. Our fellow from on Kitmaker network, Robert Blokker, had the same feelings like me
You can find his review here. Something's surely up.
Model 20/20 is definitely carefully and neatly designed and comprehensively well thought out. Surprisingly for me, this tool is not very heavy. All my previous airbrushes were heavier so I had to get used to it. With a plastic finger/thumb rest it fits hand very nice, even when working for a long time. What's more, even if your hand sweats during long airbrushing you don't feel any difficulty in manipulating the airbrush. It simply is very ergonomical.
Now let's focus on particular parts of this model. First the
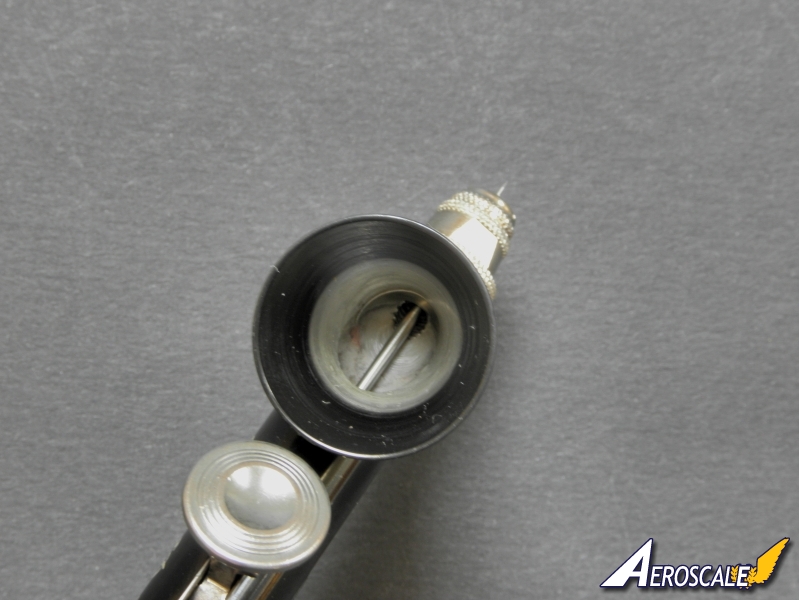
nozzle. Nozzle, spray regulator and needle tip are secured by a protective cup which use is absolutely necessary in this model. Needle, very long and slim, sticks out of nozzle for about 2mm. Because of this it is vulnerable for mechanical damage. As as vital mechanism of the airbrush which will not work properly with even the slightest damage of these parts you must handle the airbrush extremely cautiously. My item is not equipped with any needle protective arms although Sotar Parts List shows that this part is available for this model. Consider this option if you decide to buy Sotar. I just have to remember about using the protective cap. Beside as the needle is very pointed and stabbing please try not to hurt yourself nor anybody standing near you (especially your children). Needle can be always replaced but a kid lost eye not so easy.
Paint cup. I have the model with enlarged cup. It's big enough to allow painting of even the large kit. This is a serious advantage when you mix paints to achieve desired colour. You can once mix the colour with reserve and paint for a very long time. Paint cup has the oval bottom so there's no trouble when cleaning and actually no place where the dried paint can gather.
Trigger. Works smoothly. On the top side you can find perforation which prevents slipping of your finger. Trigger is secured in place by the needle so if you remove needle trigger and its back lever can fall out from the airbrush body.
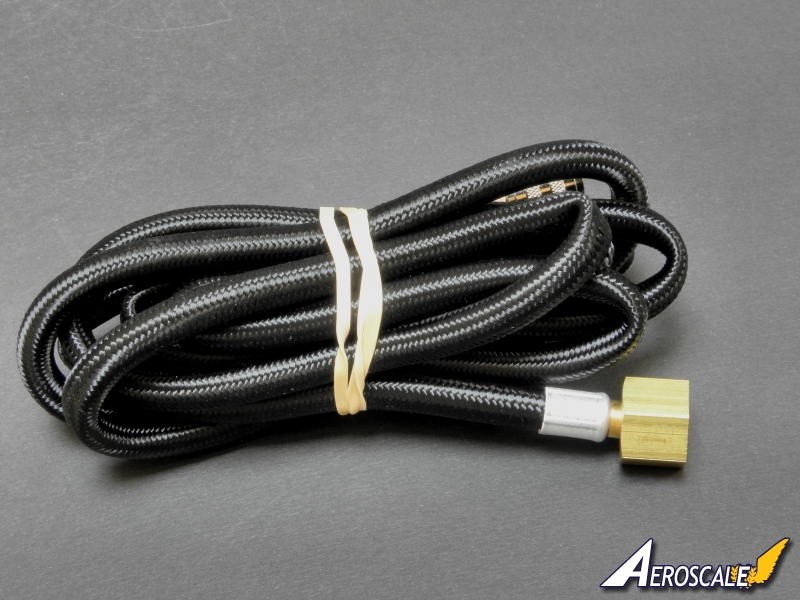
Air valve. I had no need of disassembling this part yet. After getting the airbrush out of the box it needed just slight tightening. Badger created this part with a quick release connector. This will be especially warmly welcomed by those modellers who have to use more than one airbrush. Using just one compressor and air hose it allows for a quick exchange of tool. The patent is designed in this way that it absolutely does not hamper you moves for example by a twisted air hose. It's movable for all the time and quickly adjusts and sets in correct position.
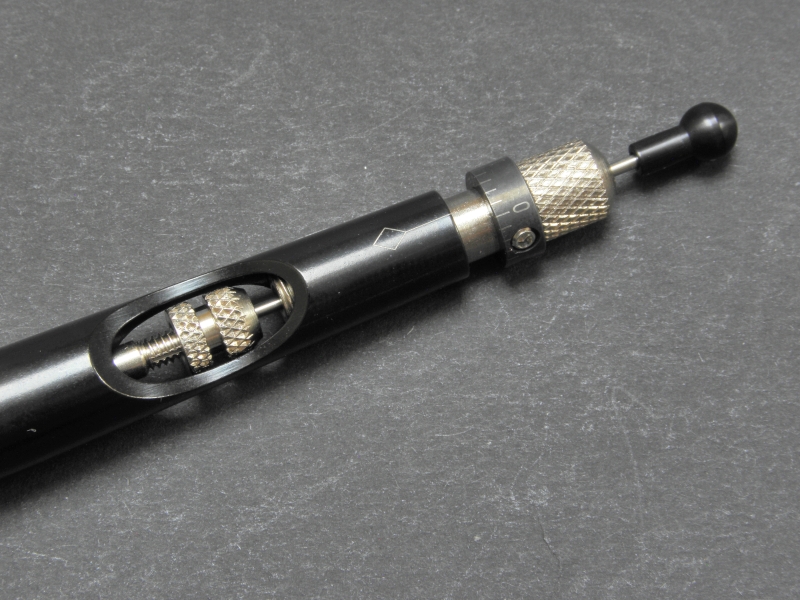
Different adjusters at the end. Here the fun of adjusting and customizing the tool really begins. You can adjust and set almost everything. First of all the handle have cut away on both sides so you could remove the needle without dismantling whole thing. Slightly unscrew the chuck and pull out the needle, for example for a quick cleaning procedure. Retaining spring screw adjusts trigger tension from medium to light. The paint adjust screw allows you to set the minimum and maximum amount of paint. For calibration of these settings you can use a micrometer marks indicated on the end of handle.
Test run and impressions
After reading producers advices and setting airbrush for action I had to try it with some paint. My example needed slight tightening and adjusting here and there as it was loosing air but it wasn't anything serious nor difficult. OK, trigger works great, needle moves smoothly, air goes through the the pipes as expected so now we can paint something.
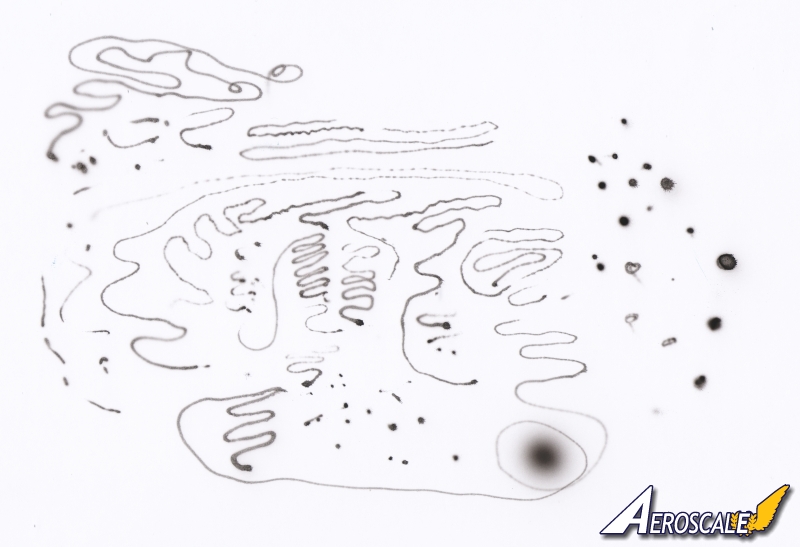
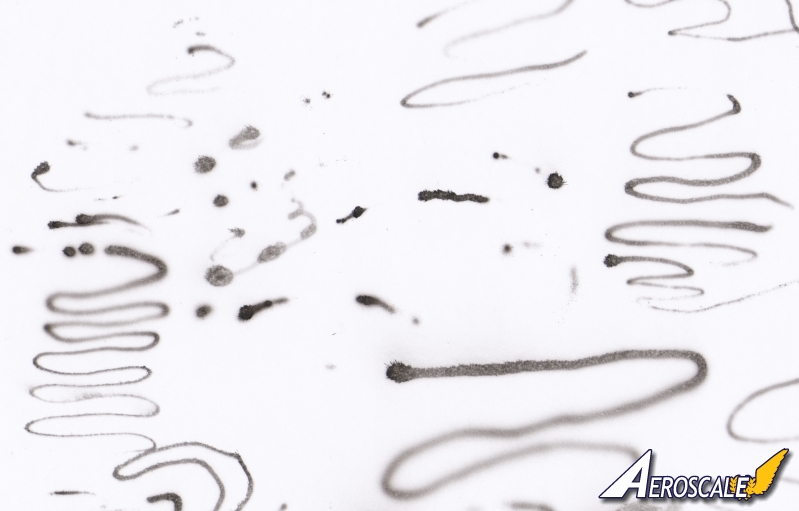
For my first test I have used Gunze black, series H, highly diluted with Levelling Thinner. My First attempts to paint anything were very clumsy but in just a couple of minutes I caught the feeling of the tool and started my tests. As producer declares, using Sotar 20/20, you can paint nearly a hair-line up to about 2cm wide line or area of 2cm diameter. After few minutes of training I managed to paint the lines thinner than 1mm so with some practice you can surely achieve better results. What I found out almost instantly of Sotar characteristics is its vulnerability for paint consistency it's never diluted too much. On the attached pictures in right hand gallery you can see the result of using paint which wasn't enough diluted I couldn't achieve uninterrupted line and I never knew when the trigger will release the paint and how much. It can be even dangerous for final effect and look of your precious model. My advice at this point is:
always do a test-run on side with just a small drop of paint to estimate dilution before aiming on your model, ALWAYS.
While working with Sotar I have tried various combination of paints and thinners, but for sure not the all possible. Let me just share here some of my remarks about few brands of popular paints in conjunction with this airbrush. The best results of atomization and
smoothnes of painting I achieved with Gunze H series and their primer Base White, both diluted with dedicated Levelling Thinner. I have also tried Pactra acrylics. When diluted with just distilled water or alcohol atomization was still good but the paint had the tendency of clogging the nozzle. The paint simply dried at the protruding tip of needle and made any work impossible. I often had to use a wet cotton swab and clean the tip. When I used Levelling Thinner for Pactra it improved painting characteristics and prevented any clogging. What else did I try? The Vallejo acrylics of both Model Color and Air series. The Vallejo Air definitely can't be used with Sotar straight from the bottle. Vallejo had the worst characteristics of all brands which I tried, however I did not have their dedicated thinner when doing my test but I used distilled water and alcohol for diluting. These paints almost immediately clogged the nozzle after just few seconds of spraying. Vallejo Air paints, well shaken and applied straight from the bottle didn't even left the paint cup trough the nozzle. This was an absolute fail. When properly diluted spraying went smoothly, until the nozzle didn't clog.
Cleaning
After few testing sessions it was high time to disassemble the airbrush and clean it piece after piece. At this point, once again, I have to refer to Roberts review from Armorama. I found it simply impossible to unscrew the parts holding the nozzle in place. Instruction says it has to be screwed and unscrewed with just your fingers strength. I'm definitely not a weakling but I had to use a wrench and pliers. Unfortunately use of pliers had a bad effect on the airbrush parts as the pliers had slightly damaged their surface. It's nothing affecting Sotar's painting characteristics but it doesn't look so nice any more. If you read instruction and study assembly diagrams first dismantling of this airbrush is child easy. However you have to extremely watch out not to loose any part, especially nozzle which is very very small and eagerly falls away from nozzle head. If it will fall on thick carpet you're boiled.
Sotar 20/20 is very vulnerable for any leftovers from previous painting jobs and requires up-keeping and maintenance. This is not a fault in my eyes as it is a result of very precise fitting of parts and many tiny passages of working parts (for example between tiny nozzle and needle). Cleaning of parts and airbrush body is not complicated. All places where old paint can gather are accessible for all popular sorts of tools used for cleaning. According to Badger recommendations found on their website it is not advised to unscrew nozzle head too often as it quickly worn-out nozzle washer which seals the airflow and prevents compressed air from getting into the paint chamber. I have not noticed any special or difficult step here, just follow producer guidelines, act logically and if something do not fit don't use hammer to fit it.
Conclusions
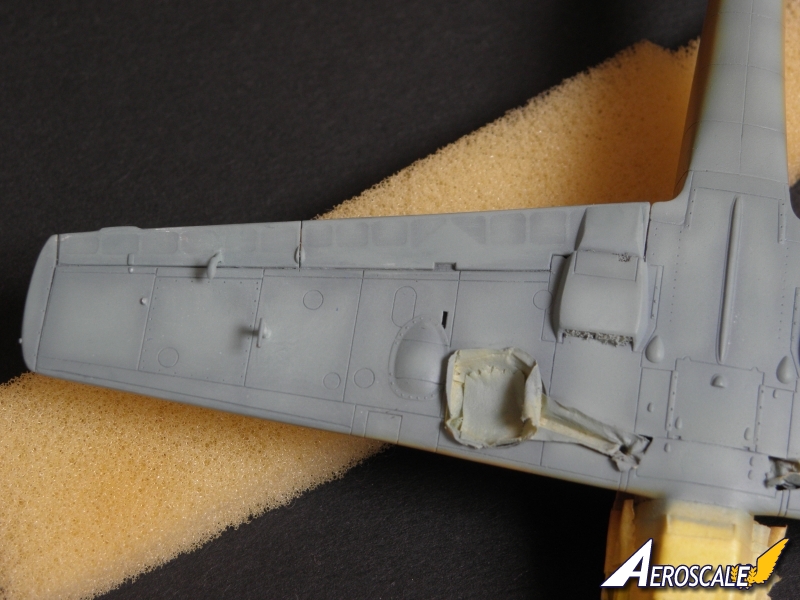
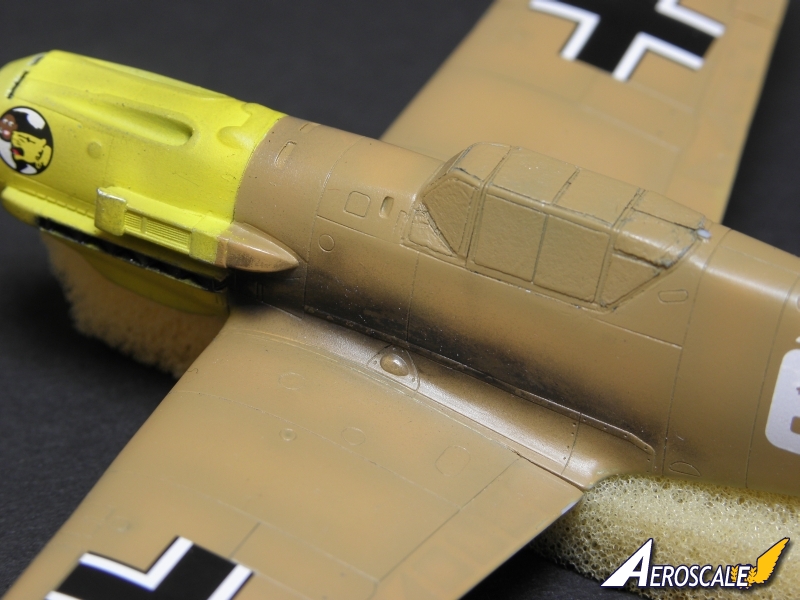
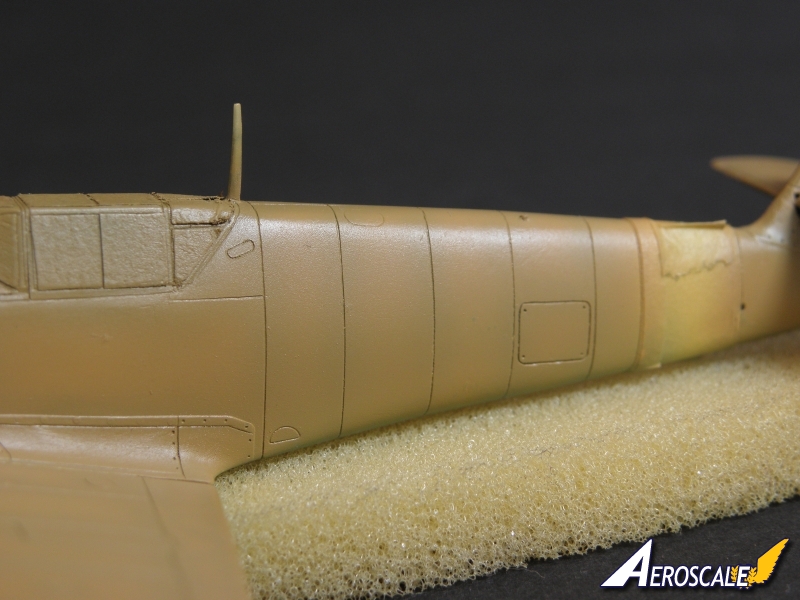
If you read this words it means you're still alive. Good, as it's time to summarize. For me this airbrush is like an F-16 on the modern battlefield: all weather multirole and multipurpose jet. You can use it for spraying figures even in 1/35 scale from one-tone uniforms, some larger camouflage patters and final varnishing. I have used this airbrush for painting a 1:72 scale Bf 109 right from beginning to final varnishing. All those steps like pre-shading, repainting of damaged paint or spraying the last layer of matt varnish on the large area were done with just one tool. For all this time it handled outstandingly. I'm very pleased with its handling features and chances for improving my model kits which I've been given with this airbrush. Badger surely did a good job with this model. Well done Badger!


Comments