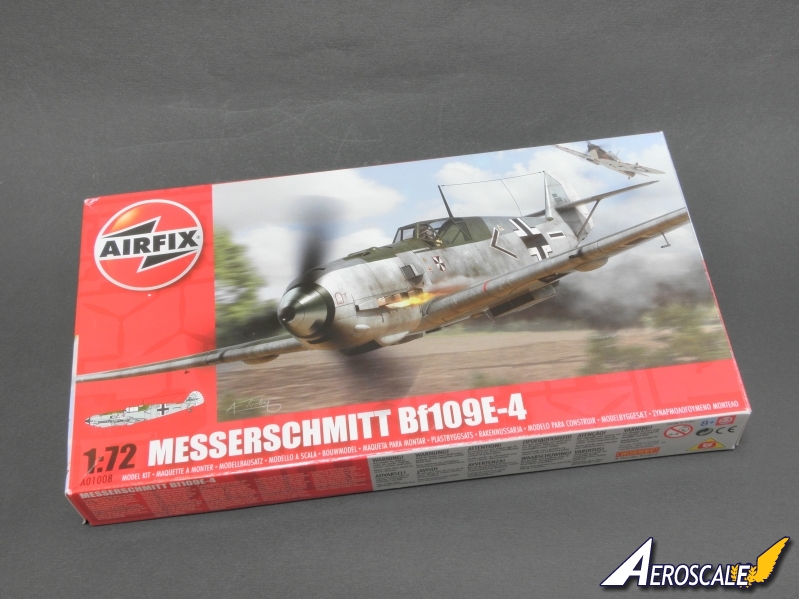
In the new hands Airfix continues their policy of releasing newly tooled kits of mainstream airplanes. It would be really suspicious if there wouldn't be any -schmitt. There is, in 1:72 scale. They used to call it Emil. So the new Emil comes in the colours of Battle of Britain plane which was hunted by a Spitfire or Hurricane in the sky of Kent.
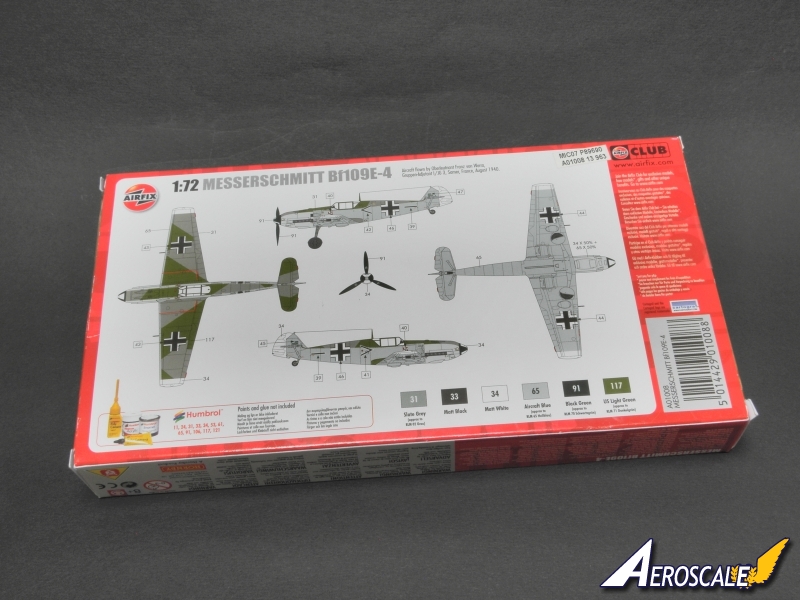
box content
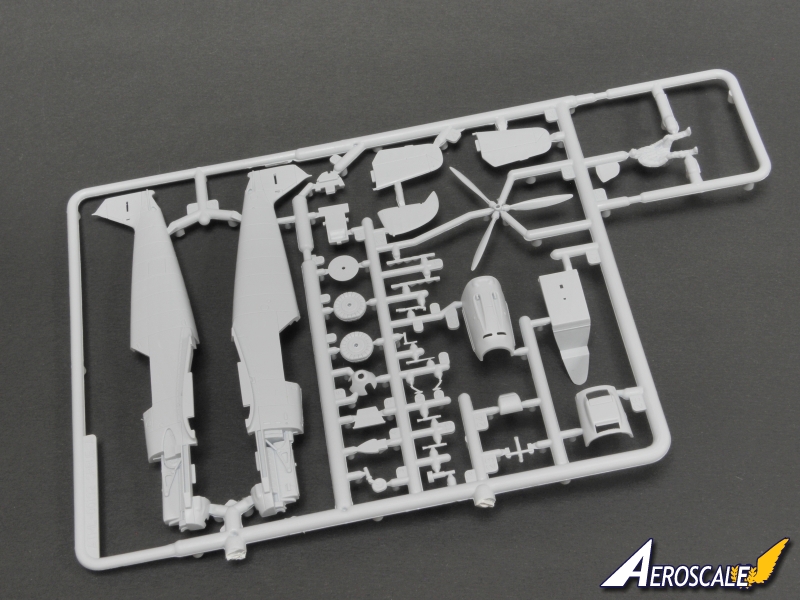
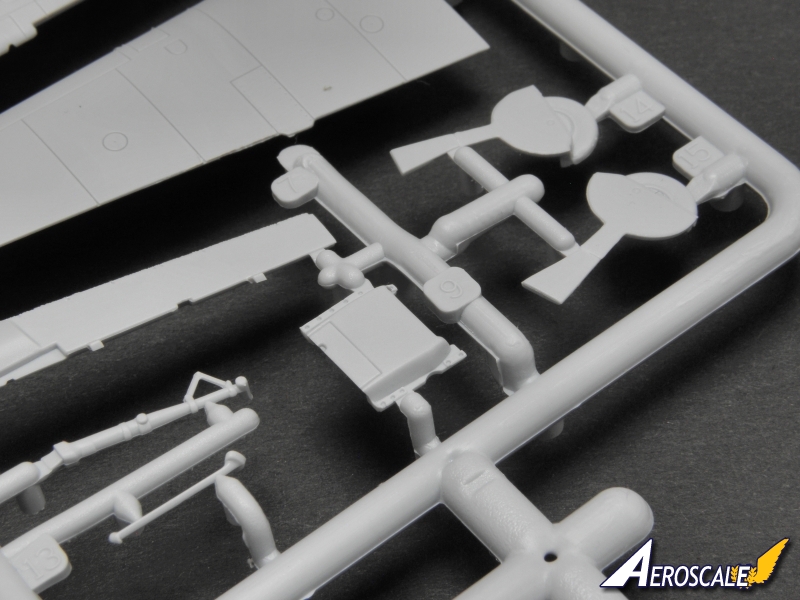
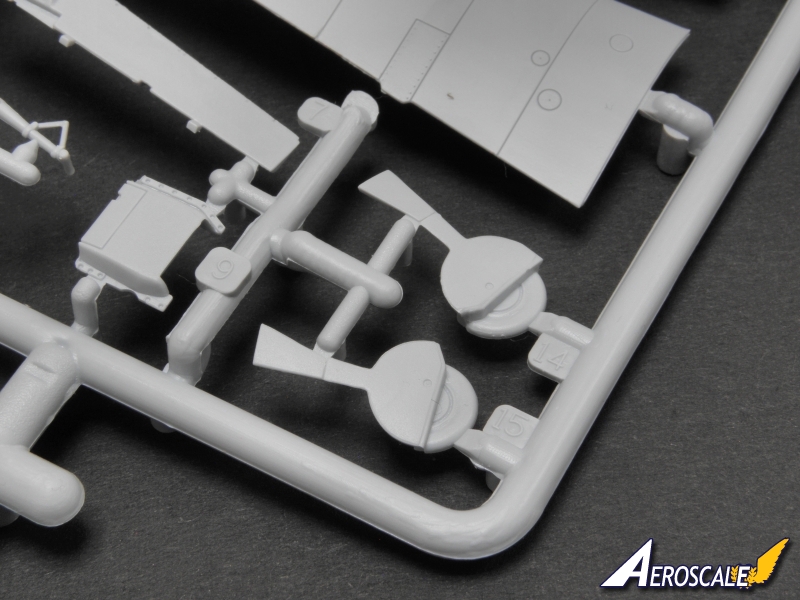
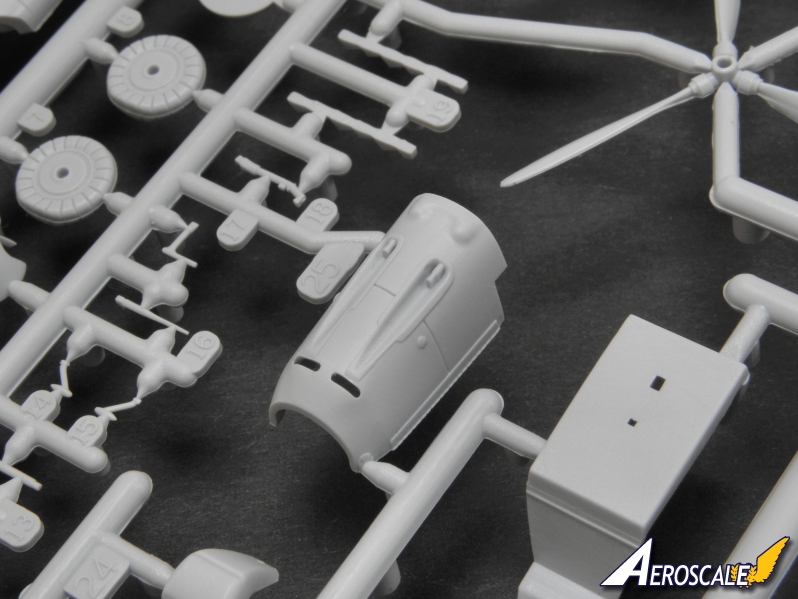
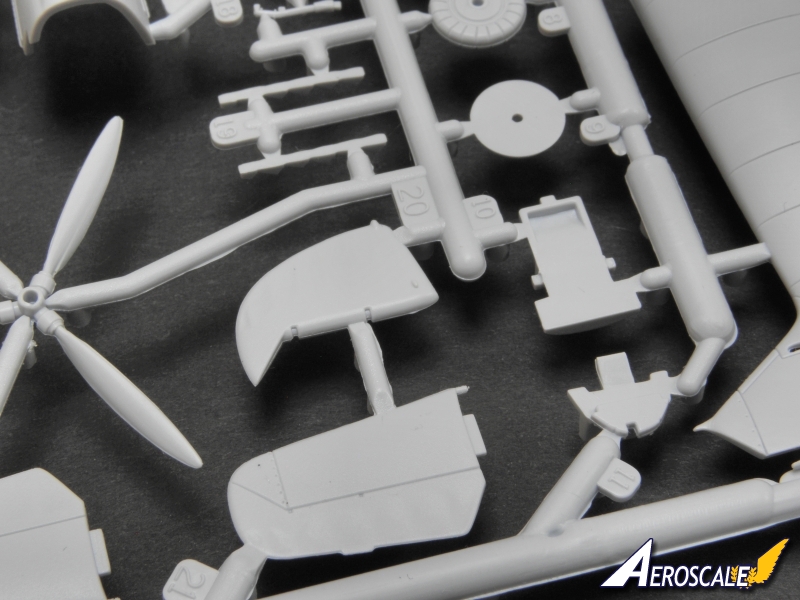
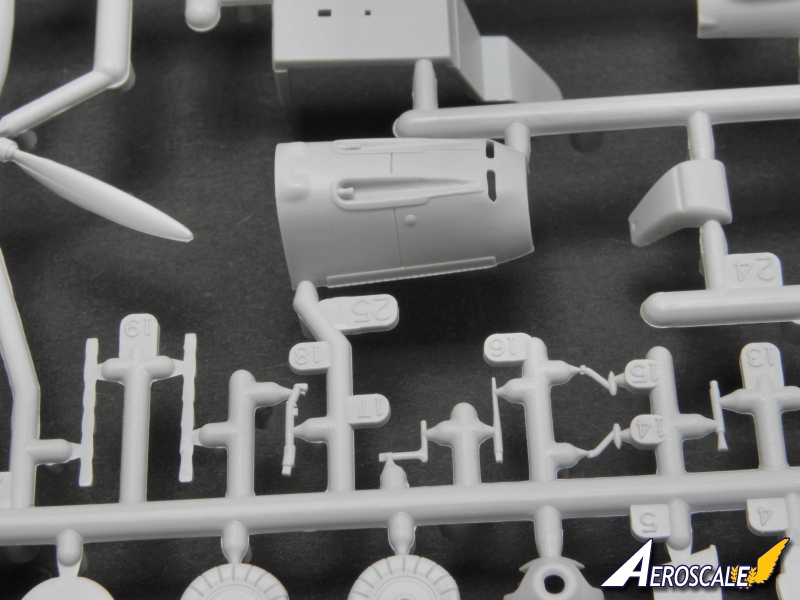
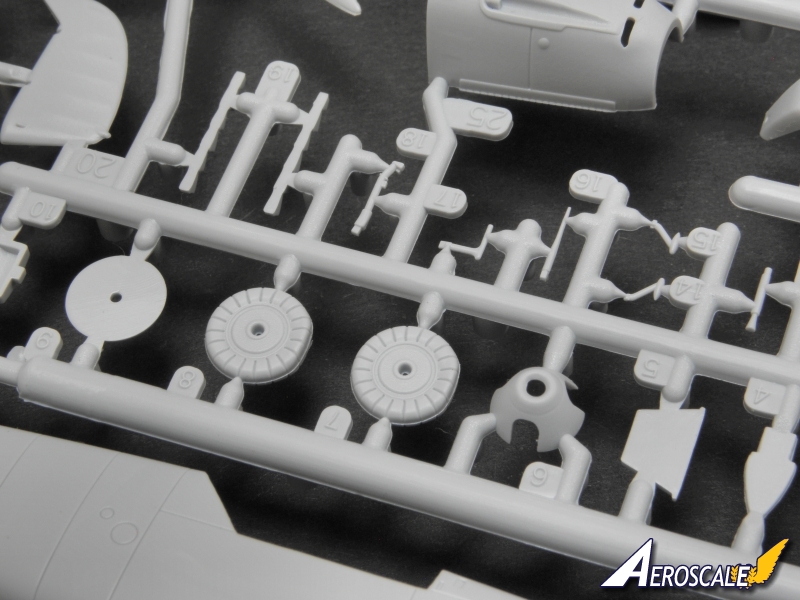
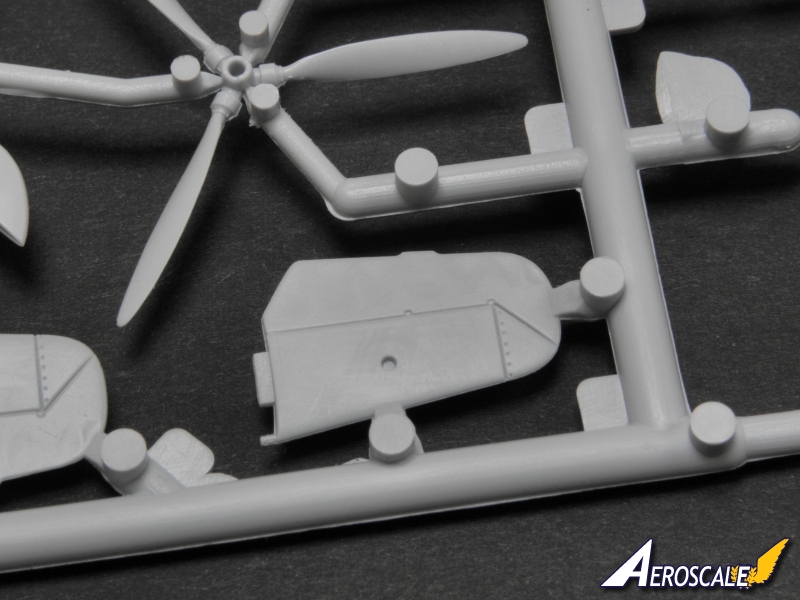
Sprues
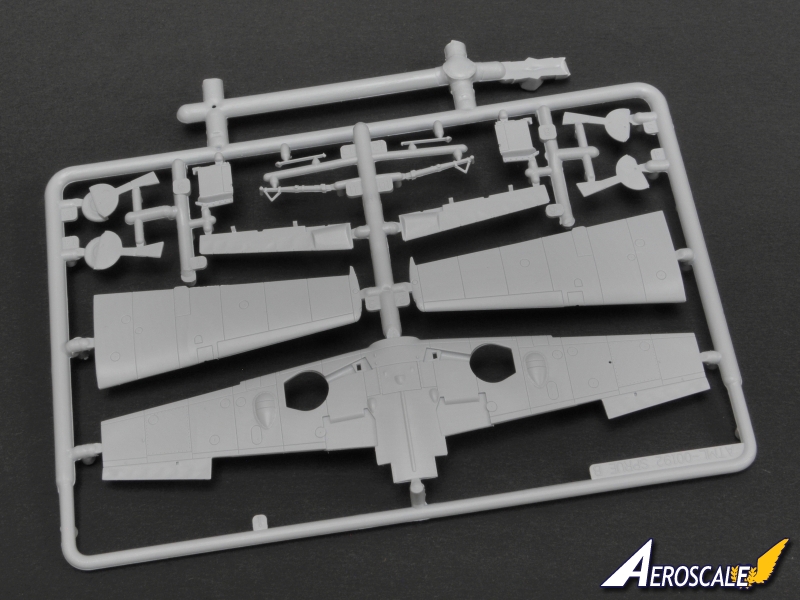
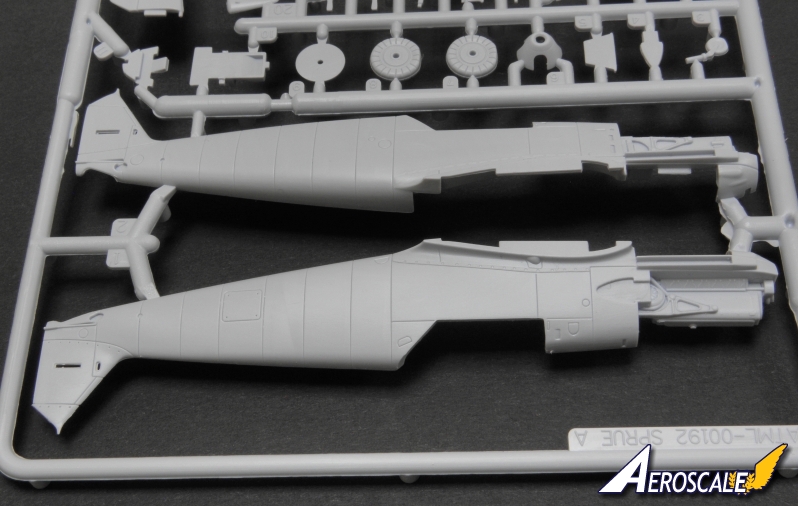
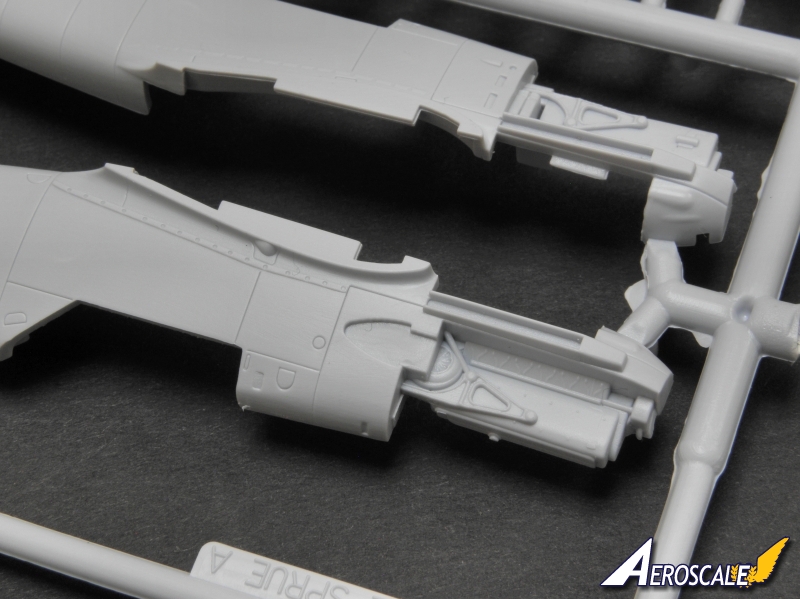
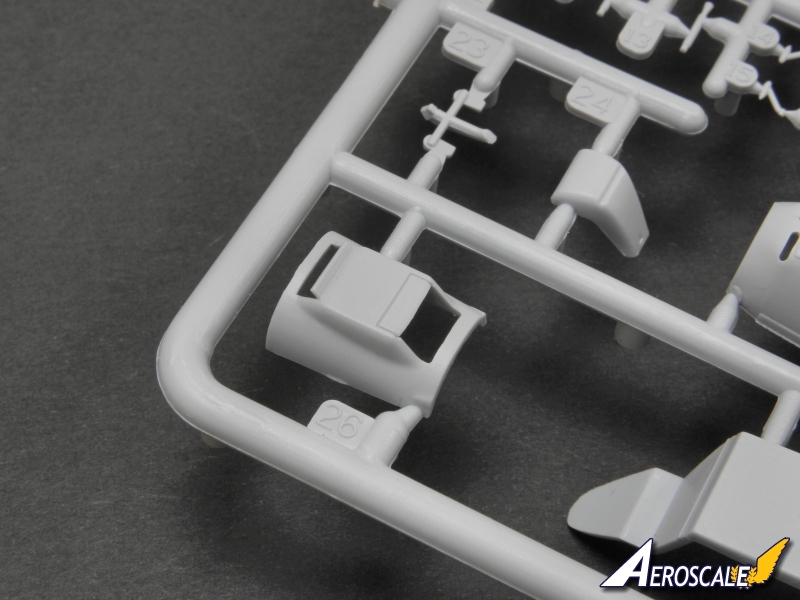
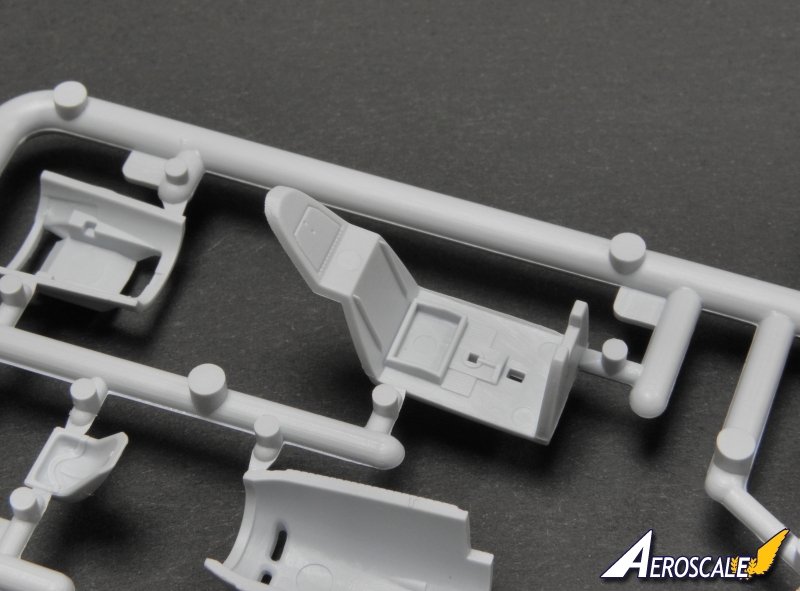
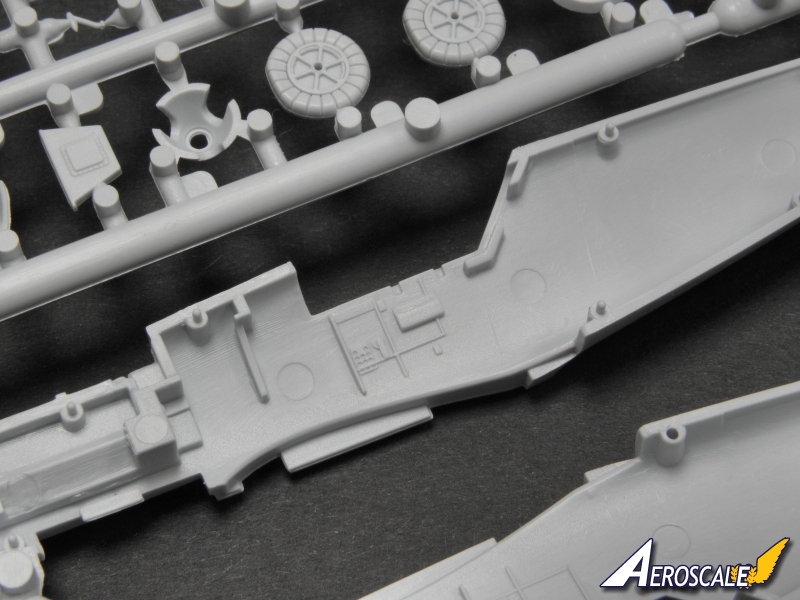
Inside the box we will find two sprues with light grey plastic parts. General design of this kit reminds me Emils from Tamiya and ICM (who is believed by many as a copy of Tamiya). Let's put this question aside and focus on Airifx. Company have made engine nacelles and rudder as separated from the fuselage body. Rudder have a rounded front edge so you can glue it the deflected position without any need of scratch building or reworking of cut off parts. Airfix have also provided an engine with the details like ignitions cables, engine mount or compressor air intake however these details are rather simplified. Cockpit interior and wheel wells looks fine. It's only a pity Airfix did not provide the trim wheel of the port side of cockpit. This is, in my opinion, significant and recognizable detail of Bf 109 equipment. What I really don't like in this kit are MG 17 gun barrels casted together with engine nacelle. This detail even doesn't resemble original one. The best option for me would be to remove the visible muzzles, drill holes and fit some turned barrels in this place.
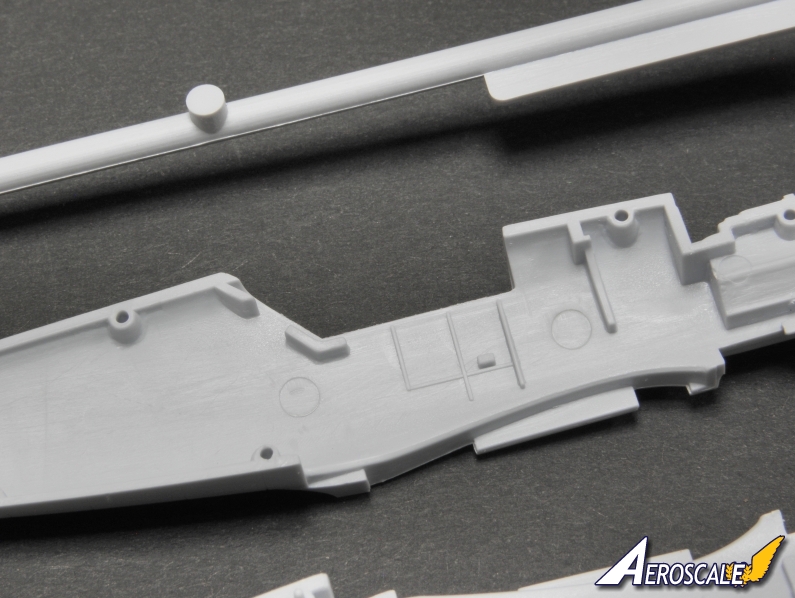
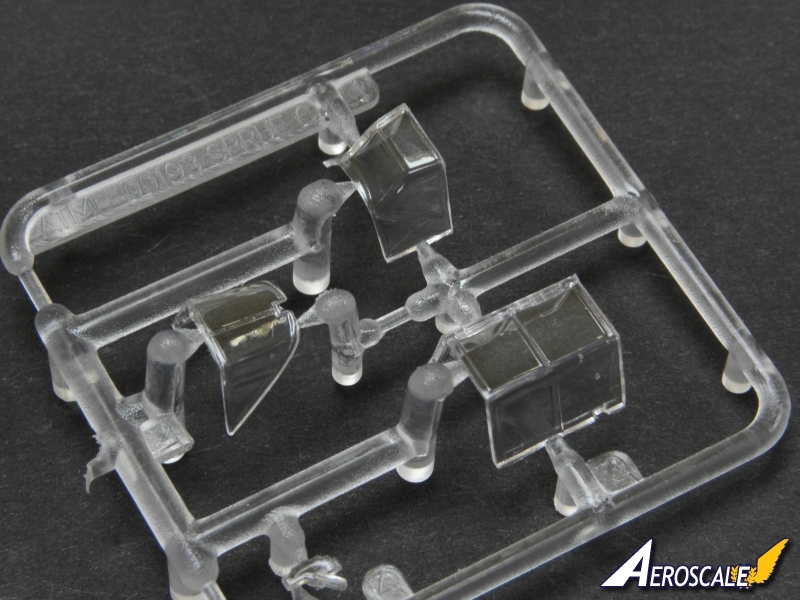
Ok, this is the end of complaining, now some positives. I think that Airfix have made a huge step forward with this model kit. It is especially noticeable when you take a look at the engraved panel lines. Still it's not the worlds leading quality but absolutely acceptable. You can't even compare it with the lines seen in previous Airfix kits like Spifire I/II's, Mig-15 or Sabre. In my opinion panel lines look even better than in the A6M2 Zero which was released shortly before Emil. Airfix's learning and trying to be better for all the time and I really appreciate and value this improvements of latest Airfix products. Another asset is cockpit glazing. In Emil it consists of three parts what enables to make it in the opened position without any effort. I can't omit its great transparency.
What is also worth mentioning are the small details. Here we can also notice a great improvement of Airfix quality. Take a look at the ailerons balances or Pitot tube tiny and delicate. These details may be a bit tricky to cut them out of the sprue and sand any left splinters without doing a harm to the part. All wheels are done as weighted and flatten so you will have to watch out to glue them in correct position. The tread pattern may be considered as too heavy. Armour plate (part A5) behind pilot head is too thick for my taste but it is not a problem to sand down this part to desired thickness, however you won't need to use it if you're doing this kit out of the box it is not mentioned in the assembly instruction. I also don't see the armour plate on the photograph of von Werra's plane. Is this a harbinger of some future release of another Emil based on these sprues? I hope so.
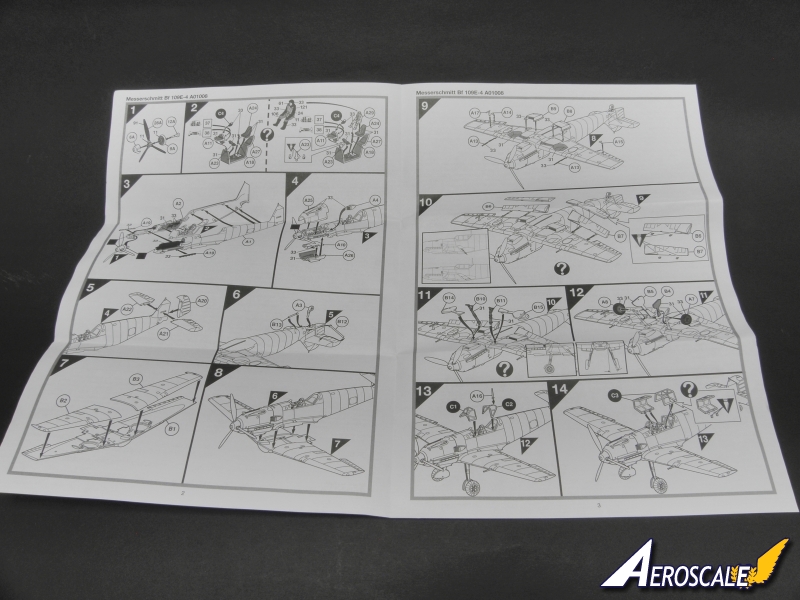
Assembly instruction
There's not much to say here. Assembly instruction is designed in the good ol' Airfix style. Drawings are plain and easy to follow. As the kit is not very complicated each step shows only few parts. Schemes are printed on the foldout sheet of A3 size so you can keep an eye on all steps and plan your next step without running back and forth through the booklet. Honestly, if your older than 5 it would be really difficult to get lost in build process of this kit.
Decals and painting option
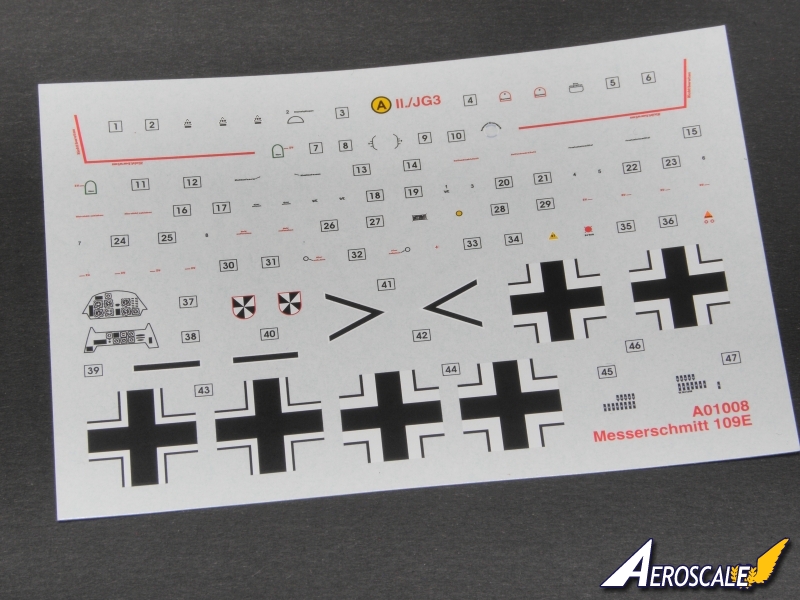
Airfix have provided of course decals necessary for finishing the build model. We get just one painting option of Lt. Franz von Werra machine of II./JG 3. Von Werra was shot down over Kent on 5th September 1940 and to many is known as the one that got away, due to his successful escape from British captivity. On the box backside I have noticed Cartograf logotype but there's no information whether they are producer of decals. This would be a great innovation and improvement of Airfix sets.
Decal quality is very nice. With the good eyes you have no difficulty with reading the stencils, maybe except the smallest ones. I have not noticed any misalignment. Beside the national markings, JG3 emblem and individual pilot emblems (chevrons, victory bars) we get two decals of instruments gauges and most significant stencils. Decals of flying instruments is cleverly designed. There is no base colour of the panel. Gauges outlines are printed in black while the indicators are white, exactly as in the real plane. This way you can paint the panel with its base colour and simply apply decals easily getting the imitation of real instrument panel.
Airfix provides numbers of paints required for finishing traditionaly refering to Humbrol enamels. If your not enthusiast of Humbrol you get these colours as RLM numbers so can easily pick the proper jar of your favorite brand. These are typical colours of RLM 65, RLM02, RLM71 for camouflage and RLM70, white, black for propeller, quick recognition panels etc. Airfix suggests to paint the engine nacelle with a gently lighter shade of RLM65. Neil Page, also Aeroscaler - you can meet him on our forums, in his blog interprets this as an effect of bright sunshine. Well, for me this sounds at least very reasonable. Producer also suggest to make a gentle mottling or dotted pattern on the panels covering ammunition boxes. If you take a look at the photograph showing von Werra's shot down plane you'll notice branches laying on the starboard wing. In my interpretation this mottling is nothing more than shadow of leafs so the board should be painted with just RLM65. This would be just two painting modifications which I would apply in my build.
summary
I highly recommend this kit to everybody. It should be a straightforward build of a mainstream airplane which ruled the skies of Europe in early 1940's. It's great value for this money and I'm sure it will become a great competitor of Tamiya and ICM kits. With just few upgrades or additional decals for other painting schemes you can have a lot of fun making your very own Gruppe of 109's for display case. It's a pity there is just one painting scheme provided by producer but it seems to be a standard of recent Airfix releases. Anyway, weighing or pros and cons of this kit I hope to see some earlier versions of Emil under the Airfix brand.
SUMMARY
Highs: Nicely improved panel lines, great cockpit glazing, nice tiny details, separated flaps, weighted wheels, no flashes.Lows: Just one painting scheme, lack of trimming wheel in the cockpit, MG17 barrels ugly casted together with engine nacelle.Verdict: Recommended. It can be a good kit for fun building as well as a base of advanced improvements. Serious competitor of ICM and Tamiya Emils.
I have to revise my review a bit. Few days ago I started building this kit and studing its details according to more references and I noticed few omissions.
The kit misses following details:
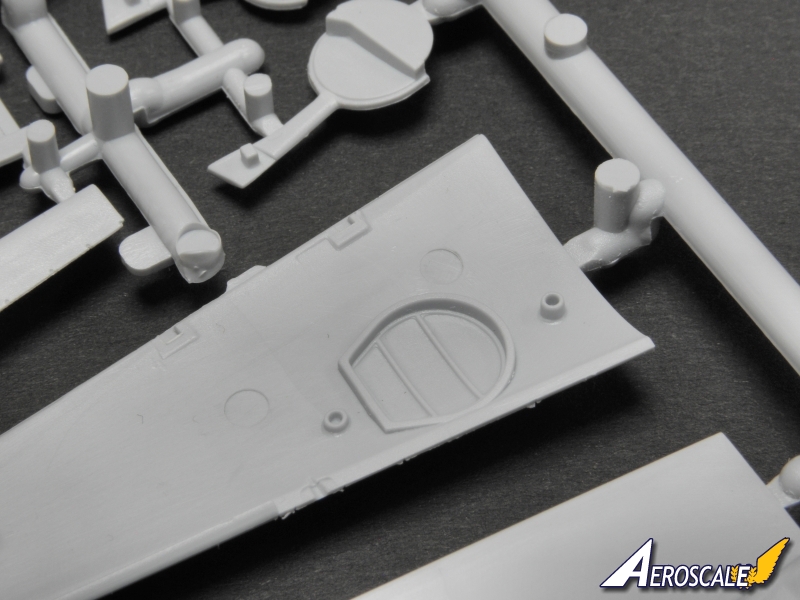
- fuel cover oval panel on the fuselage spine, right behind cockpit
- two oval panels on upper surfaces of wings, close to the fuselage. This panels are also missing in Tamiya/ICM kits, however all my photos of E-4/E-7 shows them clearly.
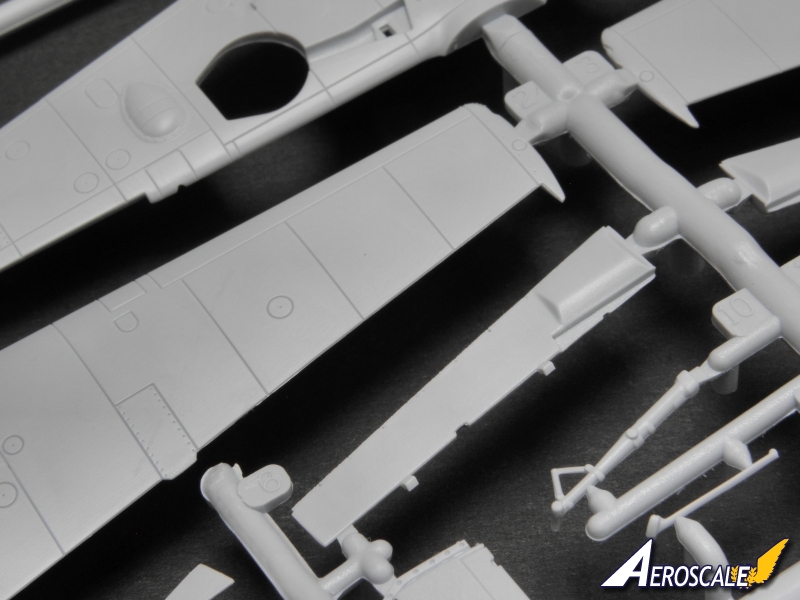
- trimmers of ailerons. What's a bit funny trimmers are present on elevators.
If I find anything more I'll report here of course.
Hi Michal,
..you might see some molding issues in the starboard wing root rivet detail which is unfortunate and I have read that some modellers have had issues with the horizontal stab dihedral/strut arrangement.You could consider adding a horizontal splitter plate in the chin radiator from plastic card and brake lines from 5 amp wire. Good point about the trim tabs too ..Otherwise I was reasonably happy with my builds..
all the best
Neil
Hi Neil,
you're right about wing root - got the same, although at first I thought it has to be done this way (stupid me). I have noe idea yet how to repair it.
I had no problem with horizontal stab, everything went quite smooth except one strut which I have broken and had to sculpt some replacement. Anyway I can't blame Airfix for that.
According to my references splitter plate in the chin radiator was removed after E-3 so since we talk about E-4 here it's not a problem for me.


Comments