background
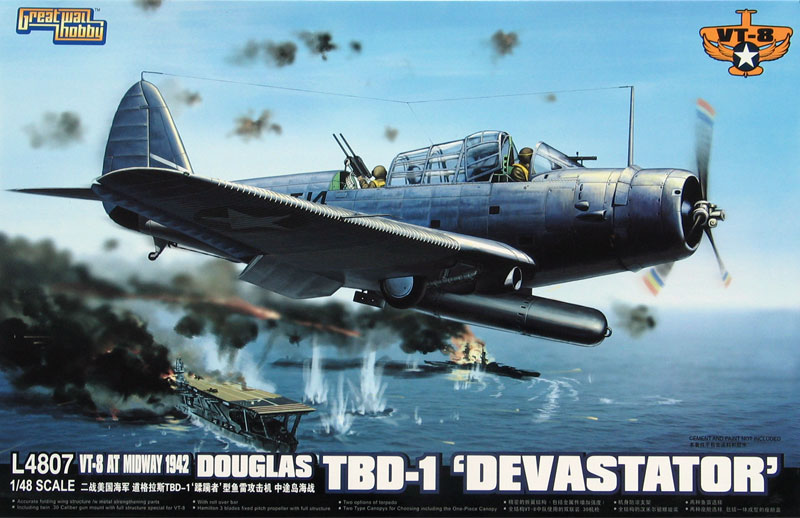
The Douglas Devastor will always be synonymous with the heroic near-suicidal attack against the Japanese fleet at the Battle of Midway. As a result, it's often considered a failure, which is to do the aircraft a great disservice for, at the time of its service debut in 1937, it was arguably the most advanced naval aircraft anywhere in the world. The Devastator introduced a long list of "firsts" for the US Navy, including pioneering the use of monoplanes on US carriers, and was the first all-metal naval aircraft with a fully enclosed cockpit and power-assisted wing folding.
But despite being a huge improvement on the aircraft that preceded it, the Devastator simply could not match the rapid pace of development in the late 1930s and, just as with the British land-based Fairey Battle, was obsolescent by the time it saw action, being slow and desperately vulnerable to both anti-aircraft fire and fighters.
In fact, the full extent of the shortcomings of the Devastator were not immediately apparent when the US entered WW2, and the aircraft enjoyed some early successes against the Japanese, especially in the bombing role. But Midway ended all that, and proved the aircraft was a death-trap as a torpedo bomber. Already dangerously slow in the combat environment of 1942, Devastators had to throttle back to little over 100mph to drop their notoriously unreliable Mk 13 torpedoes. At Midway, the losses among Devastator crews were appalling, and of 41 aircraft launched, just 6 survived - sacrificed without scoring a single torpedo hit on the enemy. The disaster was only mitigated to some extent by the fact that the bravery of the Devastator units in pressing home their low-level attacks drew the Japanese fighter cover out of position, allowing Dauntlesses to approach unmolested at high altitude and deliver crippling dive-bombing attacks on the enemy carriers.
Midway signalled the death-knell for the Devastator and it never saw action again, remaining aircraft being rapidly withdrawn to serve with second line units where they soldiered on until the end of 1944 when the last survivor was scrapped.
The kit
If there's one thing Great Wall Hobby excel in, it's keeping a secret. They caught the modelling community completely off guard with their announcement just before Christmas of a new-tool TBD-1 Devastator and now, just a month later, it's here!
The kit arrives in a solid and stylish top-opening box, with the contents well packed for transit. Each sprue is bagged separately, and the clear parts are additionally protected in a padded envelope. The kit comprises:
107 x grey styrene parts
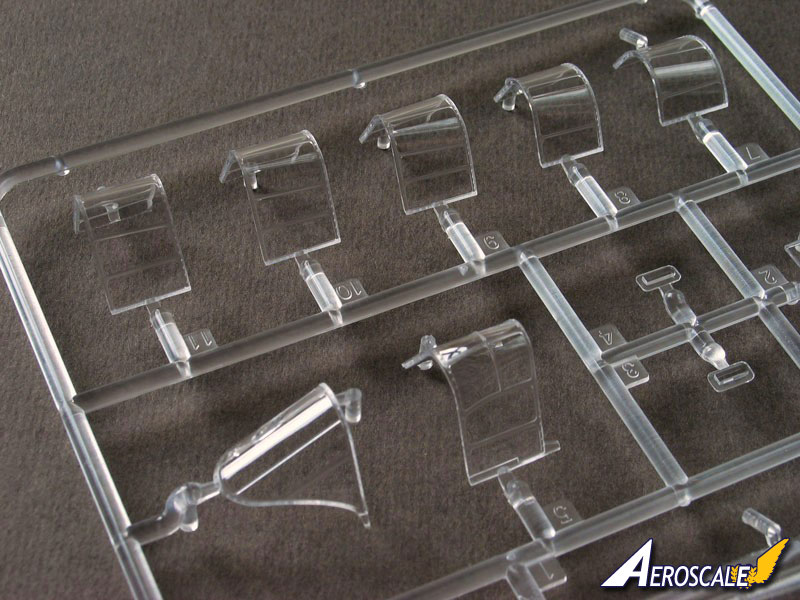
11 x clear styrene parts
2 x white metal parts
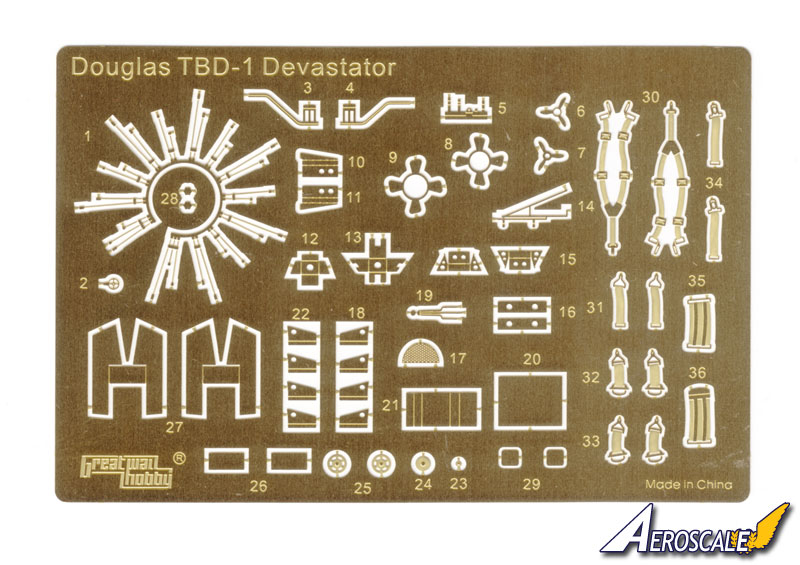
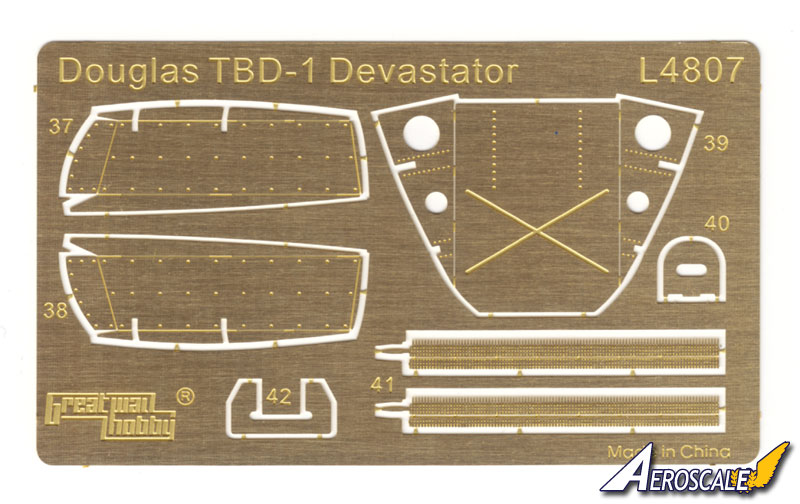
61 x etched brass parts
Die-cut gummed paper painting masks
Decals for 2 x colour schemes
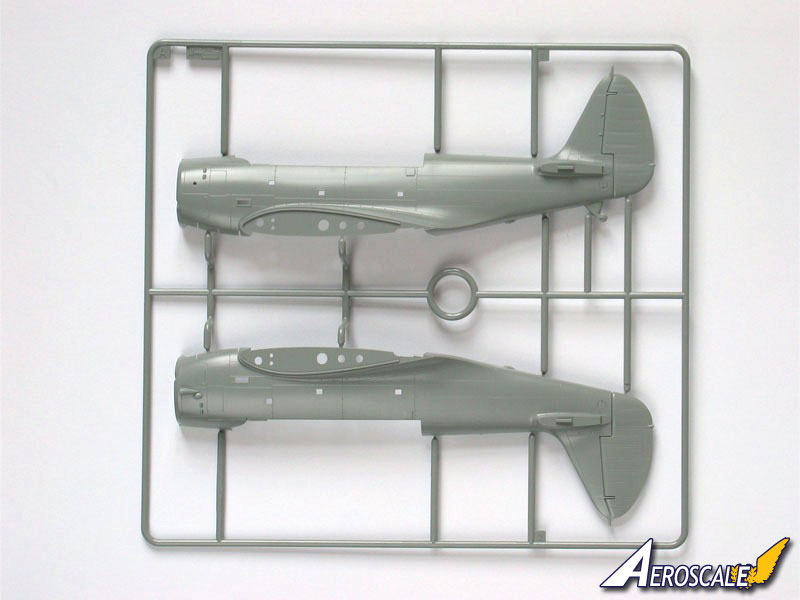
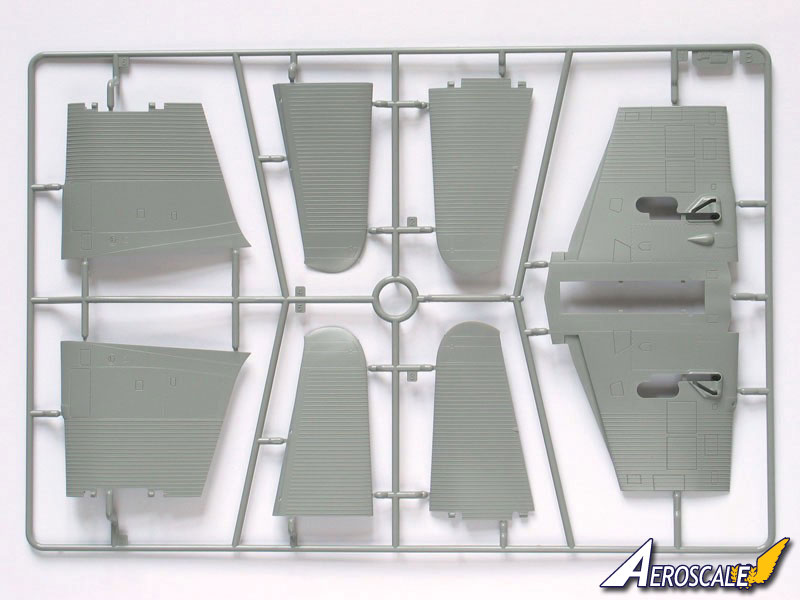
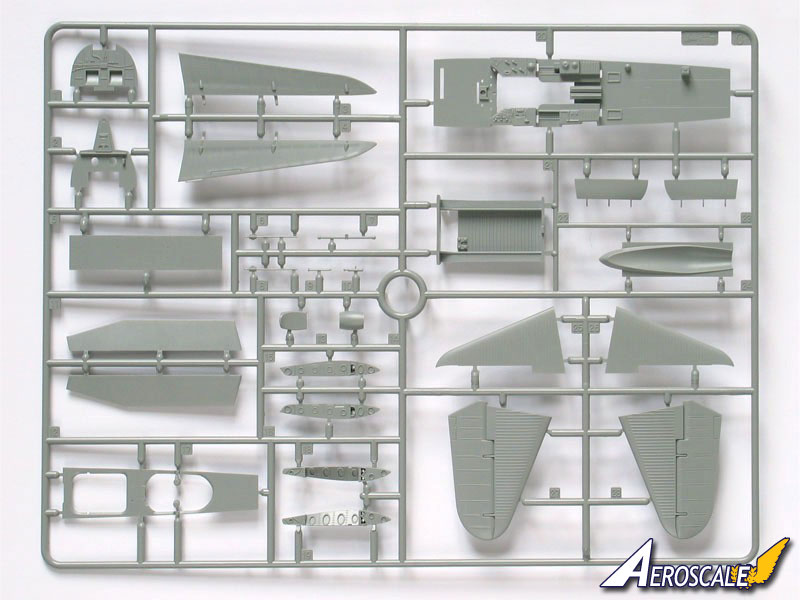
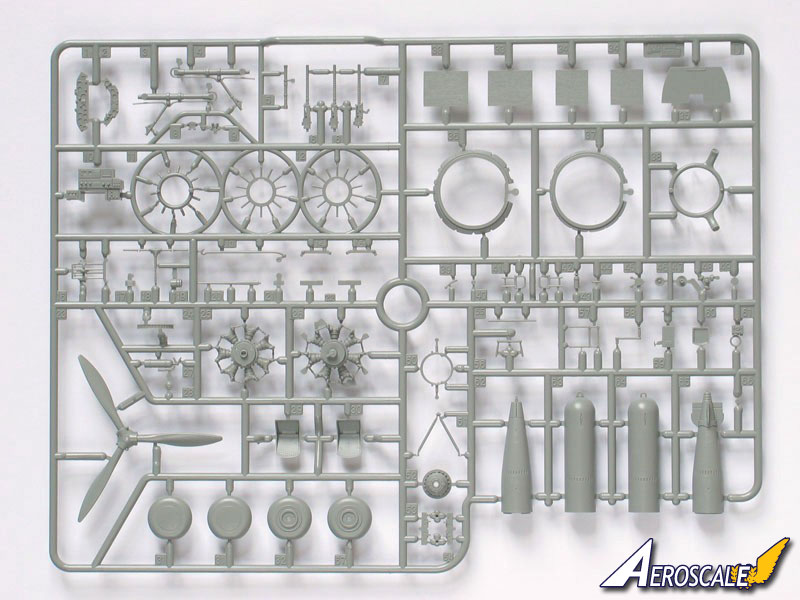
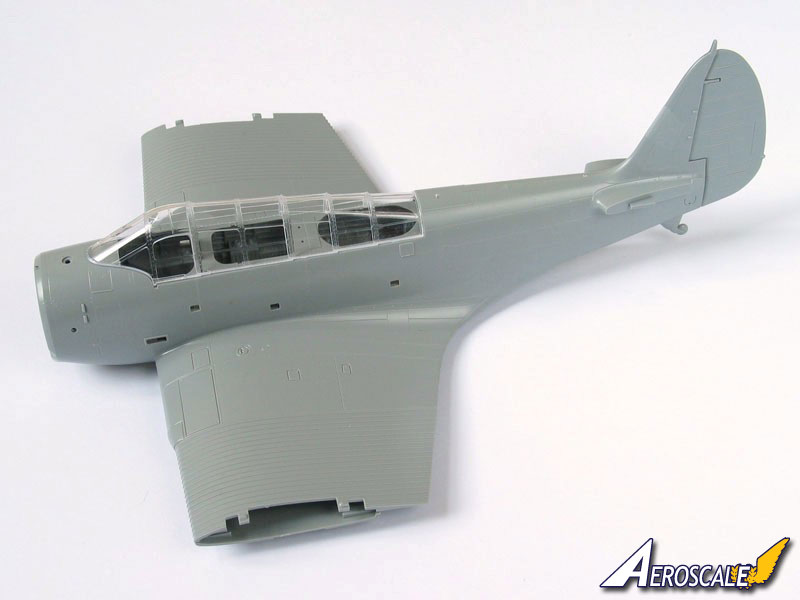
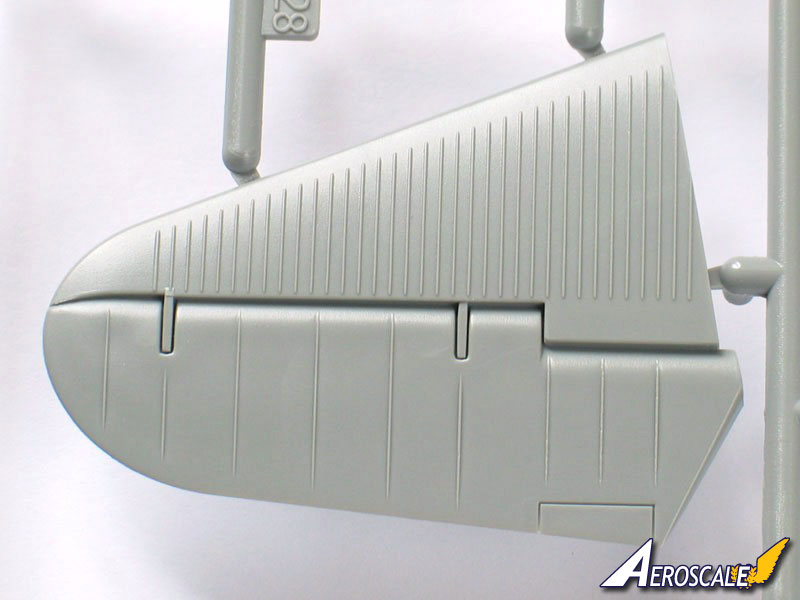
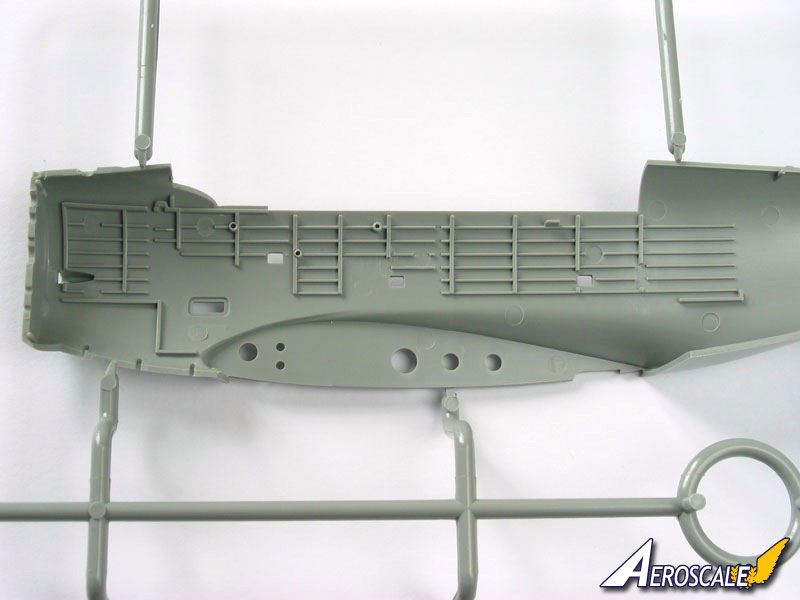
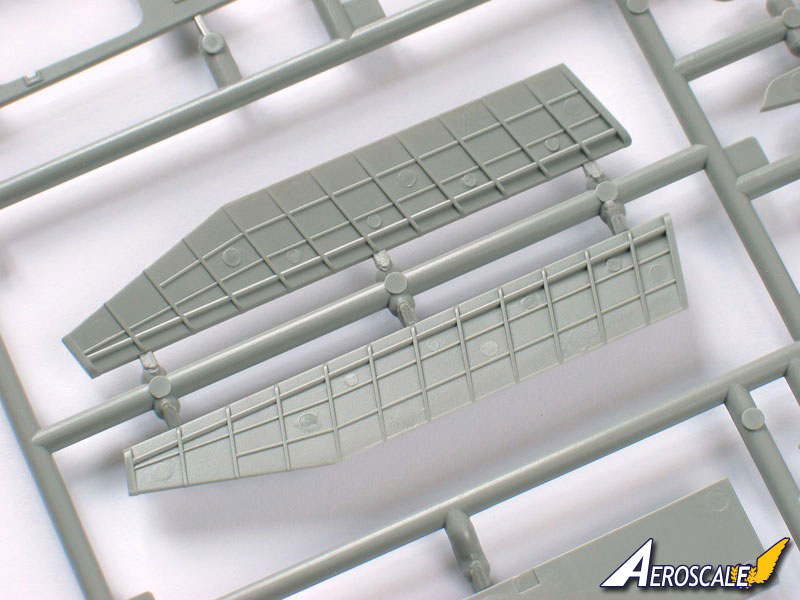
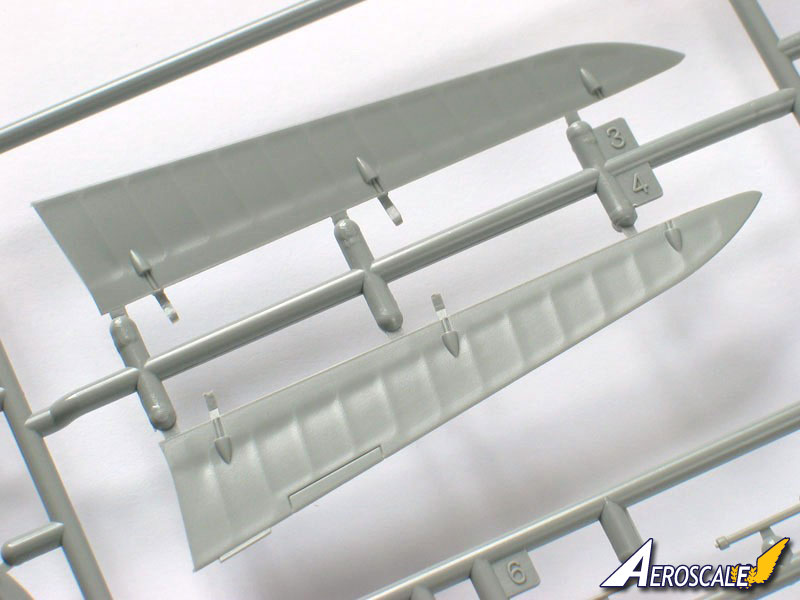
Immediate impressions are overwhelmingly positive. There's not a hint of flash or sink marks, and ejector pins have been kept largely out of sight. The surface finish is excellent and, to my eyes at least, the Devastator represents a definite step forward over the company's Fw 189 and P-61, with crisply engraved panel lines accompanied by embossed fasteners and extremely fine rivets. The latter are so lightly done, they're hard to catch in the photographs, and look just right for this scale. The wings carry the Devastator's distinctive "corrugations", and the clever positioning of the sprue attachments on the glueing surfaces ensures there's no risk of damaging the detail when you clean them up. The fabric effect on the rudder and elevators is a massive improvement over the earlier kits, but strangely the ailerons are handled differently - too heavy for my taste, but still better than GWH have done previously.
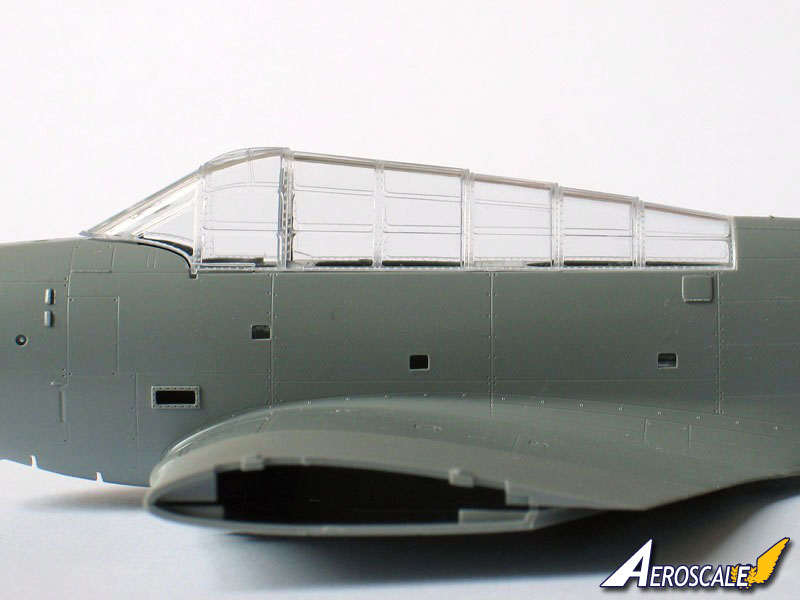
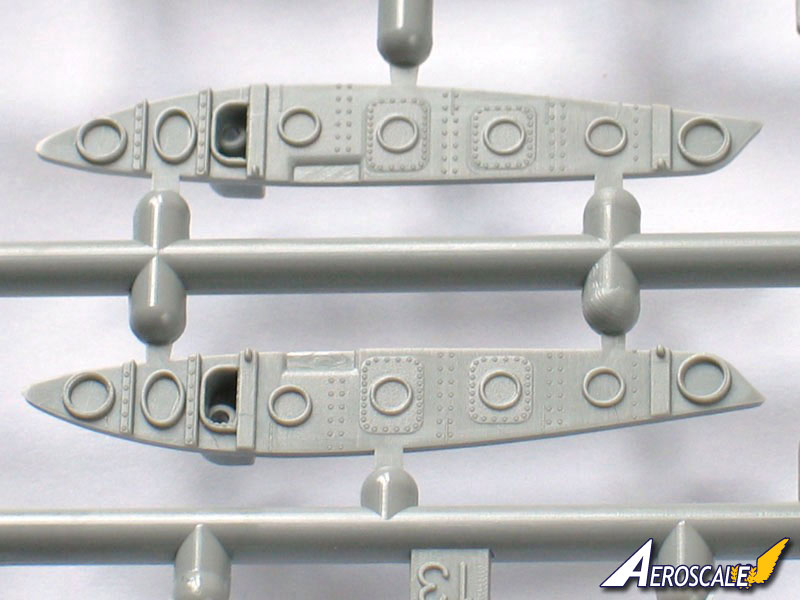
One rather odd slip is that the designers have presumably misinterpreted the dark-painted step-ins on early machines and represented them as open holes right through the cockpit sides. They'll be simple enough to fill, but left uncorrected they'll allow daylight into the cockpit and would definitely be a bit draughty on the real thing.
Test Fit
Dry fitting the main components shows the kit is well engineered and should be a very straightforward build. The fuselage halves clip together precisely, and the wing centre section fits snugly under the belly and at the roots. The outer panels are separate to allow a folded option, but still seem a neat fit if you want them extended. The tailplanes are loose on their tabs, but the actual fit at the roots is spot on.
A few details
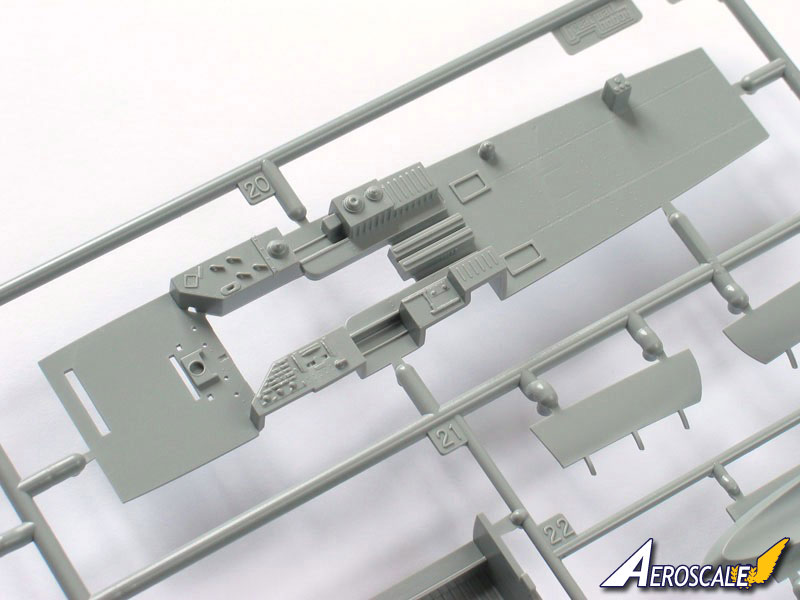
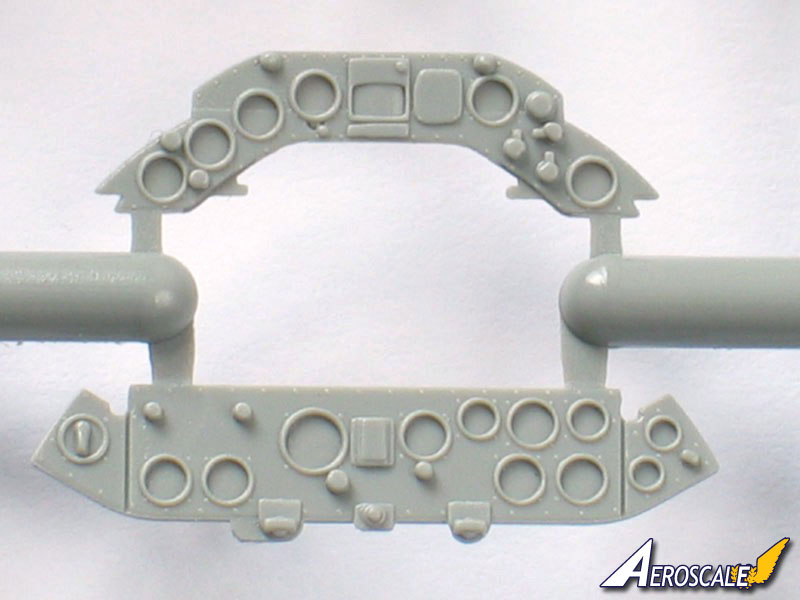
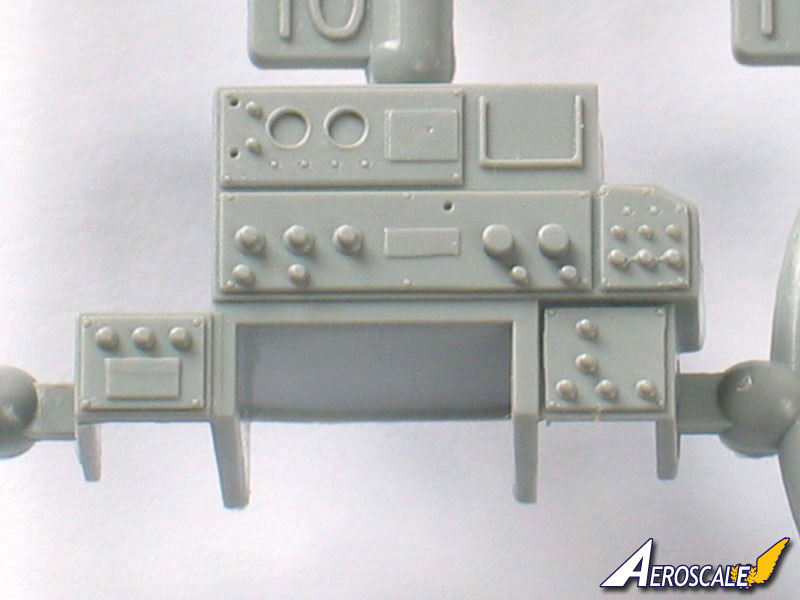
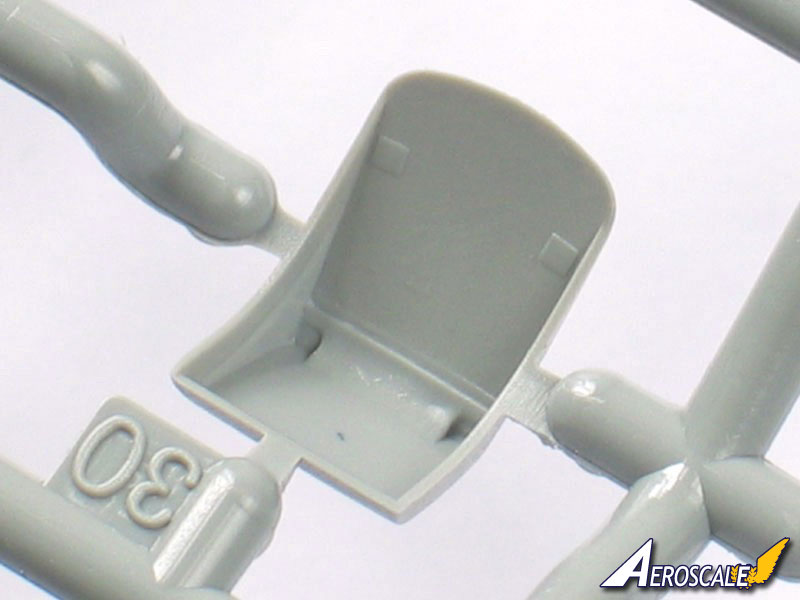
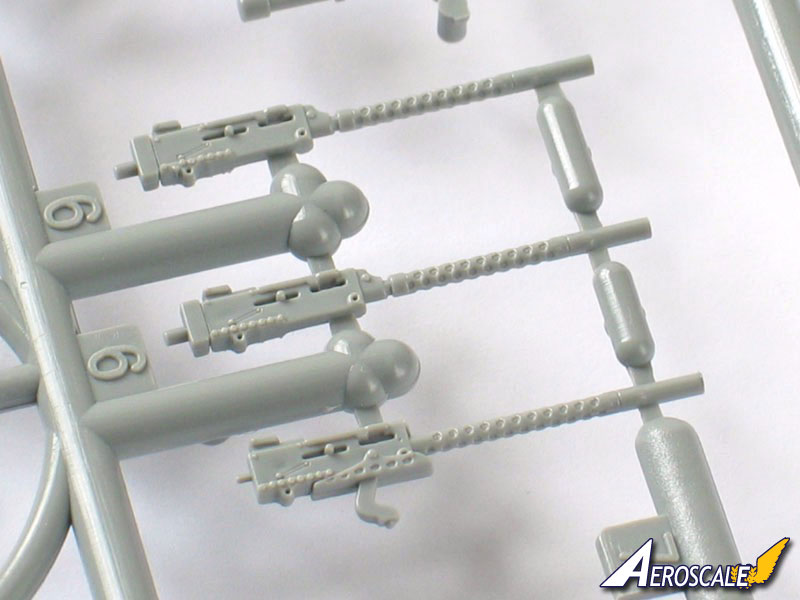
Construction begins logically enough with the interior, which is very comprehensively fitted out. Over 70 parts combine to make a really detailed cockpit, with a mix of styrene and etched brass. The seats are nice and thin with multi-part metal harnesses, and there's a 12-part twin .30 machine-gun mount, including etched armour plate and ammo belts. The instrument panel is correctly split into two sections, with individual decals for each dial and an etched chart board, and there's a nicely detailed radio set. There are delicate touches throughout, but perhaps the highlight will be etched torpedo sight over the instrument coaming.
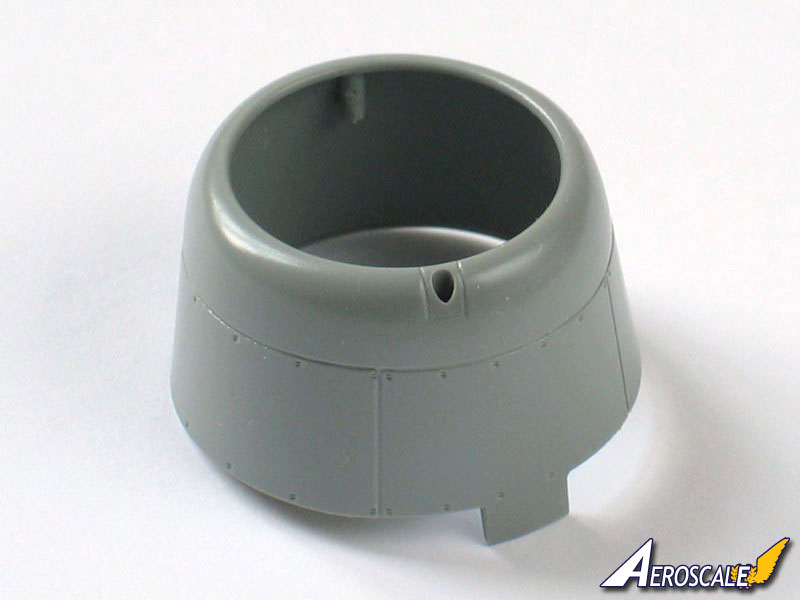
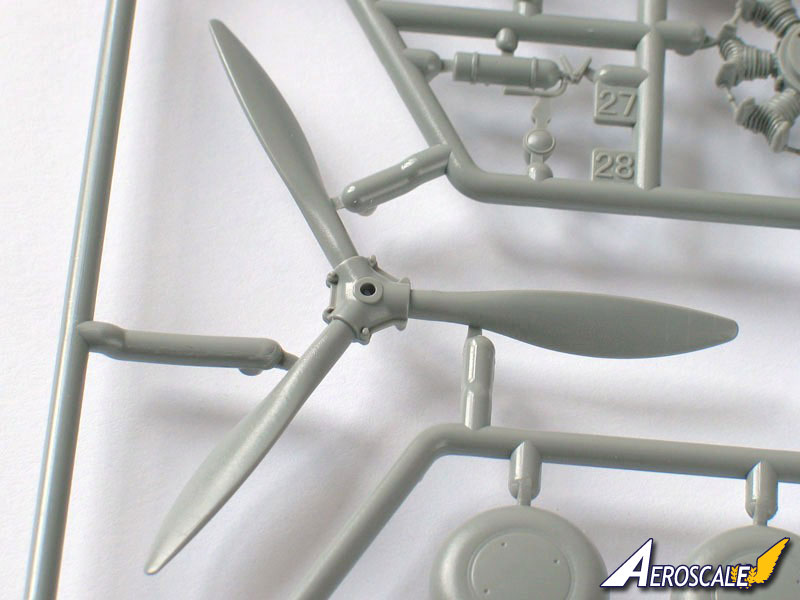
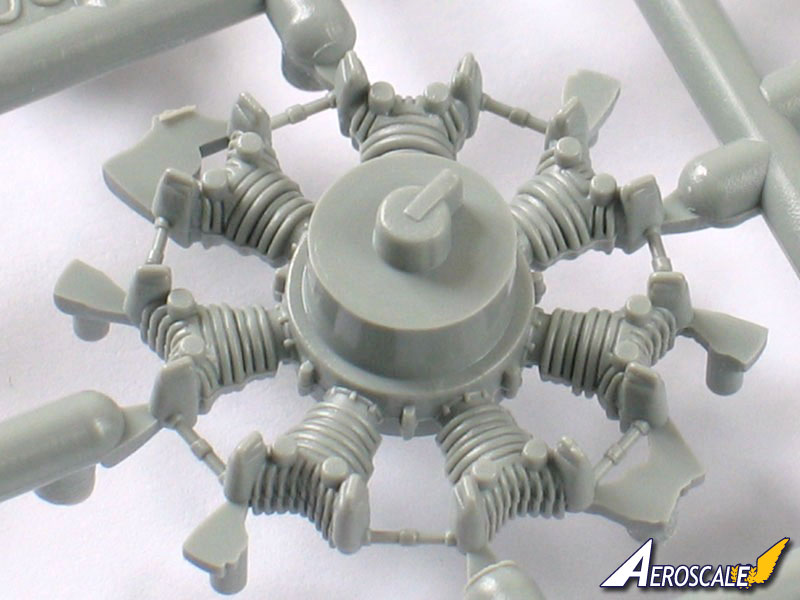
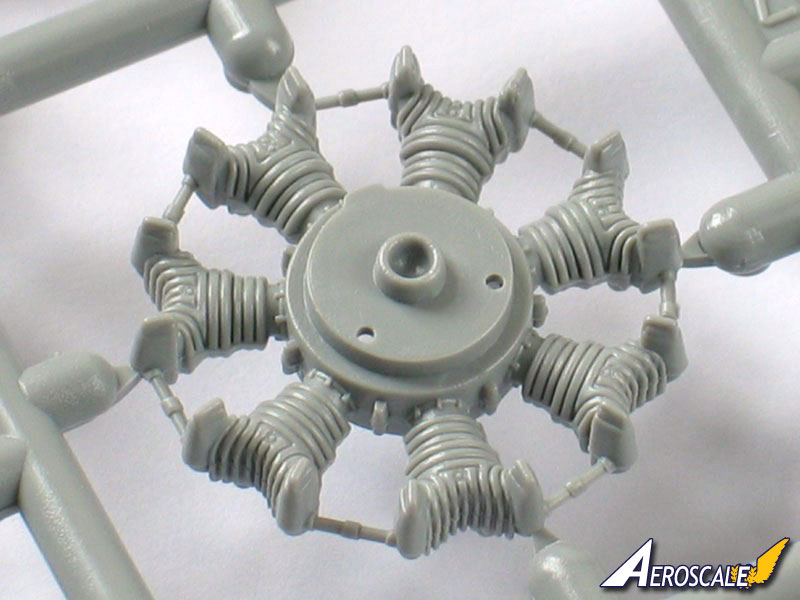
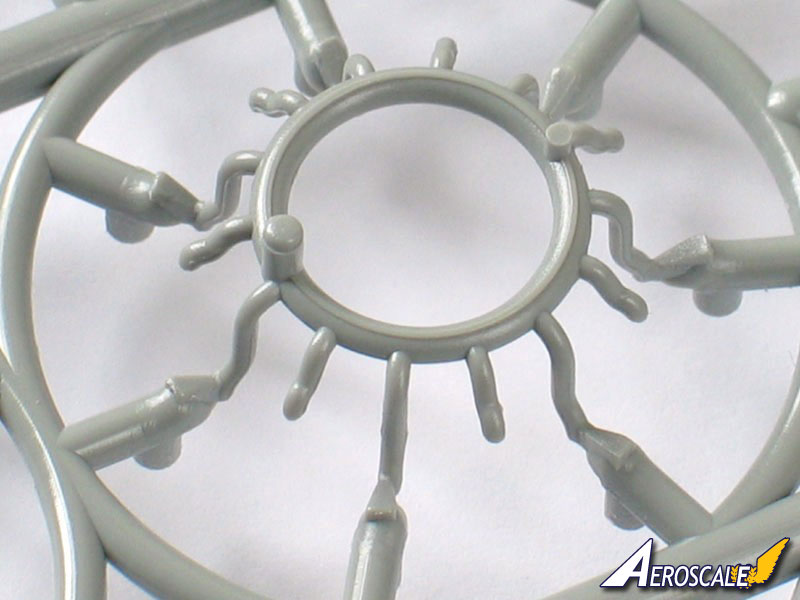
Attention then turns to the engine, nicely moulded in 9 parts. The cooling fins on the cylinders are admittedly very overscale, but they will be tucked well out of sight behind push rods and an etched wiring harness. The neatly moulded cowl features a choice of open or closed cooling flaps. The propeller is moulded with a separate 2-part hub. The multi-colour tips are provided as decals, but can be painted using raised lines as a guide (don't worry, although it conjures up images of the dreadful raised marking outlines in vintage kits and we'll all probably sand them straight off, they are commendably light).
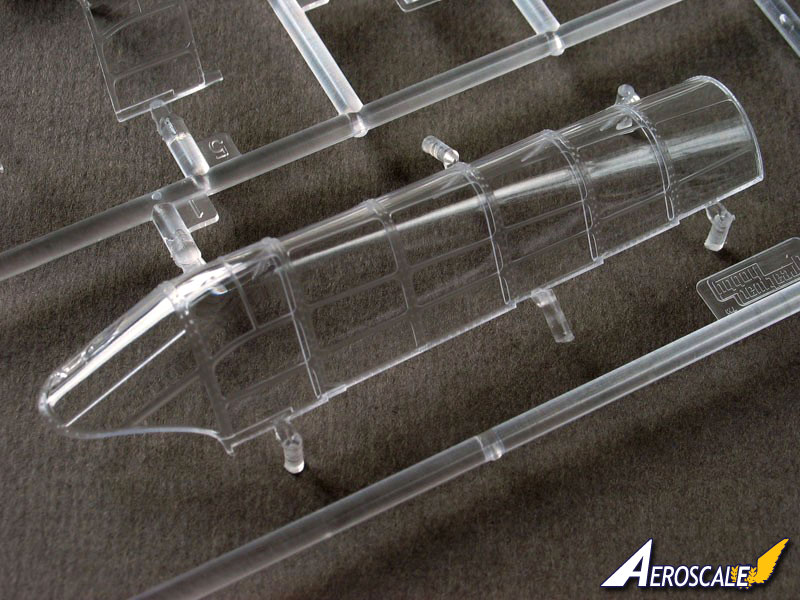
The canopy is provided in two forms - closed, or as a 7-part version that can be displayed open. Both are crystal clear with crisply defined frames. When the original CAD images of the kit were released, a concern was raised over the canopy profile, but holding it up against photos on the excellent dedicated
Devastator website (I know - hardly a scientific way of comparing things...) it looks a good match to me. GWH have provided paper painting masks which look to be the same type as included with their Fw 189. Many people found they didn't stick down very well, but if need be you can always use them as templates to cut your own from masking tape.
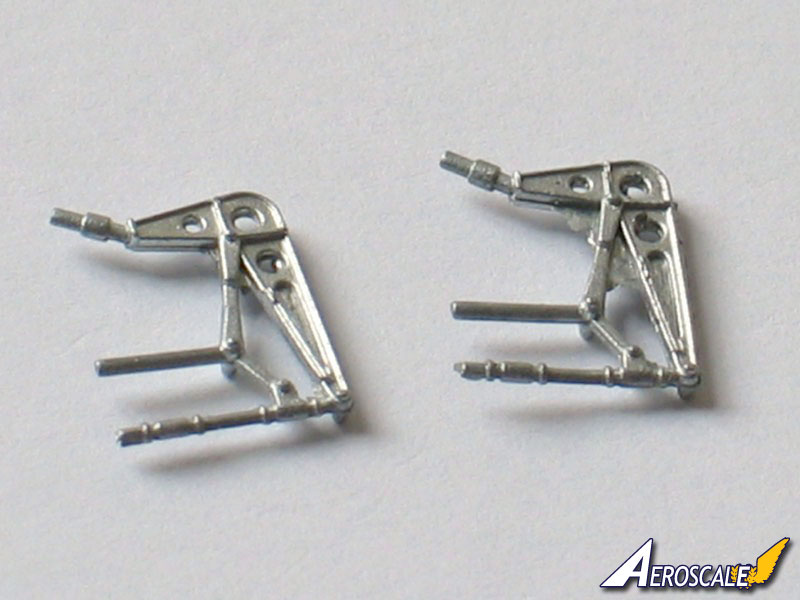
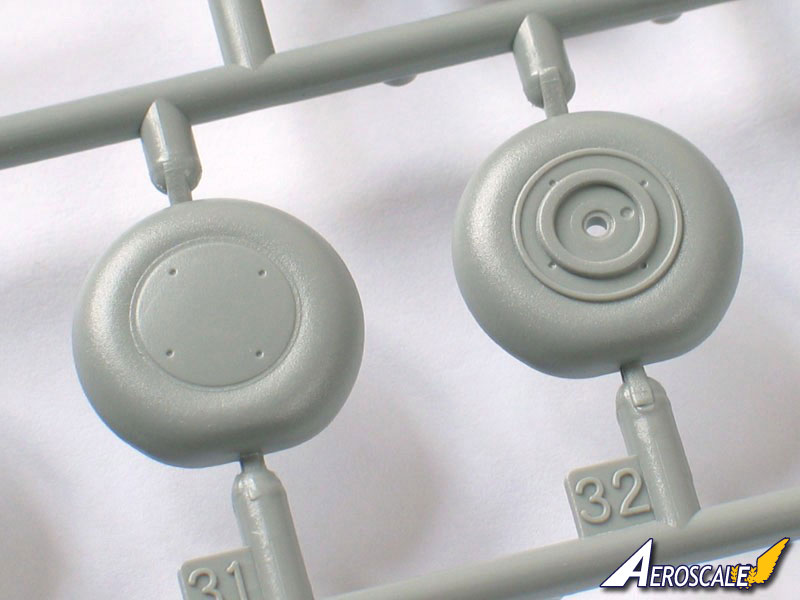
Construction of the wings is very straightforward. It's rather disappointing that there's no detail whatsoever in the wheel wells, so it's tempting to add a little - not that much can really be seen. I'll probably tweak the shape of the wheel wells slightly while I'm at it. The gear legs are crisply moulded, and a nice touch is the inclusion of brake lines. The wheels are moulded "weighted", and there's the option to pose the undercarriage retracted. This begs the question of whether the gear legs will look too long with the model standing on its undercarriage, so I think I'll do a little simple surgery to portray the oleos under compression.
The landing flaps are separate, but the instructions only show them fitted closed. That's probably just as well, as there are some awkward ejector pin marks to fill, and there's no detail inside the bays - but I'm sure aftermarket dropped flaps will be available very soon.
The bomb aimer's doors are also separate, and the interior of the alcove has an etched insert. Brass liners are also provided for the doors, but they are plain whereas those in the "walkaround" photos on the aforementioned Devastator site are perforated.
The wing folds are well detailed with styrene inserts and etched ribs, and a neat touch is the pair of white metal brackets for the folded option. These are very cleanly cast and should be rock-solid.
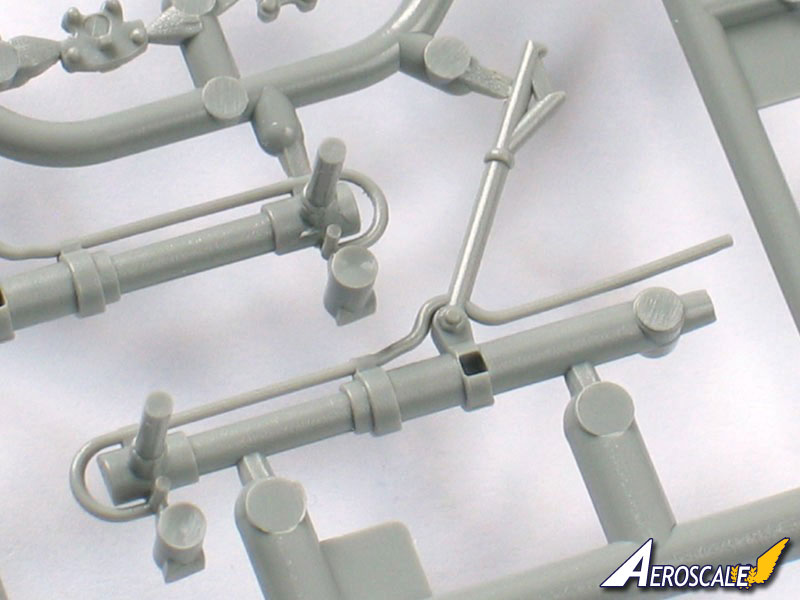
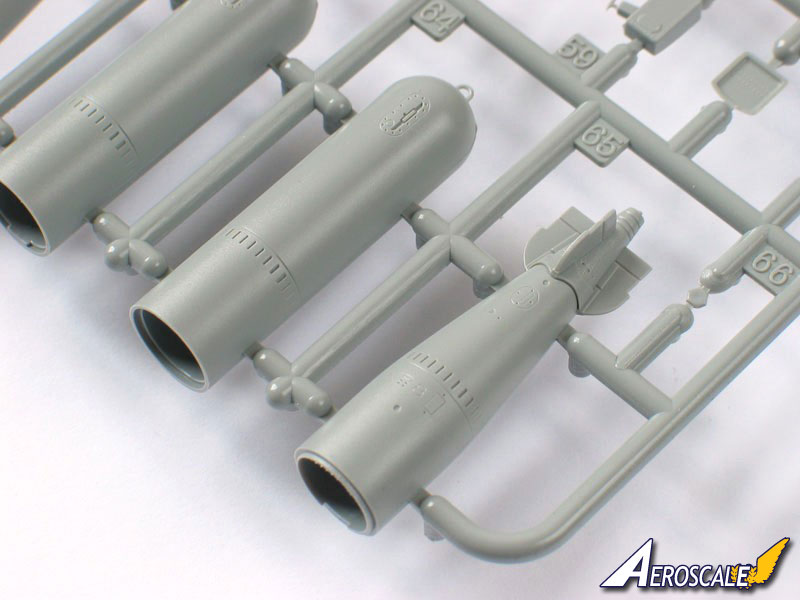
Finally, there's a choice of armament, with two styles of torpedo. Innovative use of slide moulds allows a joint around the middle rather than along the length of the body. The fins and propellers are brass for scale appearance, but the box-type tail is plastic with a subtle wood-grain effect. A pair of bomb racks are also provided as a third option, but no bombs are included to mount on them.
Instructions & Markings
The assembly guide is printed as a 12-page A4 booklet on high quality paper. The construction is not broken down into stages
per se, but the general sequence is logical and the generous size of the pages ensures that the diagrams aren't cluttered. Colour matches for Gunze Sangyo paints are keyed to most details, and a chart provides Vallejo and Tamiya equivalents. Strangely, the interior colour indicated is missing from the chart, but checking online reveals that it's Zinc Chromate Type 1.
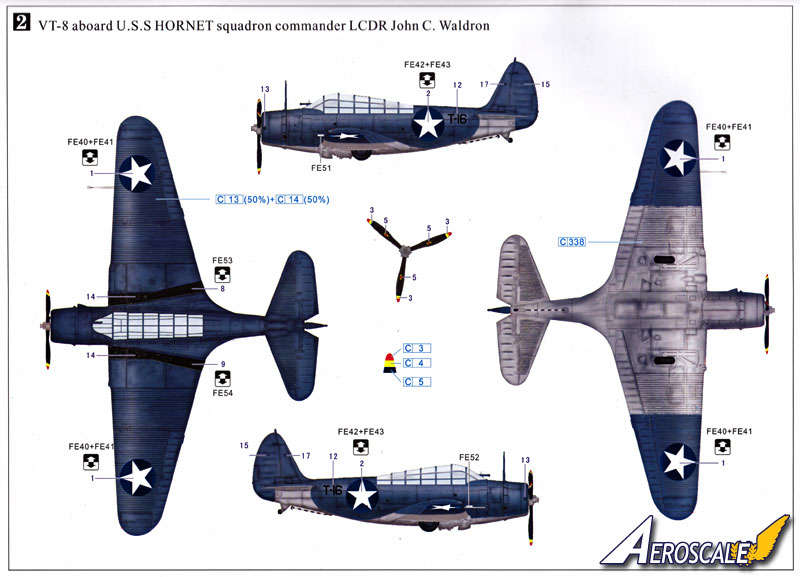
(A quick word about Devastator colours. The interior finishes are something of a minefield. While the accepted wisdom in recent years has been that pre-camouflage aircraft were all-silver inside, some colour photos clearly show a variant of Interior Green. Similarly, it's stated that wartime machines may have had the cockpit's interior top decking and seats overpainted in Blue-Gray, but that seems unlikely on aircraft already finished with Interior Green. So, it was presumably all down to production batches - early aircraft being partially repainted, while later aircraft maybe supplied ready-painted with Interior Green cockpits...
Likewise, the wing folds were silver on pre-war Devastators, and there's a clear colour photo of a camouflaged machine with them painted Blue-Gray, but others look very pale, so they may still be silver or overpainted Pale Gray. And on later aircraft delivered ready camouflaged?... I think a little educated guesswork is the order of the day unless definitive evidence ever emerges.)
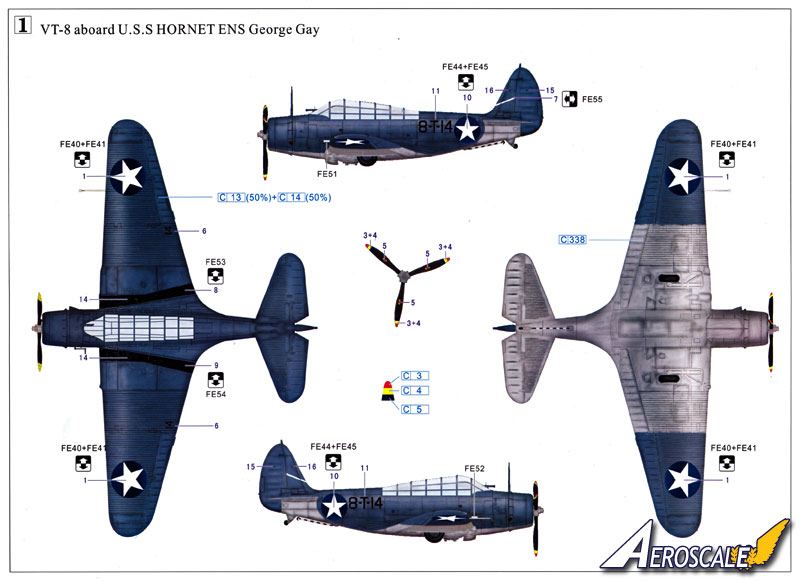
Two colour schemes are catered for, both machines U.S.S. Hornet VT-8 machines from the Midway attack:
1. 8-T-14, flown by Ensign George Gay
2. T-16, flown by Lieutenant Commander John Waldron
The decals look very good quality, printed in perfect register on the sample sheet with a silk finish and minimal carrier film. National and unit markings are provided, along with the propeller tips and instrument faces mentioned earlier, but there are no stencils (but perhaps these were overpainted on aircraft camouflaged in service?).
As an alternative to using the decal stars, GWH also provide painting masks. They're packed together pretty tightly on the sheet, so you'll need to be careful cutting them out, but it's a nice touch nevertheless. It'll be interesting to see how well they conform to the corrugations - but the same would be true if using Frisket film.
Conclusion
Great Wall Hobby look to have done a beautiful job on the Devastator, with an excellent surface finish and interior details. Assembly looks very straightforward - in fact I'd go so far as to say it looks a doddle. Watch out for a full build here on Aeroscale soon. Highly recommended.
Please remember, when contacting retailers or manufacturers, to mention that you saw their products highlighted here - on
AEROSCALE.


Comments