Trumpeters 1/24 scale Bf 109G series are wonderful kits. The end results can be outstanding. The one area that lets these great kits down is the cockpit and the engine area. The engine area is missing a lot of detail that could be easily made by injection moulds. The bulkhead of the engine bay has little detail and missing easy objects like the ammo tins and spent ammo catchers. The cockpit has a basic detail on the sidewalls.
A resin alternative...
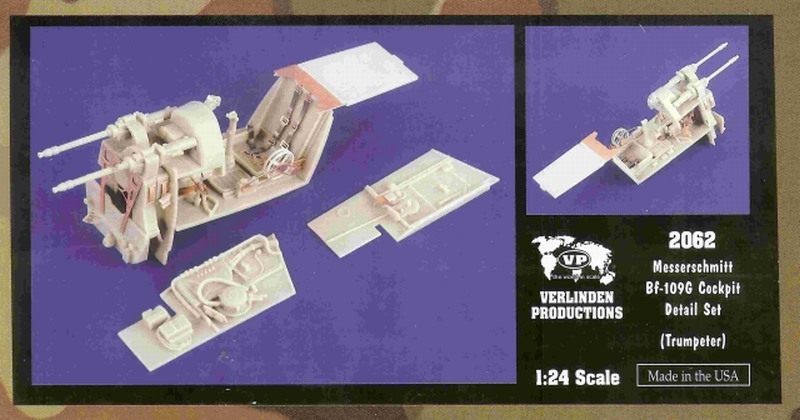
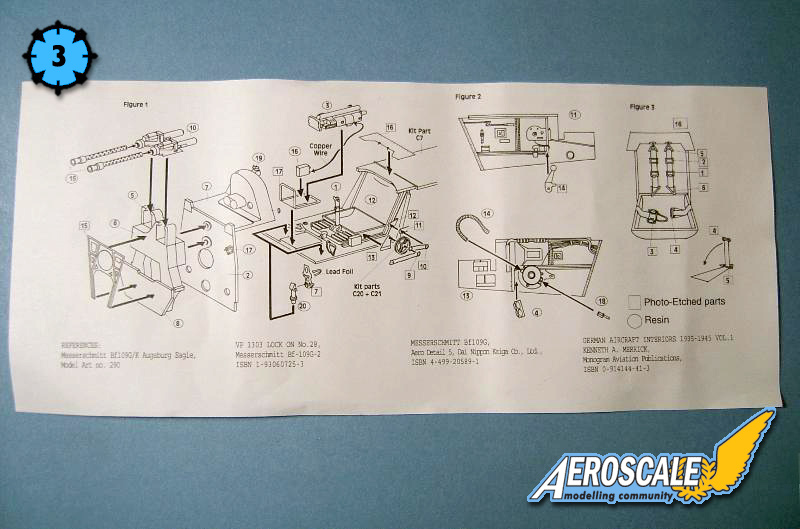
As to my knowledge there arent many aftermarket offerings for this series of Trumpeters Bf 109Gs. A while ago, Verlinden released a Bf109G Cockpit Detail Set, which contains a new resin cockpit, engine bulkhead, replacement machine guns, some extra resin pipe/hose connections to detail the kits engine and PE Fret. The casting of the resin has very crisp and sharp detail. Some of the bigger resin pieces have a bit of thin film of flash around them that need to be cleaned up before fitting. The instructions are on a small double-sided piece of paper in black and white print. Instructions are easy to follow on both sides. (Pics 1 to 3)
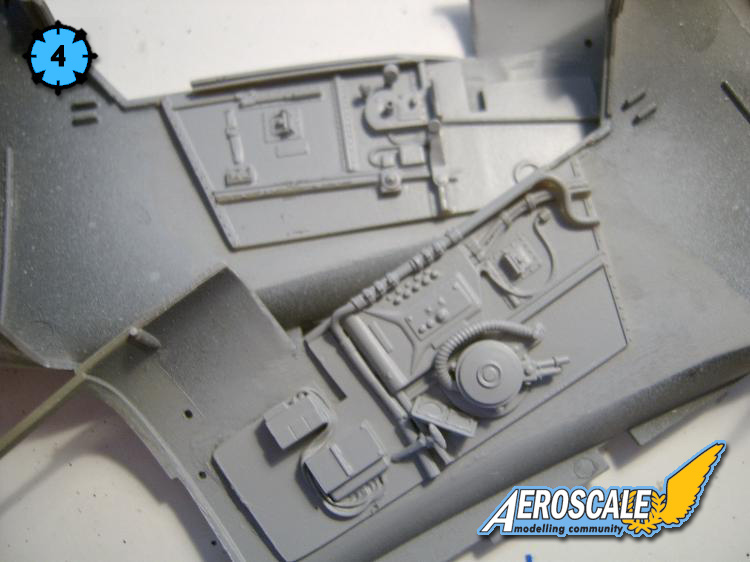
I decided to use most of the Verlinden kit parts for the cockpit. The only kit part that I used was the cover for the breech of the engine-mounted Mauser MG 151mm Cannon. The usual process of carefully removing all the raised sidewalls from the fuselage halves to get the resin ones to fit nicely and test fitting all the required parts before gluing. At the end you should something like the pictures 1 and 2. The Primer I used was the automotive spray cans that you can buy at most hardware and automotive stores. (Pics 4 & 5)
Painting
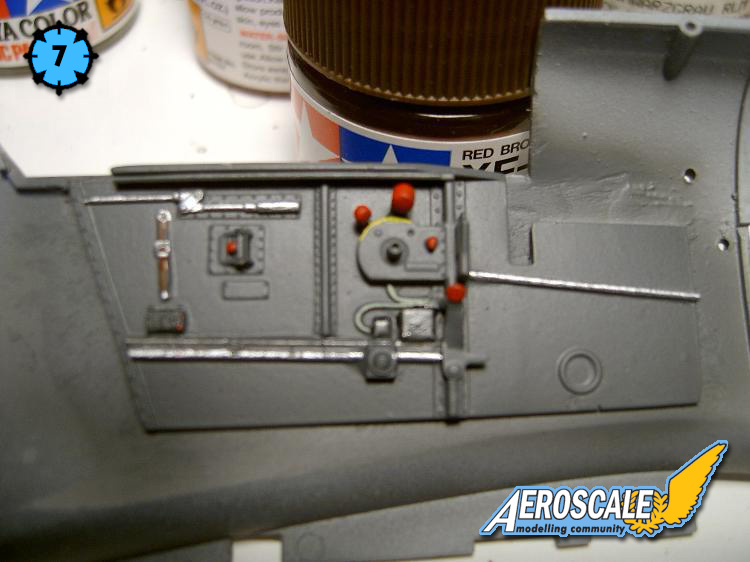
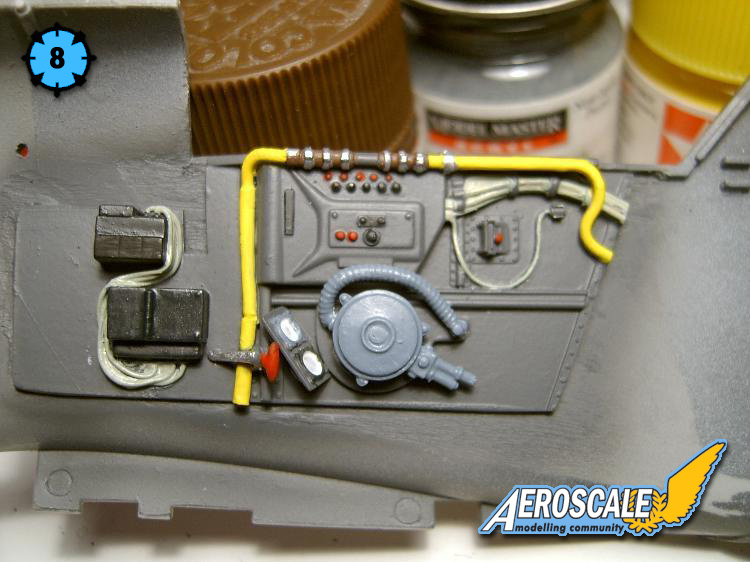
The Cockpit has been painted using RLM 66 Schwarzgrau, from Model Master Acryl range, which I have to order from outside of New Zealand, as I cant seem to find it in any of our local stores that stock it. Rest of the colours used, were from the Tamiya Acrylics Range, as its the easiest range to find here. (Pics 6 to 8)
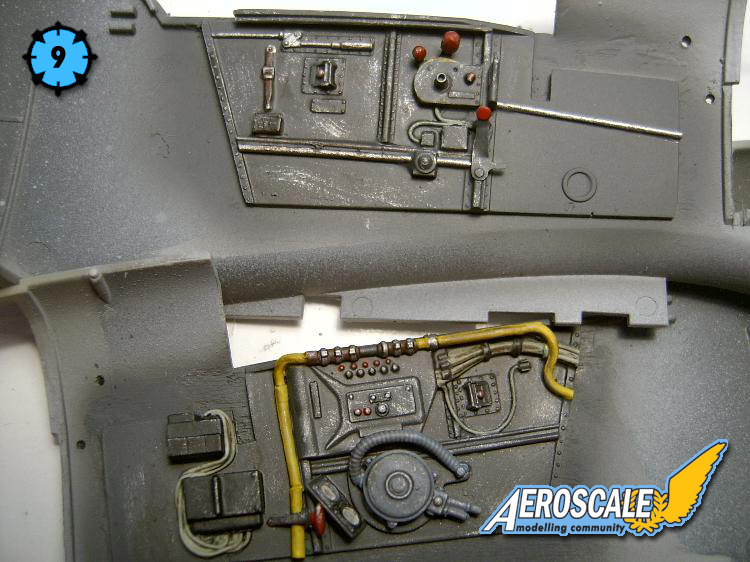
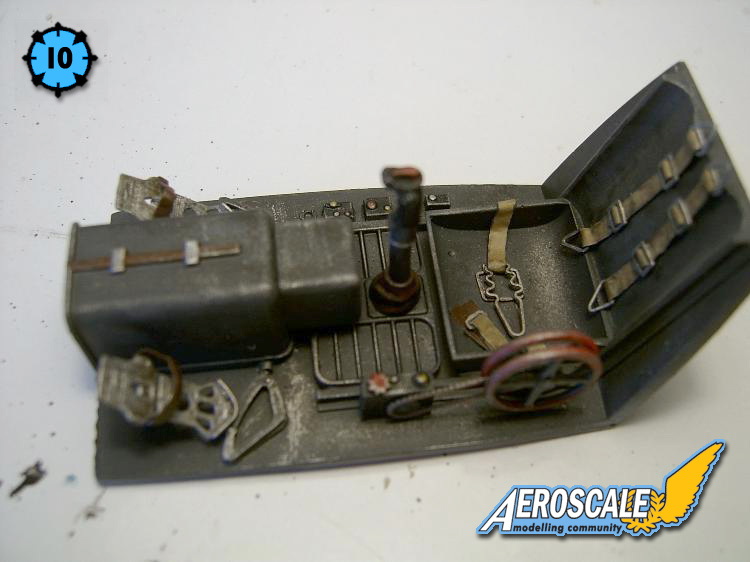
Once it was dry, I gave it a bit of a drybrush of silver to give that worn / knocked around look. The wash was achieved by using Tamiya X-19 Smoke. I thinned it down about 6 parts thinner to 4 parts X-19, and gave the cockpit area a good heavy coating. (Pics 9 & 10)
Conclusion
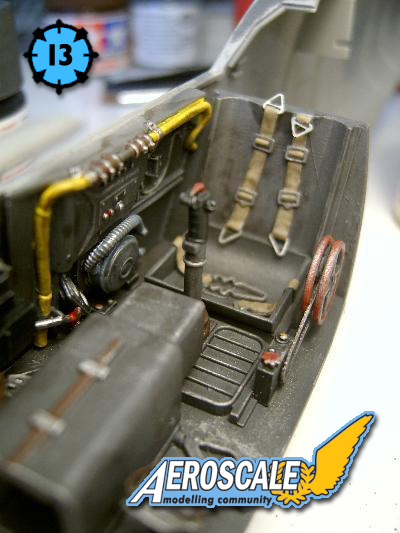
The alignment of the two fuselage halfs and the resin lower seat part fit nicely together, which makes a great looking cockpit! I do like the end result of the kit that Verlinden has put together. I would recommend this kit to anyone who is looking to build one of Trumpeters 1/24 Bf109Gs. (Pics 11 to 14)
Please remember, when contacting retailers or manufacturers, to mention that you saw their products highlighted here - on AEROSCALE.
SUMMARY
Highs:Lows:Verdict: A must for all 109 lovers! It will made a big difference with one of these install in your huge Bf109. Superbly moulded and detail. Job well done, Verlinden!
About David Johnson (Moeggo) FROM: WELLINGTON, NEW ZEALAND
Hi!! I am from Wellington, New Zealand. I got back into modeling back in January 2005. I am mainly interested in World War 2 aircraft and RNZAF during that period too. I mainly build in 1/48 but do have a few 1/32 kits. I am also starting to build a few 1/32 World War 1 aircraft also!


Comments