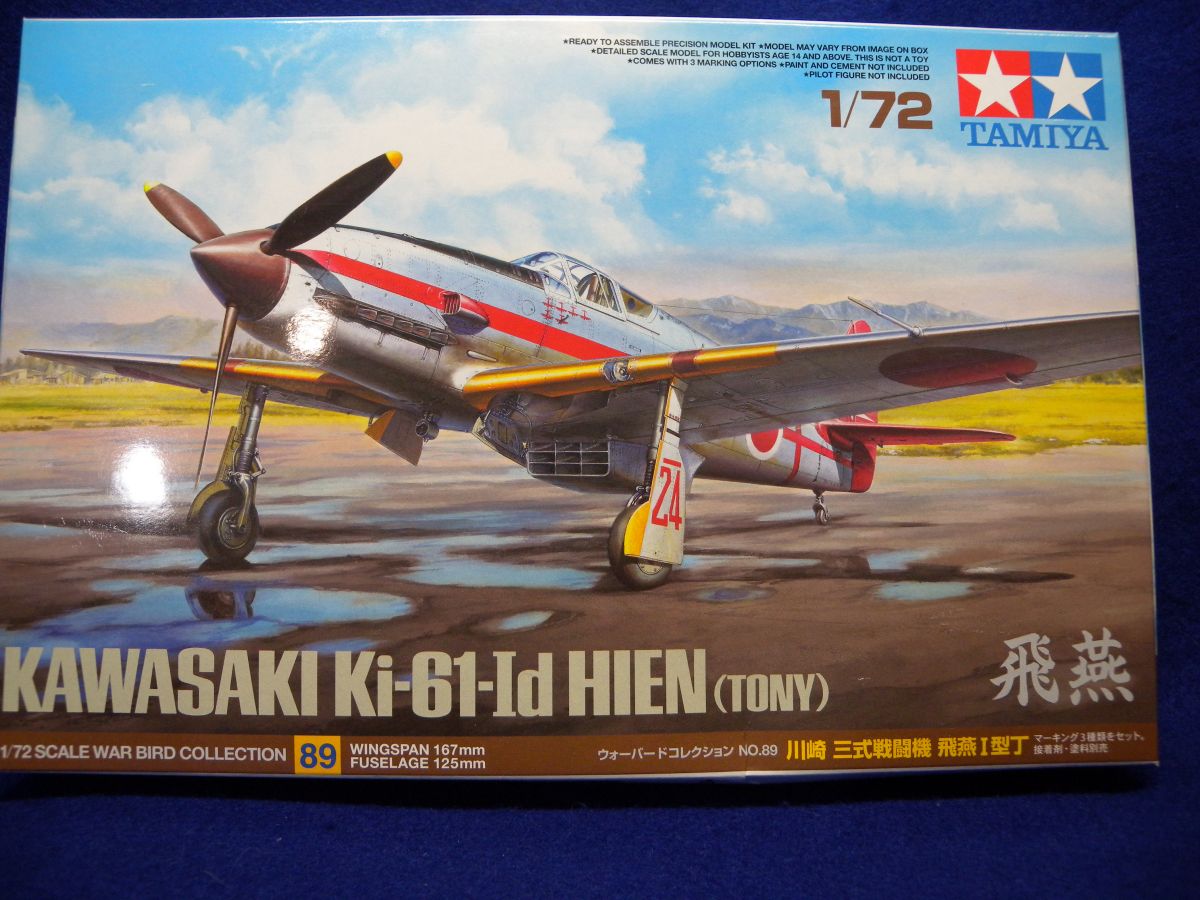
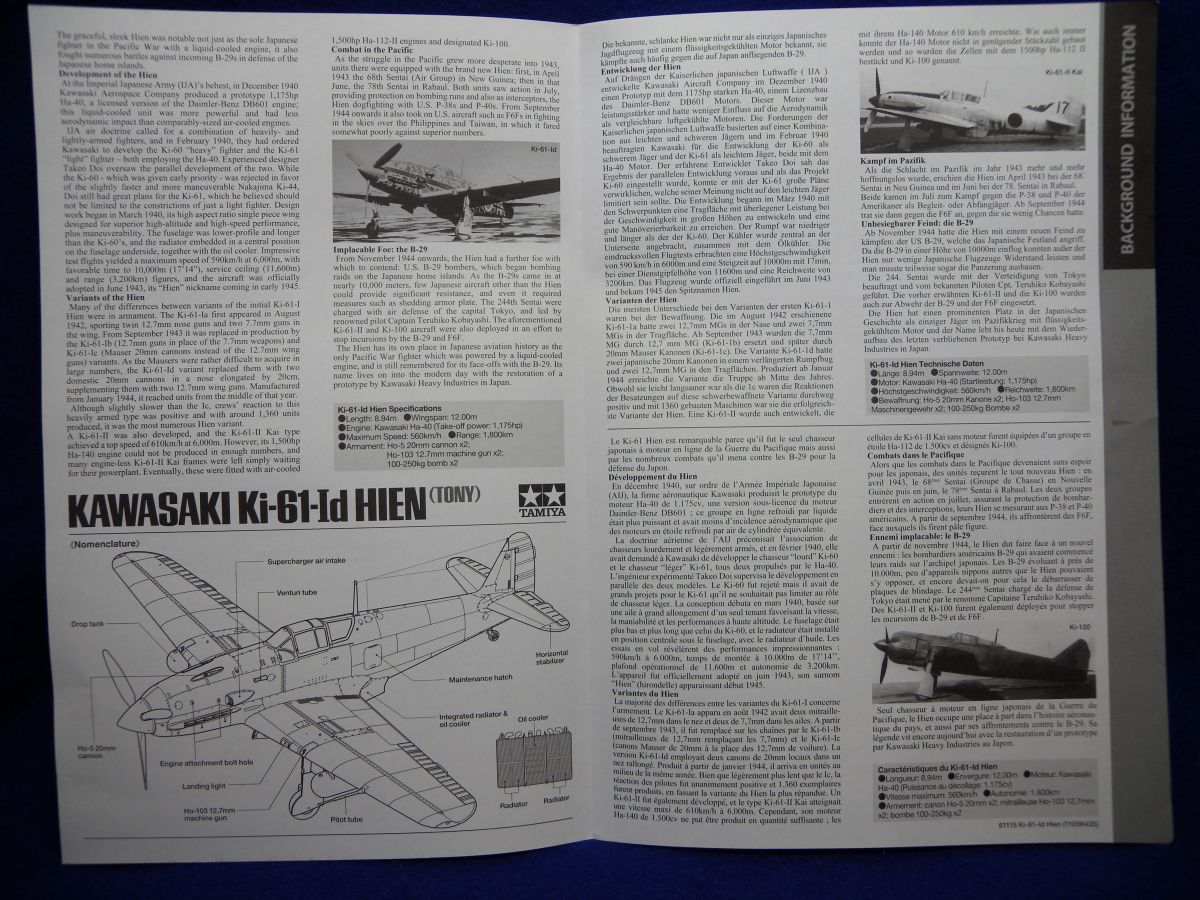
The Kawasaki Ki-61 Hien, called Fly Swallow by the Japanese and Tony by the Allies, was designed in 1939 for the Japanese Army Air Service. The design was the result of an aircraft required to be built around the Daimler-Benz DB 601 engine, being built in Japan under license. The aircraft first saw action during the Doolittle Raid in April 1942. Being the only inline production aircraft for the Japanese, over 3000 were built and served until the end of the war.
Tamiya has produced a newly tooled kit of the Kawasaki Ki-61 in 1/72 scale.
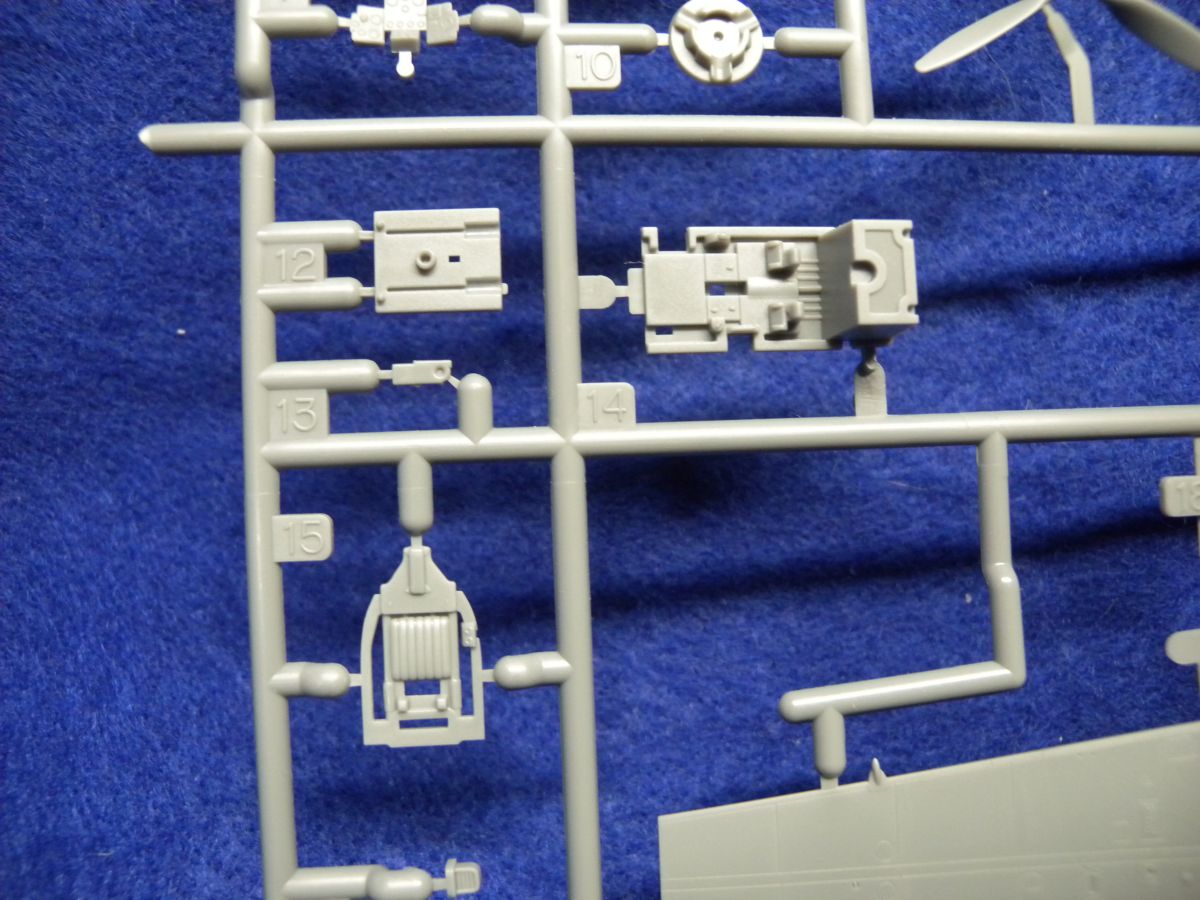
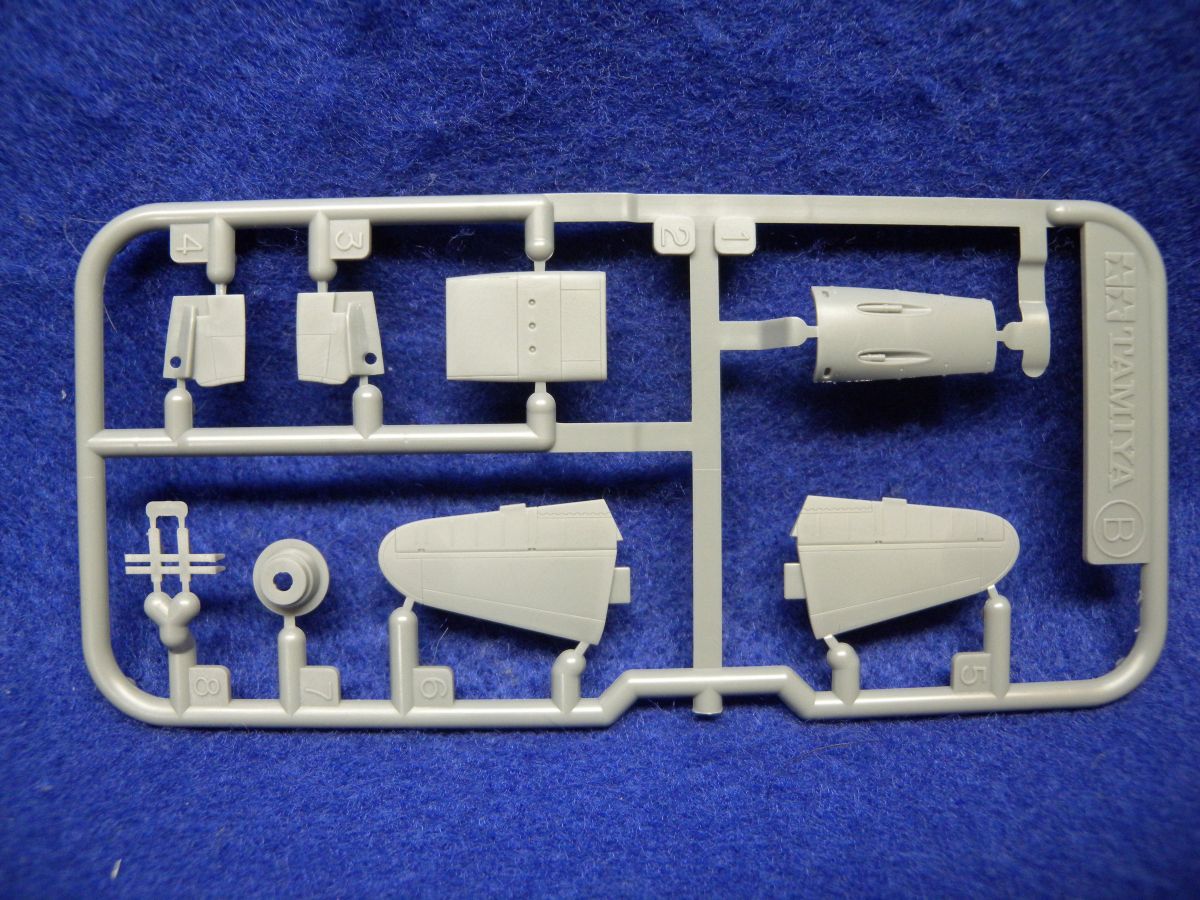
I must say opening the box and having a look at the sprues for the first time, I was really impressed by this new kit from Tamiya. The moldings look very well done, with fine engraved panel lines and rivets and very nice looking details. The kit is molded on one large sprue and one smaller sprue, with most of the main parts on the larger sprue. The parts layout is like most other aircraft kits, with the fuselage in two halves, right and left, wings in the three parts, full bottom and left and right wing tops.
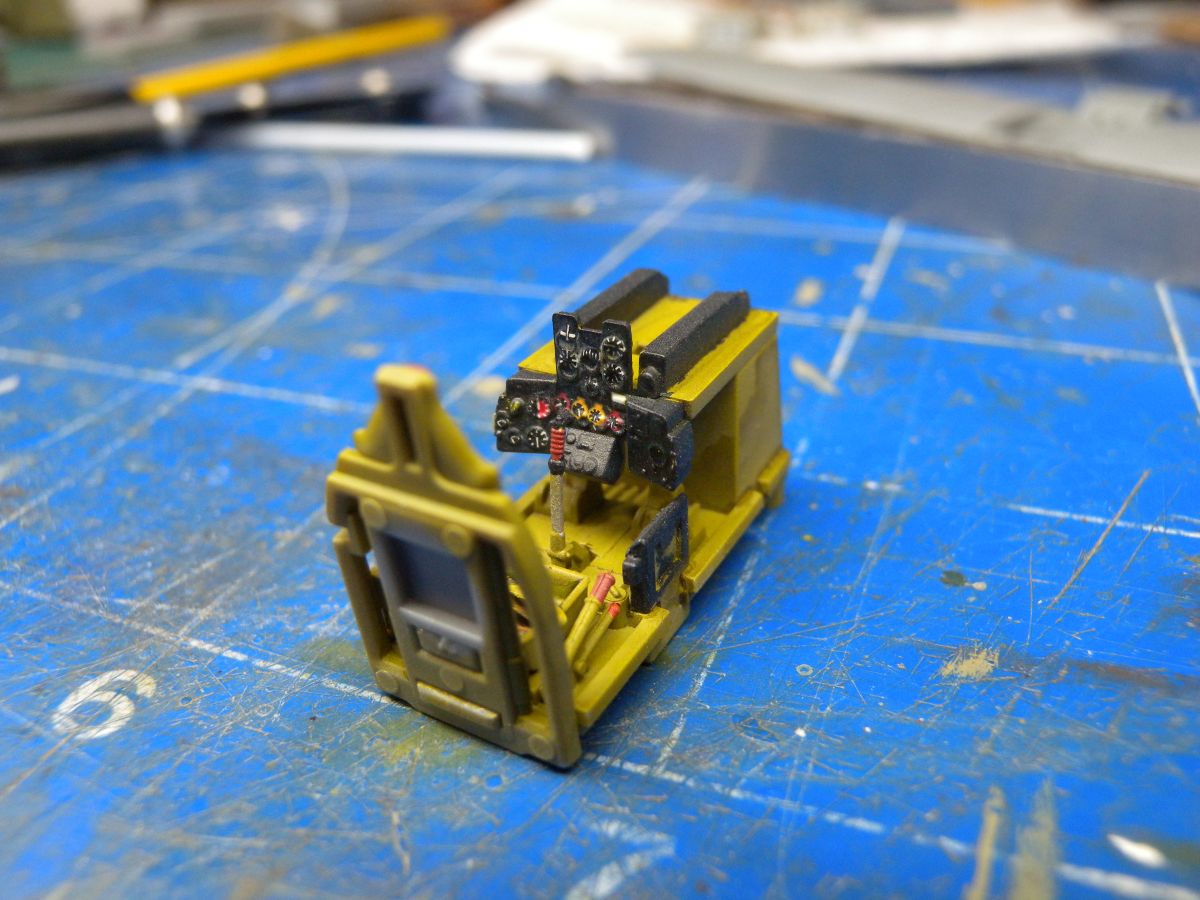
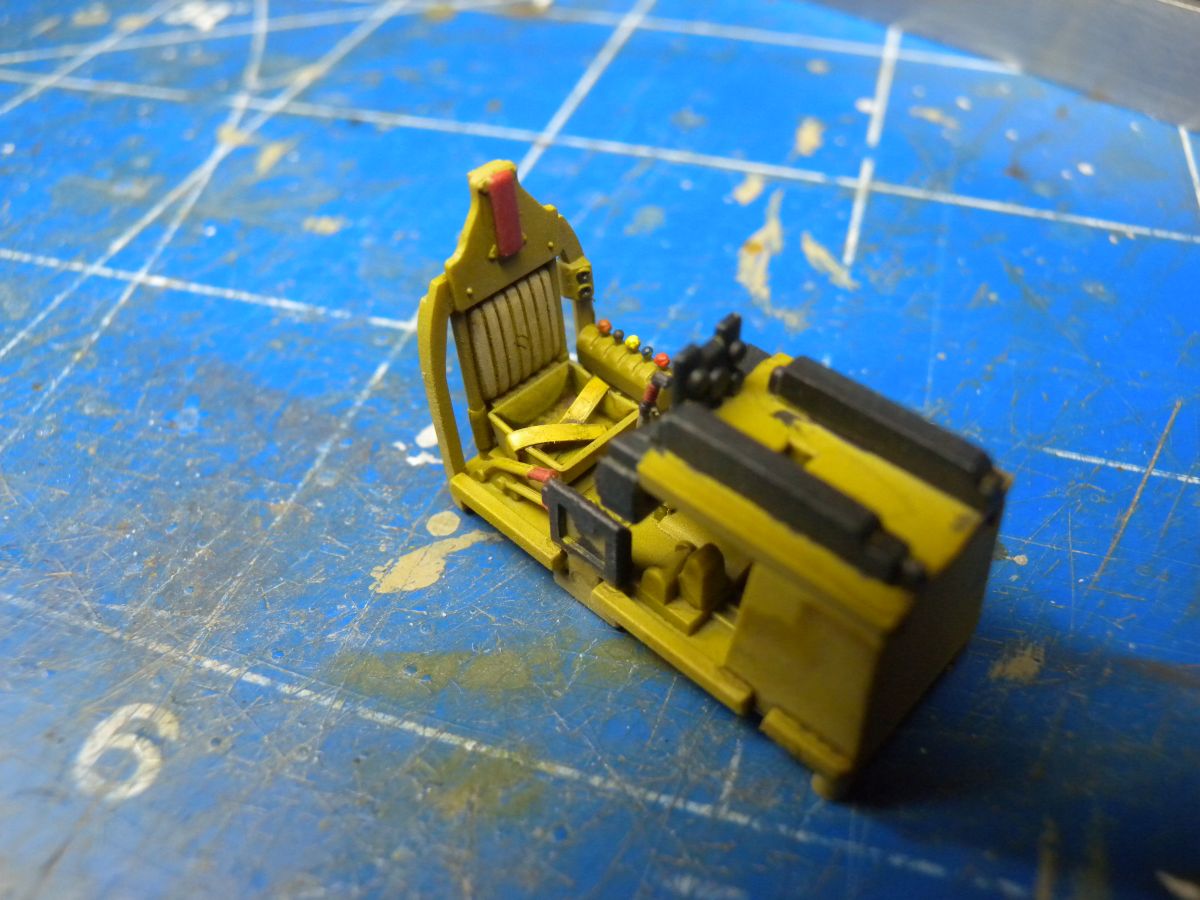
The parts for the cockpit look to be rather well done, matter of fact, this looks to be the best looking cockpit detail I have seen for a 1/72 scale kit. Decals are included for the instrument panel and for the seat belts, not my favorite, as I would replace these with a thin strip of masking tape. Unlike sandwiching the cockpit between the fuselage halves, this kit will allow the cockpit to be built seperately and slid in from the bottom.
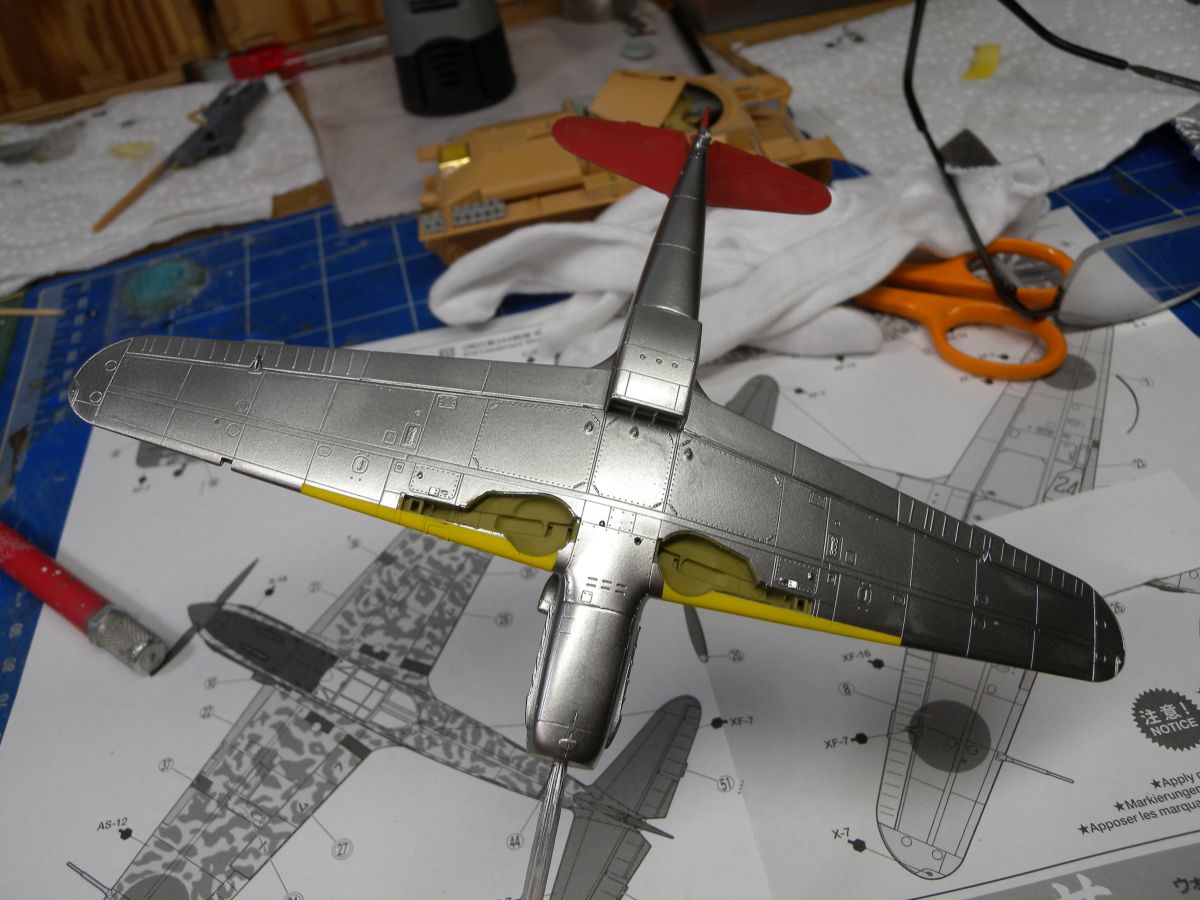
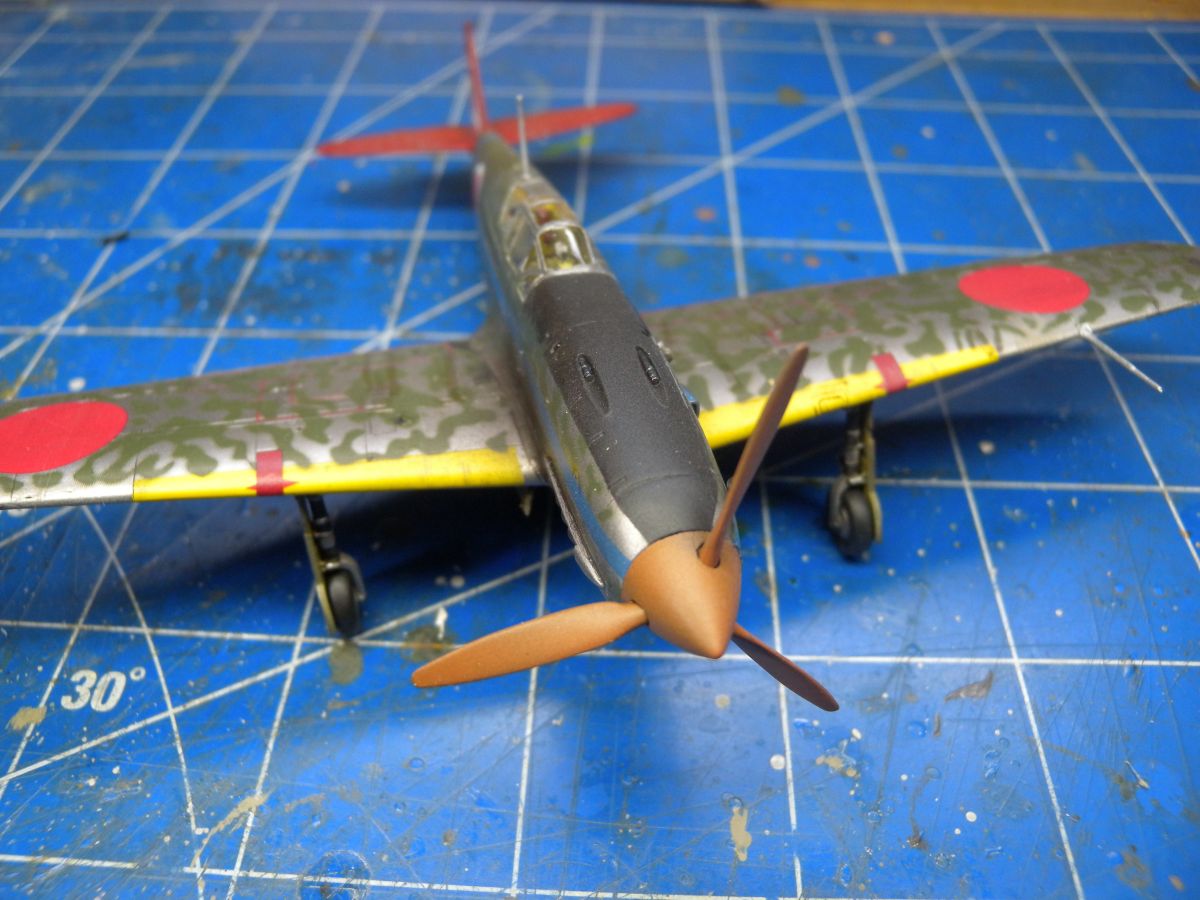
The undercarriage is also well done, with nice looking details in the wheel wheels and on the struts. The kit does look to include well thought out mounting for the landing gear with sturdy looking mounting tabs for both wing wheels and the rear tail dragger.
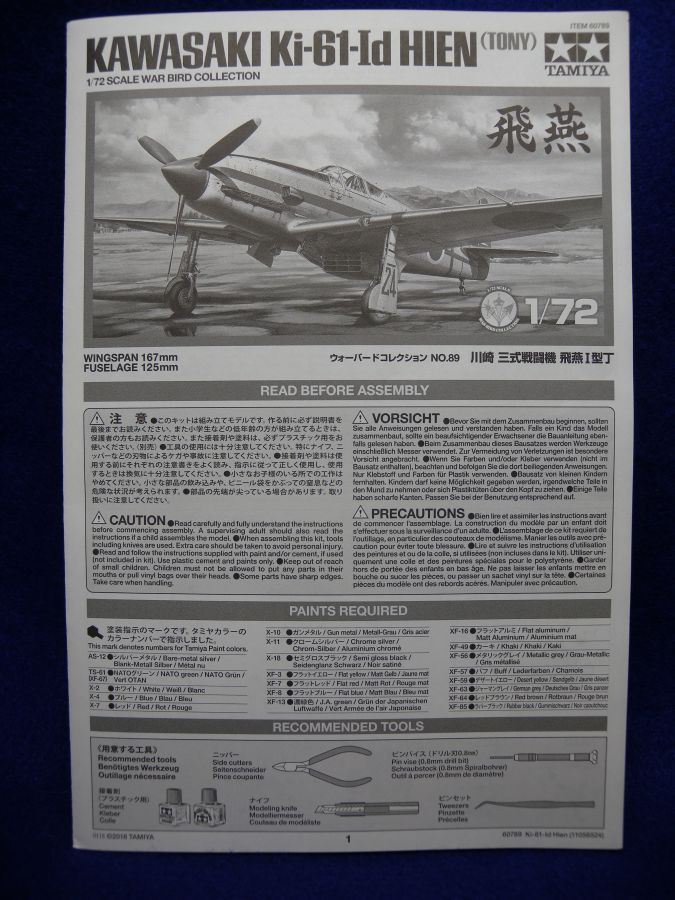
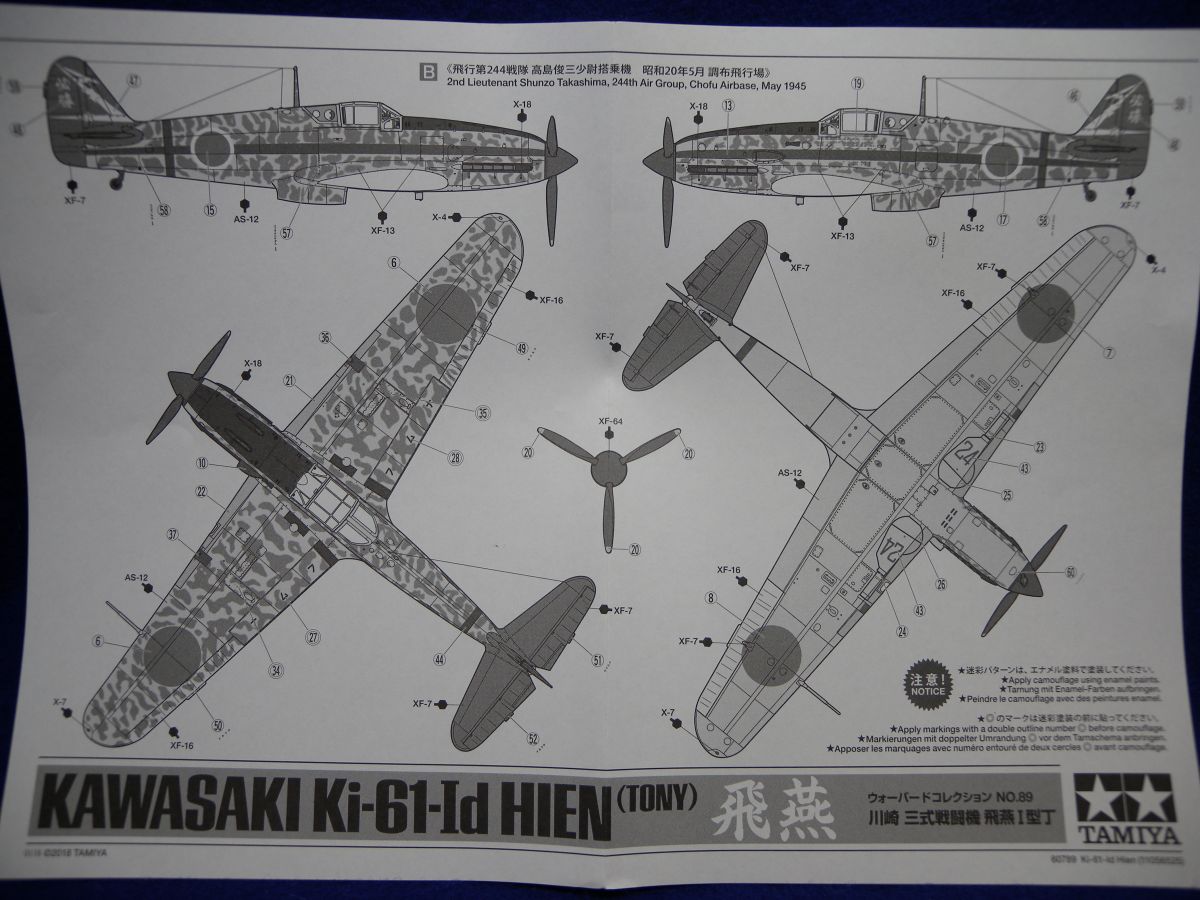
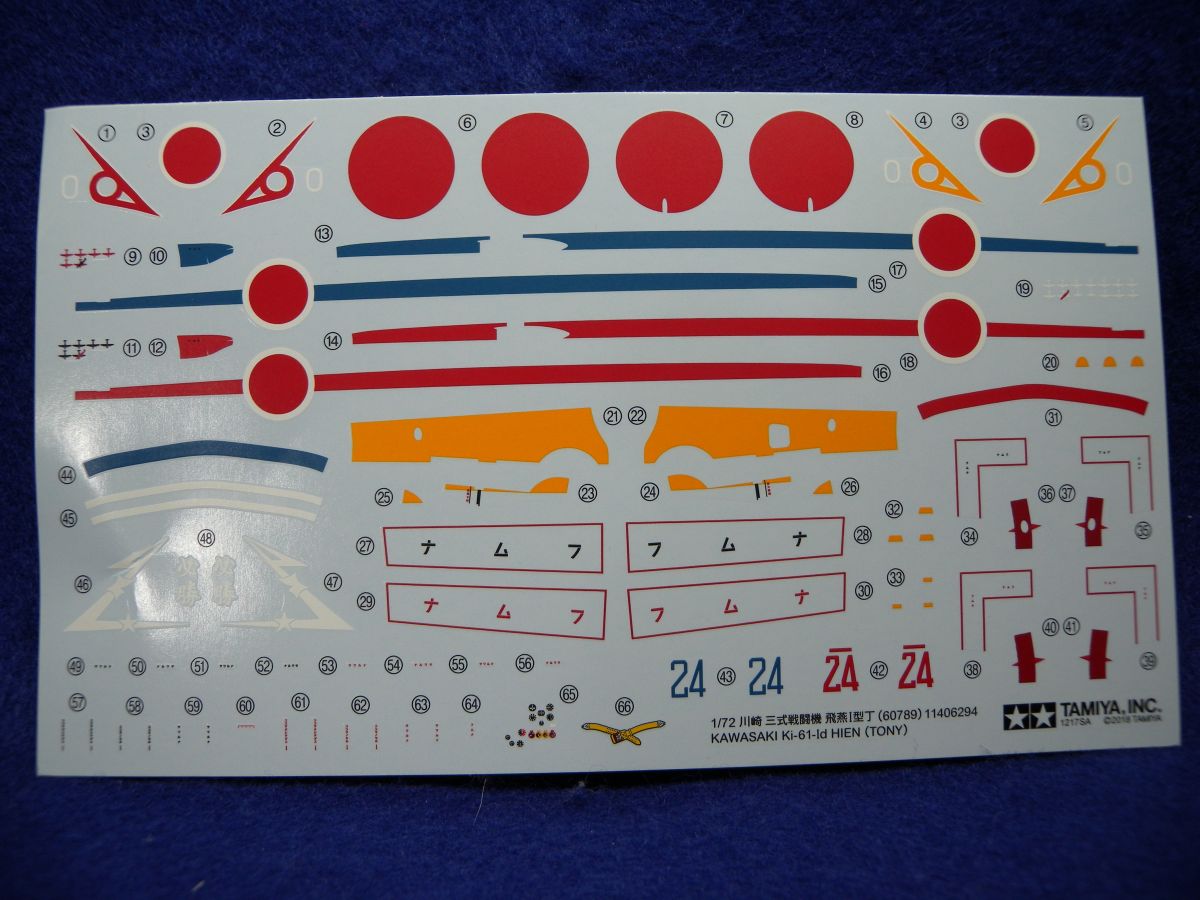
The instructions are typical Tamiya, well laid out and should allow for a nice build. There are a few steps with either filling holes or drilling holes to watch out for. The instructions include paint callouts throughout, all referencing Tamiya colors. For markings, in the kit there are two options:
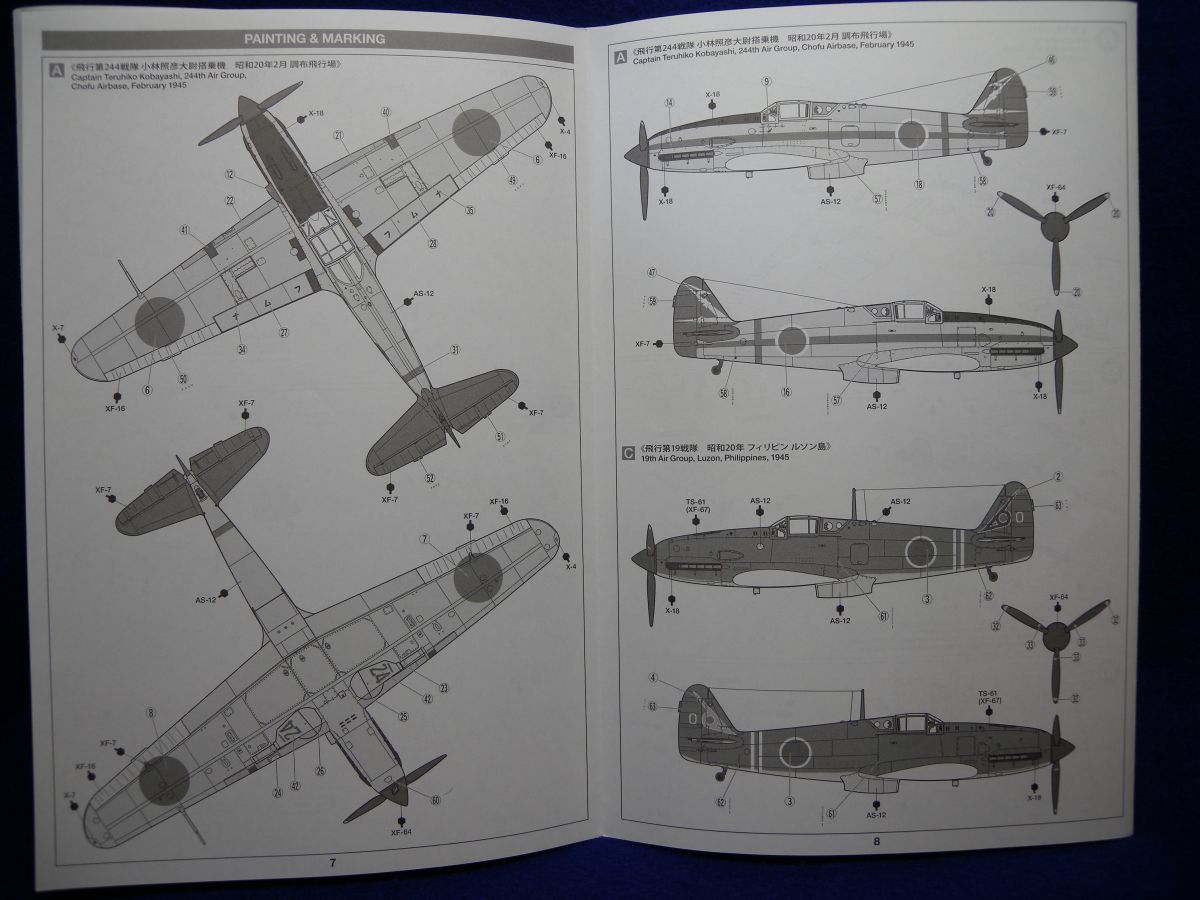
- Captain Teruhiko Kobayashi, 244th Air Group, Chofu Airbase, February 1945
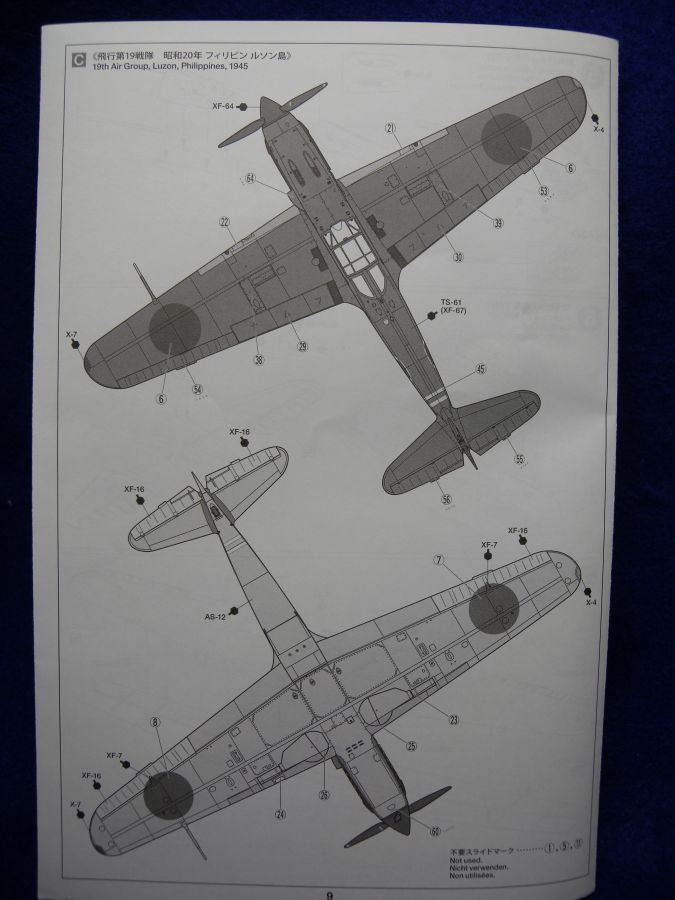
- 19th Air Group, Luzon, Philippines, 1945
The decals look to be very well printed with nice looking color and all in register.
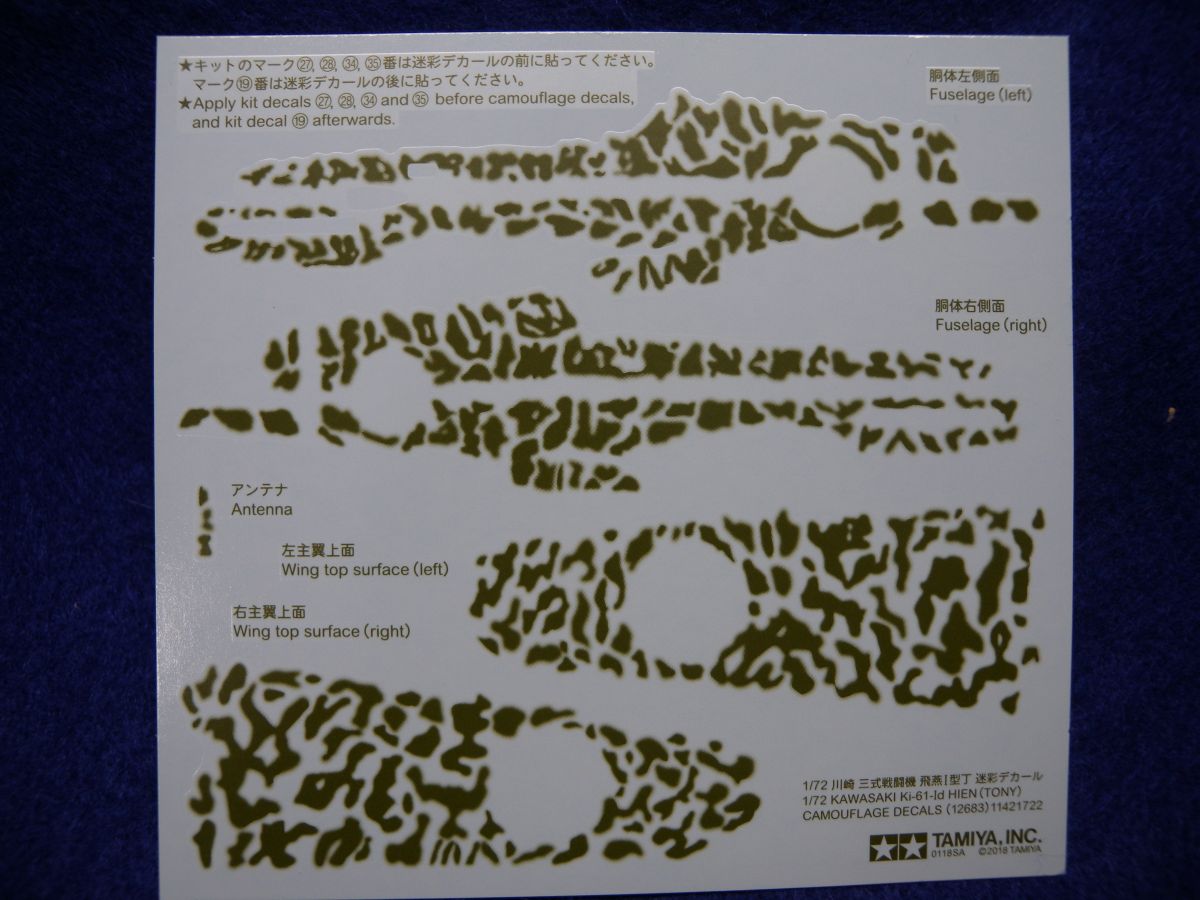
A third marking option is available as a separate set from Tamiya, for:
- 2nd Lieutenant Shunzo Takashima, 244th Air Group, Chofu Airbase, May 1945
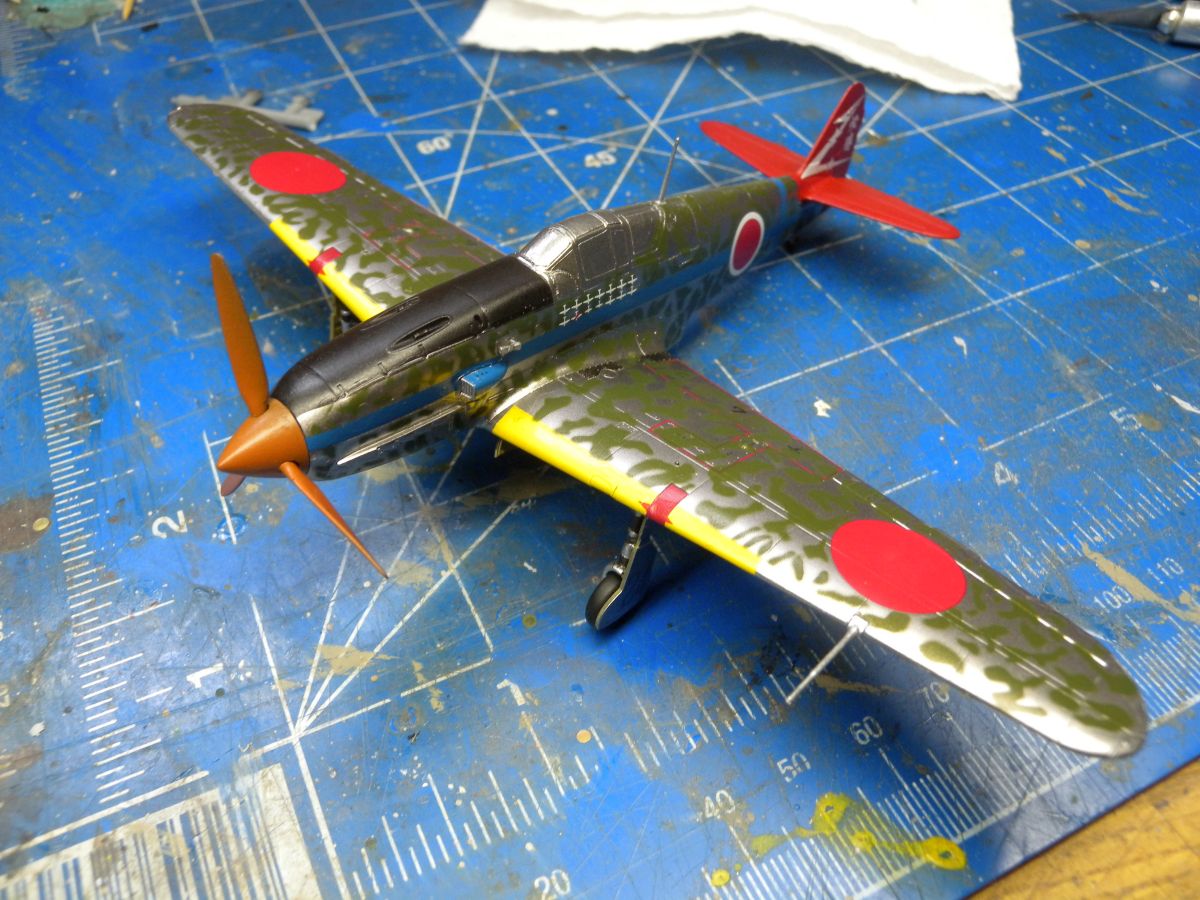
This set includes decal for the green camouflage over a natural finish, but does still use decals from the kit supplied sheet.
Build
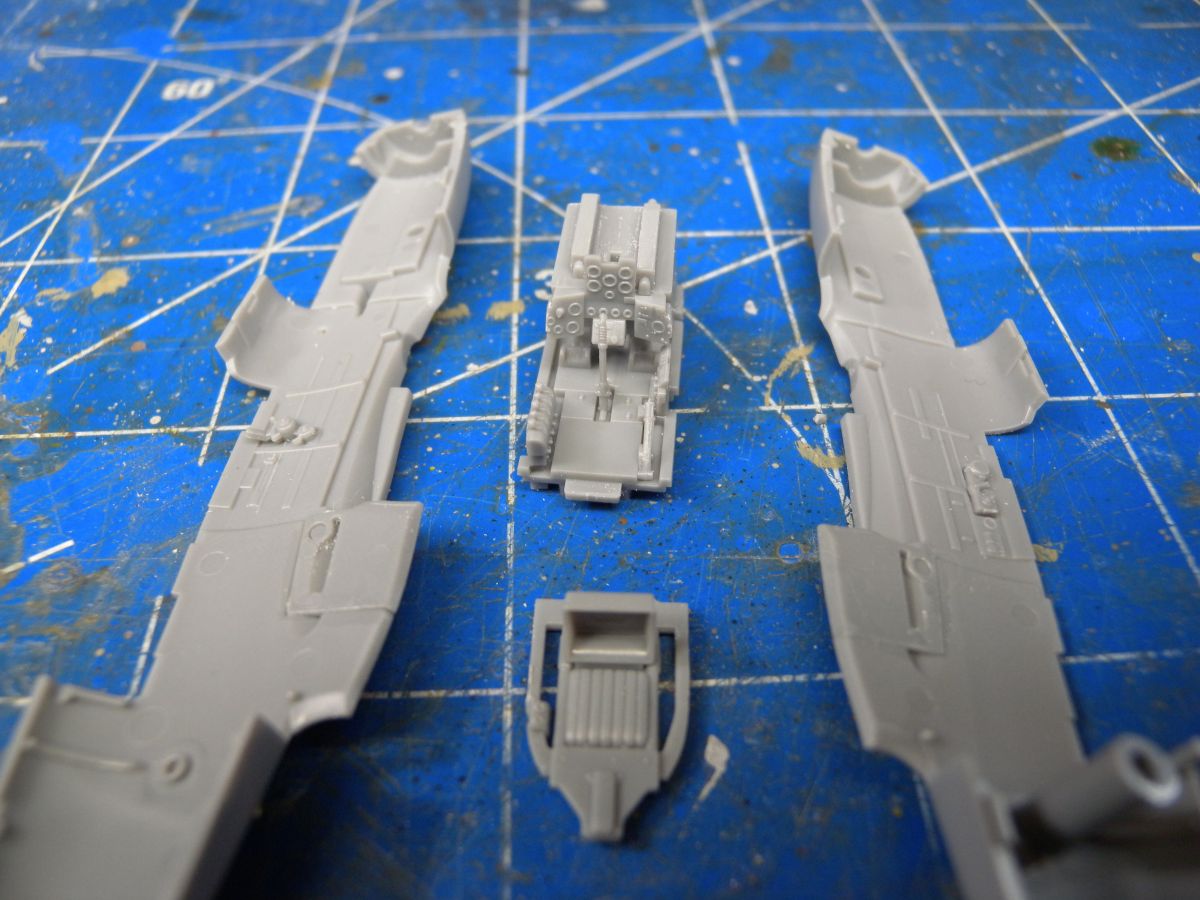
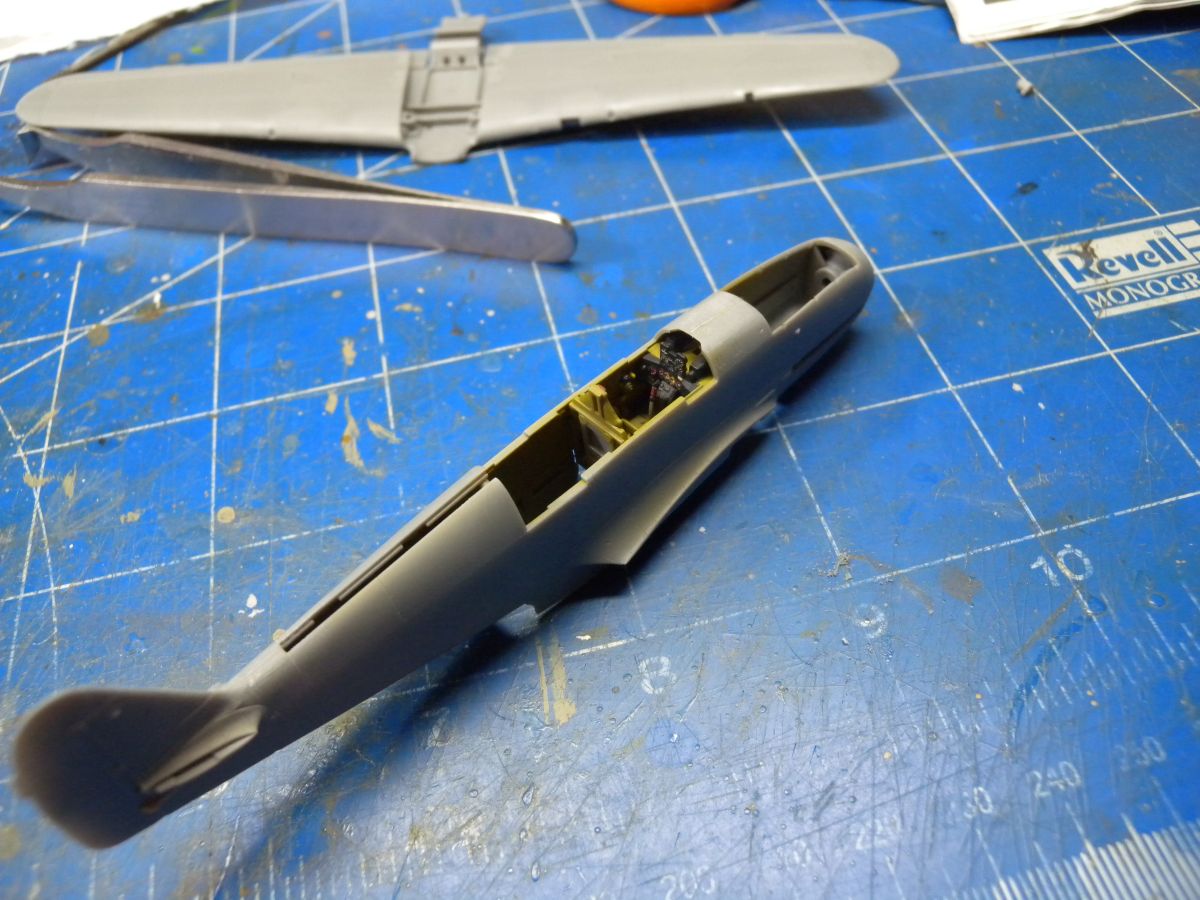
The build starts with the cockpit, and Tamiya has done an excellent job for this scale. The cockpit is very well detailed all around. As with most Tamiya kits, it almost falls together, fit is excellent. Following the instruction recommendation, I painted the interior dark yellow and painted the details with Vallejo colors. The kit decal for the instrument panel is one piece and based on the surface on the panel itself, I cut it into three parts for easy application. I did not use the kit supplied seat belt decal, I instead went with a couple small strips of 1mm masking tape.
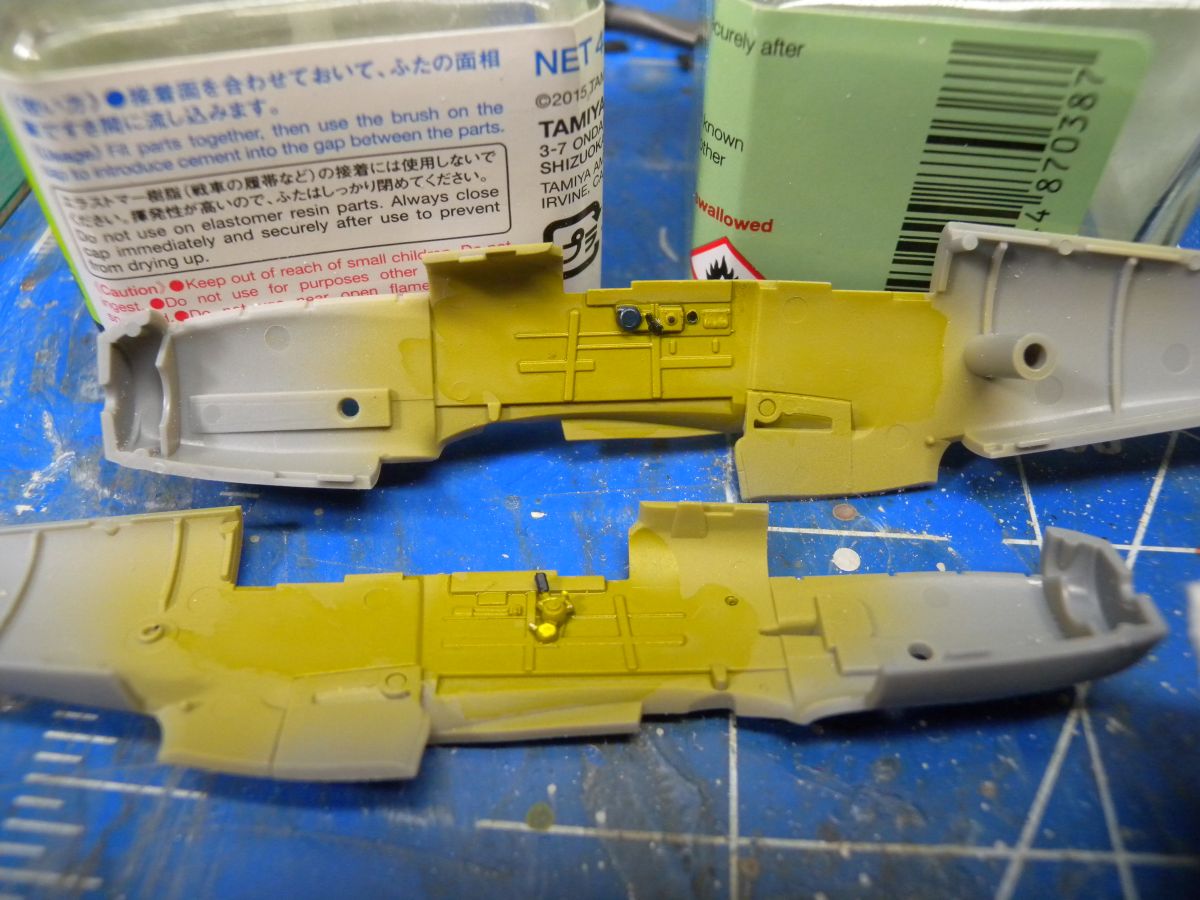
Next I moved onto the fuselage, added the nice interior detail on the side walls and painted. The fuselage halves fit very well, with only some slight sanding to hide the seams. I added the machine gun hatch and rear cockpit sections, and again perfect fit. And sliding the cockpit in from the bottom was no issue.
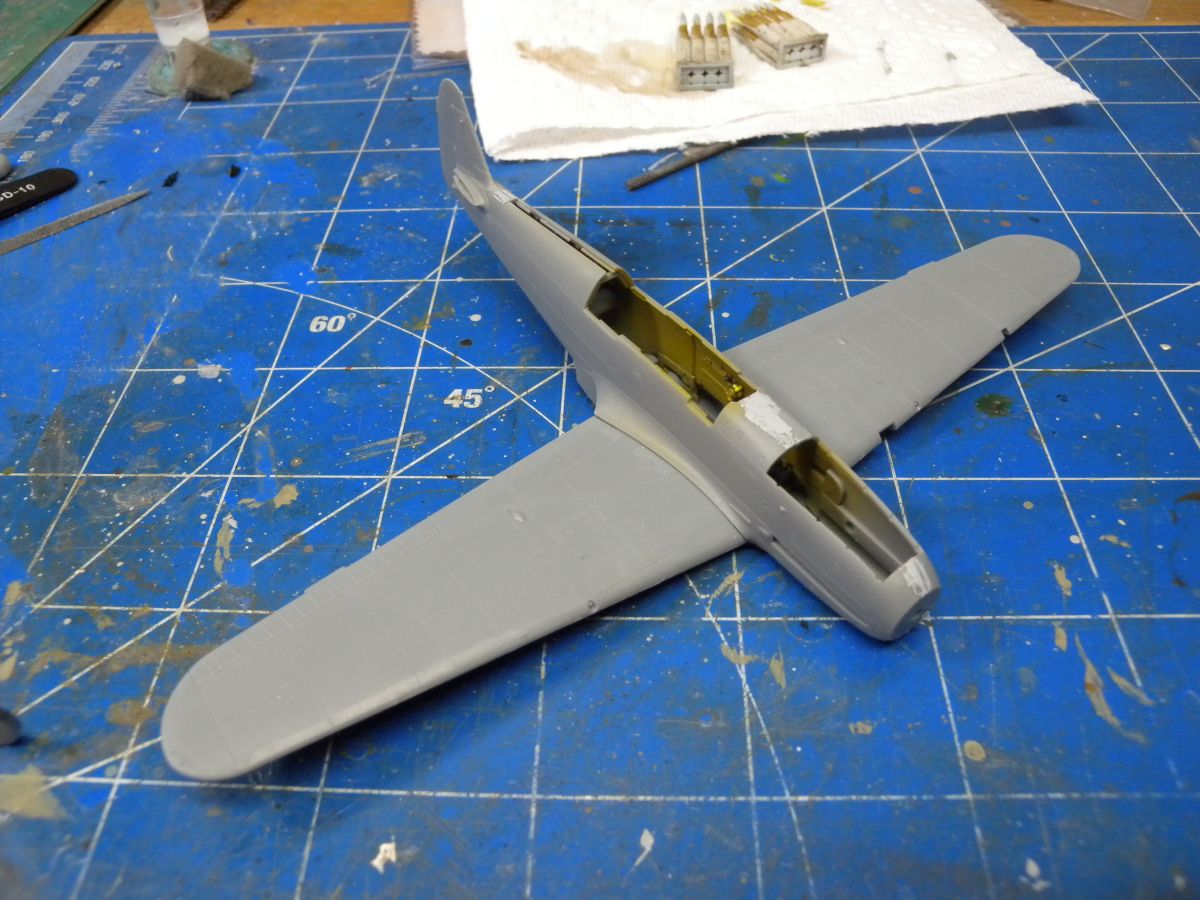
The wings were then assembled with no issue, just watch for the sprue gates that need to trimmed of interior of the mating surfaces. I painted the interior of the radiator, and then attached to cover. This was the only area the required a little putty to fill in the seam.
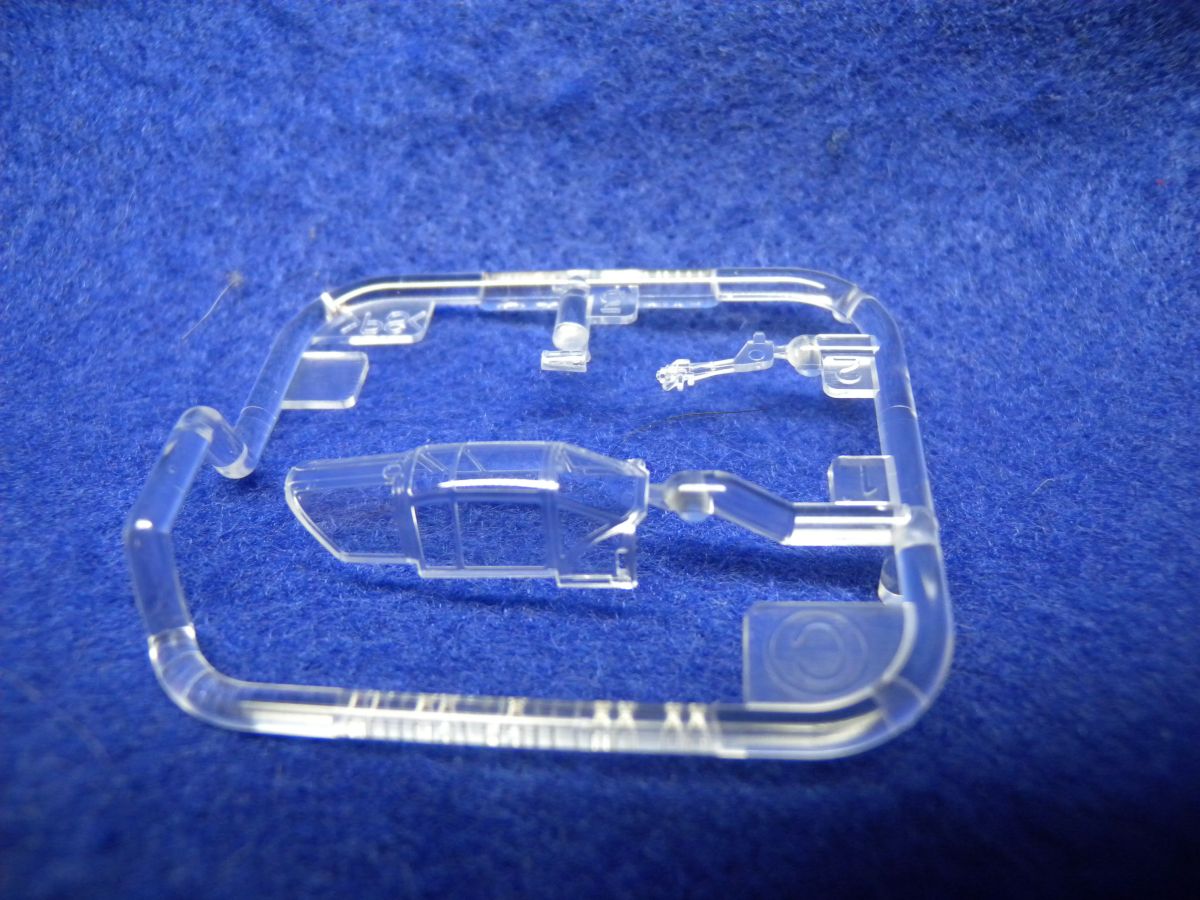
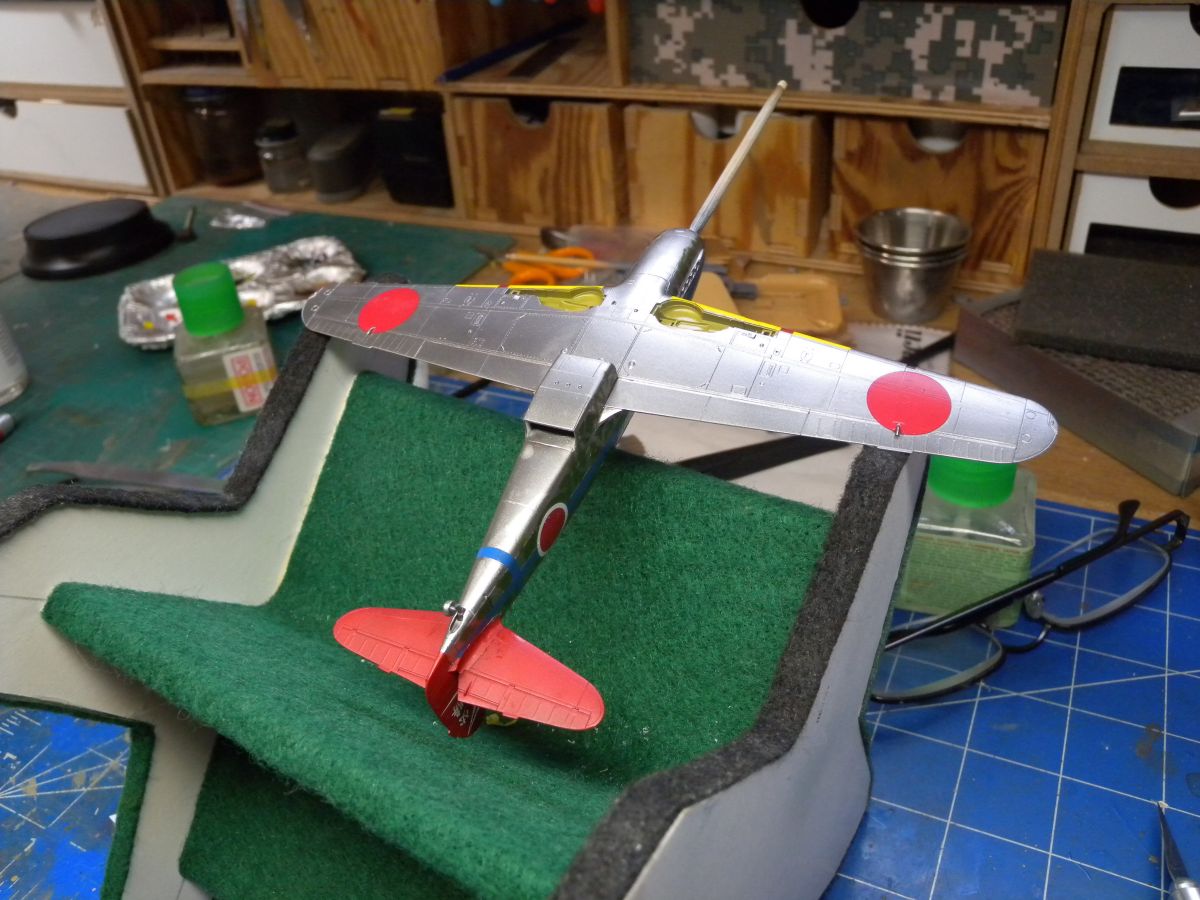
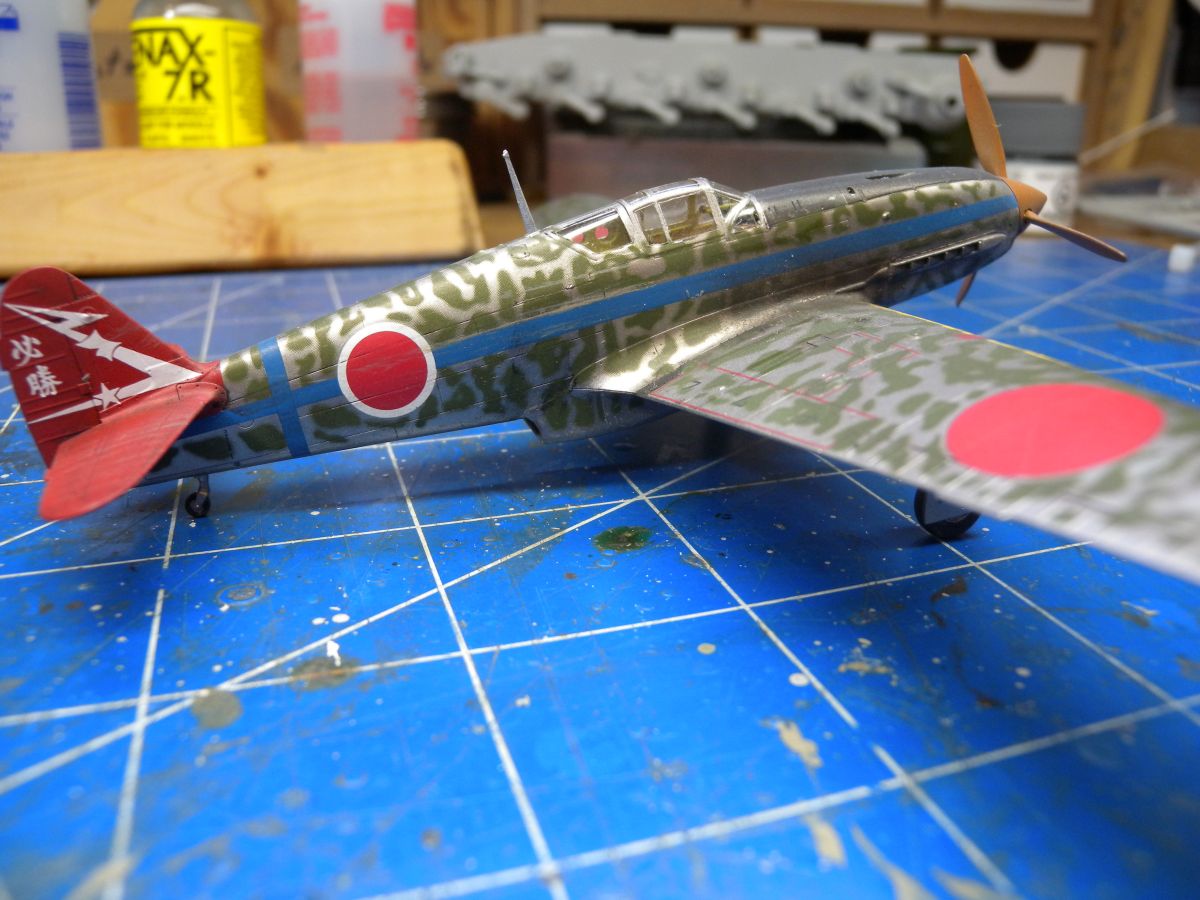
The wings attached to the fuselage with perfect fit, again Tamiya engineering at its best. The canopy was masked and attached. Planning on using the optional separate set of decals, provided in the review sample from Tamiya, I left of the antenna and other fine details for now.
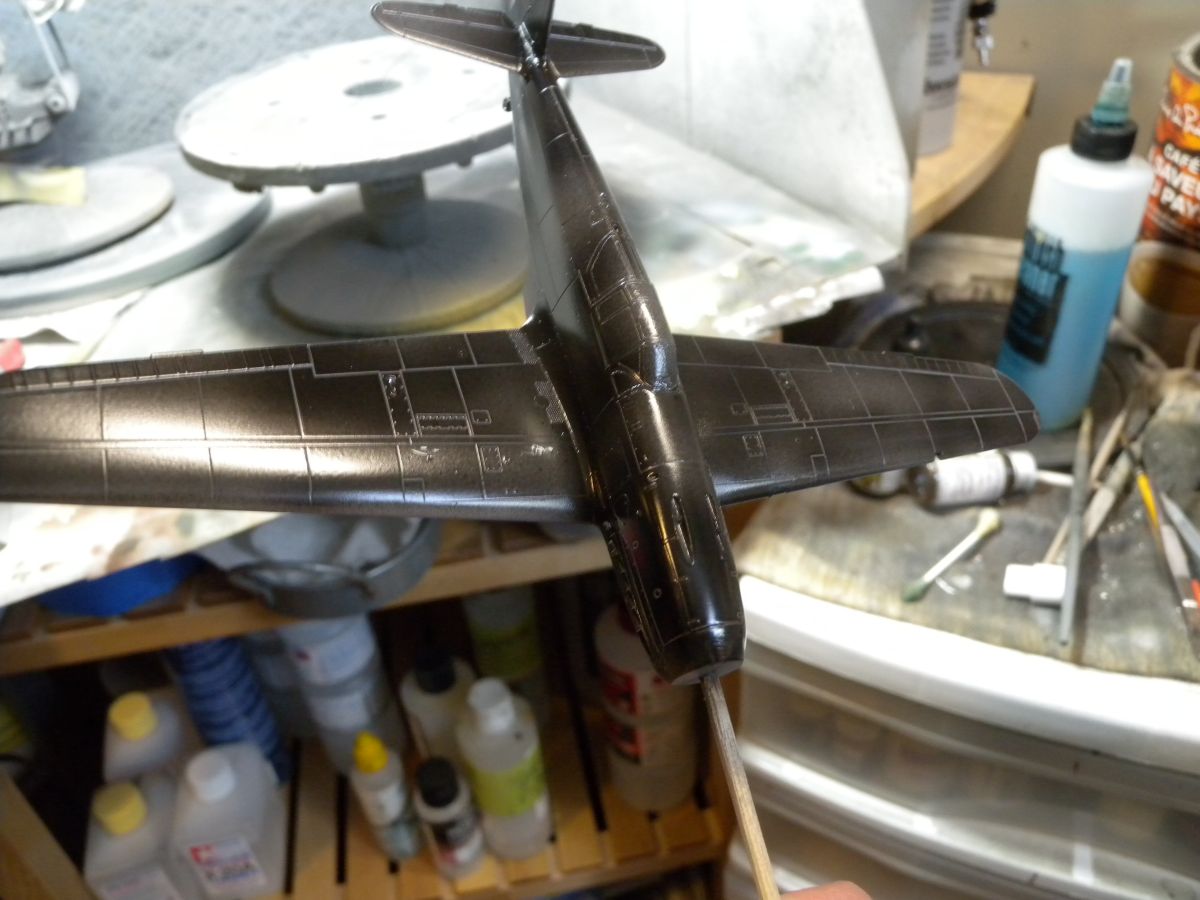
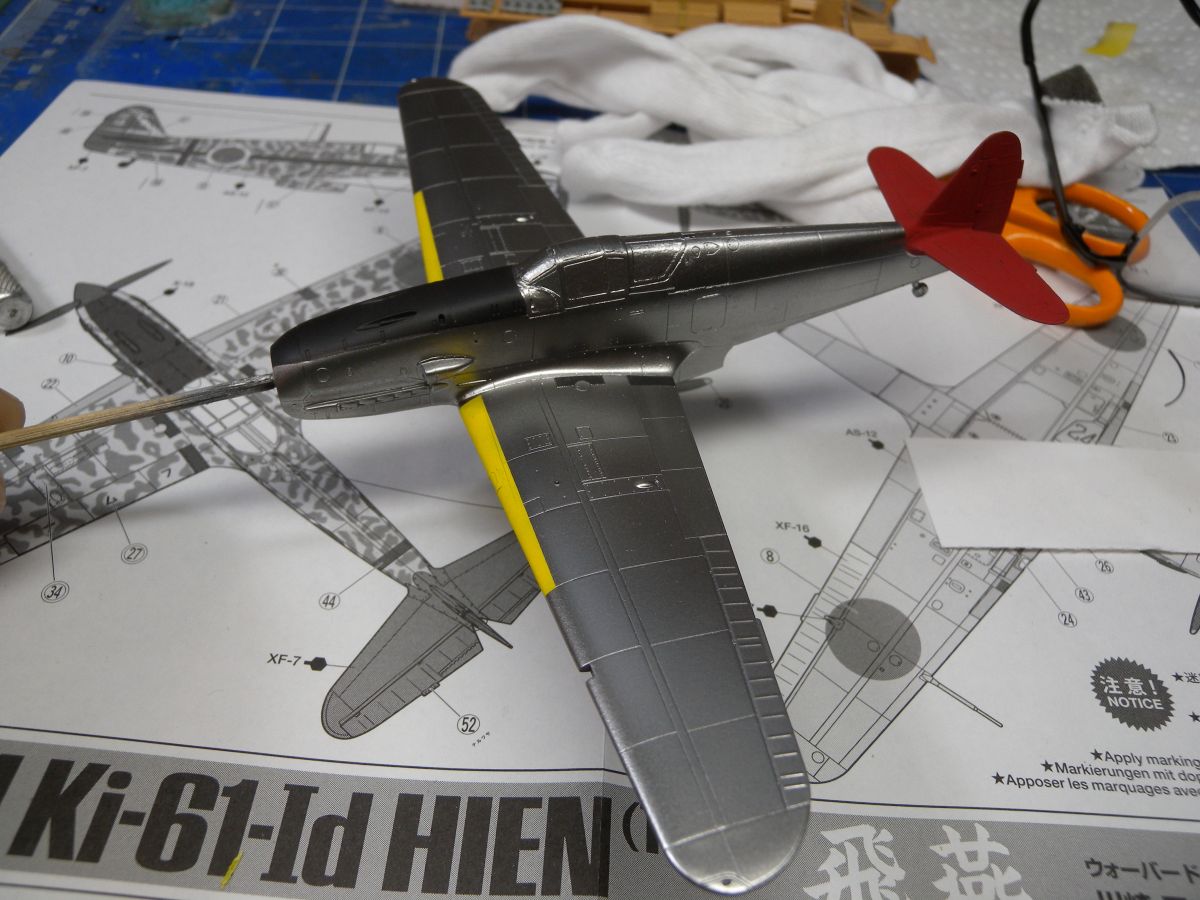
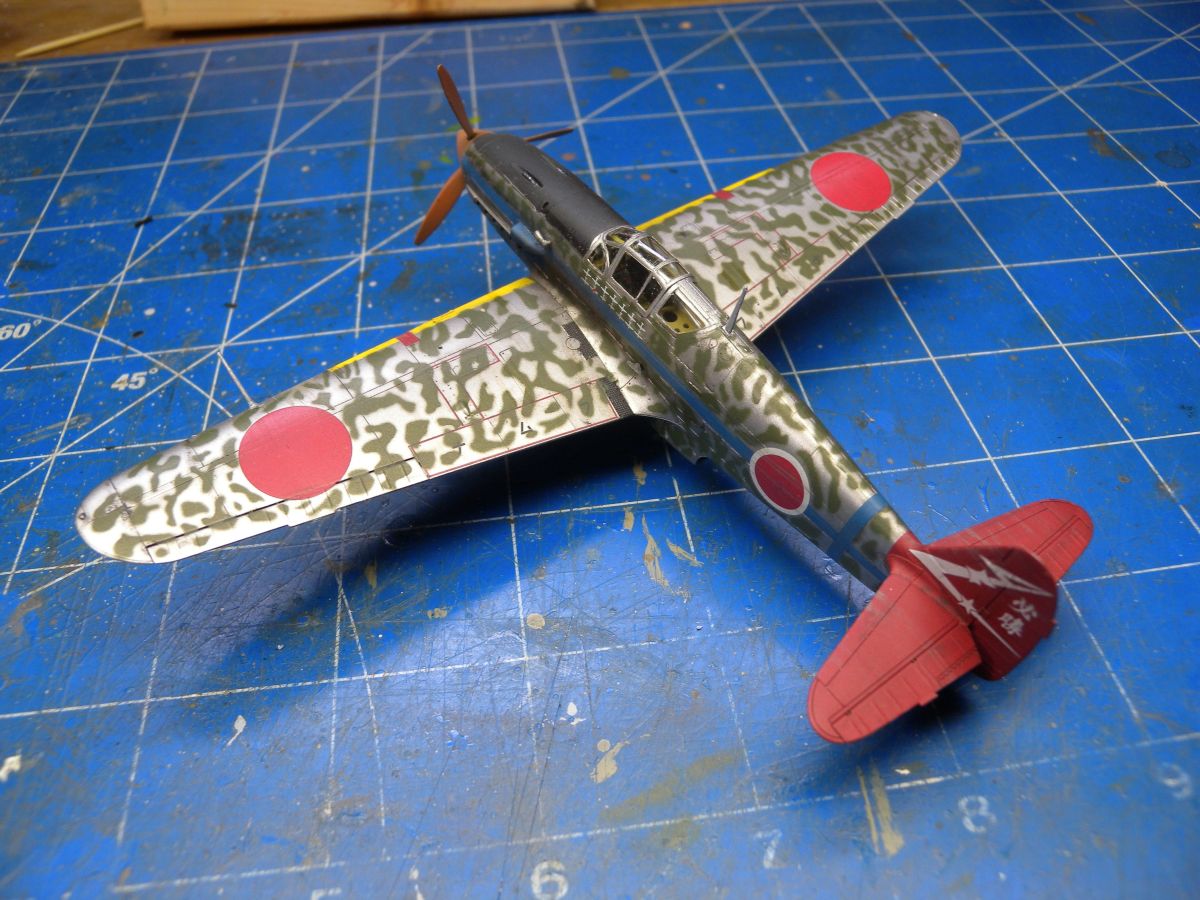
I sprayed the kit with a thin coat of Tamiya Fine primer followed by a coat of Vallejo Metal primer, which is just a gloss black primer. The kit was then painted using Vallejo Metal colors, before masking and applying the red on the tail, yellow on the leading edge of the wing, and black in front of cockpit.
After a coat of Future it was time for the decals. While the marking guide is included in the kit, the decals for Option B are sold separately. Now you do have to watch the order the decals are applied, with some of the kit decals applied before the camouflage decals. I did apply these decal whole of the sheet, but in retrospect, the decal for the left side I should have cut into workable chunks, as I did have a struggle to get it into place are the exhaust and air intake.
While the decals look nice, and made the camouflage very easy, the issue with Tamiya decals I have found, is they don't react well to MicroSol or SolvaSet very well, being they don't always like to lay down into all the details. This added to the remaining decals after the camouflage not wanting to sink into the panel lines very well.
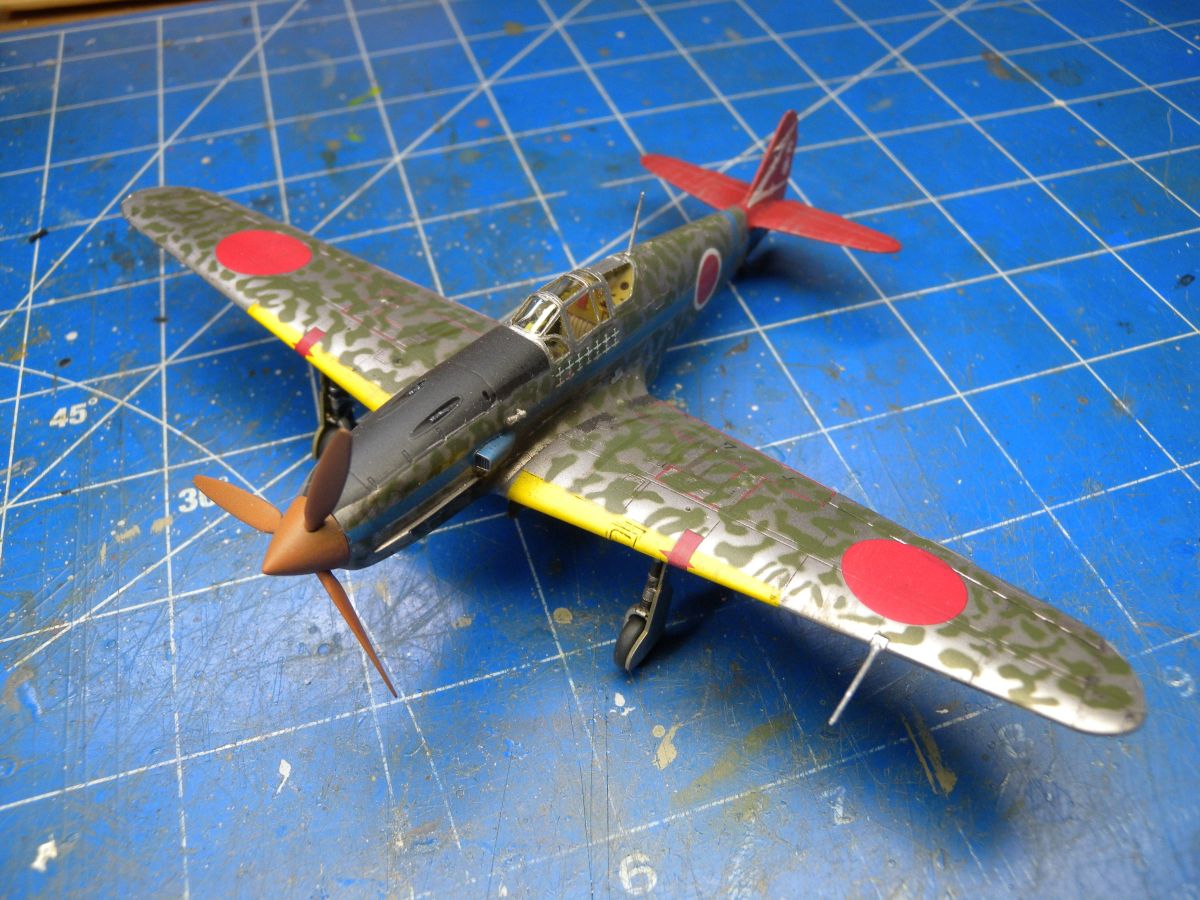
With decals applied, I added the remainder of the details to the kit, including the landing gear with its very sturding mounting tabs, nice touch Tamiya! Everything was then sealed and I added some slight weathering and panel line details.
Overview
I must say this is an excellent kit from Tamiya, and the most fun I have had building a 1/72 scale kit in a very long time. The overall detail, including finely engrave panel lines, is very well done, and the fit is excellent. The separately sold camouflage decals make for easy work of the finish, with the exception of not fully sitting down with Solva Set, but this is minor. I am very please with how the build turned out, and would highly recommend this kit to anyone.
SUMMARY
Highs: Excellent moldings, detailed cockpit, excellent fitLows: Decals seem difficult to get down into all the detailVerdict: An excellent kit all around, details, build, highly recommended
Our Thanks to Tamiya USA! This item was provided by them for the purpose of having it reviewed on this KitMaker Network site. If you would like your kit, book, or product reviewed, please contact us.
I am an IT Consultant and father, with a passion for plastic models. I mostly prefer 1/35 Armor and 1/48 Aircraft. My main interests are anything Canadian, as well as WW2 German and British Armor and Aircraft. I have been building models since I was a young kid, got away from it for awhile, but r...
The Tony looks very good Kevin, looks like a good investment if you are suffering from builders block. Just a pity about the decals for the roundels, they just don't look right? From the last image it looks as if you can see the blue fuselage strip under the roundel? I think some thinner aftermarket ones might be necessary or maybe the use of masks. Nevertheless nicely done Kevin.
tim
Thanks for the review Kevin. I've always liked the sleek nose of this plane. I'm just finishing a build of Tamiya's venerable A6M2 Rufe and it has gotten me in the mood for Japanese fighters. And since I find myself gravitating to 1/72 scale, this kit checks all the boxes.
The low-point of the Rufe was also the thick decals. Close trimming of the roundels avoided major problems there, but I had significant silvering and ridges on the tail numbers.
Kevin, good review and nice build!
This kit found its way in my shopping basket already.
I like Tamiya kits but I just keep wondering: Why take them so long to address the decals issue? Every single review gravitate around two poles: brilliant engineering and poor decals. Why takes them decades to fix the issue?
Anyhow, there is a wind of change sweeping Tamiya yard for what I can guess and I hope is for the best.
Gabriel


Comments