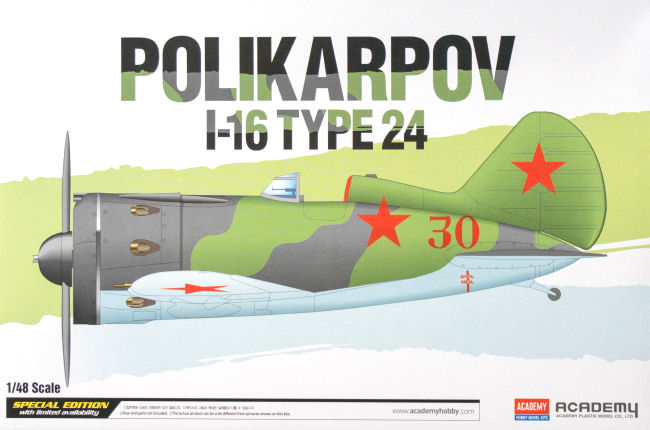
HISTORY
While working on the Polikarpov I-15 biplane, Nikolai Nikolaevich Polikarpov began designing an advanced monoplane fighter. It featured cutting-edge innovations such as retractable landing gear and a fully enclosed cockpit, and was optimized for speed with a short stubby fuselage similar to the Gee Bee R-1 and a Wright R-1820 radial engine in a NACA cowling. The aircraft was small, light and simple to build.
Service trials of the new fighter, designated I-16, began on the 22nd of March in 1934. The M-22 prototype reached 359 km/h (223 mph). The manually retracted landing gear was prone to jamming and required considerable strength from the pilot.
Naval Aviation was deployed in defense of Odessa (JuneOctober 1941), in operations in the Crimea and the Black Sea and carried out successful air strikes in the last stages of the conflict on the European and Pacific Fronts.
During the war, Naval Aviation delivered an immense blow to the enemy in terms of sunken ships and crews, two and a half times more than any other unit of the Soviet Navy. Seventeen naval aviation units were honored with the title of the Soviet Guards, while 241 men were awarded with the title of the Hero of the Soviet Union (including five pilots decorated twice).
GENERAL CHARACTERISTICS
General characteristics of the Type 24 are as follows.
- Crew: One
- Length: 6.13 m (20 ft 1 in)
- Wingspan: 9 m (29 ft 6 in)
- Height: 3.25 m (10 ft 8 in)
- Wing area: 14.5 m² (156.1 ft²)
- Empty weight: 1,490 kg (3,285 lb)
- Loaded weight: 1,941 kg (4,279 lb)
- Max. takeoff weight: 2,095 kg (4,619 lb)
- Powerplant: 1 × Shvetsov M-63 supercharged air-cooled radial engine, 820 kW (1,100 hp) driving a two-blade propeller
Performance
- Maximum speed: 525 km/h (283 kn, 326 mph) at 3,000 m (9,845 ft)
- Range: 700 km (378 nmi, 435 mi (with drop tanks))
- Service ceiling: 9,700 m (31,825 ft)
- Rate of climb: 14.7 m/s (2,900 ft/min)
- Wing loading: 134 kg/m² (27 lb/ft²)
- Power/mass: 346 W/kg (0.21 hp/lb)
- Time to altitude: 5.8 minutes to 5,000 m (16,405 ft)
Armament
- 2 × fixed forward-firing 7.62 mm (0.30 in) ShKAS machine guns in the upper cowling
- 2 × fixed forward-firing 20 mm (0.79 in) ShVAK cannons in the wings
- 6 × unguided RS-82 rockets or up to 500 kg (1,102 lb) of bombs
- Also the I-16 Type 24's landing flaps replaced drooping ailerons, a tail-wheel replaced the landing skid, a second cockpit door was put on the starboard side, and a Shvetsov M-63 engine was installed to further boost performance.
THE BUILD
With the memory of those many kits from the 70's and 80's forever burned into my model building memory banks, I always assume there will be fun challenges to face and then take pride in once each hurtle has been leaped over. The
Academy Polikarpov I-16 Type 24 was no exception. Did it require a ton of work? That depends on your skill building muscles I suppose, after all we have different definitions of ease of work and weigh them accordingly. For example, I love scratch building and think nothing of drilling holes, stretching a few sprews, or cutting up tape to make seat belts. Some assemblers, on the other hand, loath such an effort. That said, this kit does require a few things to get it looking close to authentic. Thus I'll go into this in detail throughout the build.
As a
disclaimer I'll state upfront that this is my first build review for KitMaker and AeroScale and I relish any feedback you're willing to take the time to provide. Improvements in material and photography are on the way via a slow boat from China. :)
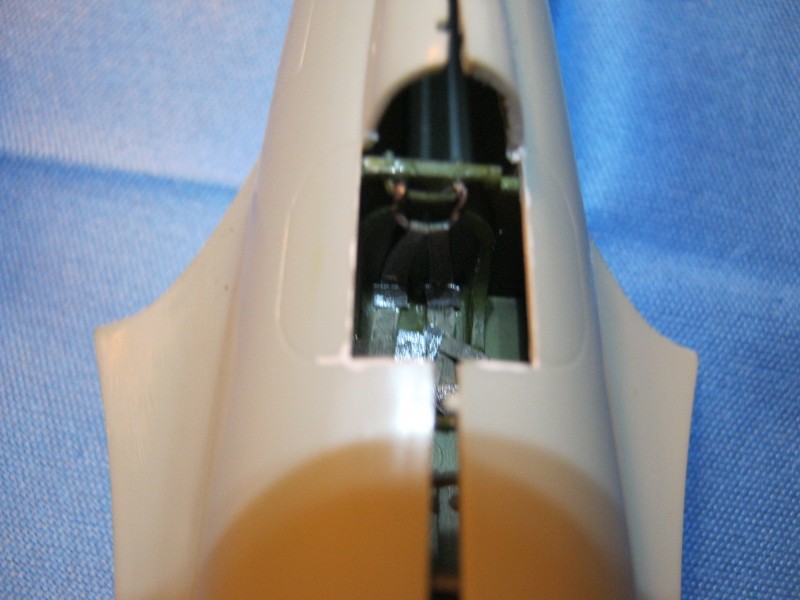
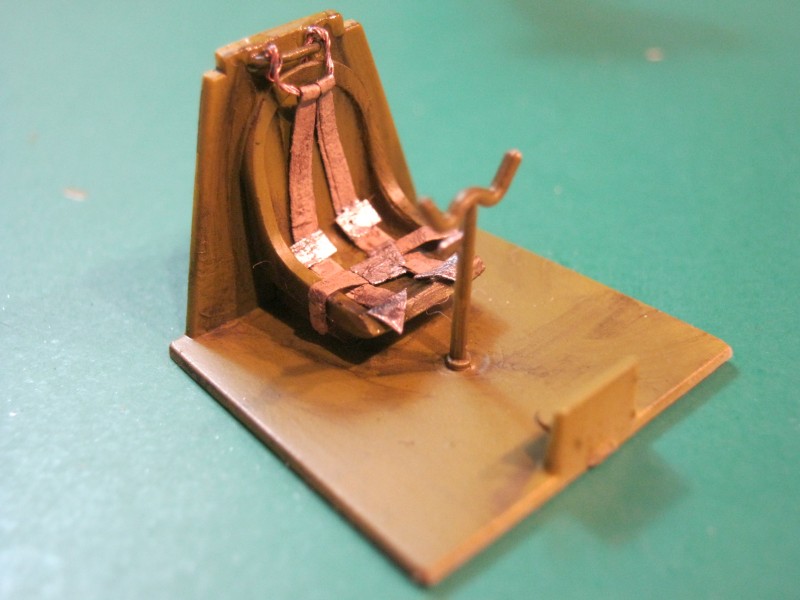
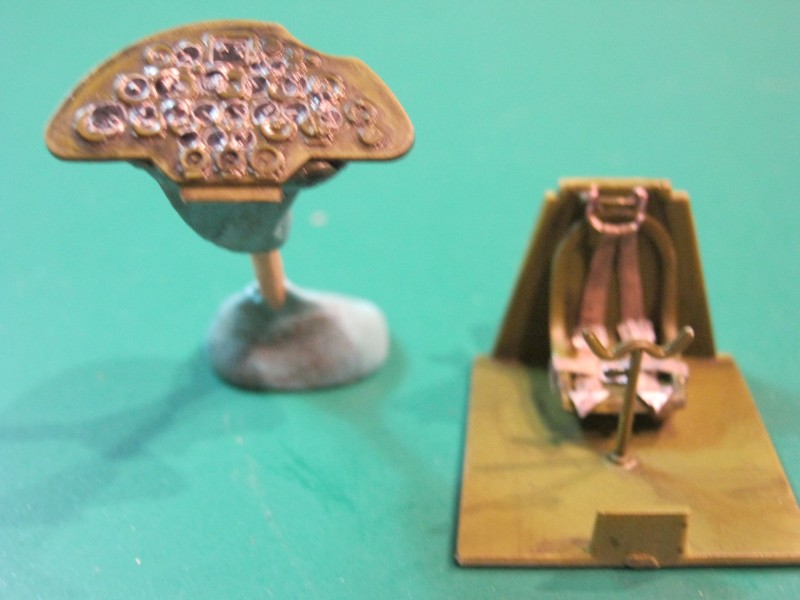
Step OneNaturally I began with cockpit and knowing the instrument panel was never going to see the light of day I decided to check out the decals to see how they would lay down.
are well regarded in this field, but I never make assumptions about expectations. As it happens the alignment was well off the mark with the raised dials, but the point was to see how they would conform to the details and they didn't disappoint! Sadly, however, the thickness of the cockpit side walls was such that dropping both doors was going to be too much work even for my super fine jewelers saw. I did opt to make a seat harness and paint what could be seen in Vallejo Interior Green. Then with a bent wire and copper created the back connections of the harness to the bulkhead. It's scant yet noticeable when you look inside. Another manufacturer provide you with the option of much greater detail and I hope Academy will follow suit in the future.
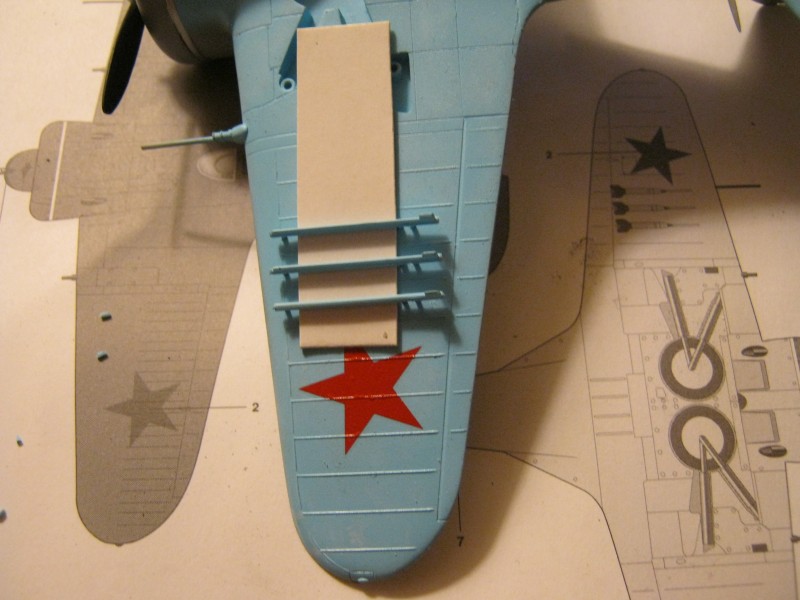
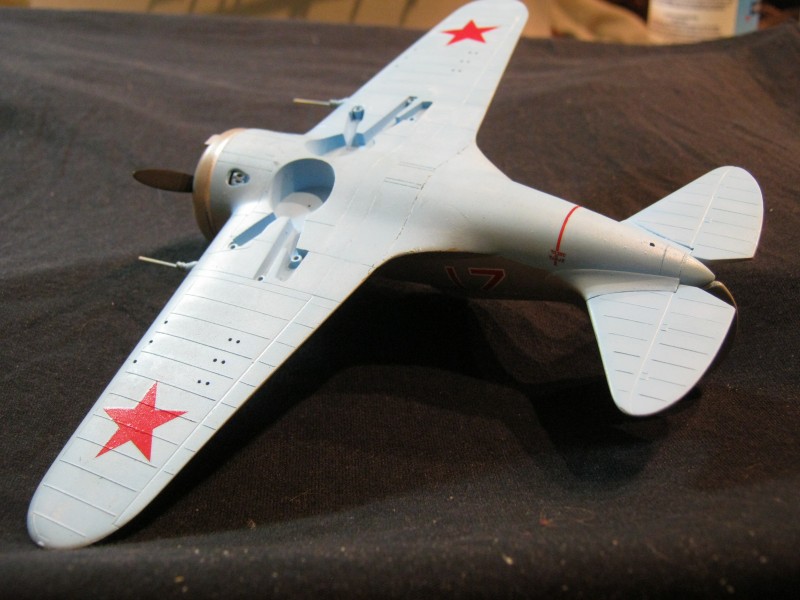
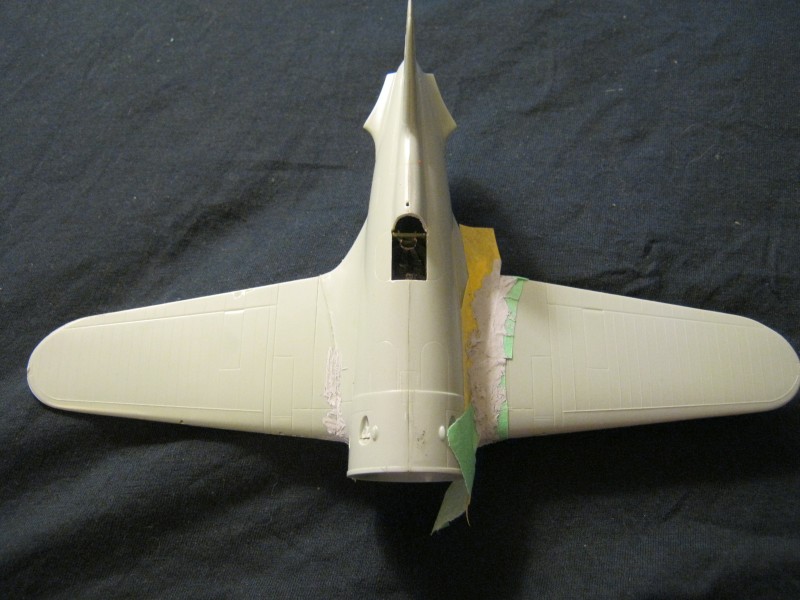
Step Twosaw the wings and fuselage coming together. A major gap on the left side appeared and obviously needed a fill then sanding. I borrowed a trick of laying down some tape to lessen the amount to be removed and this worked quite well, however, all I had on hand was Tamiya grey basic putty and forgot to reduce it with thinner. New putty is on the way! The belly needed some attention as well.
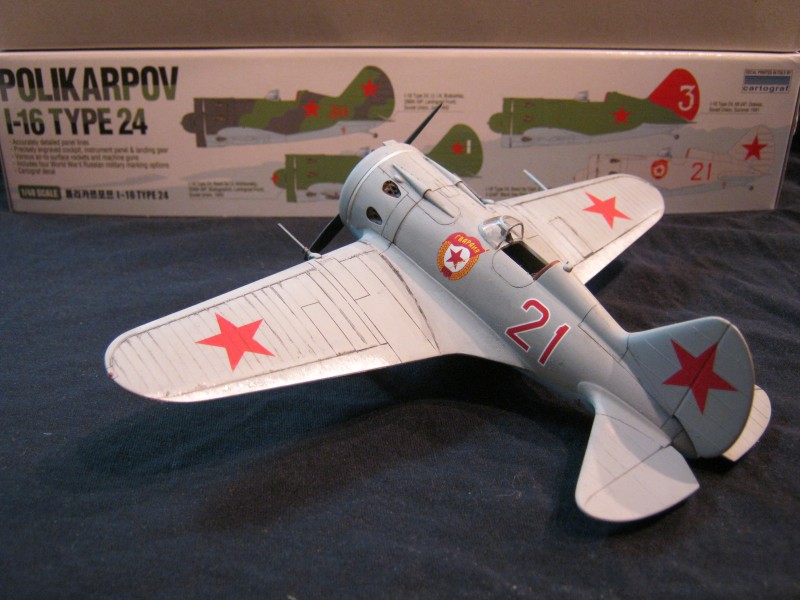
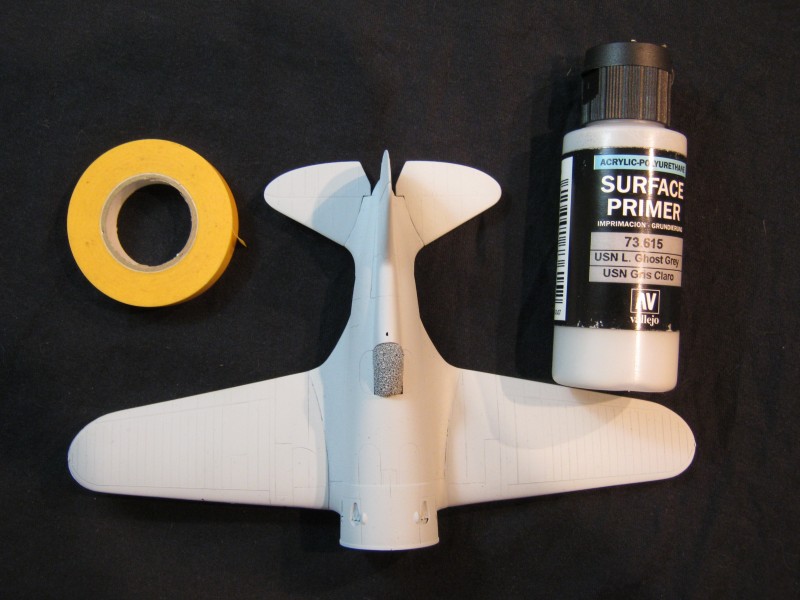
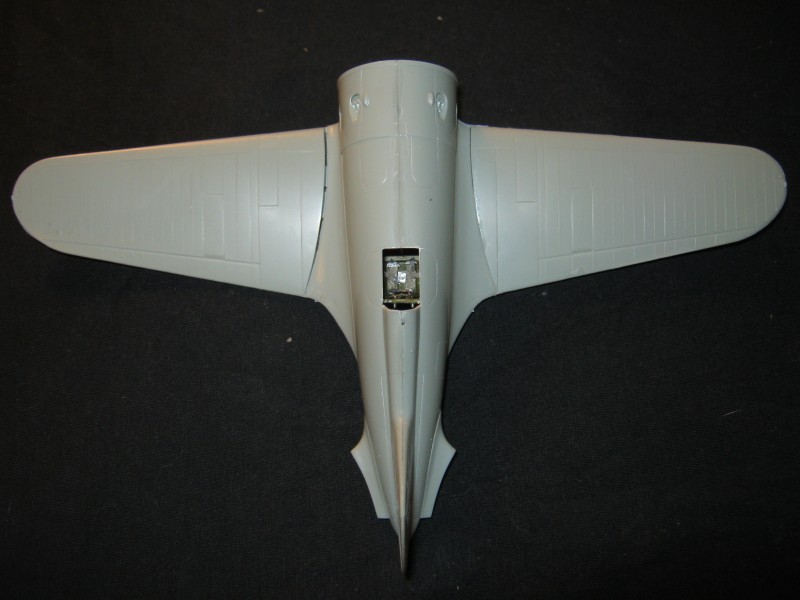
Step Three once the major construction was done it was time to give the kit a primer coat. I chose Vallejo "Ghost Grey" because I wanted to scuff the darker outer Tamiya XF-18 Sky Grey finish to look as if it was wind worn by the salt air. The idea was sound and something I'd done before with great effect. The primer, however, was less than satisfactory. It refused to sand even after 24 hours curing time and would not allow me to re-scribe panel lines or even putty imperfections. It pealed off as if it were PVA glue. New primer is on the way! I've ordered Mission Model Paints primer for my next build and have high hopes for a much better finish. I made the best of it, yet no doubt this was not the best look. The finish on Russian Navy aircraft was quite rough anyway so historically we'll run with that explanation... eh-em! ;)
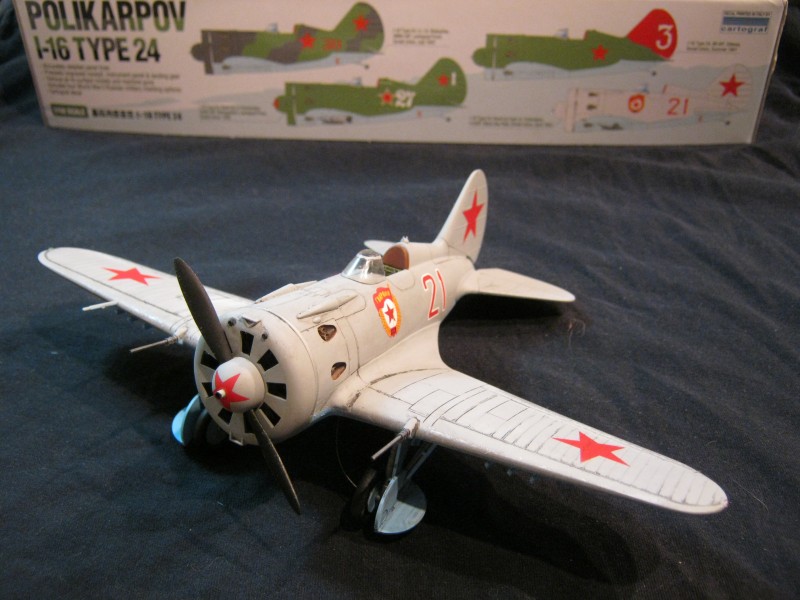
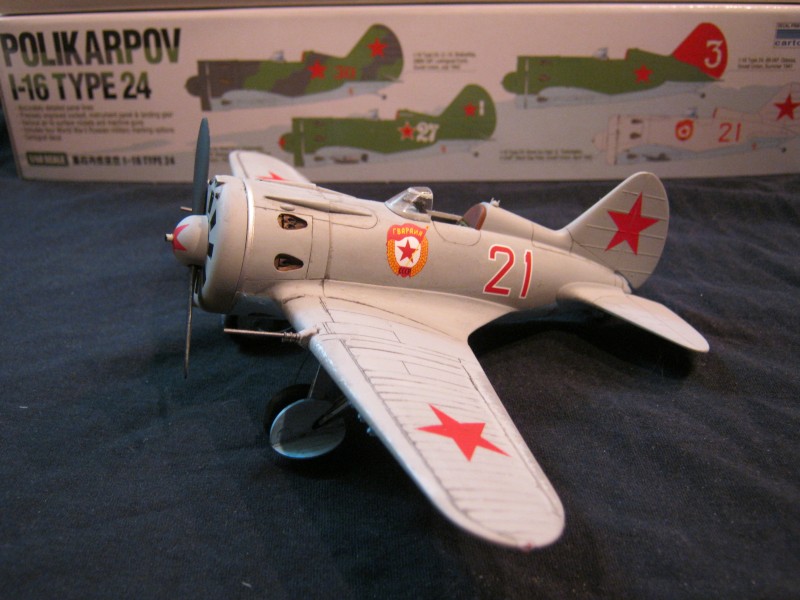
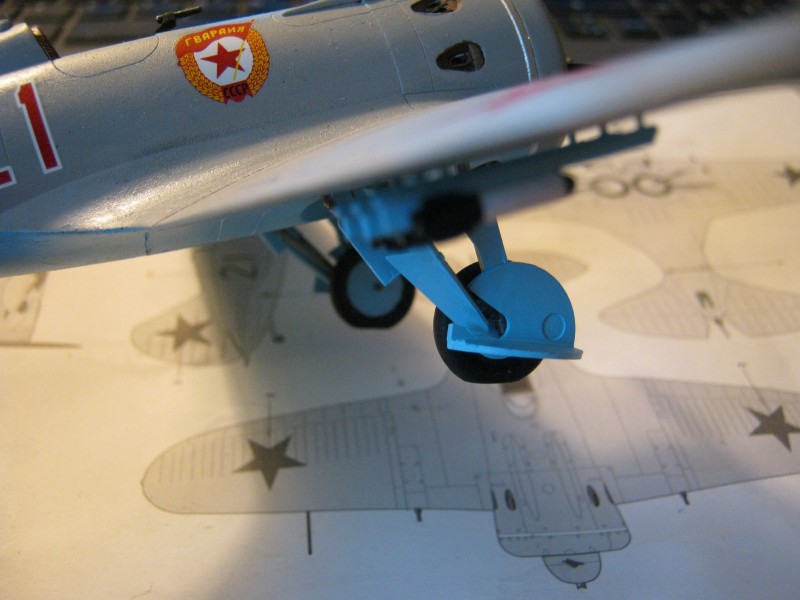
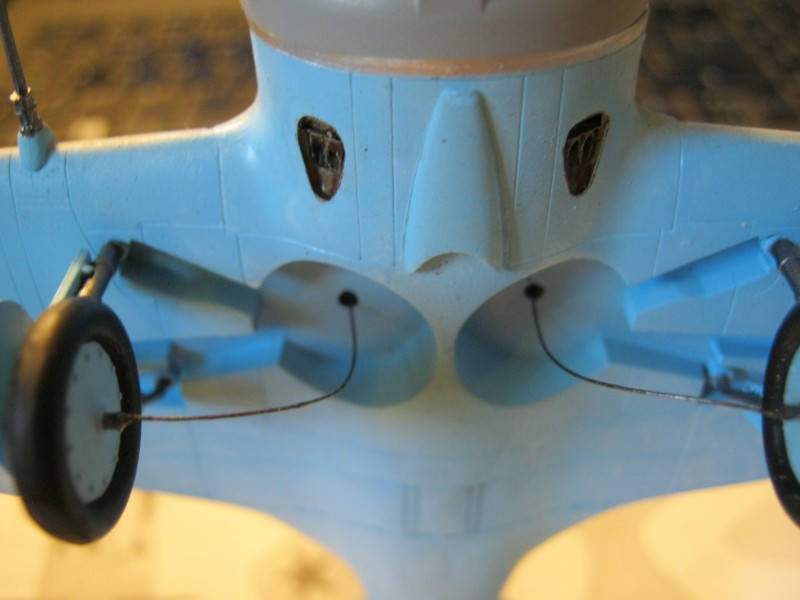
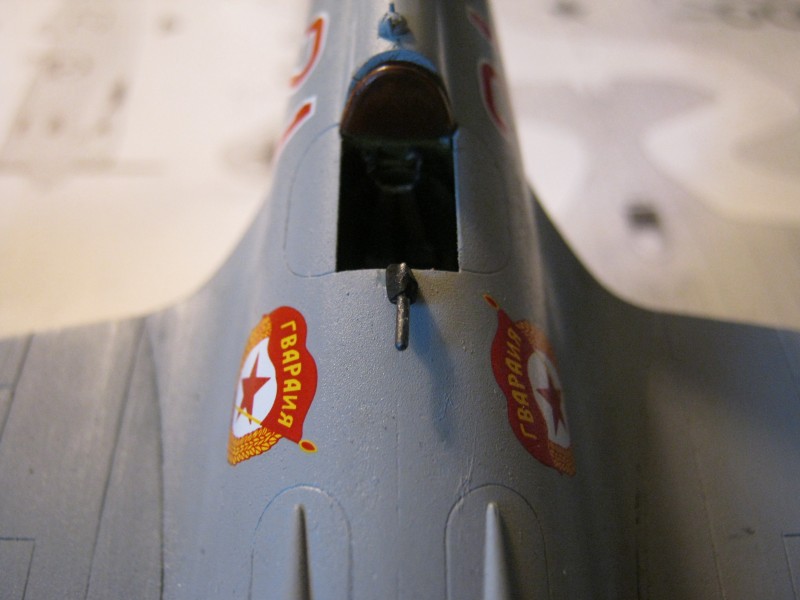
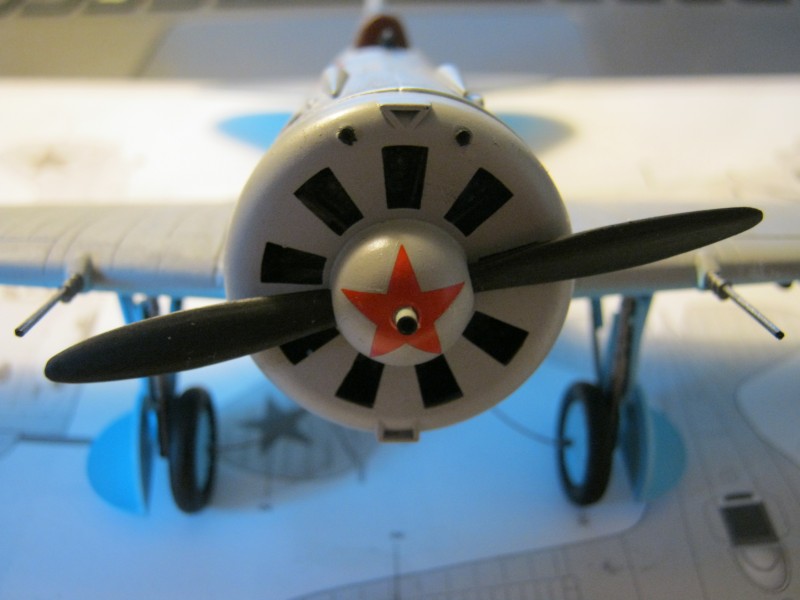
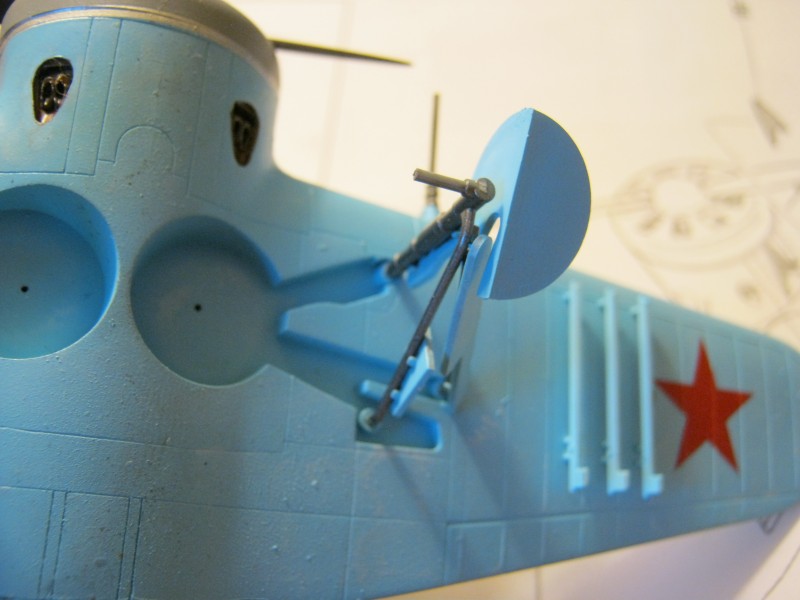
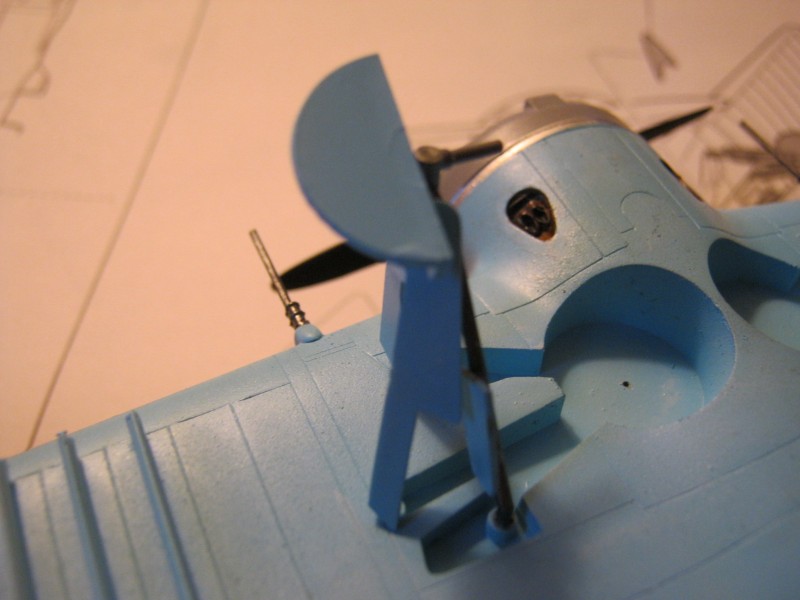
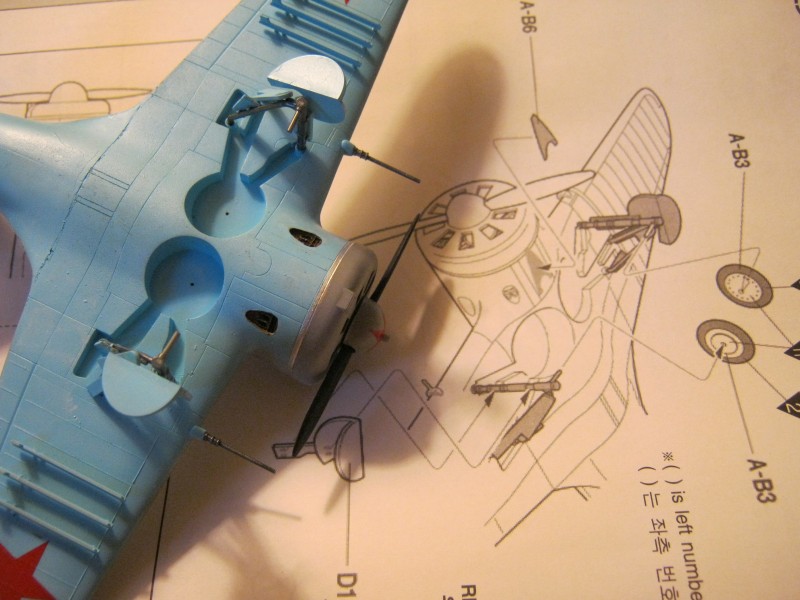
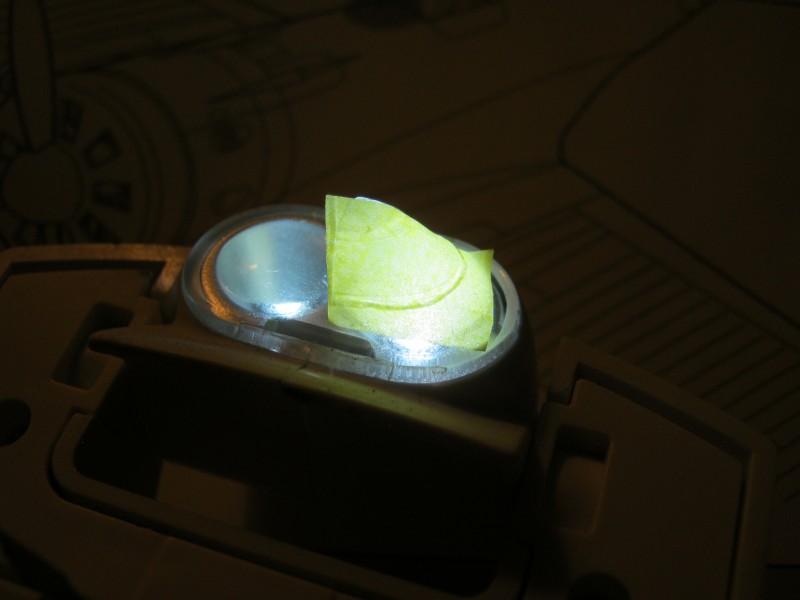
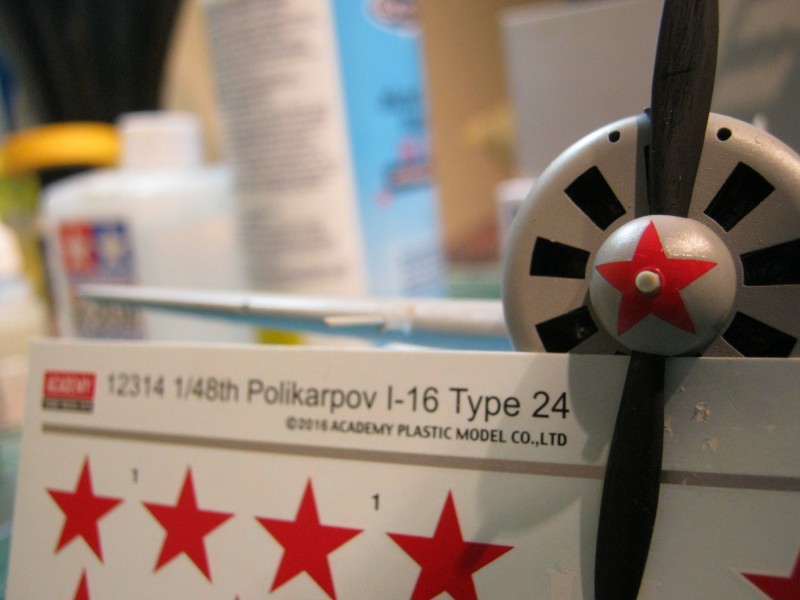
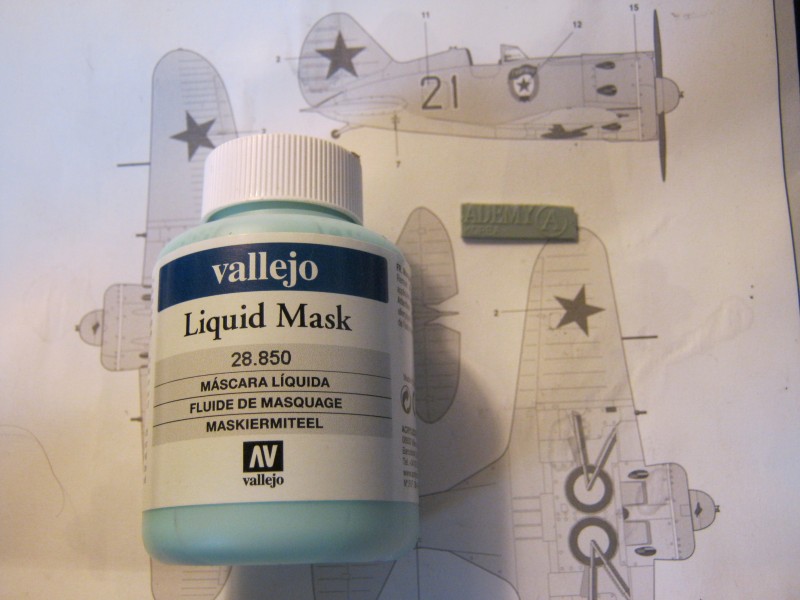
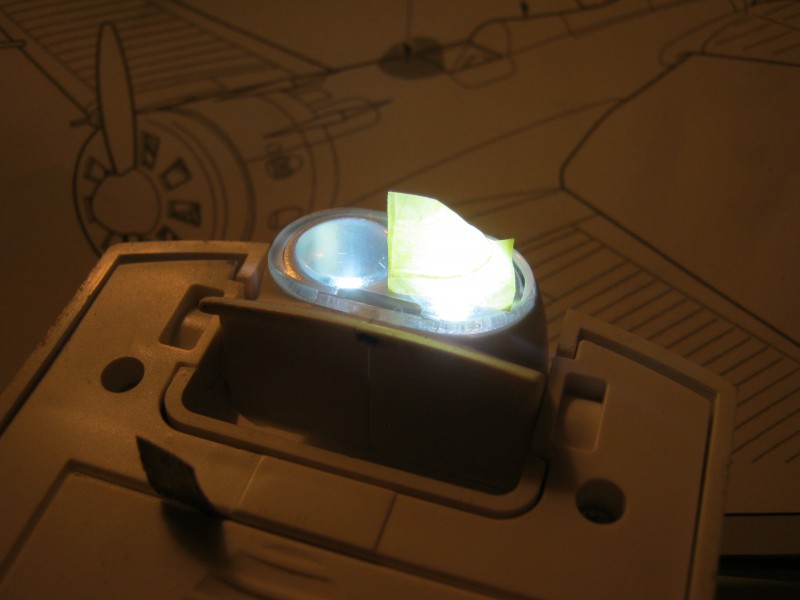
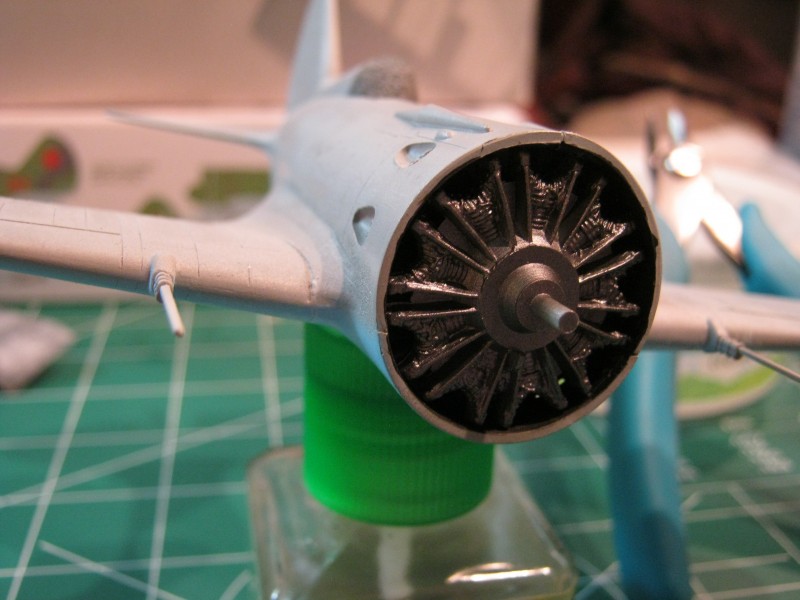
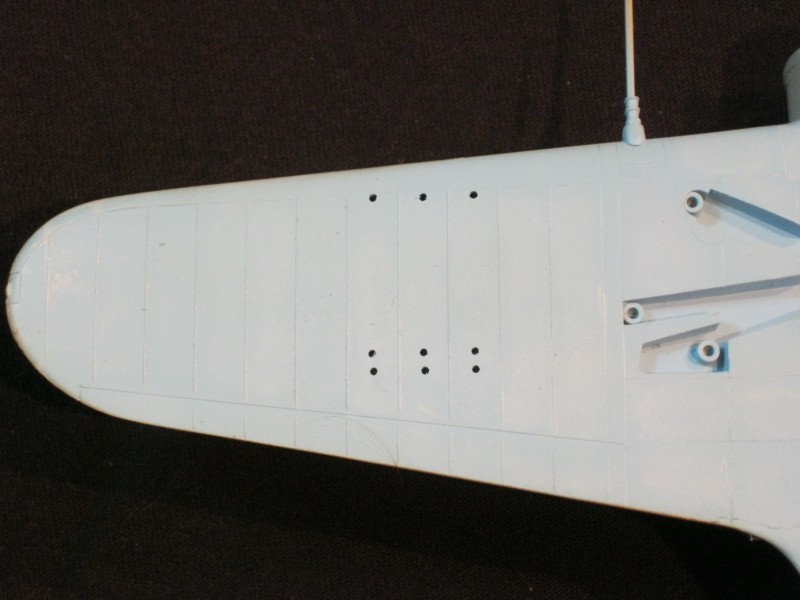
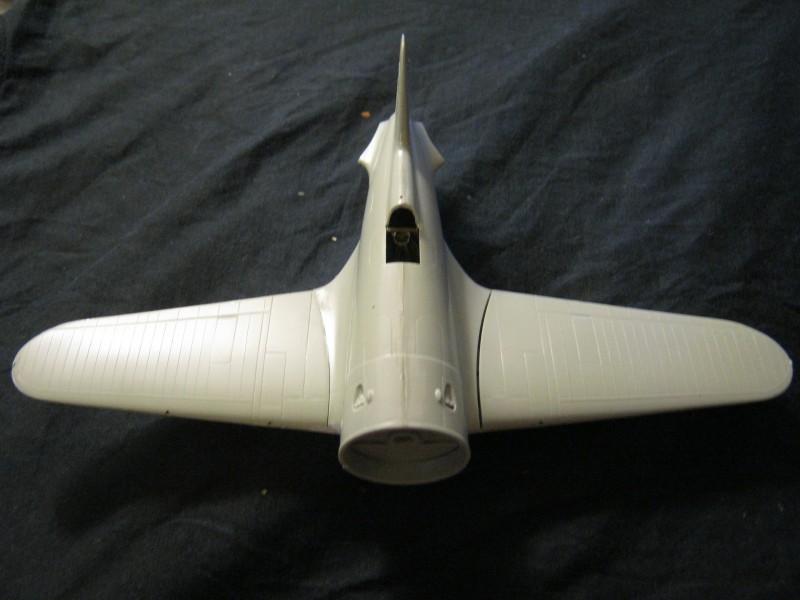
Step Four dealt with some detail work. I resisted the urge to super detail the engine because so little would ever be seen. A simple spray of Tamiya X-10 Gun Metal would suffice, giving this section all the depth it needed. Holes had to be drilled for the rockets prior to the wings being assembled and would pave the way for a complete Russian Navy version of the I-16 Type 24. The canopy was supposed to be masked, but even over a light source the poor detail could not be made out enough to have any degree of accuracy. Instead I opted to use Vallejo Liquid Mask. The result is ok, but it did remove some of the clear coat I'd used to make the window look clean. It'll be re-coated at the end. It was easy to include some weighted wheel look so I did that prior to attaching the landing-gear parts. The missing gun-sight issue was fixed by modifying one of the spare wing machine guns and, as luck would have it, looks similar. The cables to retract the landing-gear are lengths of fishing line and the sag is normal for this aircraft. The cowling machine guns were nothing but holes so I drilled out some spare rod to add a better look, as I did with the 20mm wing cannons. If the landing-gear covers look a little off you're right. There was no way to place them properly without major sanding and I wasn't willing to spend that much time. Although, several photos do show these being somewhat angled.
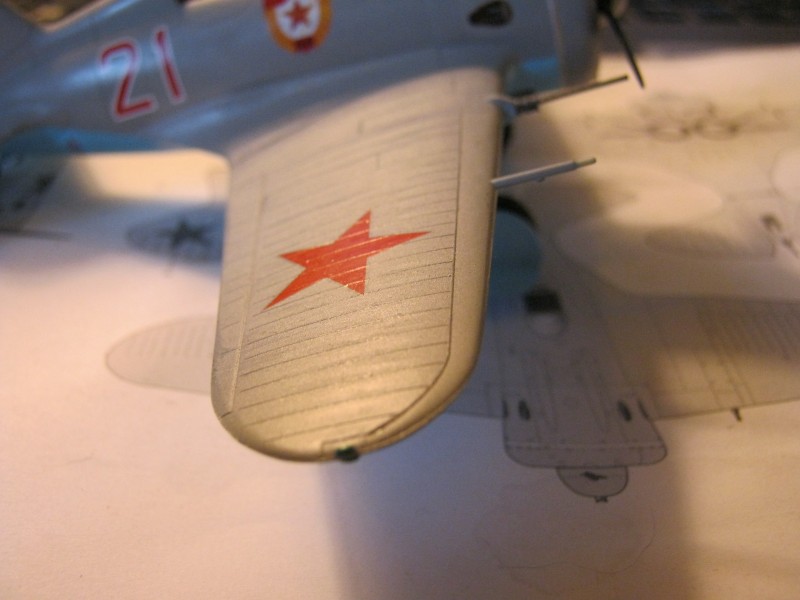
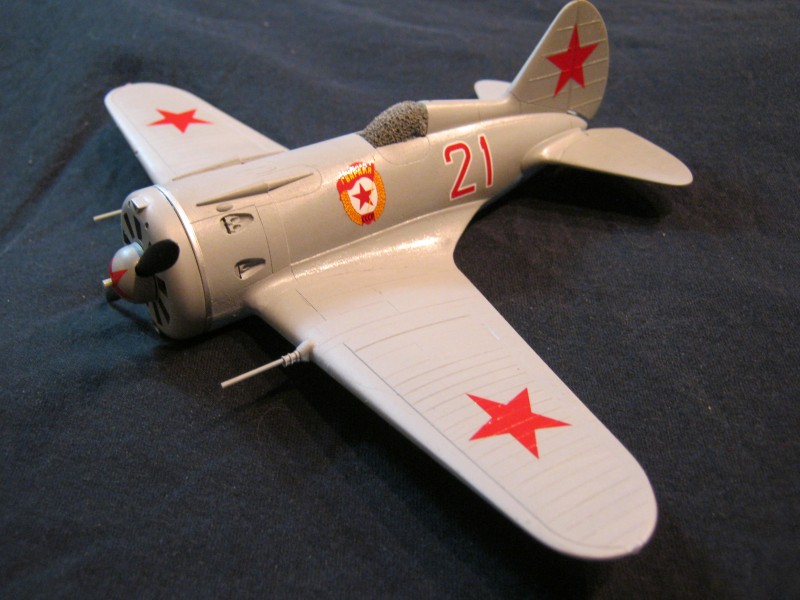
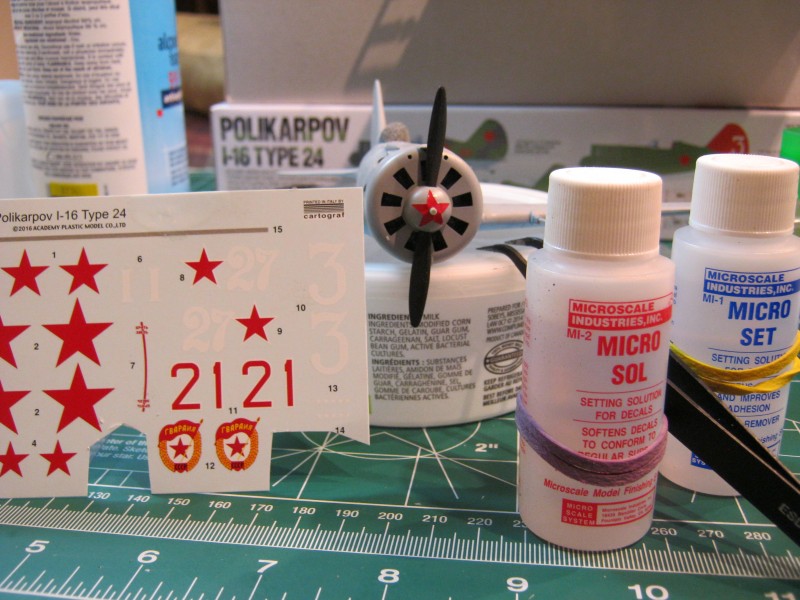
Step Five was the application of the Cartograf decals. I used Micro Industries Micro Set and Micro Sol to help them lay down. Normally I use a different solution, but after watching Will Pattison's video (thanks Will) it convinced me that a gentler method was needed. That said, the numerals did shockingly scrunch up at first, yet later settled down after another coat of Micro Sol. The result is a nice clean look. There were no issues with getting them in place and I honestly wish there had been more of them. What's left over are destined for Russian tanks. Then they were sealed with Tamiya X-22 clear coat in preparation for a wash.
Step Six was the weathering with Vallejo Dark Grey Wash. While the box art looks clean and toy-like, anything could be further from reality. The many reference photos I studied showed clearly that these planes saw a lot of air time. This look is a bit course, but Russian military machinery didn't have to look pretty, they had to work, kill things, and blow "stuff" up. I couldn't, however, add exhaust stains from the manifold pipes due to airbrush issues. A new airbrush is on the way via a local home based business. Just use your imagination and see them appear :) The flaps and leading edges were worn using Testors aluminium and the subtle bleached effect on the finish is a 3 to 1 ratio of Tamiya XF-18 Sky Grey and XF-2 White respectively. Additional colors used were XF-1 Black XF-7 Red and X-28 Park Green. The leather head-rest is one drop each of Golden High Flow Acrylics Red iron oxide and Nickle Azo Yellow. Vallejo "Premium Airbrush Color Matt Varnish" was used to finish things off.
Thank you for taking the time to read and look.
A huge shout out to MRC and ACADEMY along with Jim Starkweather for sending me this kit to build and present to you.


Comments